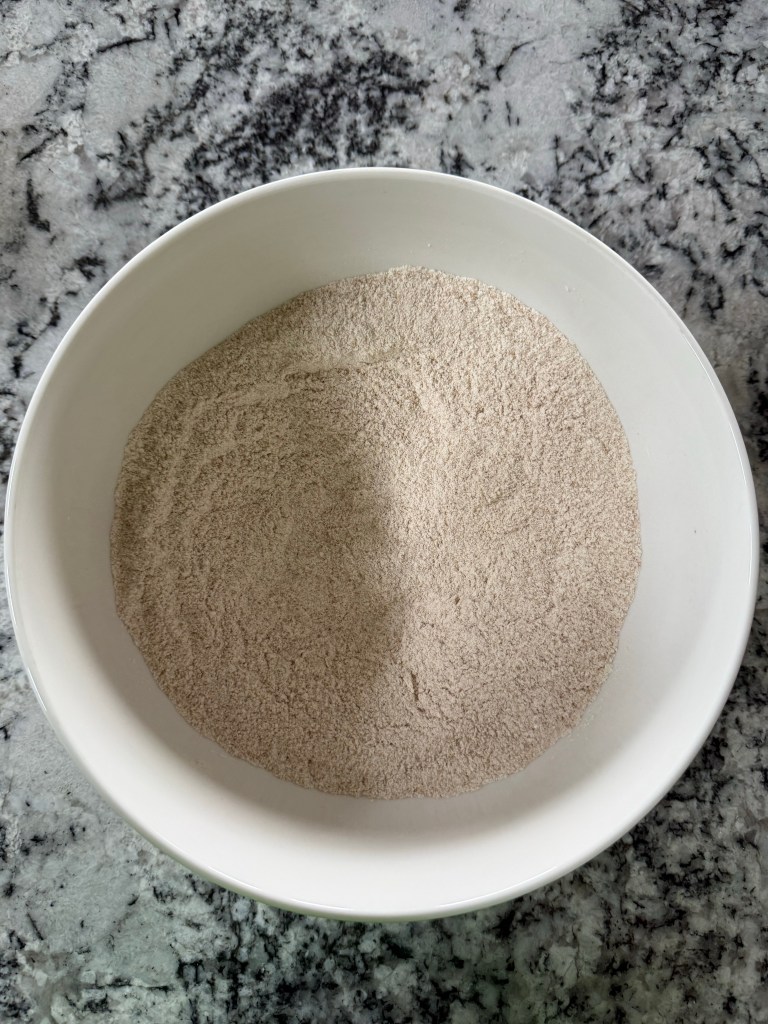
After making the Semolina Sourdough bread I had a little semolina flour left that I needed to use up before the flour’s expiration date. Conveniently, around this time I saw a blog post from The Clever Carrot about making semolina cavatelli with sourdough starter. I wanted to use all my flour, so I scaled the recipe up based on the amount I had available.
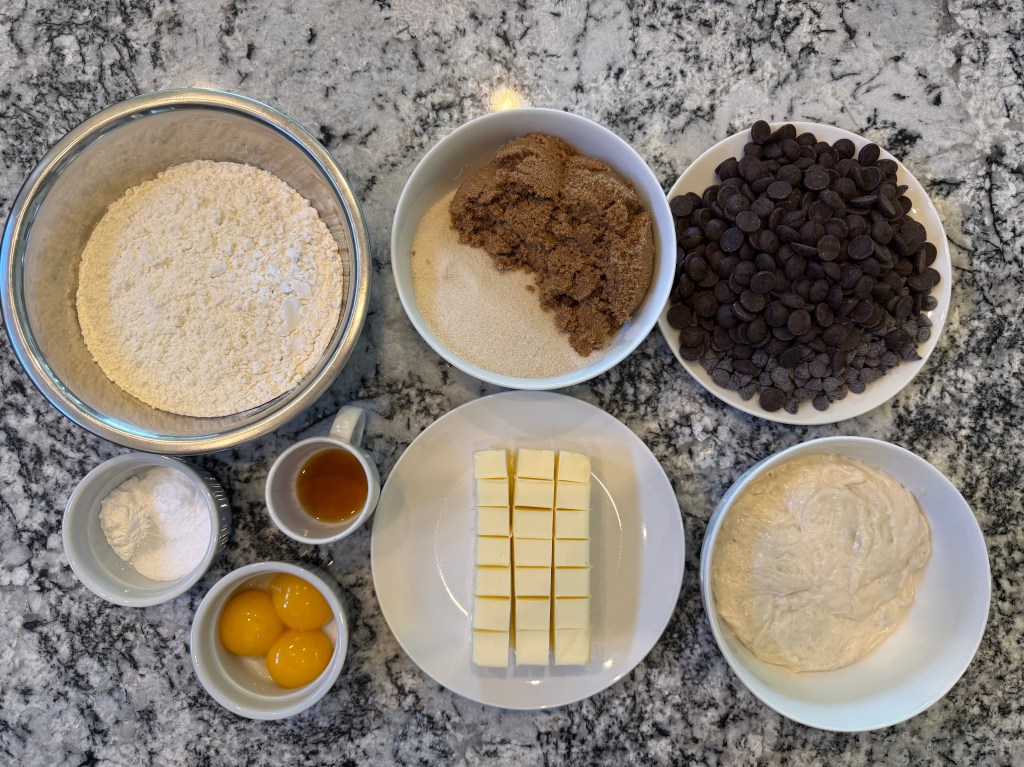
I gathered the mise en place:
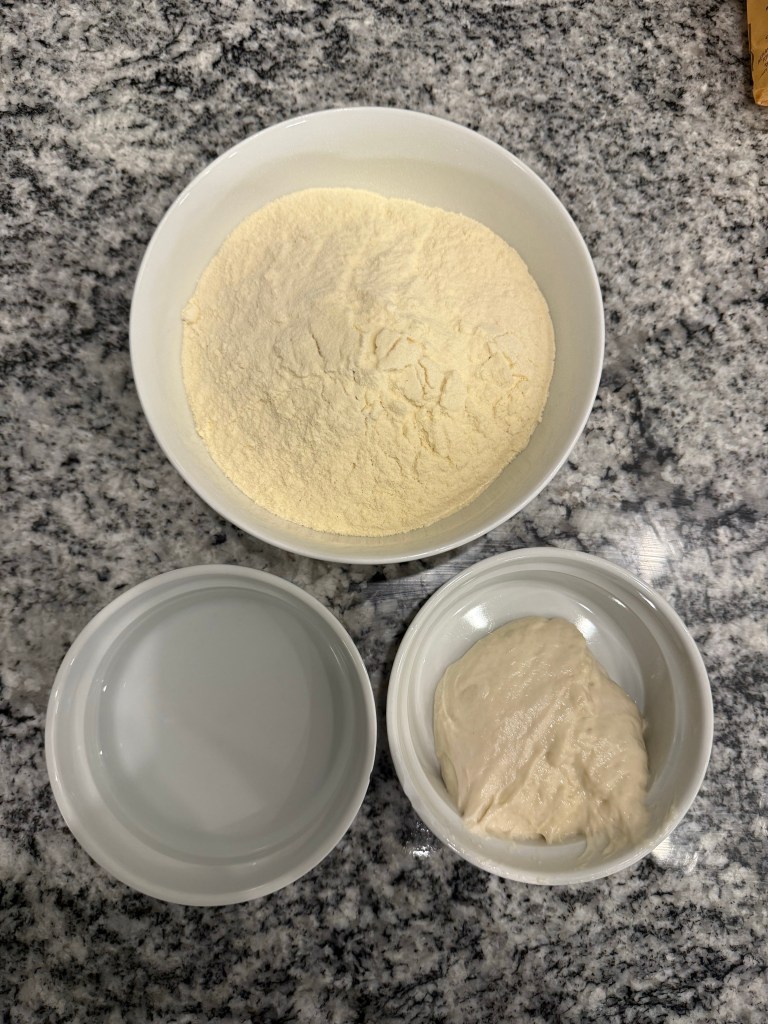
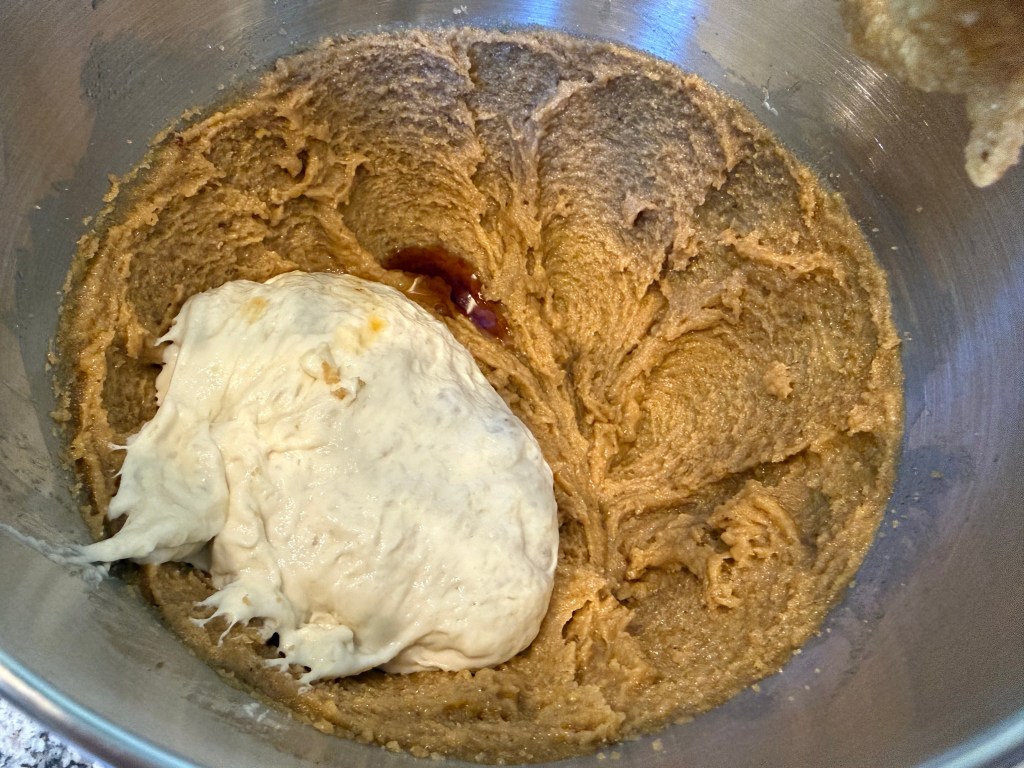
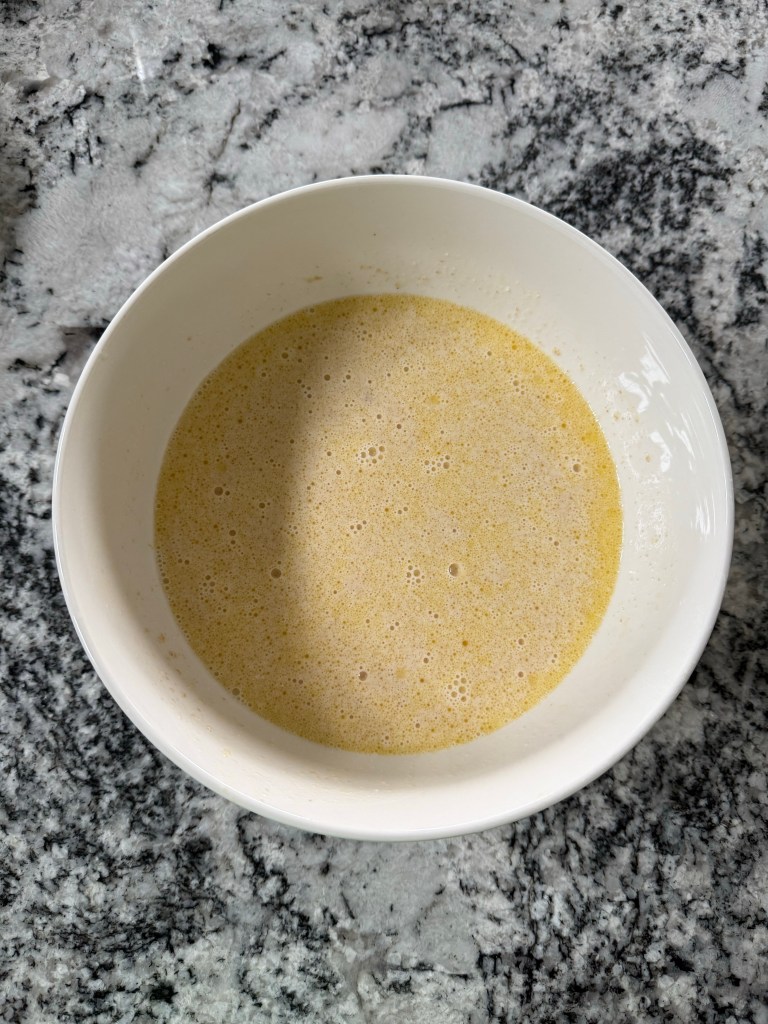
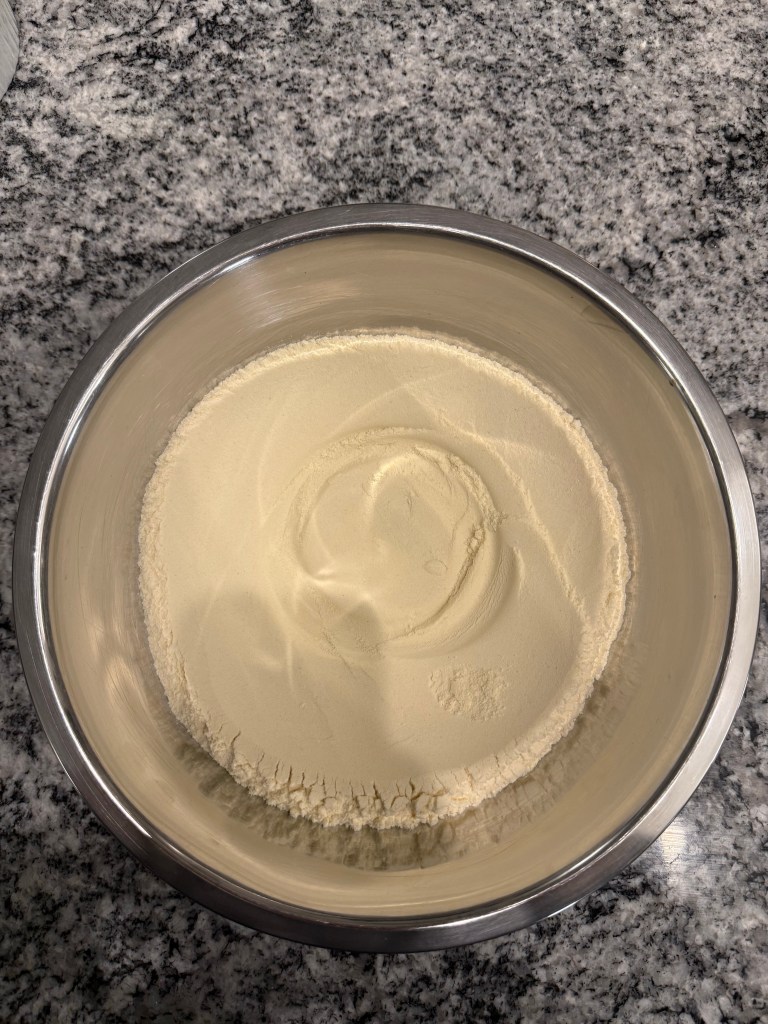
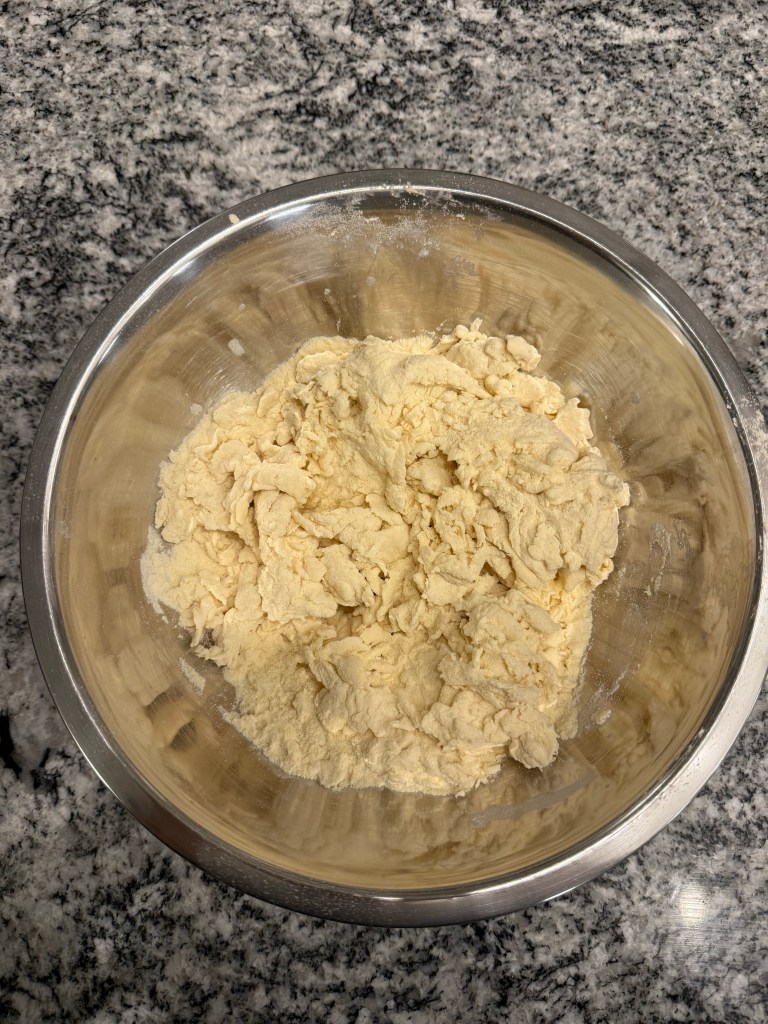
I made a well in the flour and added the water and then the starter.
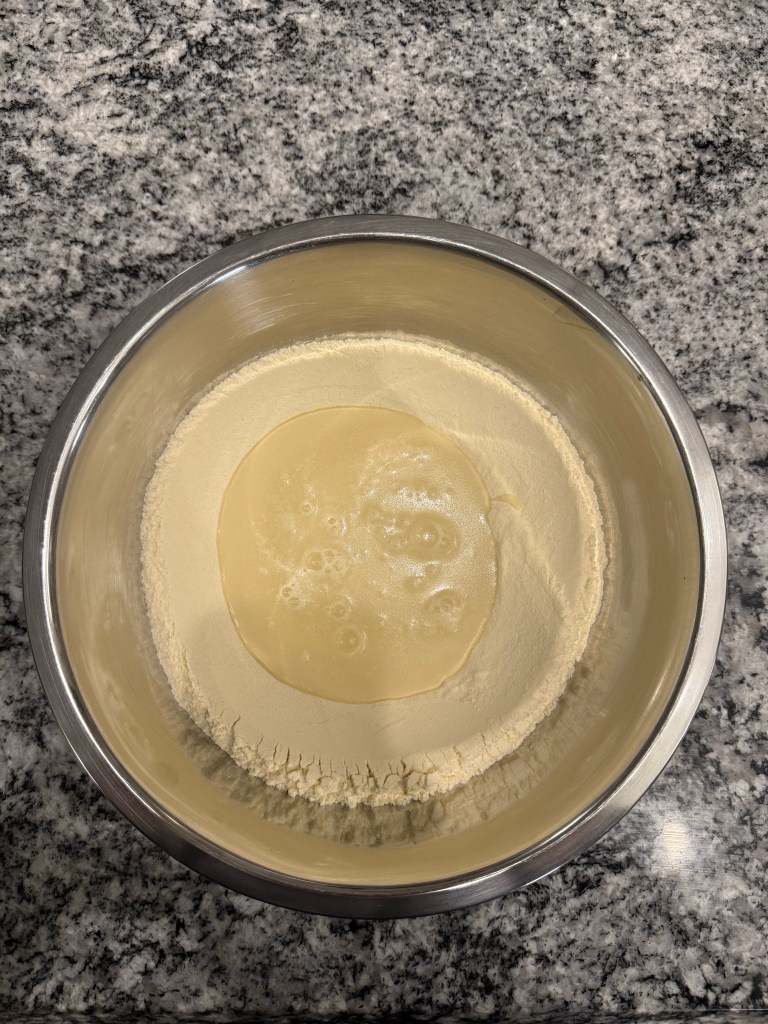
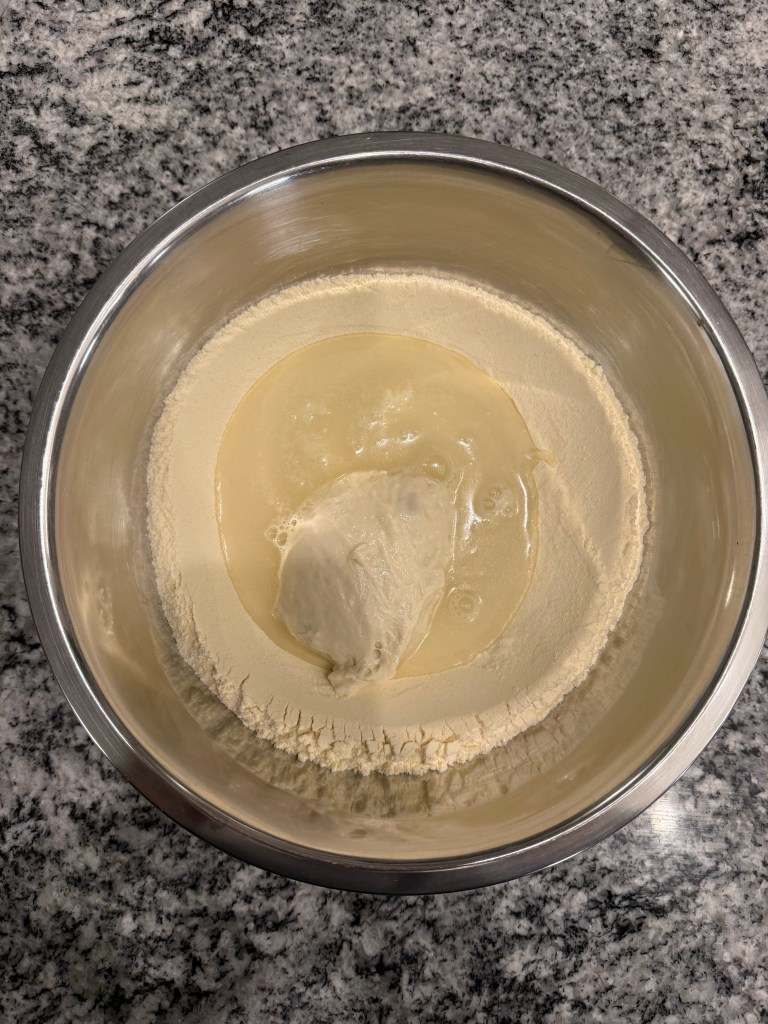
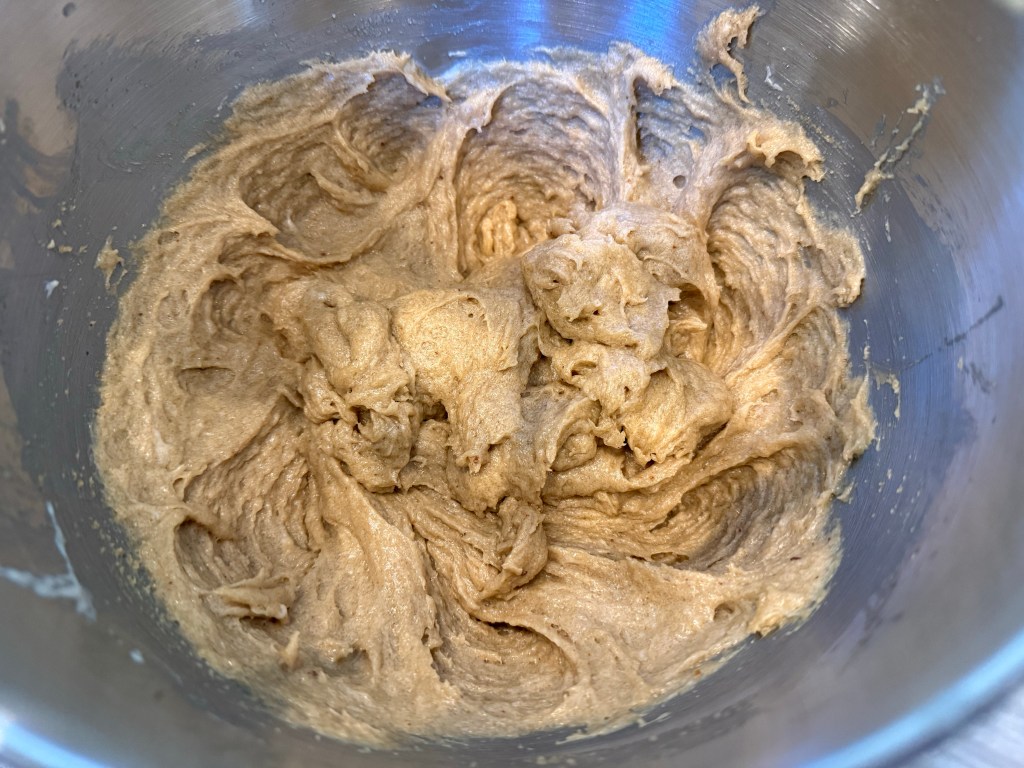
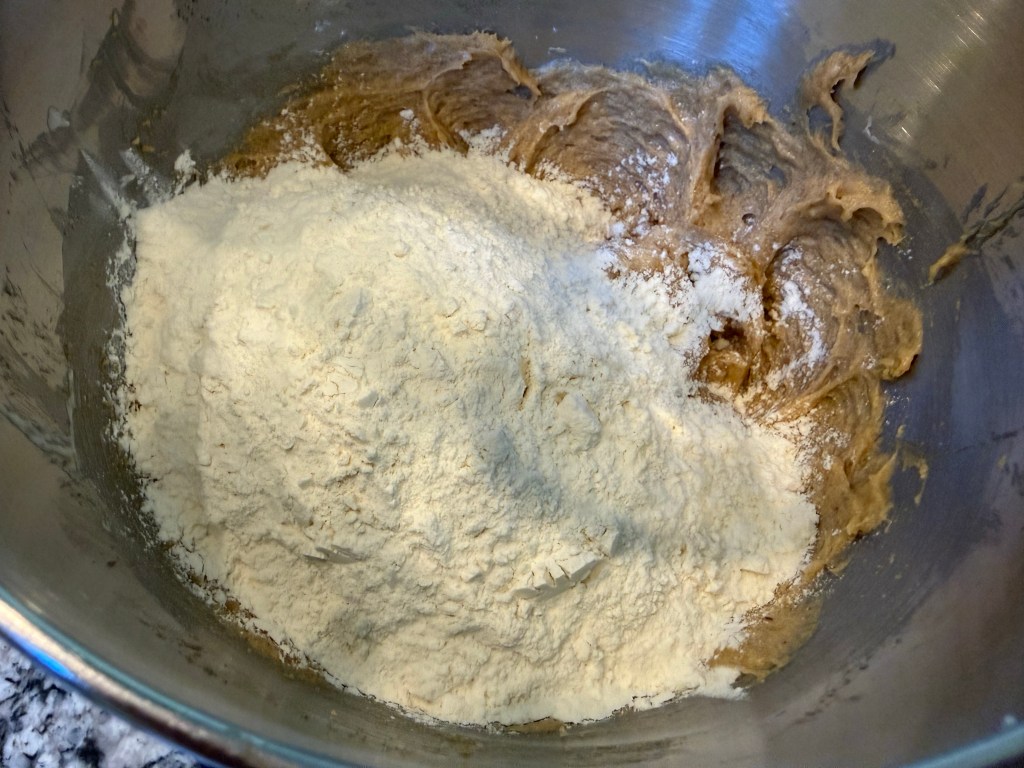
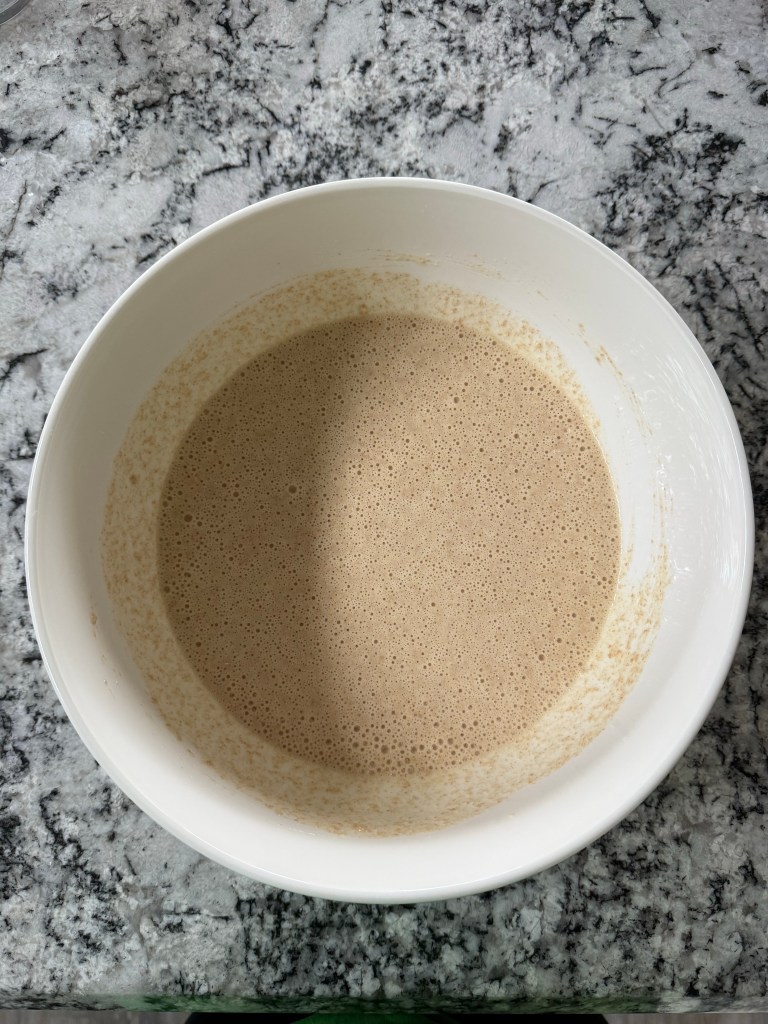
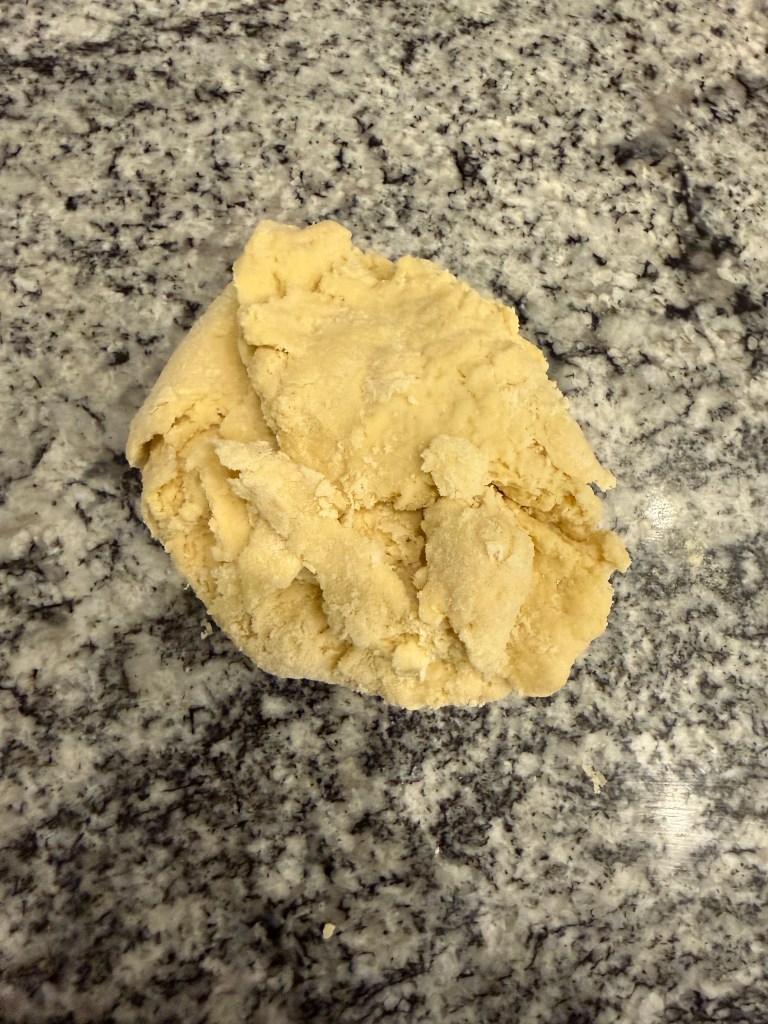
I mixed the dough with a fork, then kneaded it in the bowl by hand until all the flour was absorbed. At this point the dough was very dry and sandy, and it was hard to get the dough to incorporate all the flour.
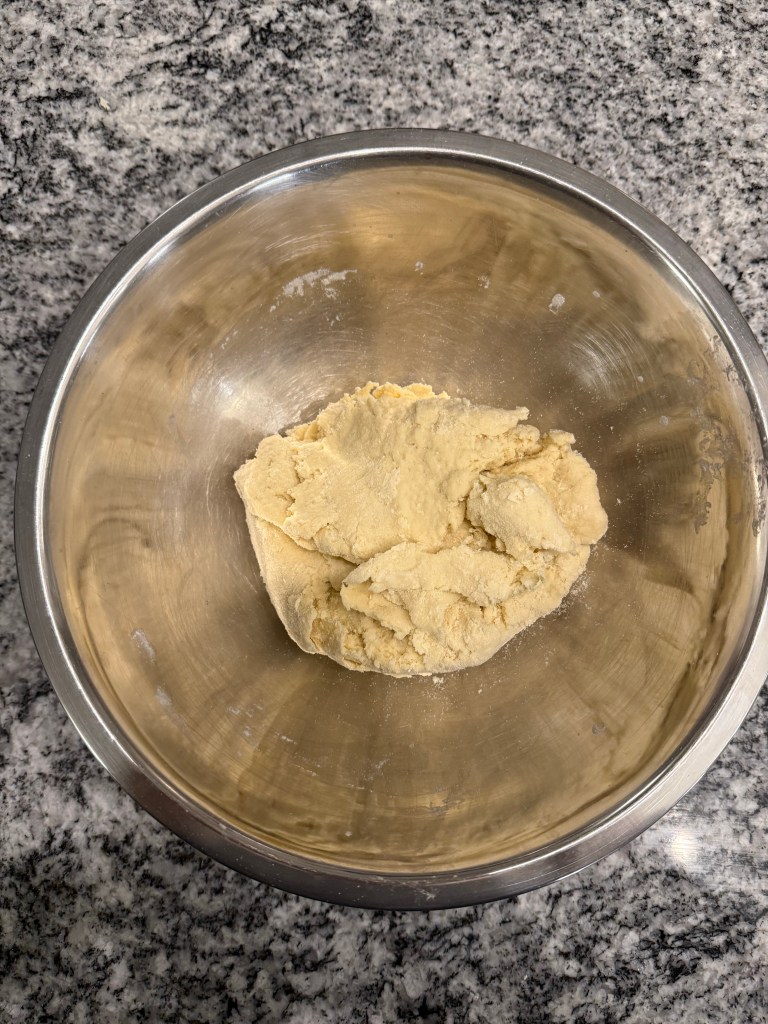
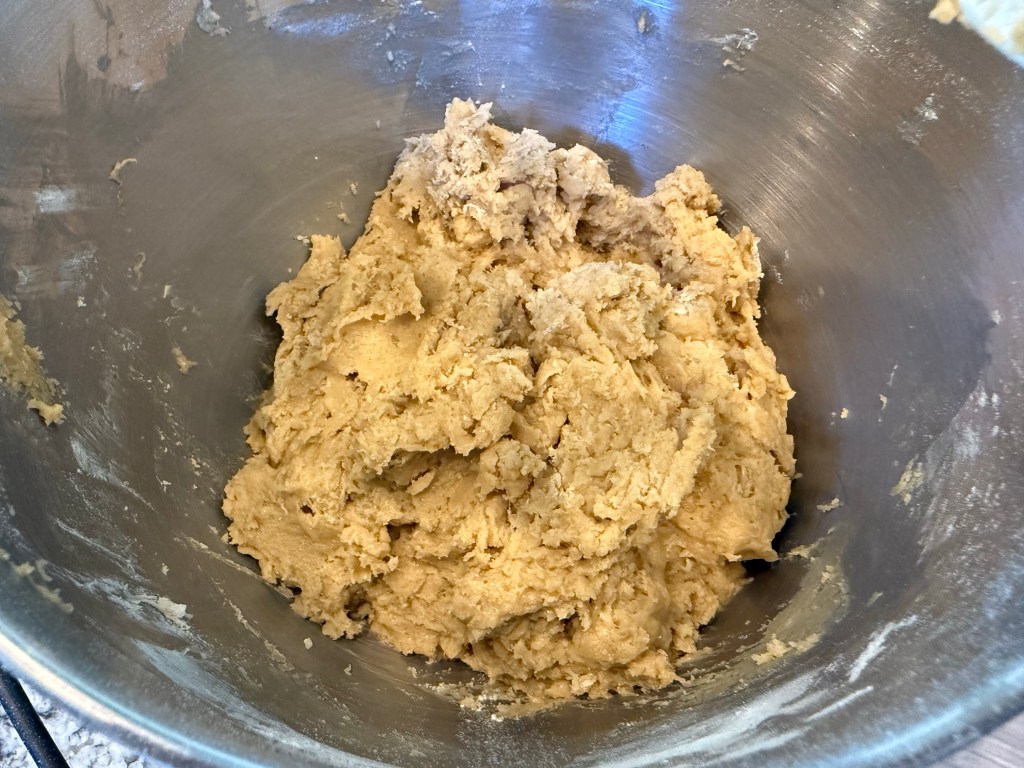
The dough rested for 10 minutes, then I kneaded it on the counter for a mere 2 minutes until dough was smooth and no longer gritty. I was amazed at how quickly the dough transformed into a smooth mass!
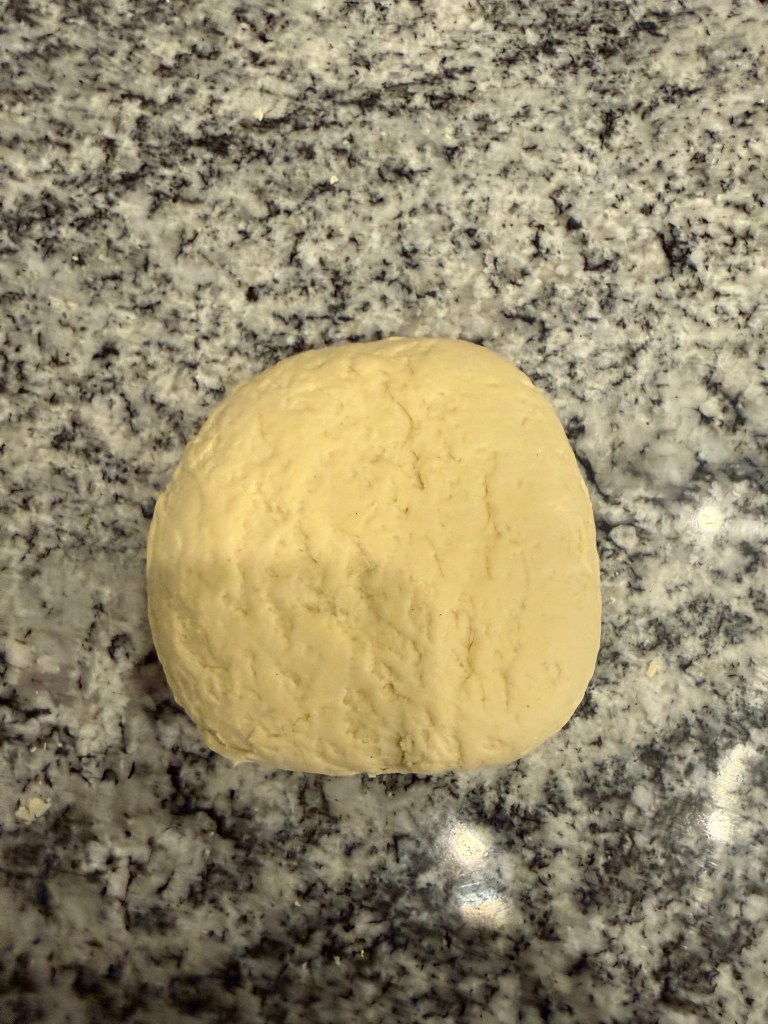
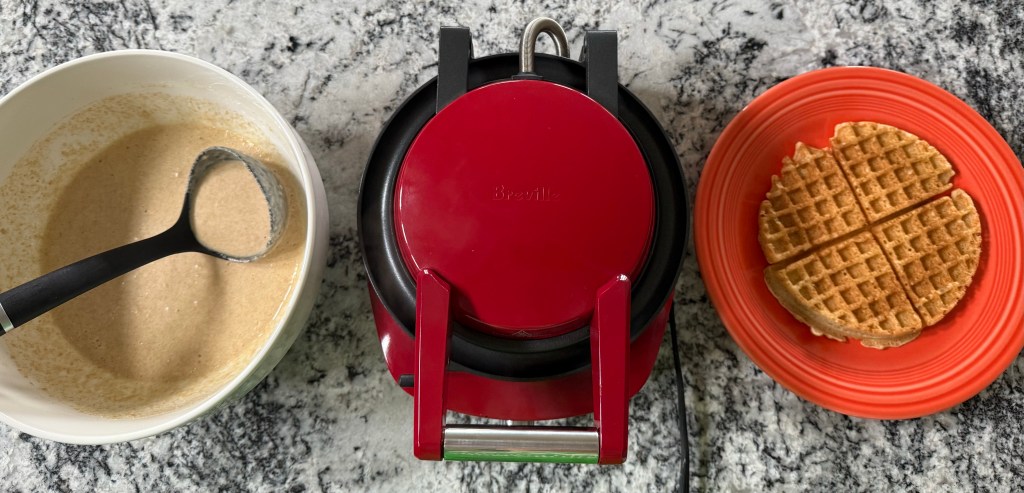
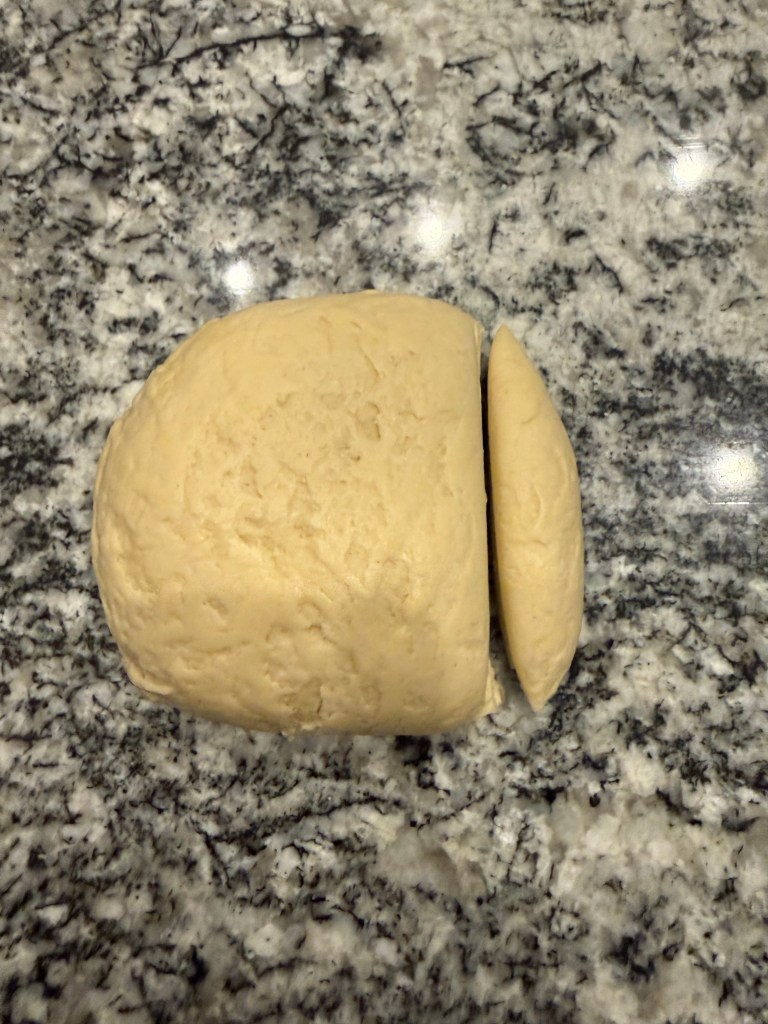
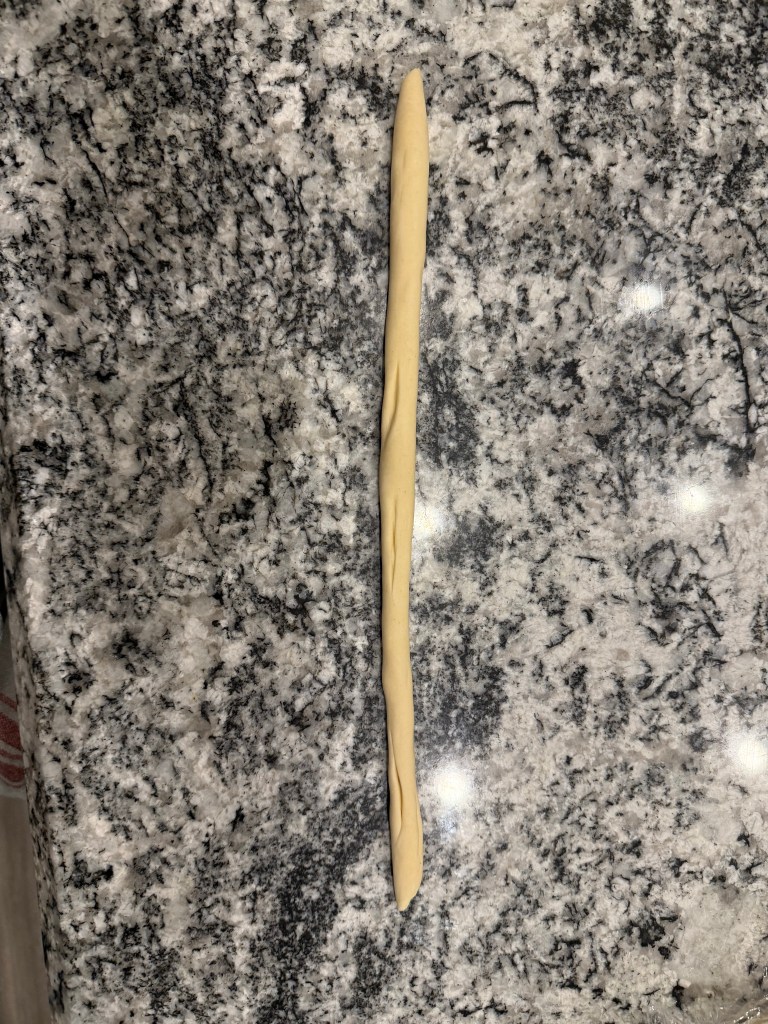
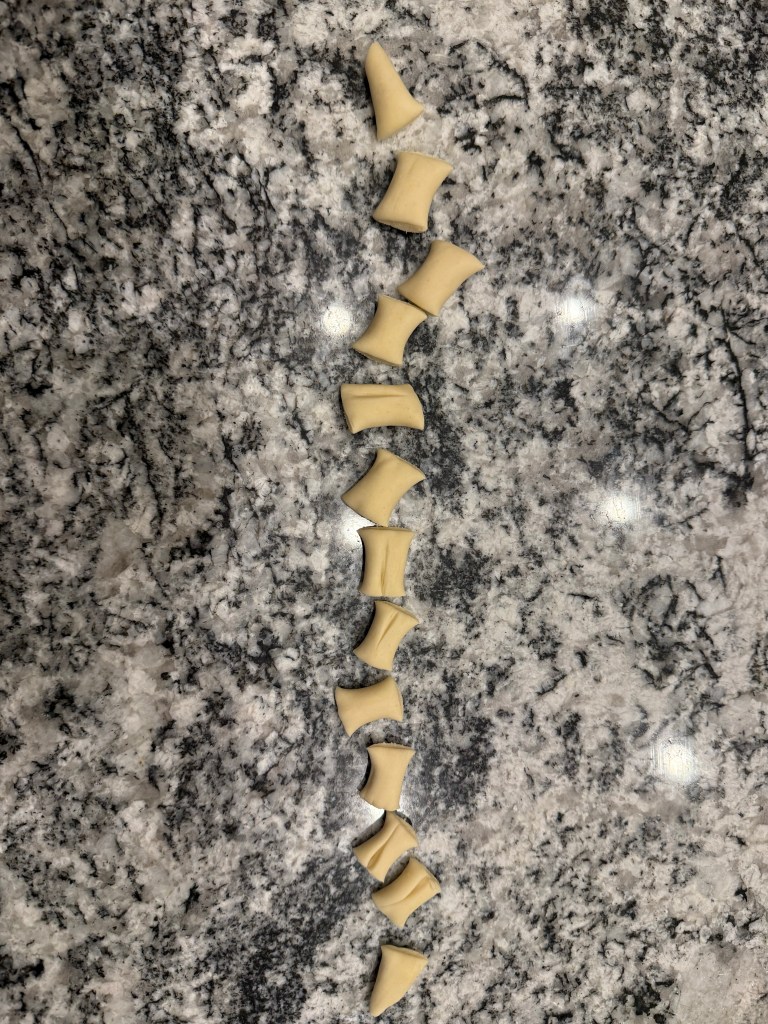
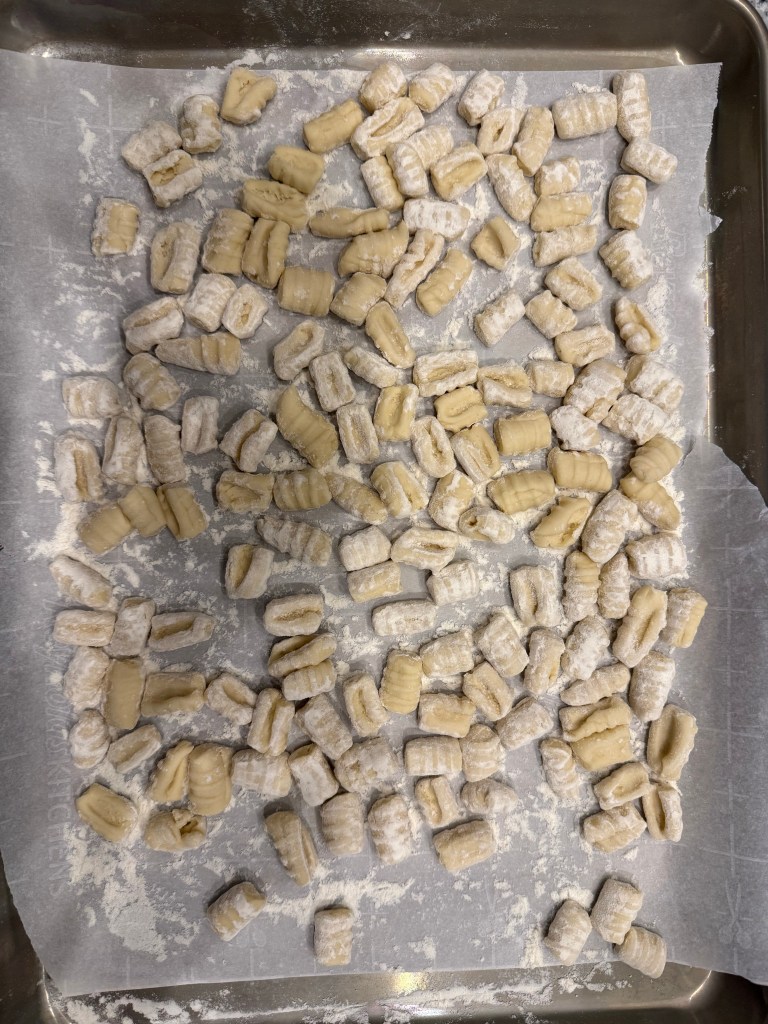
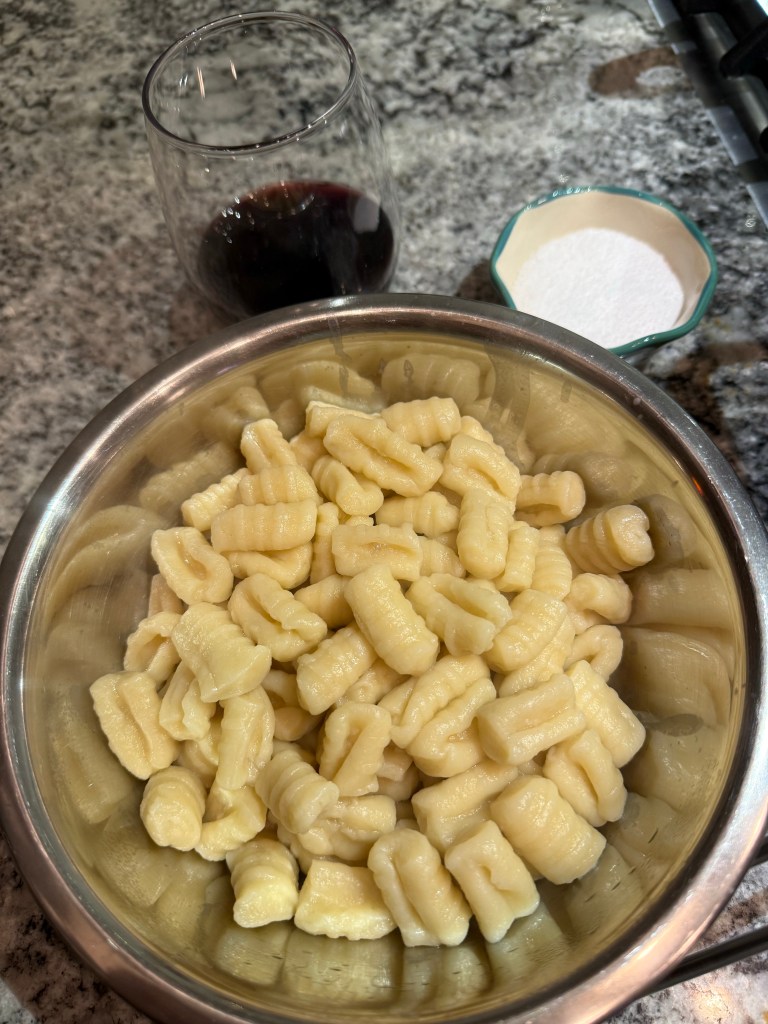
The dough rested in the fridge for 24 hours until I was ready to use it. I cut the round into strips, rolled each strip out, then cut each roll into inch-long pillows. I shaped them into cavatelli with a fork. I placed the finished cavatelli on a floured sheet pan and covered them while I worked on each rope.

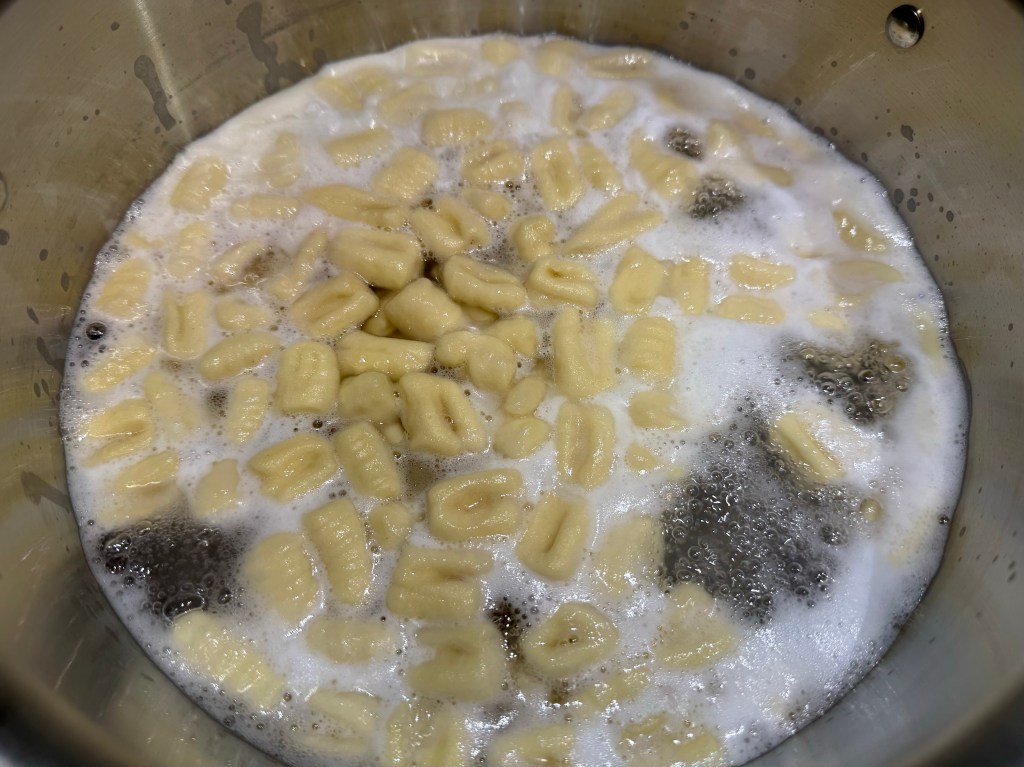
Once they were all shaped, I boiled the noodles in salted water. I cooked the cavatelli for 8 minutes, when they were very much on the chewy side of al dente, but they could have could have cooked for longer for a softer noodle.
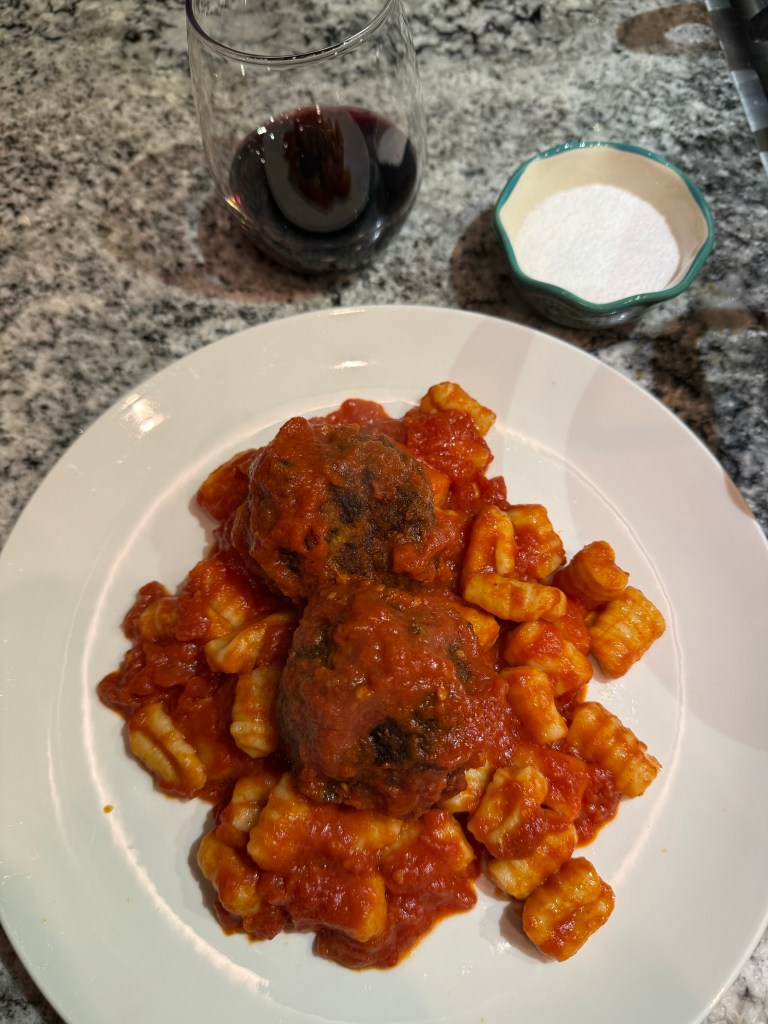
We ate the cavatelli with freshly made tomato sauce and giant meatballs. It was a heavenly meal!
The cavatelli did not taste sour, which is absolutely fine, since fermentation was not the goal here. They tasted very fresh, and the shaping of the cavatelli was very pleasant. This project has made me much more interested in making more pasta at home. If you’re at all interested, I would definitely recommend giving it a try!
Until the next time: may your yeast always rise and your flour never run out.