A while ago I read about a sourdough chocolate chip cookie recipe that was next level. My starter wasn’t active at the time, so I’ve been waiting to try this recipe for quite a while, and this seemed like the right time. The recipe can be found here.
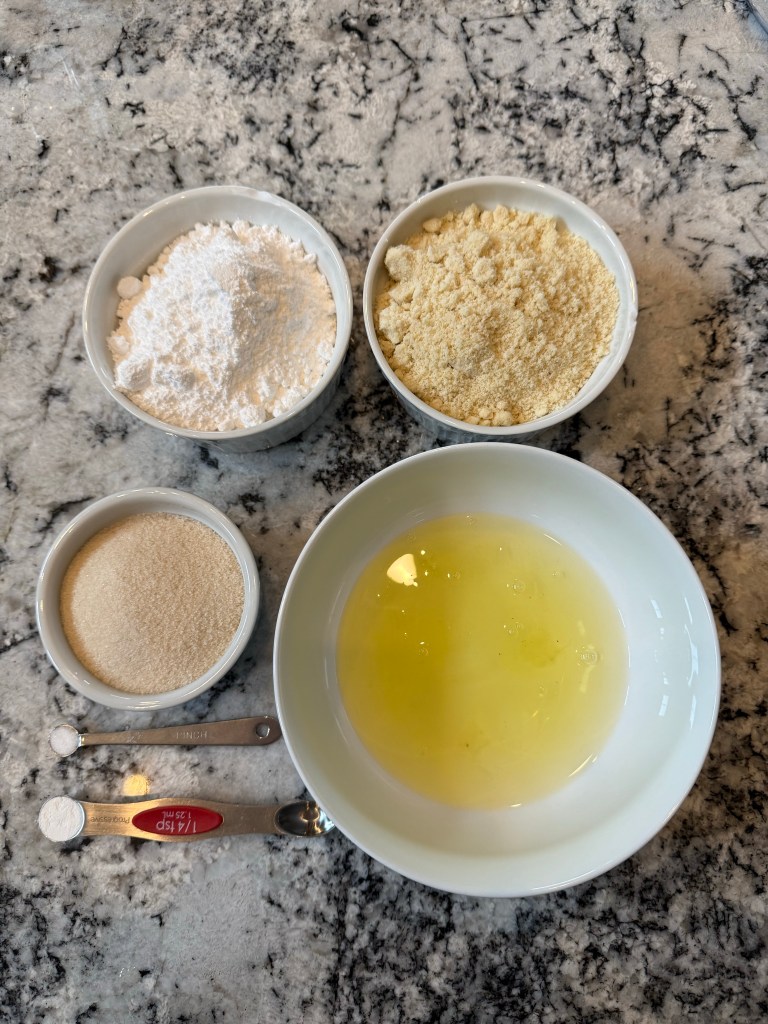
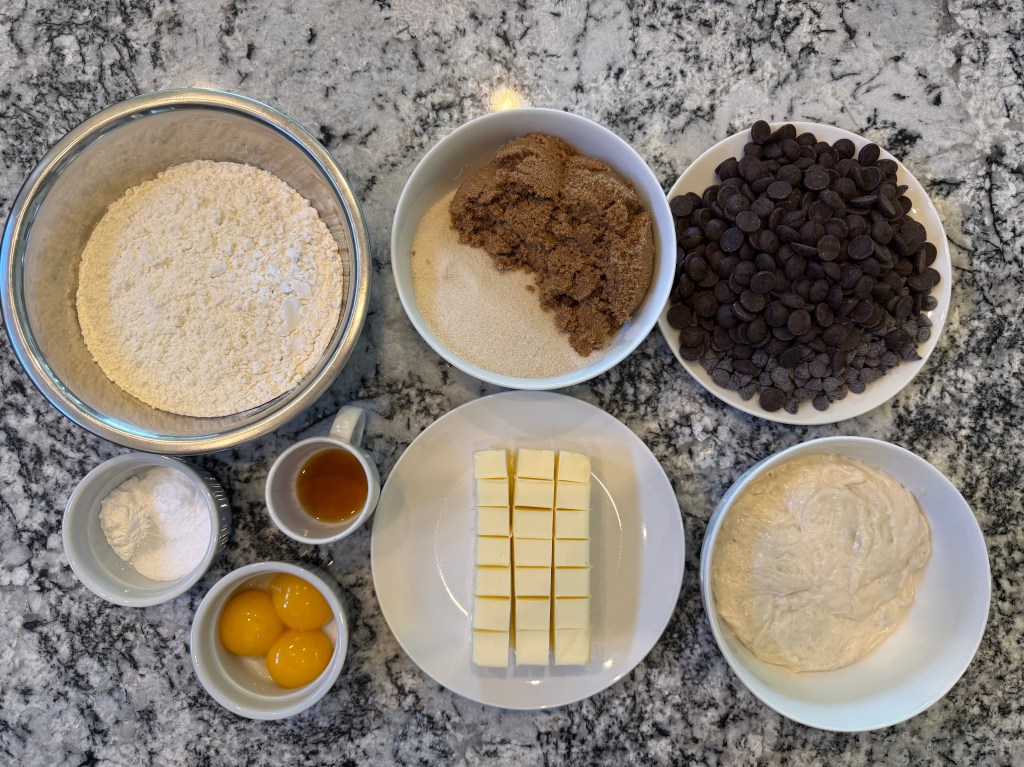
I gathered the mise en place:
Before I could start mixing up cookies I had to brown the butter to get all the water content out of it. This lost water will be made up with some of the water in the sourdough starter. The goal is to start with 225g of butter and end up with 185g.

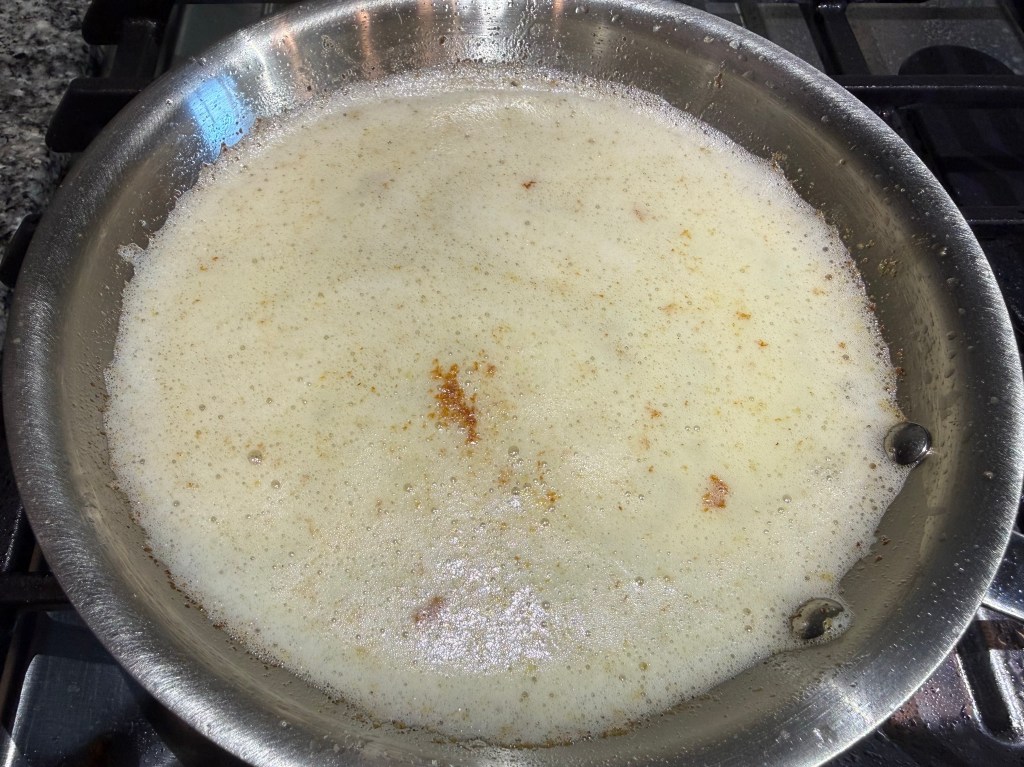
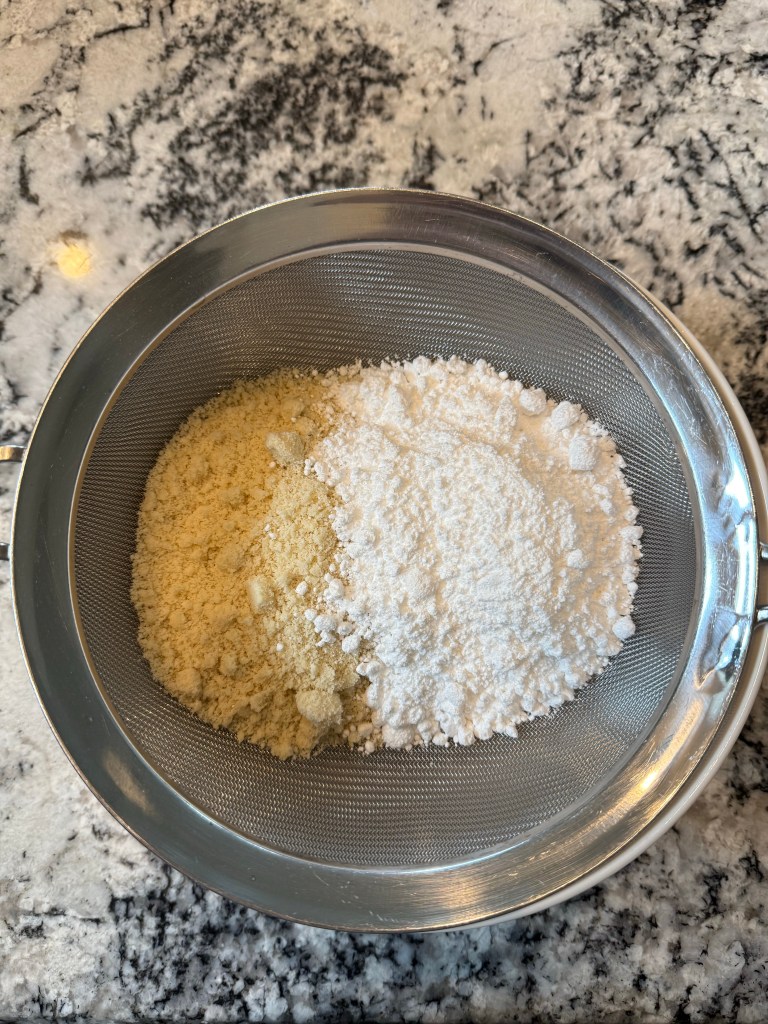
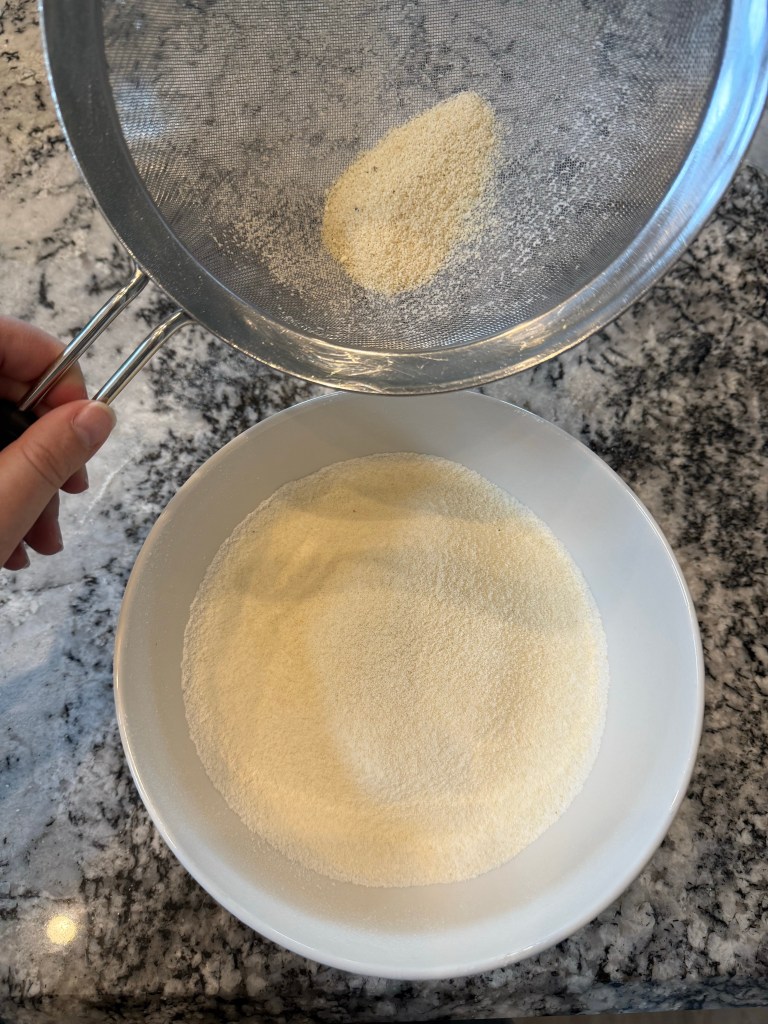
Once the butter was very foamy and the milk solids had browned I let it cool just enough that it would no longer burn me through the bowl. I weighed the browned butter and was tickled pink to see it weigh exactly 185g. I also combined the flour with the leaveners and salt at this stage.
Here’s my updated mise en place:

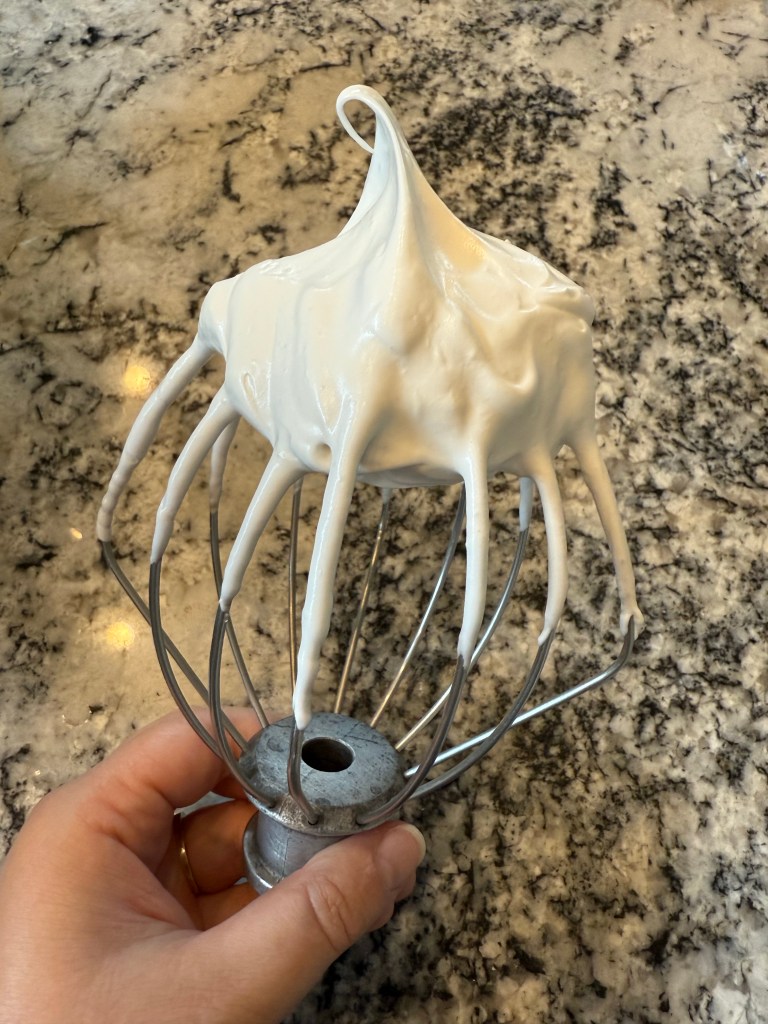
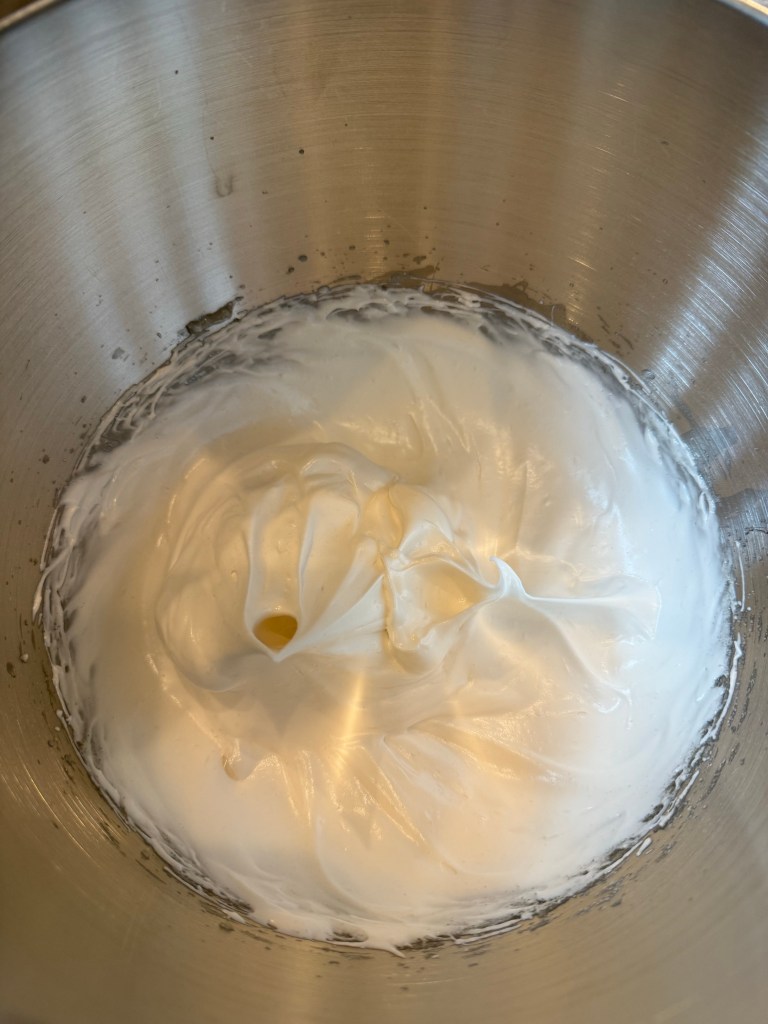
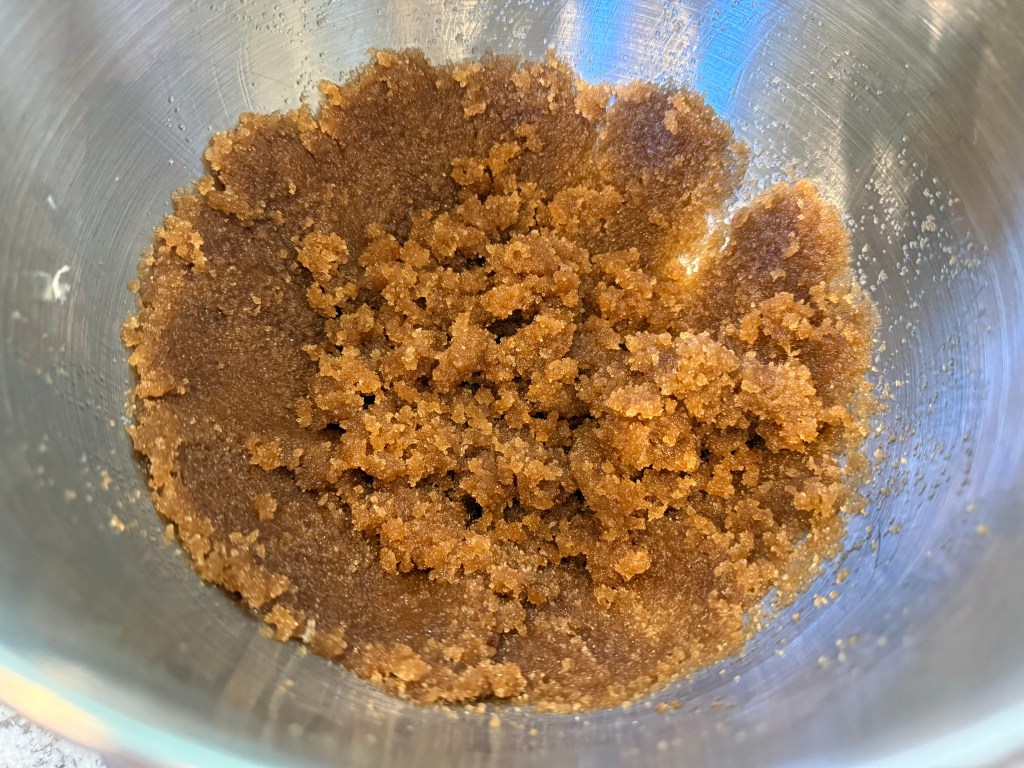
I mixed the butter and sugars.
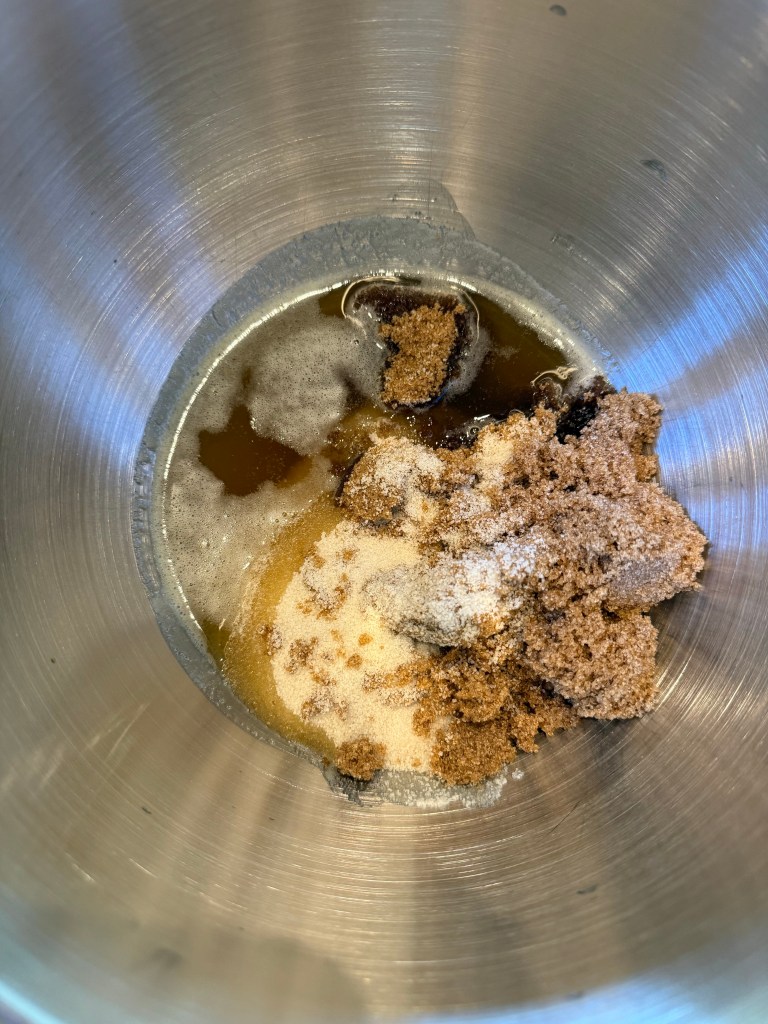
Then I added the egg yolks and creamed the mixture. Normally I would cream the butter and sugar before adding anything else, but since the butter no longer has any water content it won’t cream with the sugar properly. The egg yolks have just enough water content to get the sugar to cream up nicely.


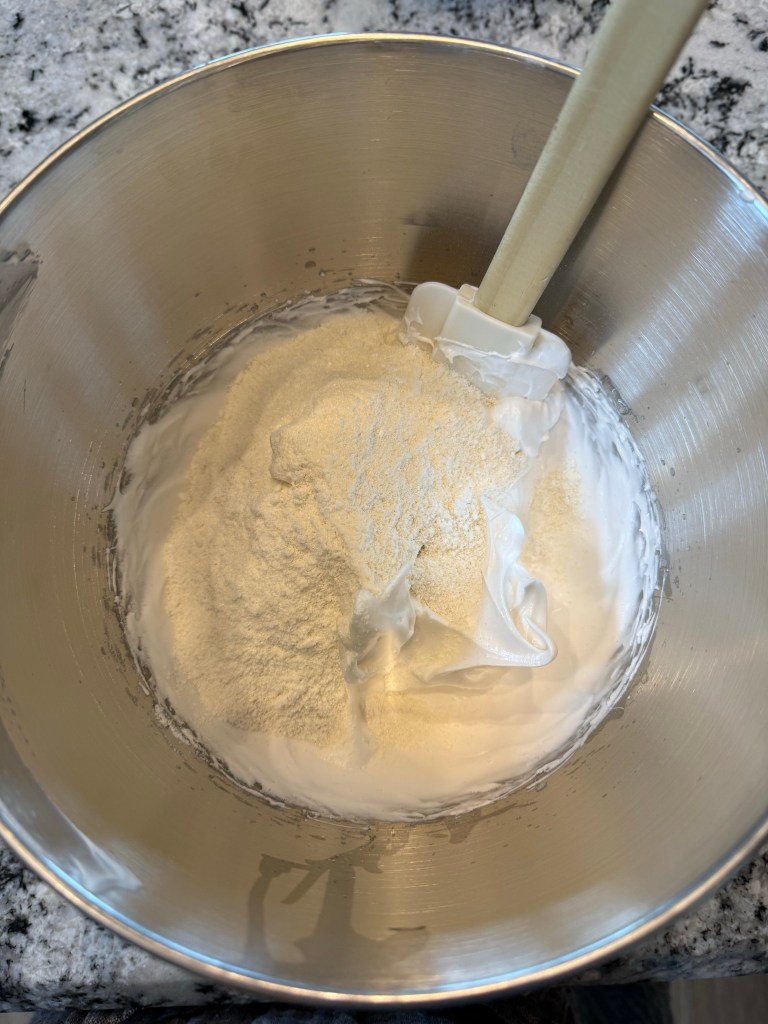
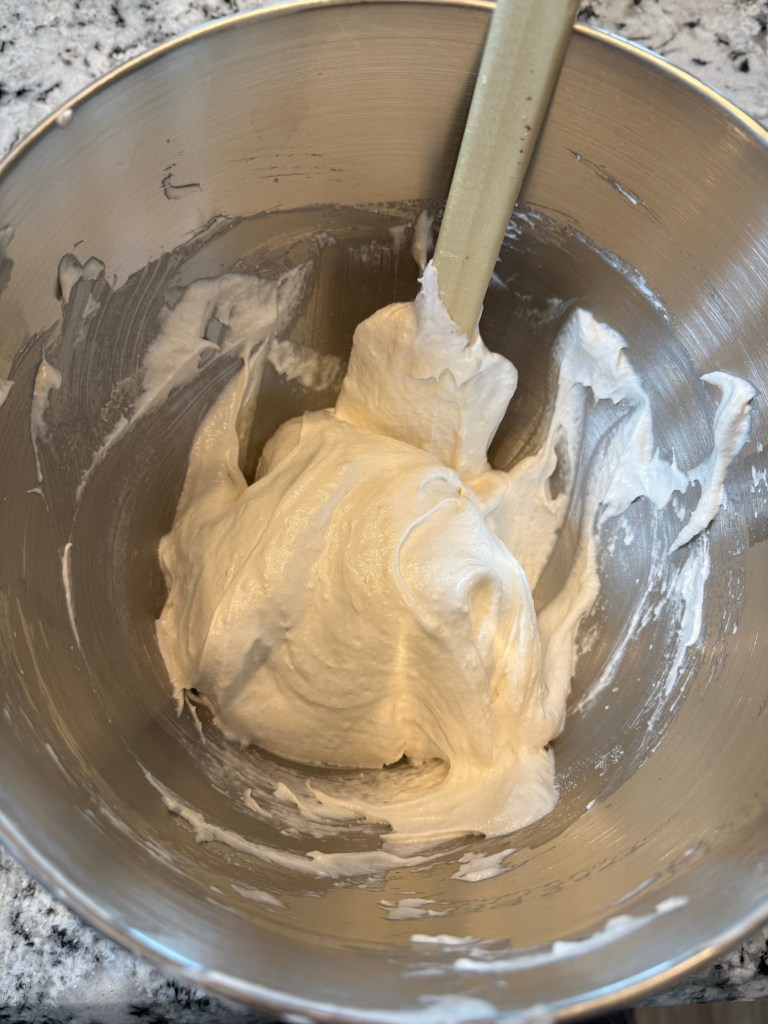
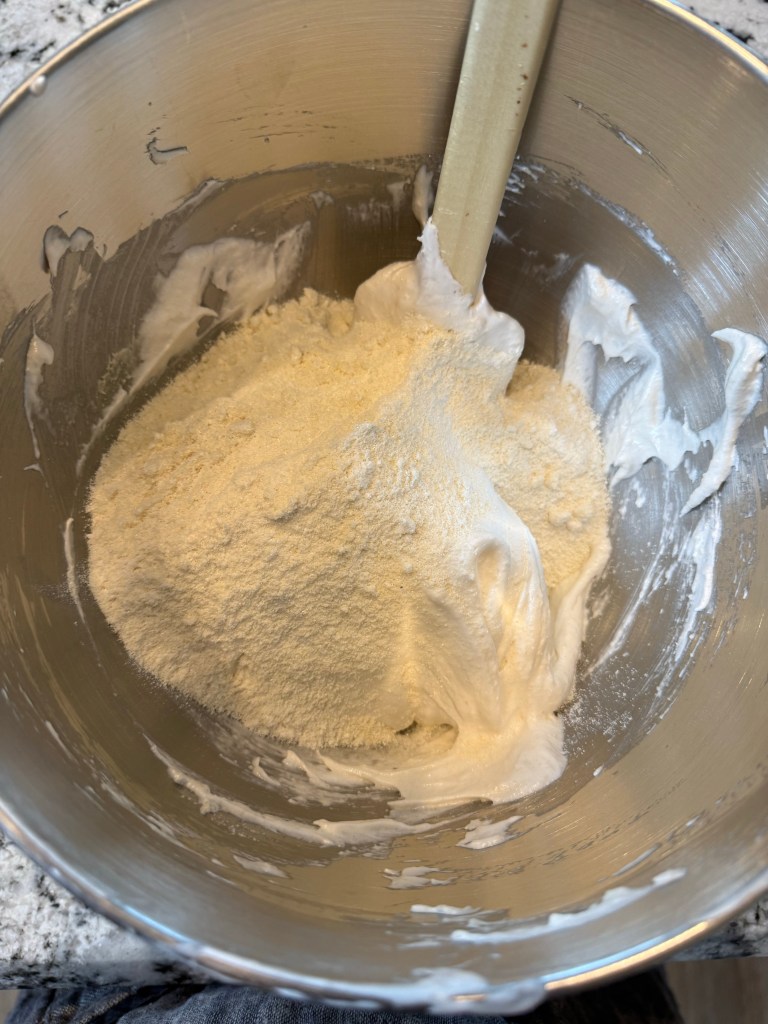
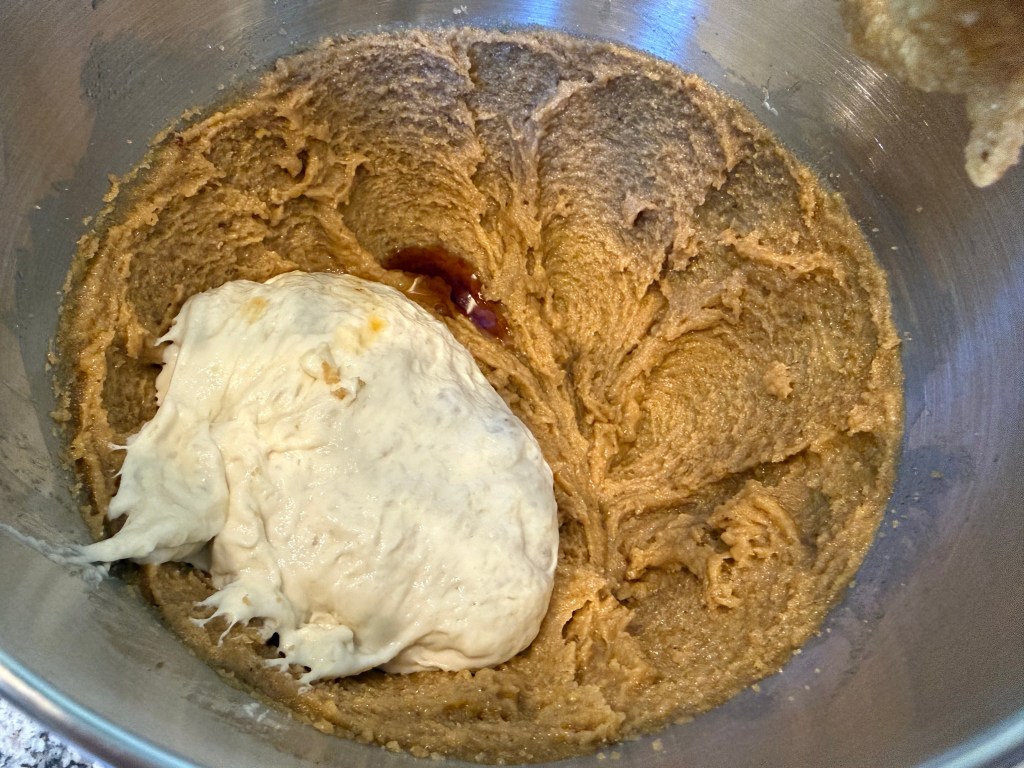
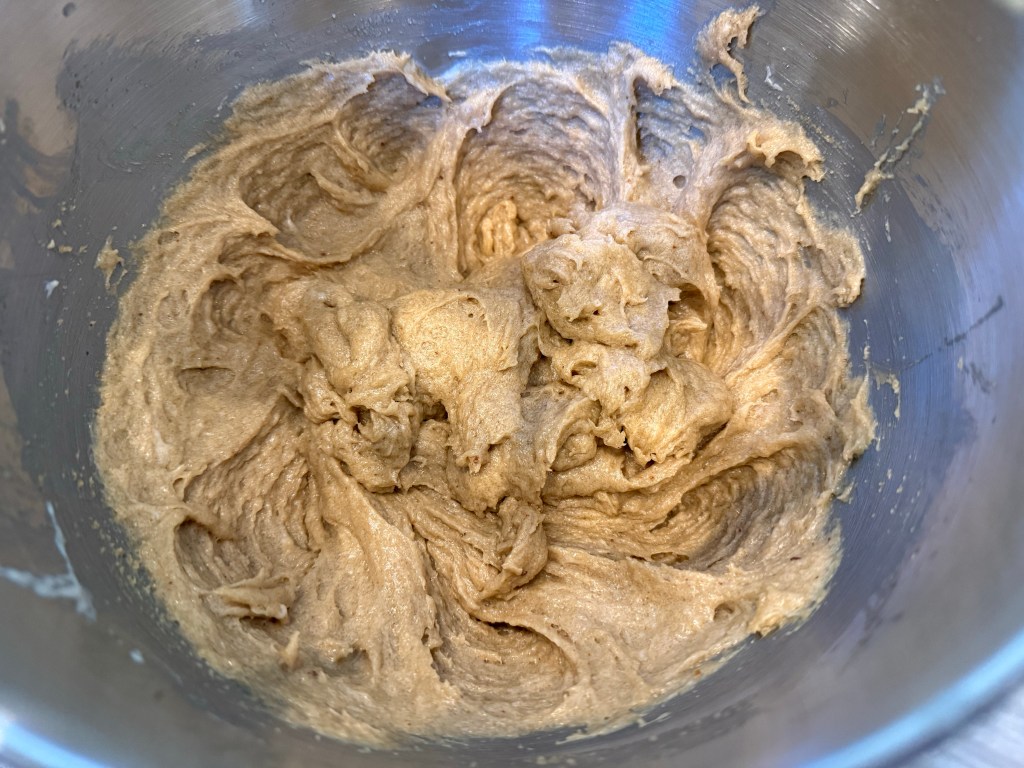
I added the starter and vanilla and mixed until homogeneous.
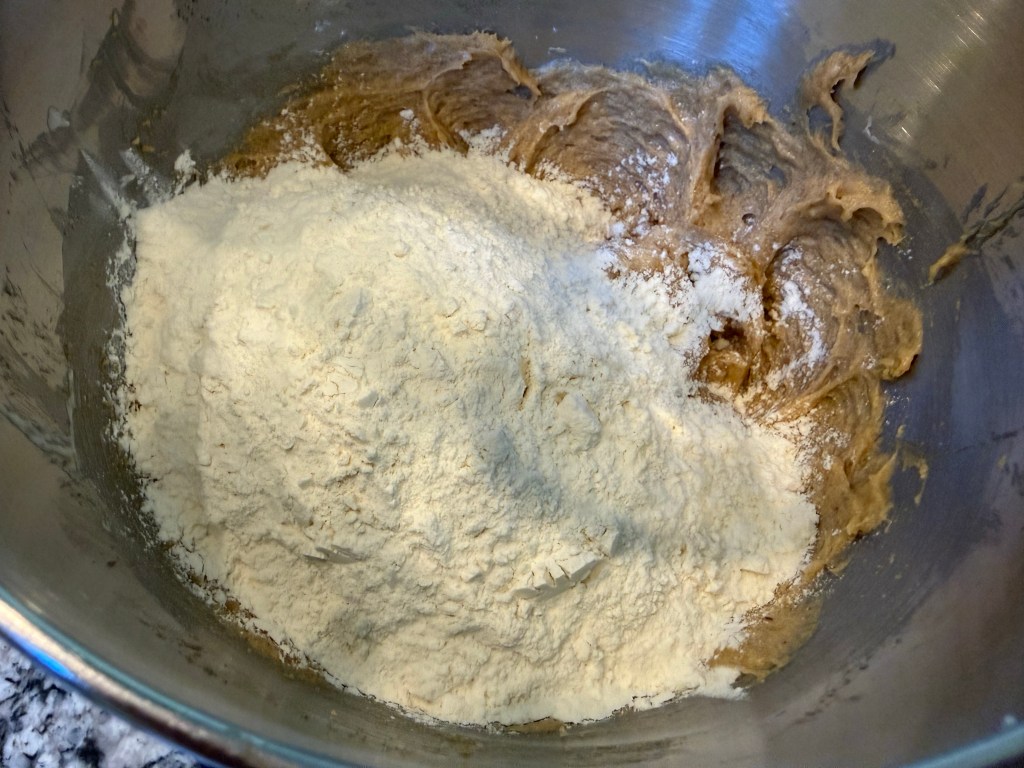
I added the flour and mixed until just combined.
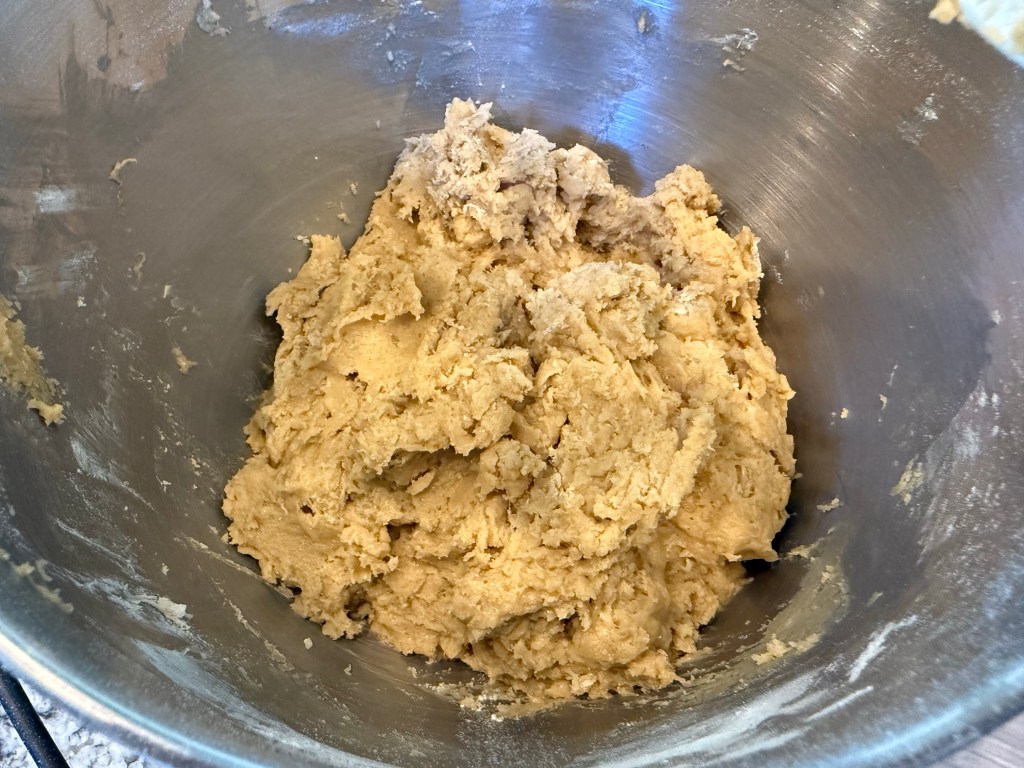
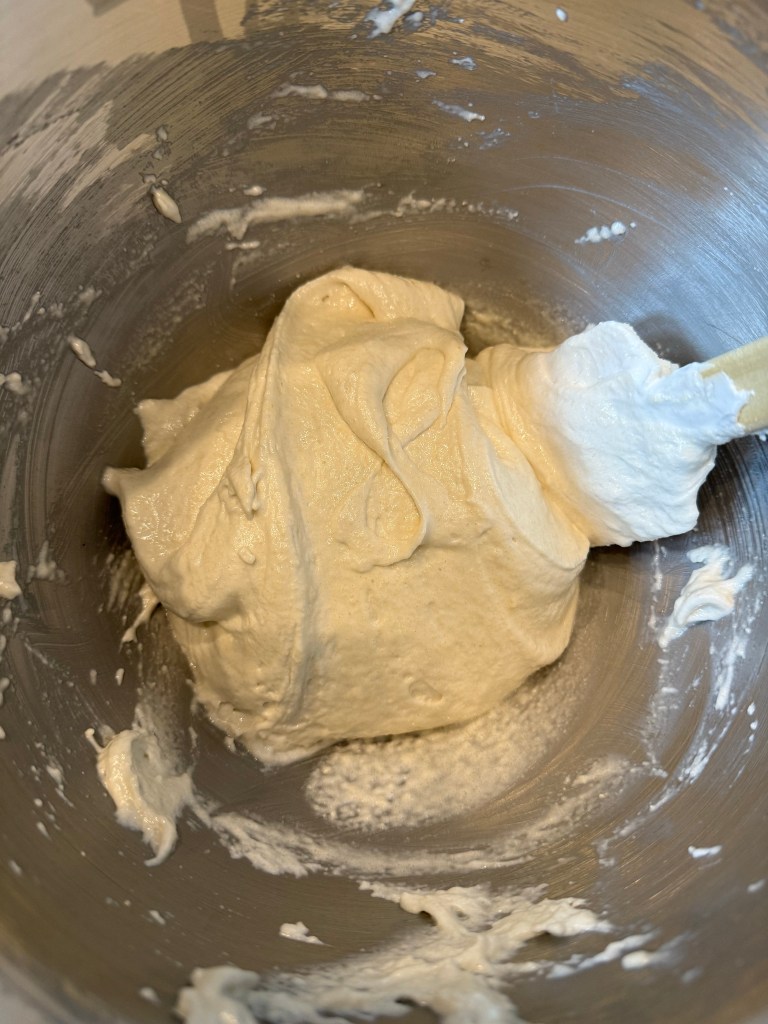
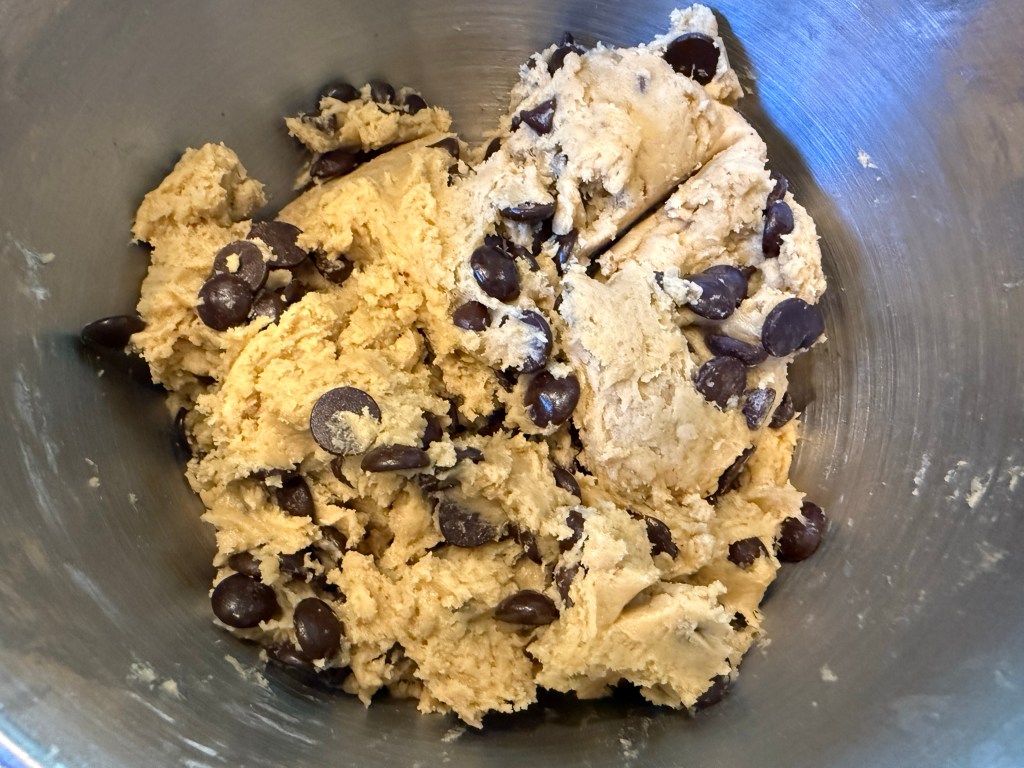
Finally, I added the chocolate chips and pulsed in my stand mixer for just a few seconds until the chocolate was well-incorporated. At this stage the dough was very soft and malleable and quite easy to mix.
I refrigerated the dough for 4 hours (apparently that is the minimum amount of time to chill a cookie dough incorporating melted butter for the cookie to still have good structure when baked).
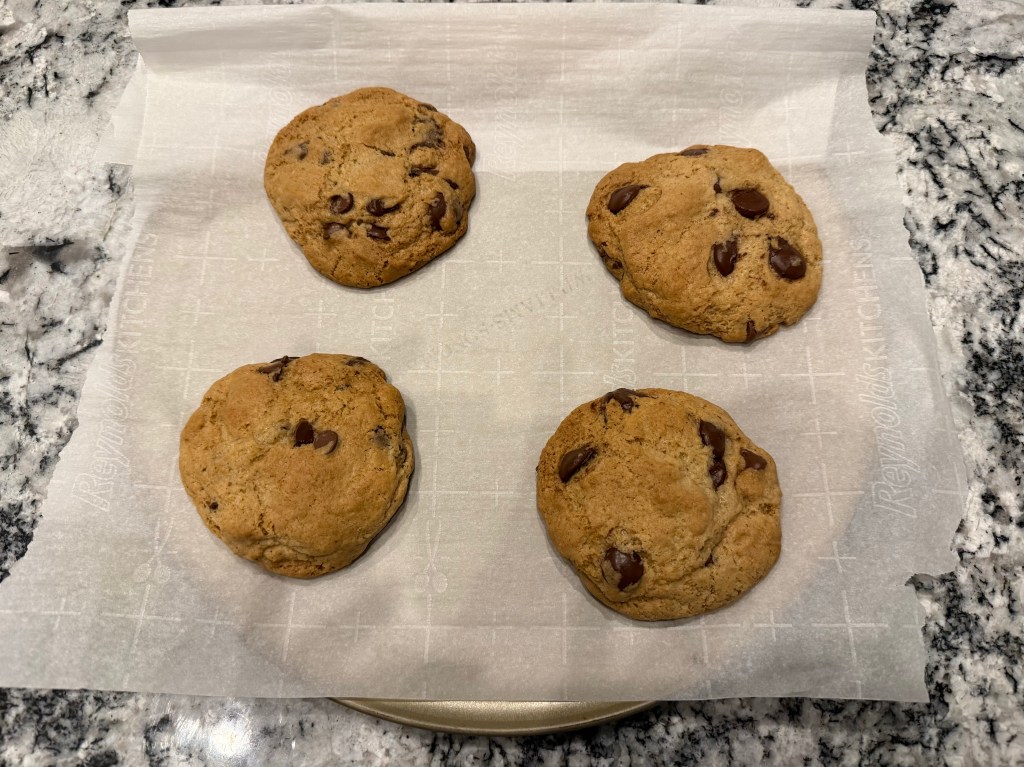
Once the dough was thoroughly chilled I measured the dough into 70g portions as directed and rolled each portion into a ball. I baked a few, and froze the rest.

So: the good: The cookies are soft and pillowy inside. They have good flavor, and my husband is very much enjoying being able to pull cookie dough out of the freezer and bake a fresh cookie on demand. This recipe makes A LOT of cookies.

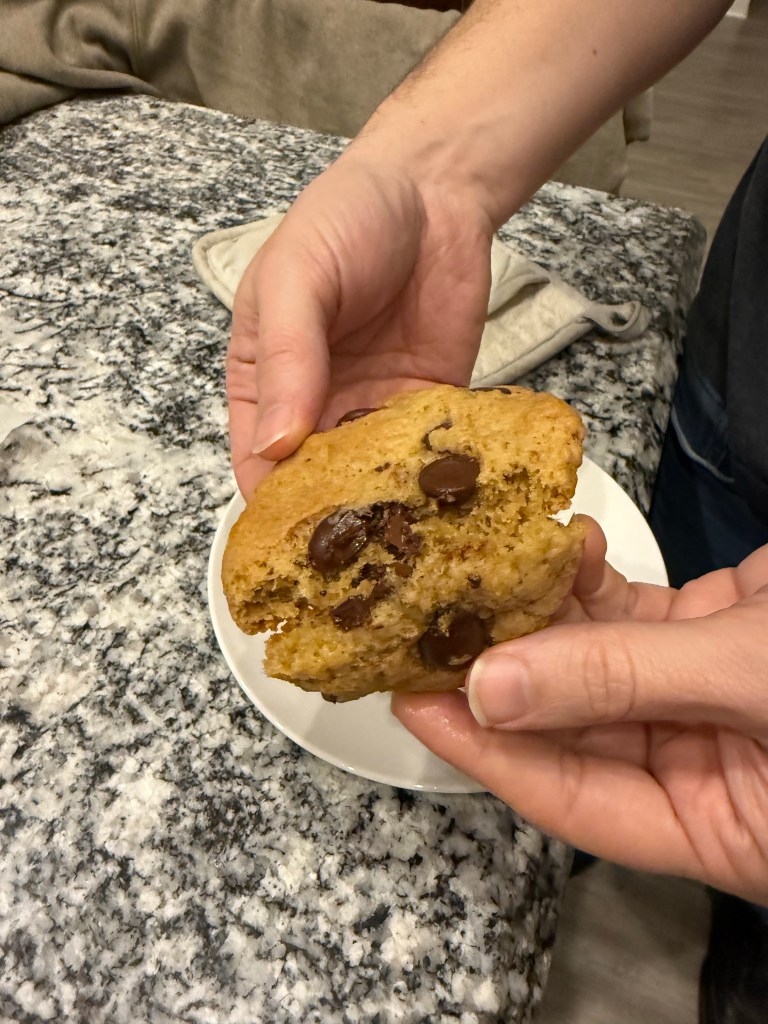
The not so good: The cookies are are just a touch cakey, which is not my preferred cookie texture. This is likely in part because of the natural yeasts in the sourdough starter. Because the cookies go onto the baking tray cold they also don’t spread as wide or as thin as cookies that are baked straight from the mixing bowl.
The cookies don’t have enough salt to my taste, but a sprinkling of flakey salt on top solved that problem and made me feel fancy.
They also seem a bit too sweet to me. If I made these again I would use 3/4 of the sugar in the recipe. Sugar helps cookies form their structure, so this does make me worry that the texture of the cookies could be impacted by a smaller amount of sugar.
These are big cookies, but not absolutely ginormous. If I made these again I would measure out 50g portions instead of 70g.

I had such high hopes for these cookies, but after making them I feel pretty ‘Meh’ about the final product. It felt like a lot of effort to make these for a pretty average tasting cookie. I probably will not make these again (our current favourite chocolate chip cookie recipe is this one).
BUT! I learned so much from reading about the process of creating the recipe and making these cookies, and that is a huge win in my book!
Until the next time: may your yeast always rise and your flour never run out.