Easy Pita Bread with Spelt Flour

I’ve made pita before, but until now I had never worked with spelt. This ancient grain brings a delicious, nutty flavor to the party. I’m glad I tried it.

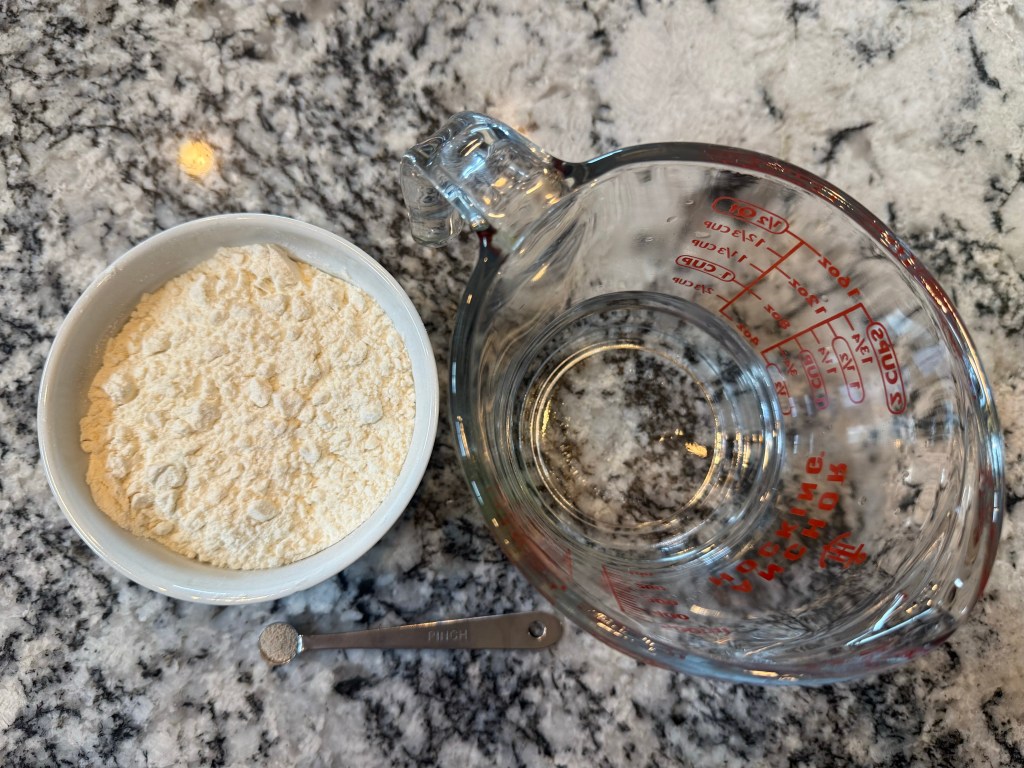
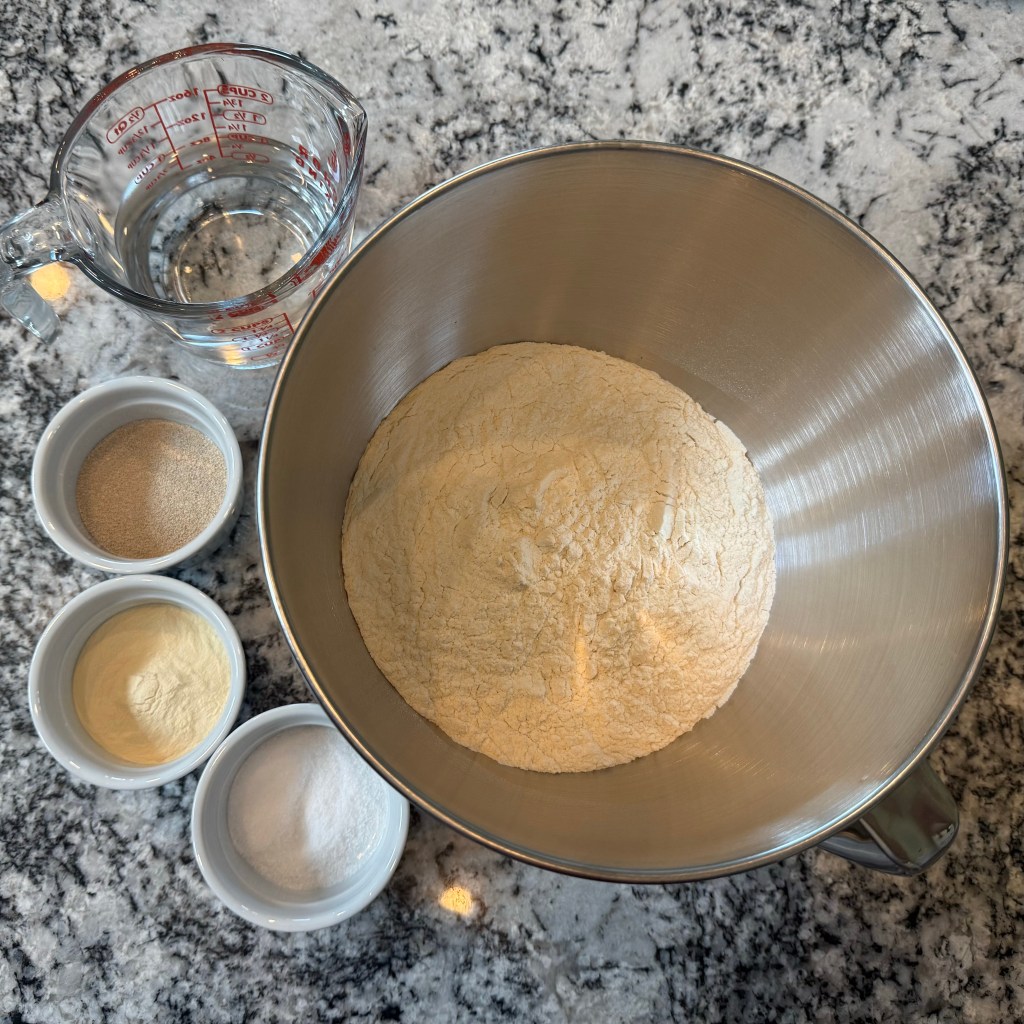
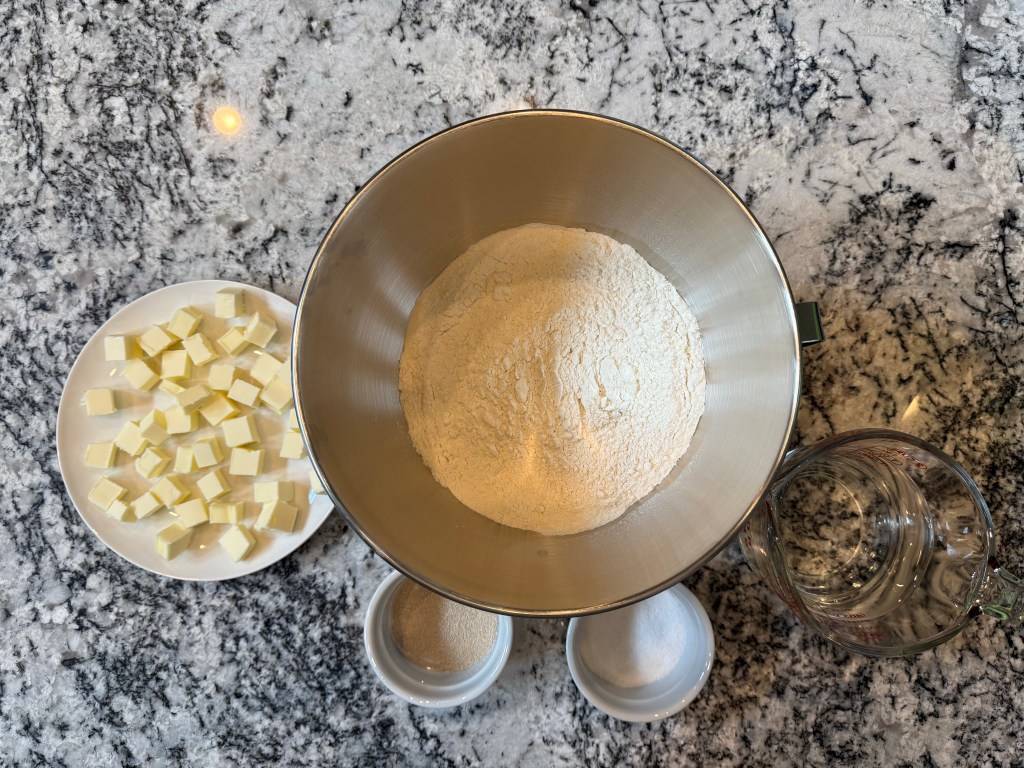
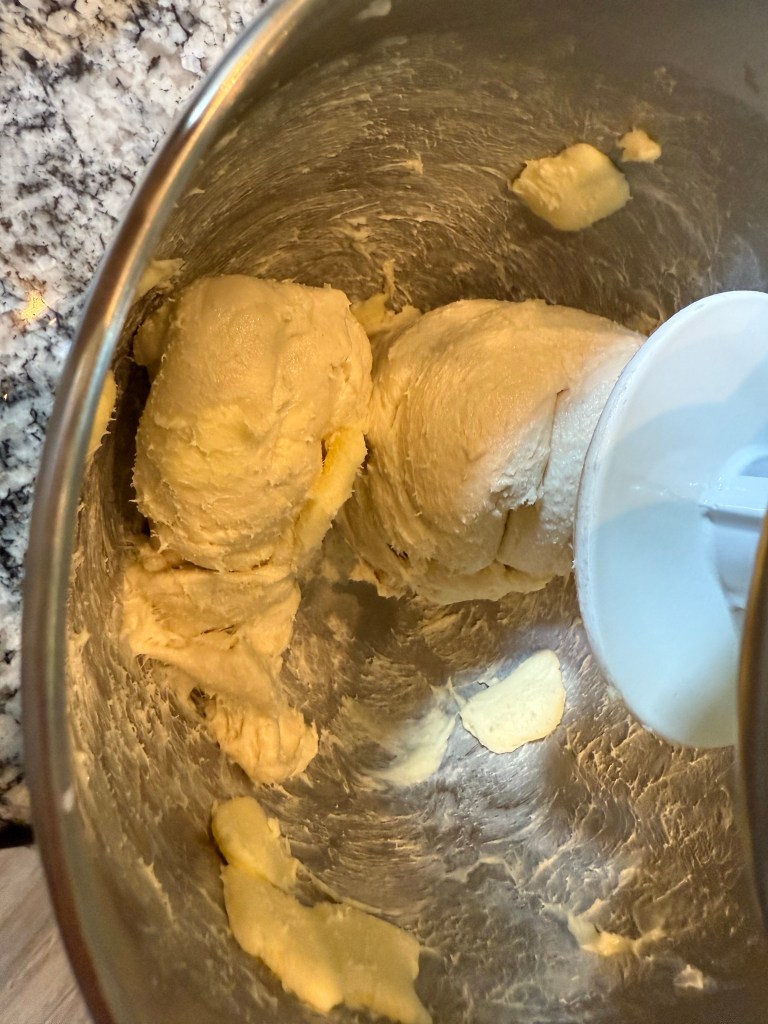
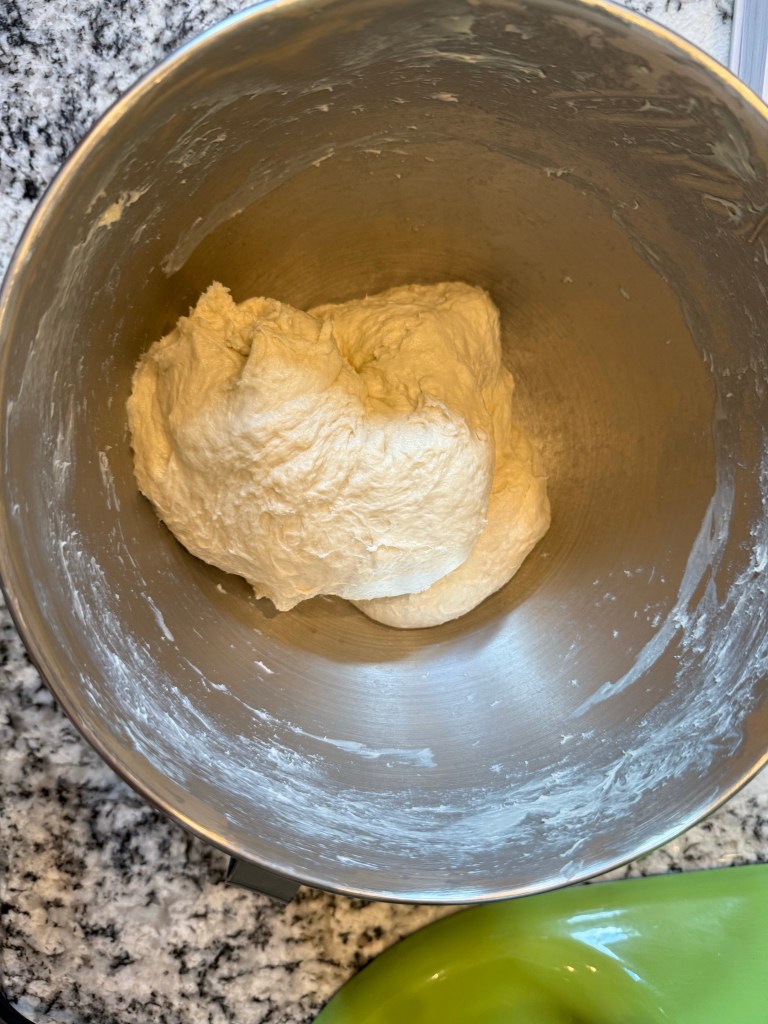
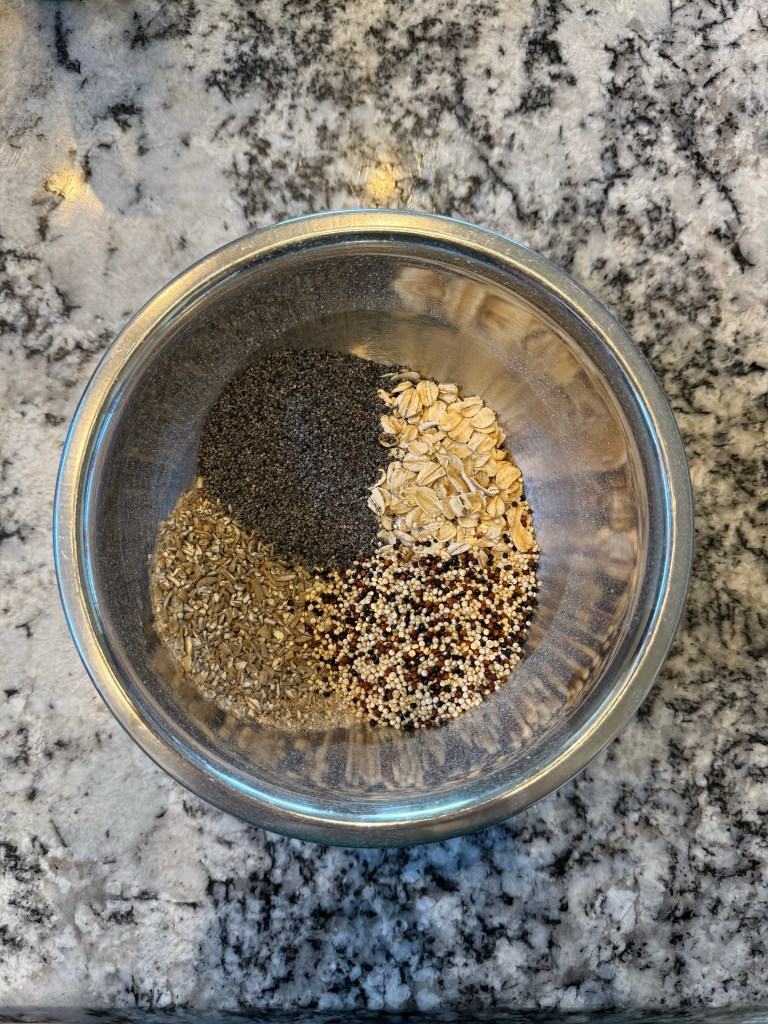
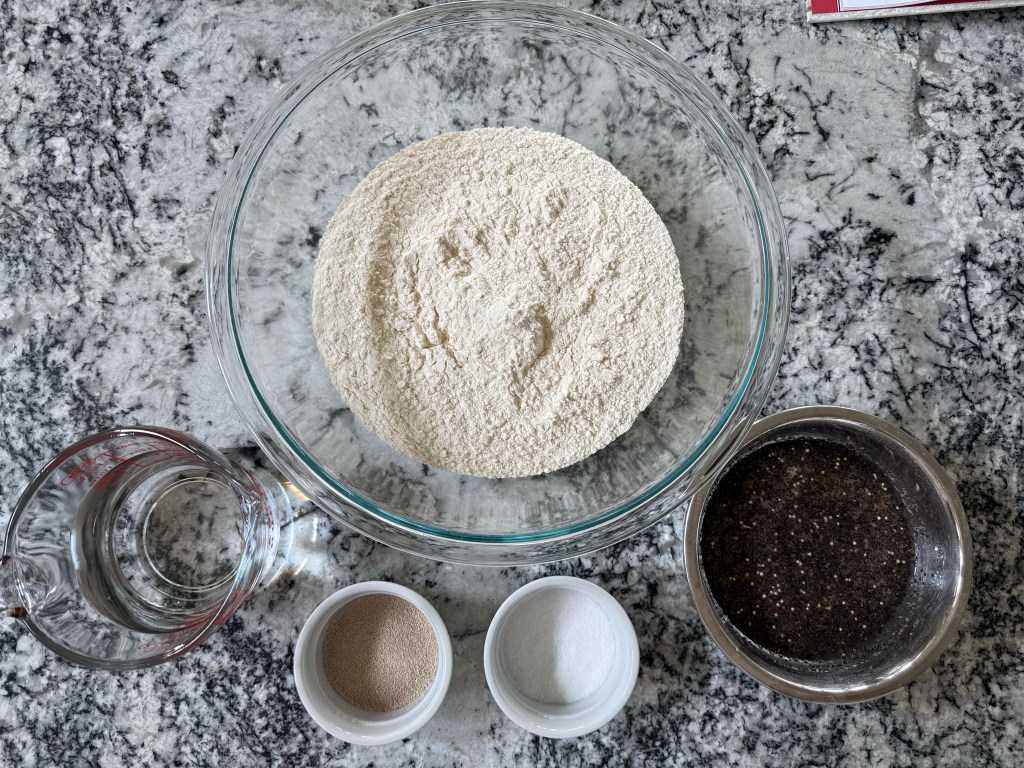
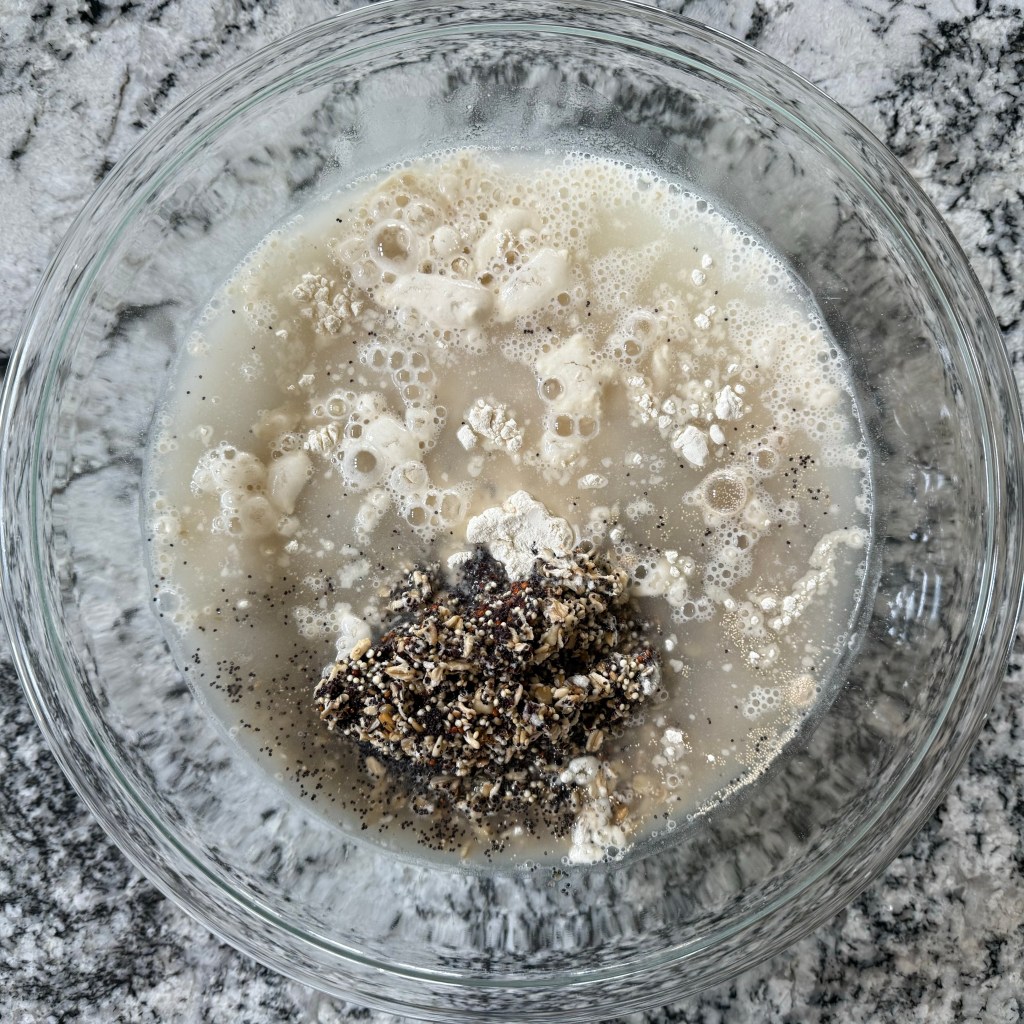
For the preferment I combined the spelt flour, water, and yeast.

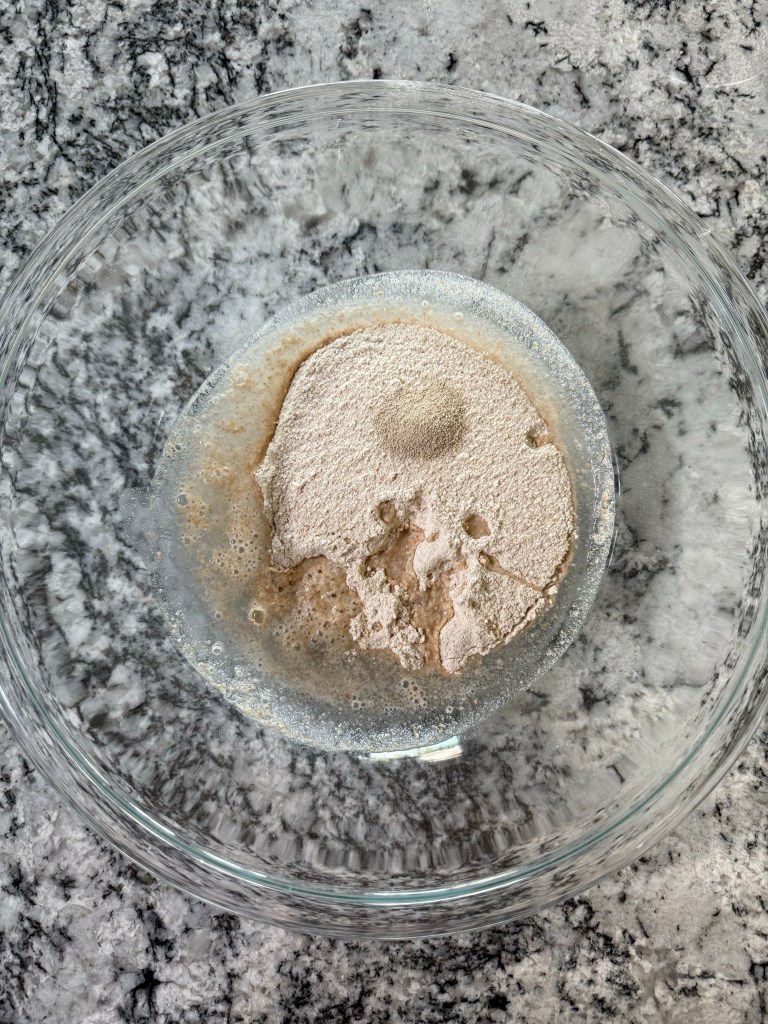
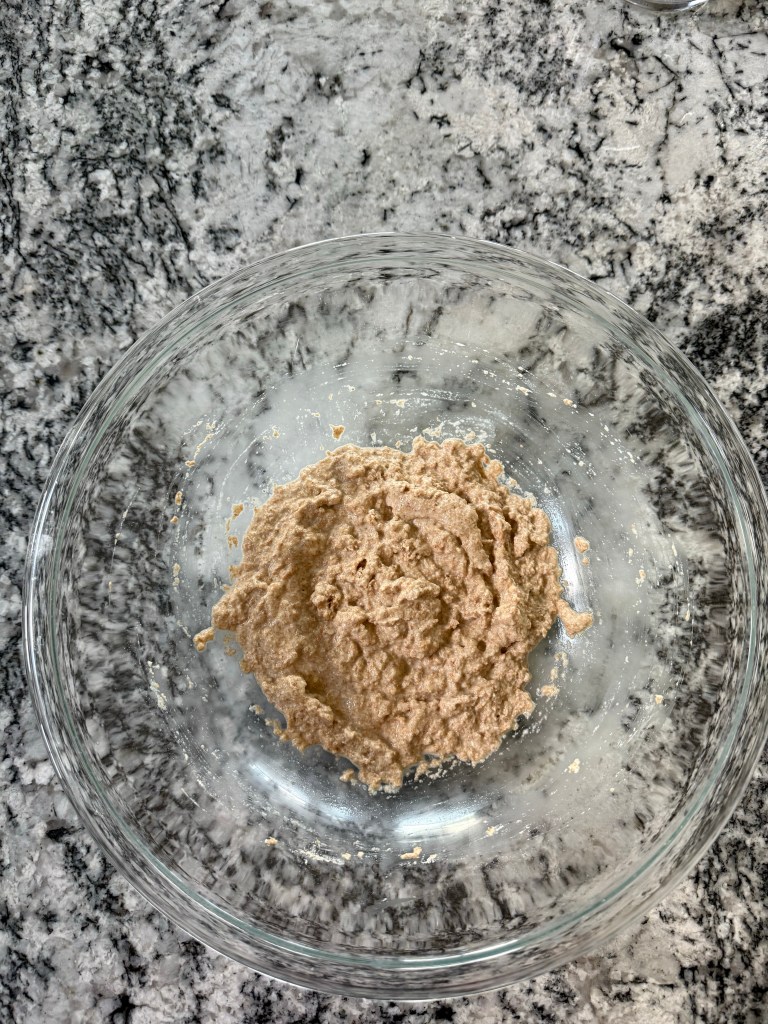
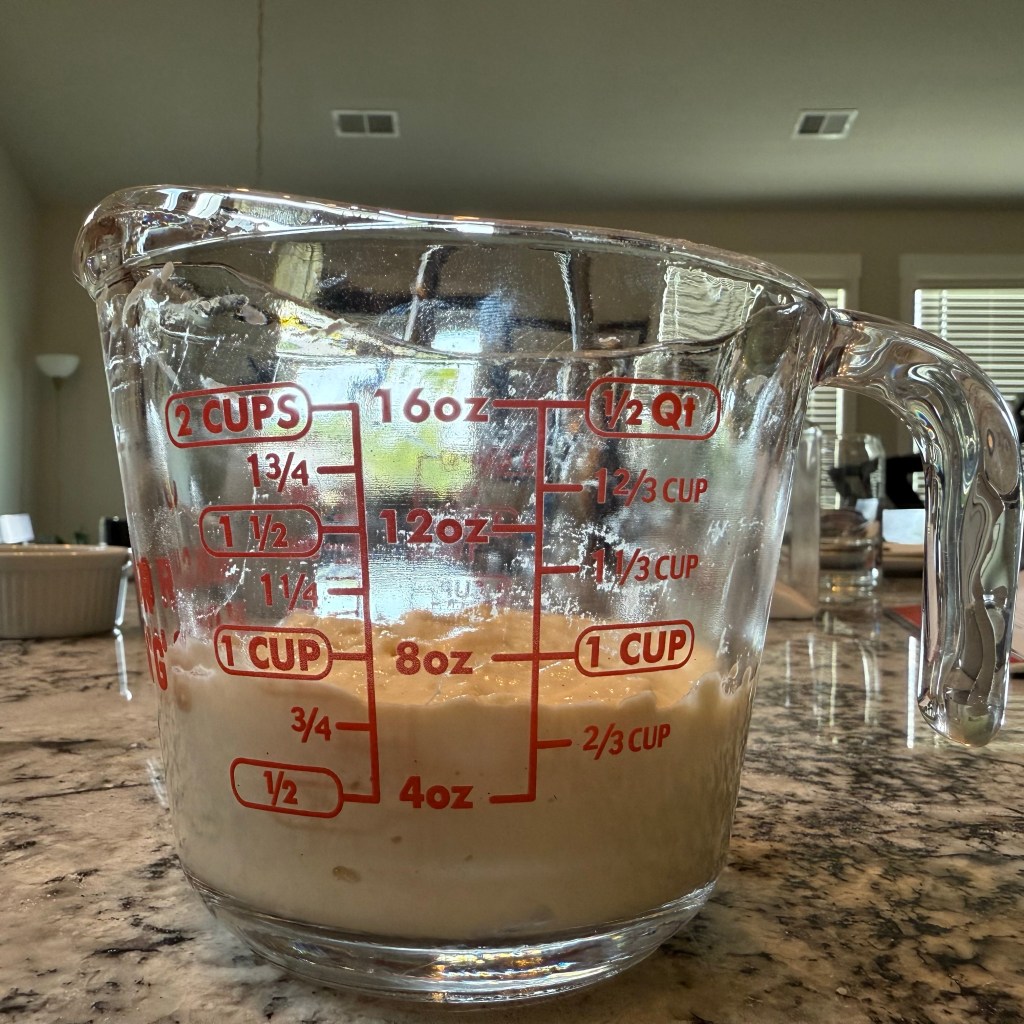
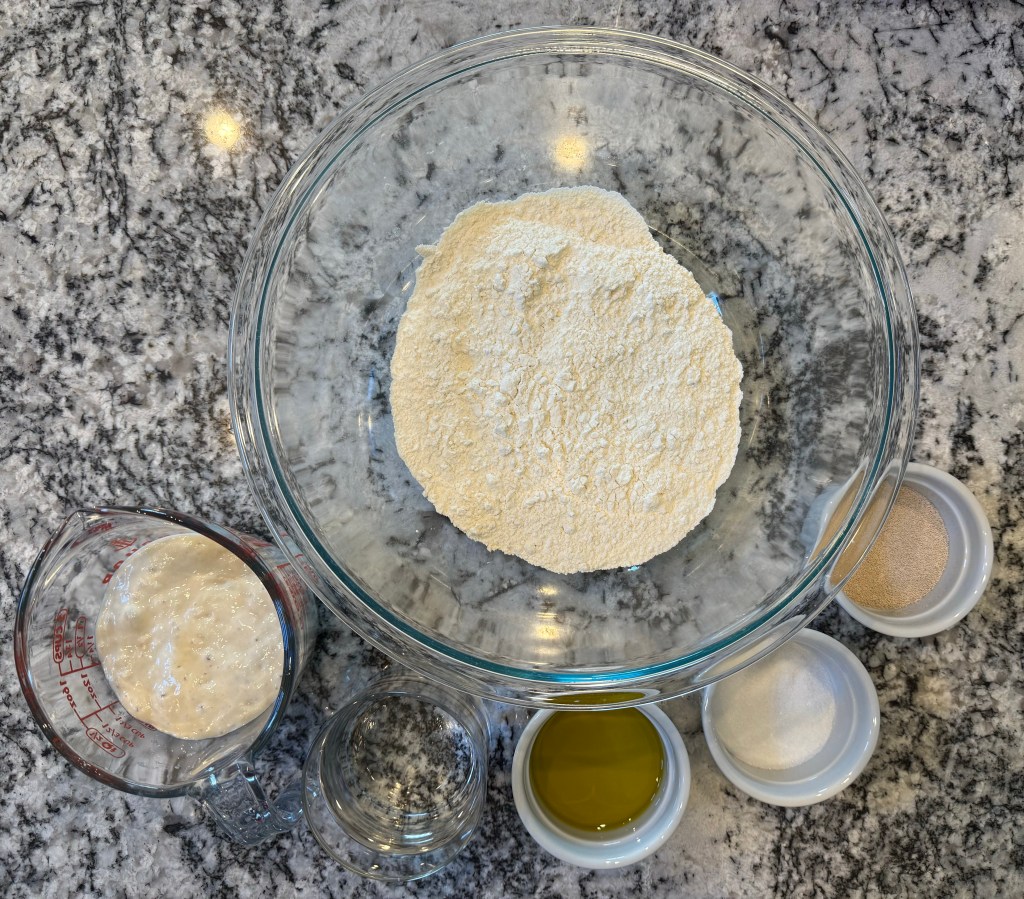
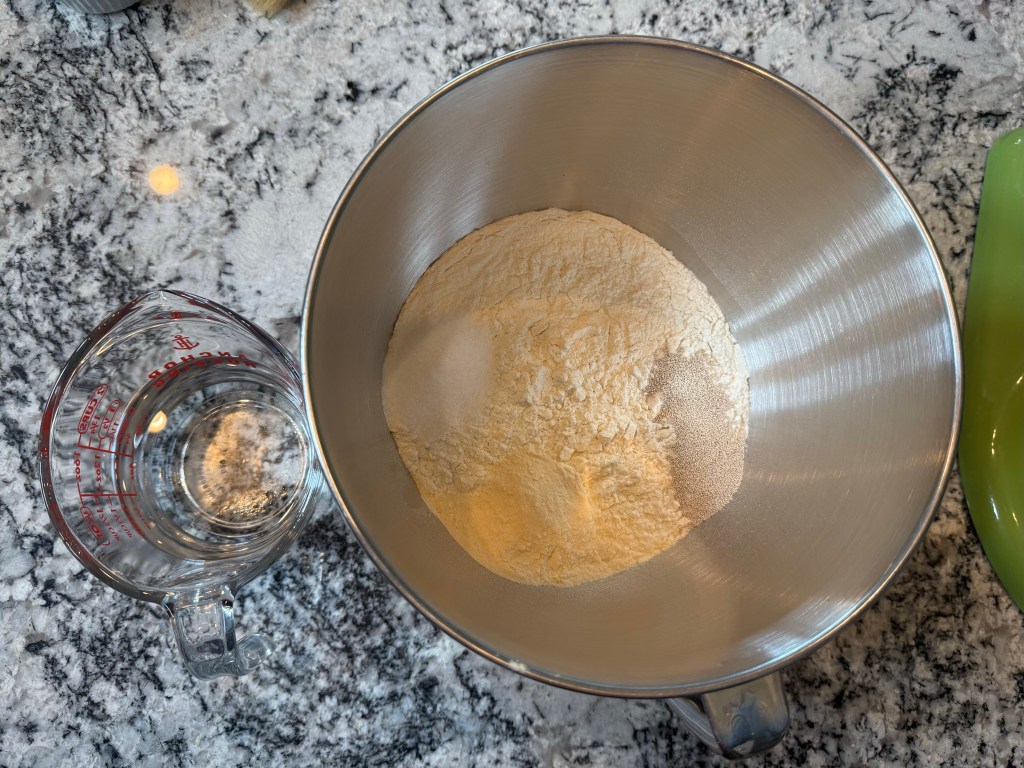
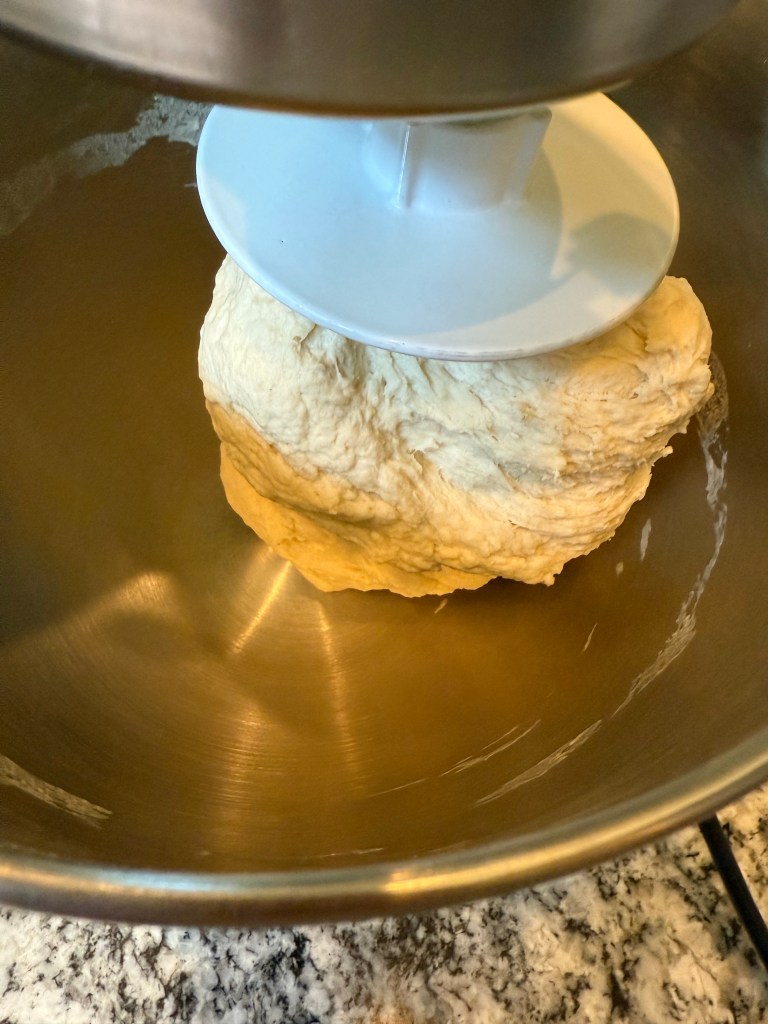
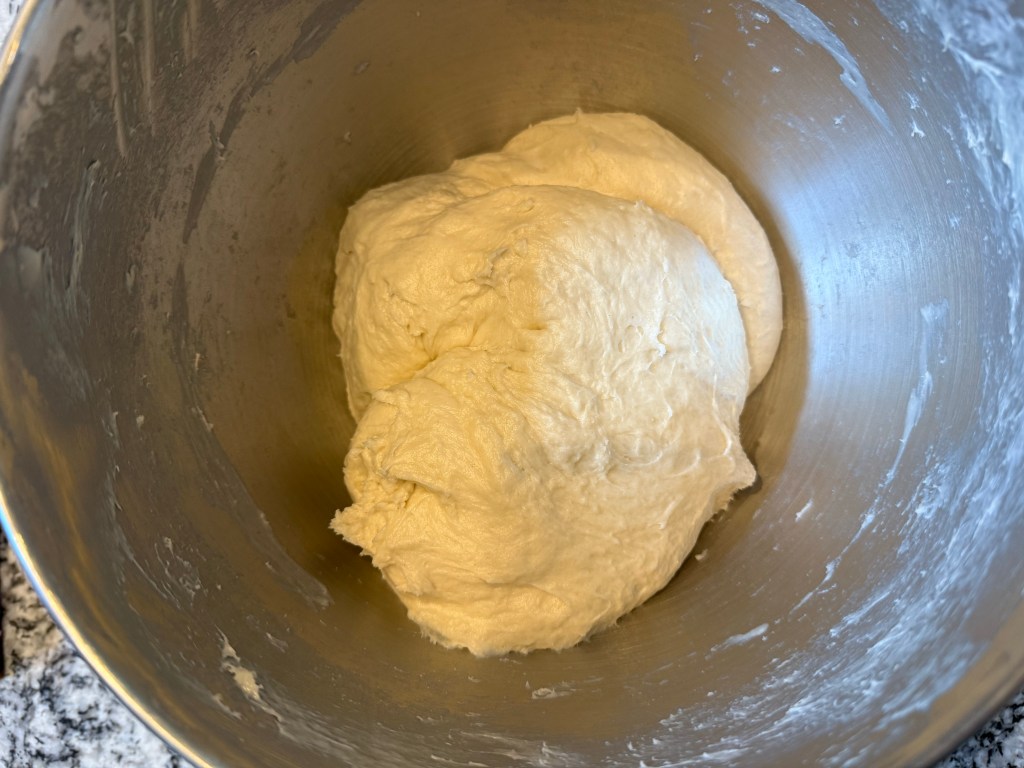
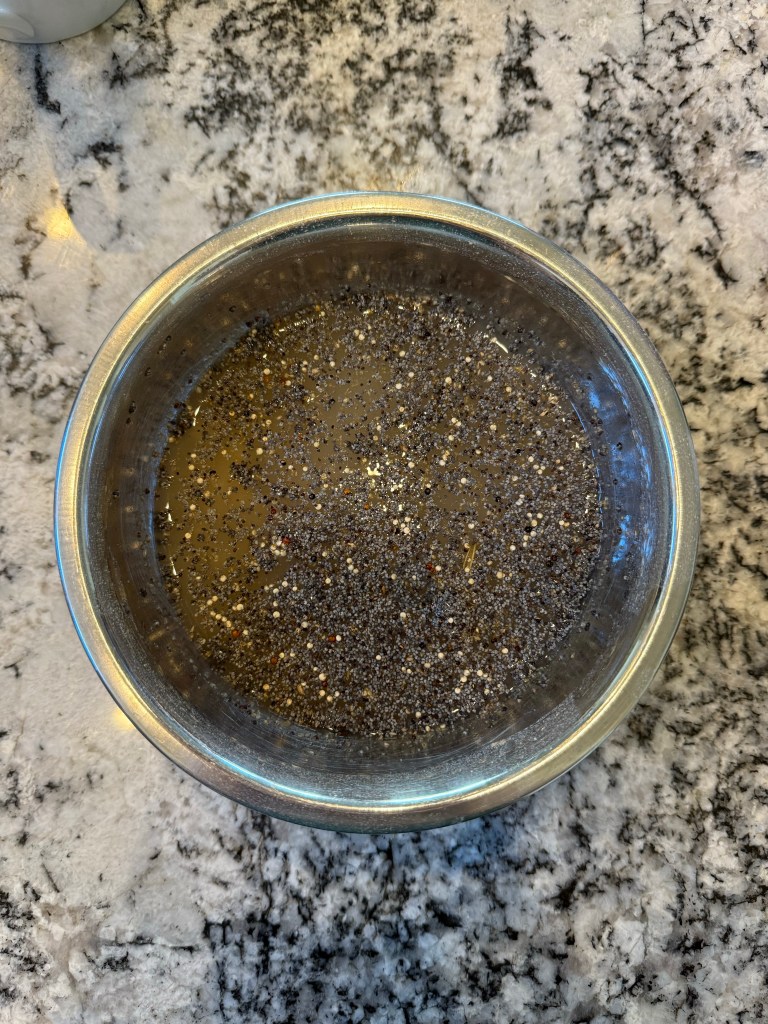
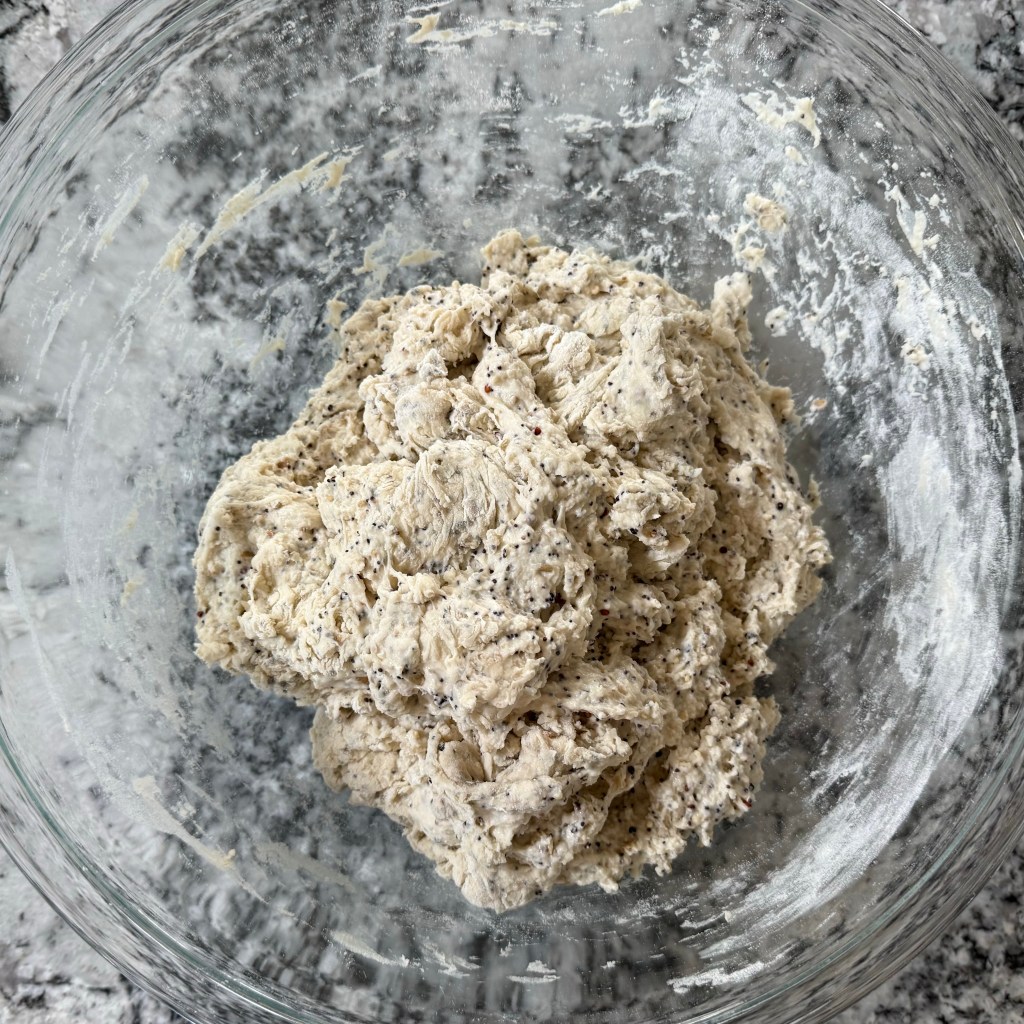
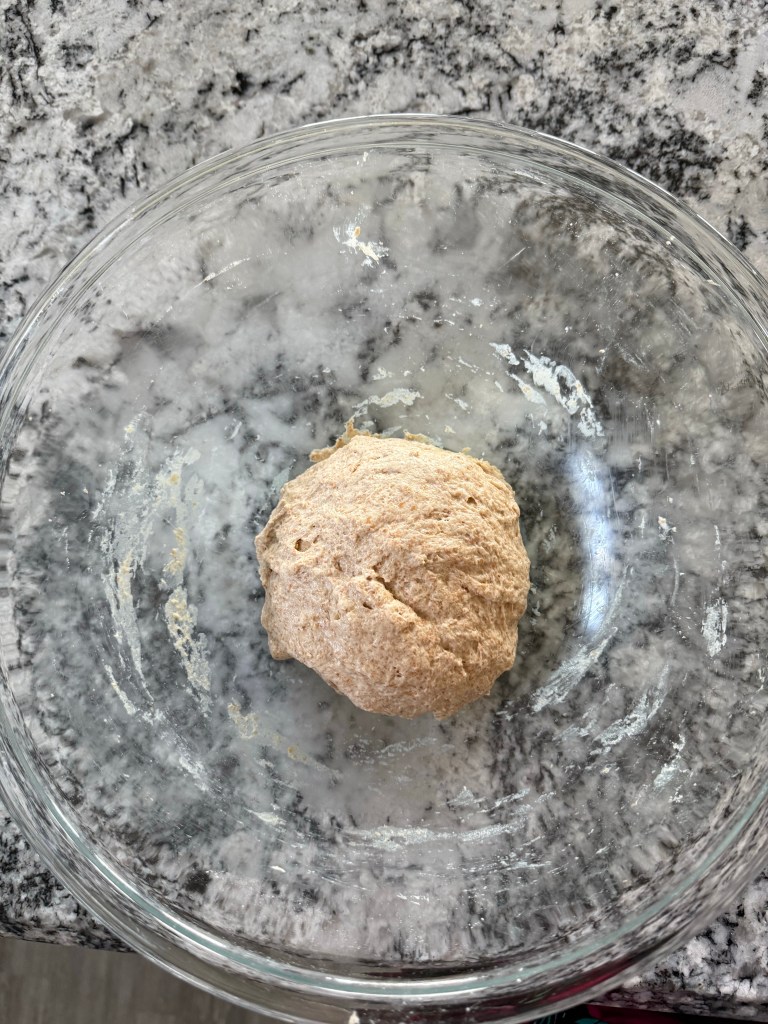
This was a very short preferment, so I mixed in the remaining ingredients after just 15 minutes.

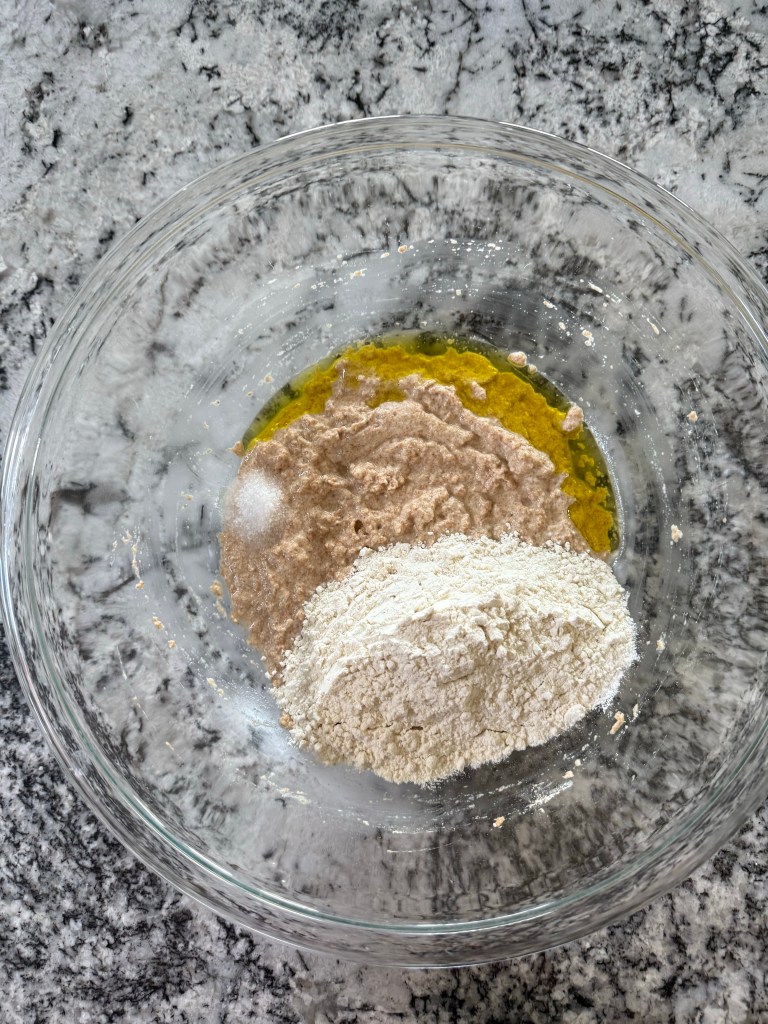
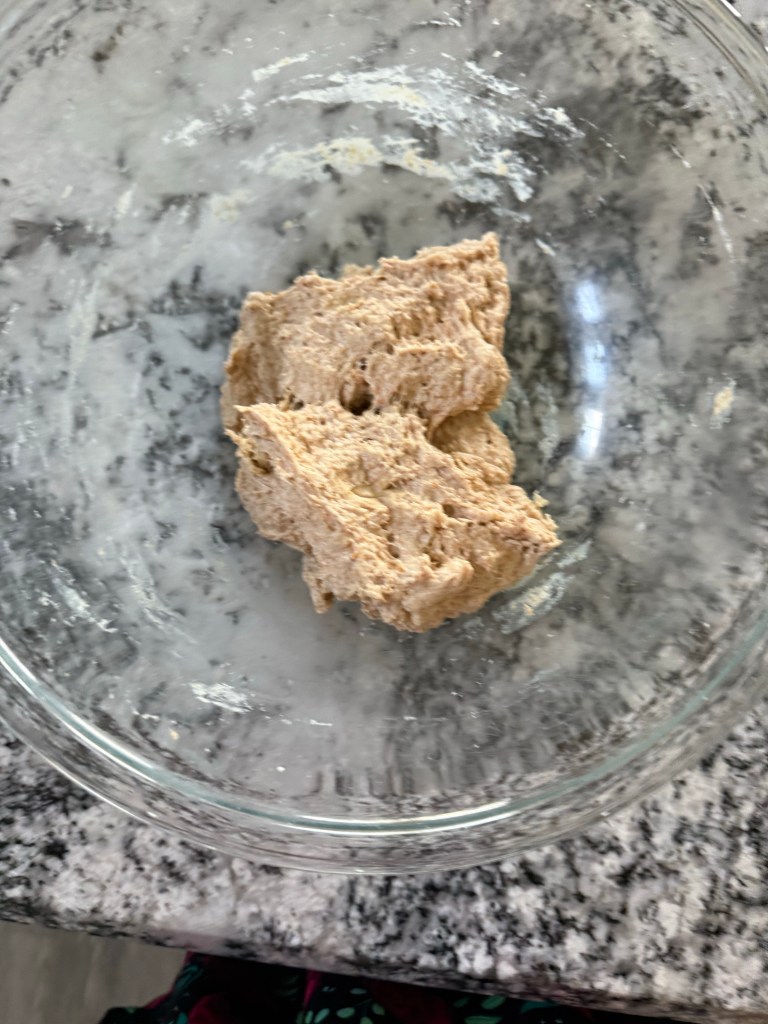
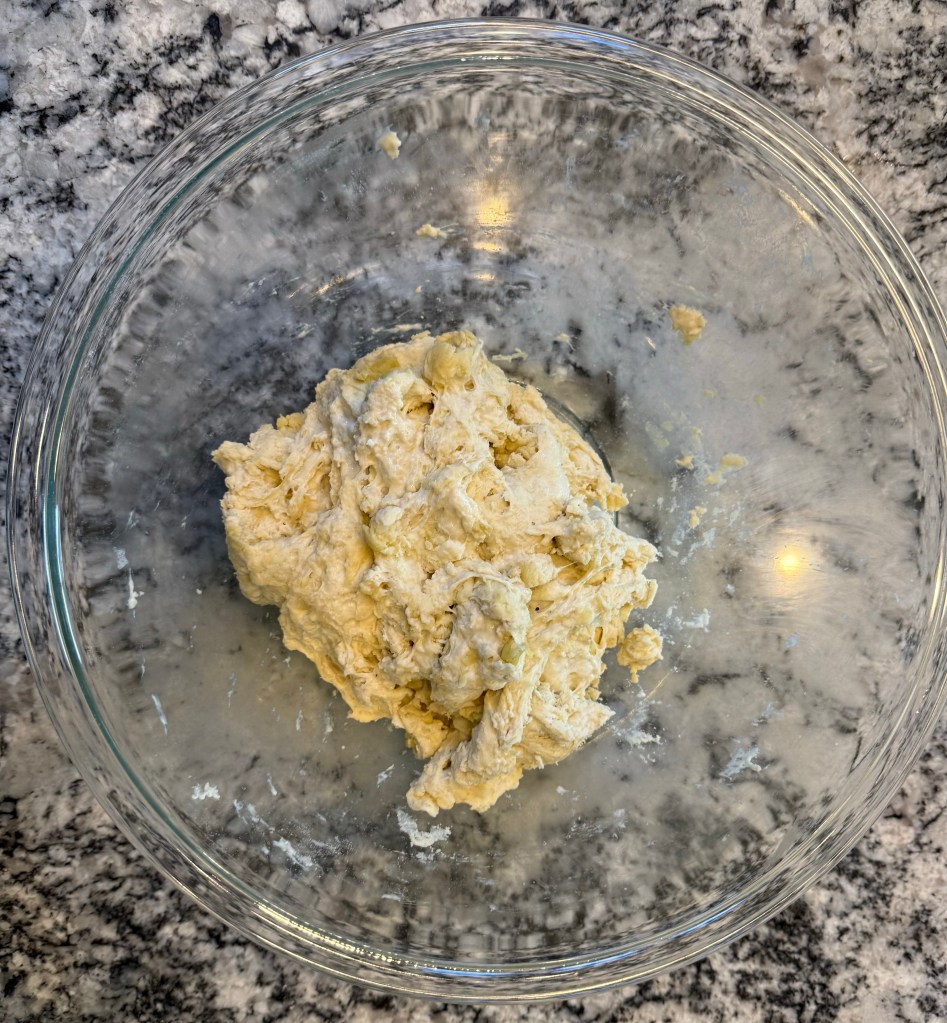
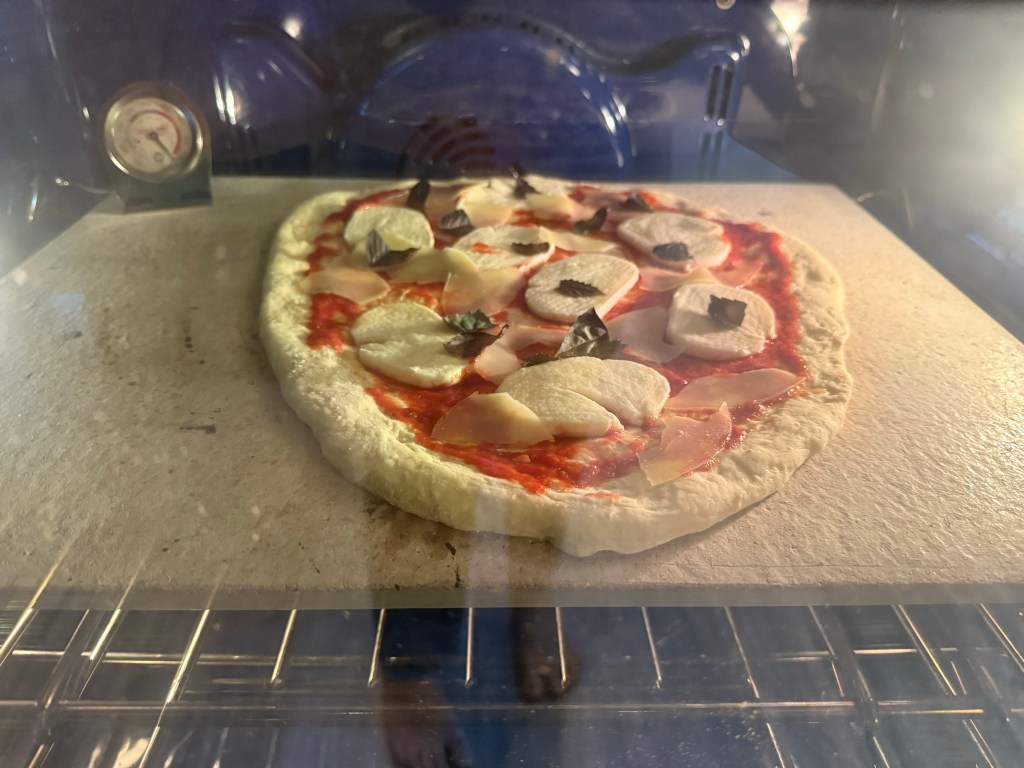
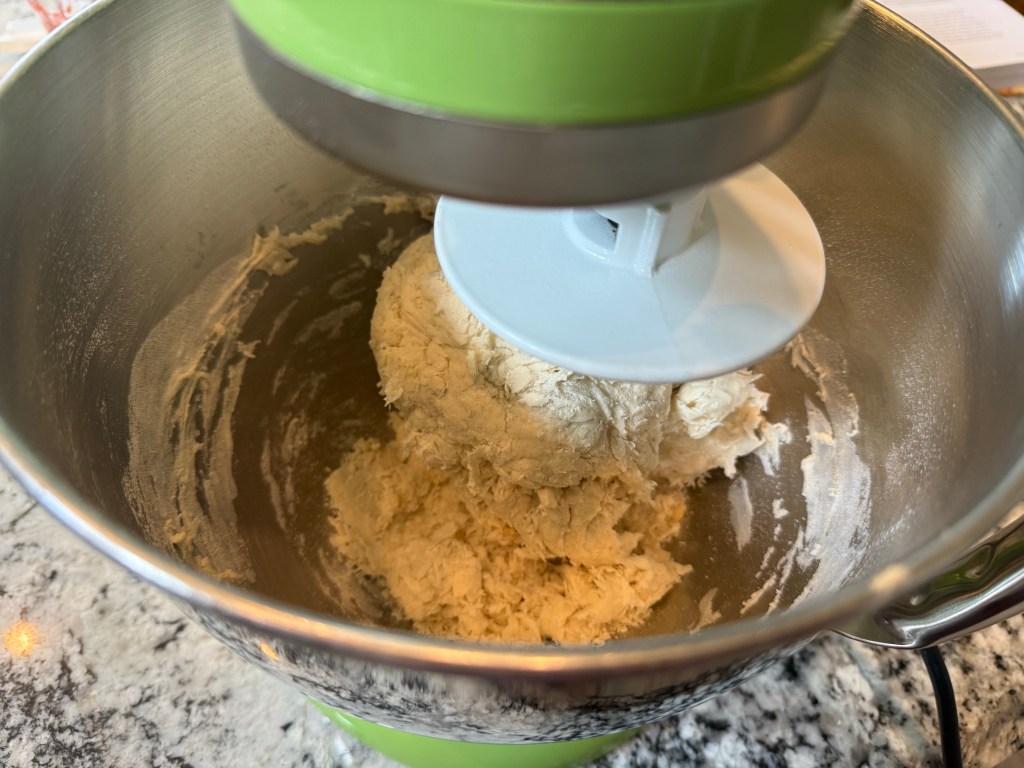
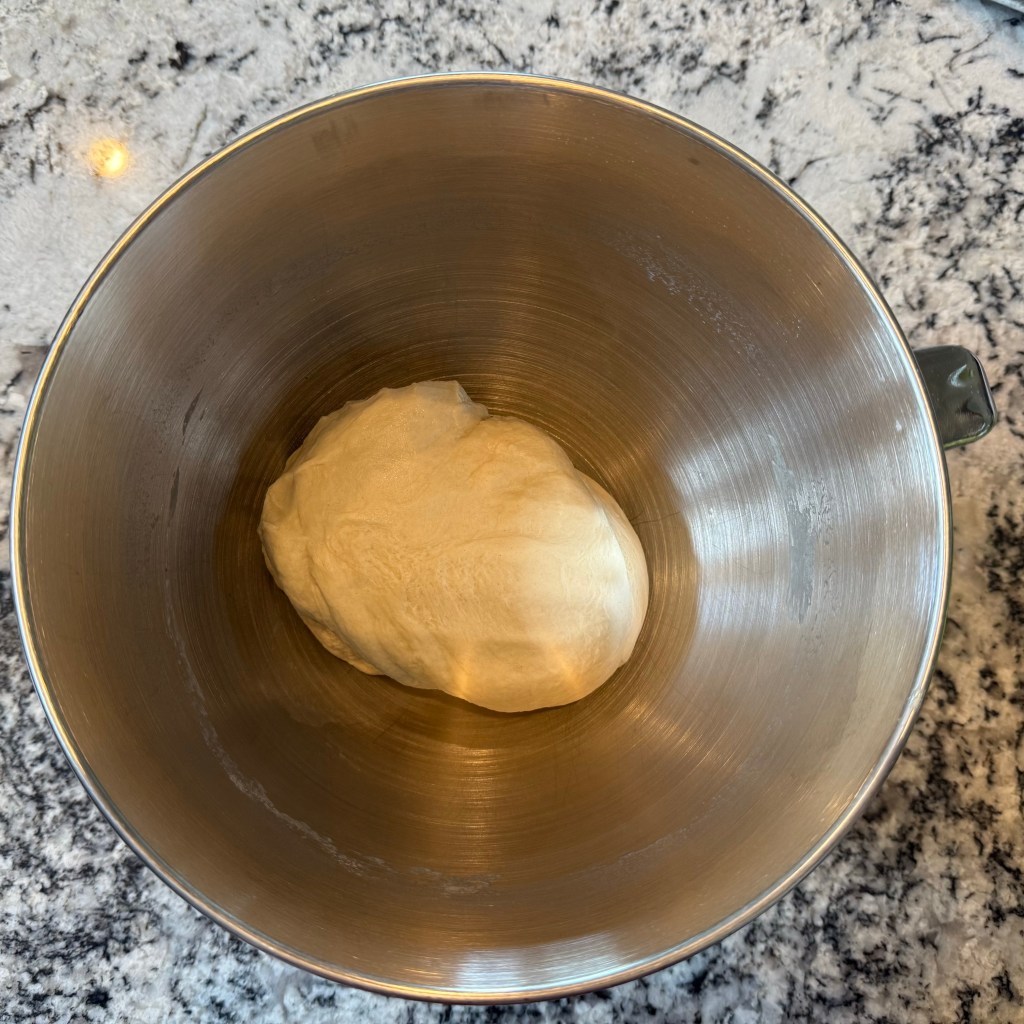
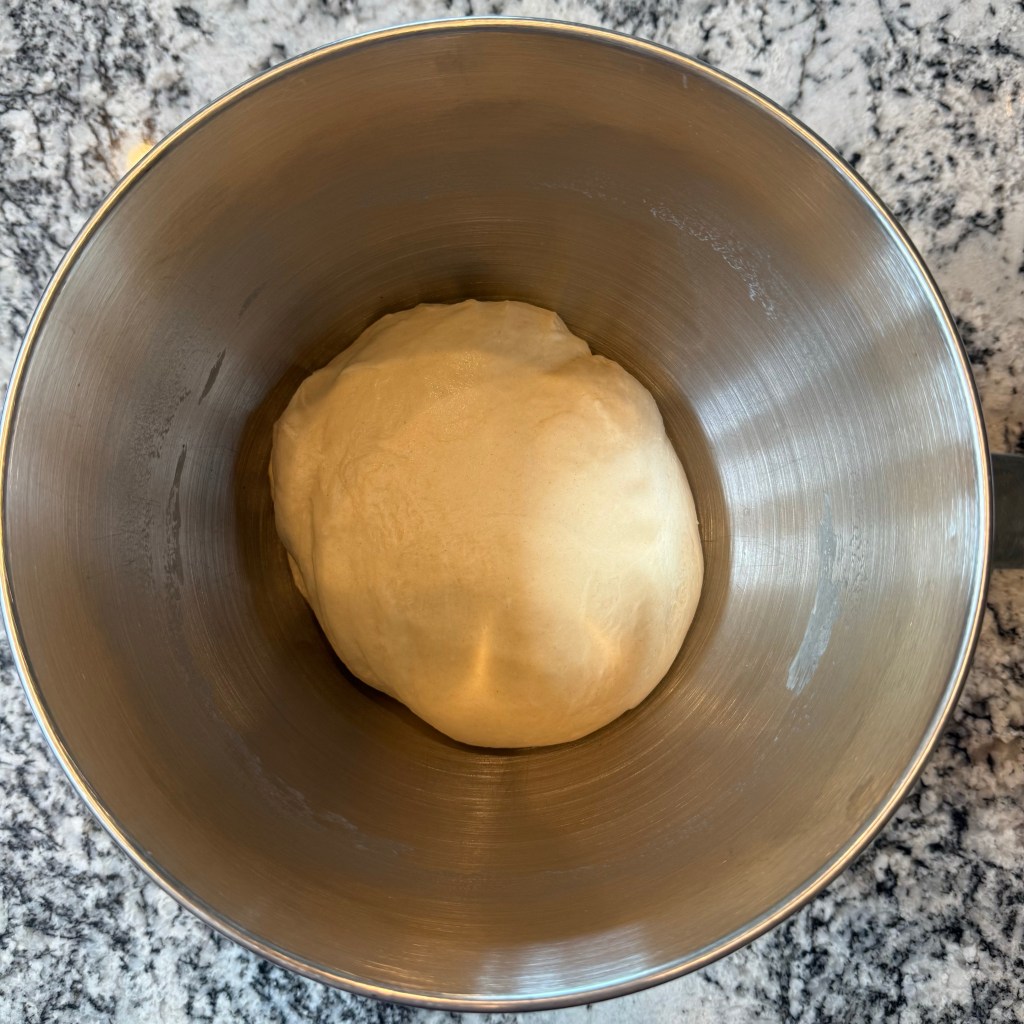
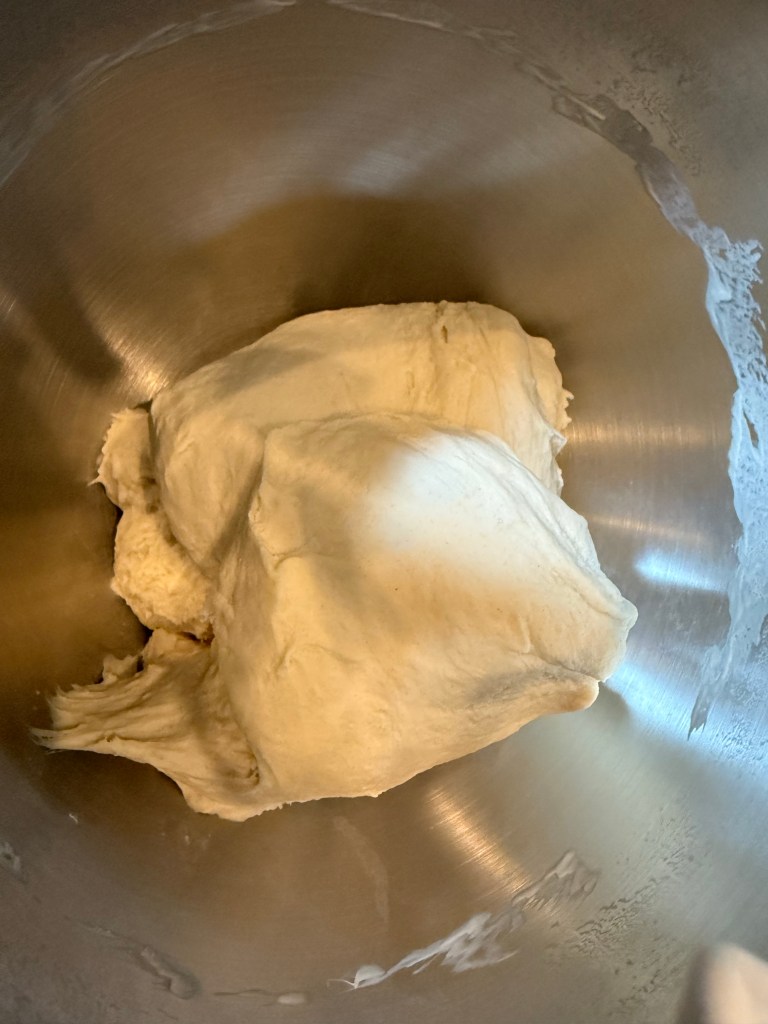
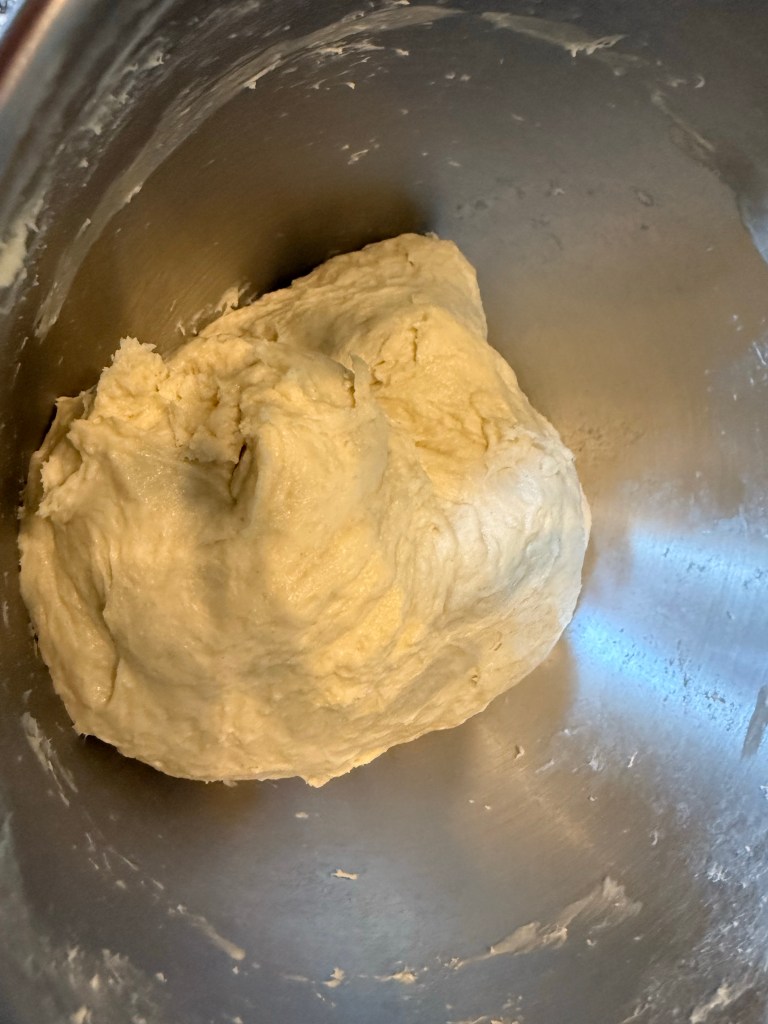
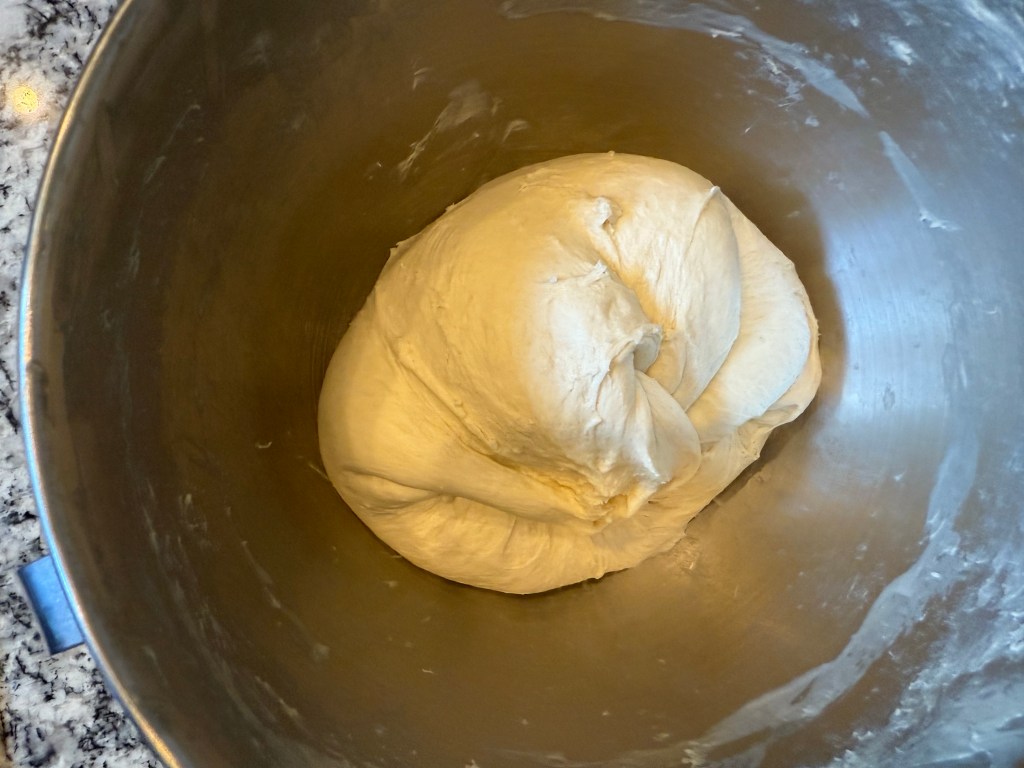
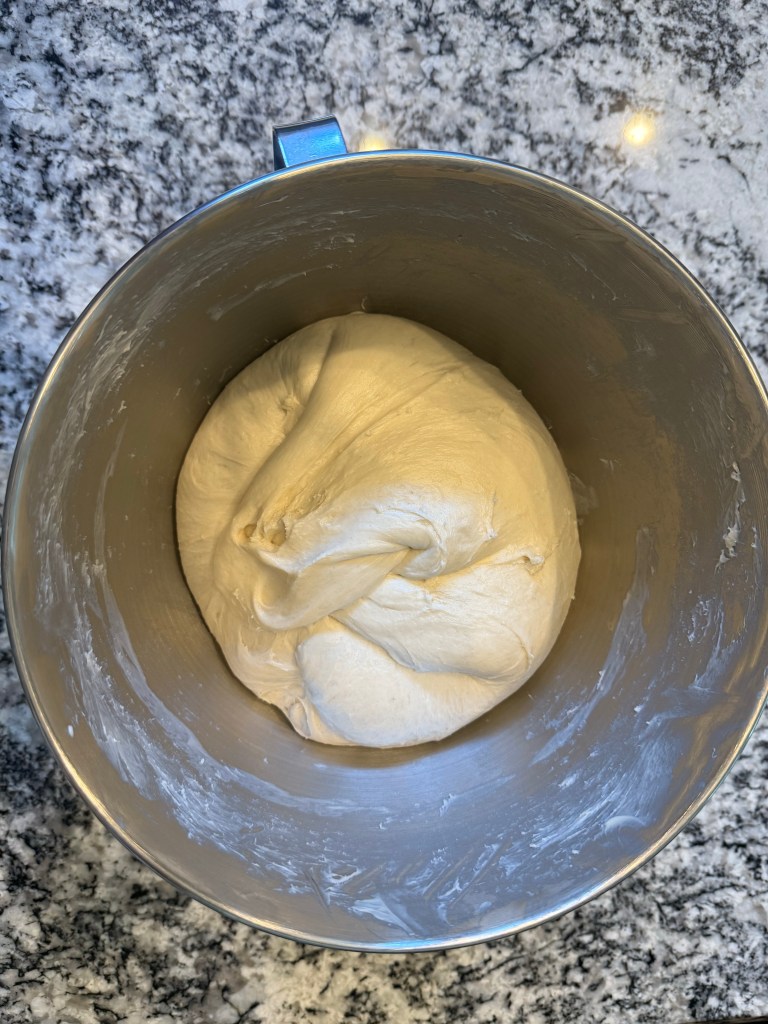
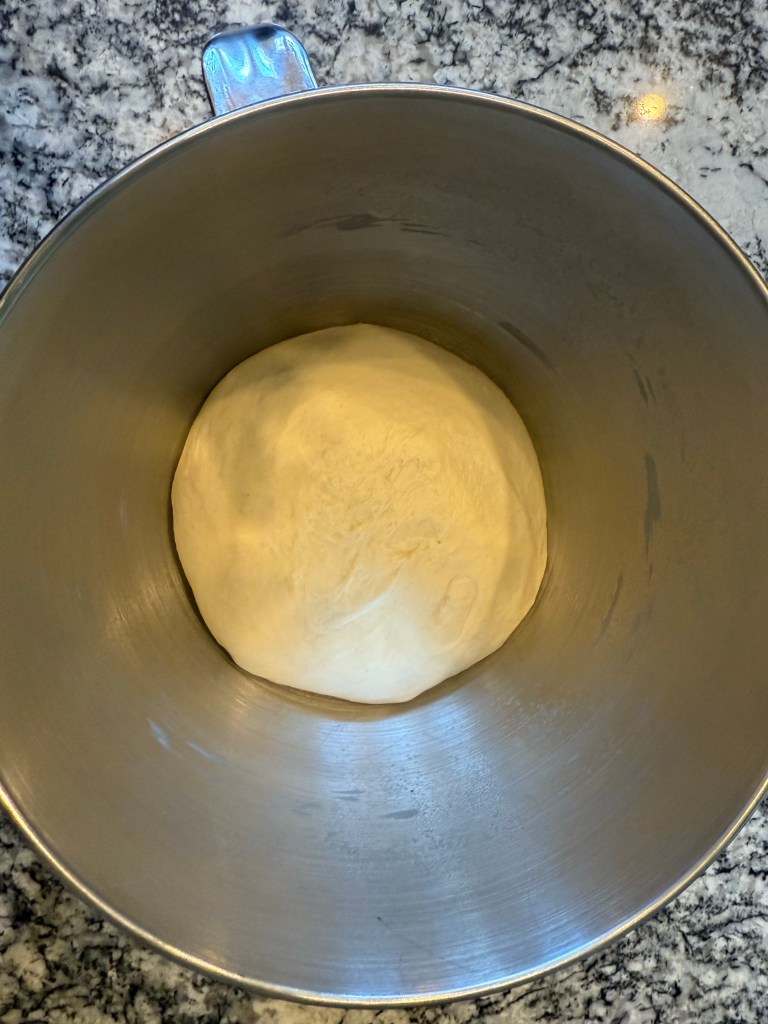
This dough did not need to be kneaded, so I immediately set it aside for an hour to rise. I put my baking stone in the oven and started the oven preheating during this time.

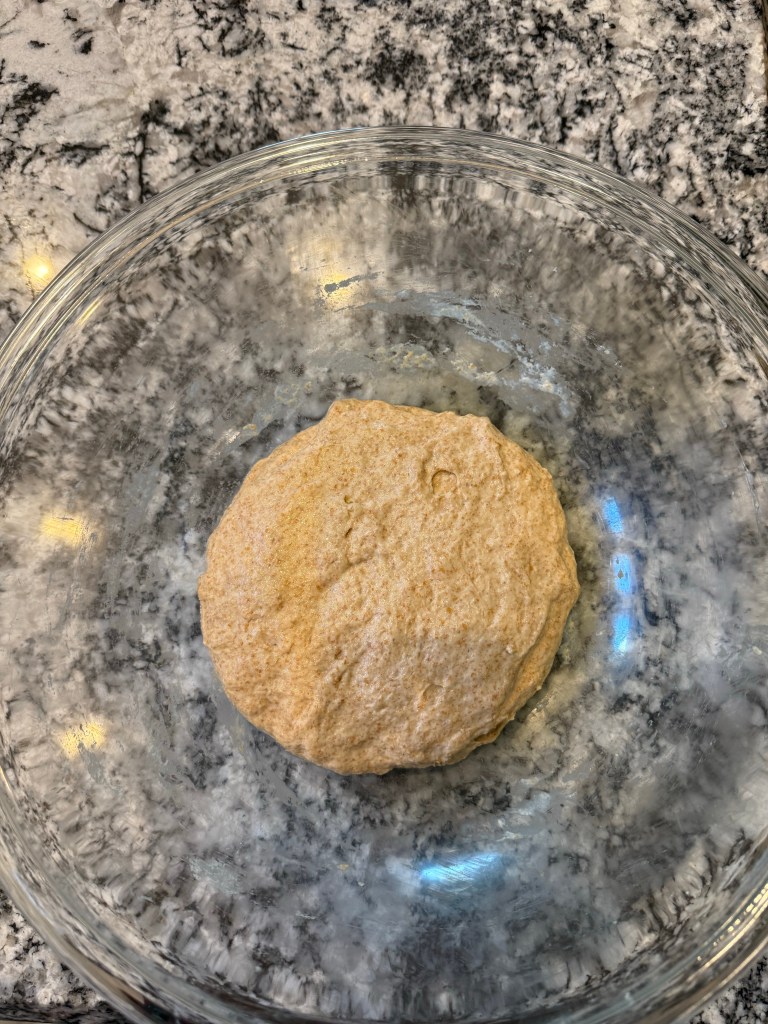
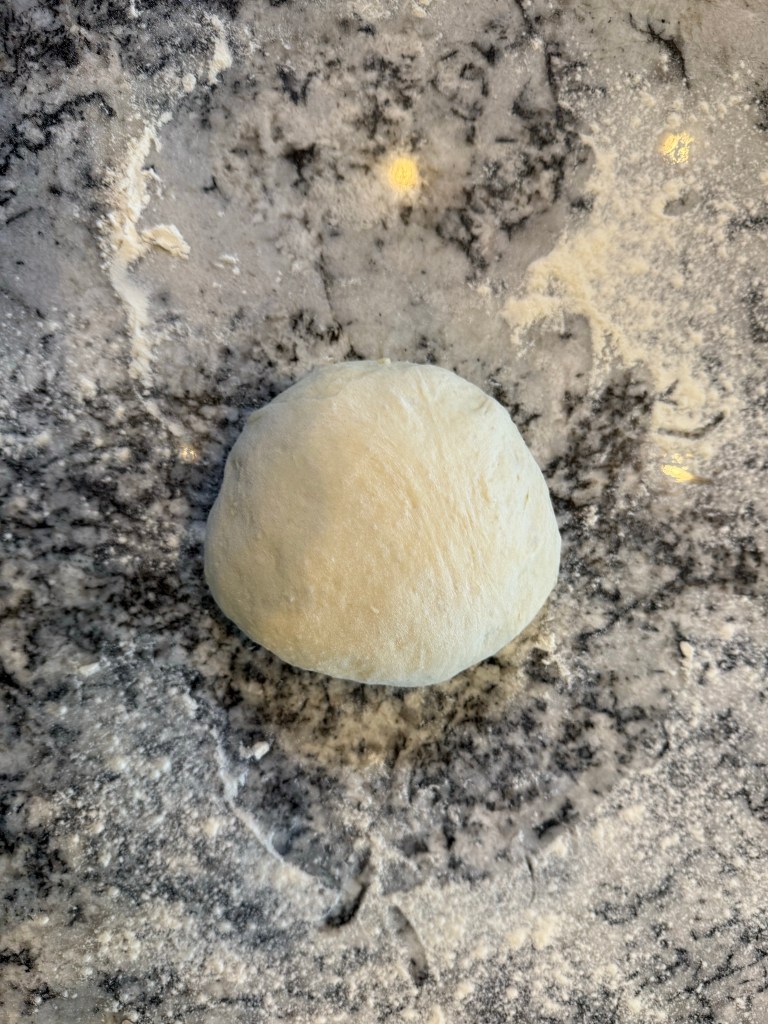
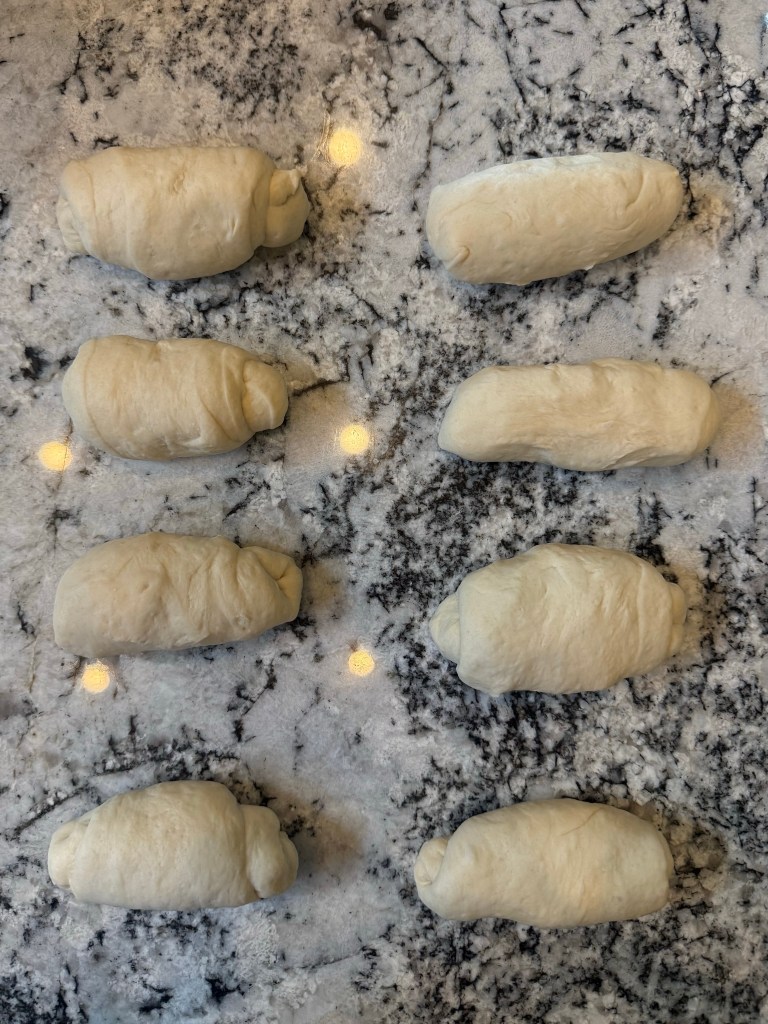
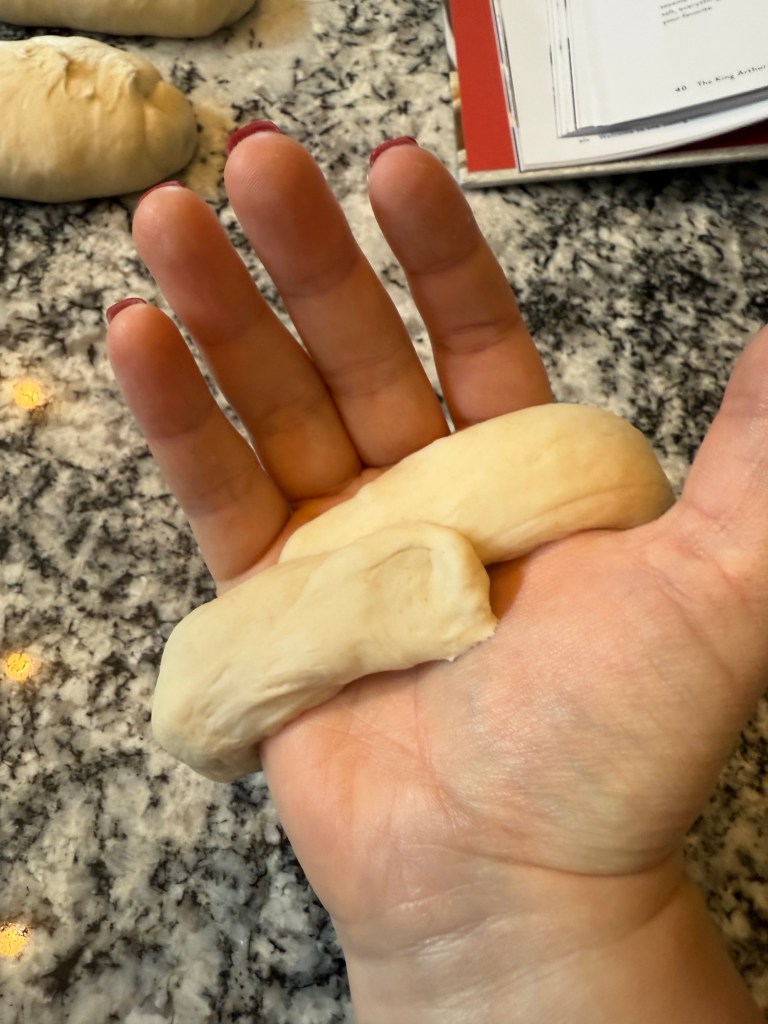
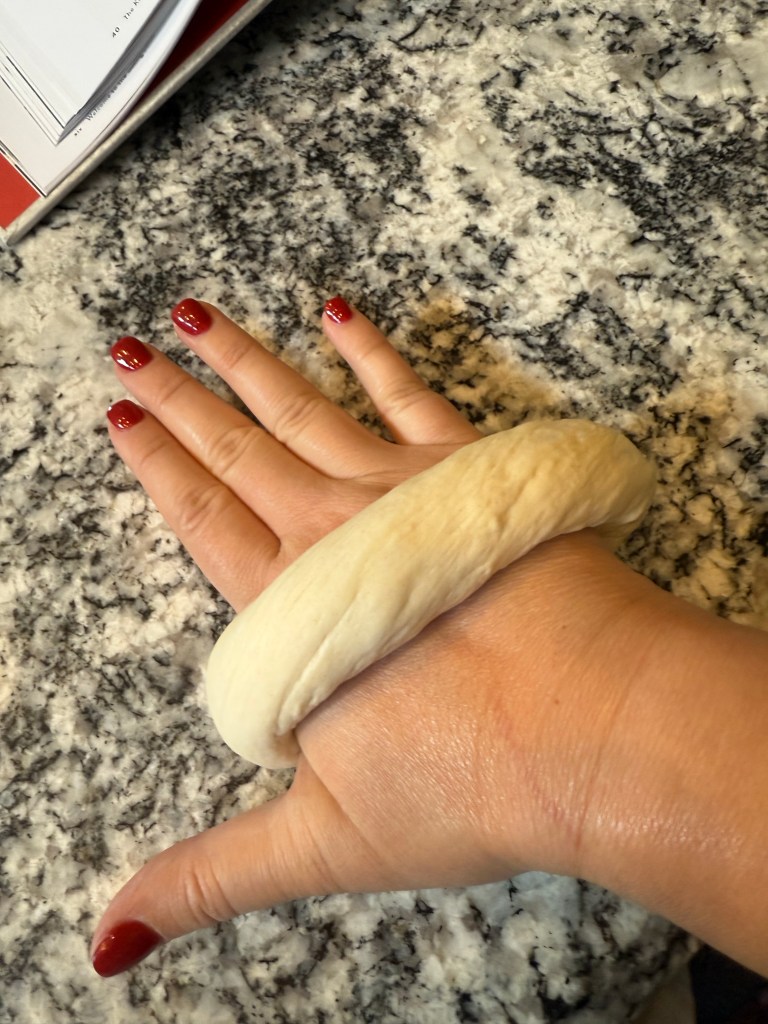
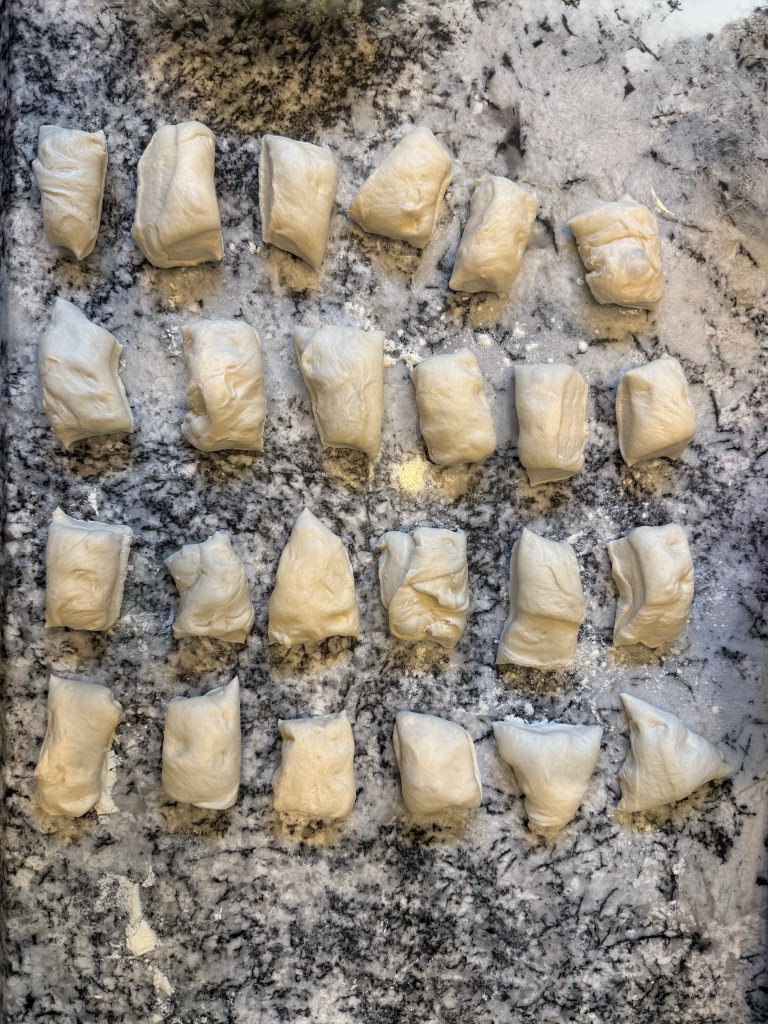
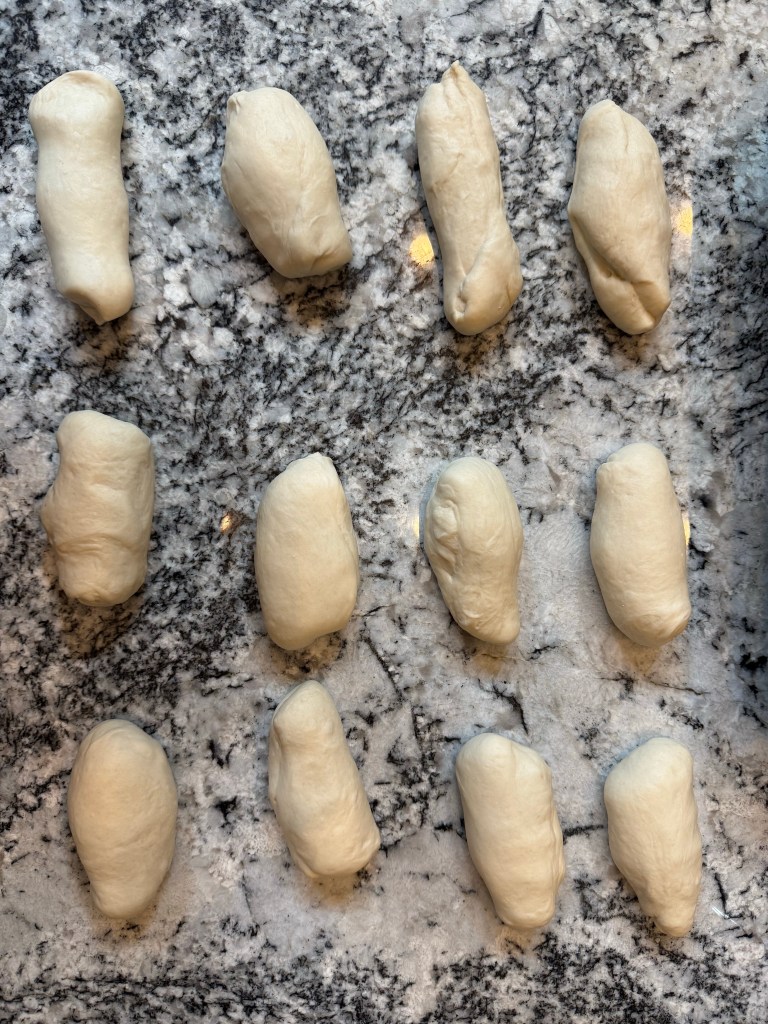
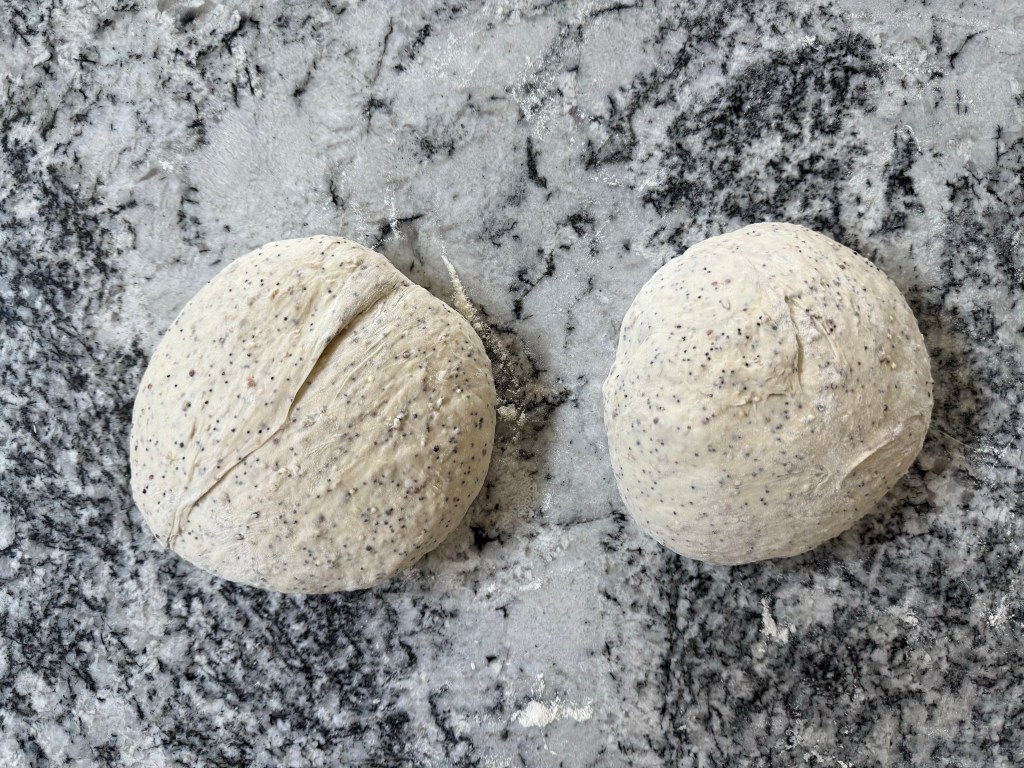
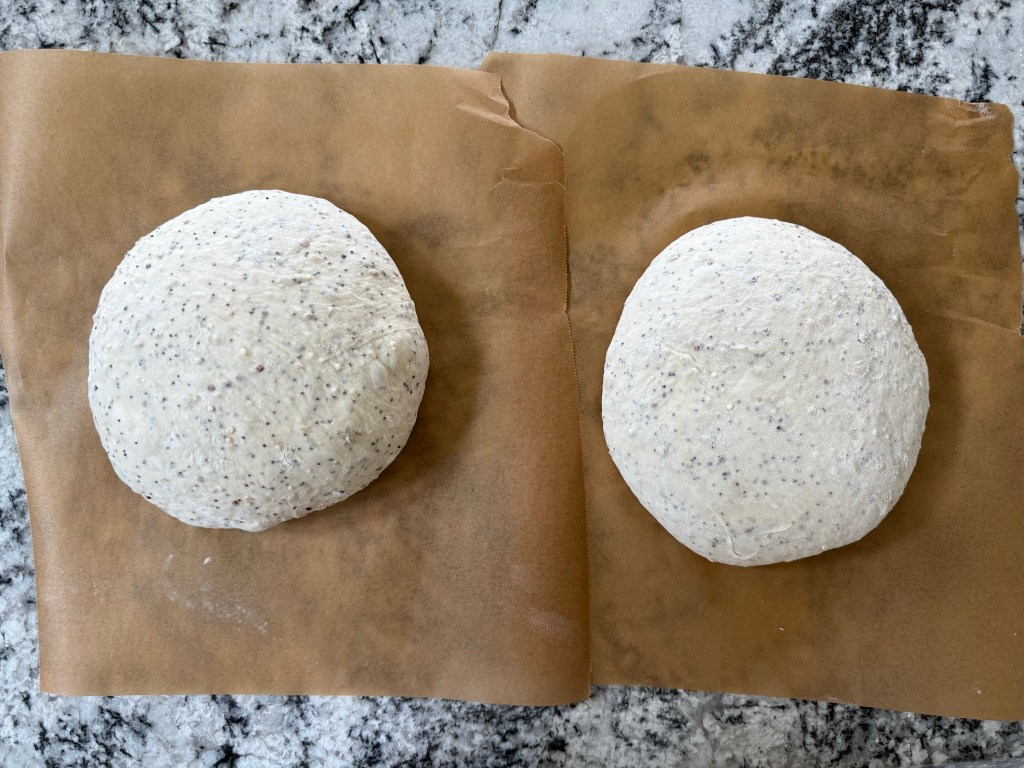
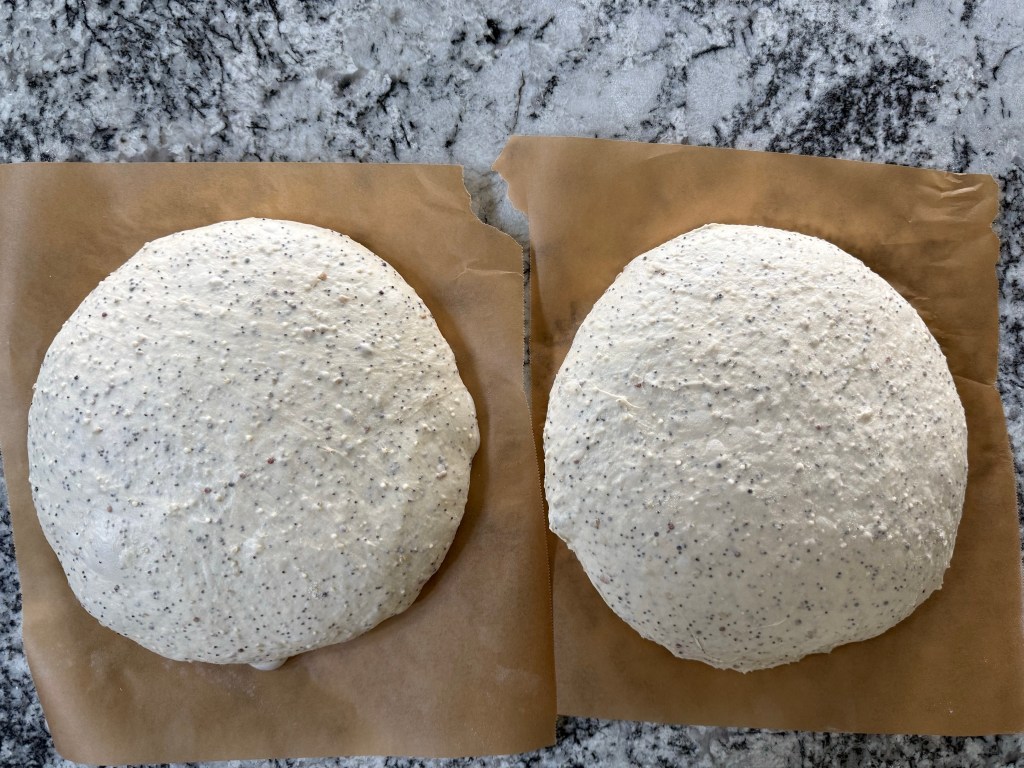
After the bulk rise I divided the dough into 8 pieces and rolled each piece into a ball.

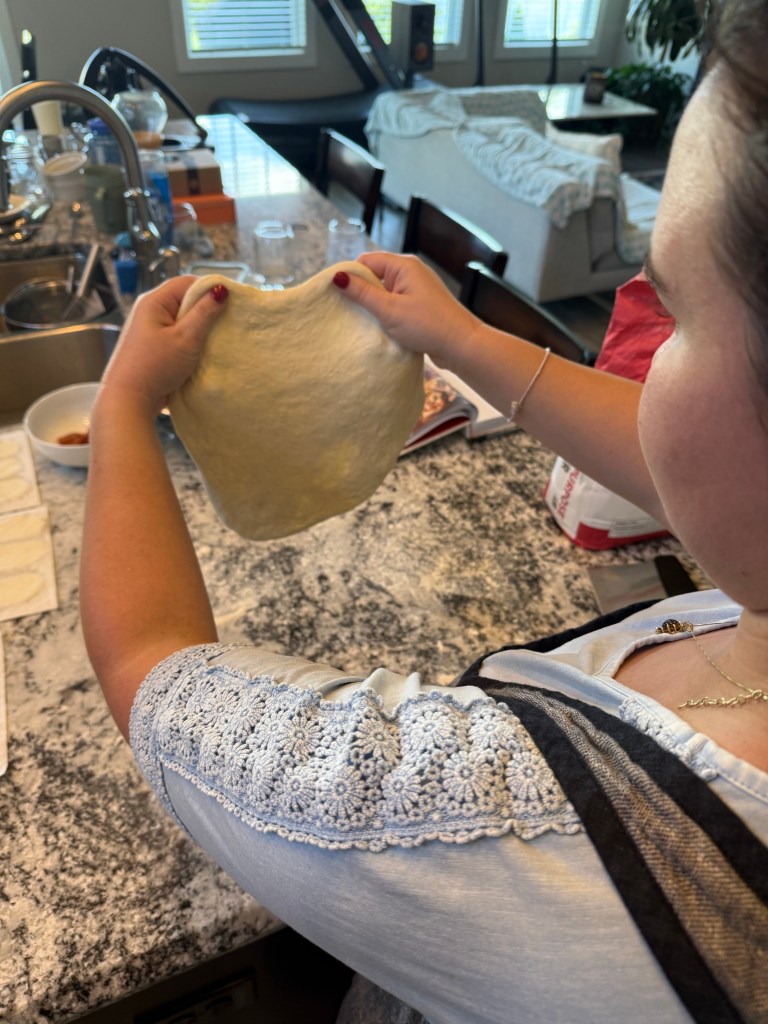
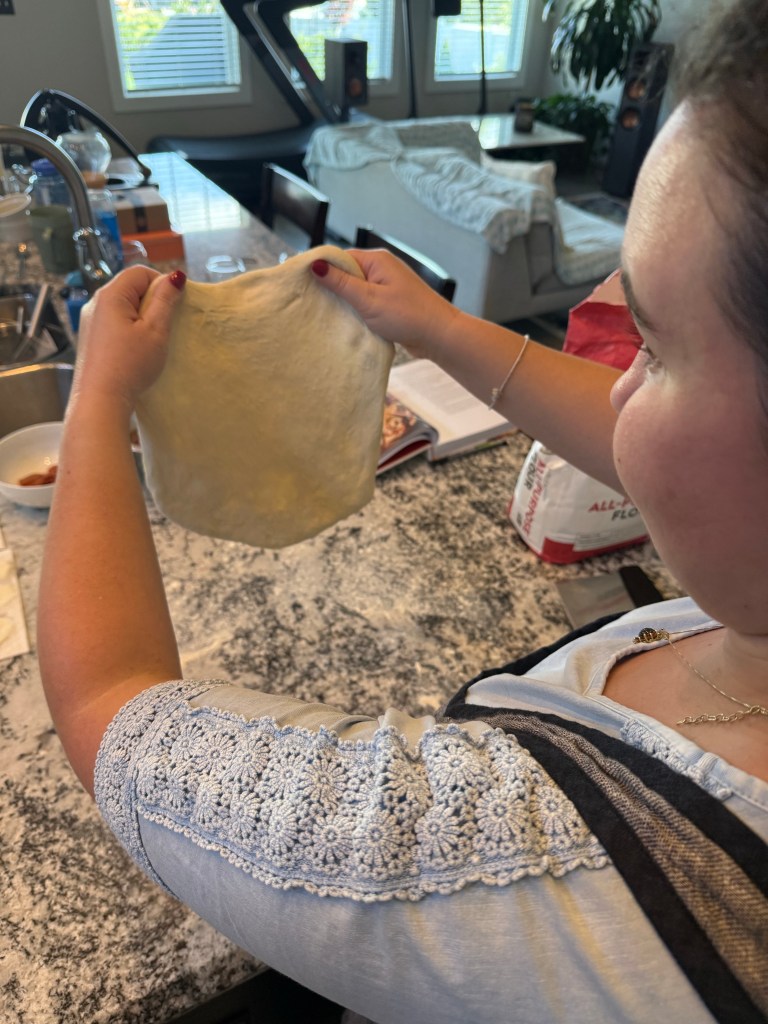
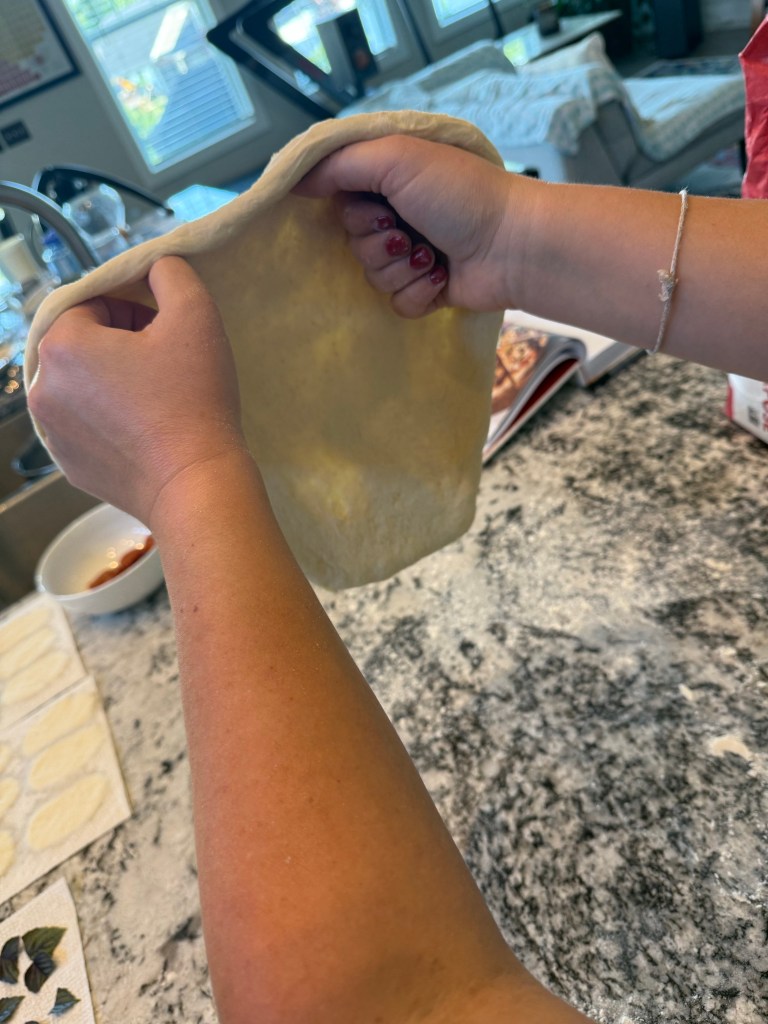
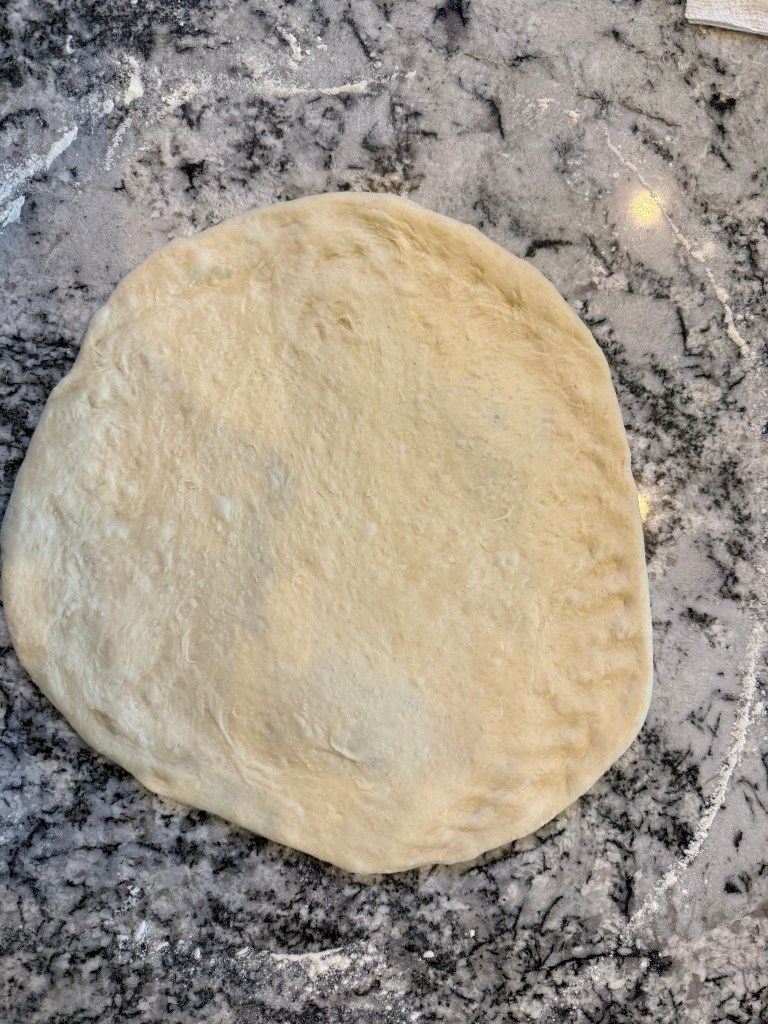
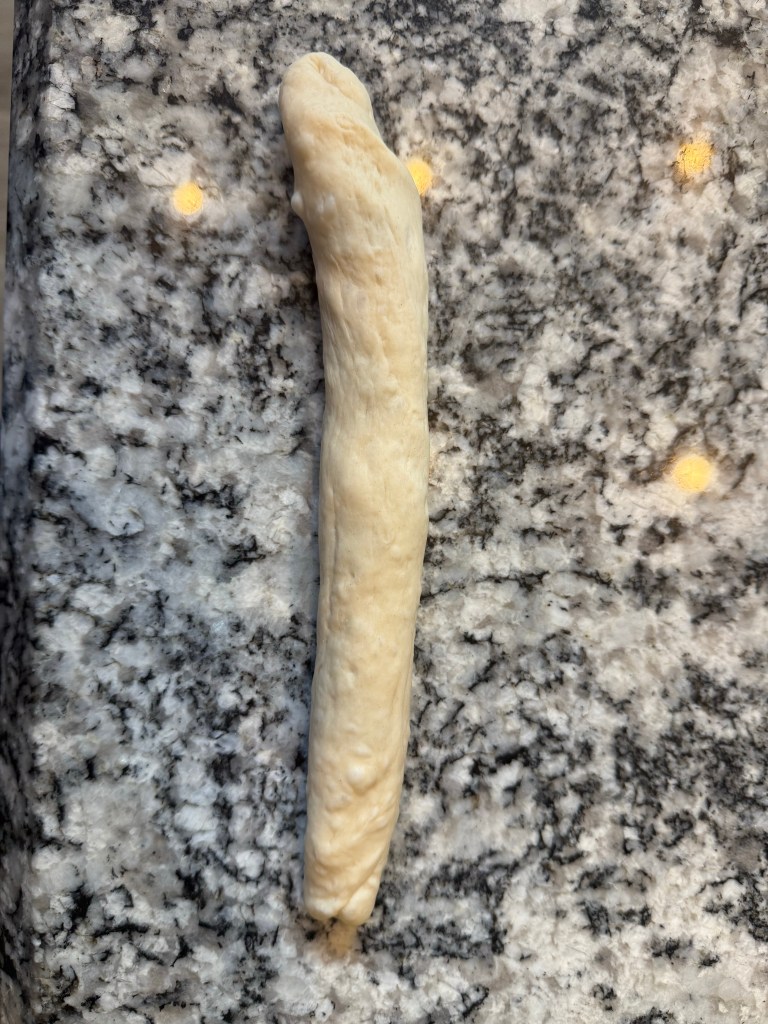
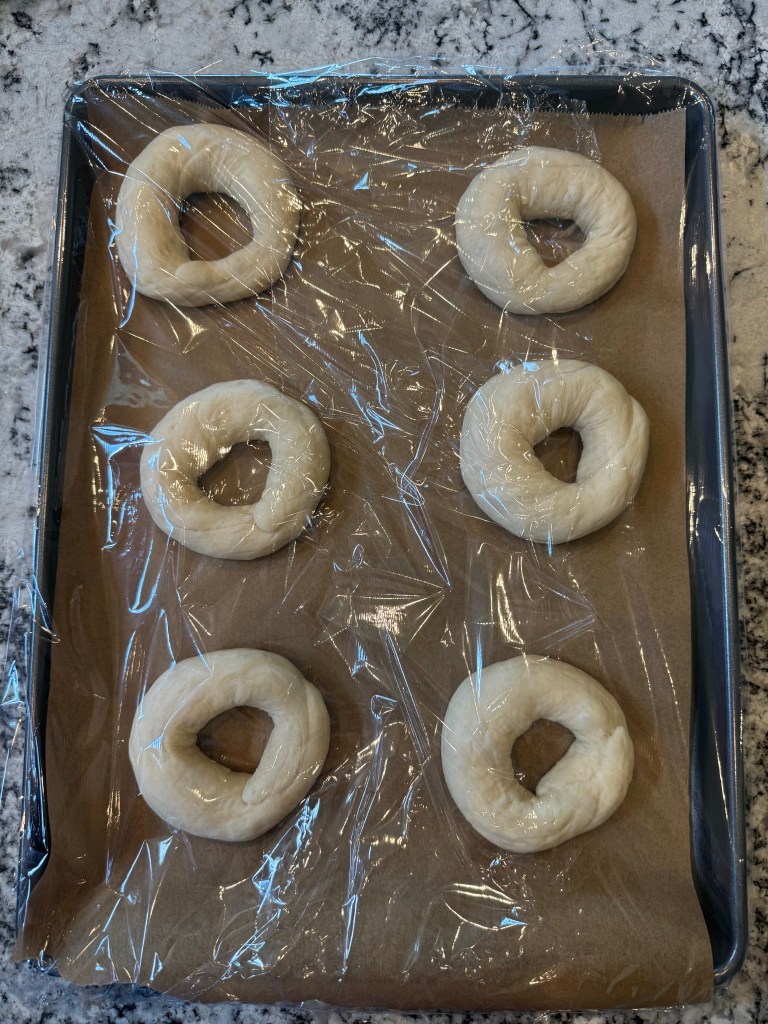
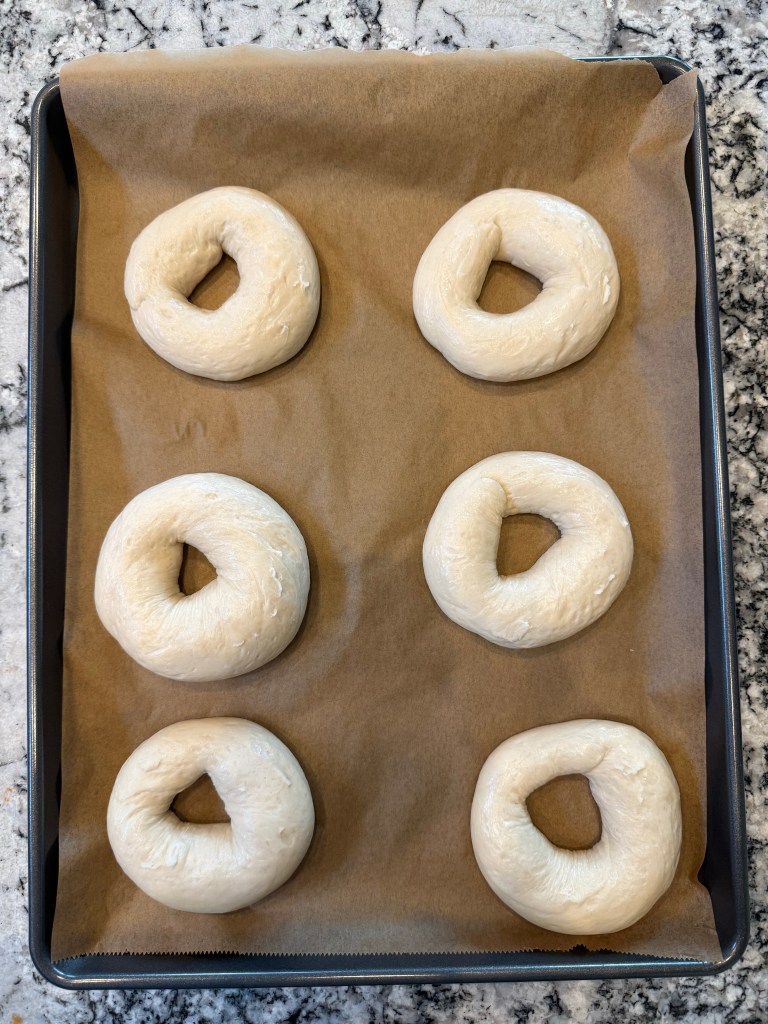
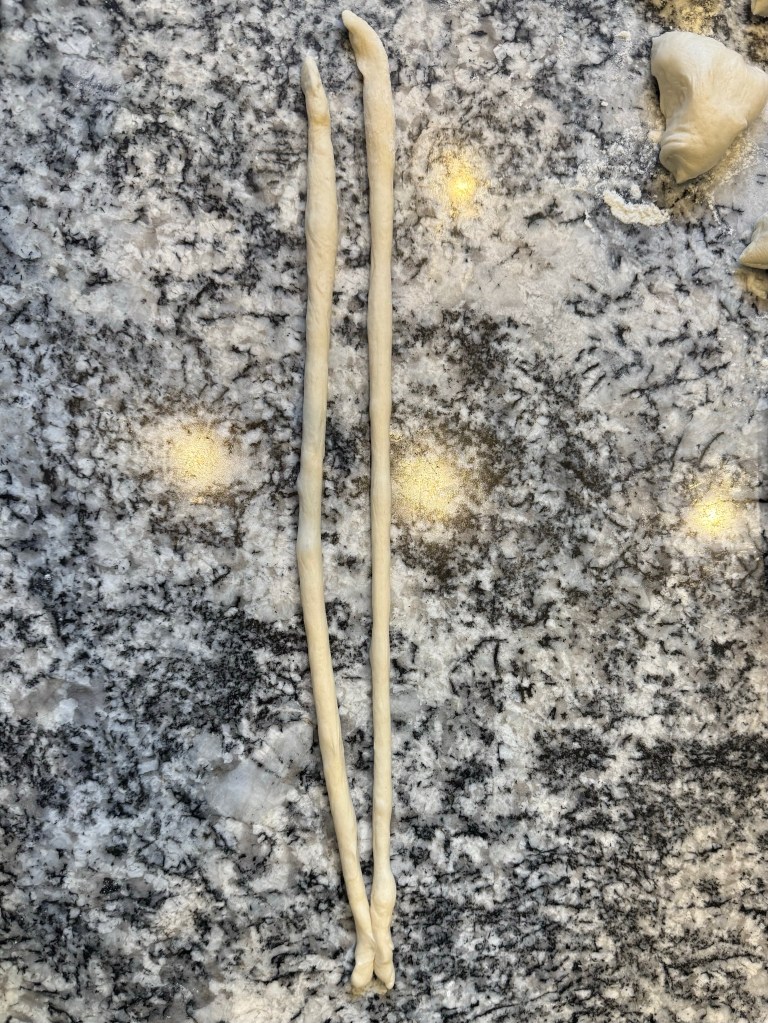
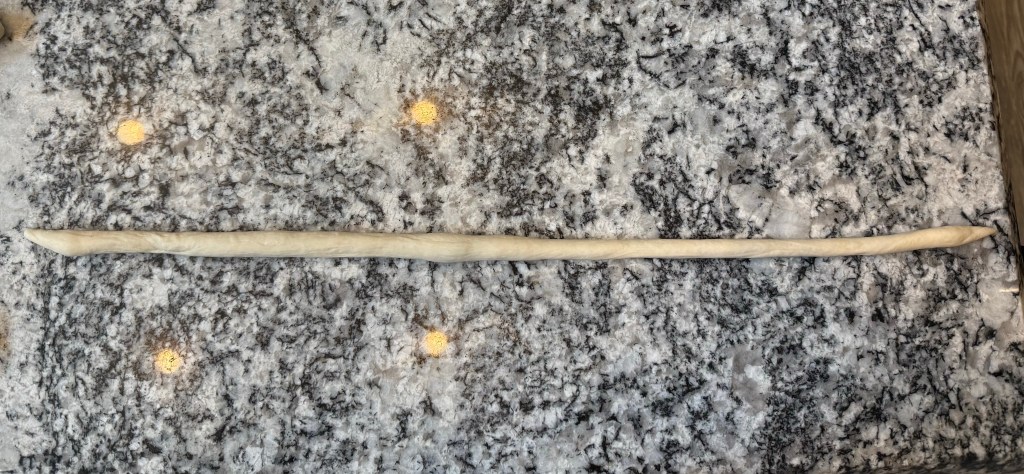
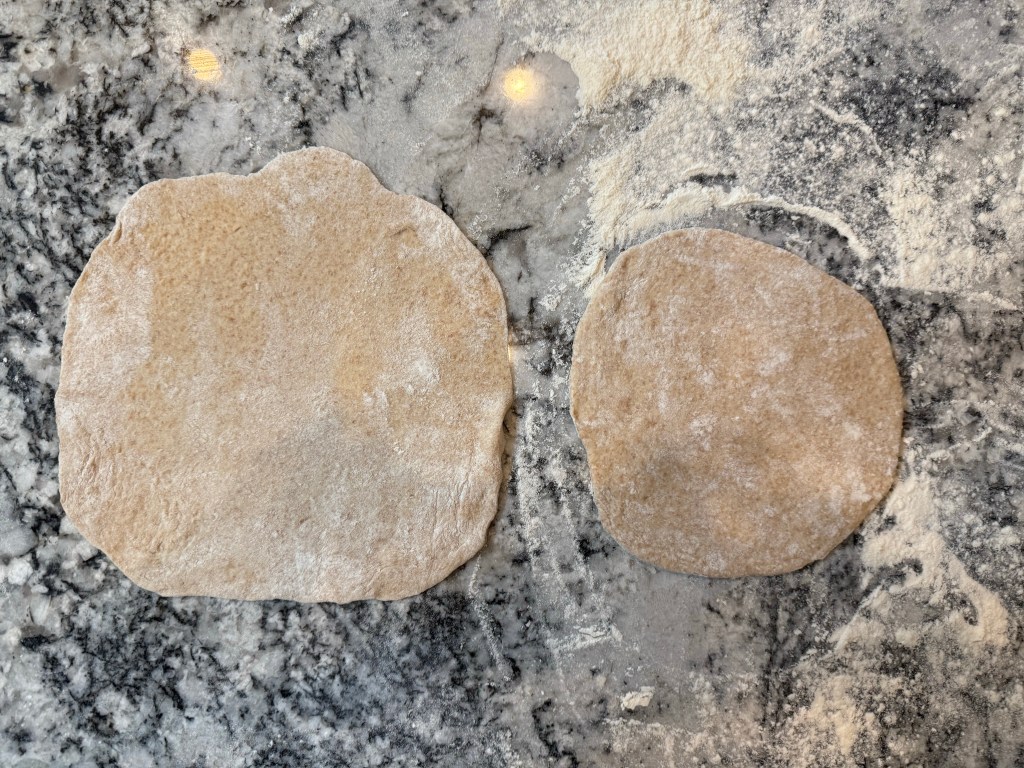
The balls rested for 15 minutes while the oven finished preheating, then I rolled them out into rounds. The spelt flour is very extensible, and I rolled the first two pita much too thin, but the last 6 were a reasonable size and thickness.

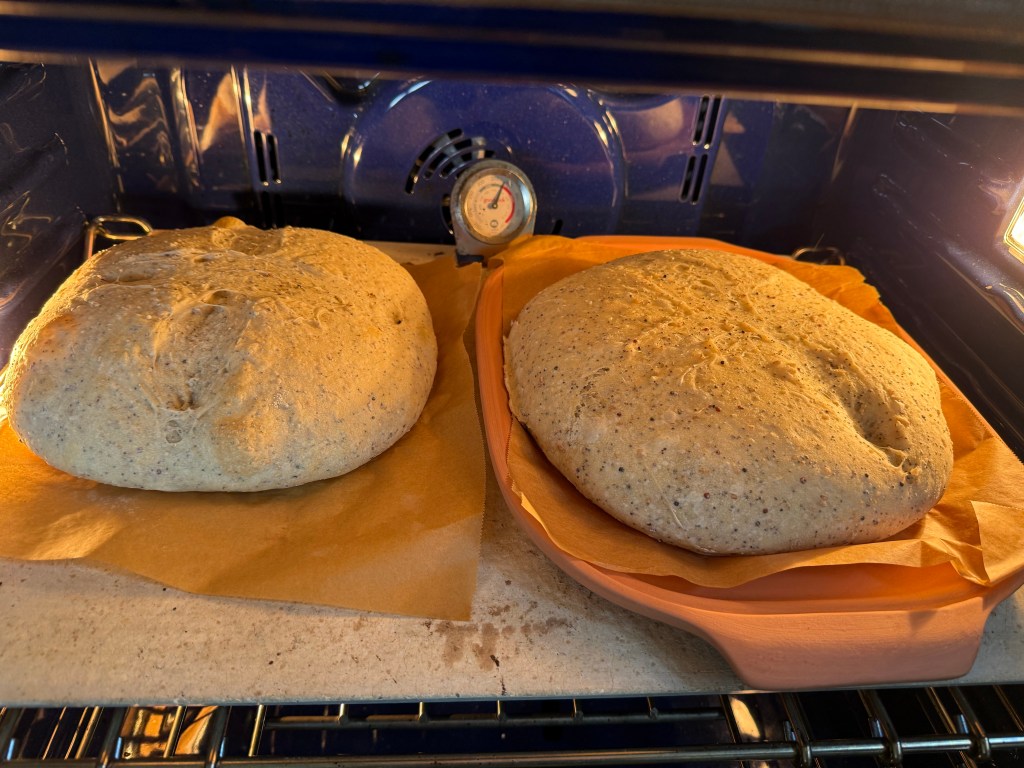
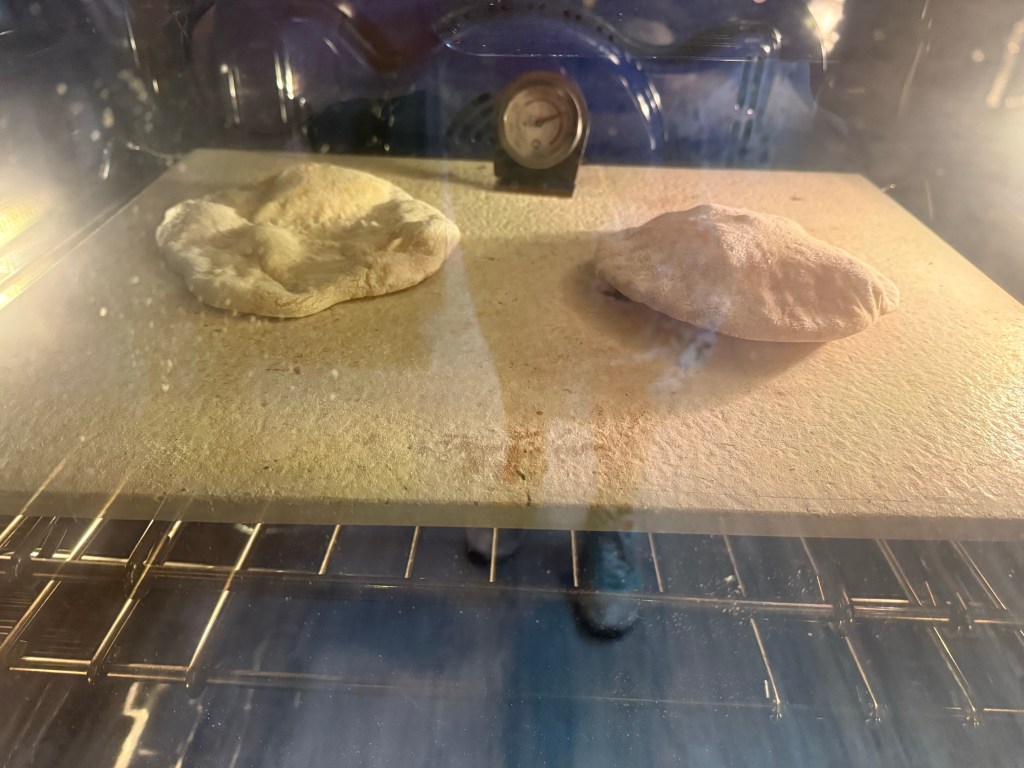
I baked two pita at a time on my baking stone. I flipped them after a minute or two, once they had puffed on the first side.

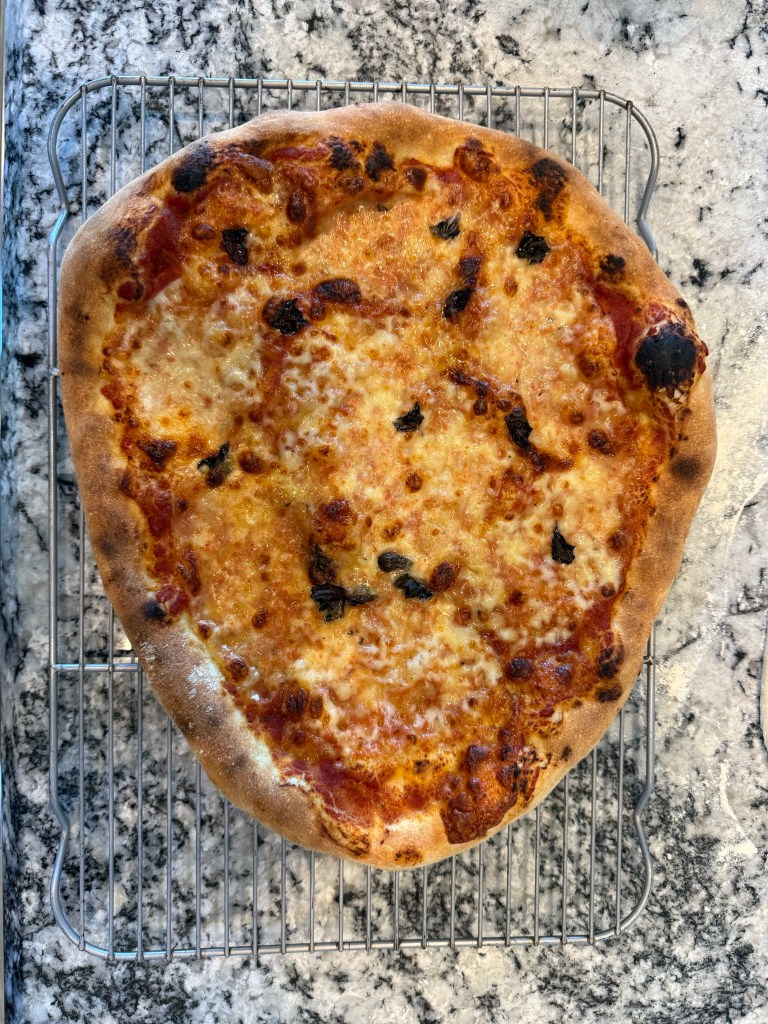
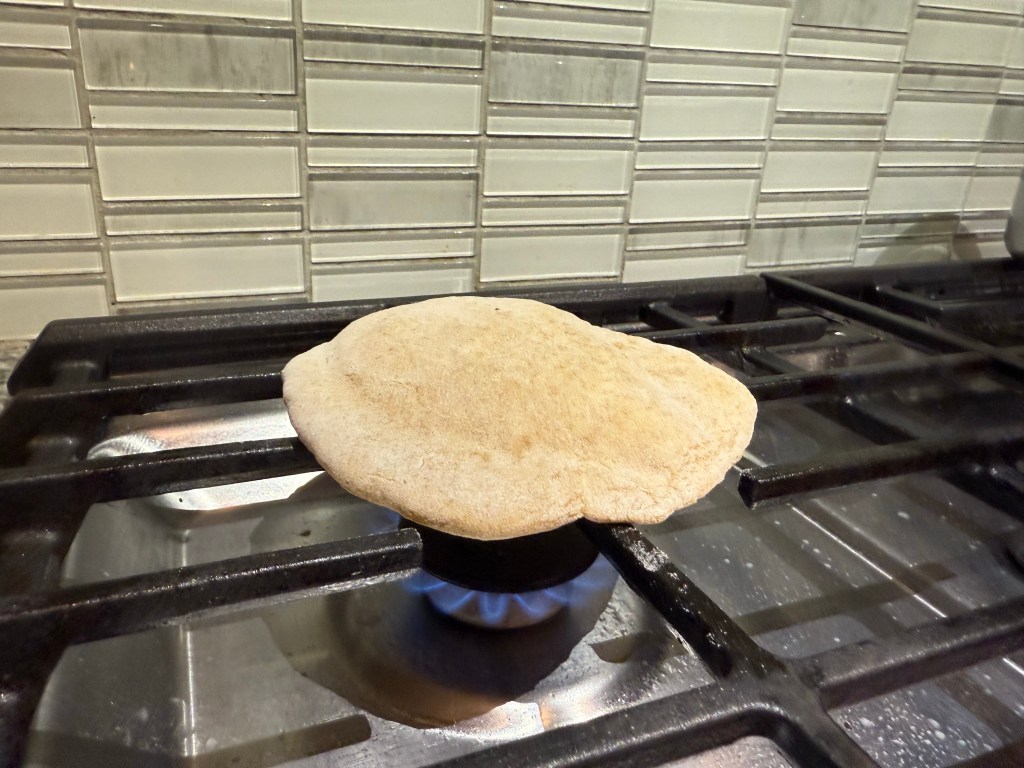
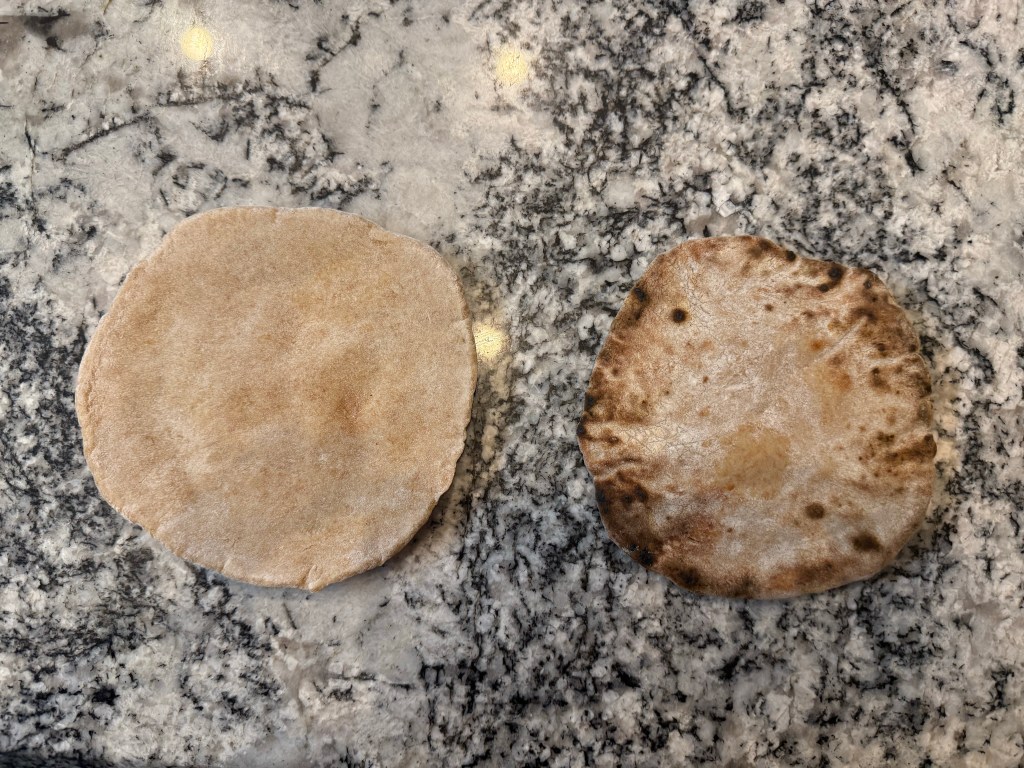
The finished pita were quite blonde. Since colour = flavor, I chose to cook the pita over my gas stove for a few seconds before serving. This helped both the flavor and texture of the pita.

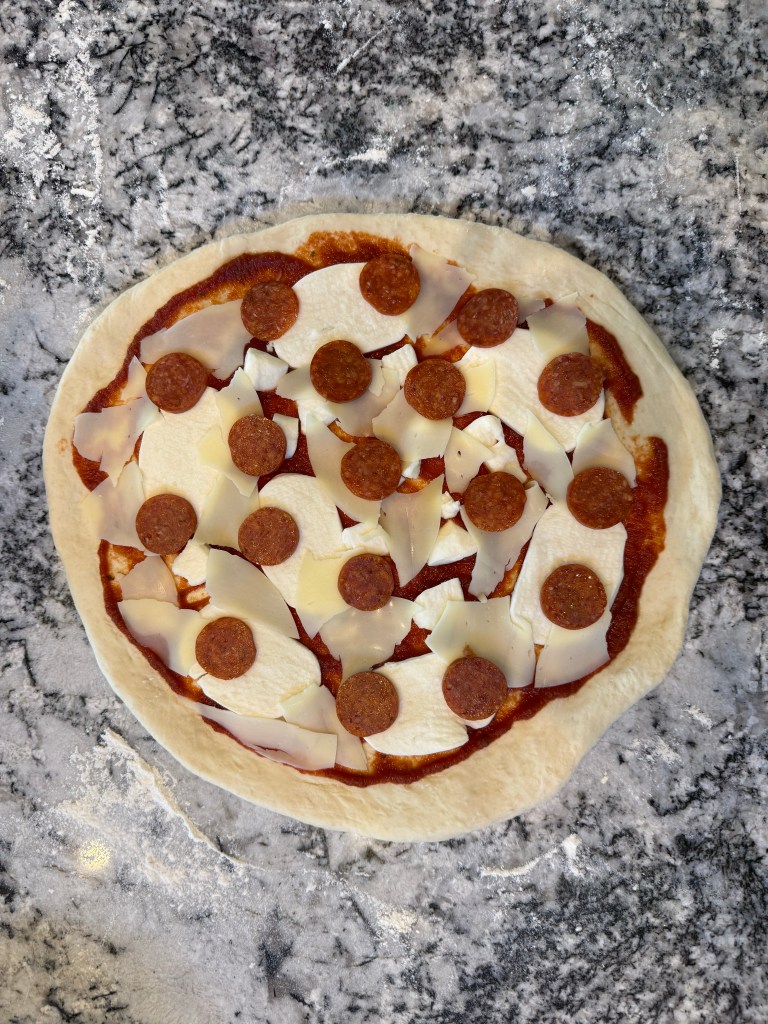
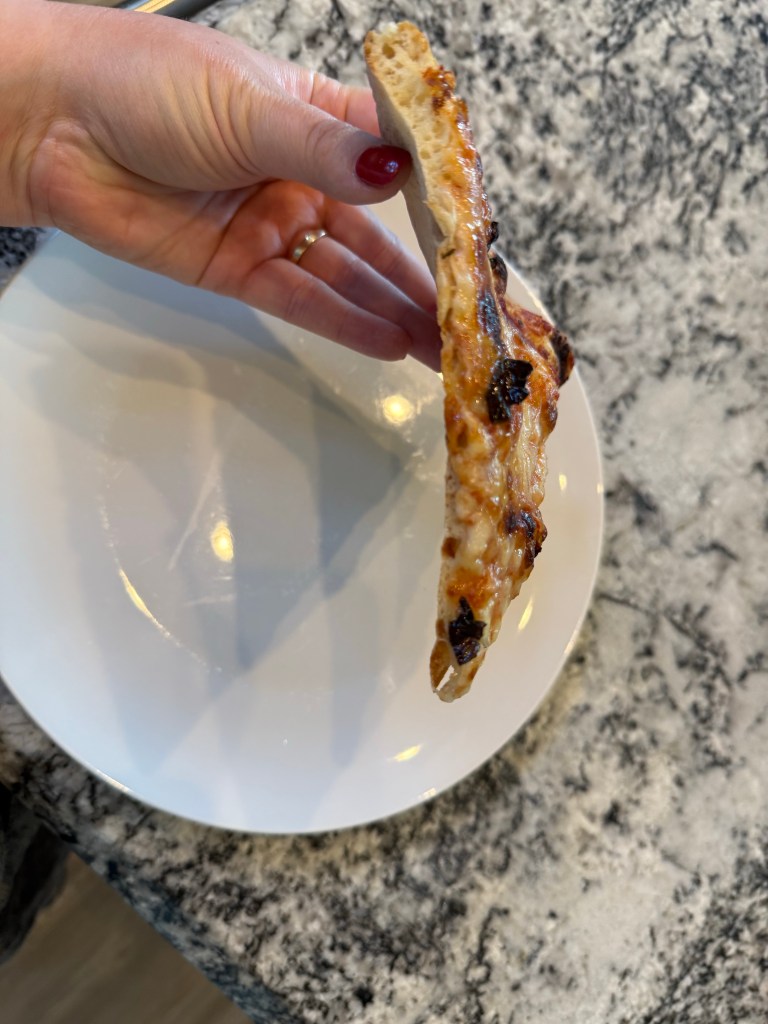
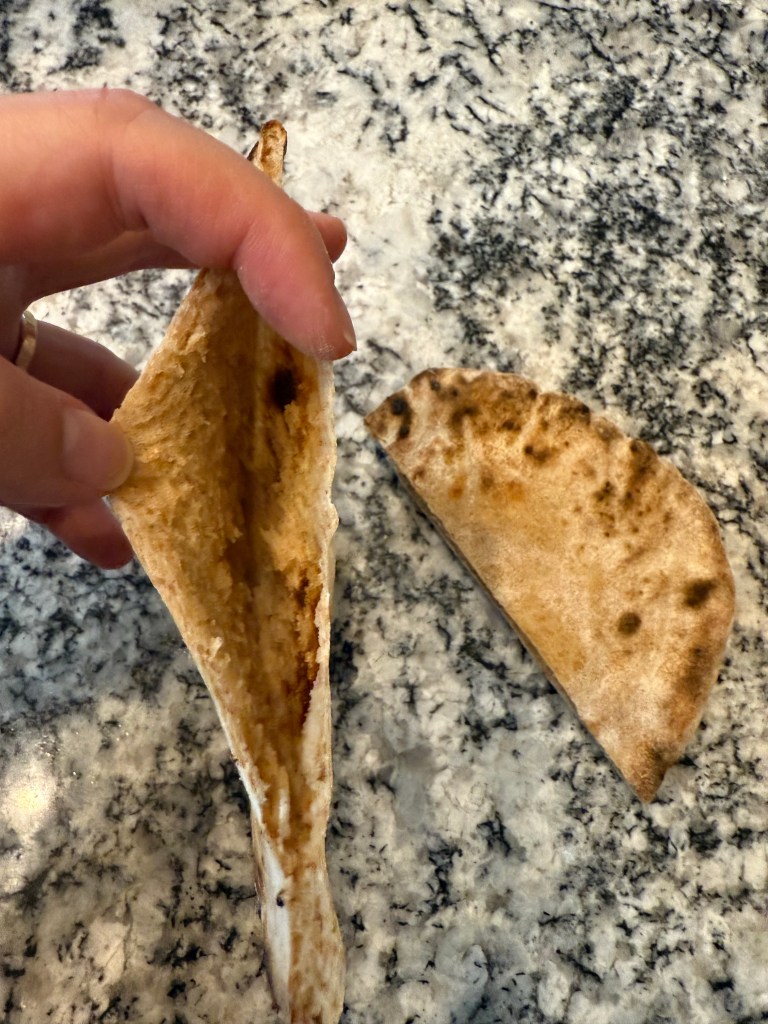
When the pita were done I made some fillings and enjoyed a delicious dinner.

Until the next time: may your yeast always rise and your flour never run out.

Embracing a Family Tradition: Pizza Night at Home

When I was a kid we had pizza every Friday night. My mom would spend all day making the dough, and then at dinner time she would make a big pizza and let us kids make our own little pizzas. It was fun to choose our own flavors and decorate them just so, and the pizza was always delicious. This pizza recipe is in a bit of a different style, but it still reminds me of being a kid.

I started by prefermenting a portion of both the flour and water in my recipe with just a pinch of yeast and letting it rise for 4 hours. This preferment could have gone longer, but I mixed it into the dough when it was convenient for me. Flat breads like pizza can be a little more forgiving about rising times than traditional breads where we’re trying to coax as much rise out of the dough as possible.

I mixed the preferment and the remaining dough ingredients together and into a very shaggy mass, then kneaded by hand until the ingredients were fully incorporated and the dough was smooth.

The dough rose for 2 hours before I divided it into two rounds and shaped it into pizzas. I started by patting each round into a circle, then I used my hands and gravity to stretch the dough into a large round, maybe 15” in diameter. I tried to get the dough thickness even, but it’s harder than it looks.

When the dough was shaped to my satisfaction I topped the pizza with sauce my husband made, then fresh mozzarella and provolone, and finally garden-fresh basil.

I floured my pizza peel and held my breath while I loaded the pizza onto it and then put it into a very hot oven. I followed the pizza baking recommendation from Flour, Water, Salt, Yeast: I used a pizza stone and heated my oven as high as it would go (550 degrees Fahrenheit). Once the oven was searing hot and I was tired of waiting for it to get hotter I changed the setting to Broil while I topped the pizza. I kept the broil setting on to bake the pizza.

The second pizza was done in much the same way, except I used Boar’s Head pepperoni, sliced thin, instead of basil.

Both pizzas turned out delicious! My husband said it was the best pizza he’s ever had.

My pizza shaping/stretching technique is not great (yet!). I definitely need to practice more, which is totally ok with me. I don’t mind more pizza.

I had trouble loading the second pizza onto the peel and into the oven because I didn’t re-flour my peel. I also didn’t give the oven long enough to come back up to temperature between the first and second pizzas, so the second pizza wasn’t as crispy as the first.

And finally, the amount of sauce and cheese was perfect for both pizzas, but both could have used more of their final toppings: at least twice as much basil and half again as much pepperoni.

Overall, I would call this recipe a rousing sucess, even though I still having some areas for improvement with shaping technique and topping. Practice will solve these.

Until the next time: may your yeast always rise and your flour never run out.

Making Delicious Bagels at Home

The journey from pretzels to summits to bagels has been an interesting one. These cousins are all delicious, and it’s been so interesting to see how they are similar and different!

As usual, I started with the mise en place: a very simple list of ingredients this time.

I kneaded the dough in my KitchenAid mixer for 10 minutes, then set it aside to rise for half an hour.

Once the dough had risen I divided it into 8 pieces and shaped each piece into a little log.

I let the logs rest for 15 minutes before shaping them into bagels.

As suggested in the recipe, I gave my bagels a long rest. 6 hours later I took the bagels out of the fridge.

Toward the end of the rising time I prepared my water bath.

The bagels stuck to the parchment paper when I transferred them to the water bath, which I did not expect, so they got a little mangled in transport. Next time I would grease the parchment paper before resting the bagels. But I did manage to get all the bagels poached and back on their sheet pan.

Half of the bagels were topped with Asiago cheese and the other half were topped with Everything seasoning.

I baked the bagels for the full 25 minutes recommended in the recipe, and I could have probably gone another few minutes longer for the Asiago bagels. But I didn’t want to burn the Everything bagels, so I pulled them all out.

These bagels were delicious. Slightly chewy, but nothing like the grocery store bagels that you have to do jaw workouts to enjoy. The Everything bagels had too much topping on them (I didn’t even know that was possible), so in future I would use half or a third of the topping per bagel. The Asiago bagels were perfect other than possibly needing a slightly longer bake time for additional flavor.

Until the next time: may your yeast always rise and your flour never run out.

Simit: The Sweet and Savory Turkish Bagel

I had never heard of simits before reading this recipe, but I was excited to try something new, and these turned out so delicious! As always, I started out with the mise en place:

I mixed and kneaded the flour, water, salt, and yeast together in my stand mixer for several minutes until the ingredients were well-incorporated and the dough was smooth.

Meanwhile, I had a lot of fun beating the butter with my rolling pin to soften it without warming it up too much.

I added the (still cold) butter to the dough bit by bit until it was all incorporated and then continued to knead the dough until it was silky smooth.

I covered the dough and let it rise. After 45 minutes I did a fold. The dough was super supple and extensible and was such a pleasure to handle!

I let the dough rest for another 45 minutes. Toward the end of this time I prepared the molasses bath and sesame seeds for the topping.

Shaping was surprisingly easy. I cut the dough into 24 pieces, then rolled each one out into a long rope. Then two ropes were twisted together by rolling up with one hand while rolling down with the other. Then the twist was wrapped around the hand and rolled together.

Before setting the simits aside to rise I dipped each one into a molasses bath and then into sesame seeds. I covered the trays and let them rise for half an hour while I preheated the oven.

My husband was preparing to fry some chicken while I was making the simits and he suggested frying a couple. Friends, this was a very good idea! They were wonderful fried, and a bit of cinnamon sugar on top made them even better!

With the fried simits consumed, it was time to bake the rest of the batch.

These simits turned out so well! They have the slightest hint of sweetness from the molasses bath, but the dough and sesame seeds are savory. We enjoyed them with breakfast until they were gone (and I was sad when they were gone). If you have never made (or tried) simits before, I would definitely recommend them.

Until the next time: may your yeast always rise and your flour never run out.

Mastering the Art of Pretzel Making: From Dough to Delicious

I love a warm, soft pretzel, and I was super excited to make my own! As usual, I started with the mise en place for the dough.

I mixed the ingredients together on my KitchenAid mixer on the “stir” setting for 3 minutes, then on speed 4 for 5 minutes, then set the dough aside to rest.

After an hour the dough had risen, so I divided it into 12 pieces and roughly preshaped each piece into a log.

Then I shaped each piece into a pretzel. First I rolled each log into a long snake, about 2 feet long. Then I twisted the ends around each other twice. I brought the ends down to the base of the pretzel body and smushed them into place. Finally, I shimmied the pretzels into a nice shape and placed them on a pan to rise.

The pretzels were visibly puffy after 40 minutes. I boiled water and baking soda for the water bath.

I boiled each pretzel individually for 10 seconds on each side. It was a little tricky to get the pretzels into the water without deflating them, distorting the shape, or sticking to them.

After a few minutes all 12 pretzels had been boiled. I sprinkled them with salt and put them in the oven.

I baked the pretzels for 22 minutes, which was the maximum recommended baking time. I rotated the baking pans throughout the bake to get even colour on the pretzels. The pretzels baked to a deep golden colour, as specified in the directions, but not to a darker brown as shown in the picture and as is typically seen on pretzels.

The last step before we could eat a pretzel was to brush them with butter.

The pretzels are delicious. They have a buttery flavor (not surprising, since they were brushed with butter after baking). They taste pretzelly, but not super pretzelly. Commercial pretzel bakers boil the pretzels in a lye solution, which is more caustic than the baking soda solution I used. This impacts both the flavor and the colour of the pretzels. I have read that you can bake baking soda to change it into Carbonate of Soda (rather than Bicarbonate of Soda), which is more caustic than baking soda, but less caustic than lye, so I’d like to try either that or a lye bath next time. I also wonder how much deeper the colour would have gotten if I had left the pretzels in the oven for 25 minutes. Would they have been over-baked at that point? Clearly more experimentation is needed.

Until the next time: may your yeast always rise and your flour never run out

Unlocking the Flavors of Multigrain Bread

Words are funny. When I picture a “multigrain” bread I think of something brown, made with whole wheat flour. This loaf, however, is made entirely of white bread flour, but incorporates whole grains and seeds. Surprise!

The night before baking I weighed out my grains and seeds and set them to soak. I used 20 grams each of poppy seeds, quinoa, and Old Fashioned oats, and 25 grams of rye grain (I used my grain mill on the largest setting to crack the grain).

The next morning I prepared my mise en place. Other than the soaked grains, this bread is extremely simple: just flour, water, salt, and yeast.

Per the instructions, I mixed all the ingredients together, then kneaded the dough (I kneaded by hand for 4 minutes). I still find it difficult to gauge when I have kneaded enough since a dough that is “smooth and elastic” is rather subjective, so I try to err on the side of too much kneading rather than too little.

After the dough had risen for an hour I divided it in two and preshaped shaped it.

I let the loaves rest for 15 minutes, then did the final shaping.

I let the loaves rise for an additional 45 minutes before baking. When I took the covers off them to put them in the oven I noticed that they had risen sideways instead of up, which was concerning.

But there wasn’t much to do except bake them, so I scored them (the dough was quite wet and didn’t want to score nicely), put them in the oven, and crossed my fingers.

Since I had two free-form loaves, I once again decided to test the impact of my baking cloche on the bread.

I removed the lid of the cloche after 15 minutes of baking and found that both loves had risen very little, and that the loaf inside the cloche seemed to have spread outward a little more, possibly because of the extra steam generated within the cloche chamber.

I finished the bake, but wasn’t very happy with these “long and short” loaves.

The bread tasted quite good, so I decided to try again, this time baking the bread in loaf pans.

I am much happier with the bread in this shape, although I did still notice that the dough rose outward to fill the pan before it started climbing up, and I was a little disappointed that the oven spring was so little. This bread is quite tasty, and I can definitely see myself making it again.

Until the next time: may your yeast always rise and your flour never run out.