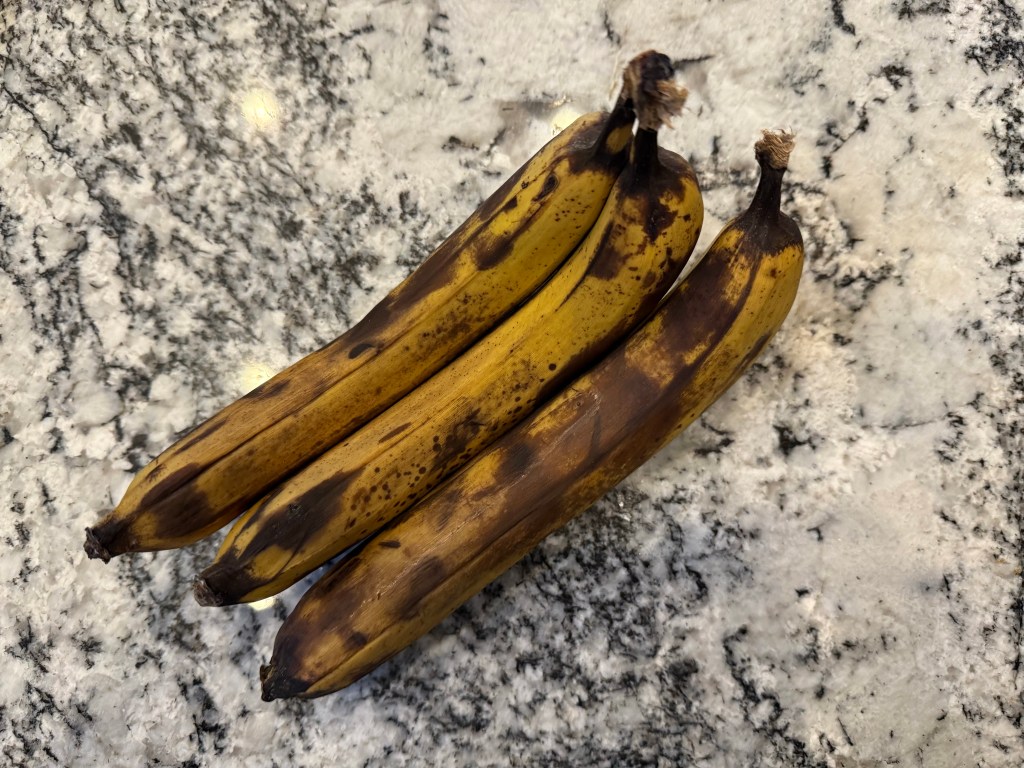
Are you familiar with the phrase, “When life gives you lemons, make lemonade?” I think we should start using its corrolary: When your bananas go sad and bown, make banana bread. Catchy, no? This recipe is from King Arthur’s Whole Grain Baking.
Here are the very ripe bananas in question:
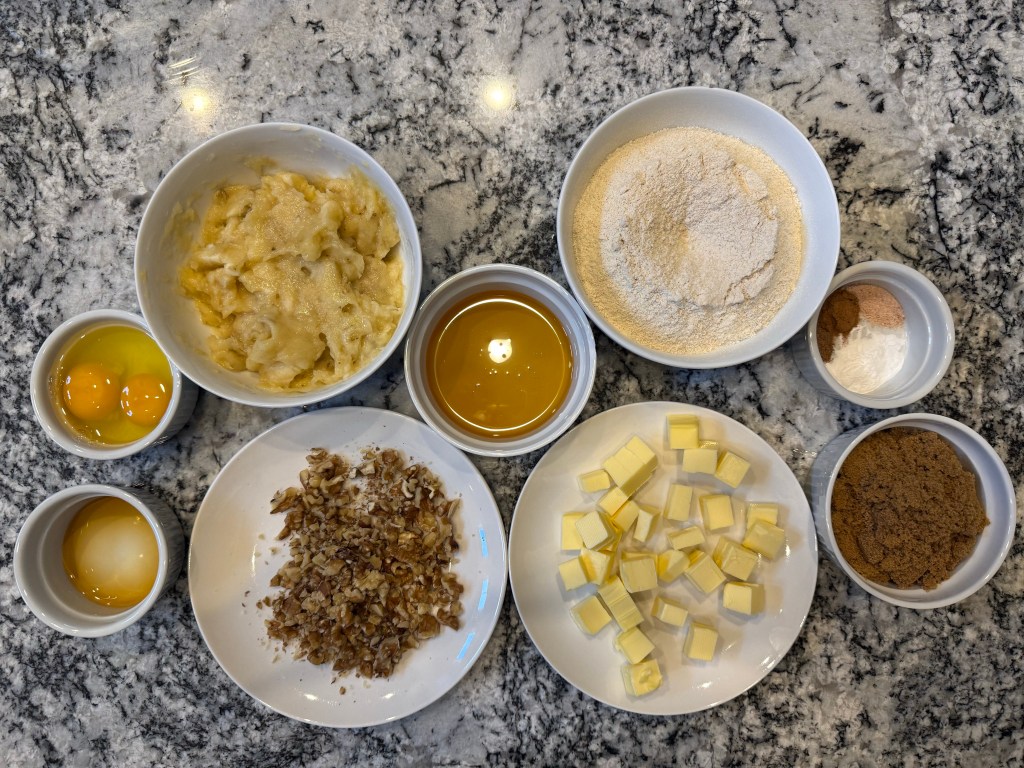
I smashed up the bananas and gathered the mise en place.
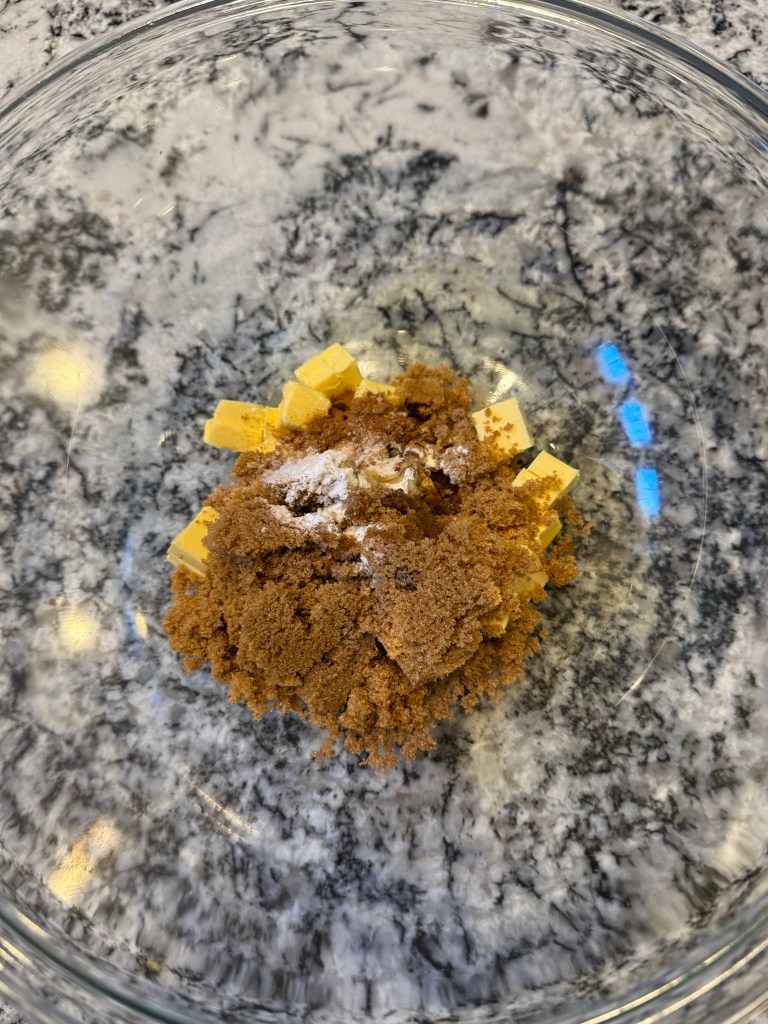
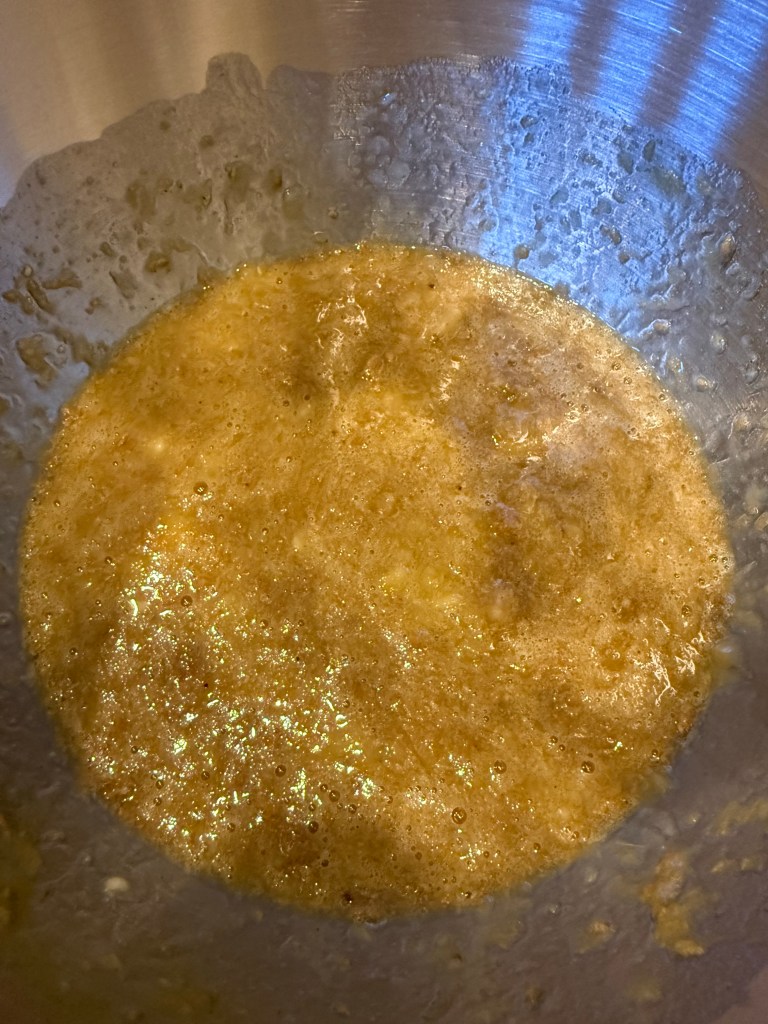
I mixed the butter, sugar, and spices. I initially tried to do this with the handheld mixer in a bowl, but the butter refused to incorporate with the sugars, so I switched to the stand mixer. This worked much better.
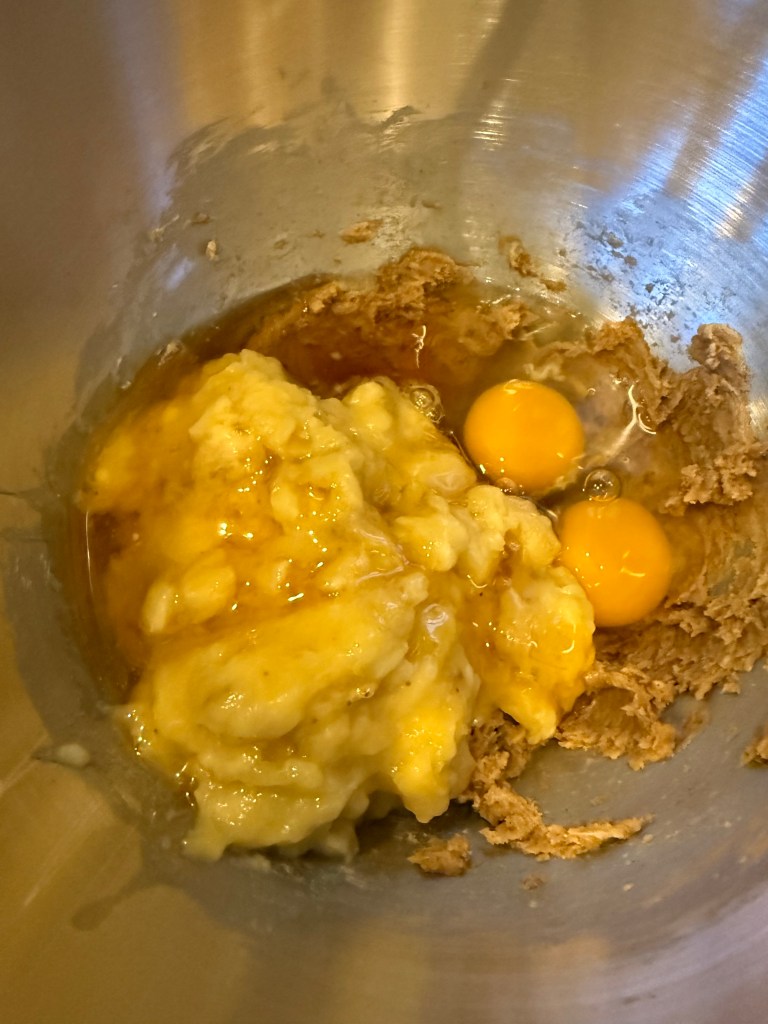
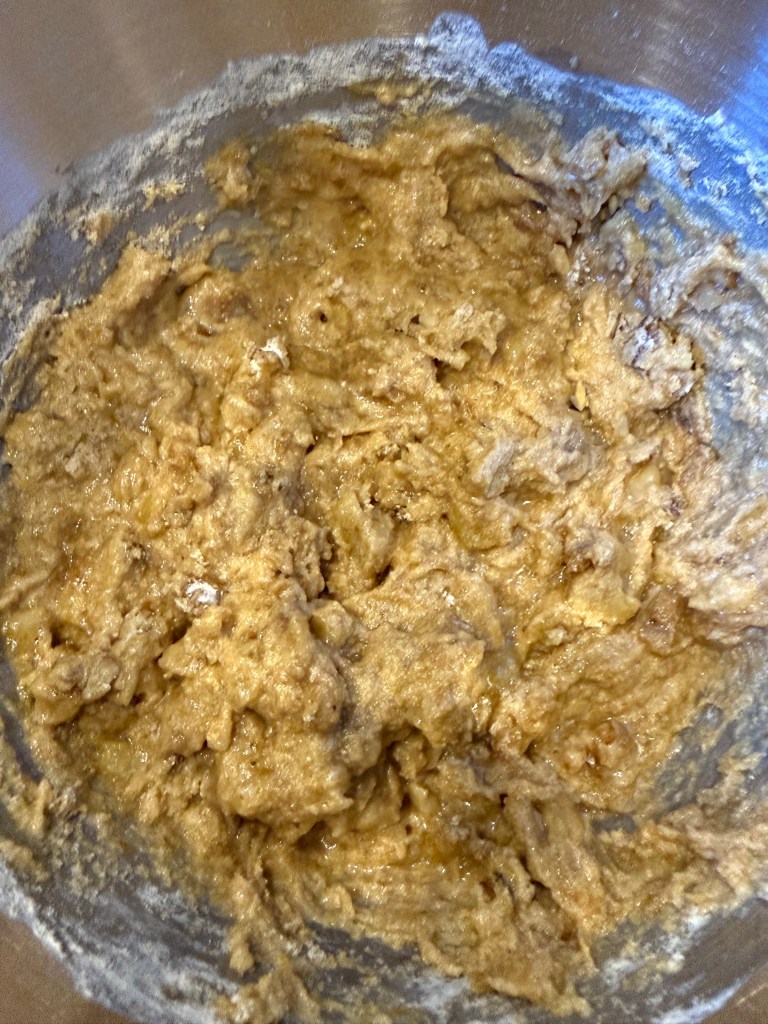
I added the honey, eggs, and banana…
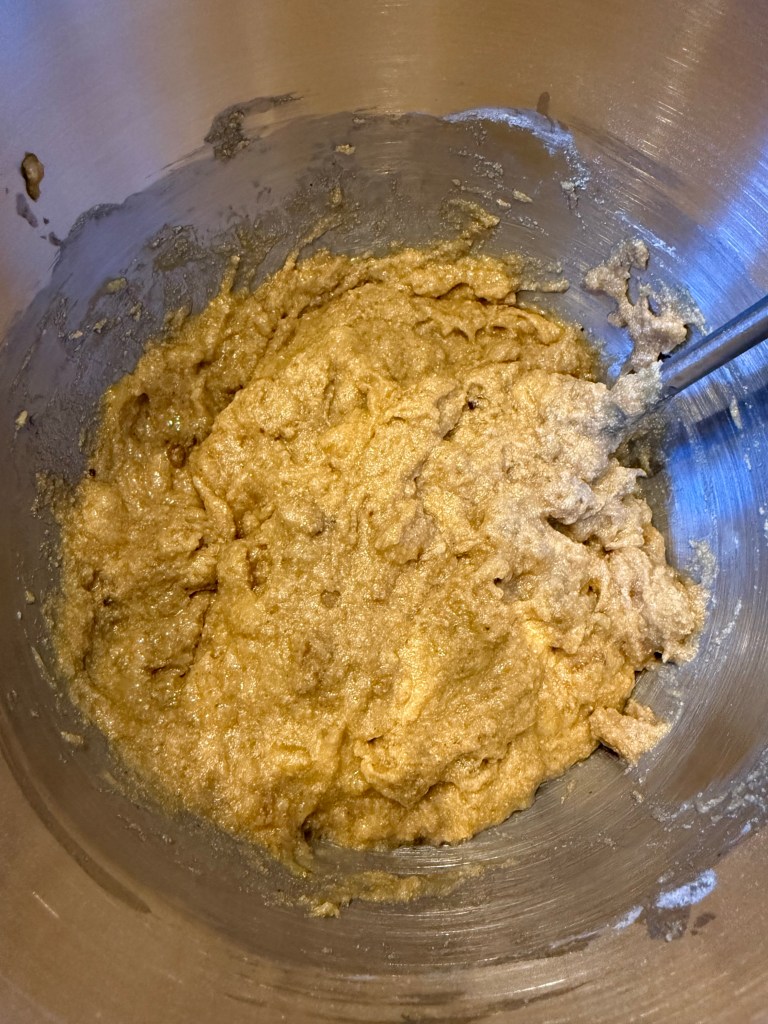
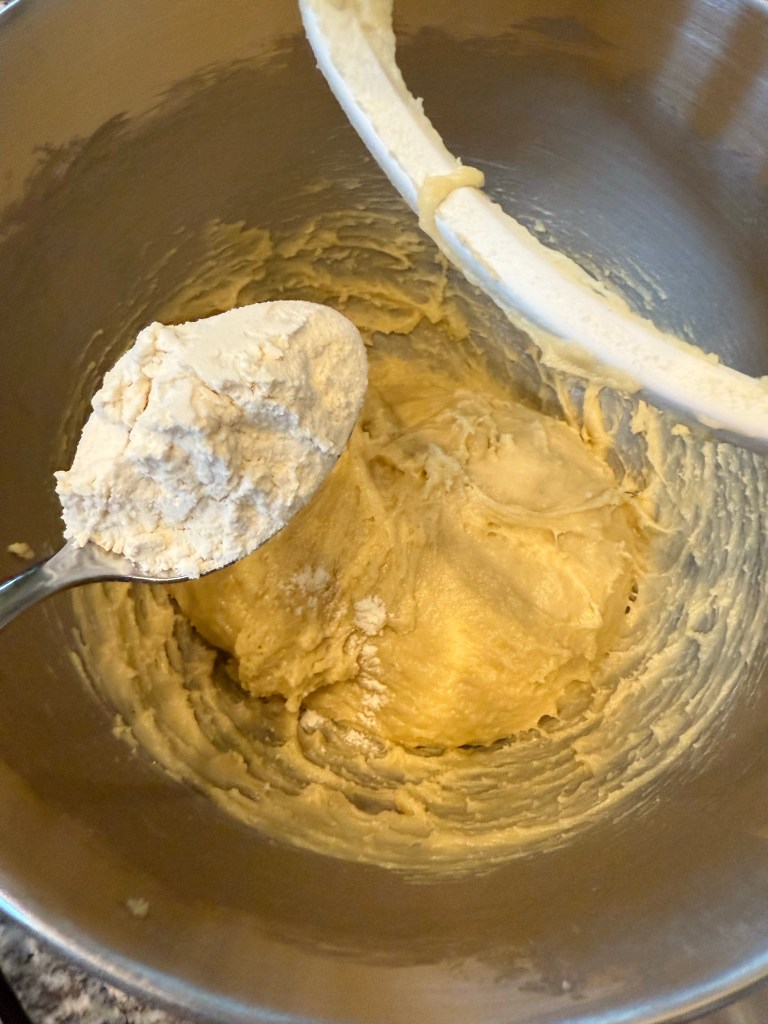
then added the flour and nuts and mixed in the stand mixer until the flour was mostly incorporated. To prevent overmixing and keep the loaf as tender as possible, I finished the mixing by hand.
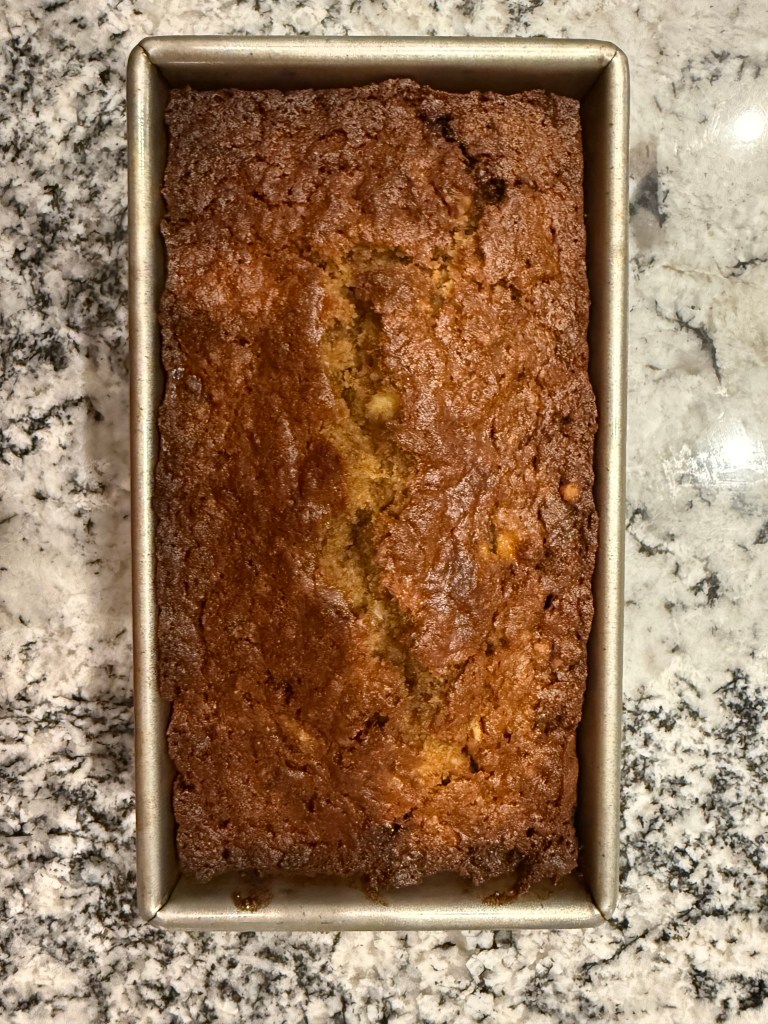
I poured the batter into a greased loaf pan and baked it for 50 minutes.
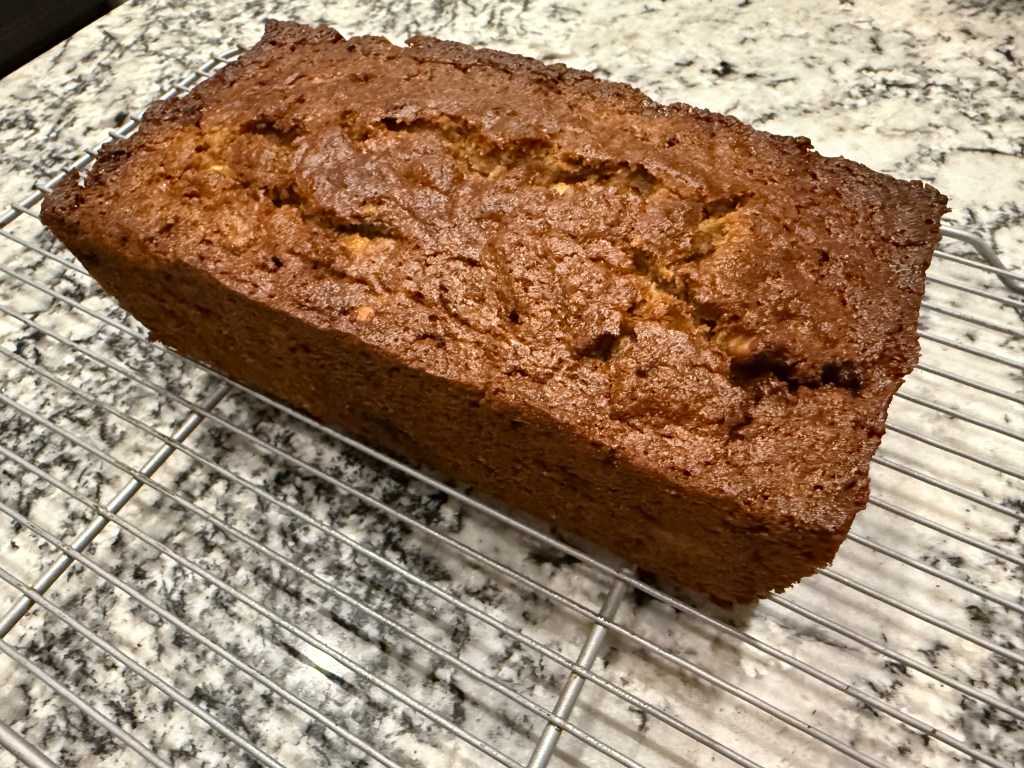
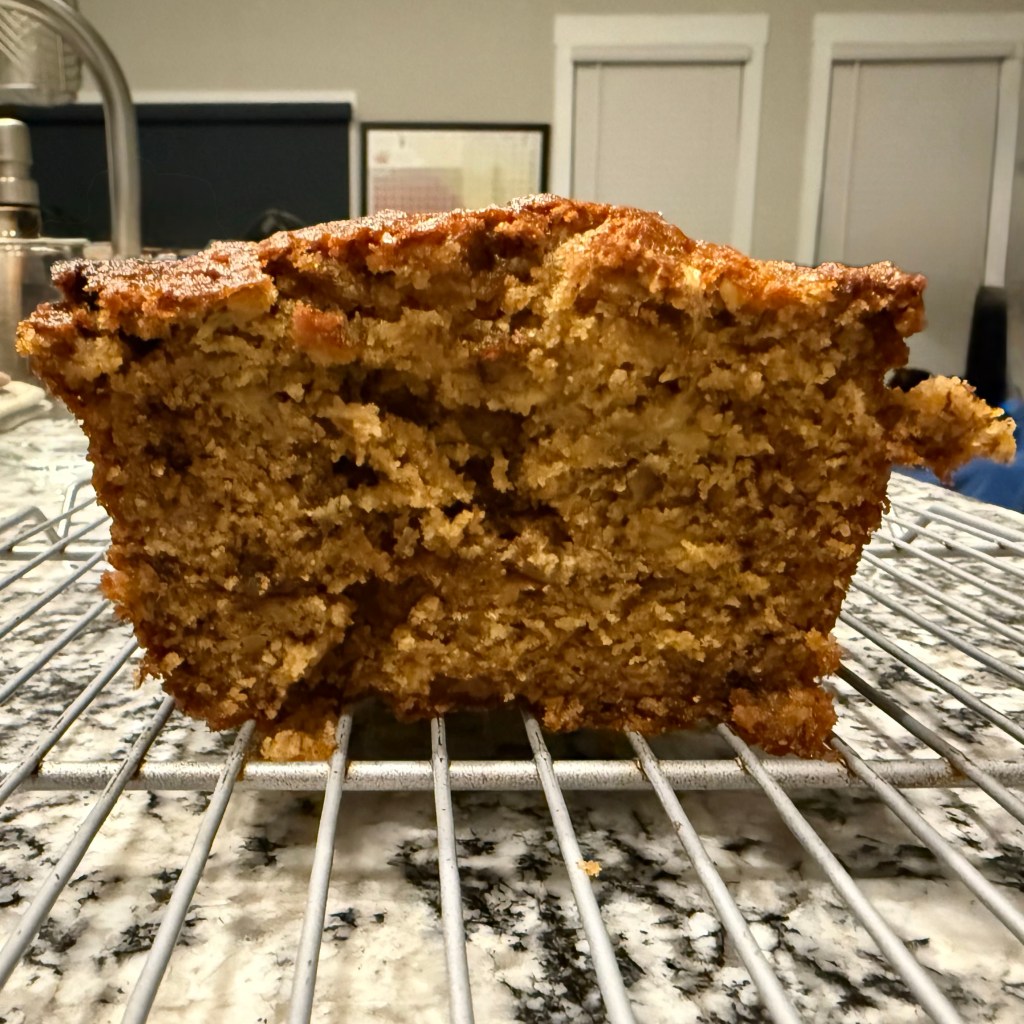
The loaf baked up beautifully and even came out of its pan very nicely.
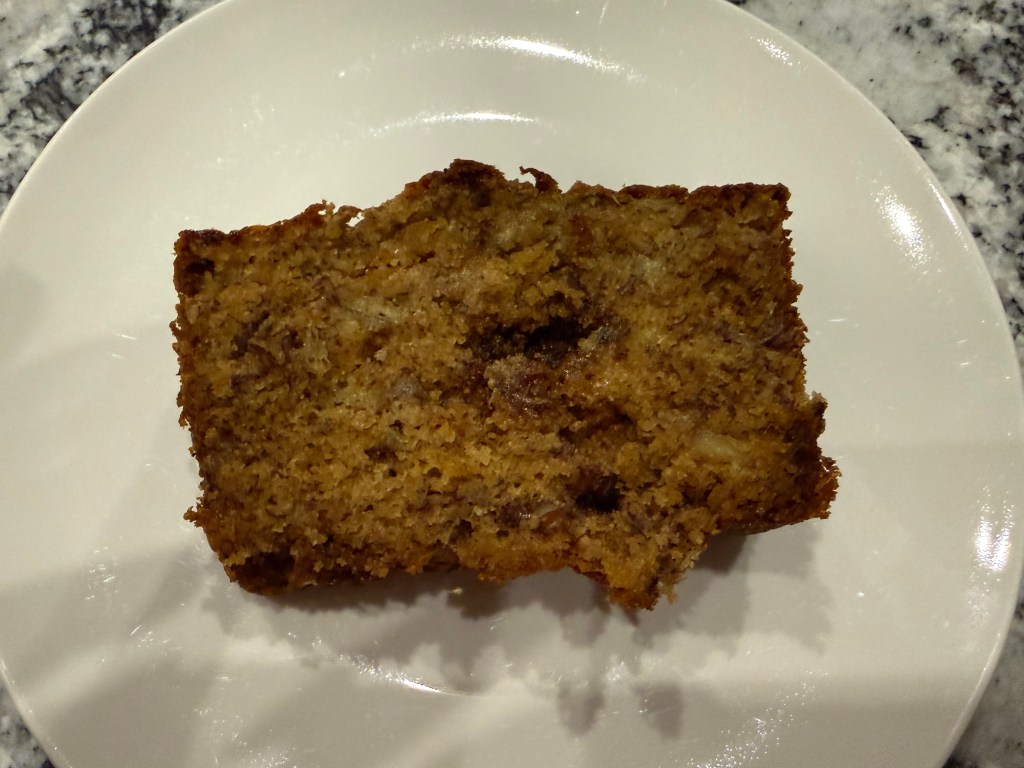
This bread is delicious! It’s dense, but not stodgy (as the British would say). It’s banana-y, but not too much. It’s sweet, but not too sweet. It’s made with whole wheat flour, but you would never guess it from the flavor or texture. This is another winner from the Whole Grain Baking book.
Until the next time: may your yeast always rise and your flour never run out.
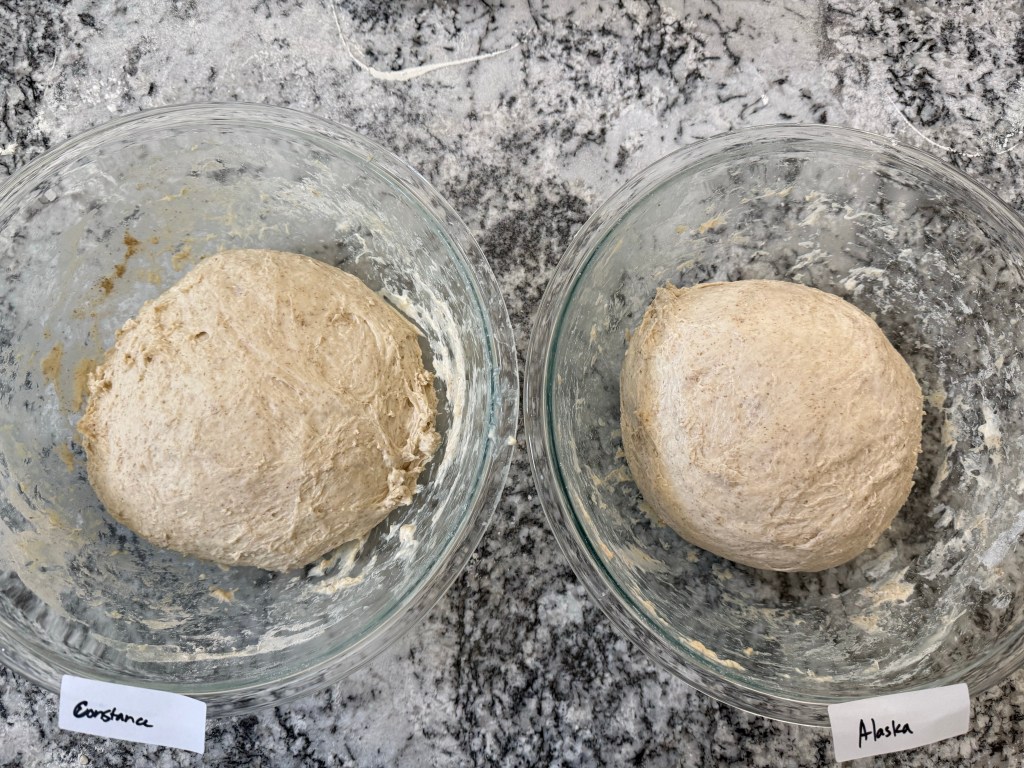
Ever since I bought the starter from Alaska I’ve wanted to see how it compares to my own starter, Constance. It took a few months, but I finally set up an experiment to see if there is a difference in rise, flavor, and bread texture between the starters. In the process I made a lot of bread and learned a little about how hard Science is, especially in relation to setting up experiments.
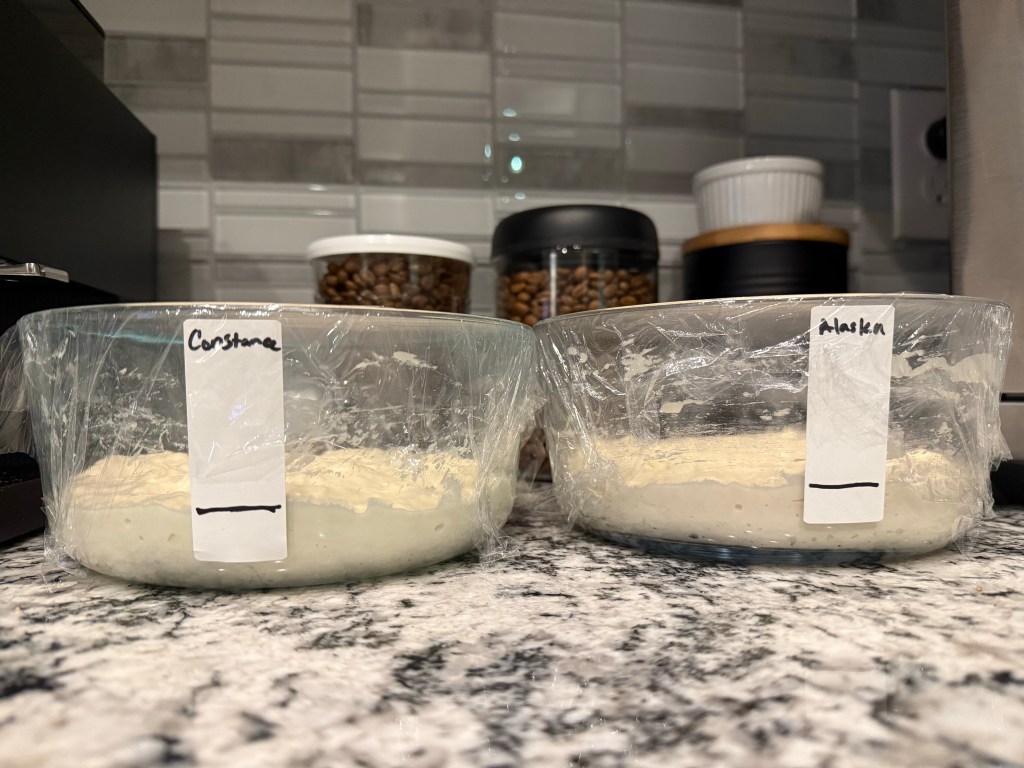
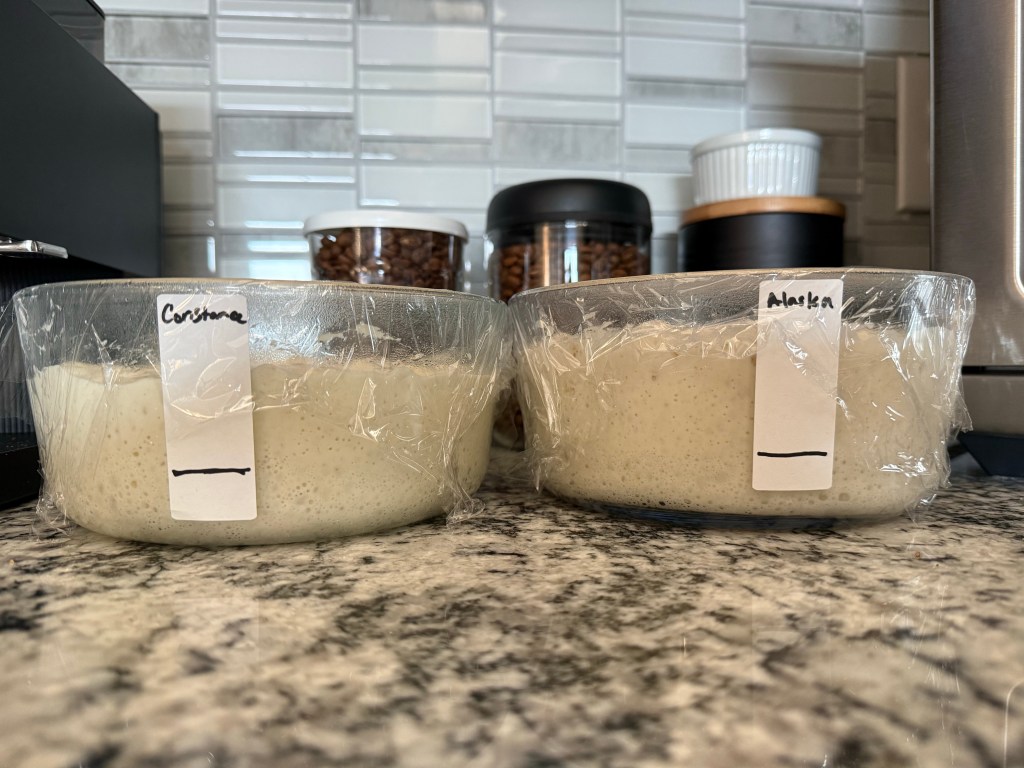
I’ll start off with a brief explanation of my methodology. I keep both starters in similarly-sized glass crocks. I feed them the same amount of flour and water (both ingredients at the same temperature for both doughs), and mix them with separate tools. I do my best to avoid cross-contamination, but I am only human, and I work in a kitchen, not a lab, so cross-contamination is entirely possible. Both starters have been kept in my kitchen and baked with periodically for several months (at least), and both starters rise consistently and are very healthy. When working with the doughs I always worked with Constance first. This helped keep the timings between the doughs more or less consistent. Knowing the possibility of cross-contamination, working with Constance first also helps me limit the possibility of contaminating her with the Alaska starter. Finally, a caveat: I am very fond of Constance, and I should acknowledge that seeing her come out better in every way than the Alaska starter would make me very happy.
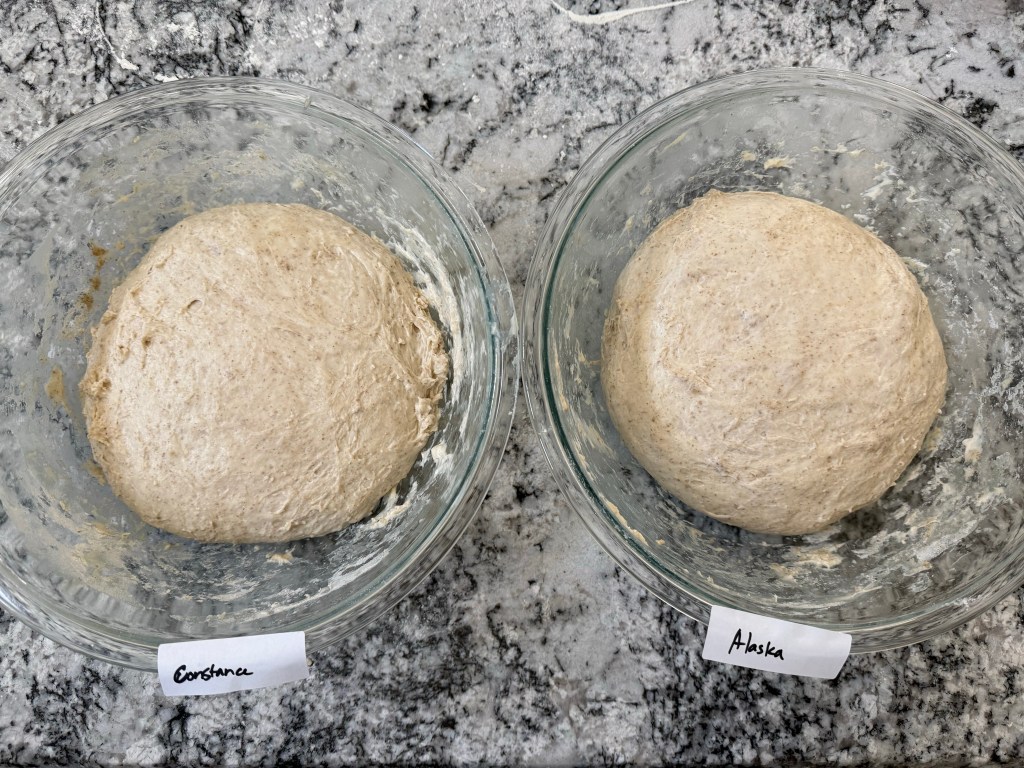
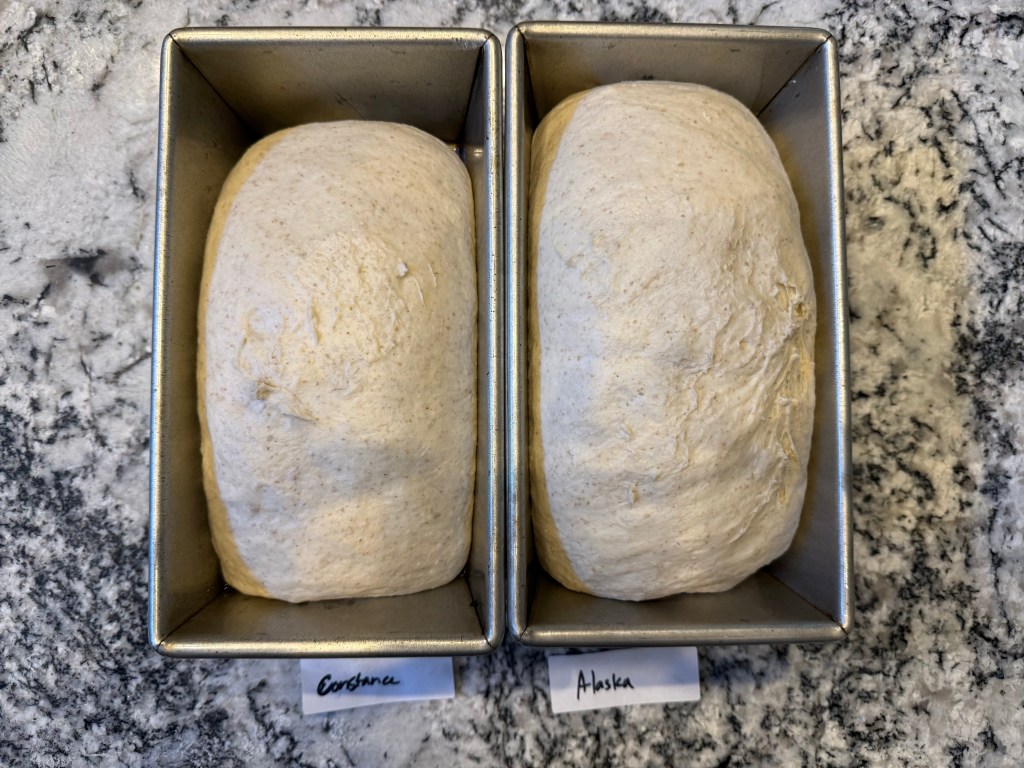
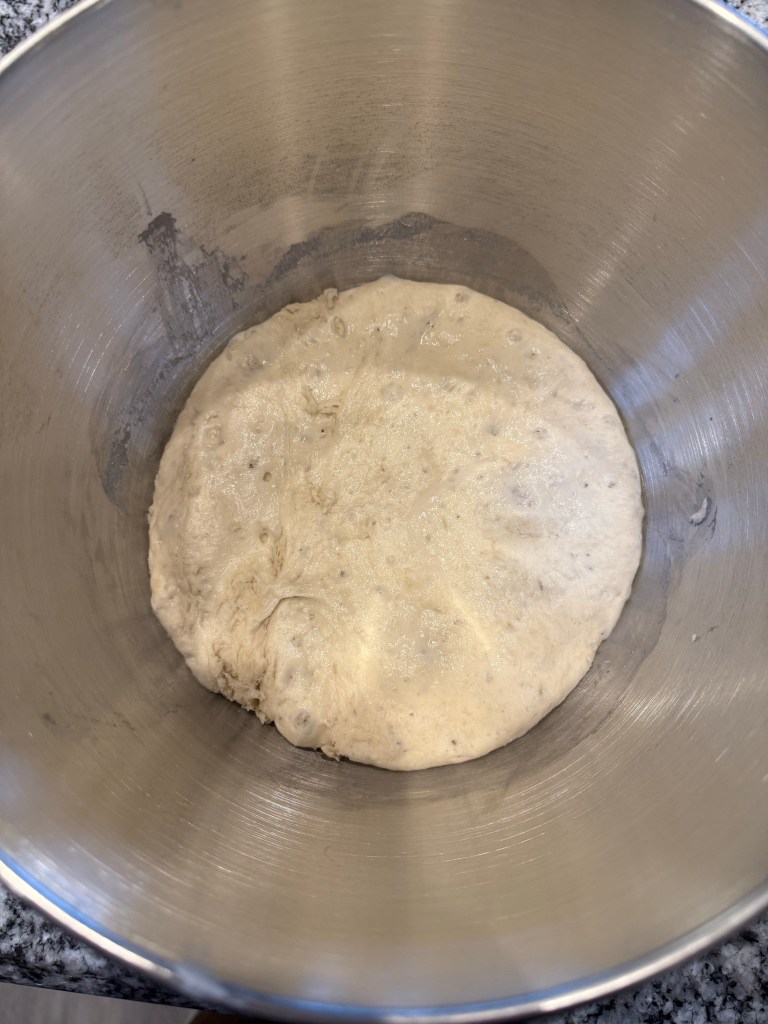
I mixed both levains the night before baking, and by the next morning it was already apparent that the Alaska starter rose more than Constance.
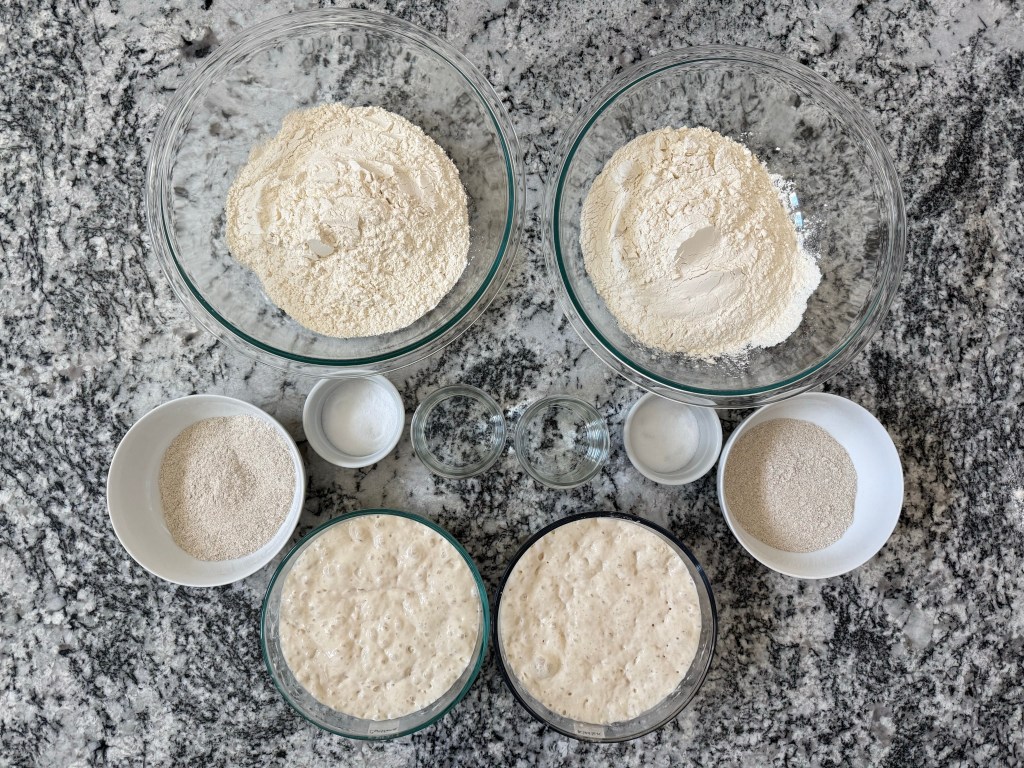
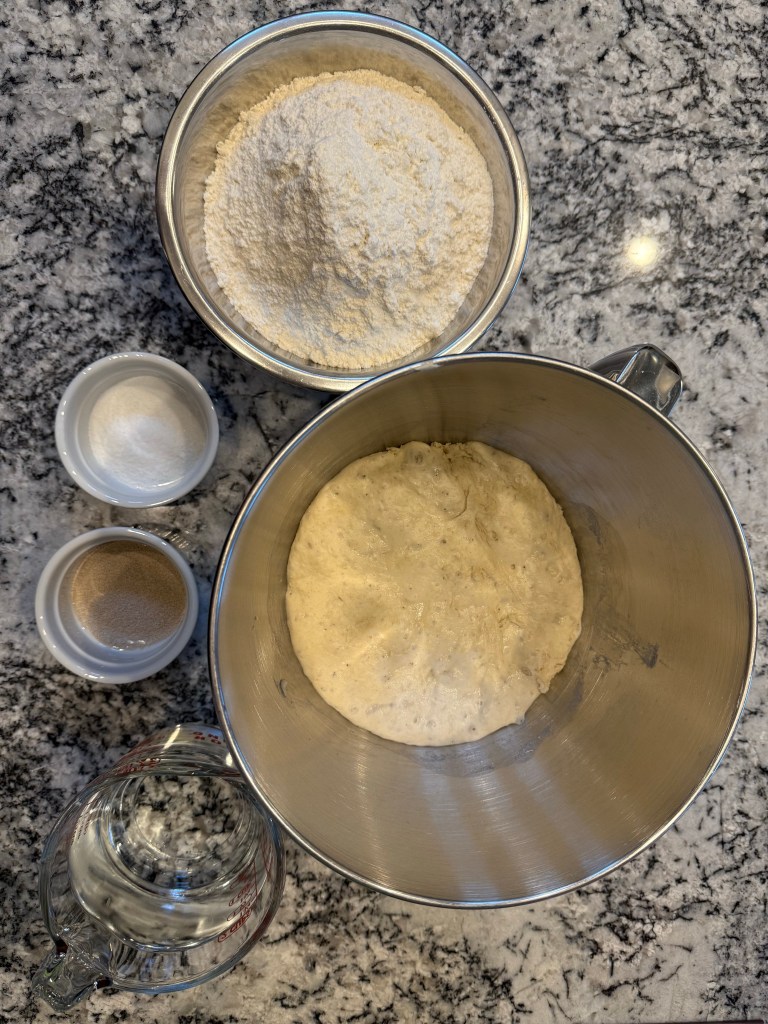
I gathered the mise en place for both doughs:
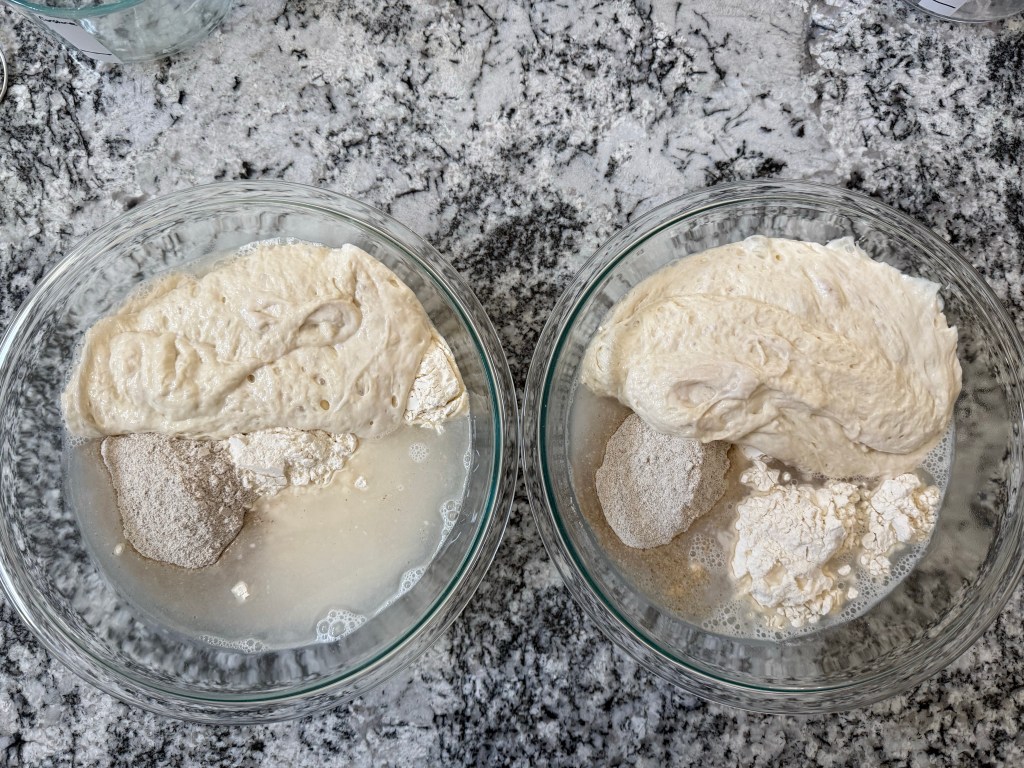
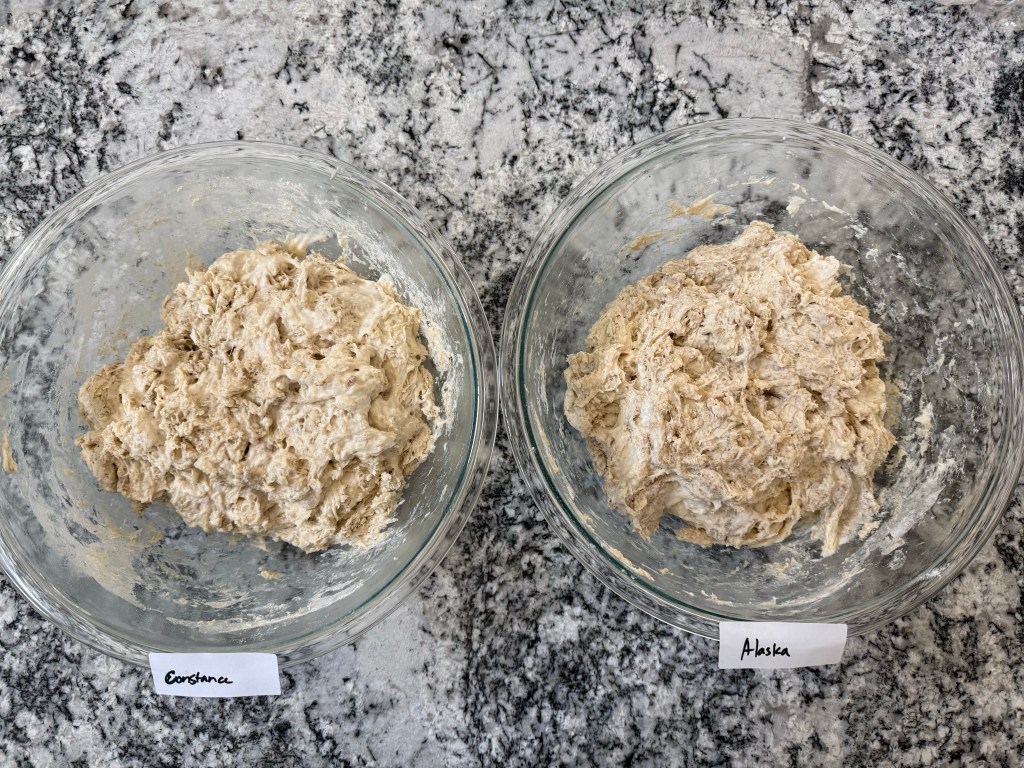
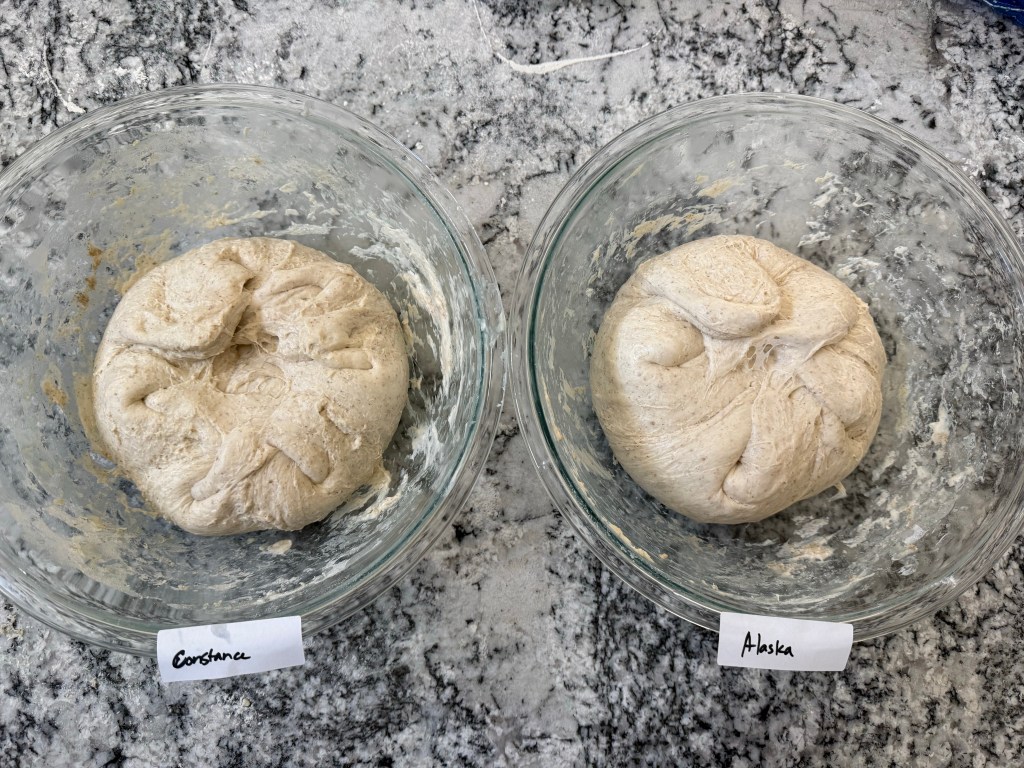
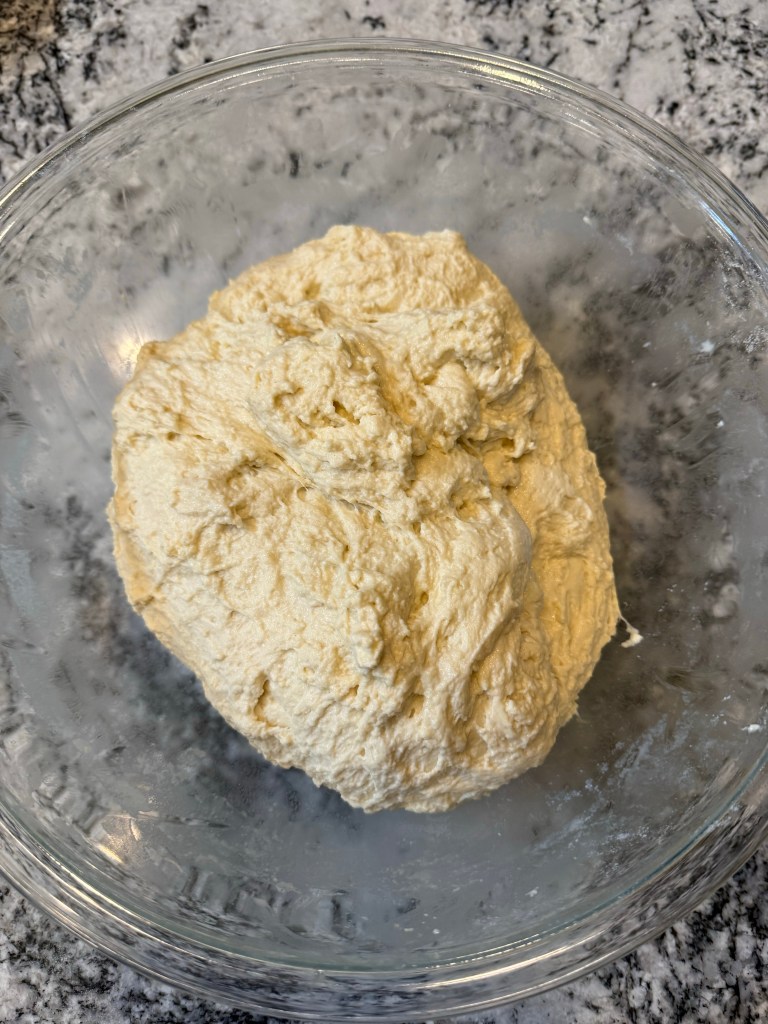
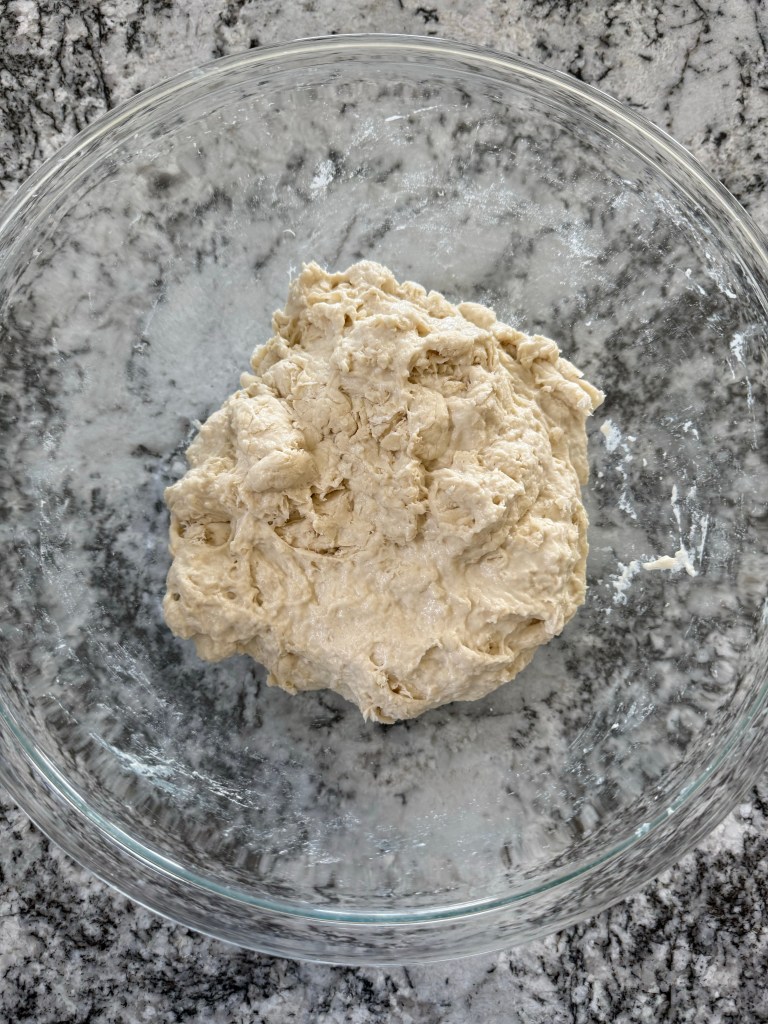
I added all the ingredients except salt to both bowls and mixed until shaggy, then kneaded each using a modified slap-and-fold technique.
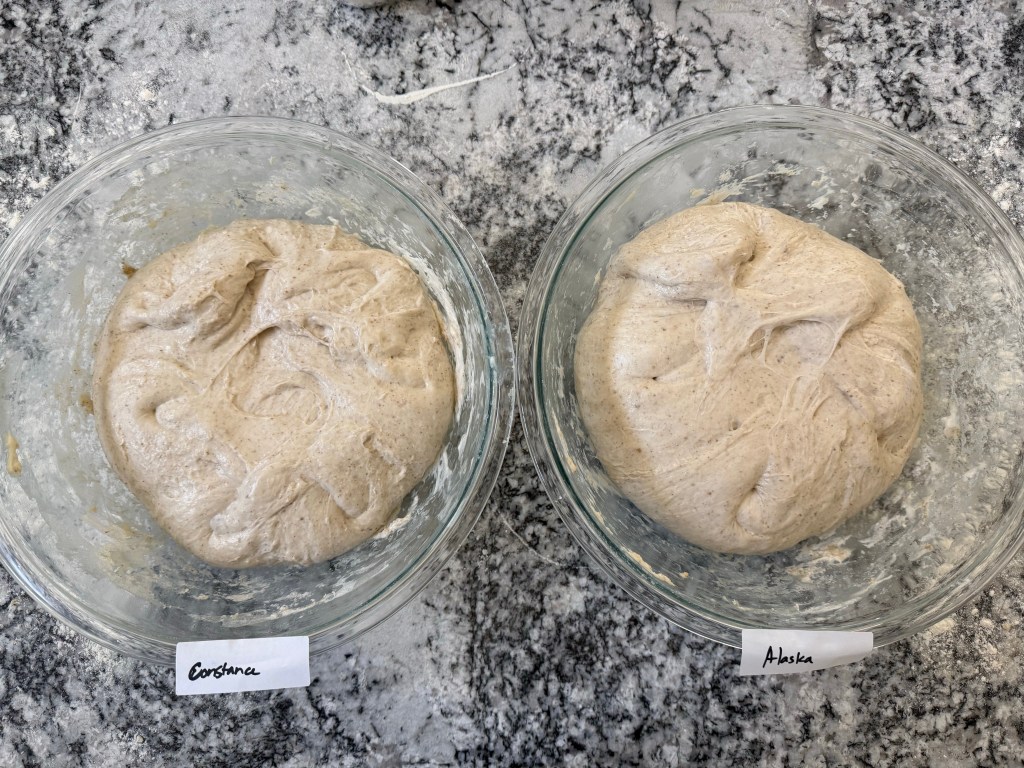
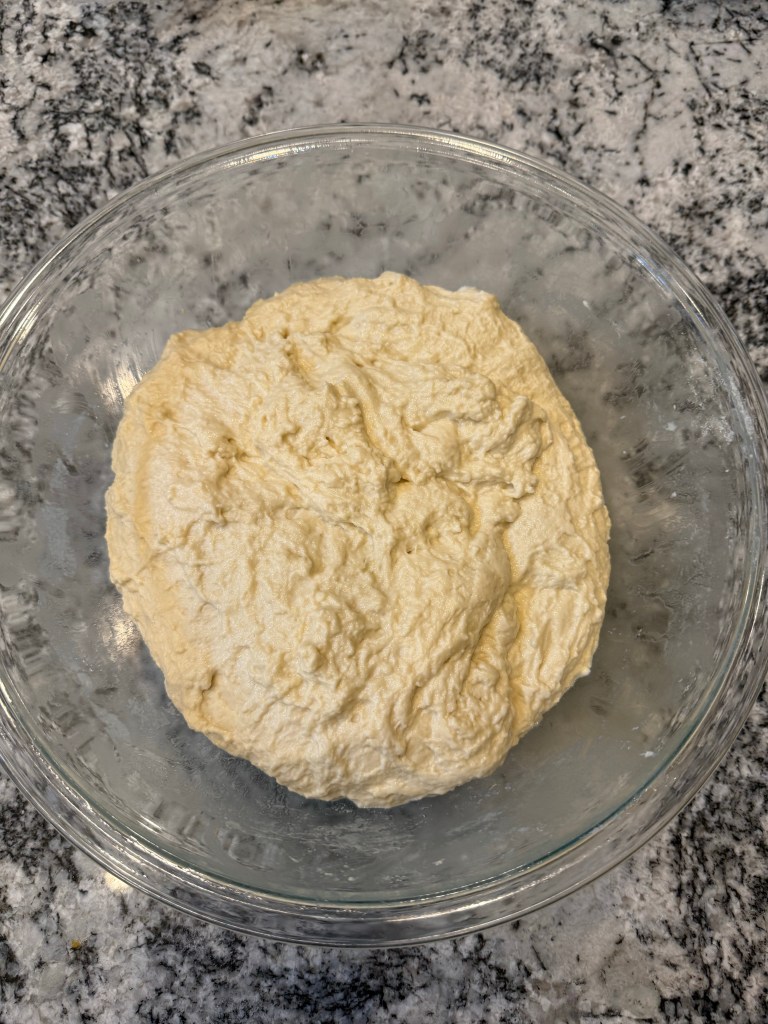
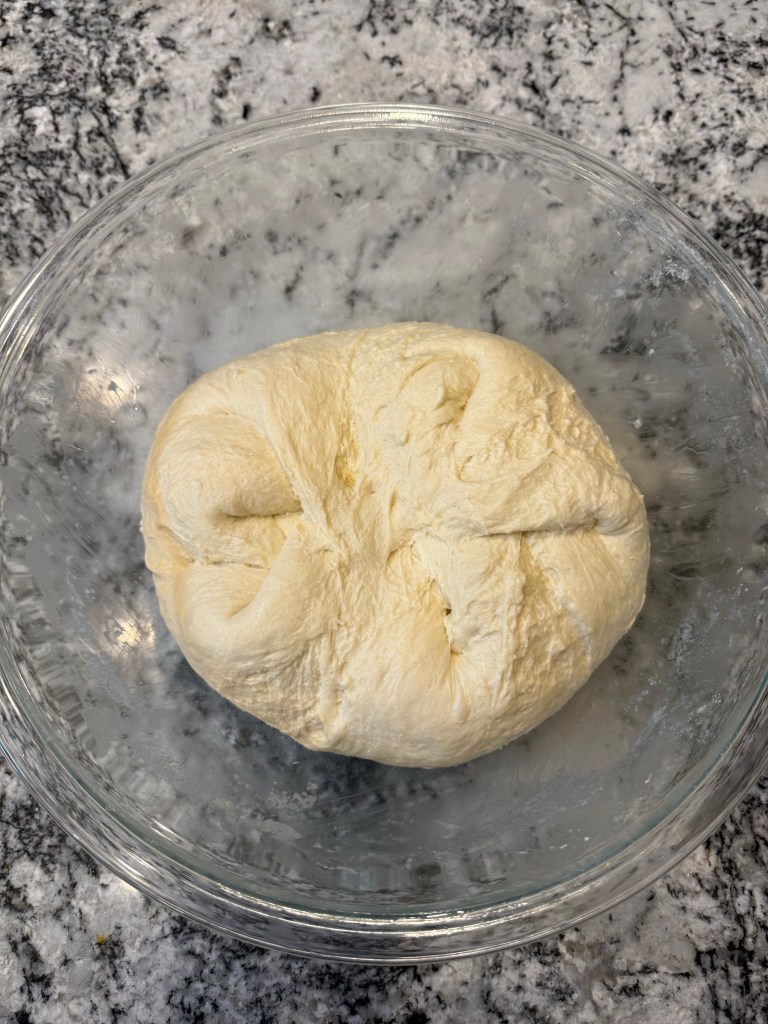
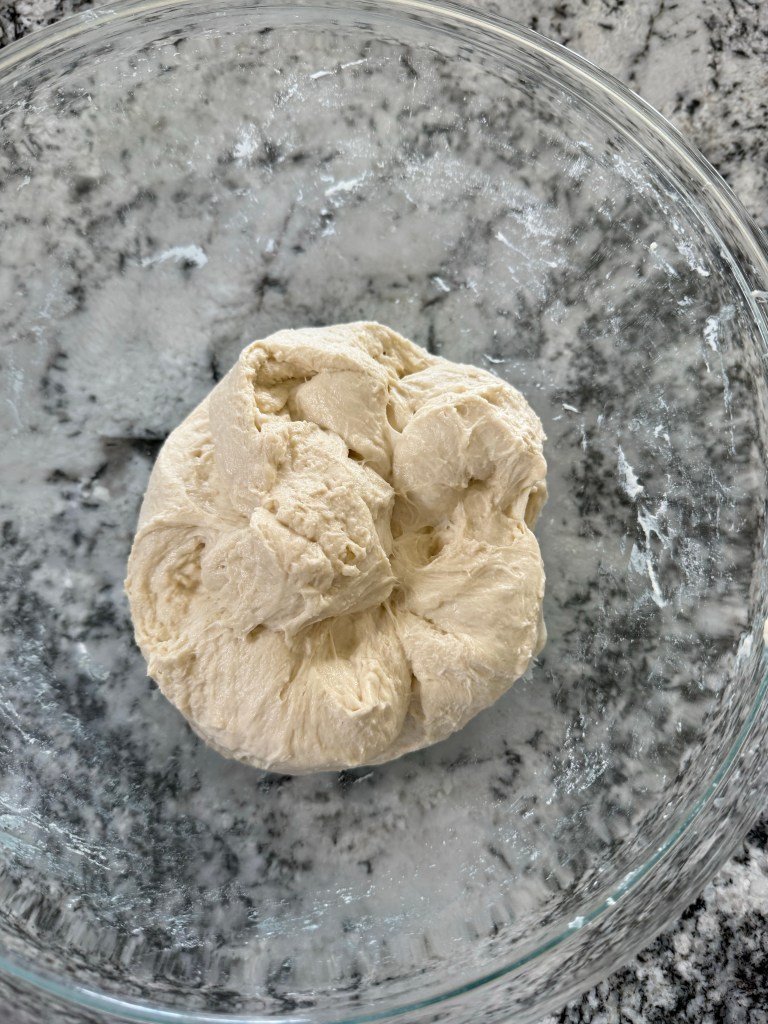
The doughs rose for 45 minutes in a warm environment, then I performed bowl-folds, going twice around each bowl.
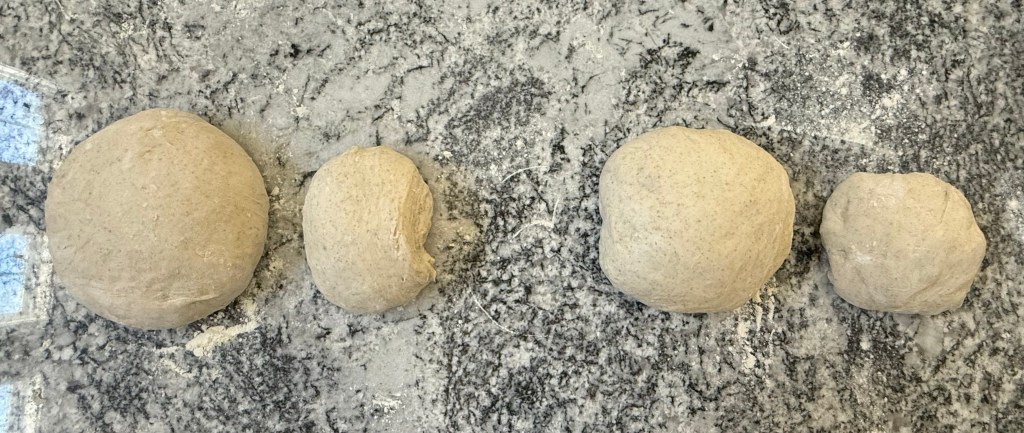
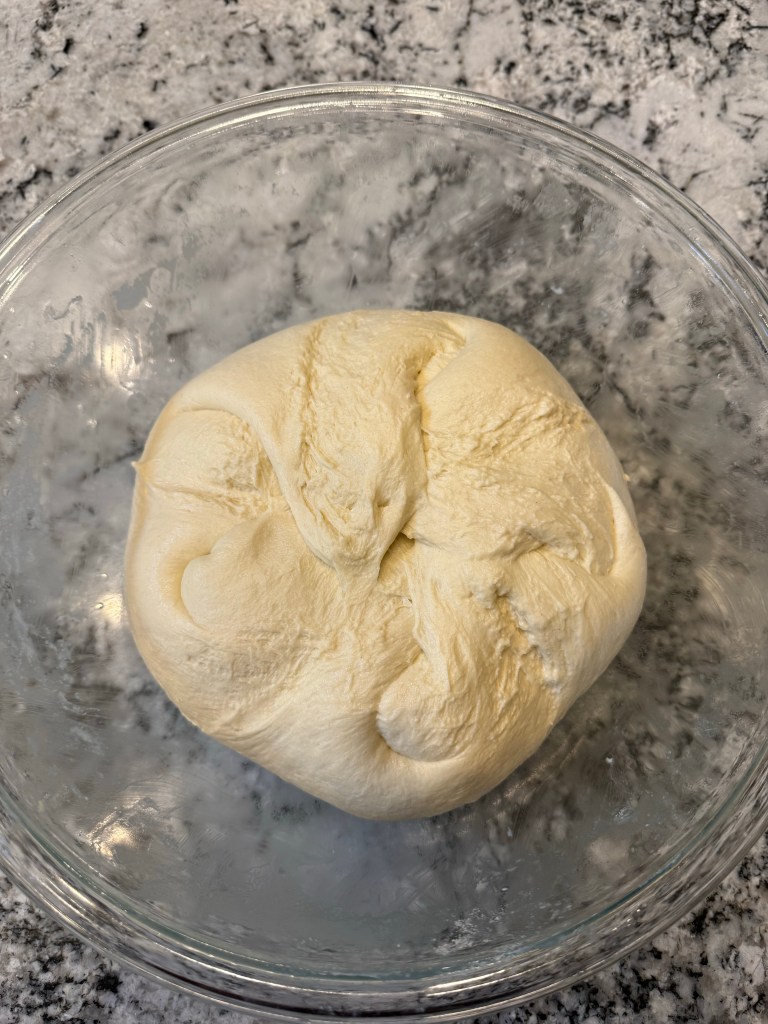
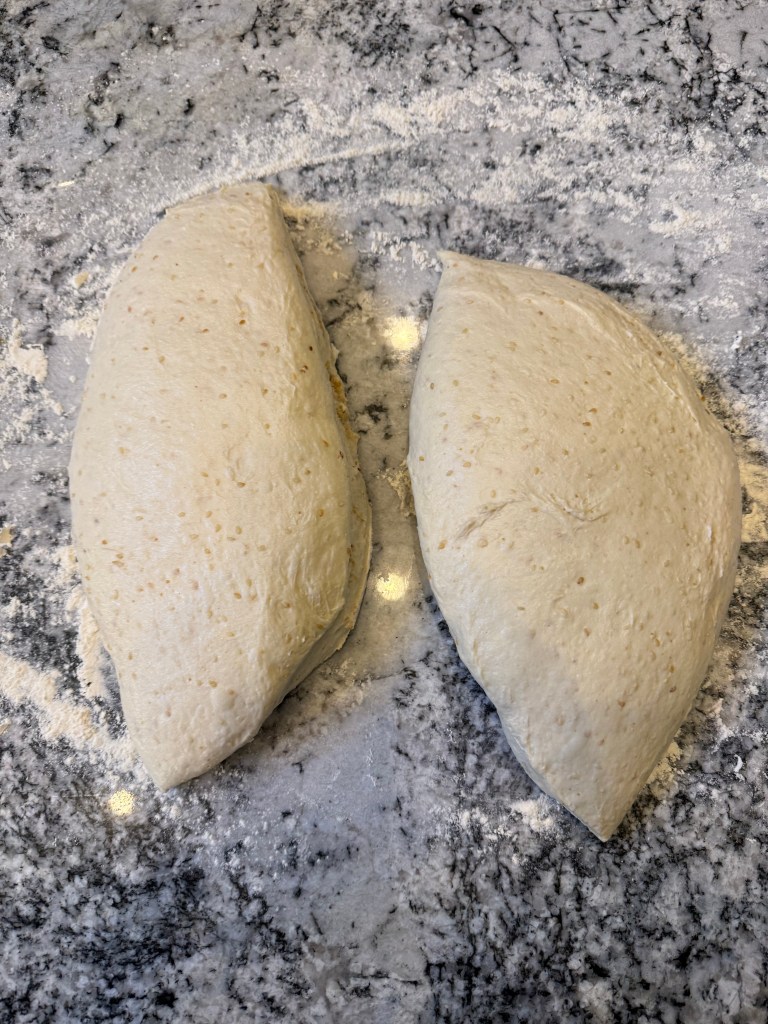
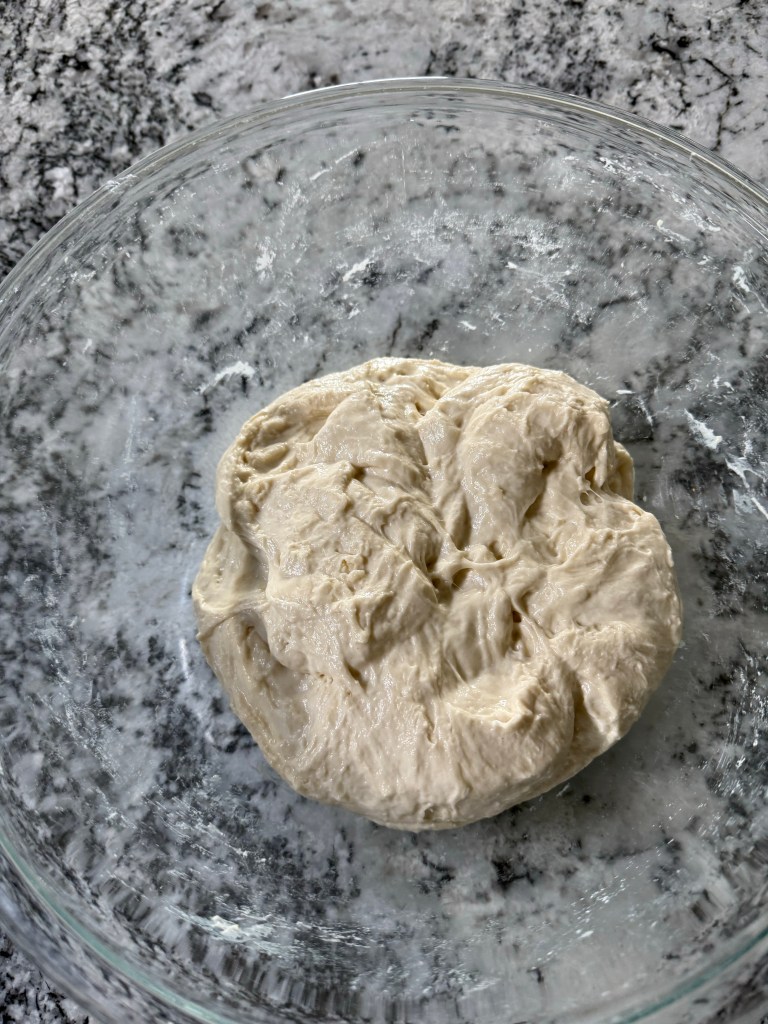
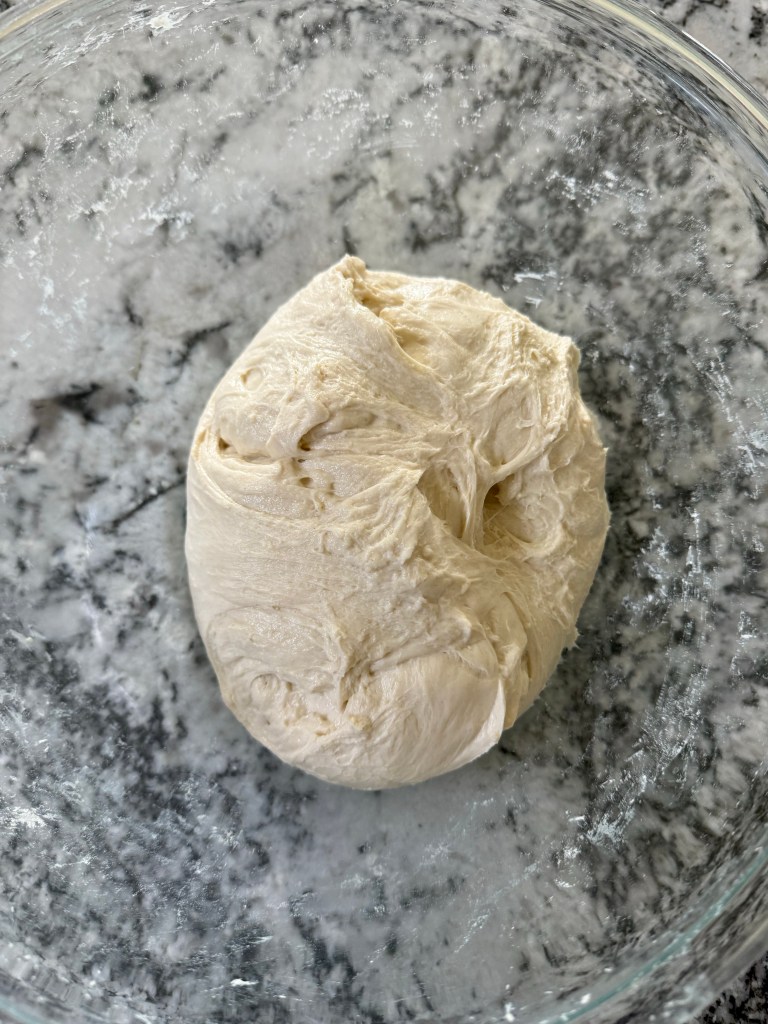
The dough rose again for another hour and 15 minutes (2 hours bulk ferment in total). I divided and preshaped both doughs.
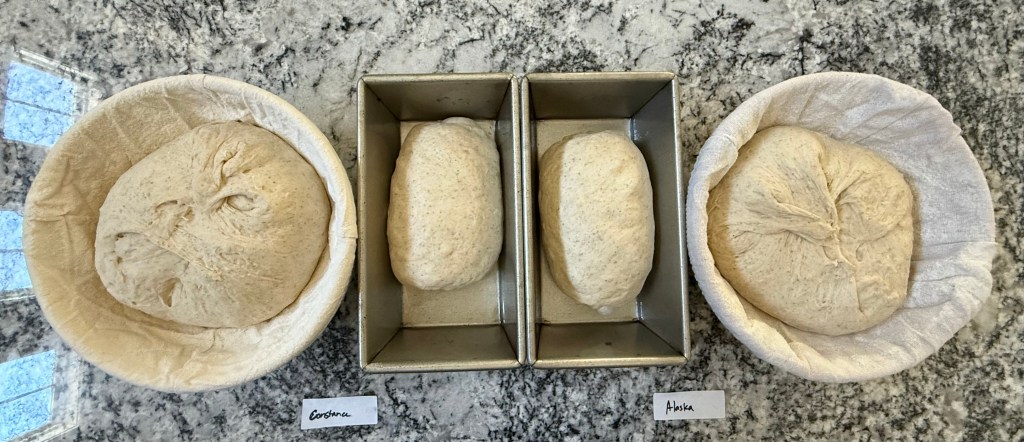
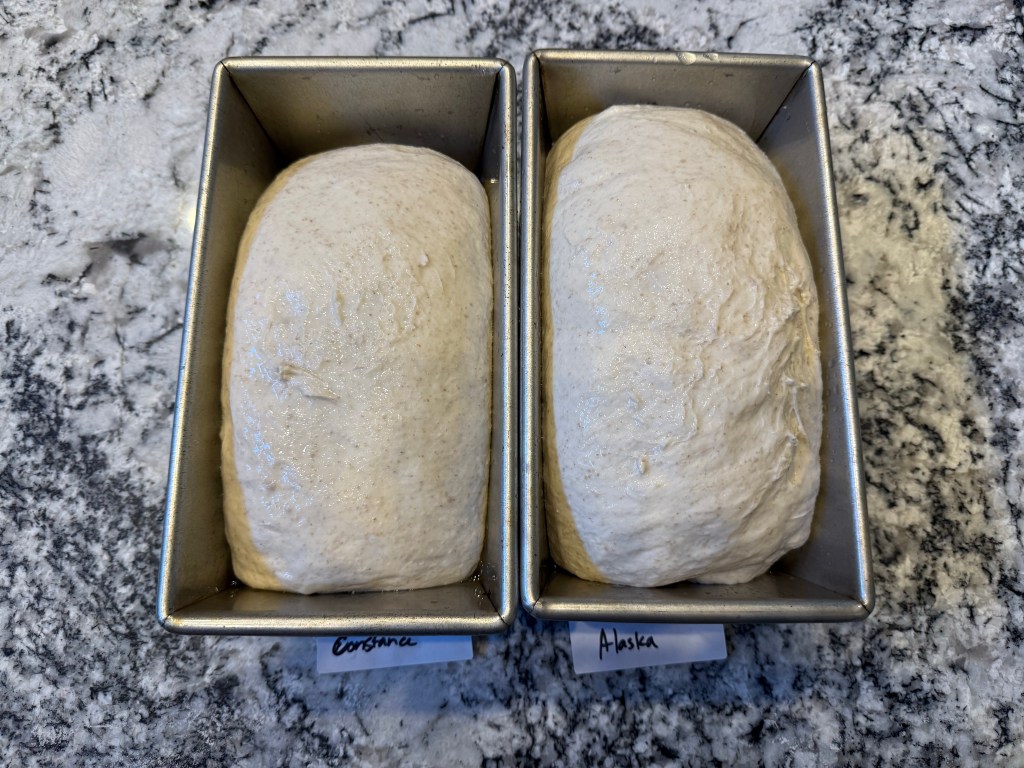
The doughs rested on the cool counter for 20 minutes, then I shaped them. Each dough was divided into a larger and smaller loaf. The smaller loaves completed their final rise directly in (identical) loaf tins. The larger loaves rose in floured bannetons.
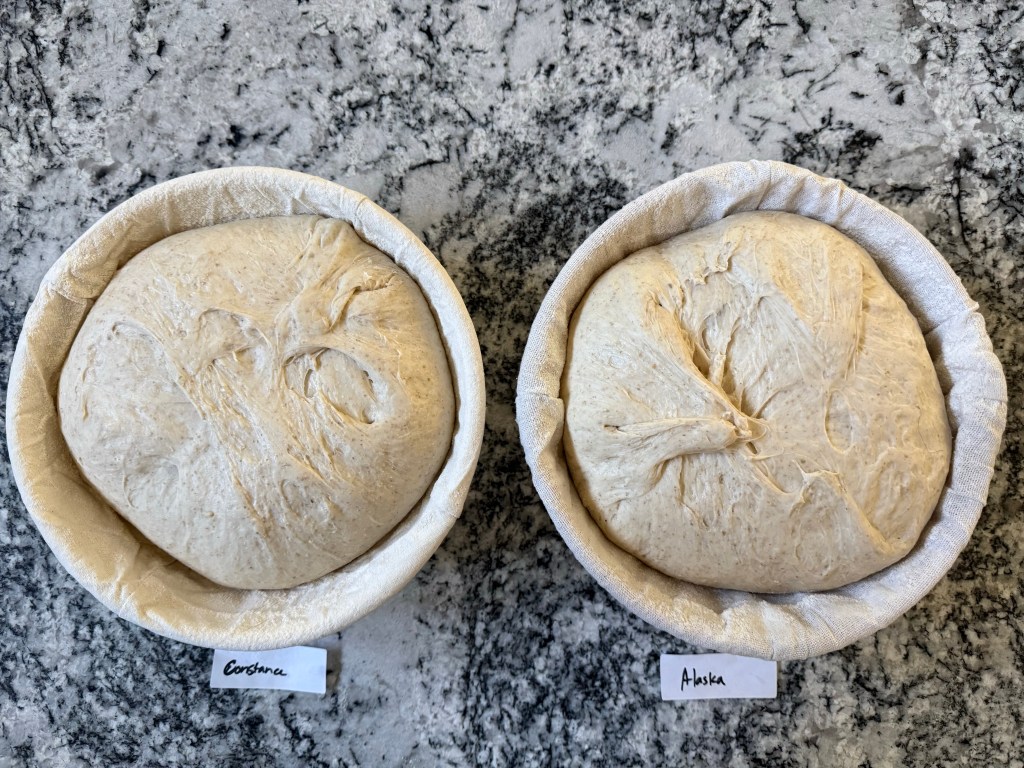
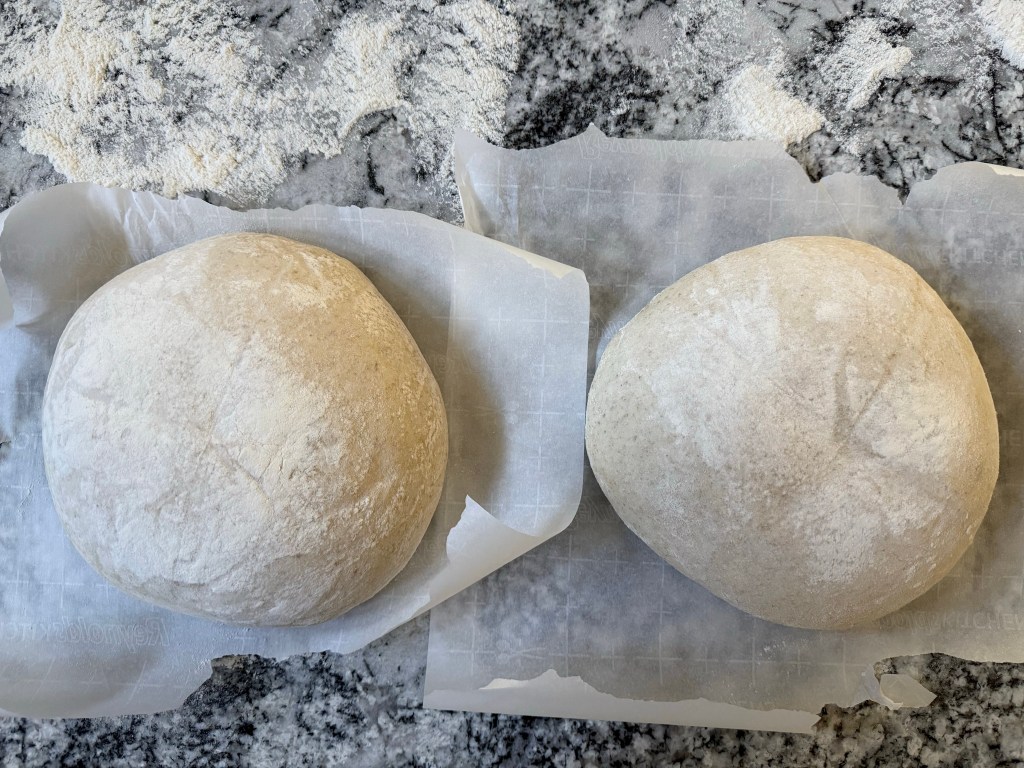
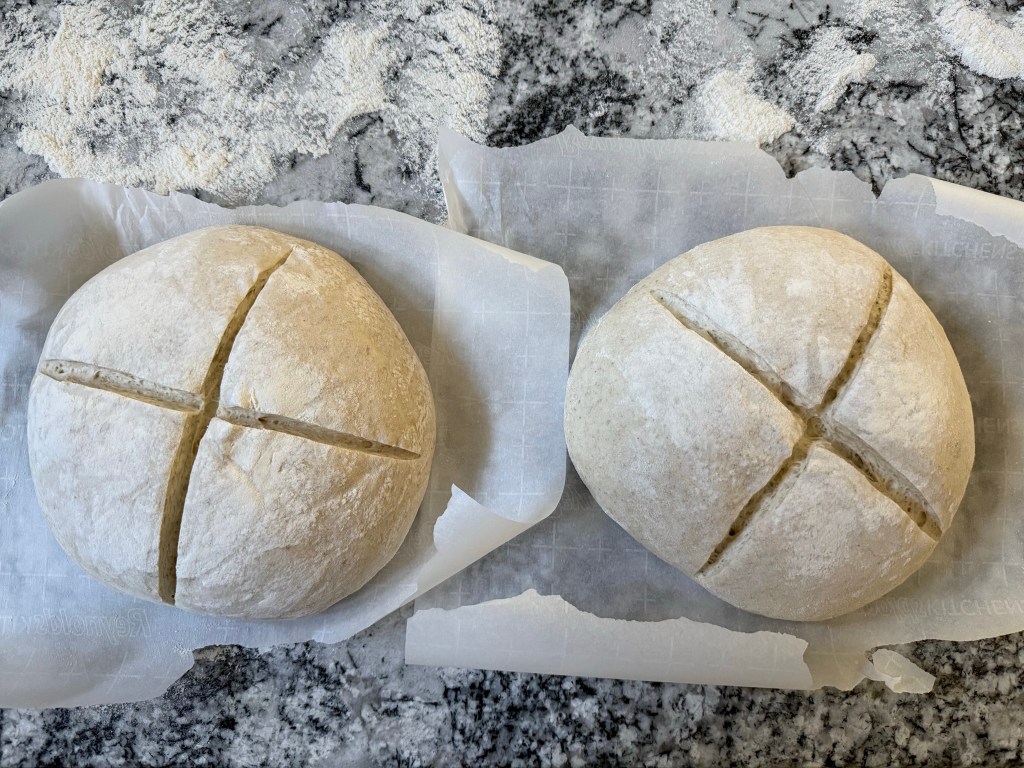
The doughs proofed for 2 hours before I prepped and scored the larger loaves. My oven is not big enough to accommodate all 4 loaves at once, so I am baking these in 2 batches.
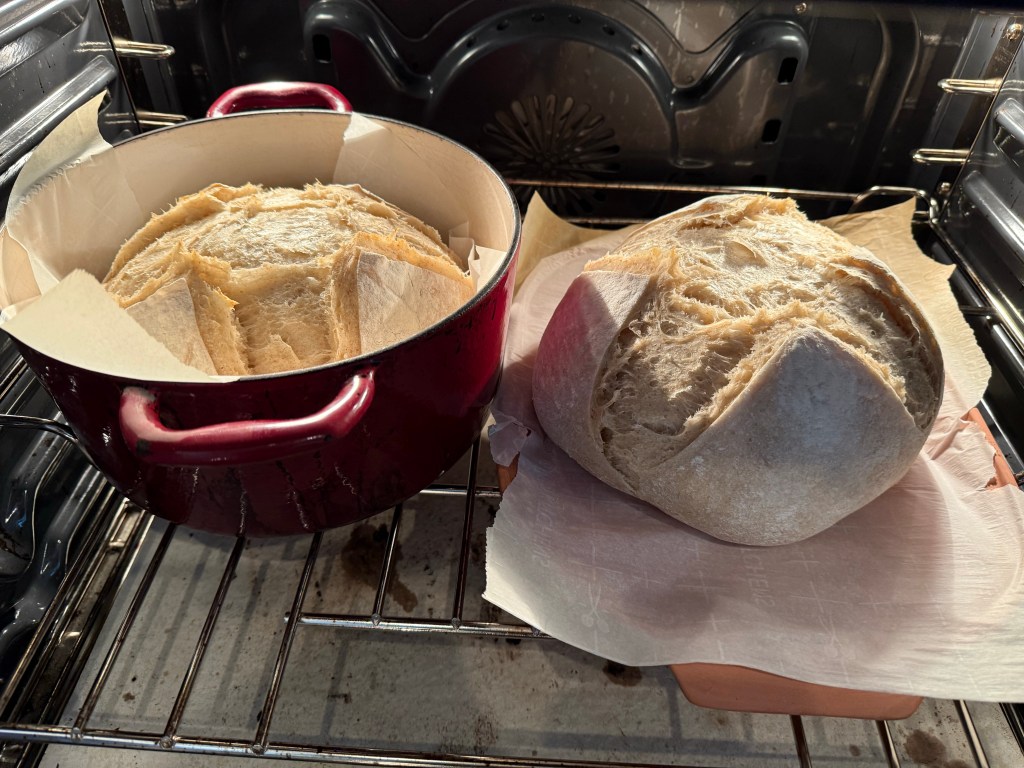
I baked larger loaves, and this is the biggest hole in my experiment. While I have identical bread tins for the smaller loaves, for the larger loaves I have a Dutch Oven and a Clay Baker. I have a fondness for Constance, so I put her in the Dutch Oven, which I suspected was the better baking vessel. Alaska’s loaf went in the clay baker. Both loaves had great oven spring, but Constance did rise higher than Alaska in the oven.
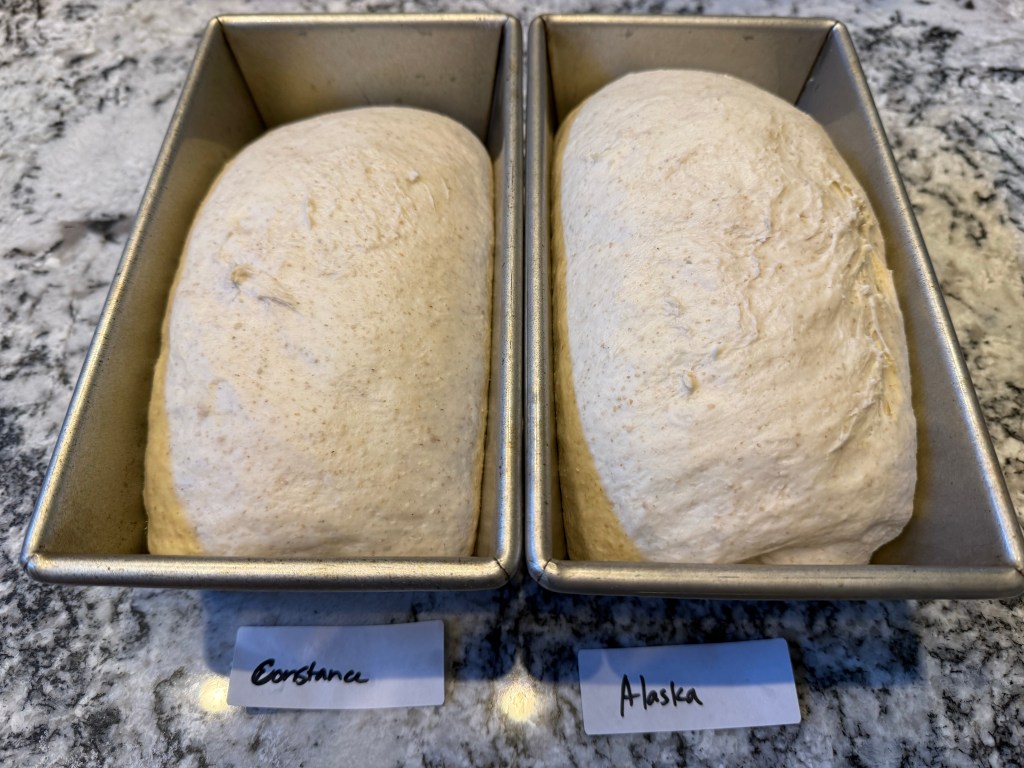
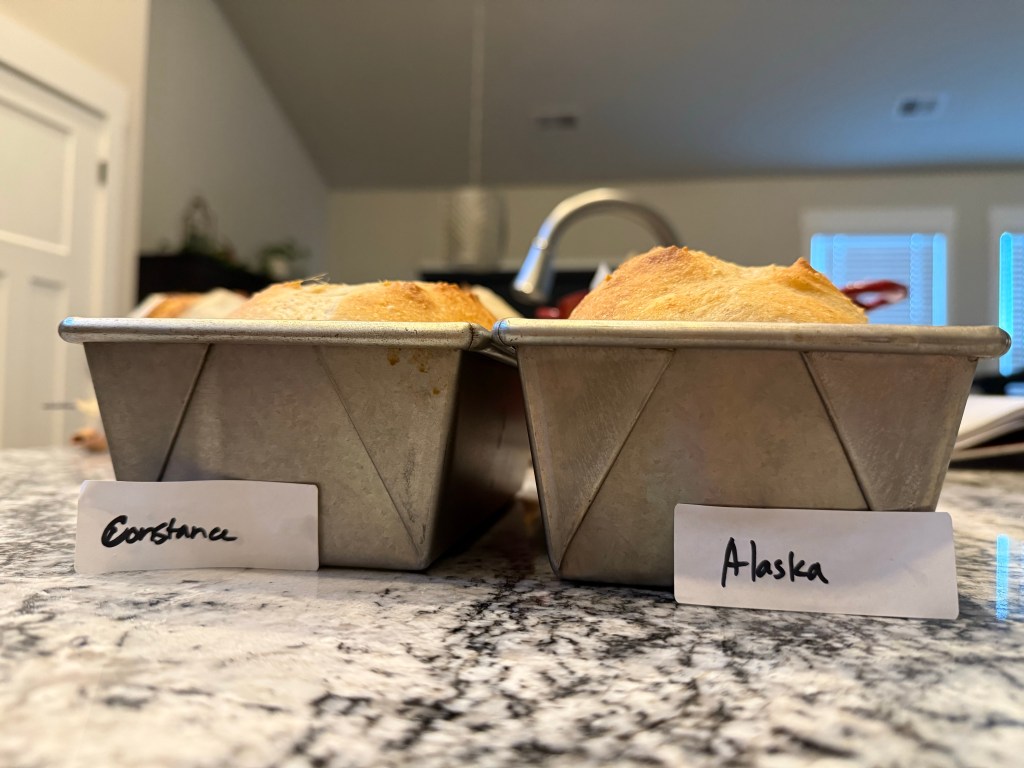
Once the large loaves were out of the oven I baked the pan loaves. This was the truly fair experiment. Throughout the final rise Alaska rose higher than Constance. I brushed both loaves with water and scored them down the middle before putting them in the oven for an open bake. This time the Alaska loaf kept its size advantage throughout the bake.
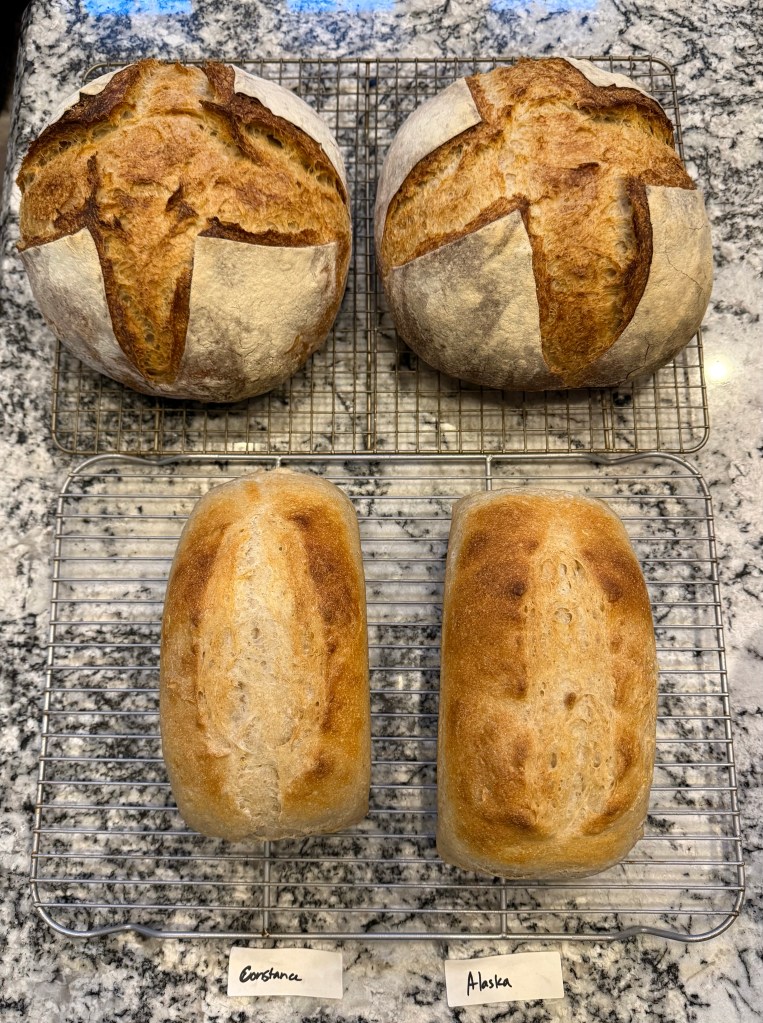
Here are a few side-by-side comparisons of both loaves. For the large loaves, Constance rose slightly higher, but the Alaska loaf is significantly wider.
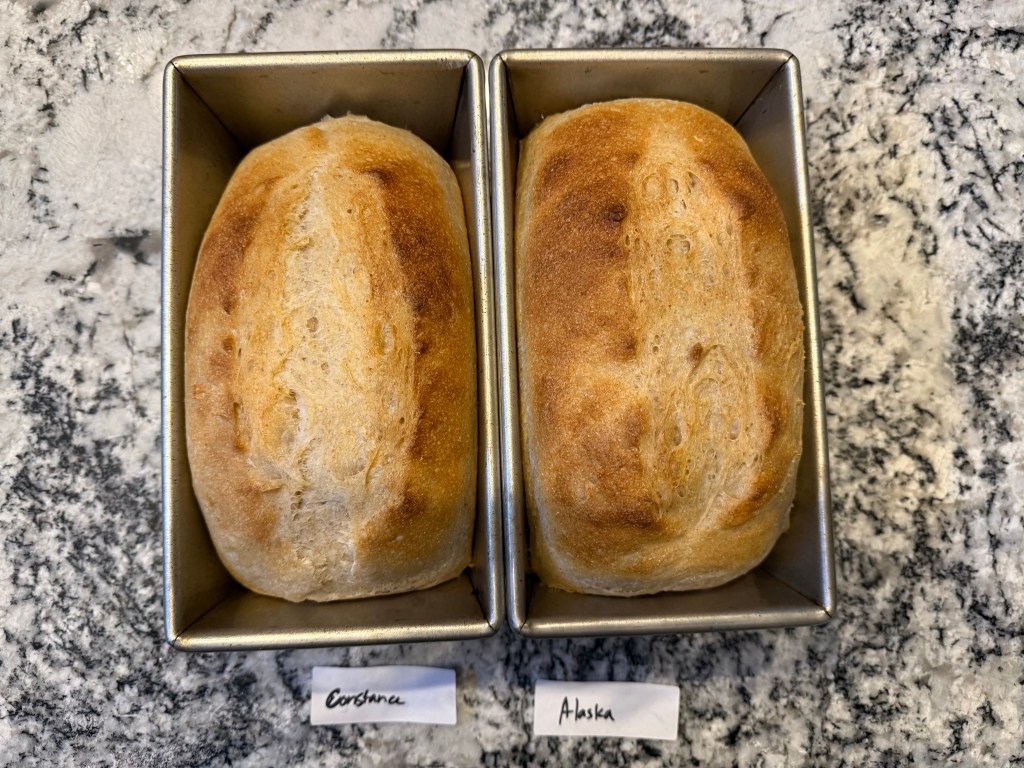
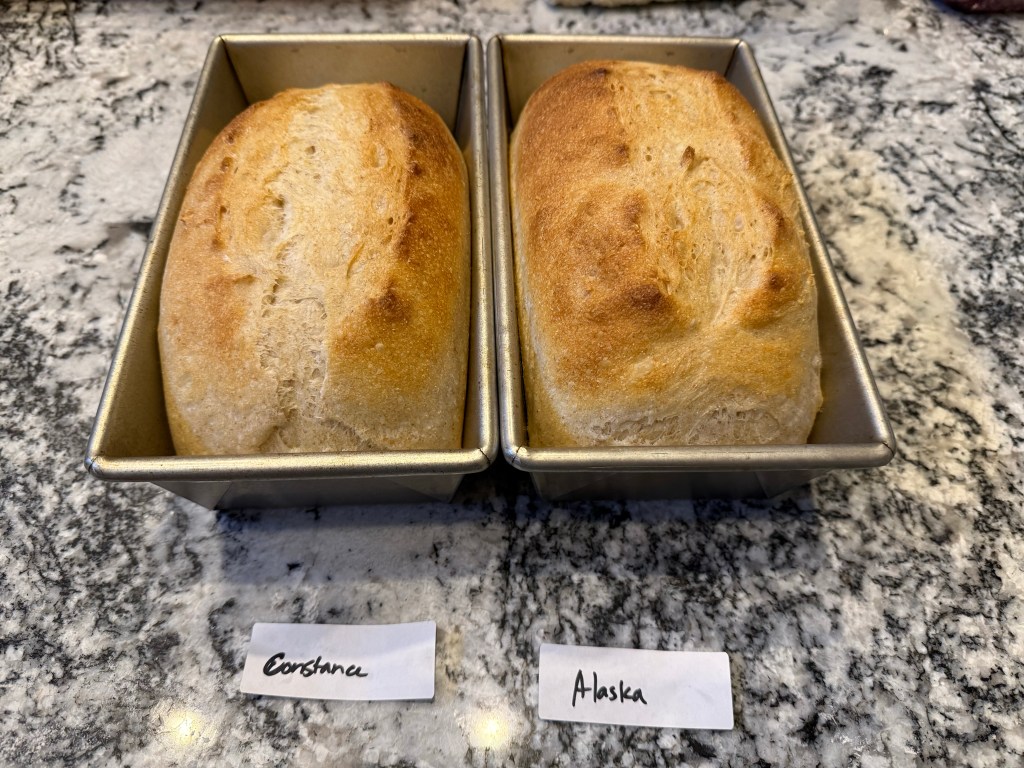
For the smaller loaves, the Alaska loaf rose higher and filled its pan up more than the Constance loaf.
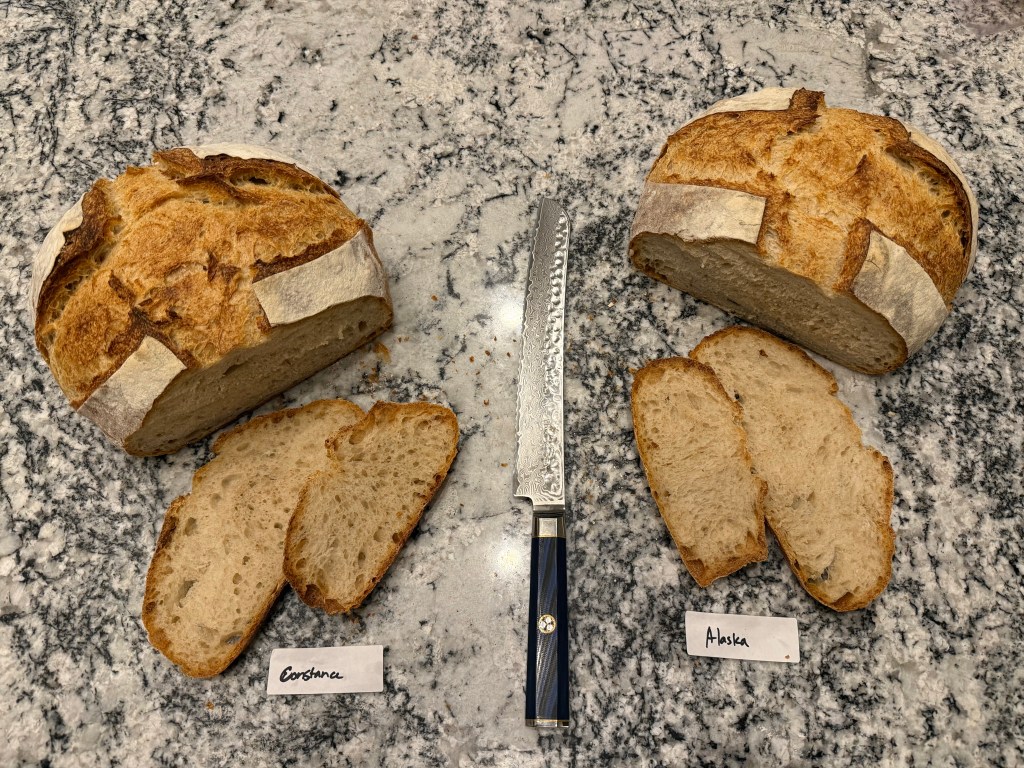
The crumb: both loaves have a lovely crumb, but Constance’s crumb is slightly more open. I didn’t cut into the smaller loaves since they’re easier to freeze or give away, so perhaps the crumb comparison is unfair due to the difference in baking vessels.
And finally, the taste: Both loaves are delicious! Constance had a bit more sourness than the Alaska, but the loaf was still quite mild in flavor. The Alaska loaf was hardly sour at all, almost tasting like a long-fermented yeast bread. It also rose higher at every stage.
So. What did I learn from this experiment?
Despite living in my kitchen, being fed the same food, and possible cross-contamination, these starters are distinct from each other. They make breads with different levels of rise and sourness. This supports the idea that once a sourdough colony is established, and assuming it is cared for in relatively stable conditions, it resists changes to its microbiome.
Baking conditions matter a lot. An enameled Dutch Oven retains more steam than an unglazed clay baker, and that impacts the oven spring. I suspect that a glazed clay baker would perform similarly to an enameled Dutch Oven.
Science is hard! I washed my hands so many times in an effort to avoid cross-contamination. Everything was harder and took longer because I was working with more dough and because I couldn’t let anything touch anything else. Getting timings perfectly even between both batches of dough was impossible. As hard as I tried, I knew the experiment was flawed from the beginning.
I learned so much from this experiment, and despite how hard it was to setup and perform, it raises so many other questions for me. I want to see the effect of the different baking vessels on the same dough. I want to try breads with different flours or different hydration. I don’t know that I’ll ever be a true bread scientist, but I am having a lot of fun learning.
Until the next time: may your yeast always rise and your flour never run out.
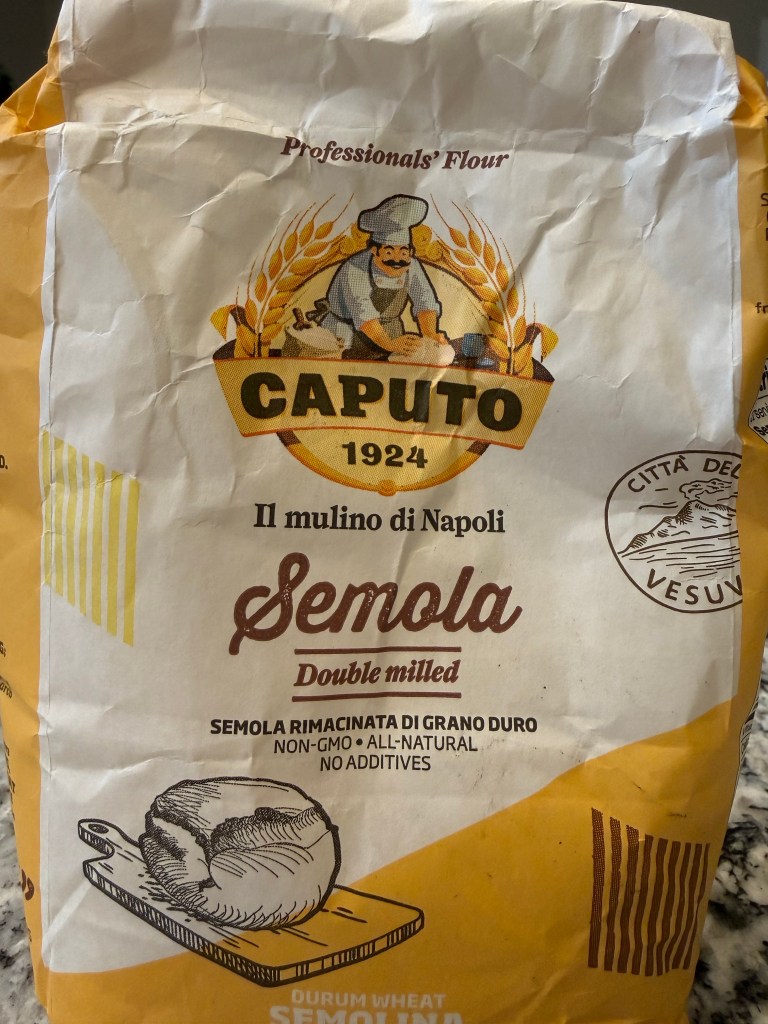
After making the Semolina Sourdough bread I had a little semolina flour left that I needed to use up before the flour’s expiration date. Conveniently, around this time I saw a blog post from The Clever Carrot about making semolina cavatelli with sourdough starter. I wanted to use all my flour, so I scaled the recipe up based on the amount I had available.
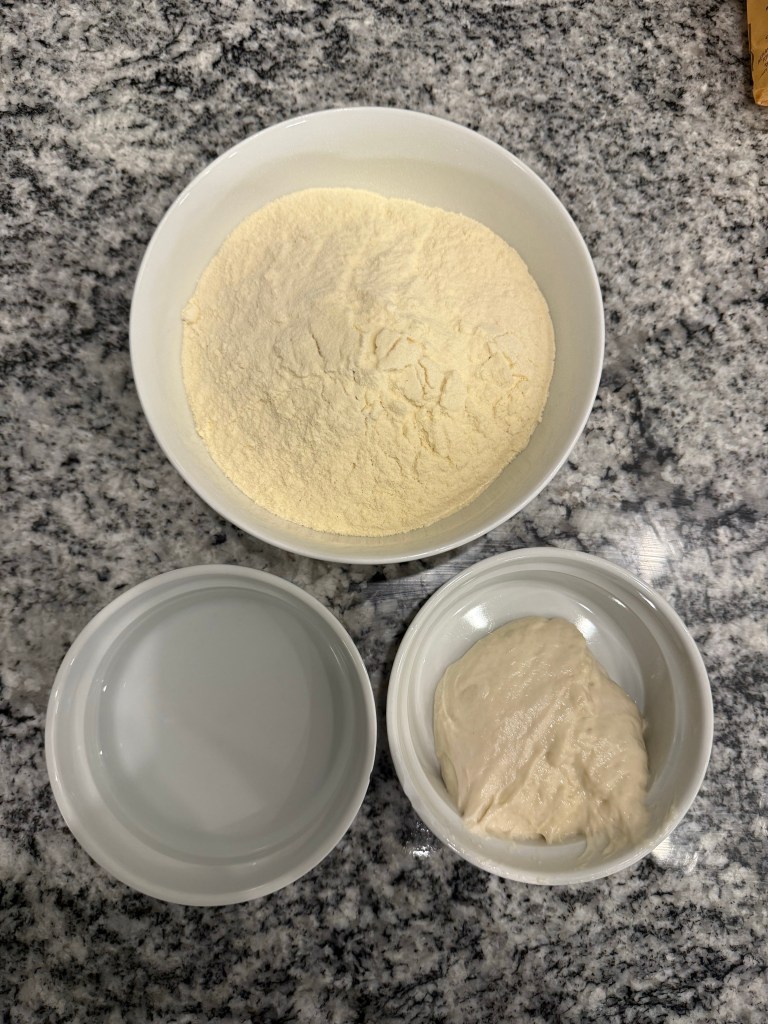
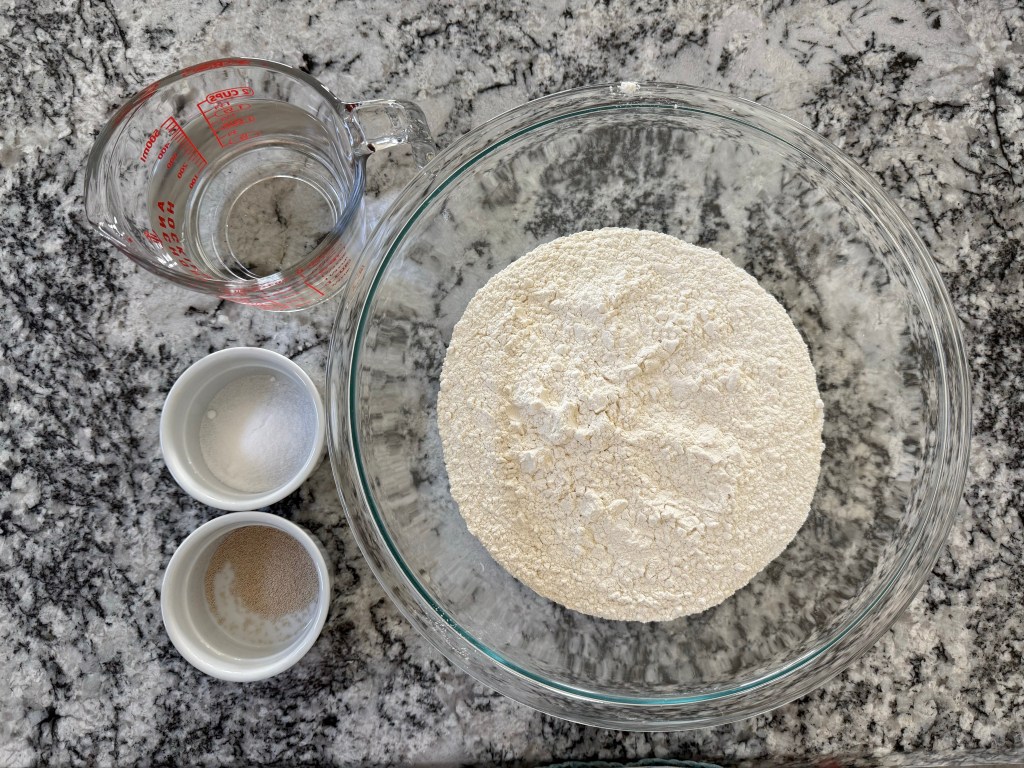
I gathered the mise en place:
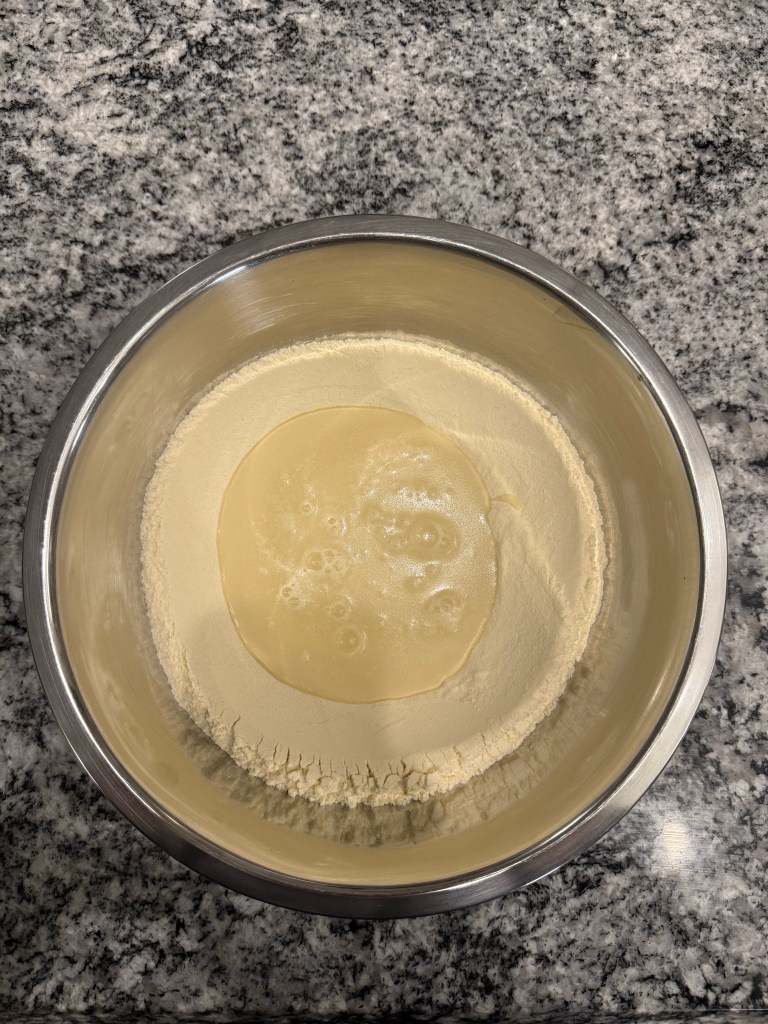
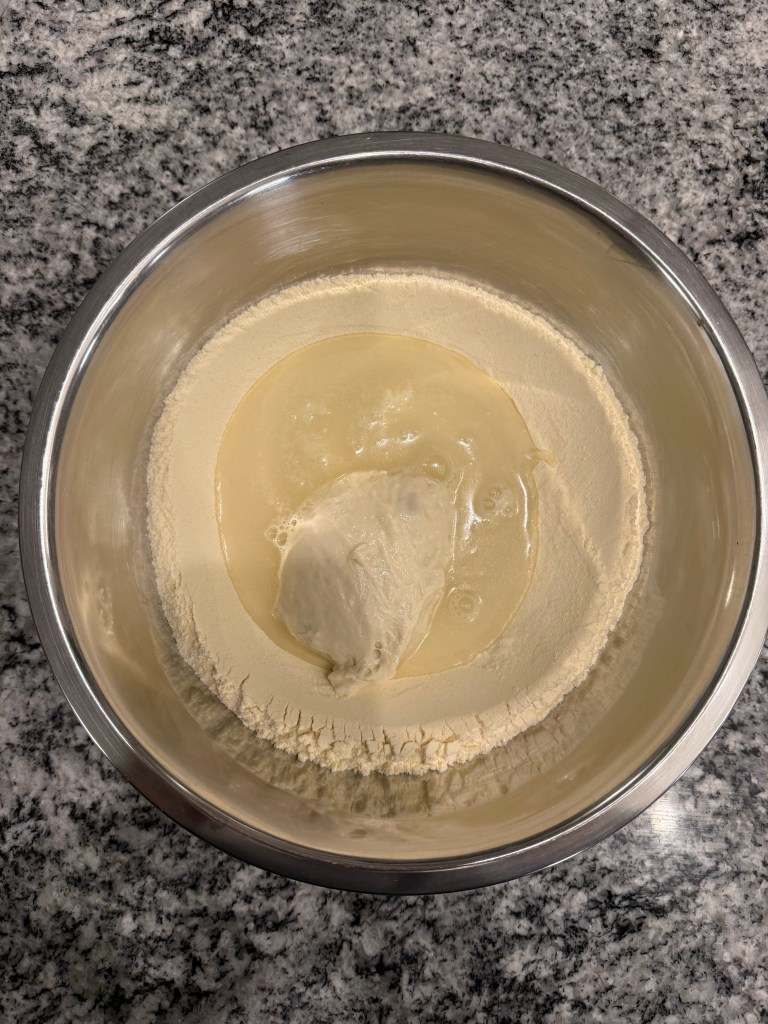
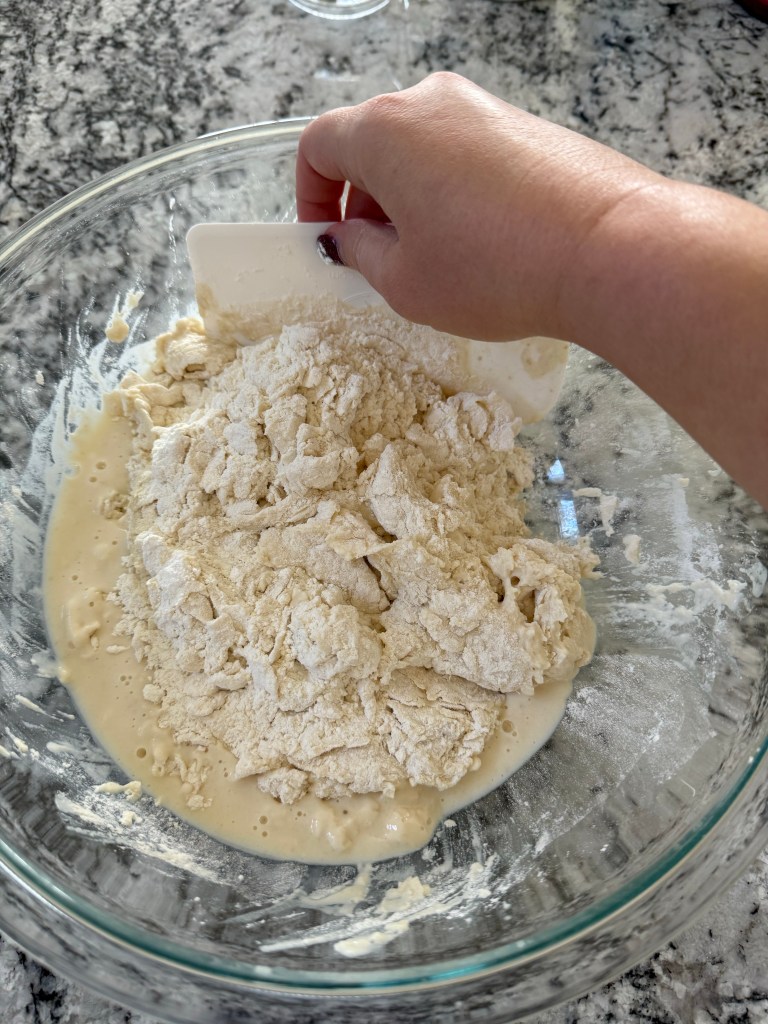
I made a well in the flour and added the water and then the starter.
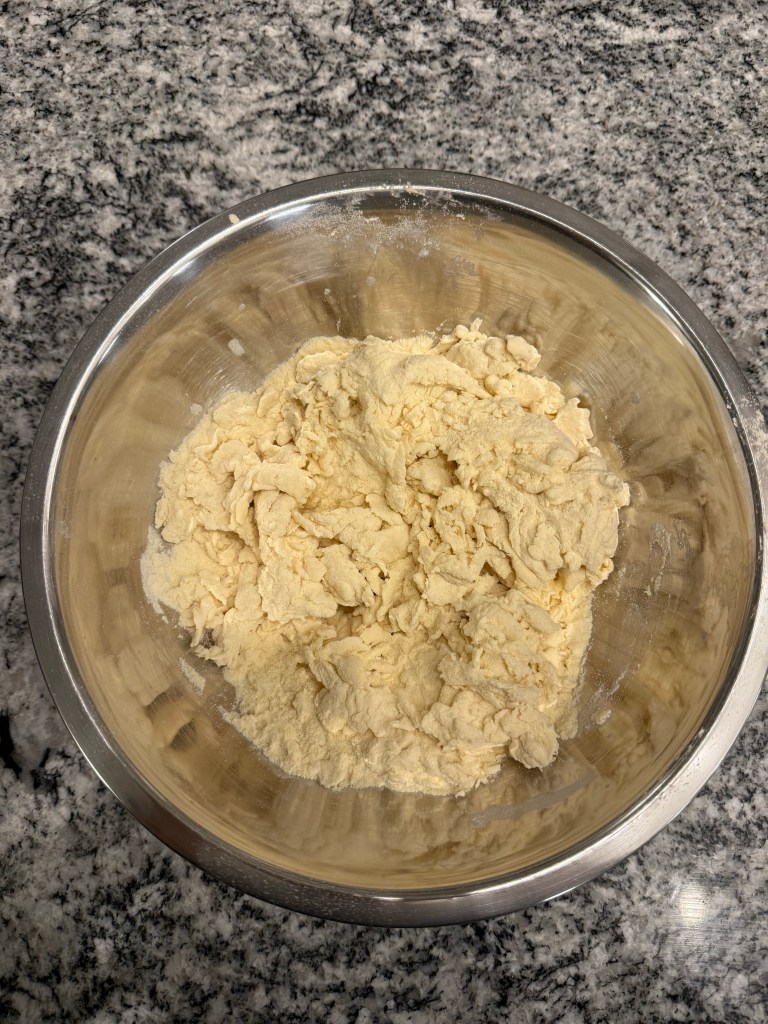
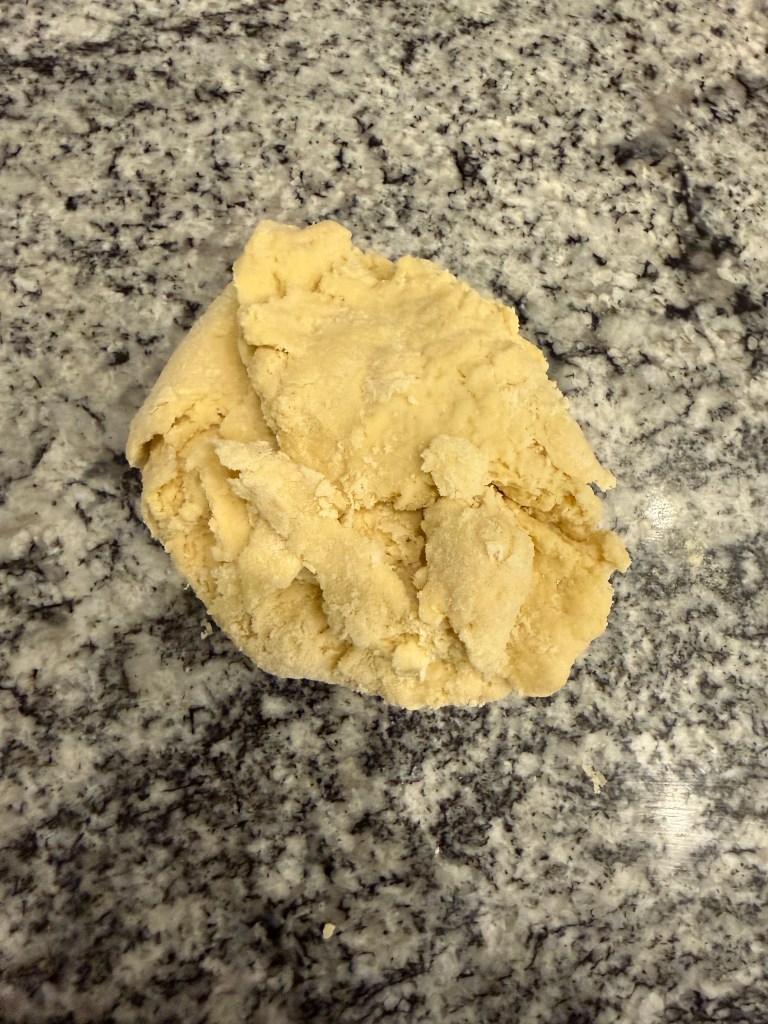
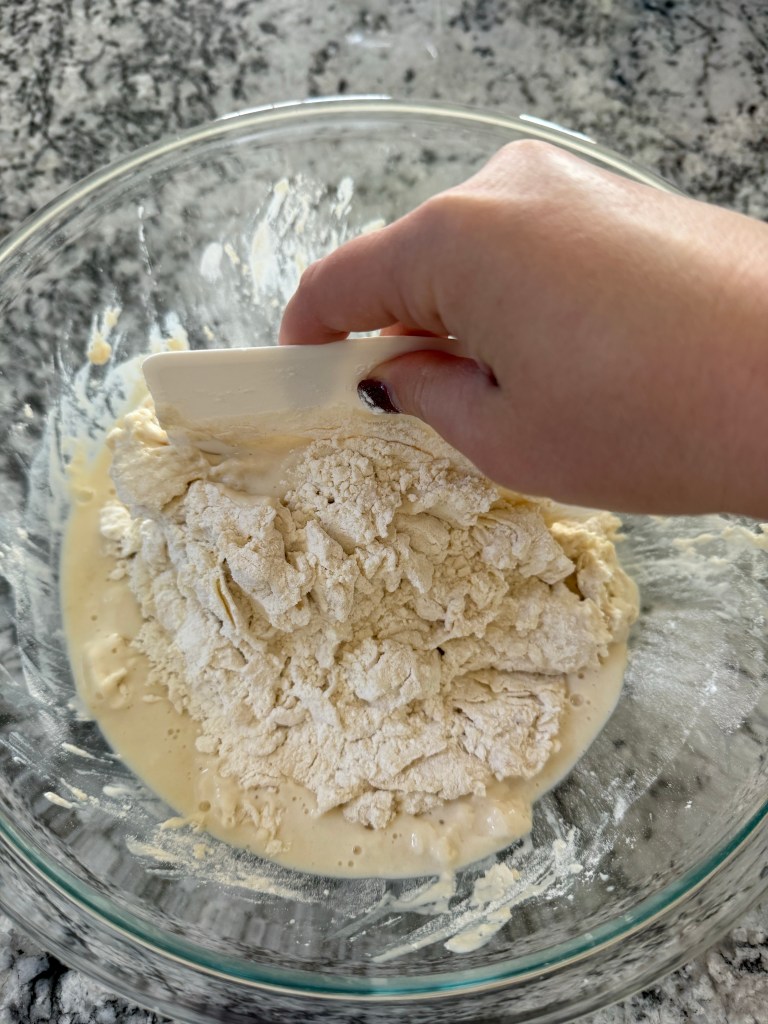
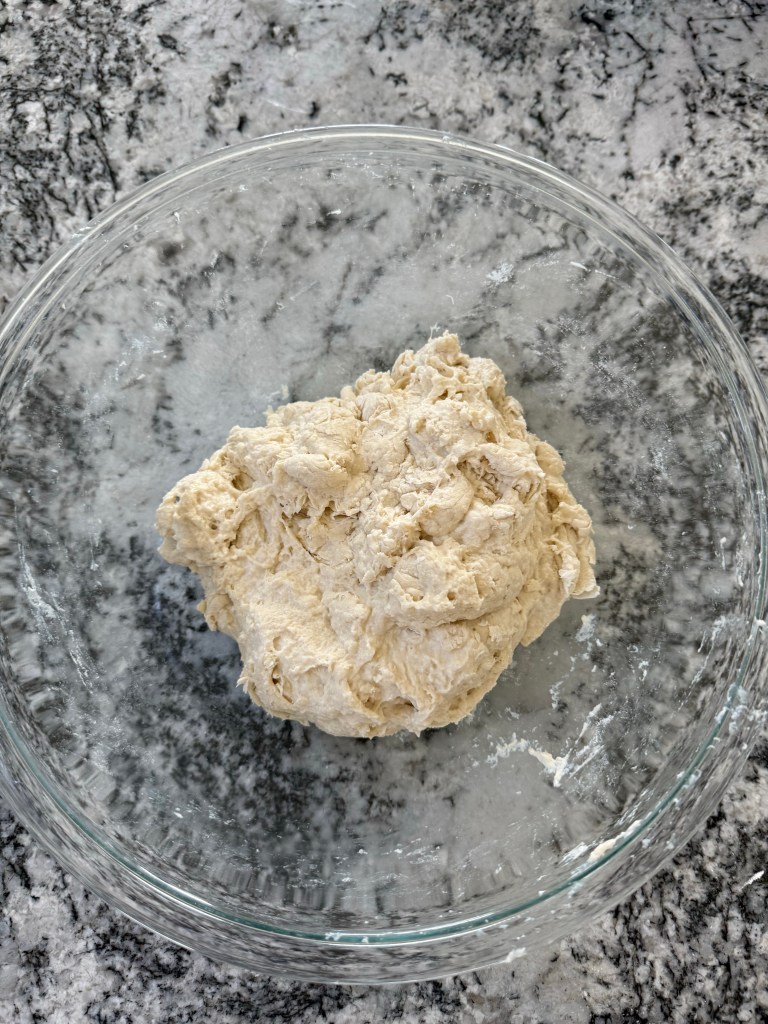
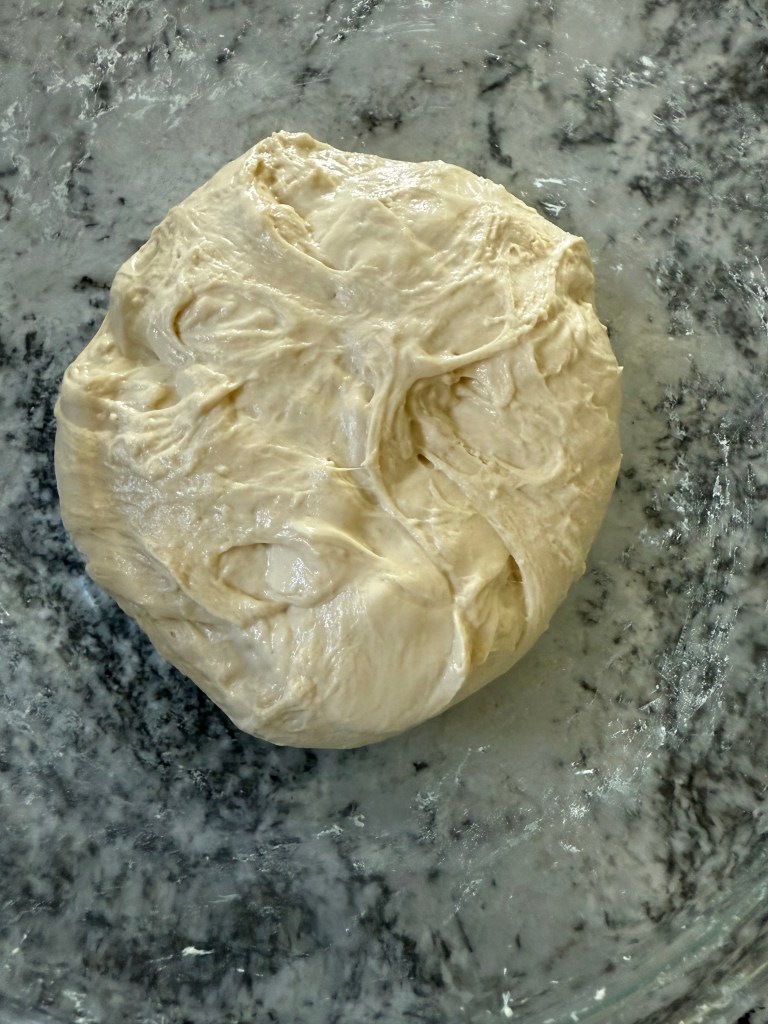
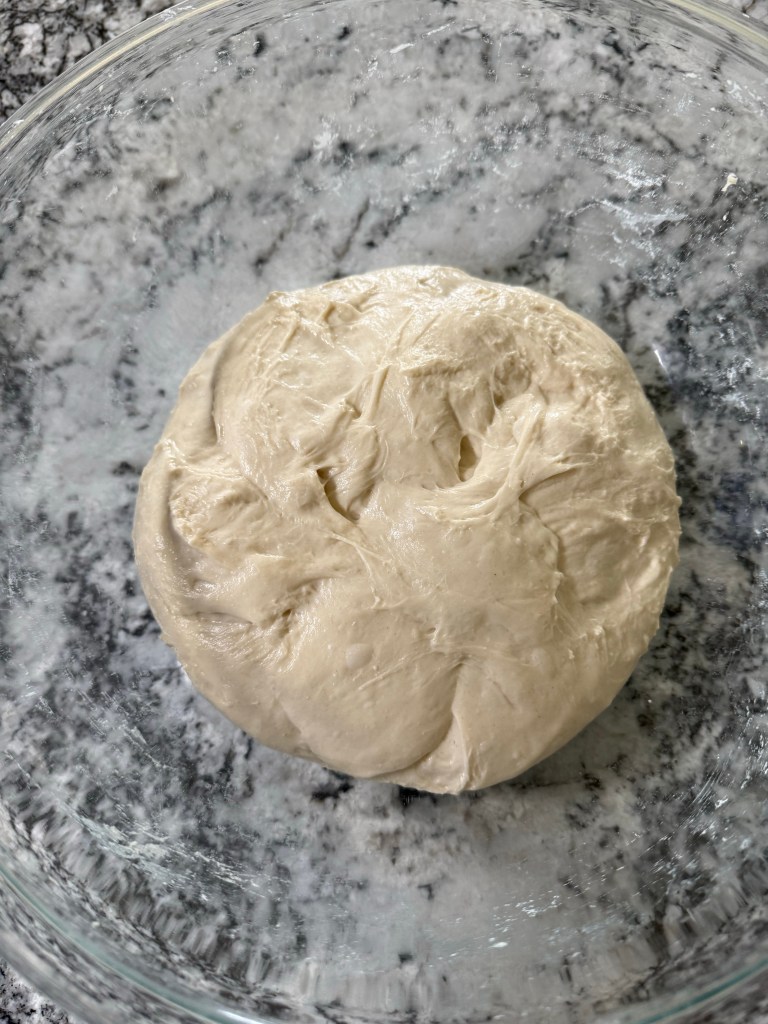
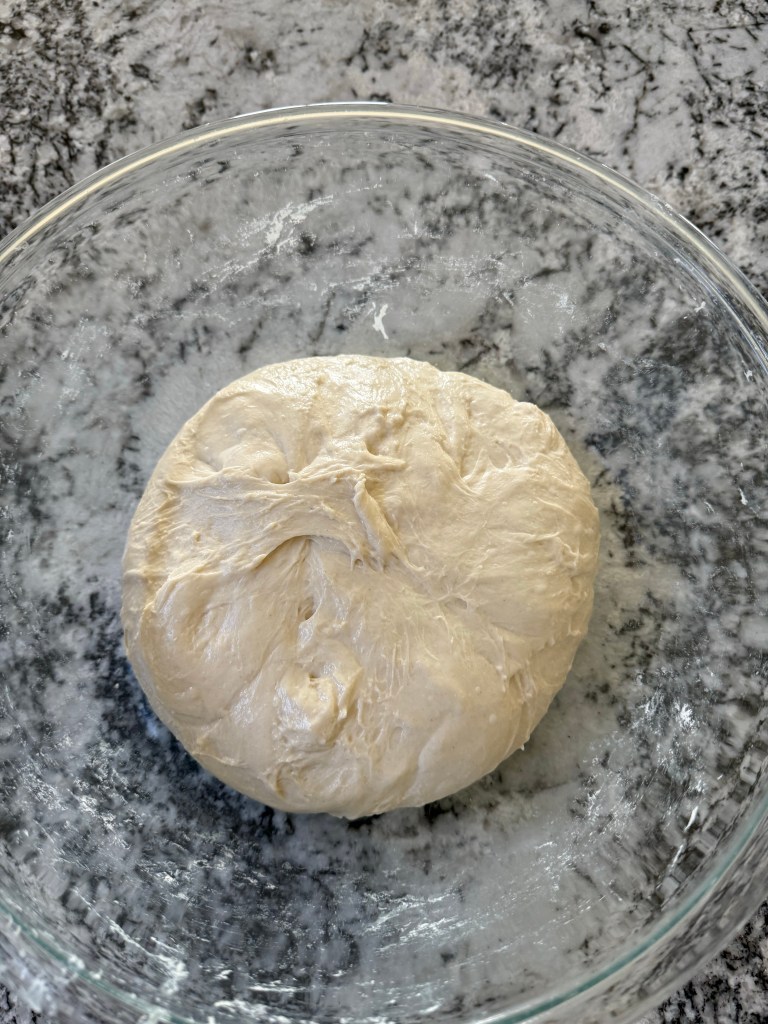
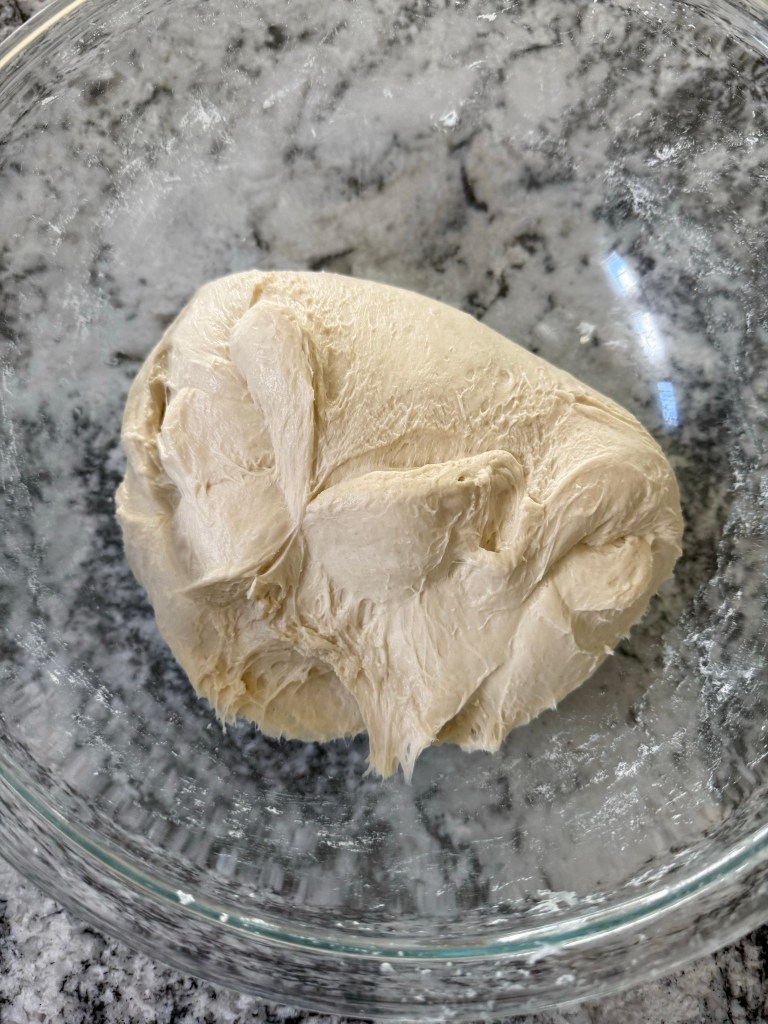
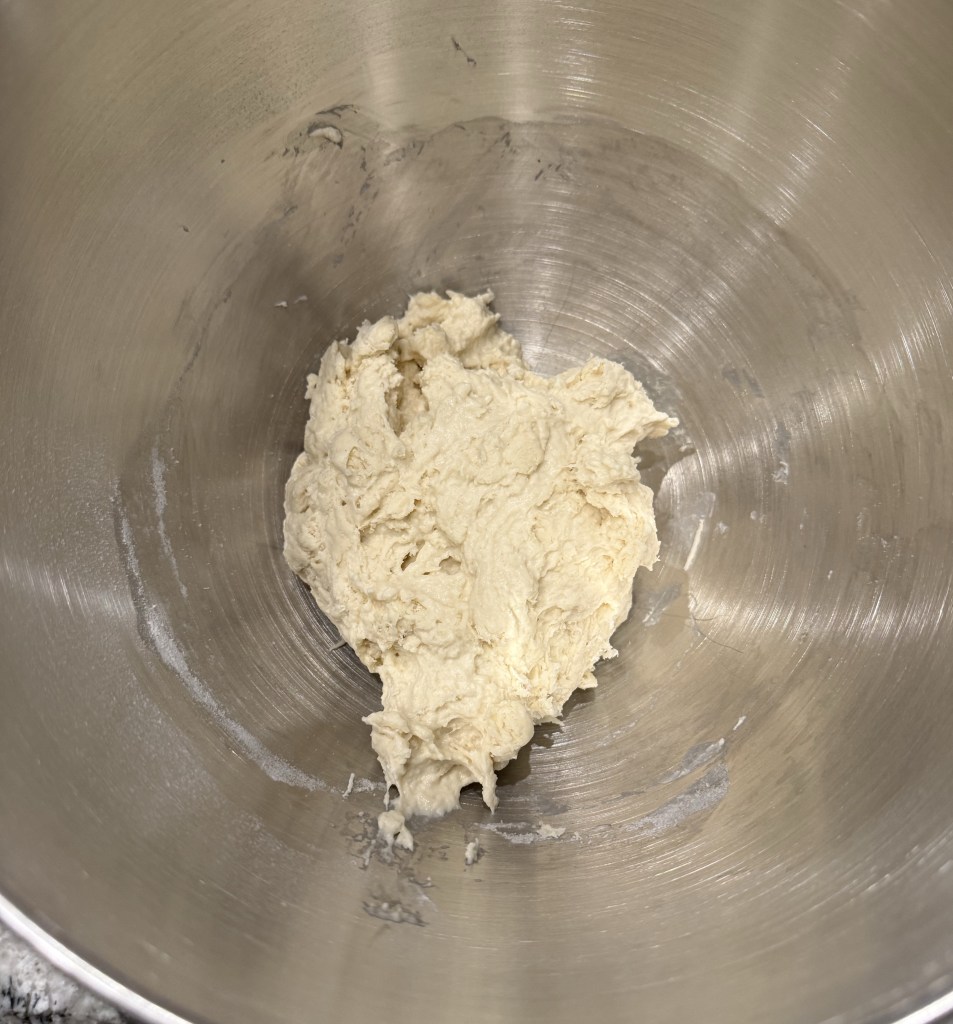
I mixed the dough with a fork, then kneaded it in the bowl by hand until all the flour was absorbed. At this point the dough was very dry and sandy, and it was hard to get the dough to incorporate all the flour.
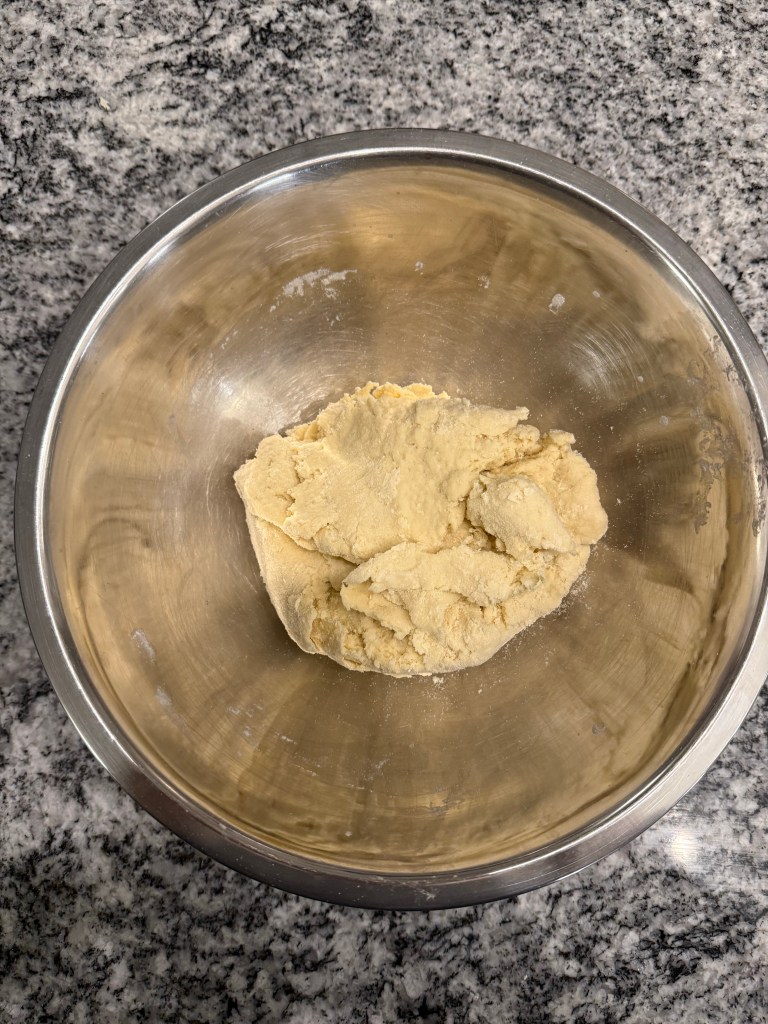
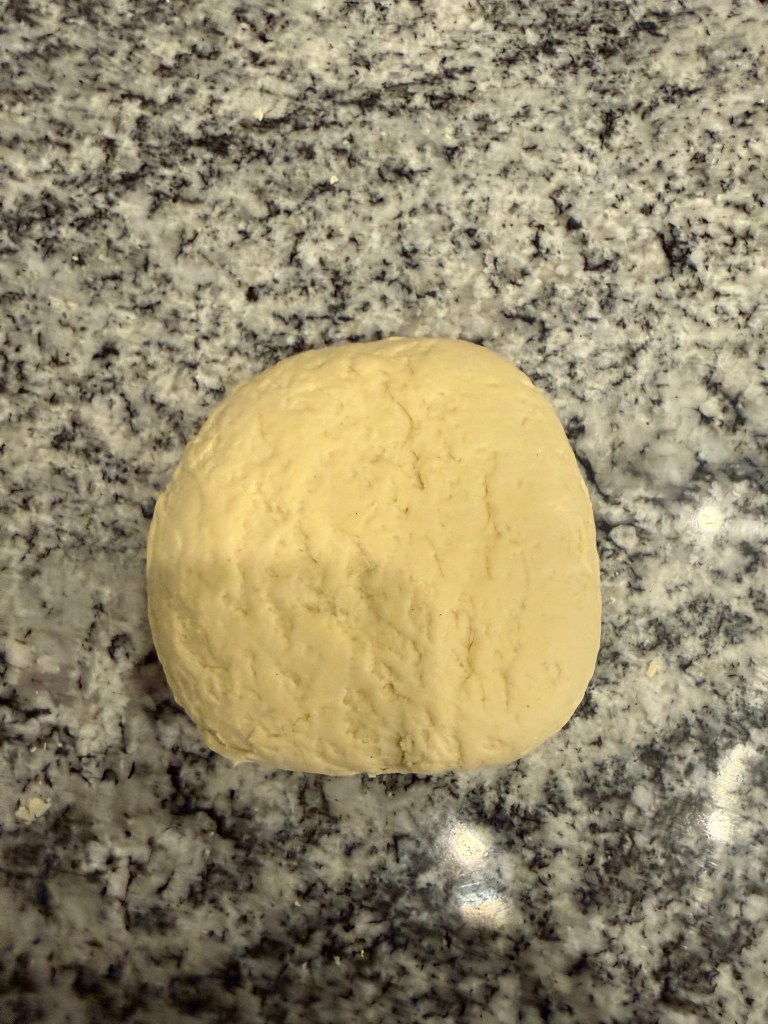
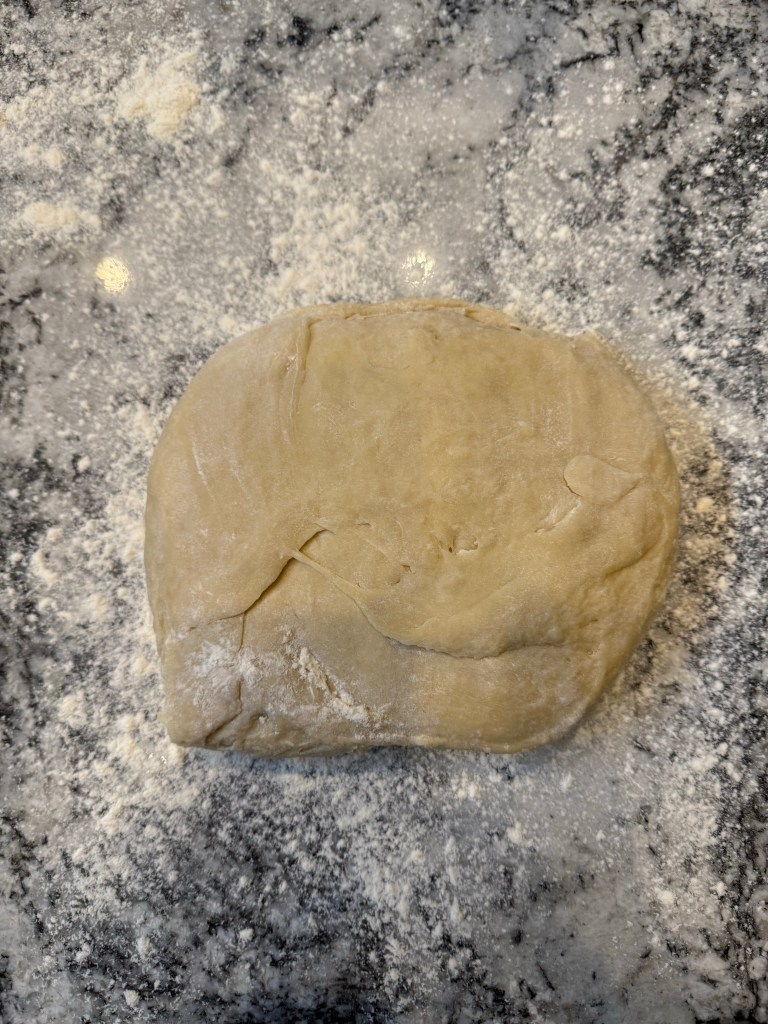
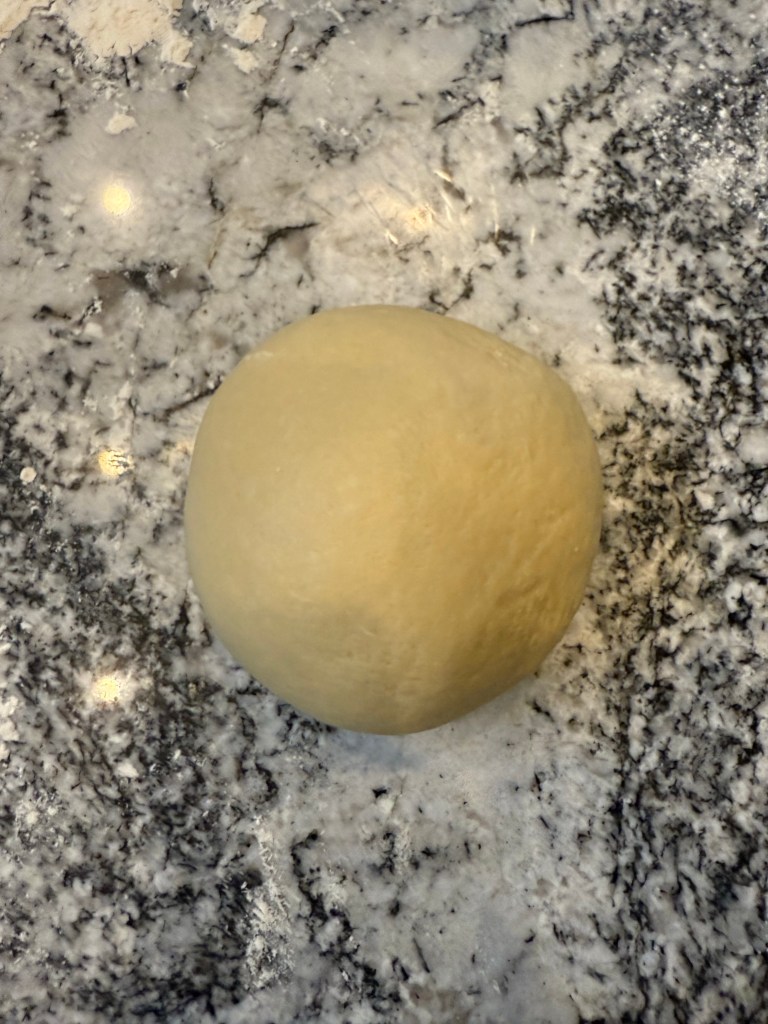
The dough rested for 10 minutes, then I kneaded it on the counter for a mere 2 minutes until dough was smooth and no longer gritty. I was amazed at how quickly the dough transformed into a smooth mass!
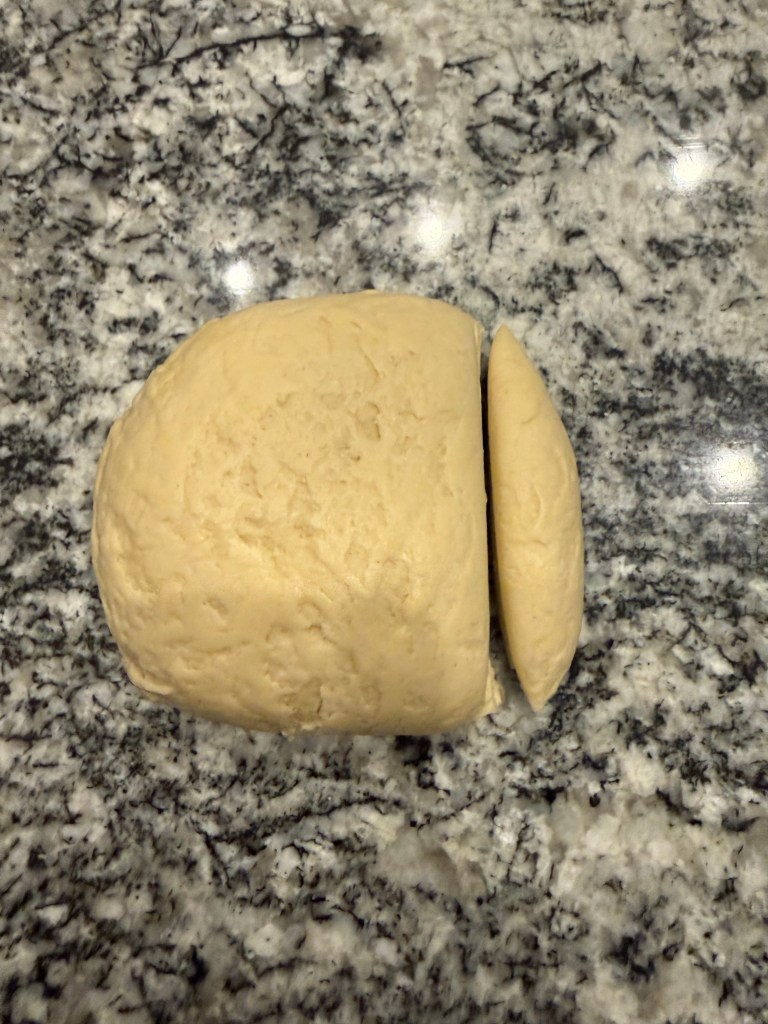
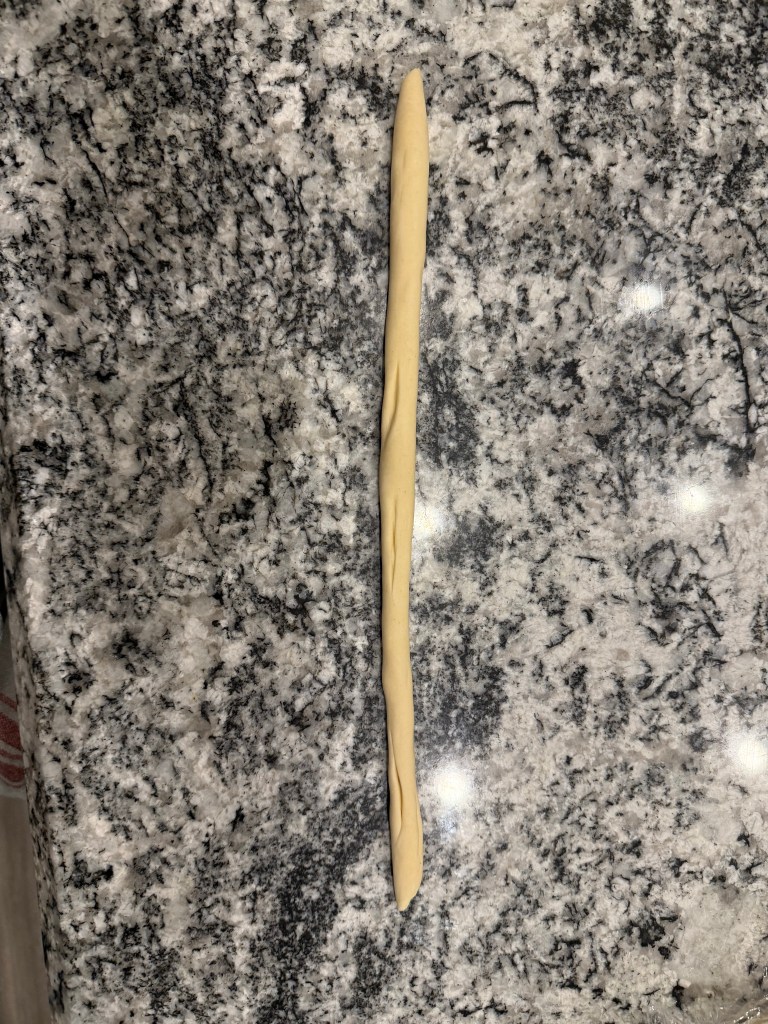
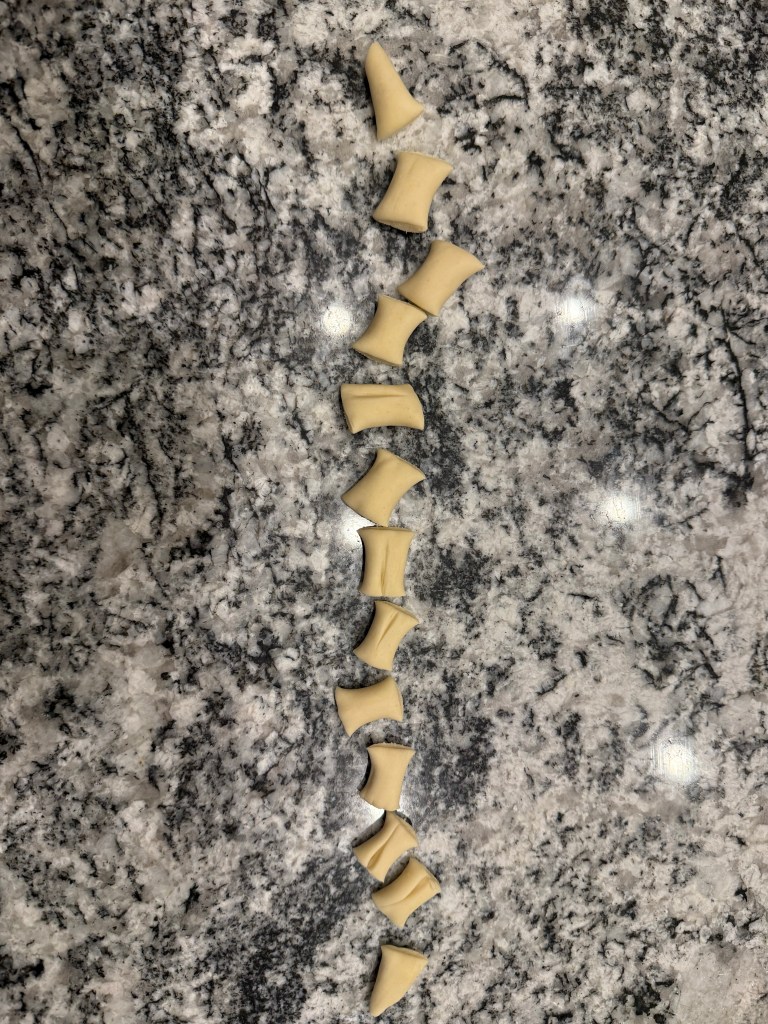
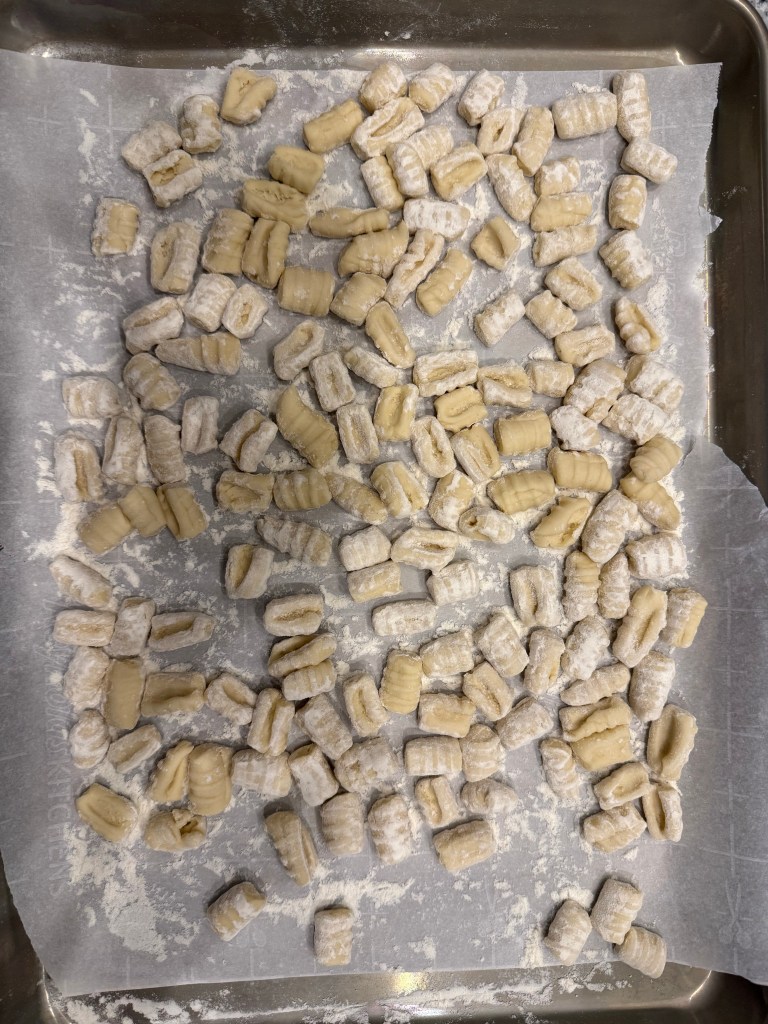
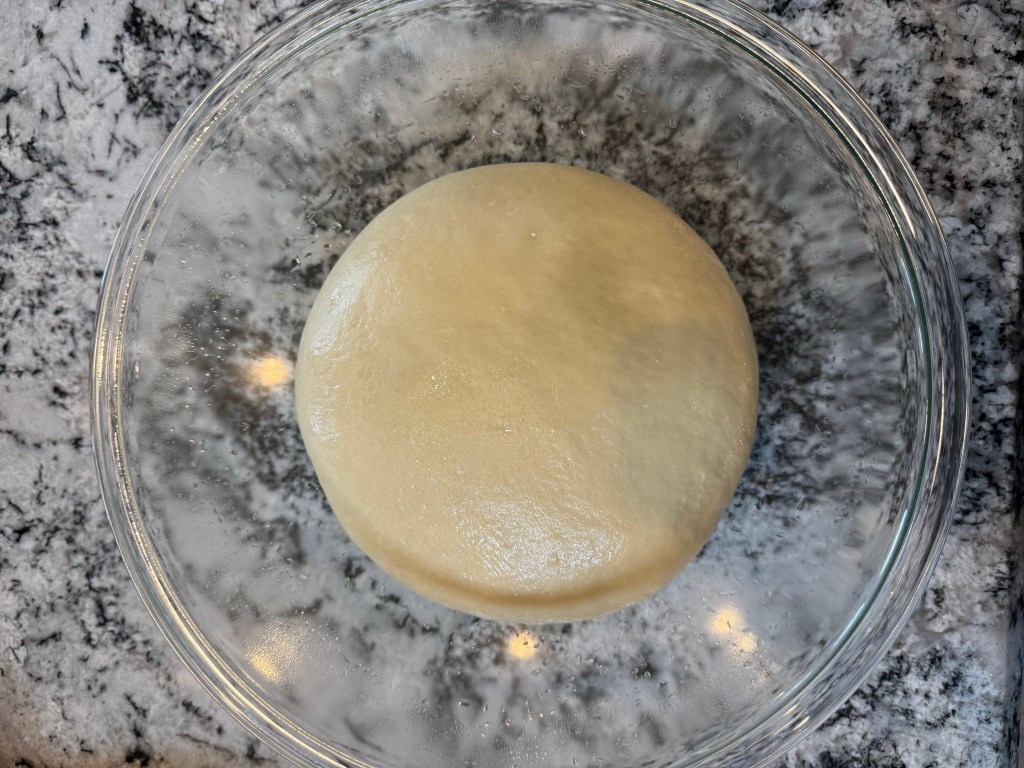
The dough rested in the fridge for 24 hours until I was ready to use it. I cut the round into strips, rolled each strip out, then cut each roll into inch-long pillows. I shaped them into cavatelli with a fork. I placed the finished cavatelli on a floured sheet pan and covered them while I worked on each rope.
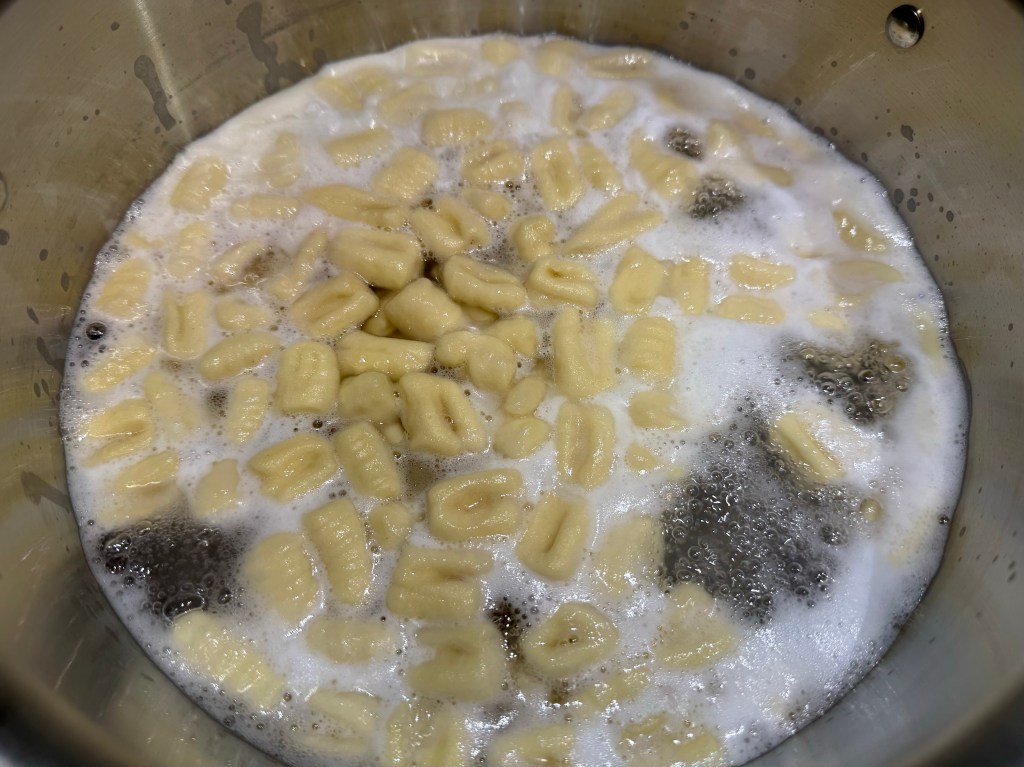
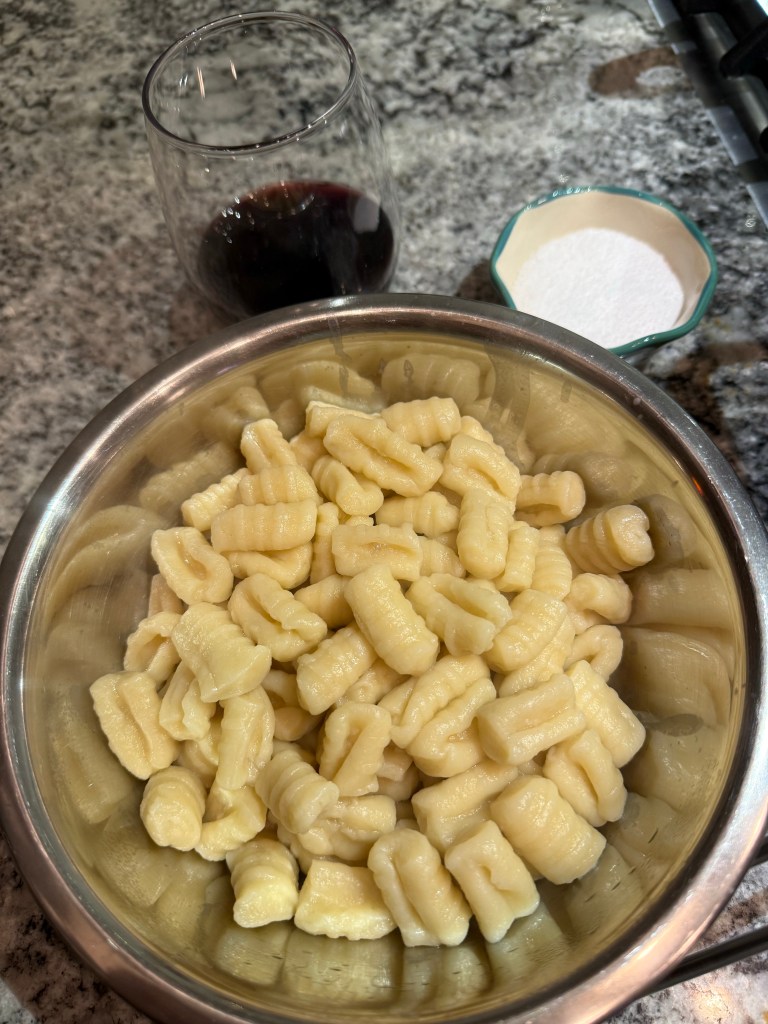
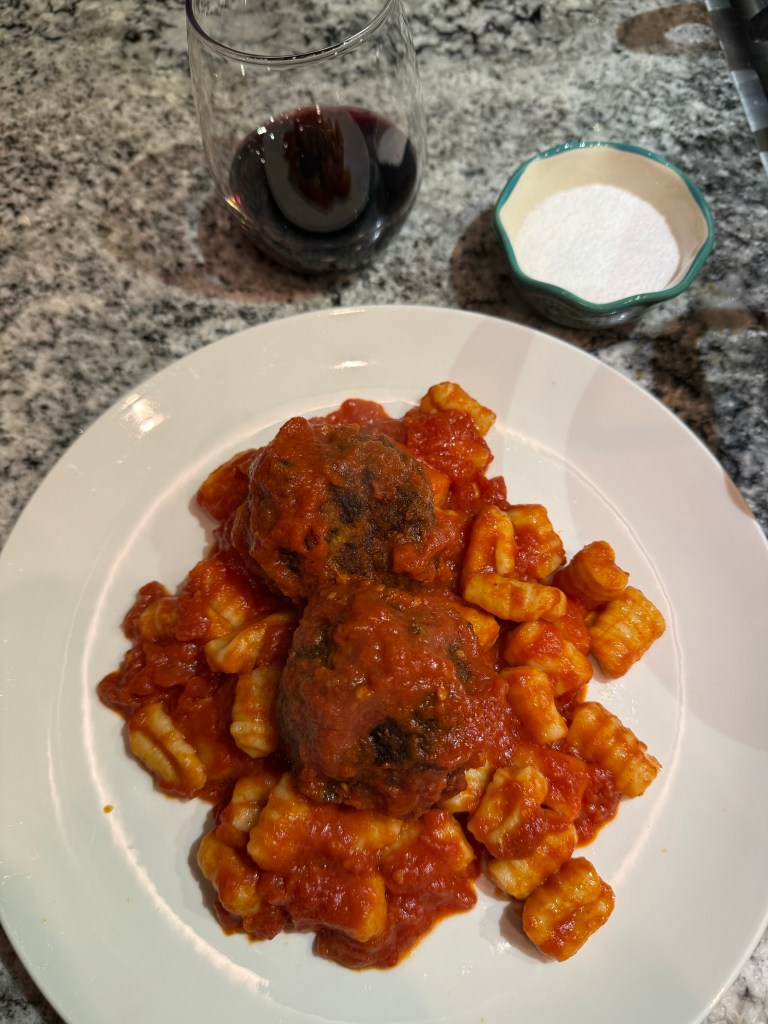
Once they were all shaped, I boiled the noodles in salted water. I cooked the cavatelli for 8 minutes, when they were very much on the chewy side of al dente, but they could have could have cooked for longer for a softer noodle.
The cavatelli did not taste sour, which is absolutely fine, since fermentation was not the goal here. They tasted very fresh, and the shaping of the cavatelli was very pleasant. This project has made me much more interested in making more pasta at home. If you’re at all interested, I would definitely recommend giving it a try!
Until the next time: may your yeast always rise and your flour never run out.
This semolina sourdough recipe is from Tartine Bread by Chad Robertson. This is the book I learned to make sourdough bread from, so this recipe feels like a bit of a homecoming for me.
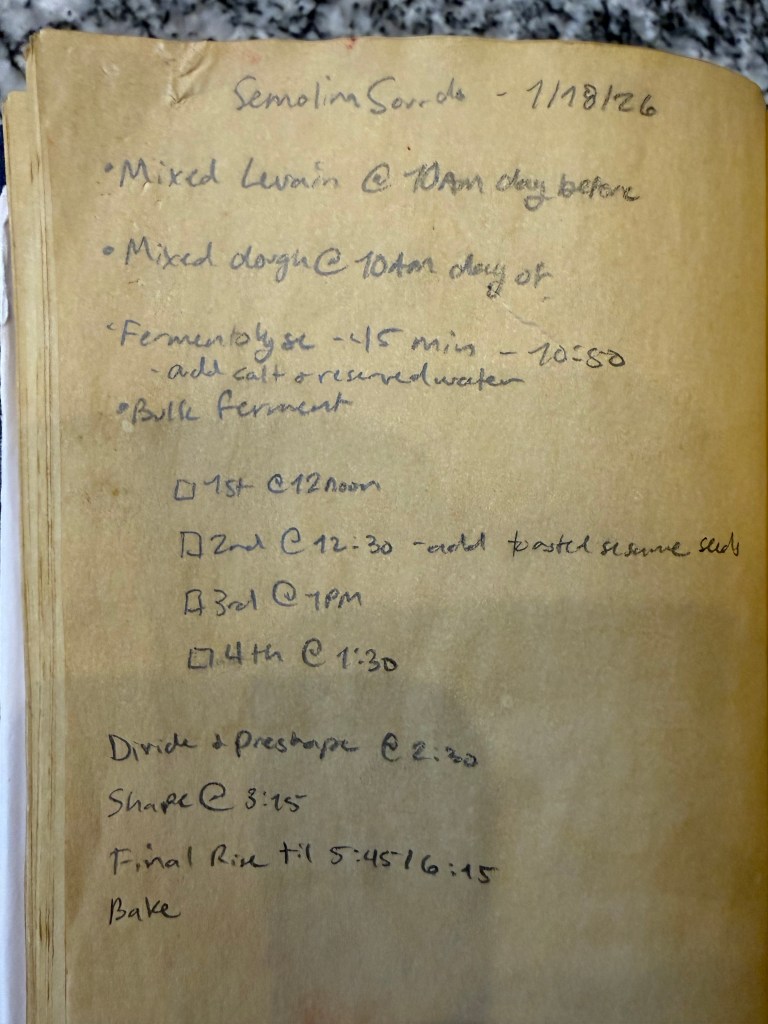
Whenever I mix a dough that needs to ferment for more than a few hours I like to build myself a schedule. This helps me make sure I don’t have any scheduling overlaps and that I know when I can be away from my dough for a while if needed.
I gathered the mise en place:
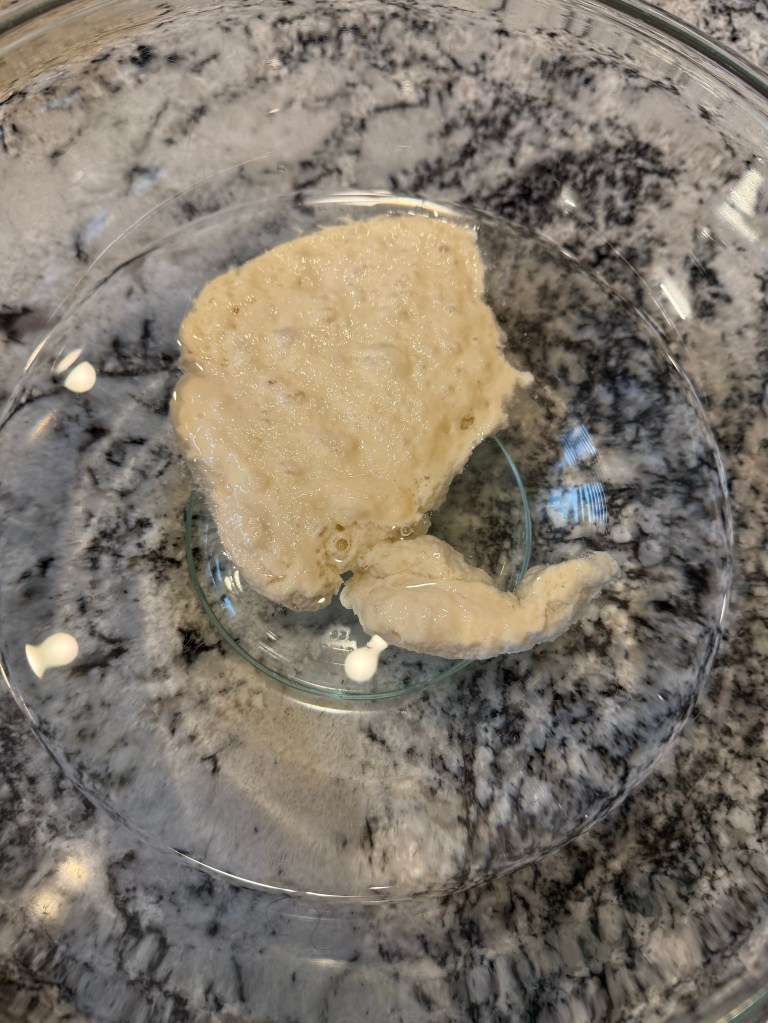
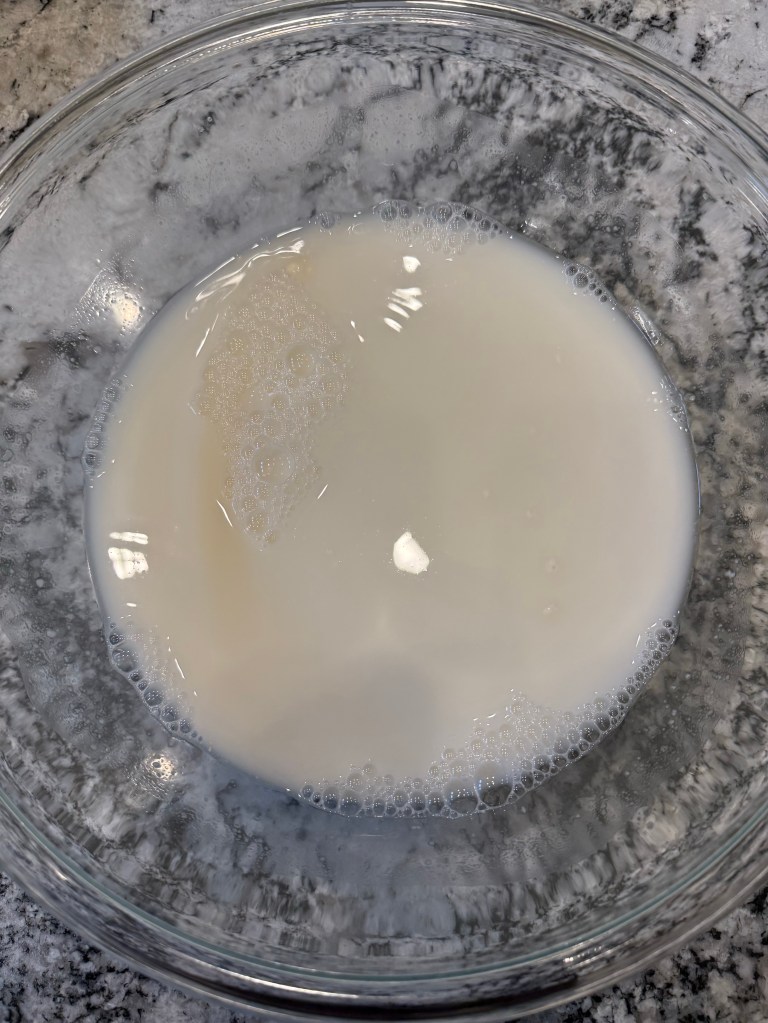
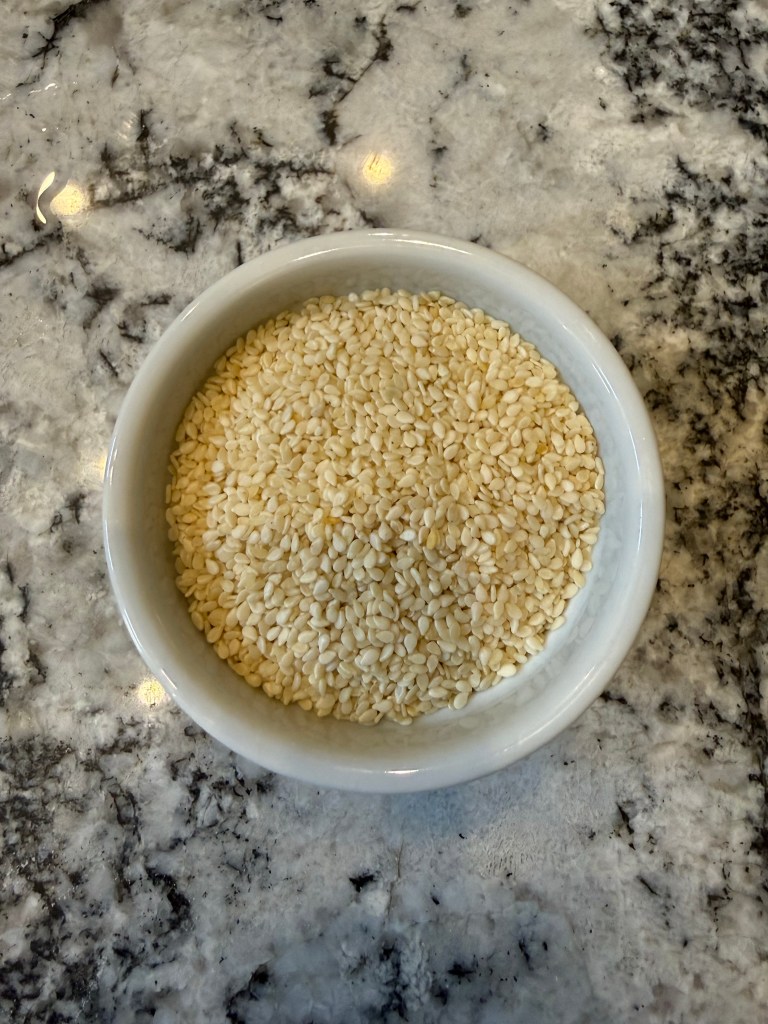
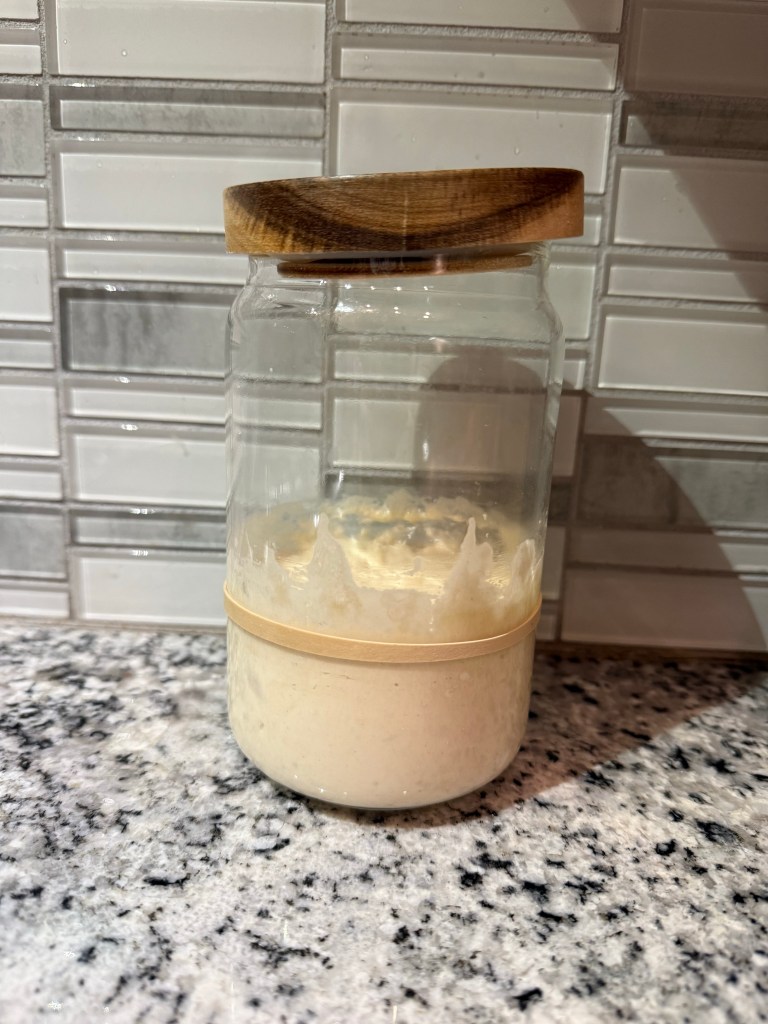
I started by pouring my starter into the water and marvelled that it floats. I’ve been baking sourdough bread since 2019, and floating starter still amazes me every single time. I mixed the starter into the water until reasonably-well distributed and the mixture looked milky. Do not be deceived: There were still small chunks of starter beneath the surface of the mixture.
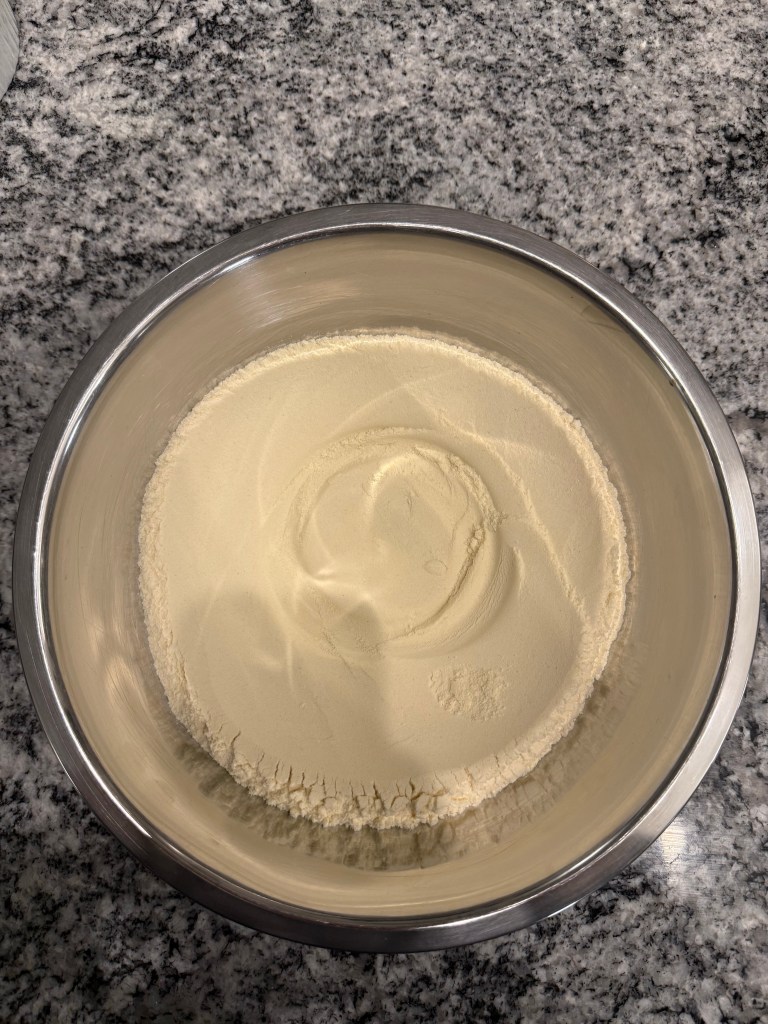
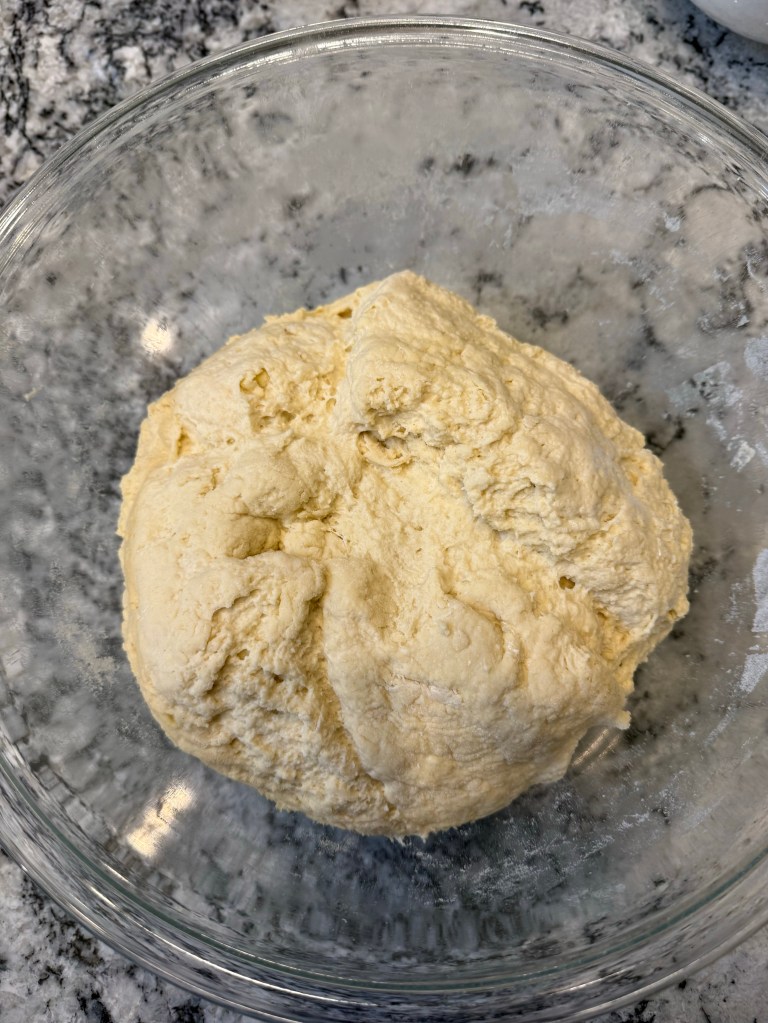
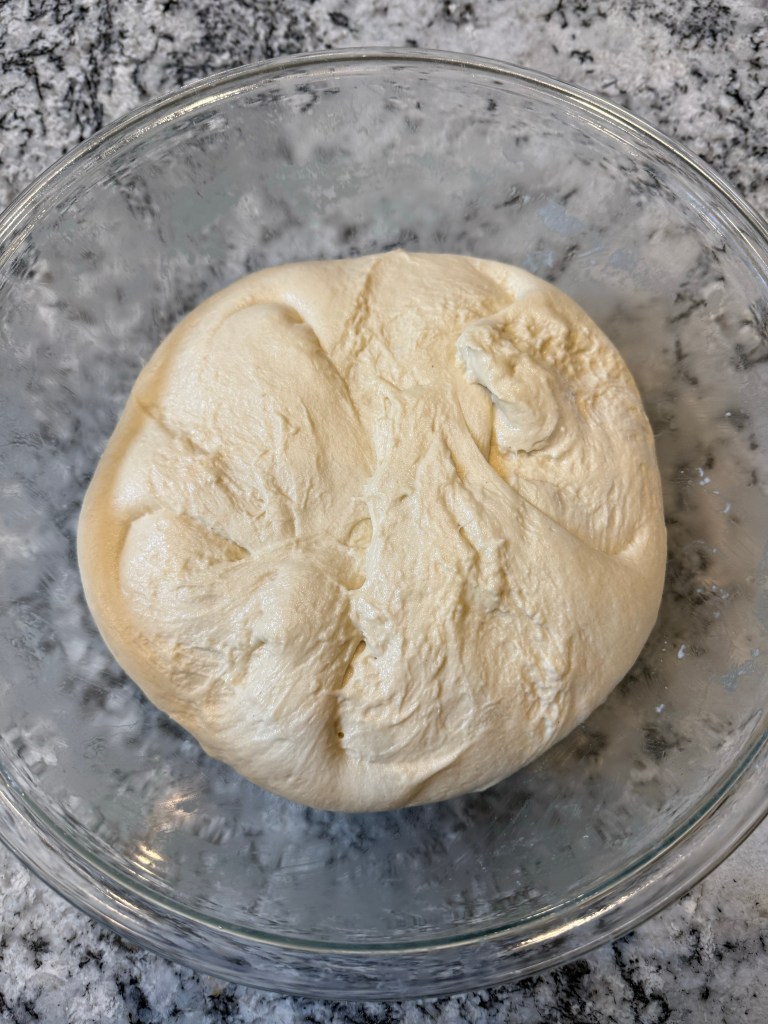
I mixed in the semolina and All-Purpose flours until the dough was shaggy. I set the dough aside to rest for 45 minutes. Chad describes this resting step as an autolyse, but technically an autolyse only includes flour and starter, and does not include any leavener. I’ve heard this step referred to as a fermentolyse when the starter is included. Since it is January and my kitchen is cold I put the dough in my countertop oven on the “Proof” setting (80 degrees Fahrenheit) to speed up the rise and hopefully limit sourness in the final loaf.
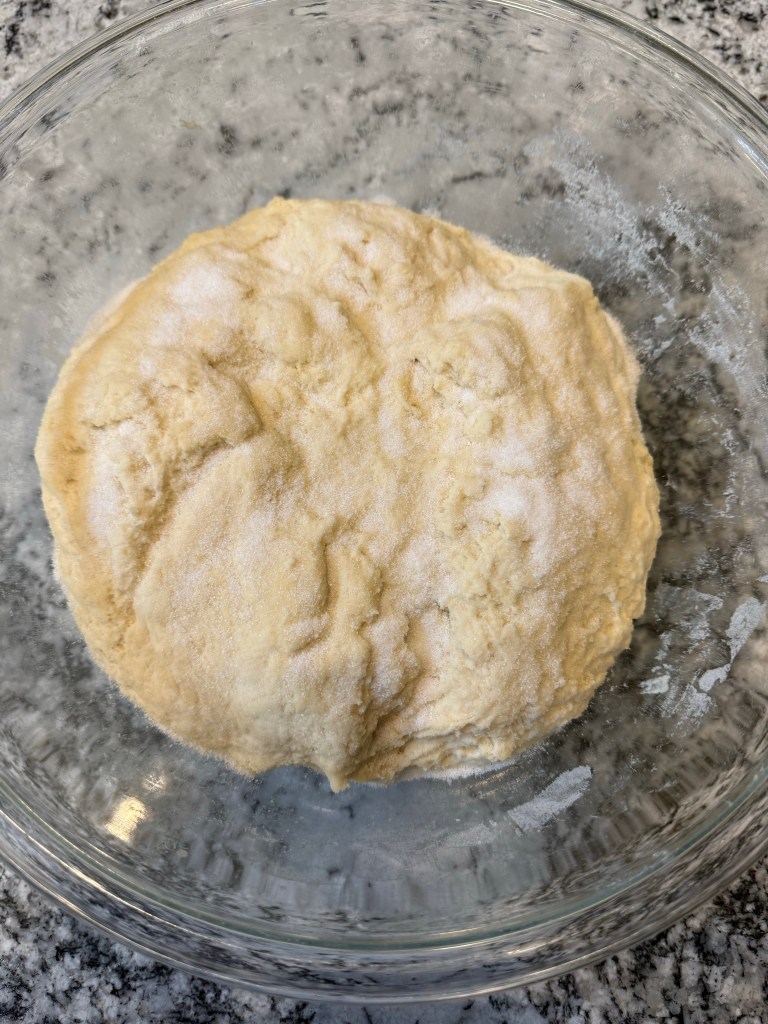
Regardless of what the rest is called, when 45 minutes had passed I added the salt and 50 grams of water that had been reserved at the beginning and mixed the dough well.
From here I did 4 “turns” or dough-folds in the bowl, every half hour. First turn (30 minutes in):
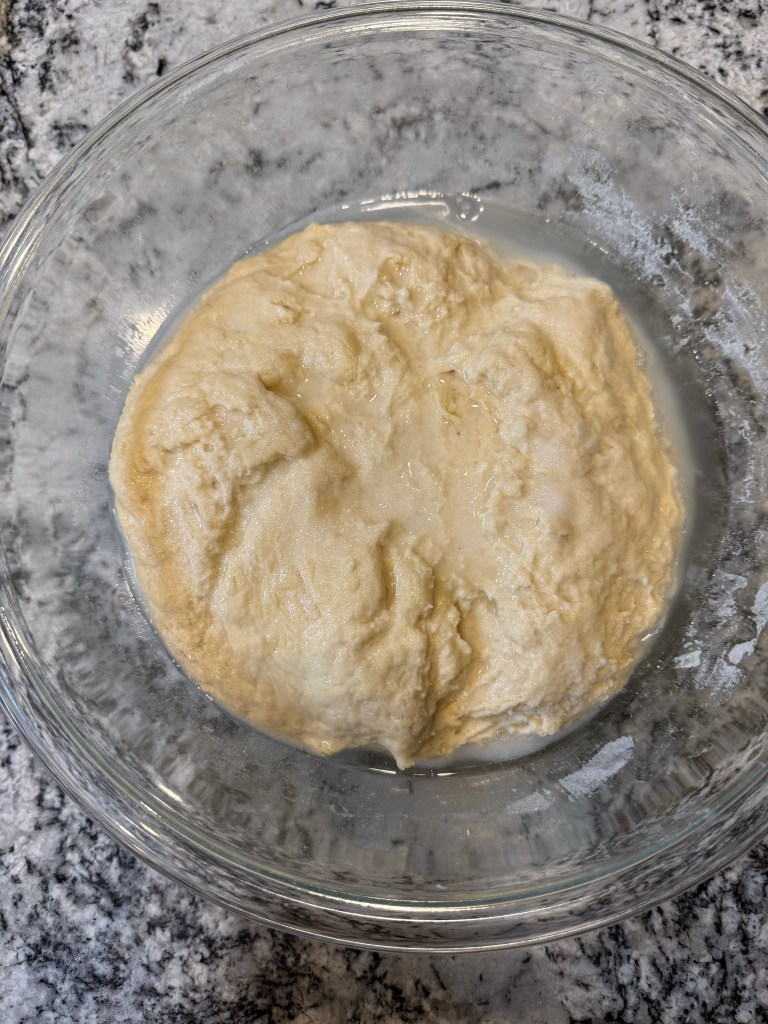
2nd turn (1 hour in):
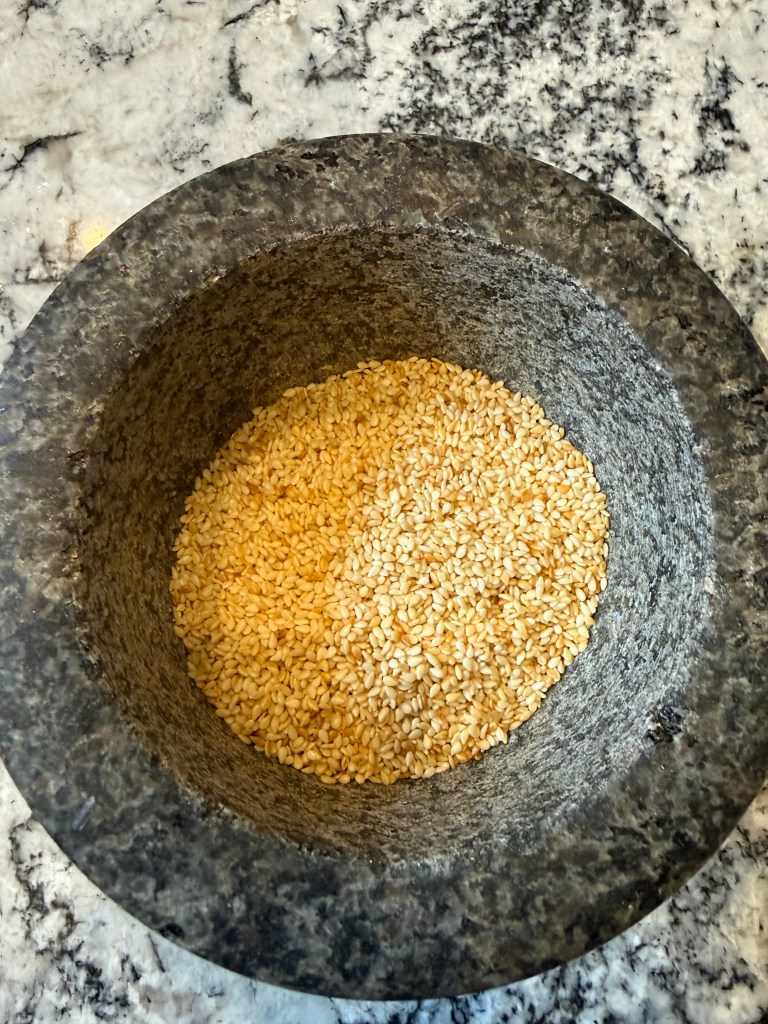
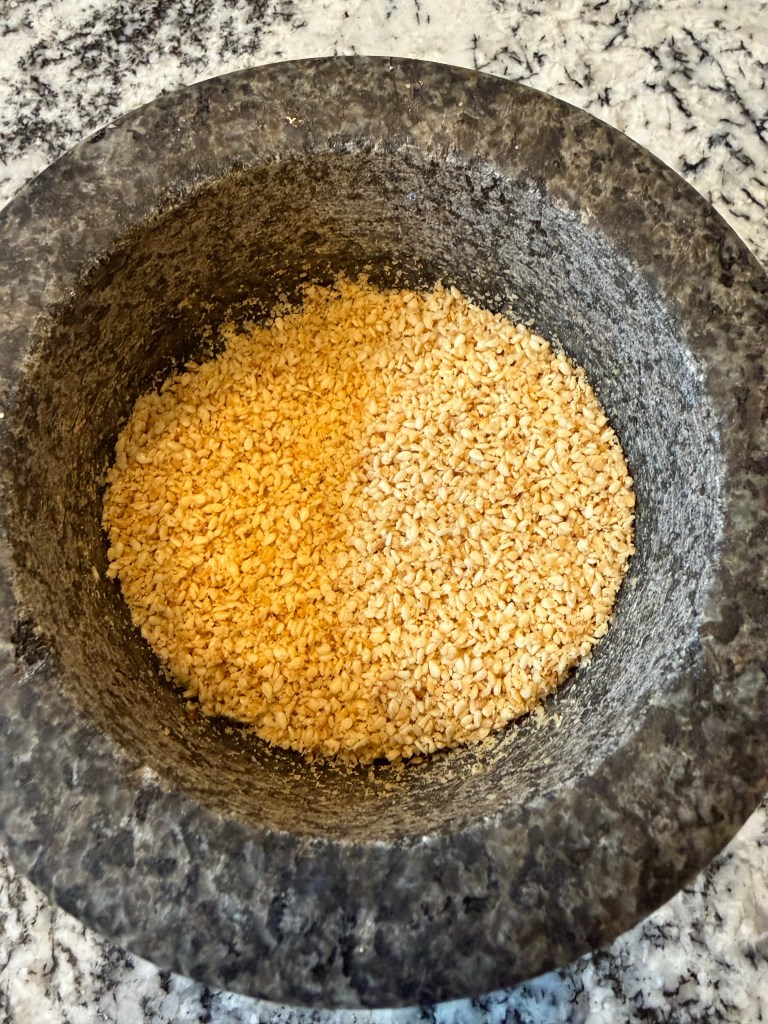
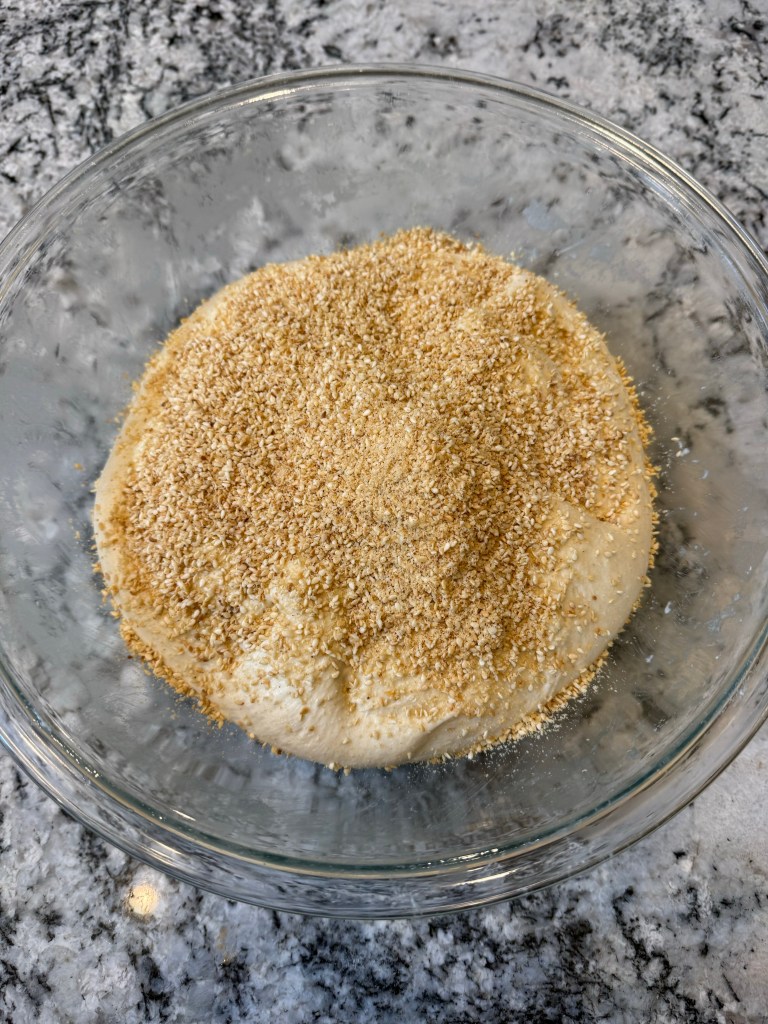
I was meant to add in some toasted and lightly ground sesame seeds during the 2nd turn, but I forgot, so I added them during the 3rd turn.
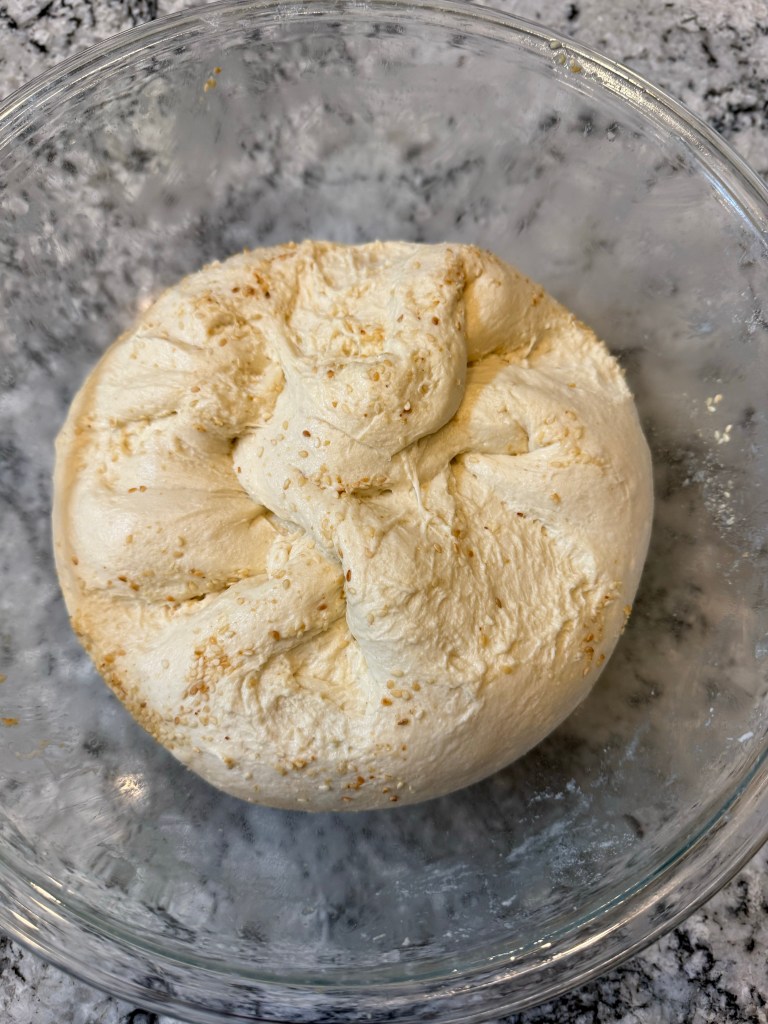
3rd turn (90 minutes in) with sesame addition and a little extra water to facilitate mixing:
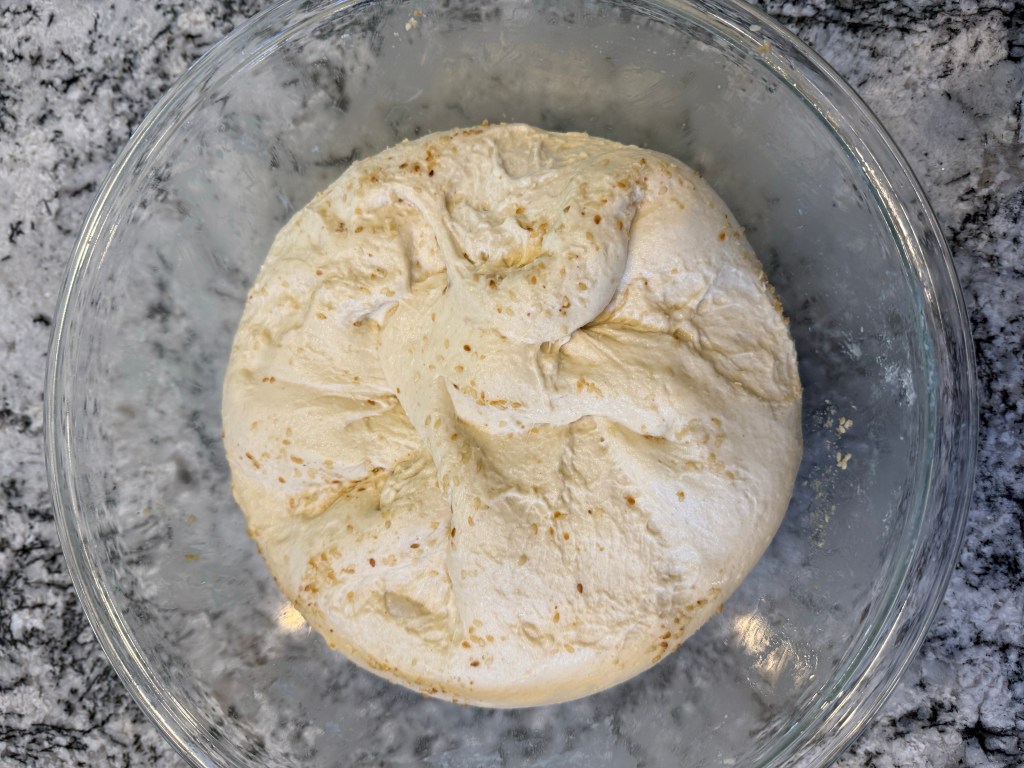
4th turn (2 hours in):
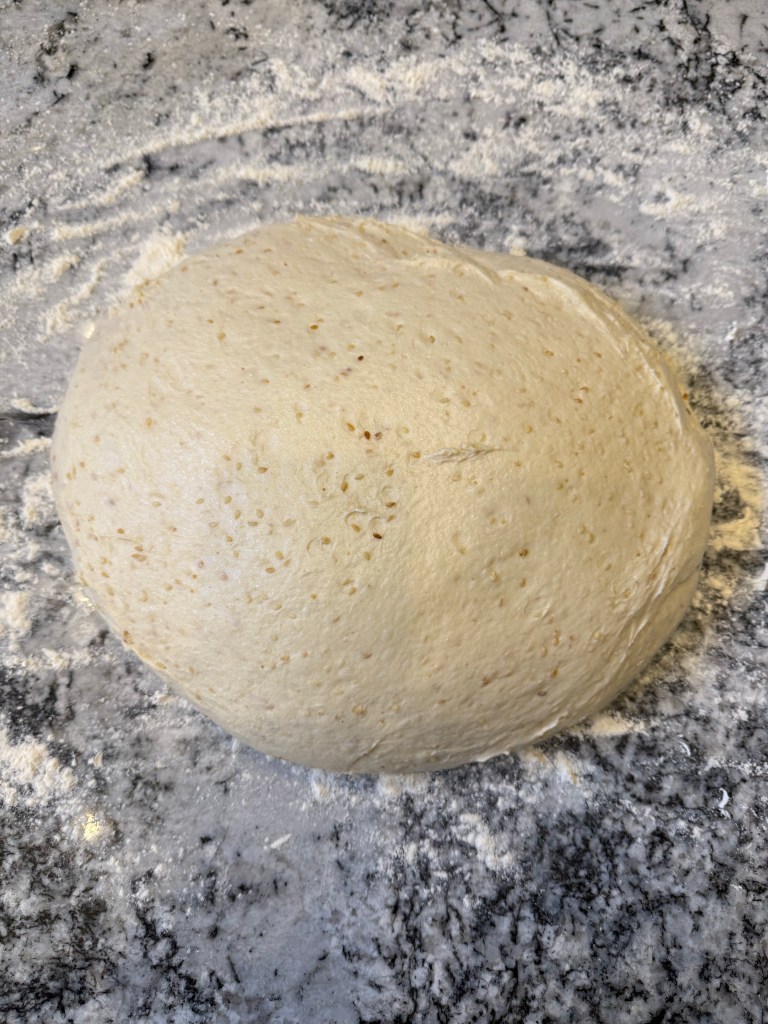
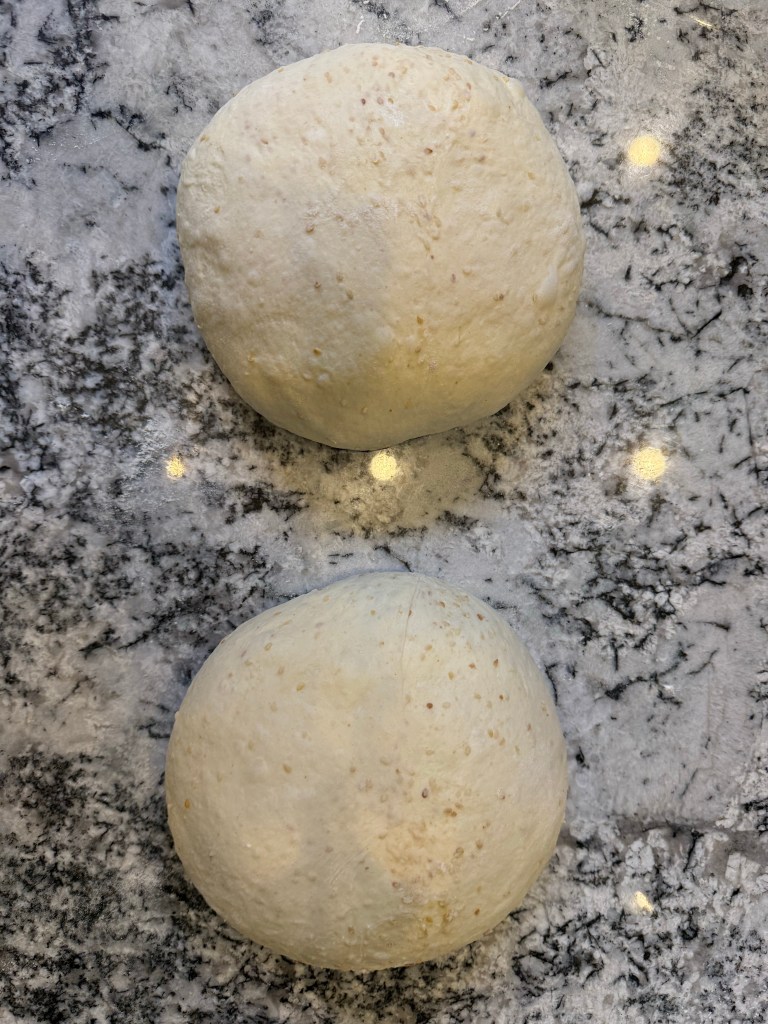
After the 4th turn I waited another hour, then divided and preshaped the dough into two rounds.
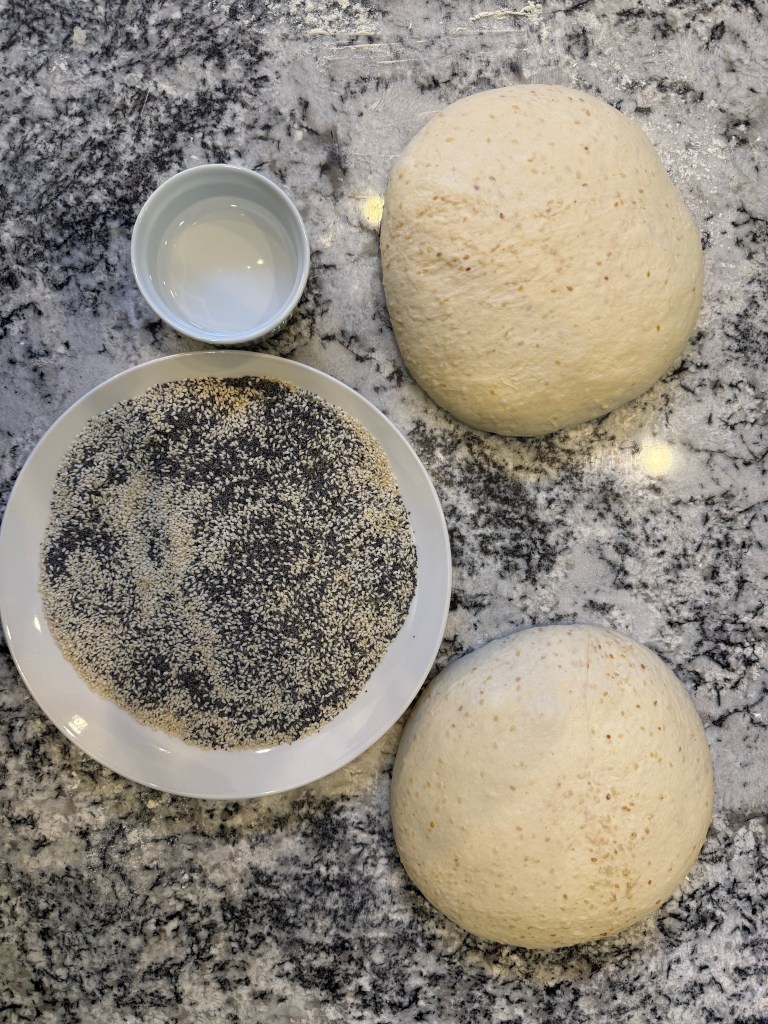
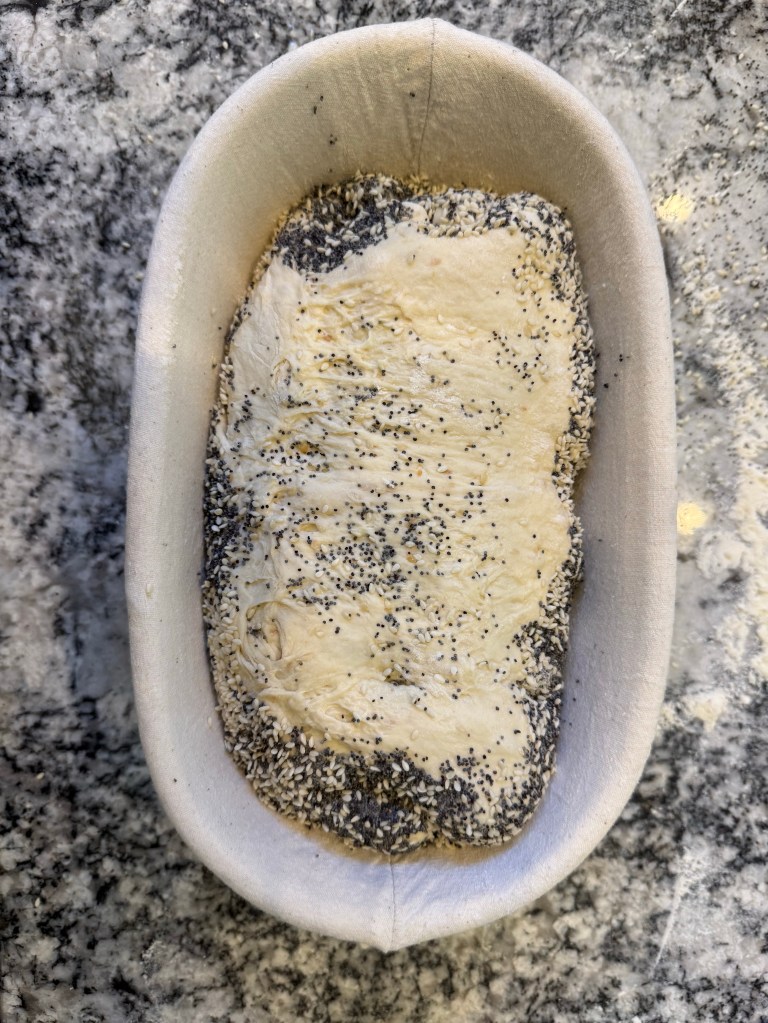
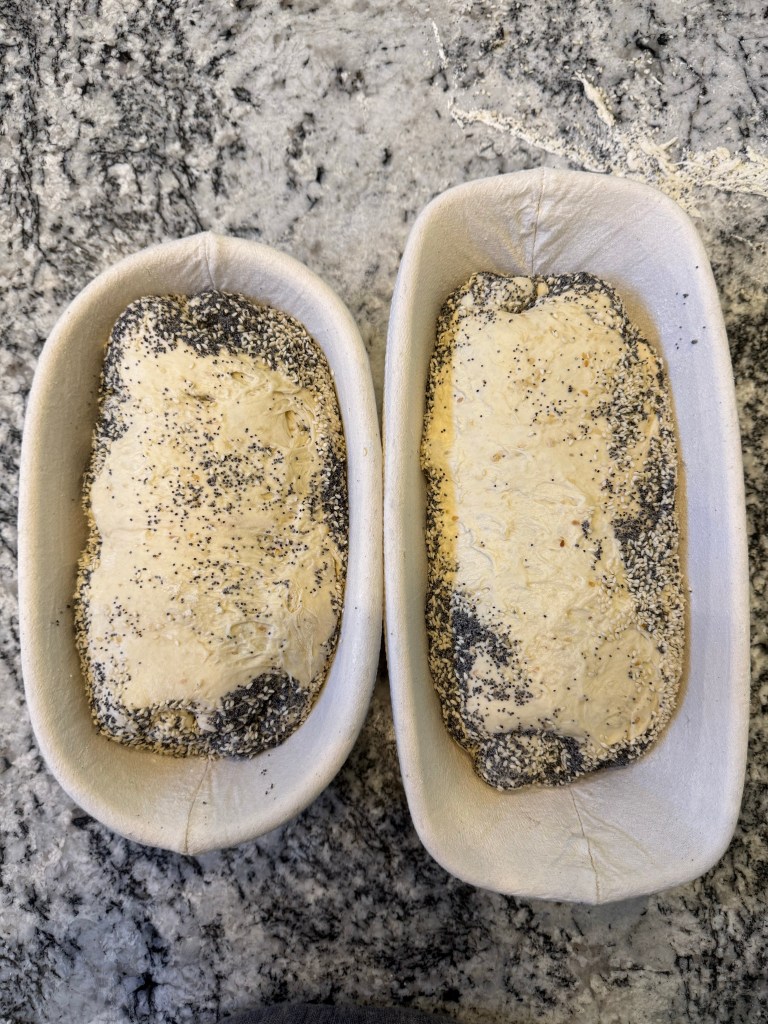
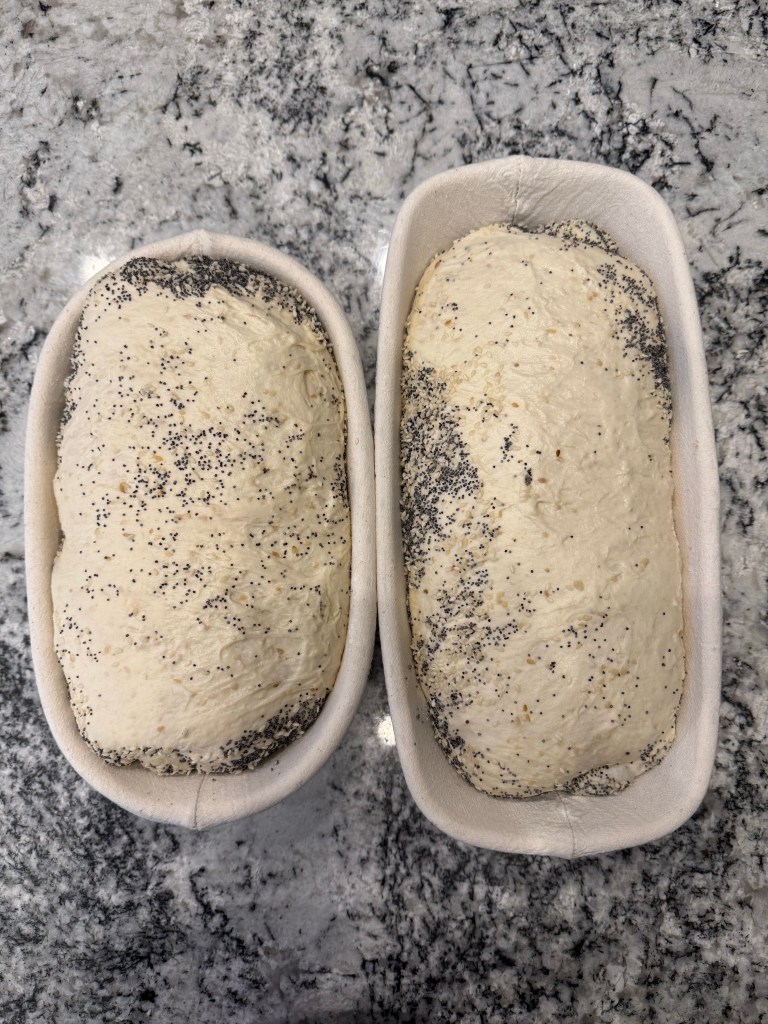
The rounds rested for 30 minutes before their final shaping. Before putting the dough into the bannetons I brushed each loaf with water and rolled them in a mix of sesame and poppy seeds.
The dough rose for 2 hours. I was so pleased with how much rise I got during this time!
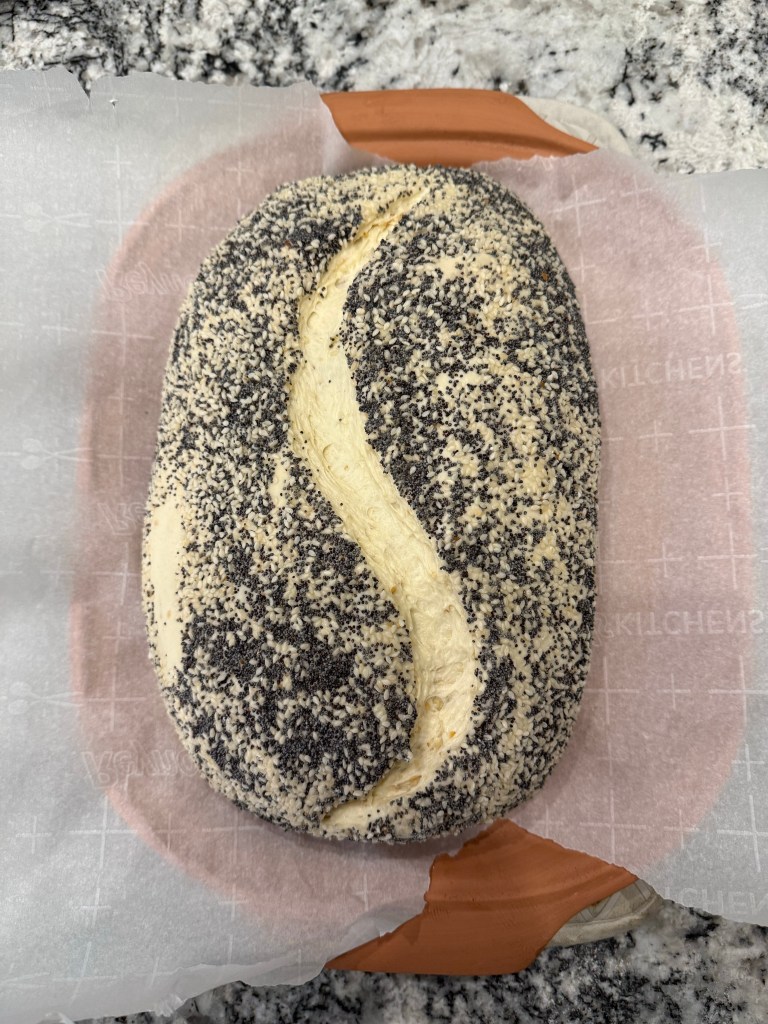
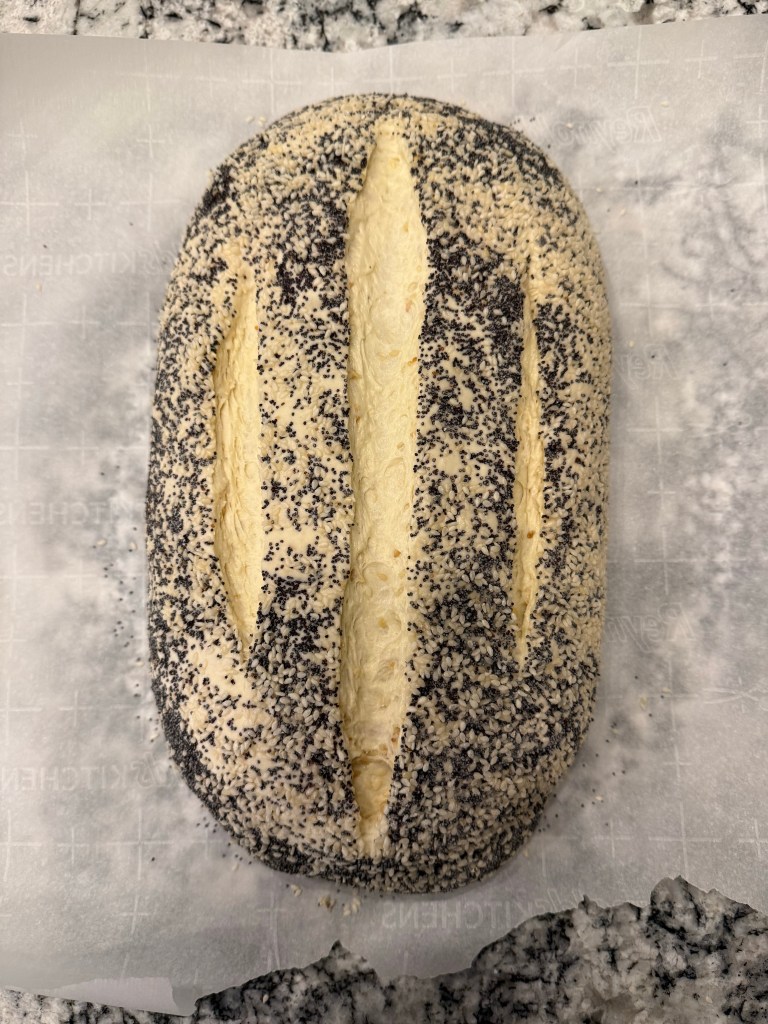
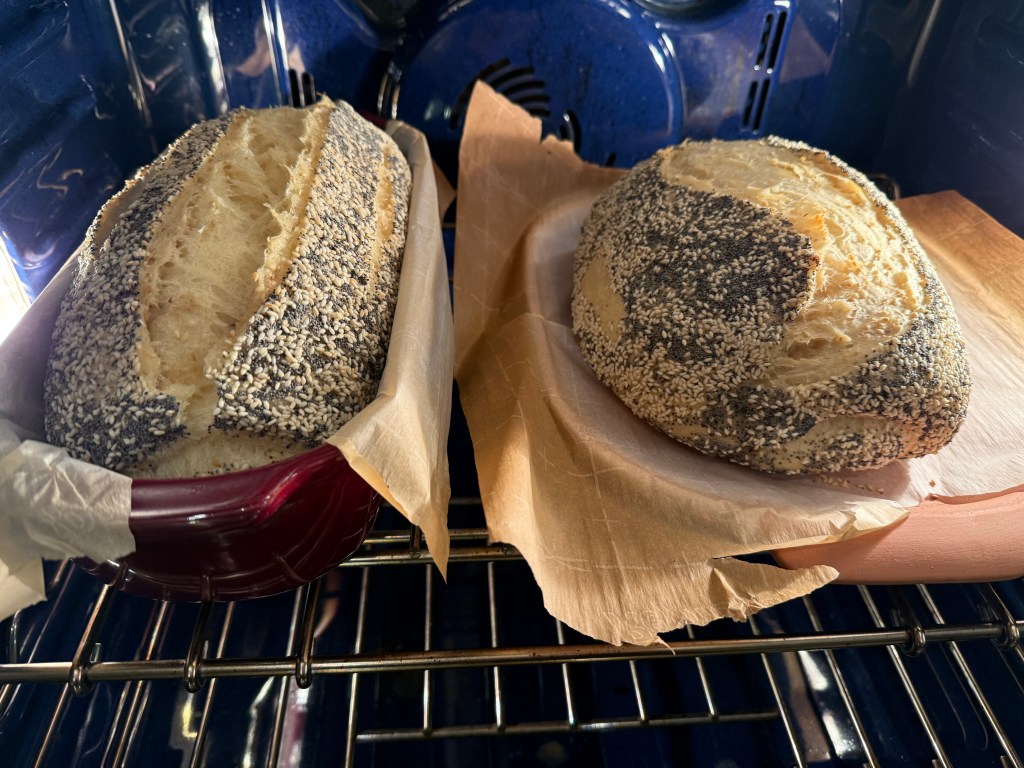
While the dough was rising I preheated my oven to 500 degrees Fahrenheit. Before baking I turned the dough out onto parchment paper and scored it.
I placed each loaf into a covered baker, put them in the oven, and reduced the temperature down to 475 degrees Fahrenheit. I took the lids off 15 minutes into the bake, then let the loaves bake for another 30 minutes.
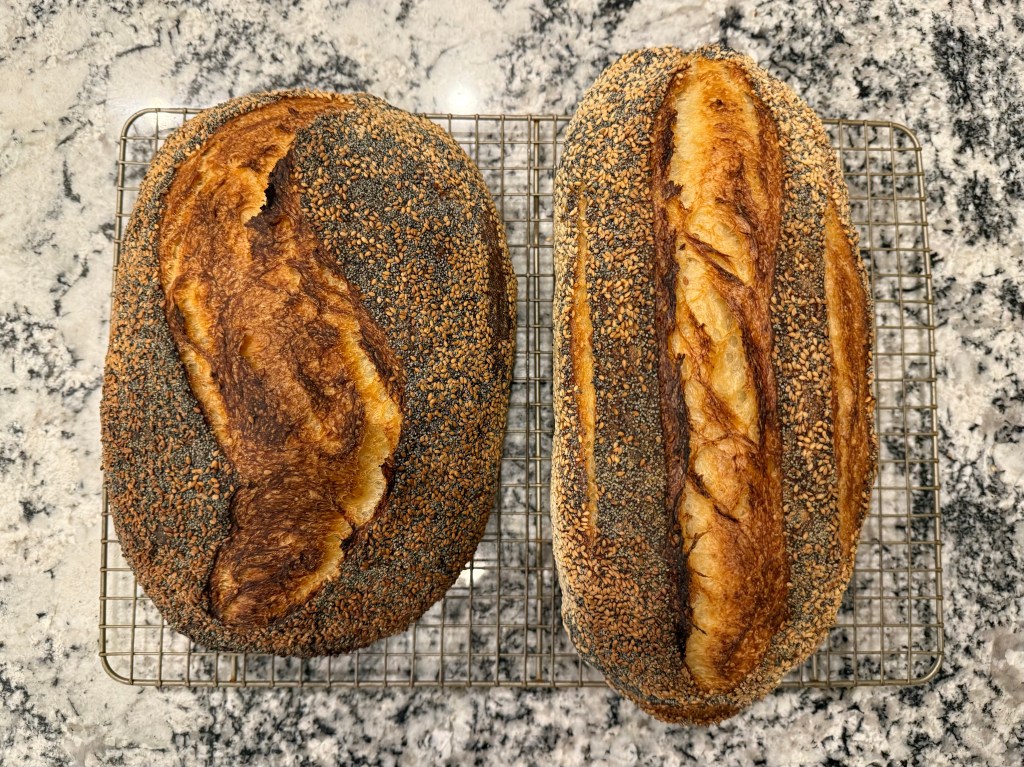
When I pulled these loaves out of the oven I was amazed at how beautiful they are! The seeded crust is just so gorgeous!
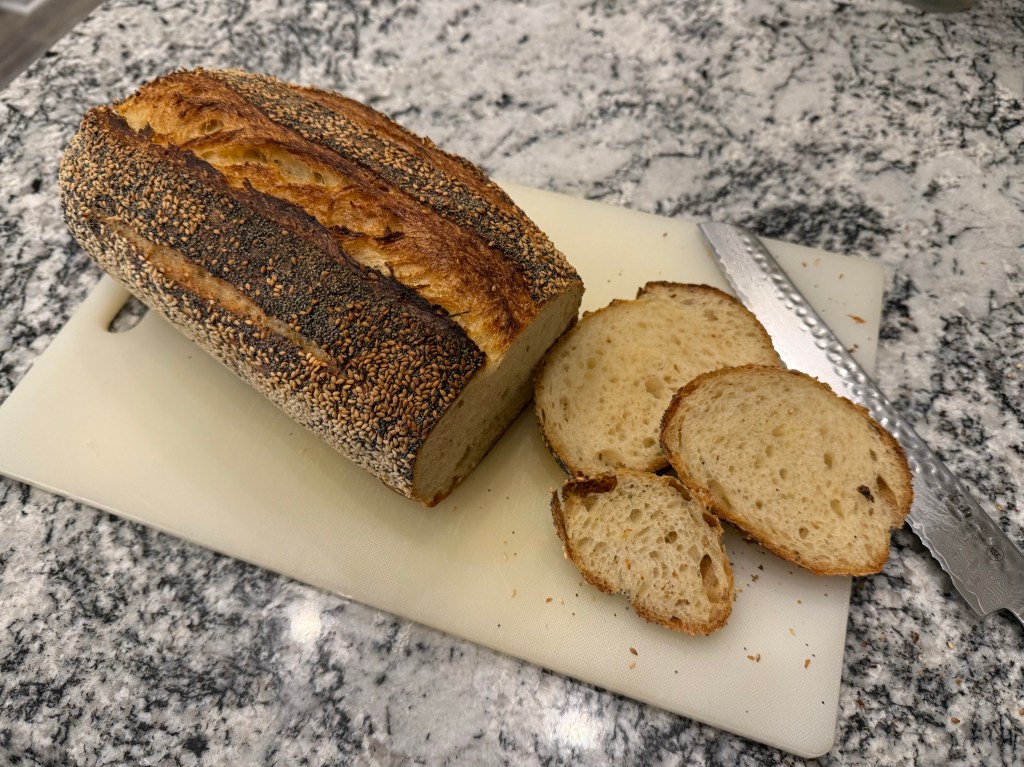
I am so pleased with how this bread turned out! The bread is lightly sour, which is something I was aiming for with the warmer and shorter proofing. It has a fluffy grain with a combination of large and small holes. The seeds on the crust are a little overwhelming. I think this dough could also use some additional salt – maybe 2.5% instead of 2% to help stand up to the nutty flavors.
I can see a definite improvement in the rise of these loaves compared to my usual sourdough. I think this is due to a combination of factors: 1) the warm proofing environment; 2) additional folds during the bulk ferment – I went around the bowl twice per instance instead of once; and 3) Better shaping technique, specifically around building lots of tension in the dough prior to placing it in the Banneton.
It’s only been a few days and we’ve already eaten more than half of the first loaf. It’s so yummy.
Until the next time: may your yeast always rise and your flour never run out.
The King Arthur Baking School takes us into the world of Sourdough baking gently. The next recipe is for Sourdough sandwich bread, but while it does incorporate sourdough starter, it is mainly leavened with baker’s yeast. This gives us some advantages of both worlds: the bread has better flavor and keeping qualities because of the sourdough, but it rises more quickly and isn’t as sour as true sourdough bread.
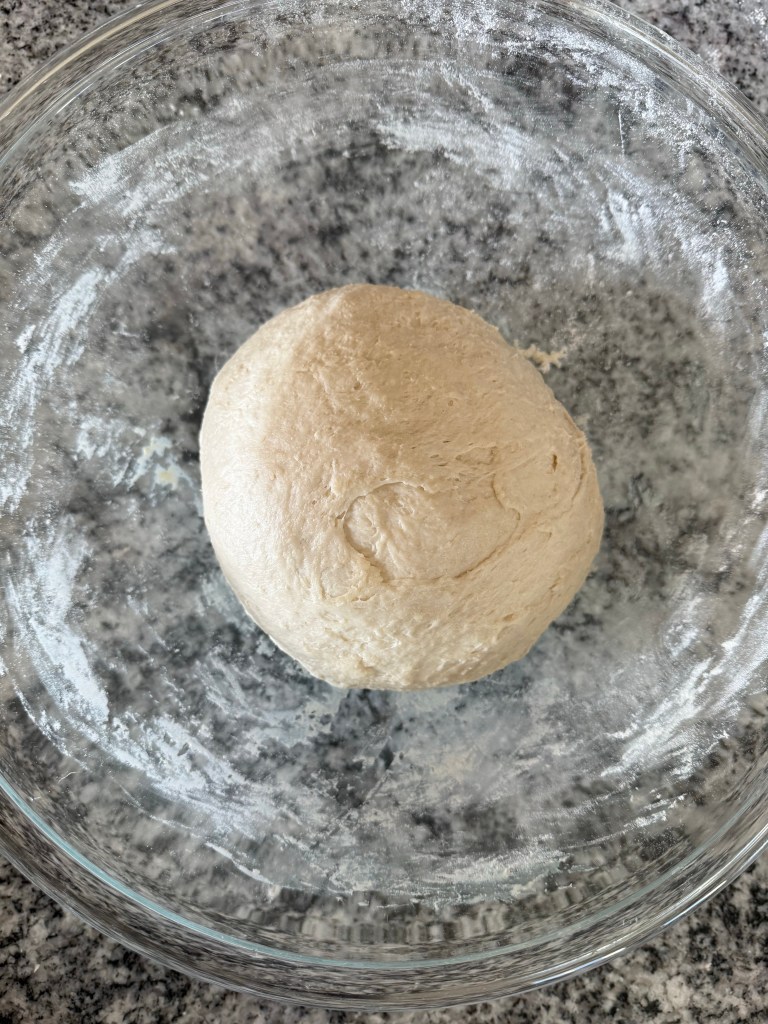
I prepped my starter the night before baking. I used to feed my starter exclusively with whole-wheat flour, but I recently learned (through following the directions in the Baking School book) that starters are able to rise much higher when using an all-purpose flour than when using whole wheat. Who knew?
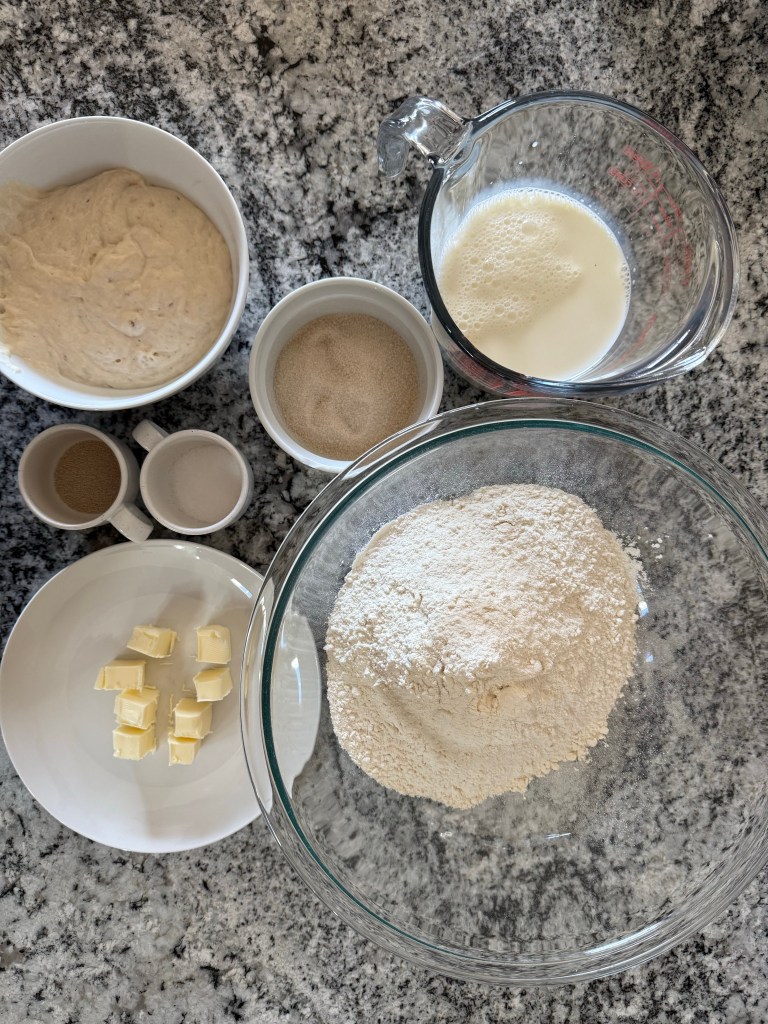
With my starter risen I gathered my mise en place.
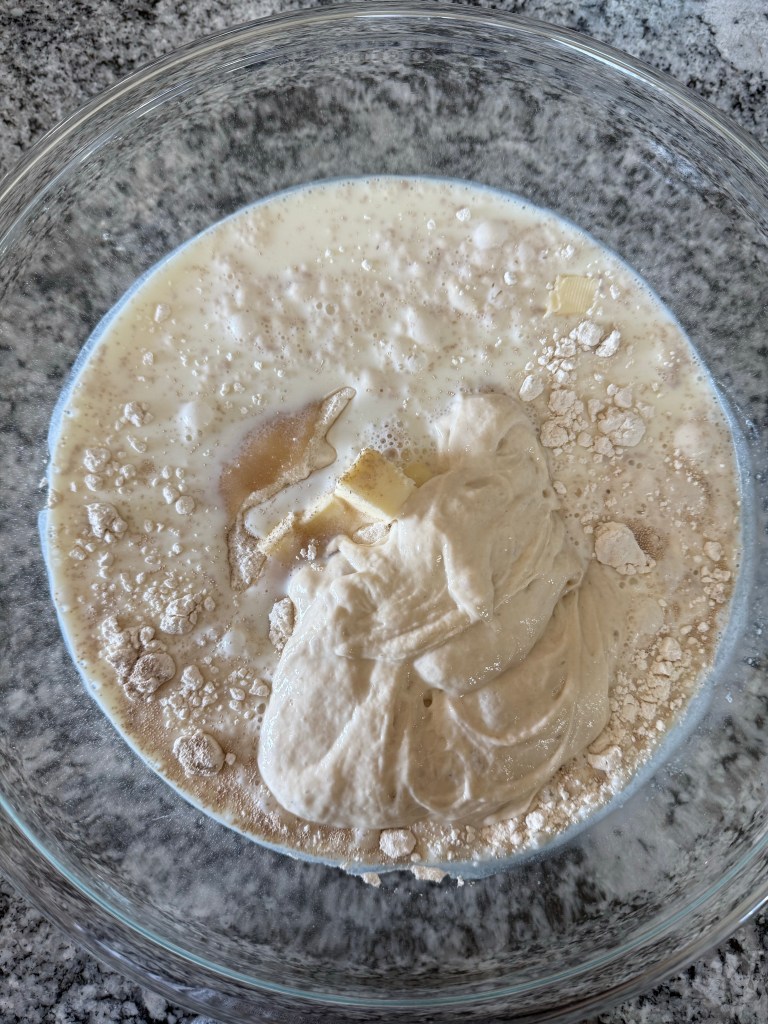
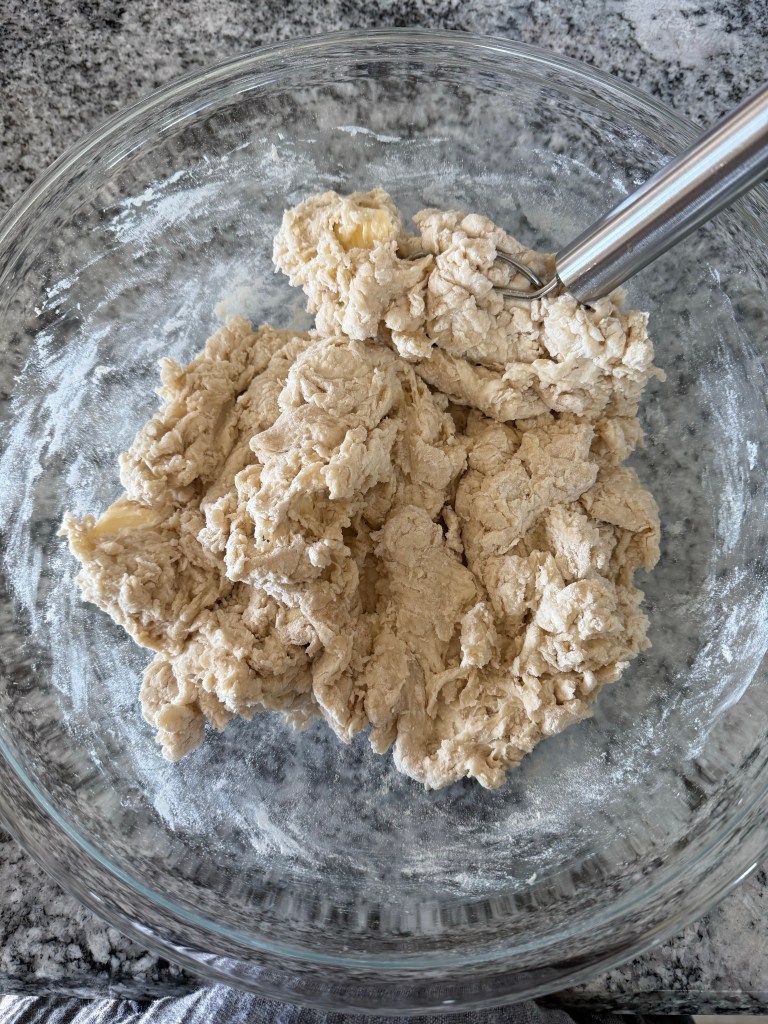
I mixed all the ingredients into a shaggy dough. My kitchen was cold, so the butter didn’t incorporate well. I probably should have let the butter soften for longer before mixing my dough, but that’s how we learn.
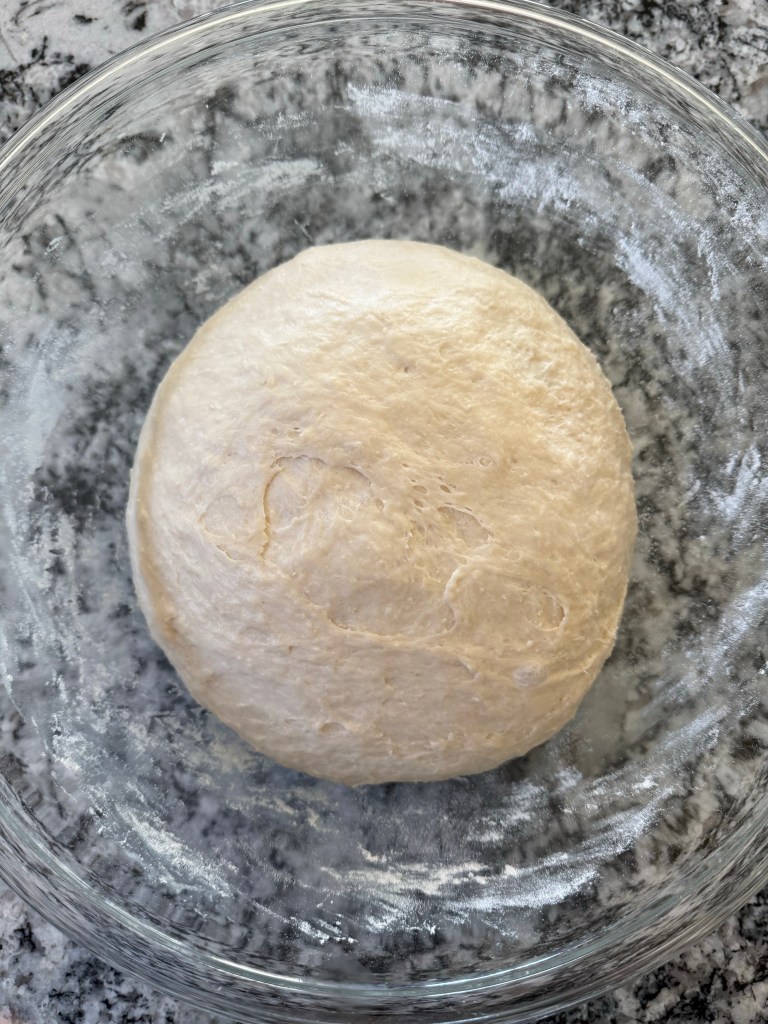
After mixing I kneaded the dough by hand for 5 minutes, adding flour only once the butter started to melt out of the dough and stick to the counter.
I set the dough aside to rise for 2 1/2 hours rather than the 2 hours directed in the book (it is winter, and my kitchen is cold).
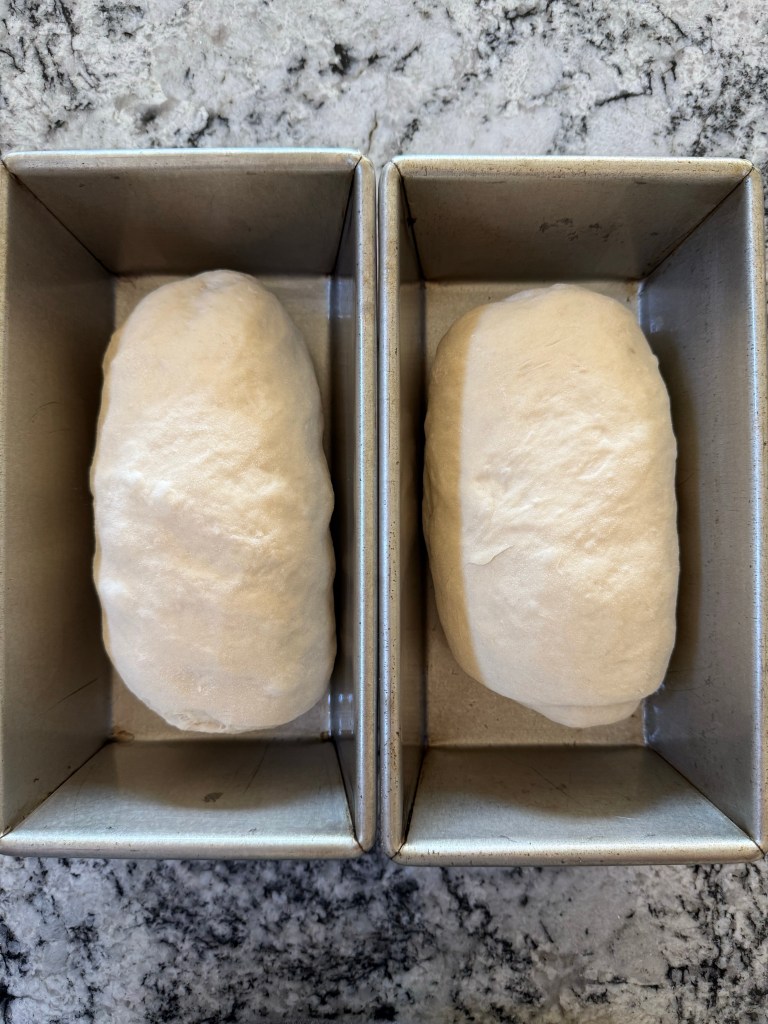
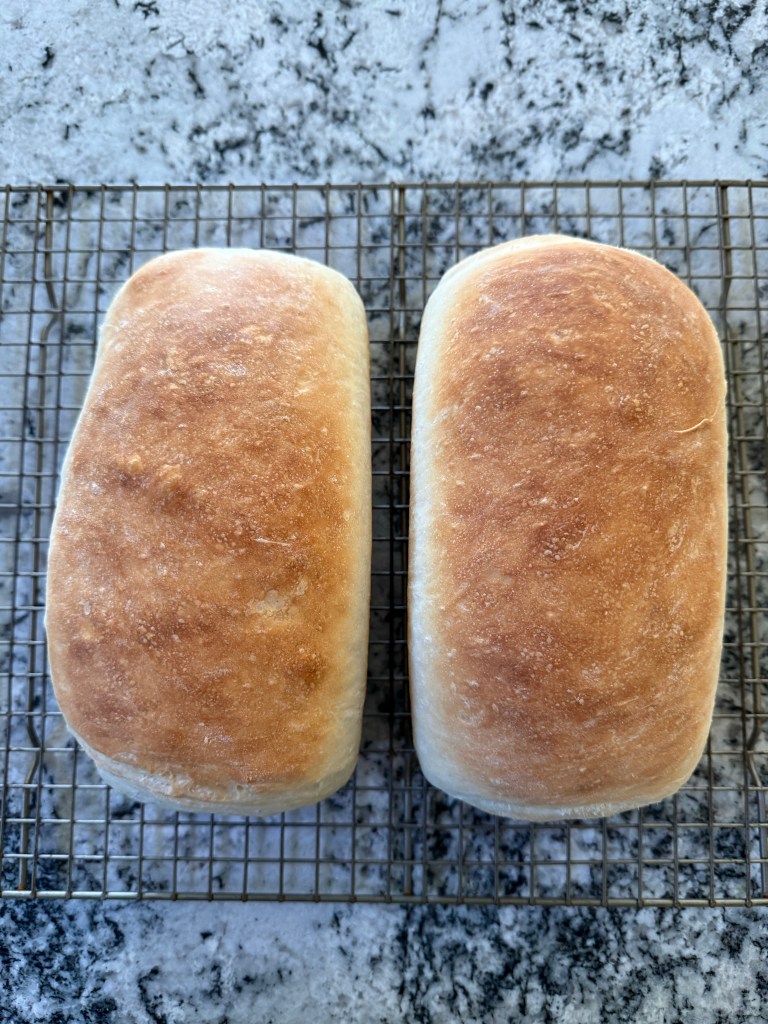
I divided the dough into two and shaped each half into a loaf, then put the loaves into loaf pans to rise. The book instructs to allow the dough to rise for 2 more hours, but I was coming up against a hard stop and needed to speed the last rise up. I put the loaf pans into the oven with the proofing setting on (80 degrees Fahrenheit) for 1 hour, then increased the tempterature to 95 degrees for half an hour for a total rise time of 1 1/2 hours.
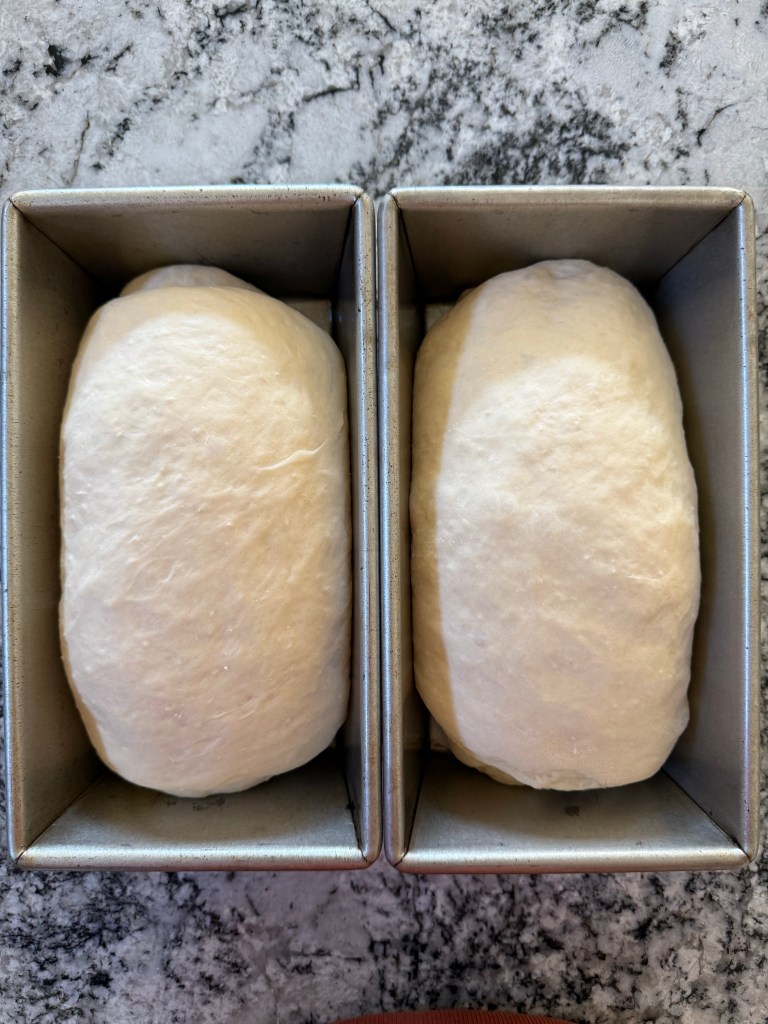
I could have probably let the dough rise for another 20-30 minutes, but I was out of time, so I preheated the oven and baked the bread.
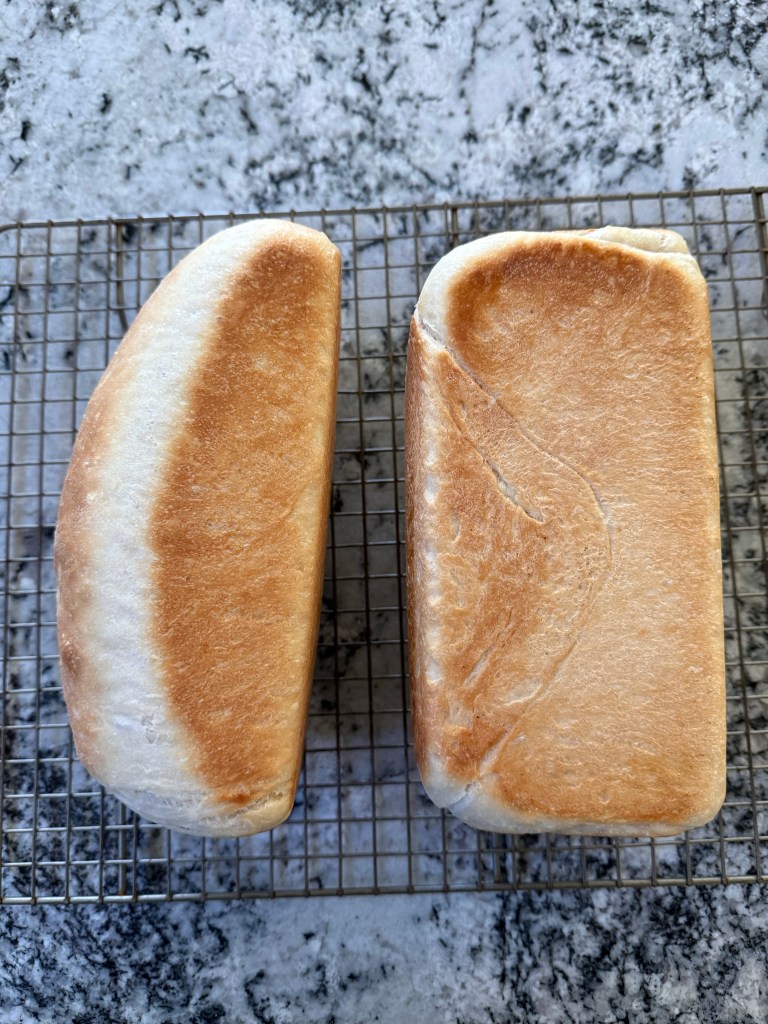
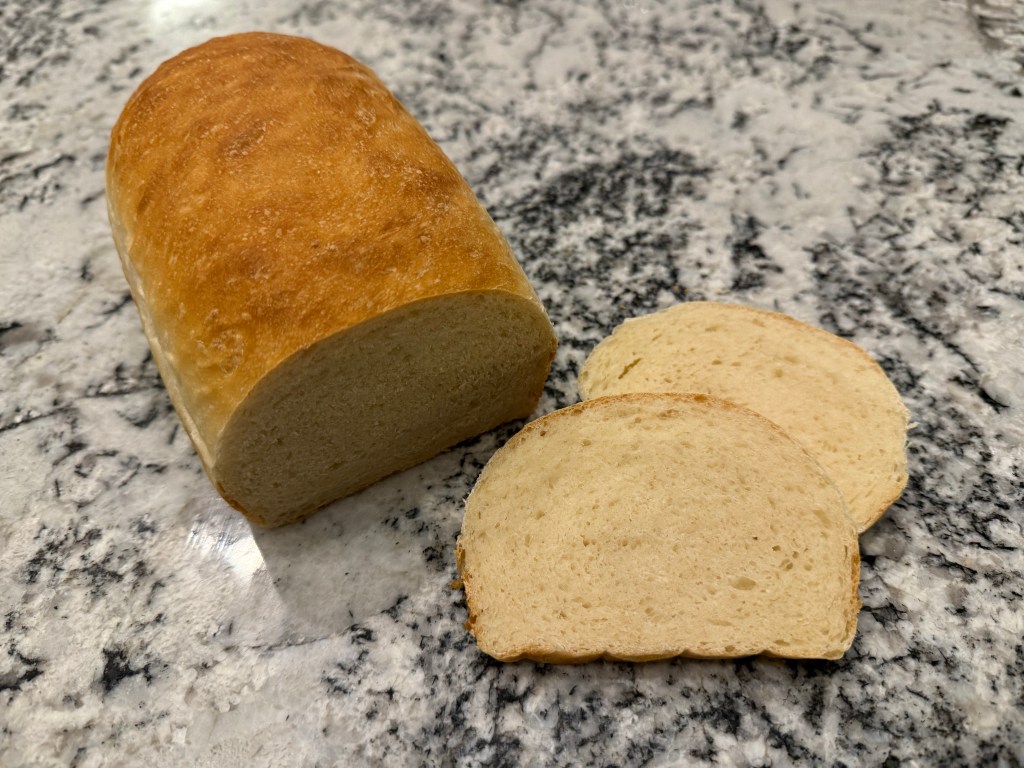
The finished bread smells like sourdough, but tastes sweet, almost like a dinner roll. It has a tight crumb and chewy texture. It would stand up to a sandwich without crumbling, which is better than I can say for most homemade sandwich breads. The bread toasts well and would be good in BLTs. This may be my new go-to sandwich bread.
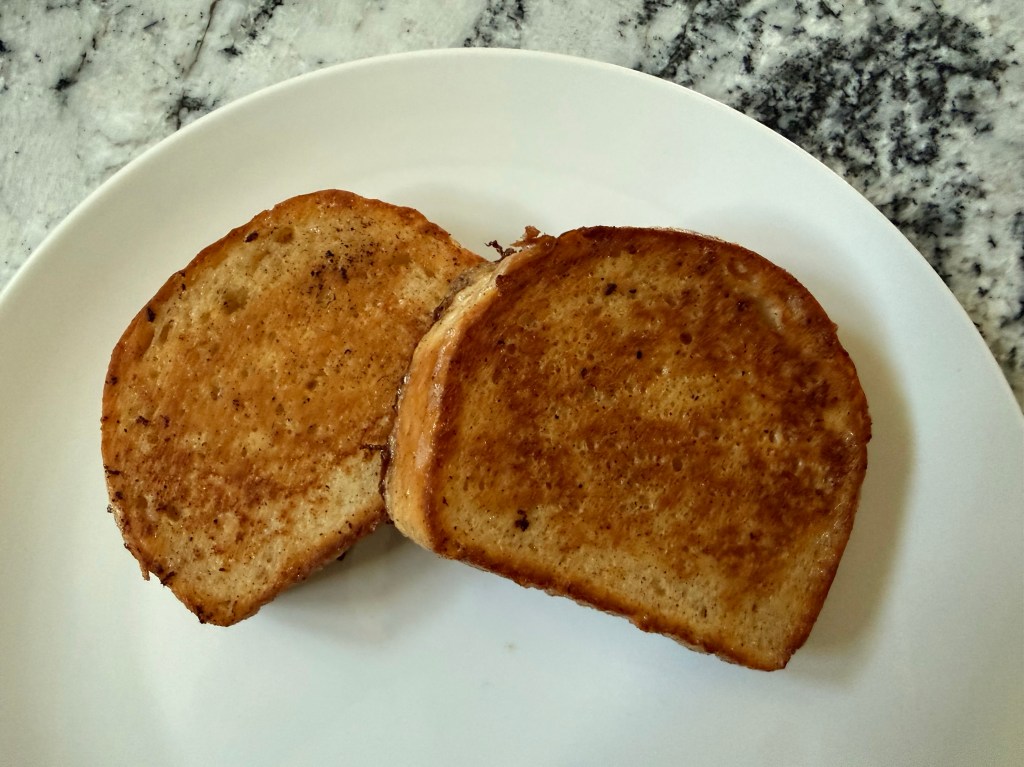
We made excellent French Toast using this bread. The hint of sourness sets off the sweet sugar and syrup beautifully.
Until the next time: may your yeast always rise and your flour never run out.
As a kid I never really liked English Muffins. It turns out there’s a good reason for that: store-bought English Muffins are dry and don’t have much flavor (this is true of most commercially-available bread). It also turns out that homemade English Muffins are moist, tender, and full of flavor. The flavor is even better when sourdough starter is incorporated. Also, did you know that incorporating sourdough into your dough helps the finished bread keep longer on the counter without staling or molding?
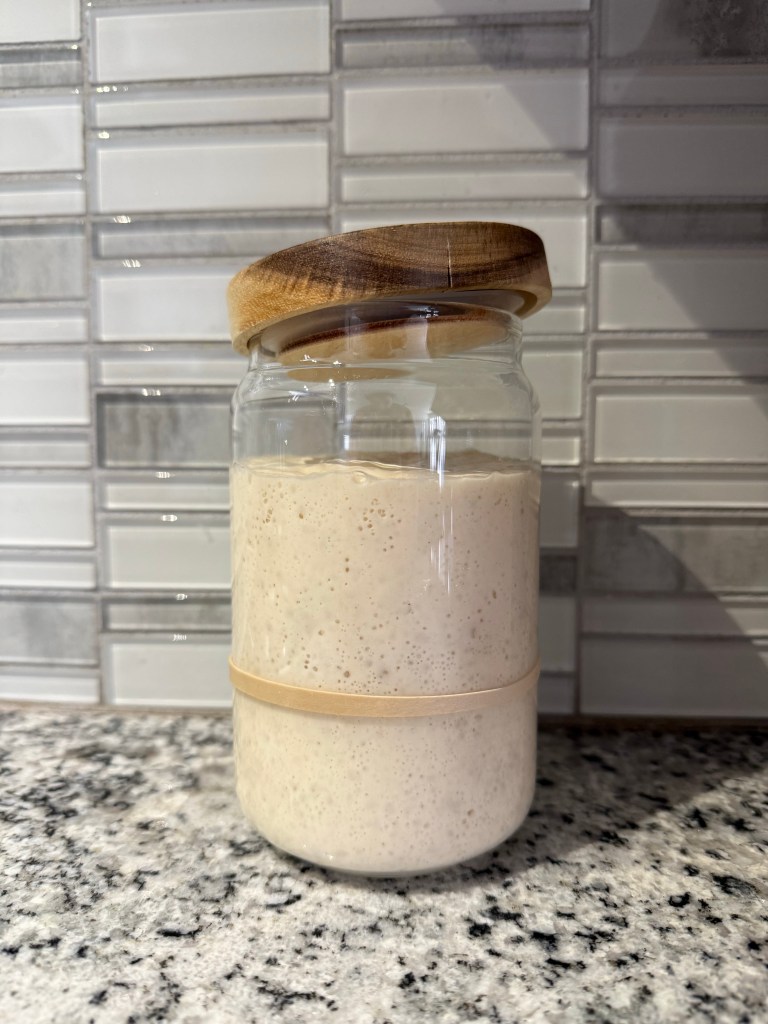
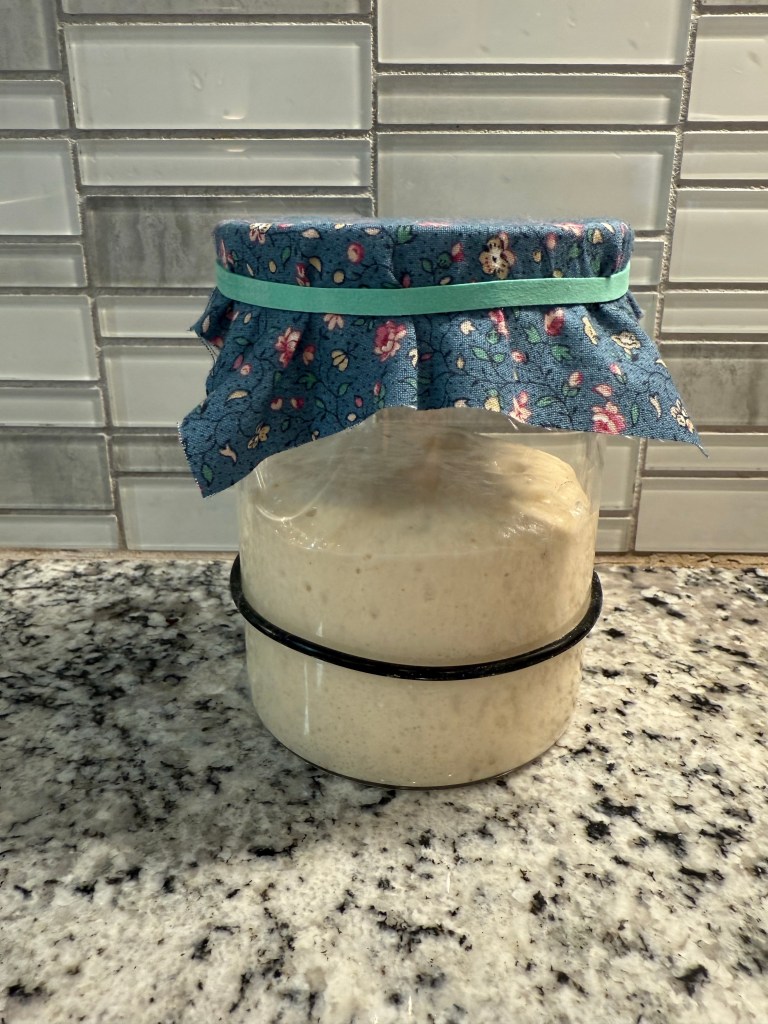
As with most Sourdough recipes, I started by feeding my starter the night before (I used my Alaska Frontier starter for this bake). In the morning the level of the starter had doubled.
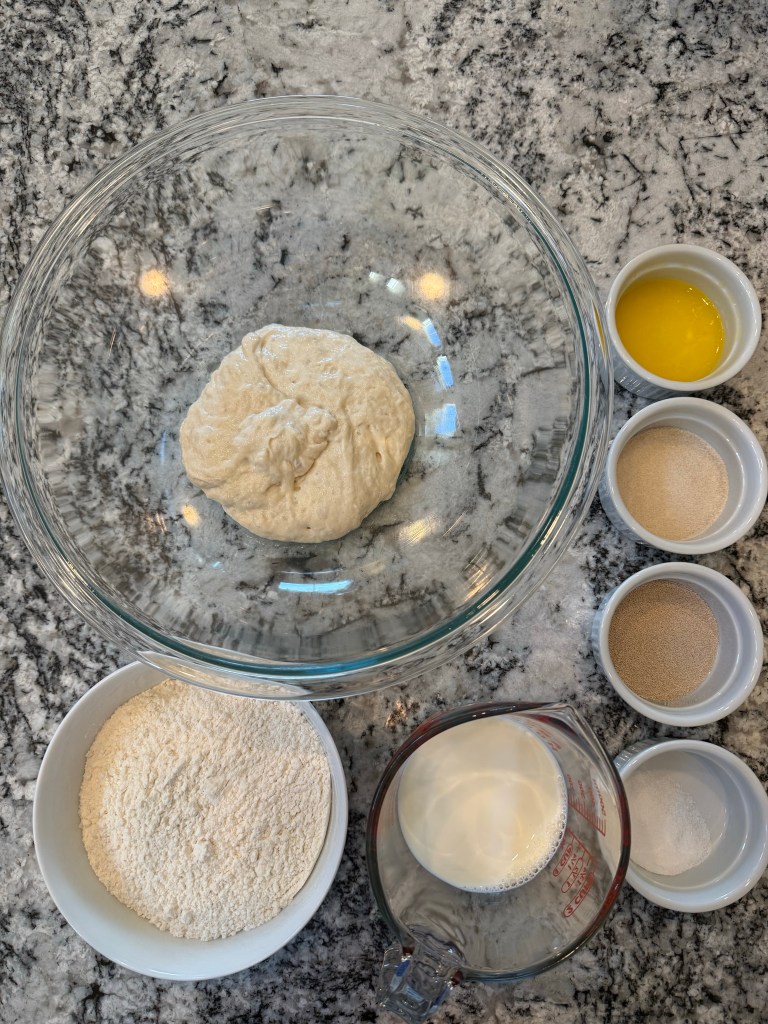
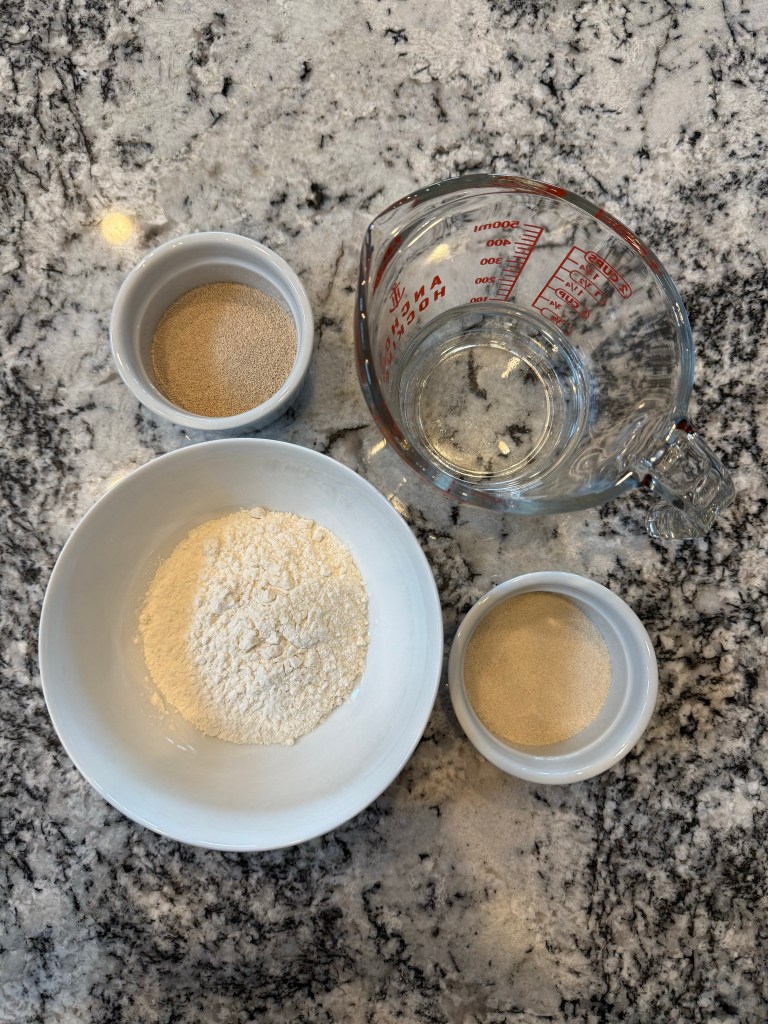
I gathered my mise en place:
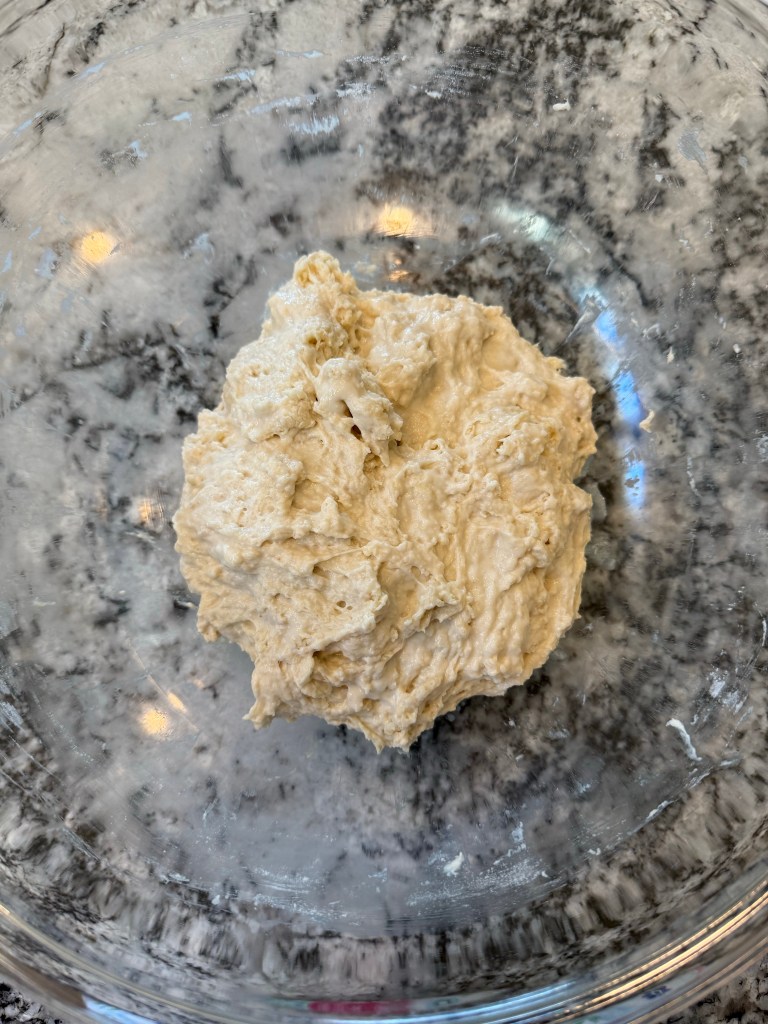
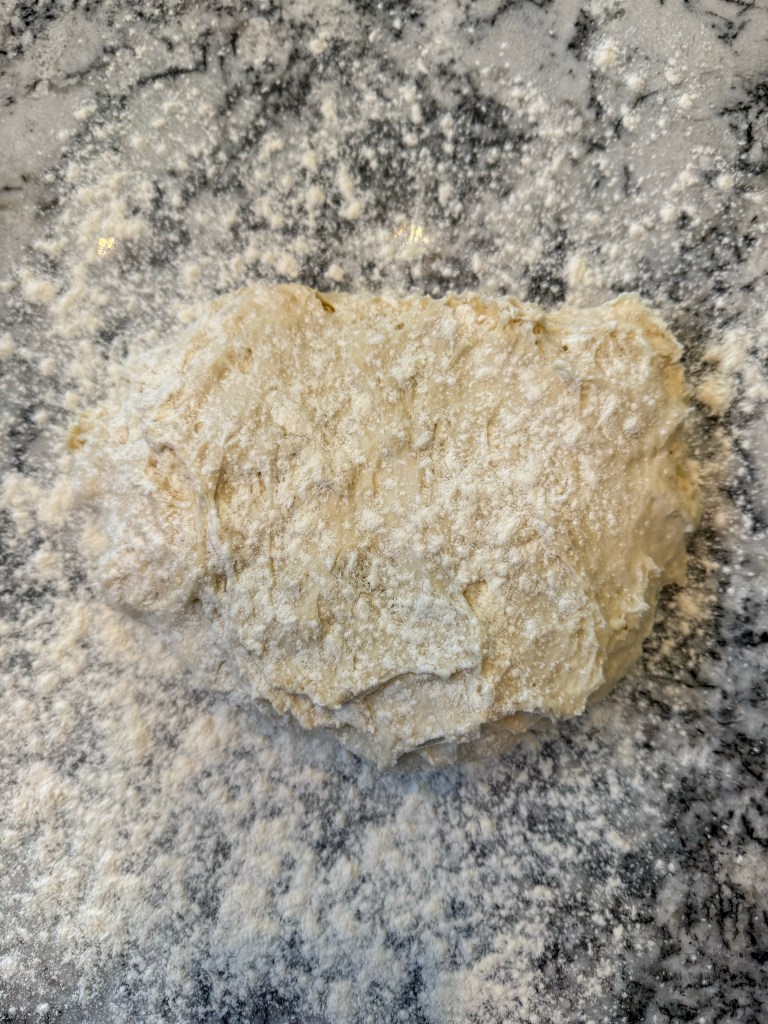
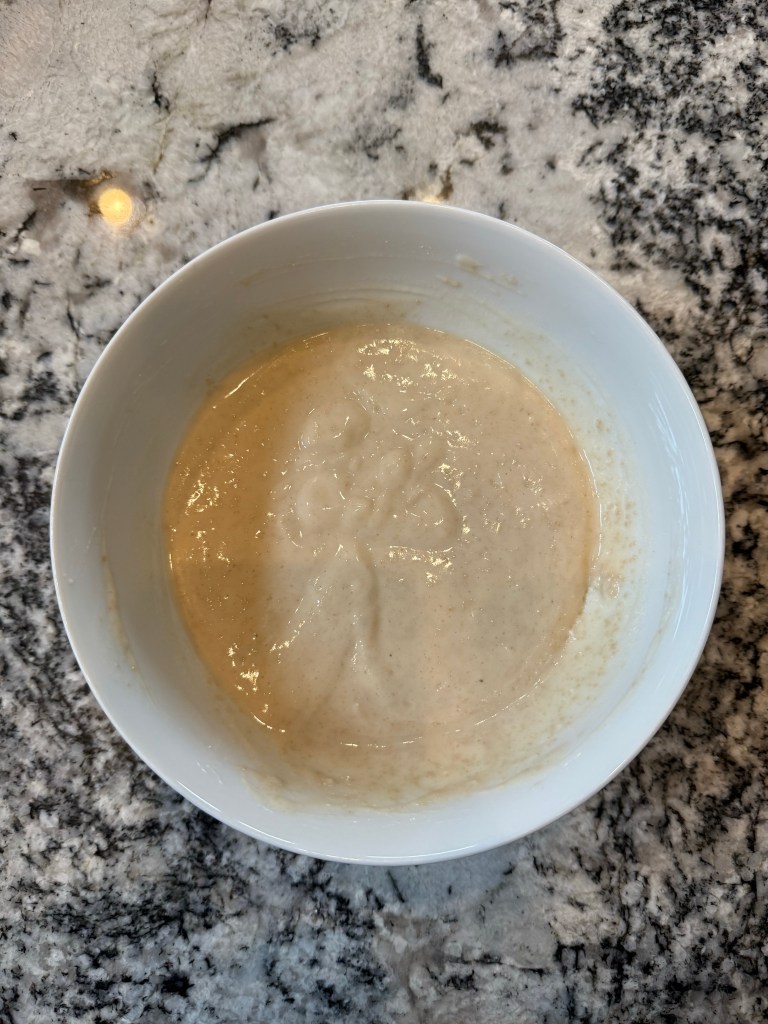
The mixing was very easy as I just combined all the ingredients and mixed by hand until everything was thoroughly incorporated.
I let the dough rise for 1 hour.
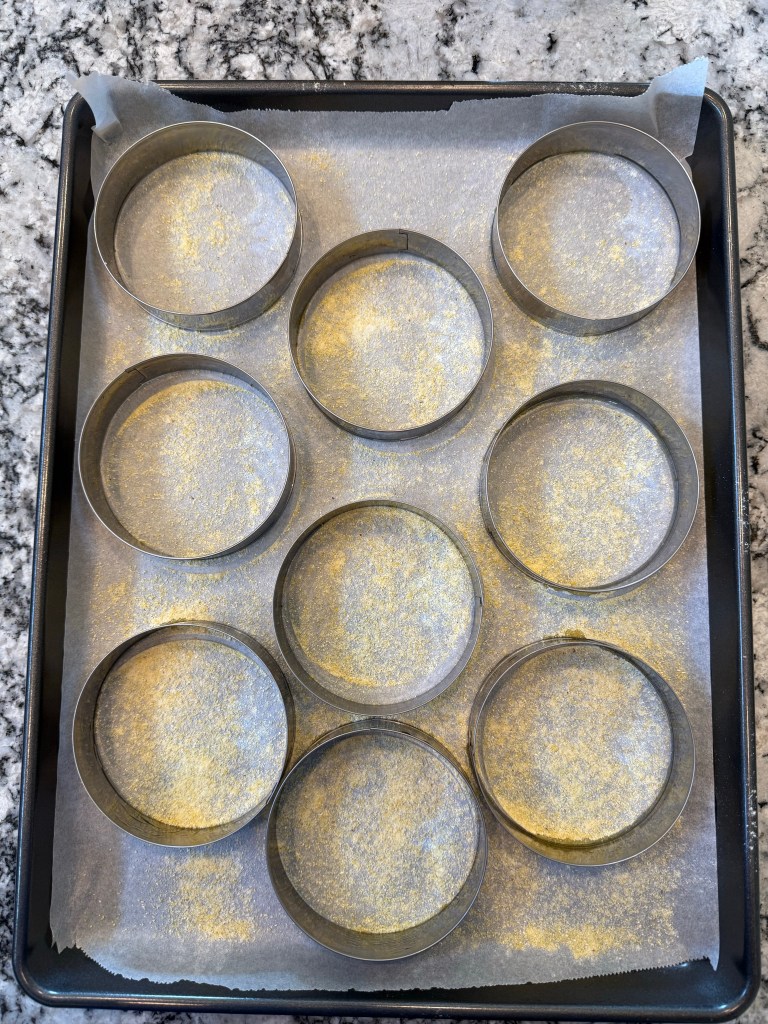
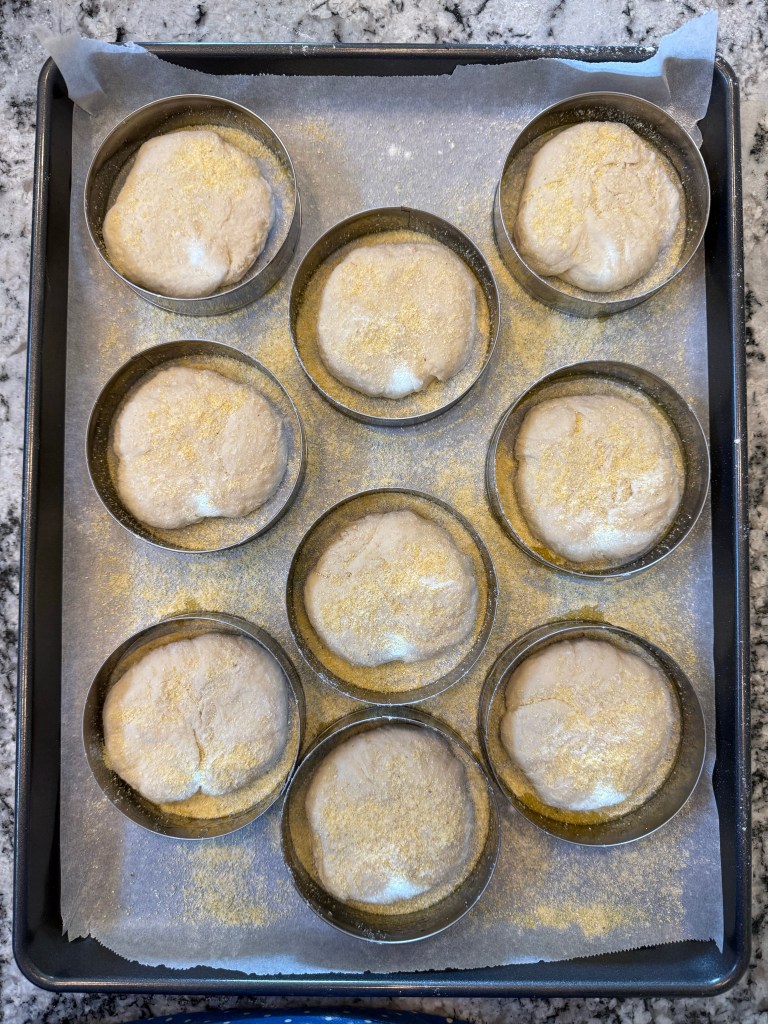
This next step is the part that separates English Muffins from a sandwich loaf. I greased 9 English Muffin rings and sprinkled cornmeal on a baking sheet.
Then I turned the dough out onto a floured counter and divided it into 9 pieces.
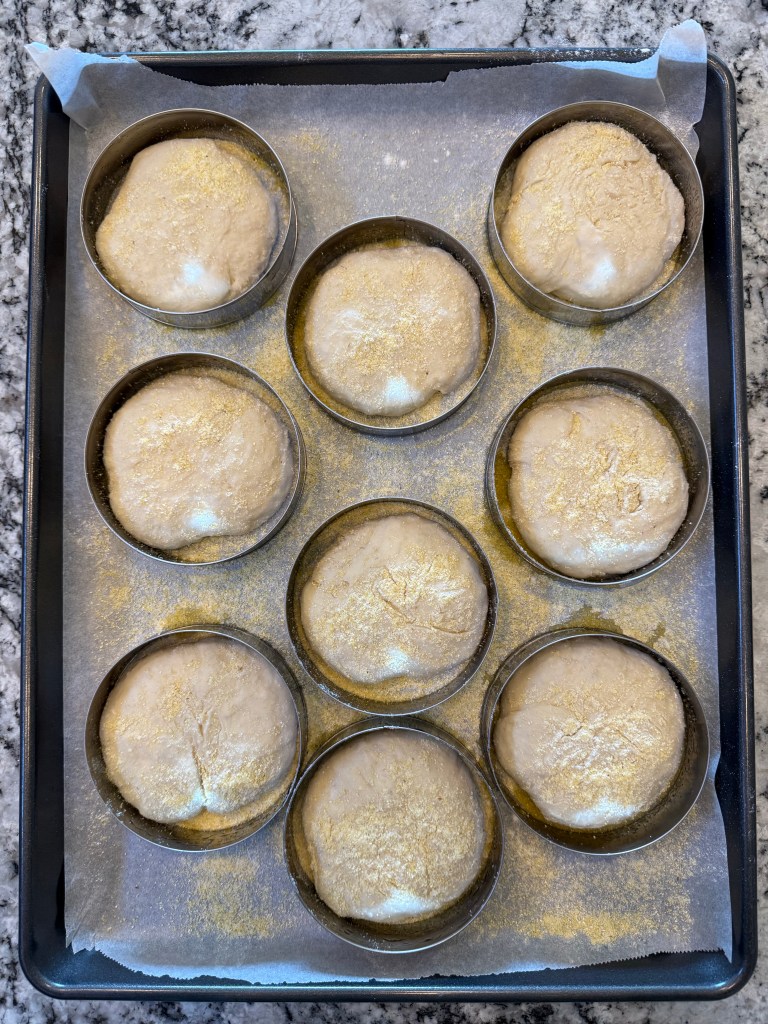
I rolled each piece into a flattened round, placed each piece into a ring, sprinkled them all with cornmeal, and let them rise for another hour. After an hour they had expanded significantly, but weren’t fully filling the rings.
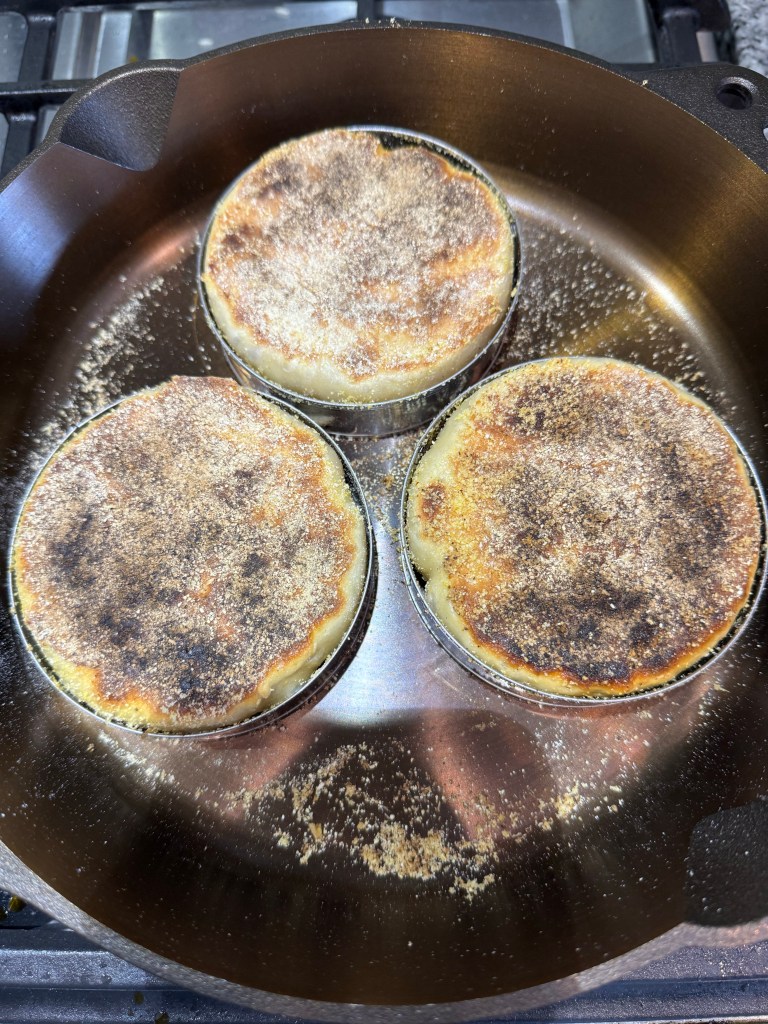
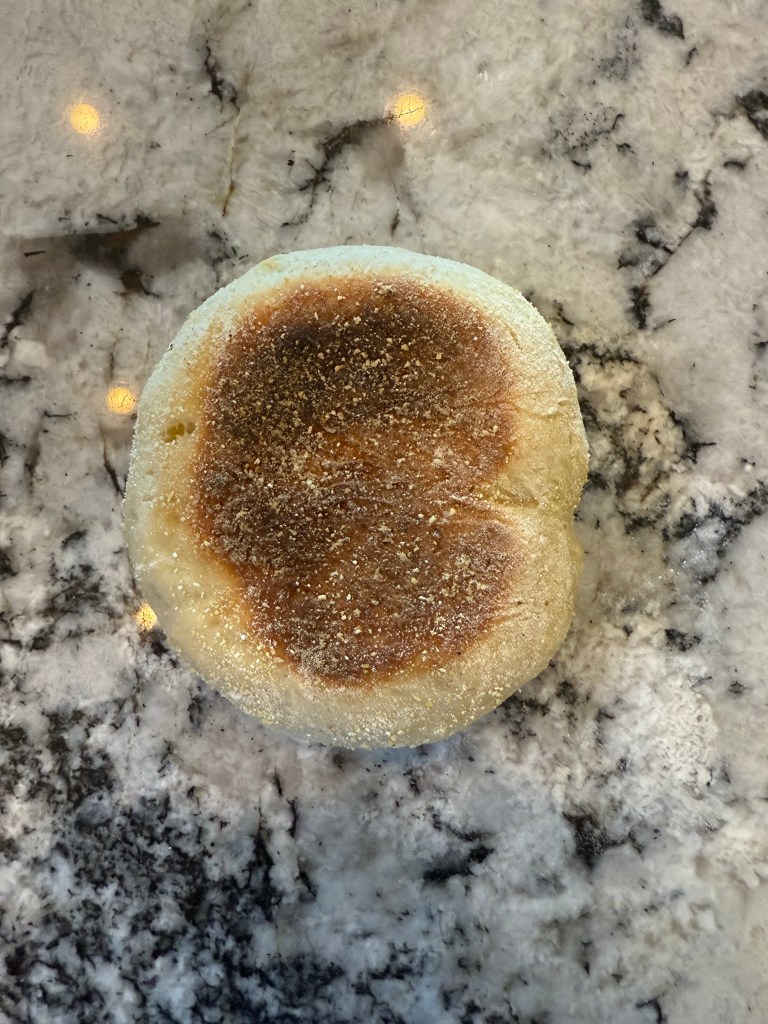
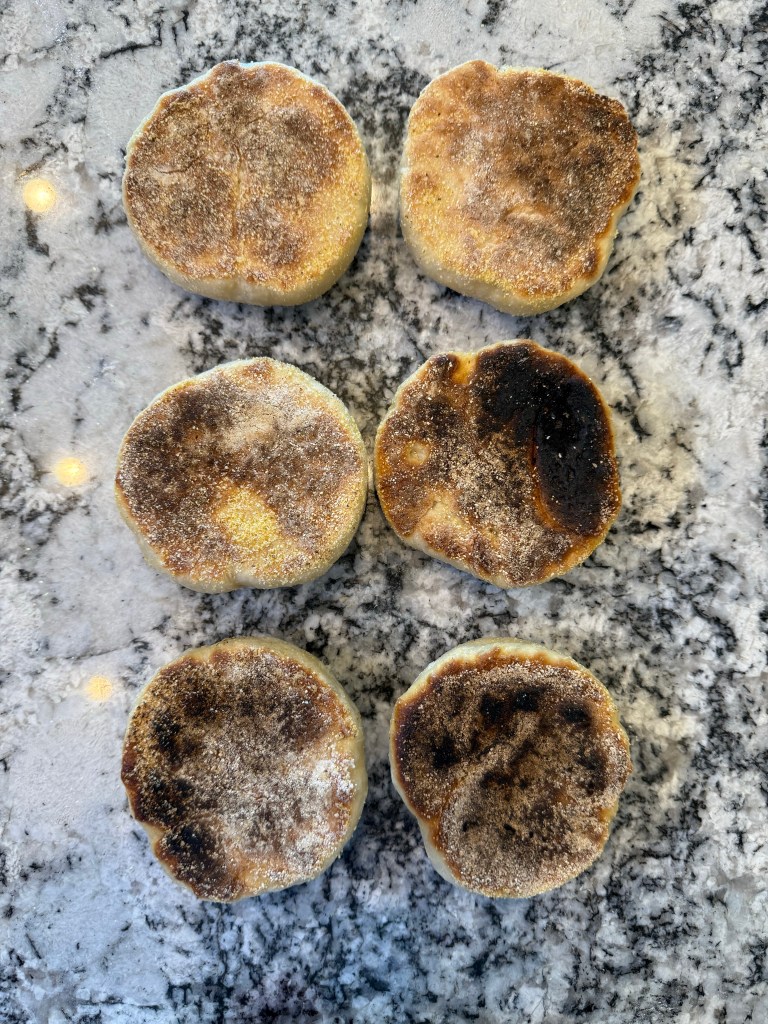
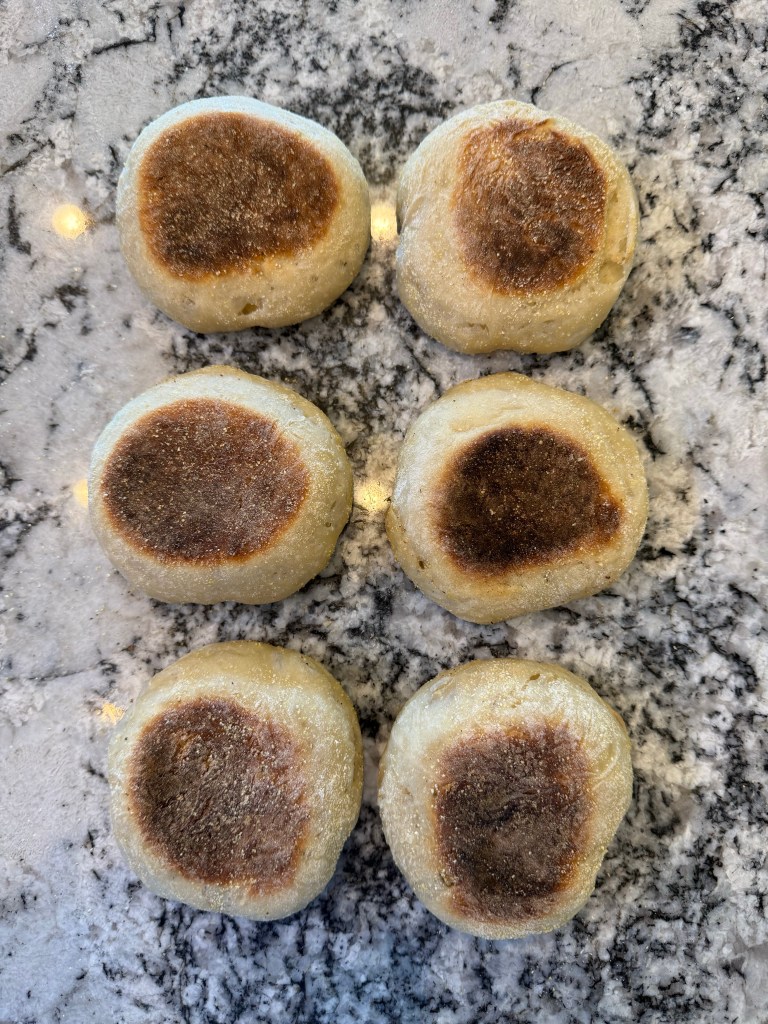
The King Arthur Baking School book instructs one to cook the English Muffins on a griddle. I don’t have a griddle, so I used a cast iron pan at the lowest heat on my stove. The dough expanded significantly and filled the rings after being placed in the hot pan.
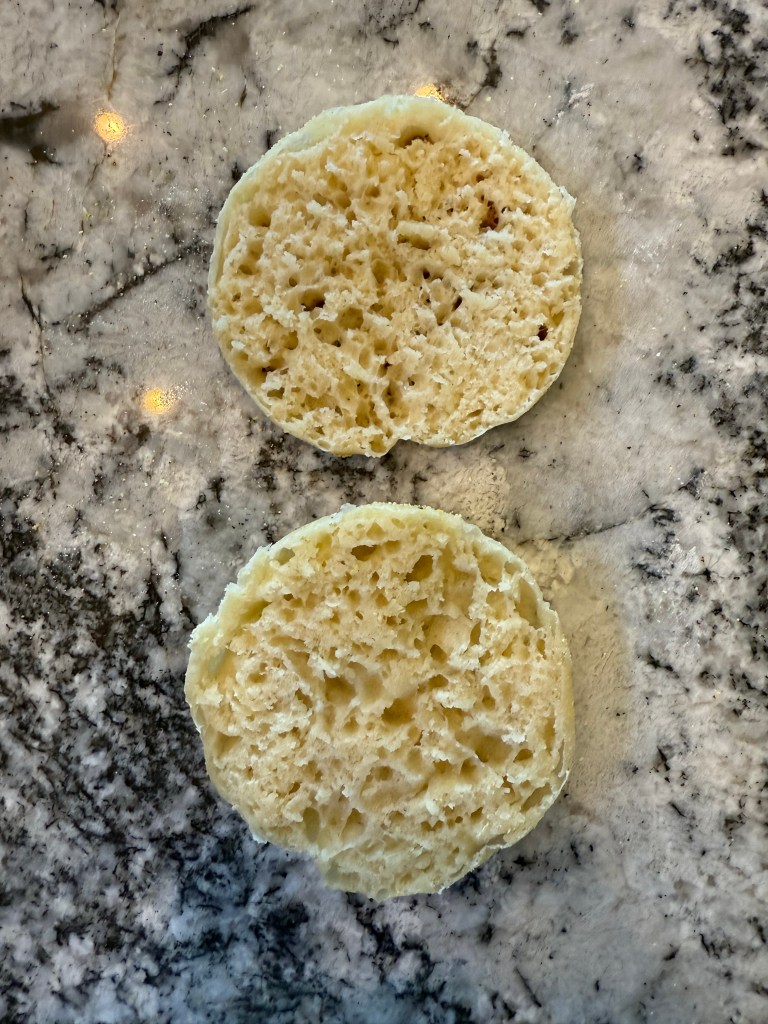
They turned out tender and full of flavor and with the lovely interior holes that are so indicative of a good English Muffin.
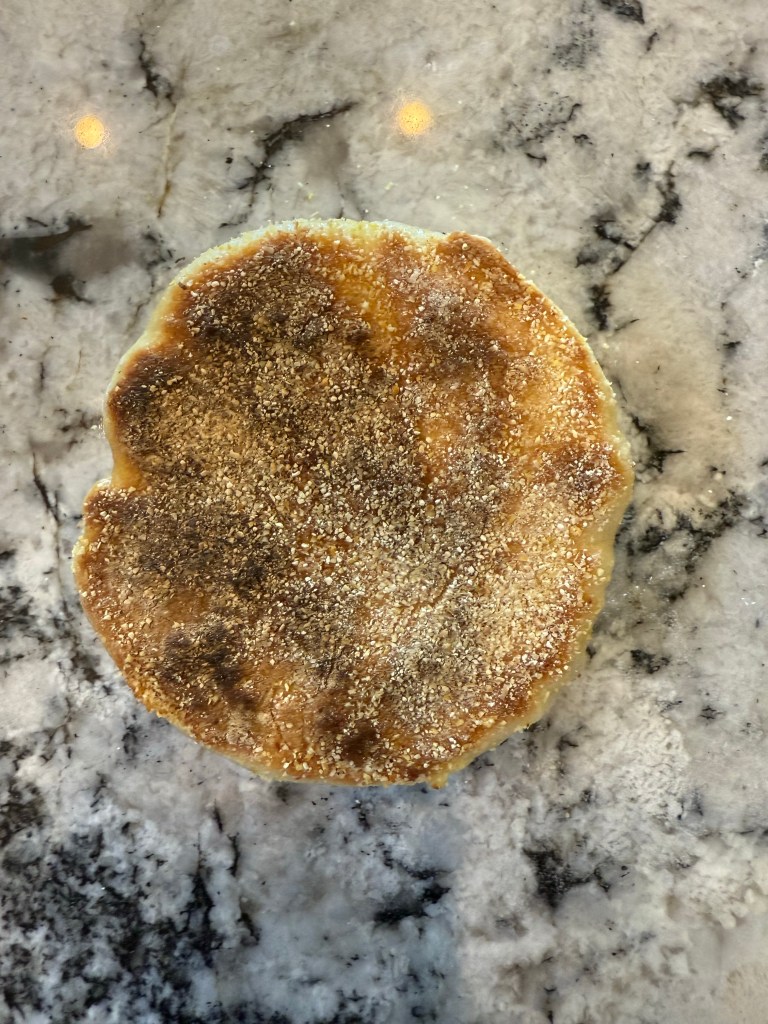
I’m not very practiced at baking bread in a pan, so some of my muffins got a little charred. I think next time I make these I will bake them on the baking stone in the oven for a more even bake.
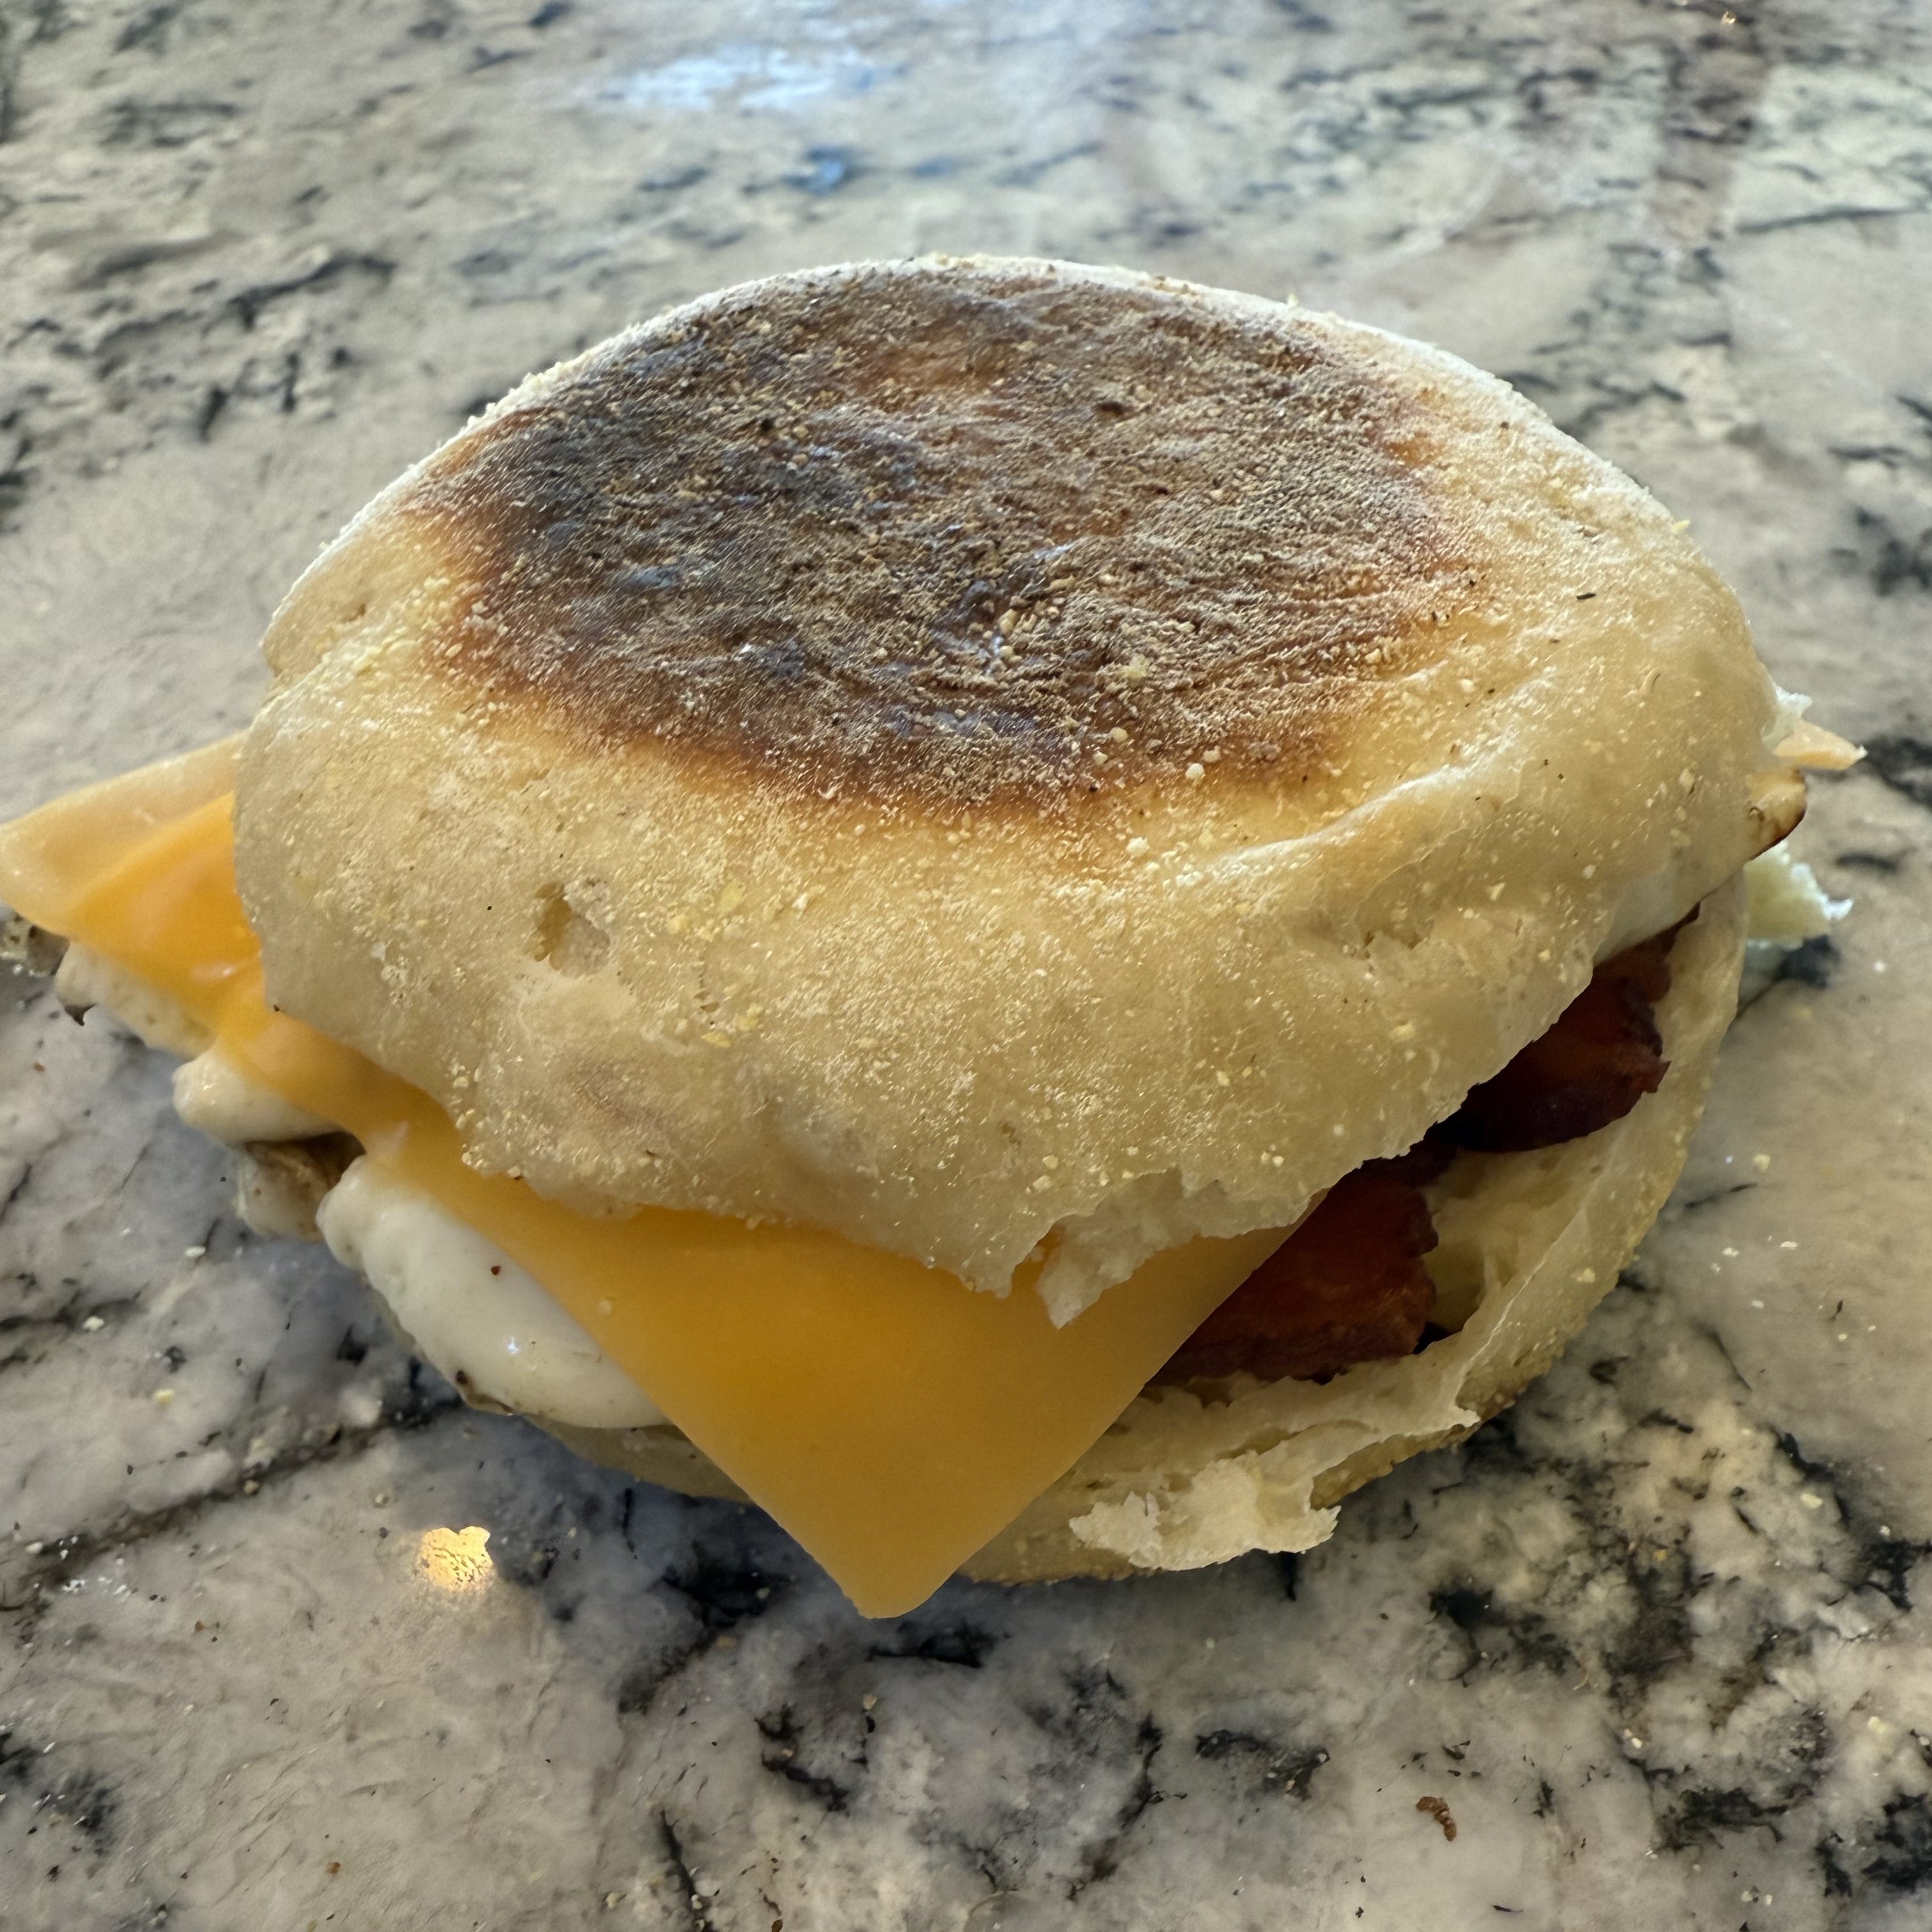
You’re supposed to let these cool briefly before eating, but we couldn’t help eating them straight out of the pan. These English Muffins make a next-level Bacon, Egg, and Cheese breakfast sandwich. They’re also fantastic with butter and jam.
Until the next time: may your yeast always rise and your flour never run out.
This recipe comes from The Bread Baker’s Apprentice by Peter Reinhart. In the recipe notes I learned that what we know as Hawaiian bread is actually Portuguese, as the Hawaiians got the bread from the Portuguese.
The bread starts with a preferment that is allowed to ripen for 90 minutes.
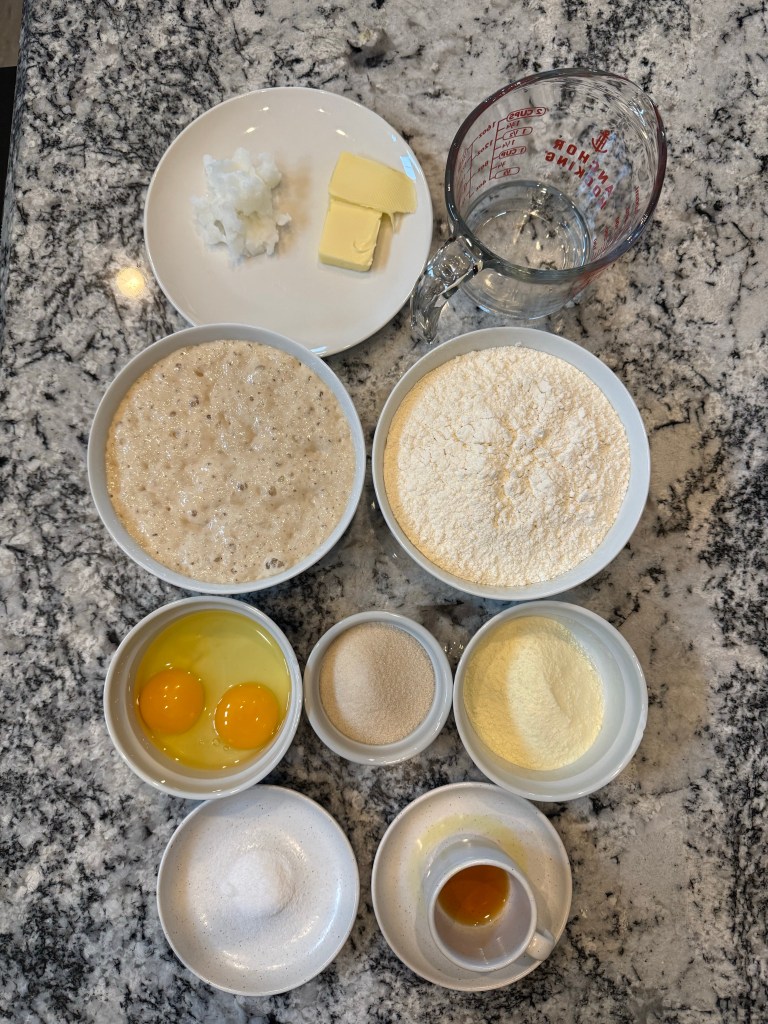
While the preferment ripened, I gathered my mise en place. I have tried to avoid substitutions in most of the recipes I’ve written about, but I made 3 in this bread: I substituted coconut oil for vegetable shortening, and I substituted lemon and orange essential oils for their respective extracts. I used 5-6 drops of each of the essential oils rather than the teaspoon of each extract called for in the recipe, and the flavors were perfect.
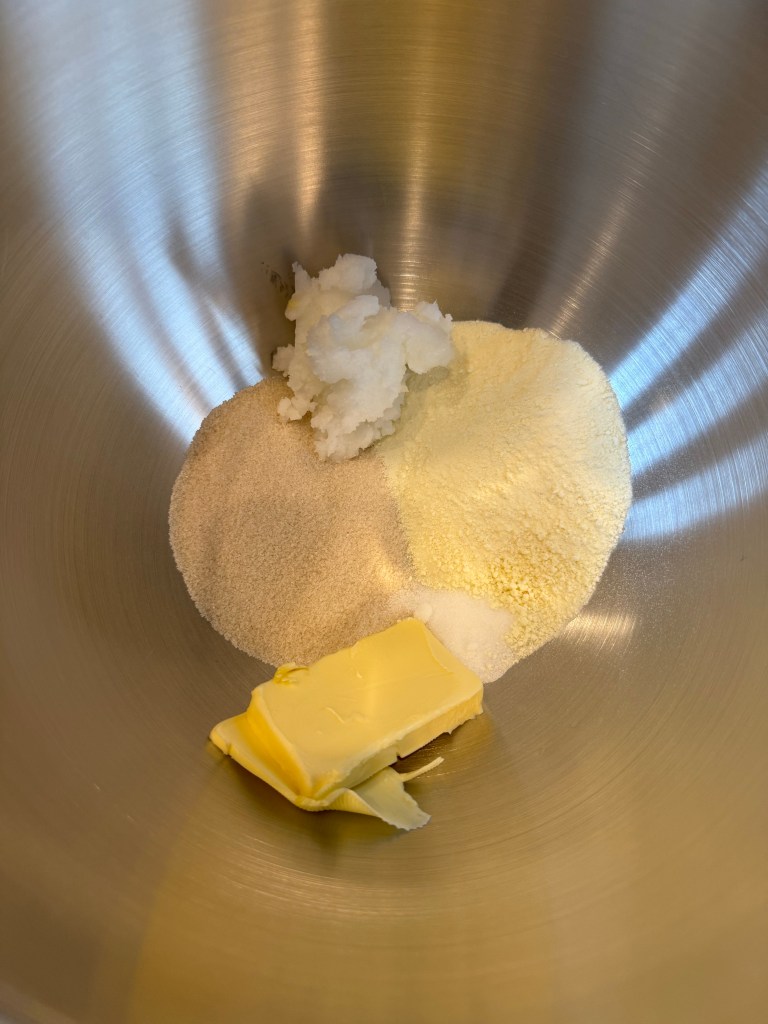
I combined the dry ingredients with the fats and beat the mixture in my KitchenAid mixer until it was sandy in texture.
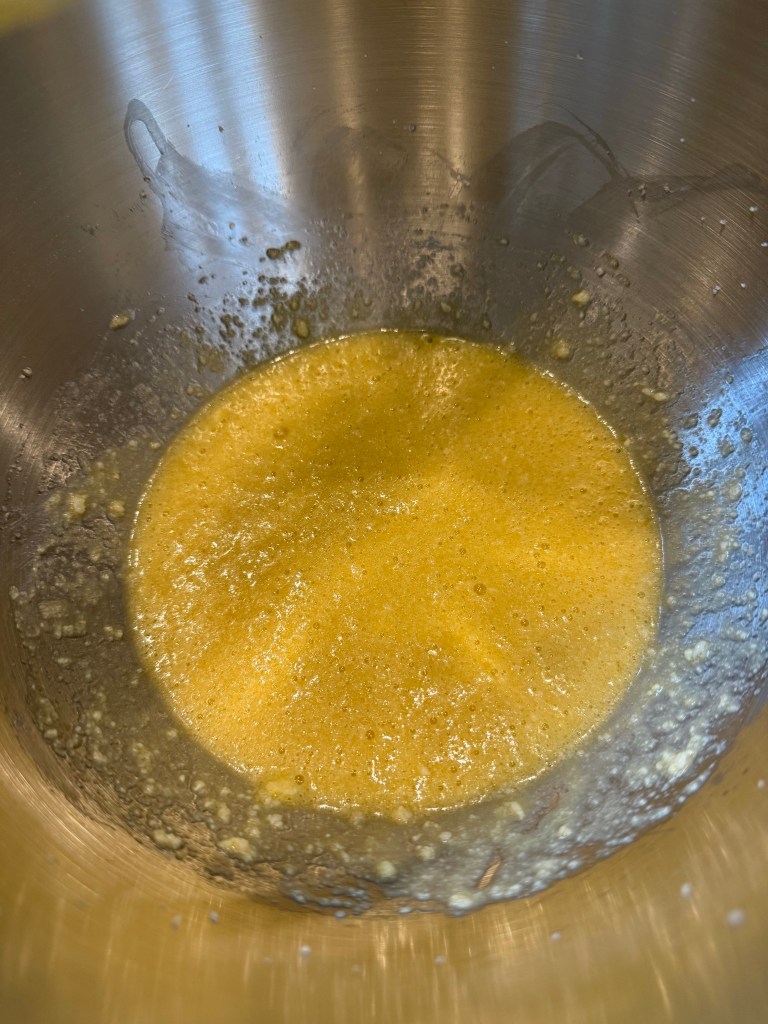
I mixed in the wet ingredients, then added a bit more flour since the dough seemed quite soft. I realized at this point that I had missed the instruction to not add in all the water at once. Oops.
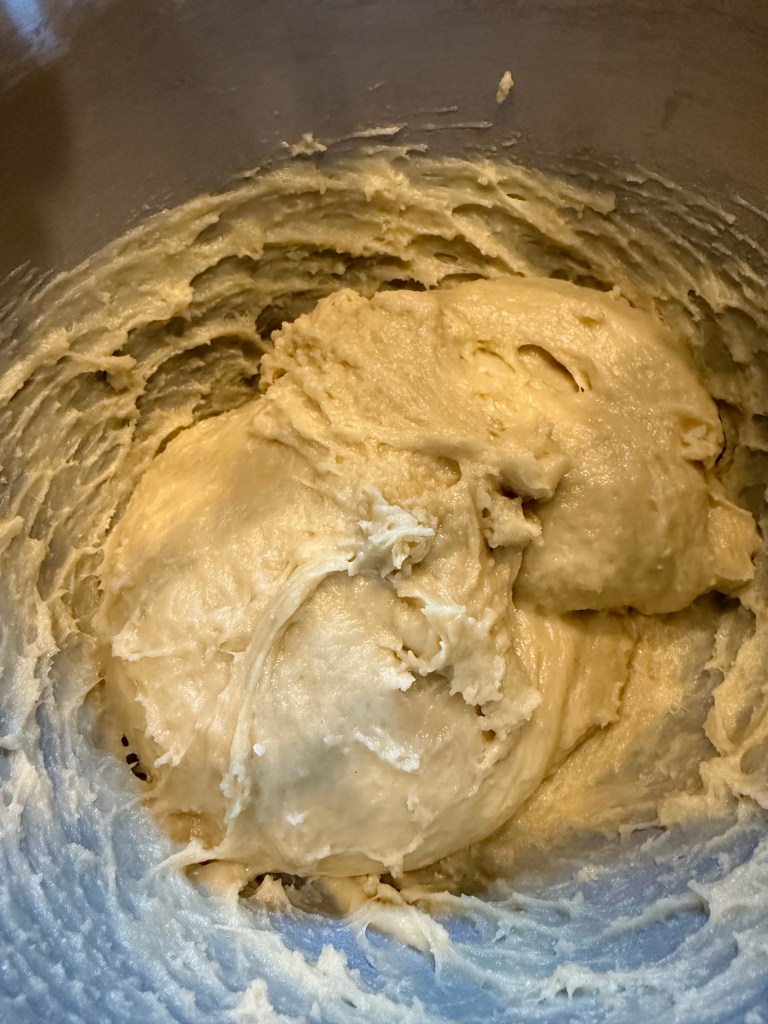
I intended to knead the dough in my stand mixer, but I ended up kneading it by hand as that allowed me to better gauge the dough’s texture and incorporate additional flour to get to the right texture.
I let the dough rise for 2 hours.
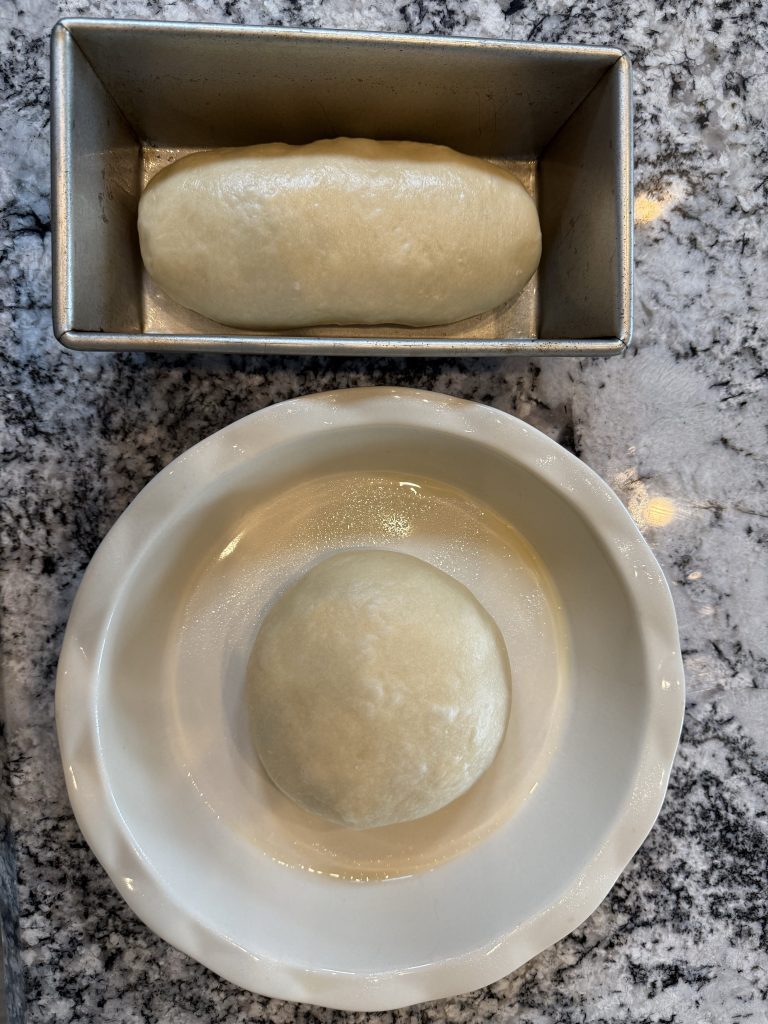
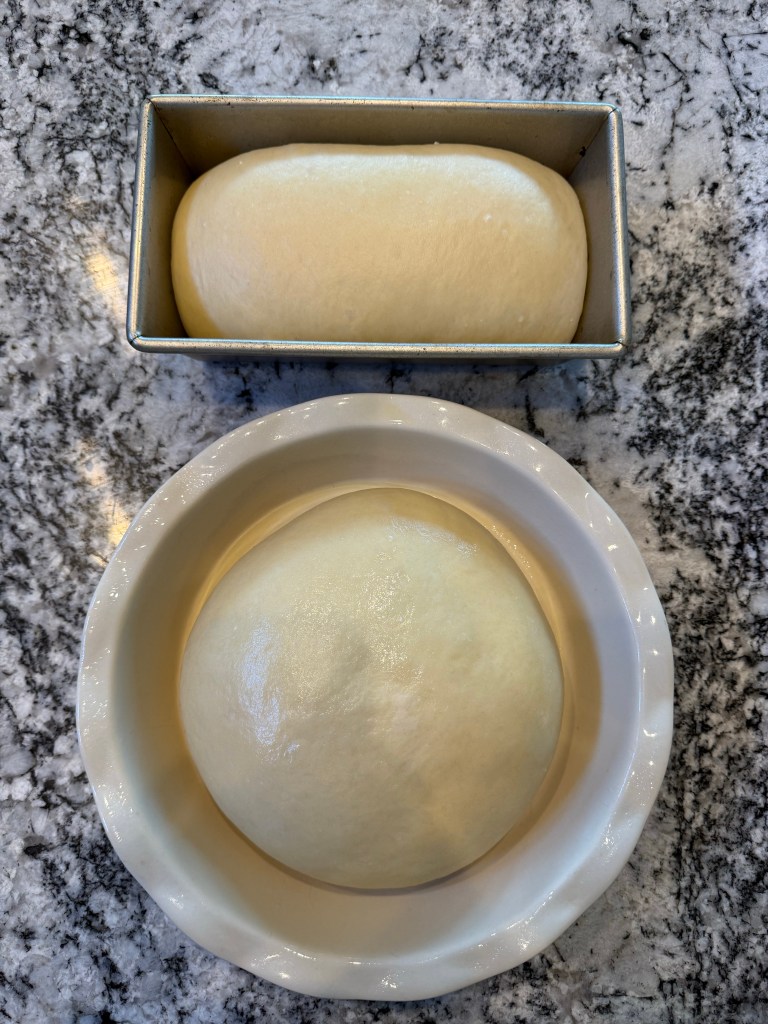
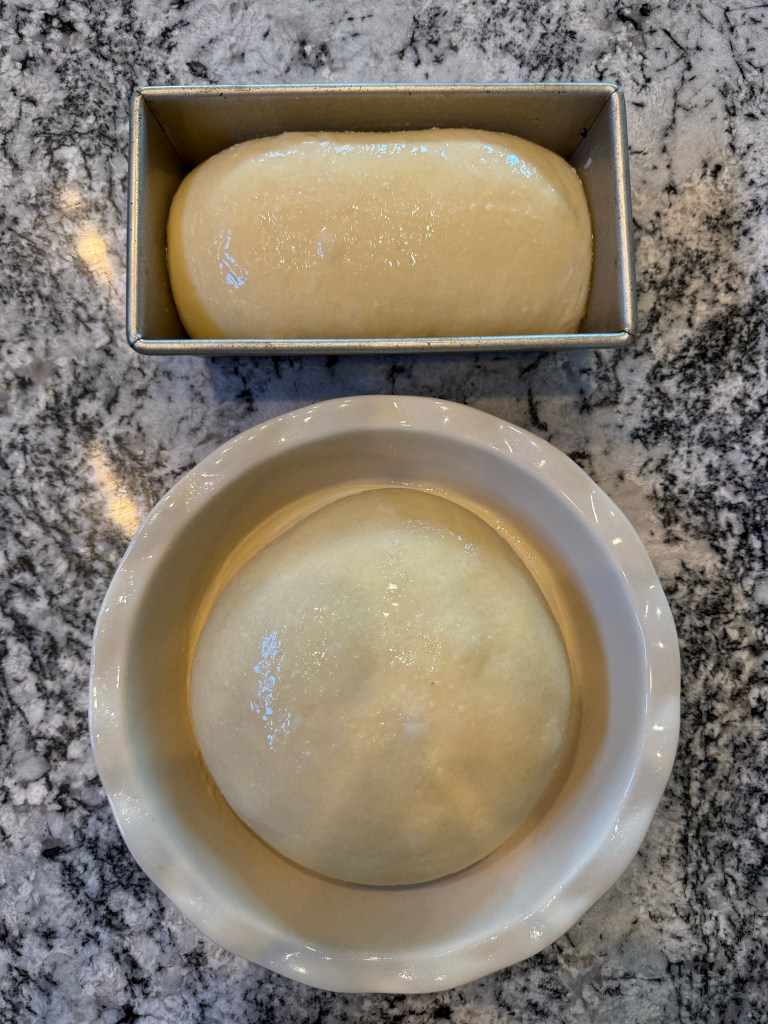
I divided the dough in two, then shaped half to fit in a loaf tin and half as a round, since this is the traditional shape for this bread. The shaped dough rose for 3 hours, until they filled the pans.
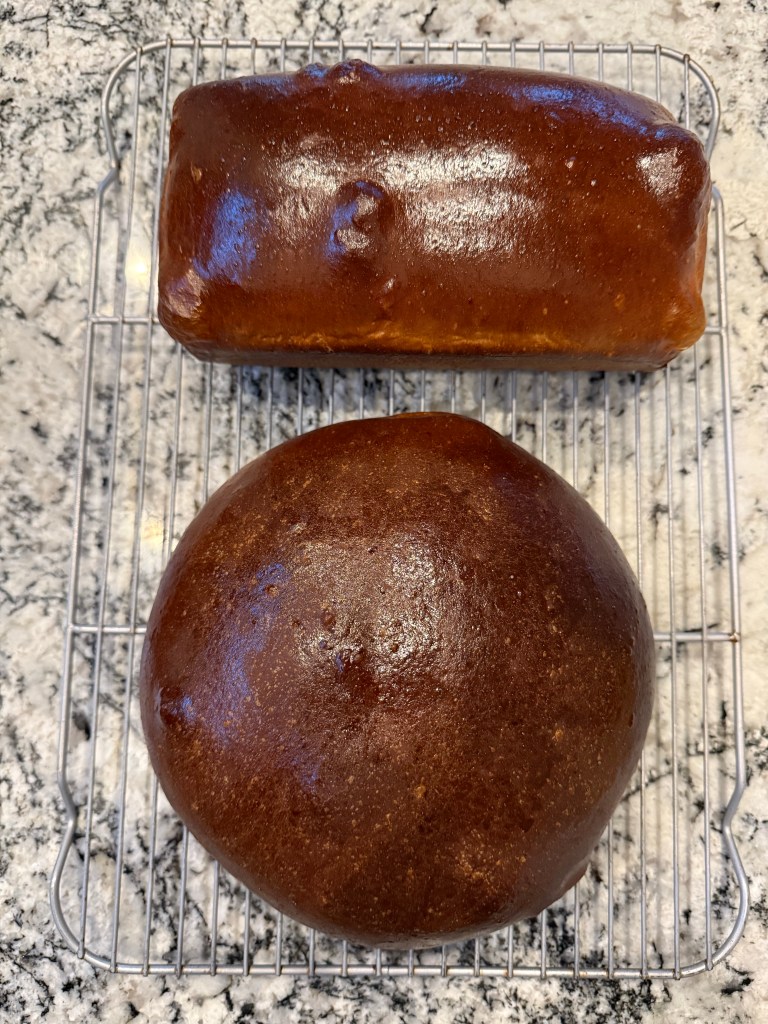
I brushed the top of each dough with egg wash, then baked the loaves. I was shocked at how dark these breads baked up! I was glad the recipe warned me about the browning, since I might have pulled them out of the oven too soon if I hadn’t been prepared.
The bread is delicious and beautiful. The crust is very brown, but thin and soft, and the bread inside is a beautiful creamy colour. The texture is of the bread is fine-grained and soft, but dryer than many home-baked bread recipes. Because of this the bread toasts up beautifully.
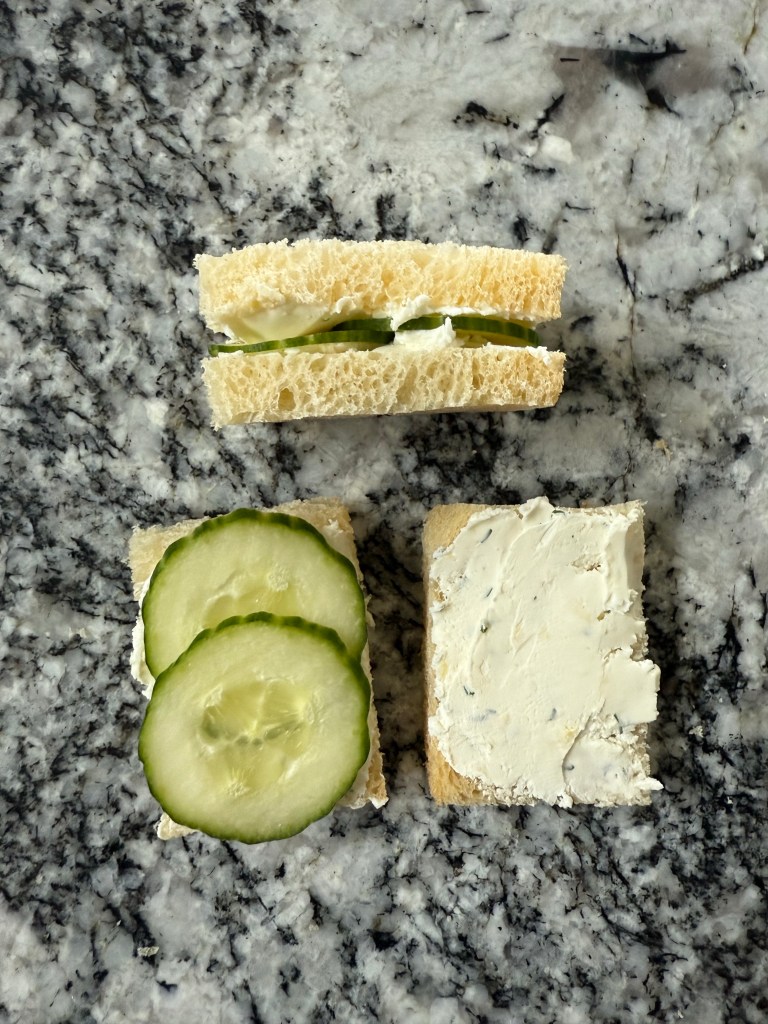
I used this bread to make cucmber sandwiches for my birthday tea party. The sweet bread was a perfect compliment for the delicate flavor of the cucumber and the tanginess of the cream cheese.
Until the next time: may your yeast always rise and your flour never run out.
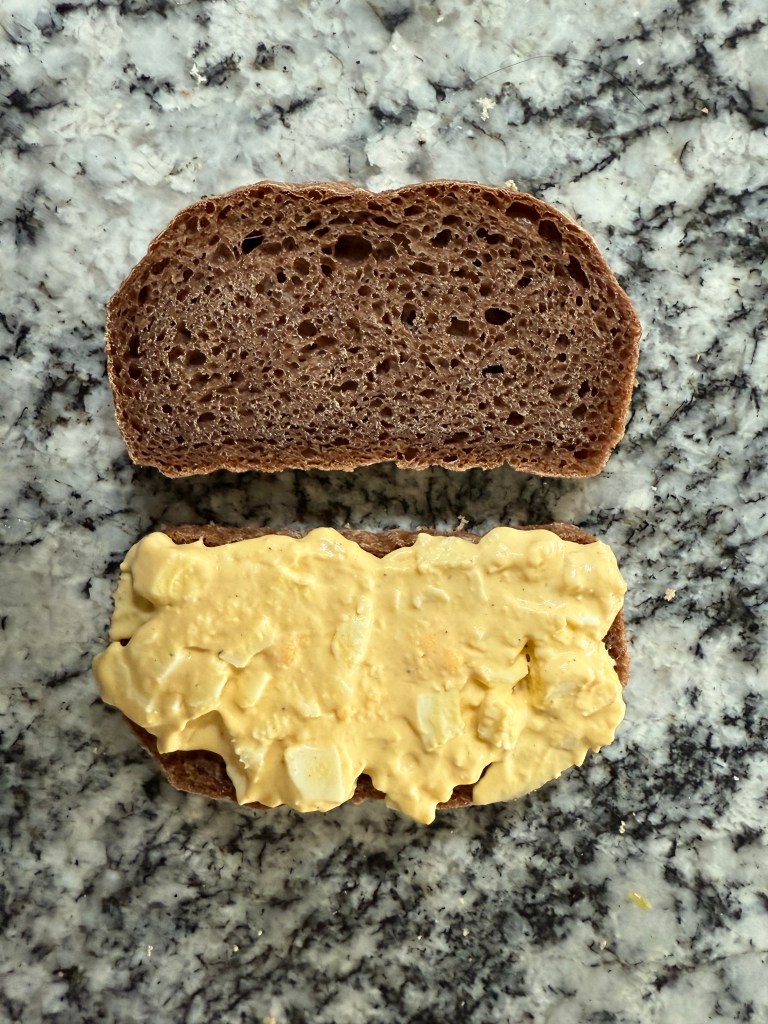
One of the sandwiches I made for my birthday tea party was egg salad on pumpernickel bread. In hindsight, the rye flavor was too strong for the egg salad, but the bread was very good. I used the King Arthur Pumpernickel Boule recipe.
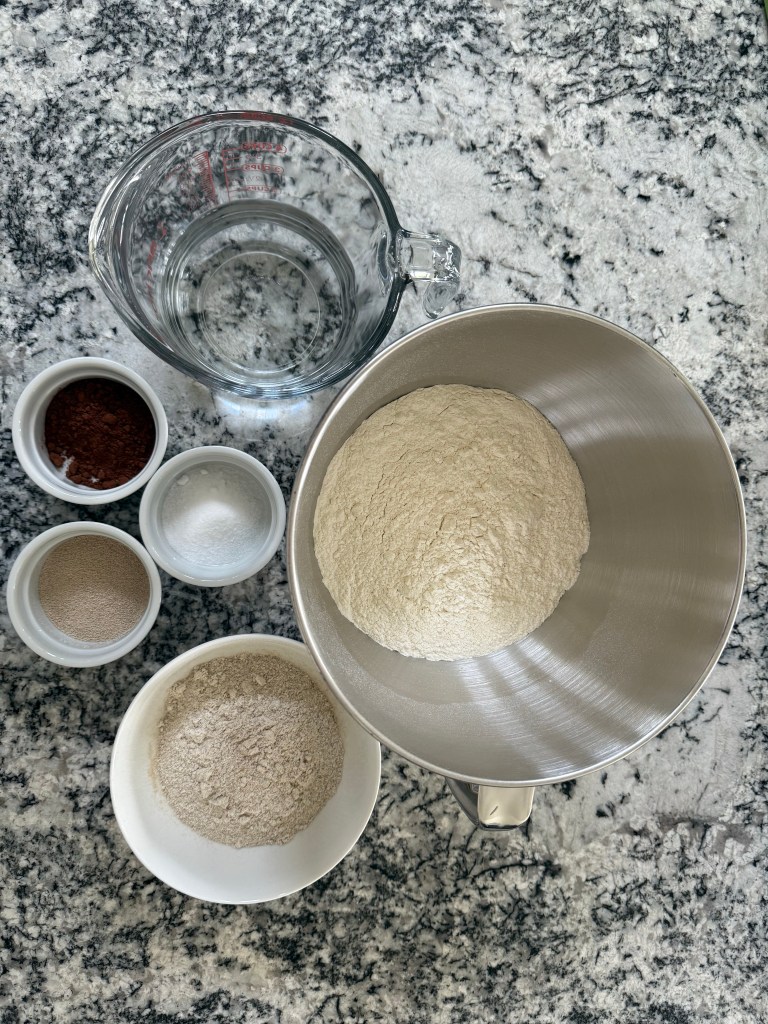
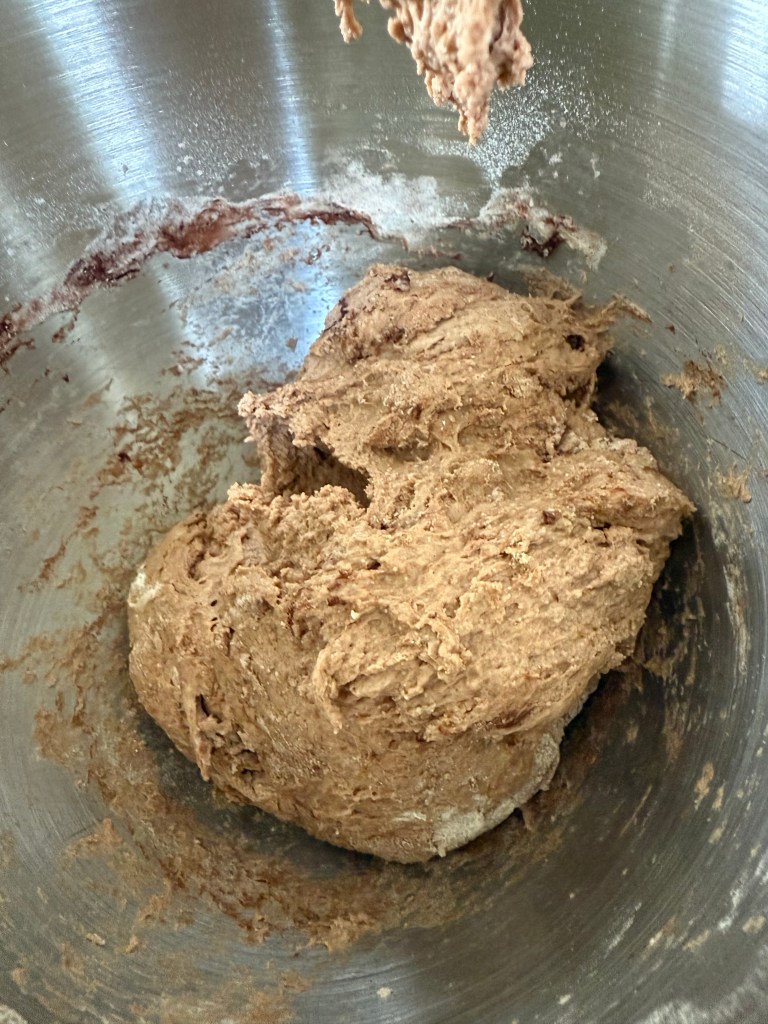
I gathered the mise en place: (I love that pumpernickel bread has cocoa powder in it)
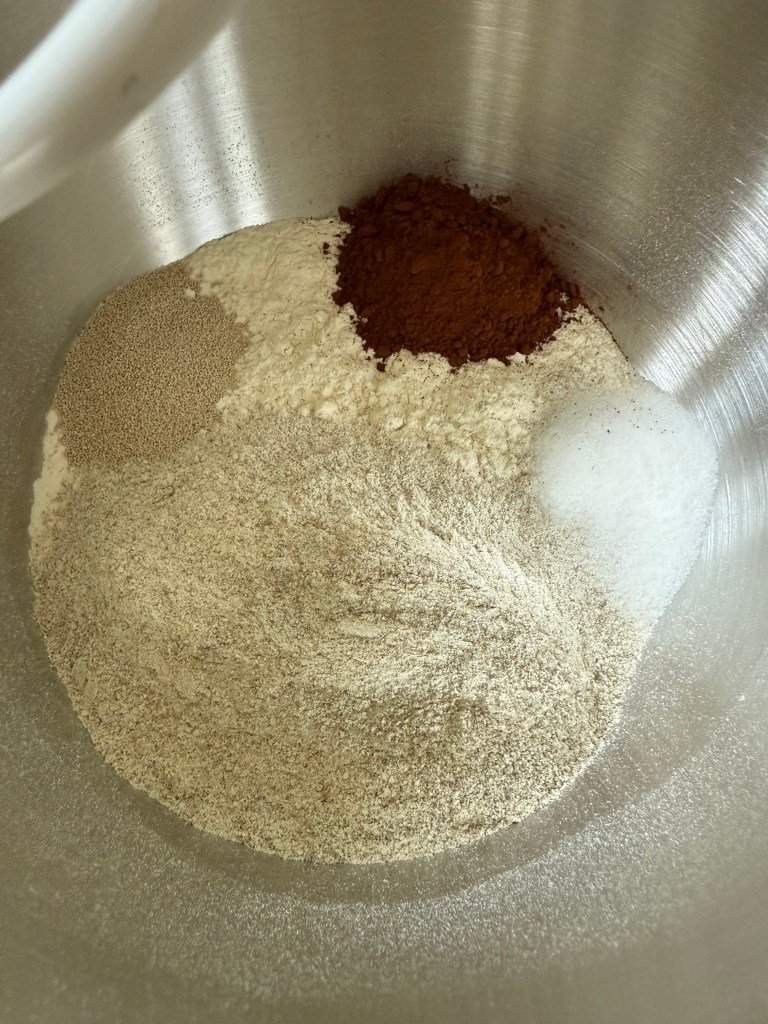
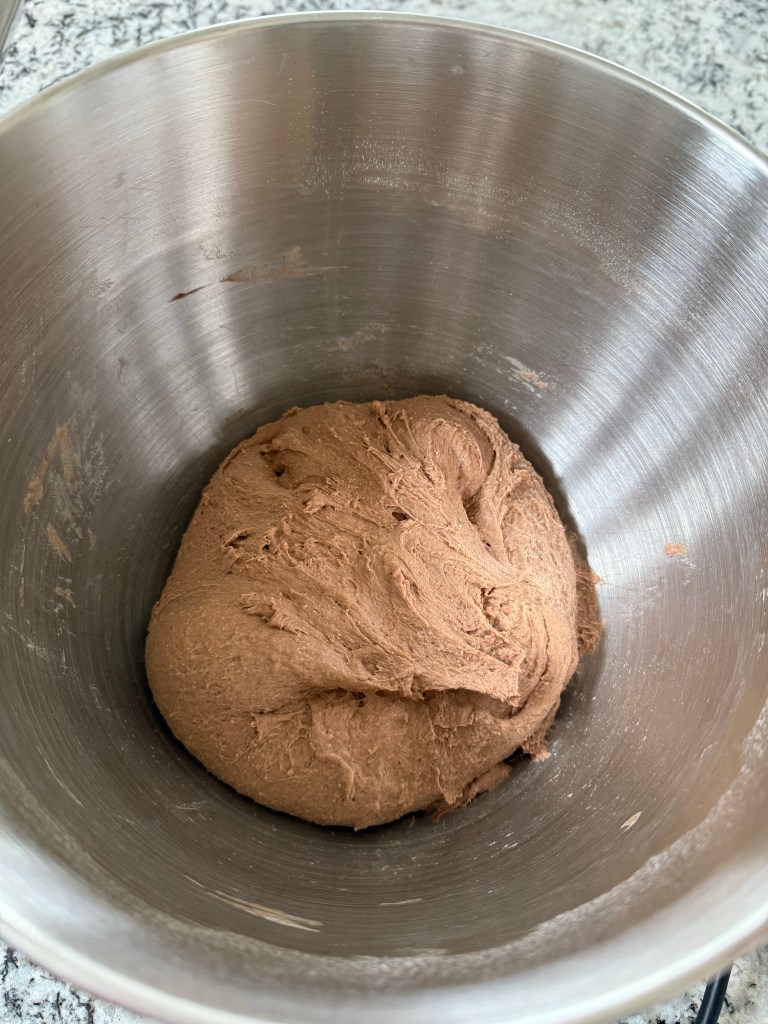
I combined the dry ingredients, then added the water, and kneaded in the stand mixer until it looked right.
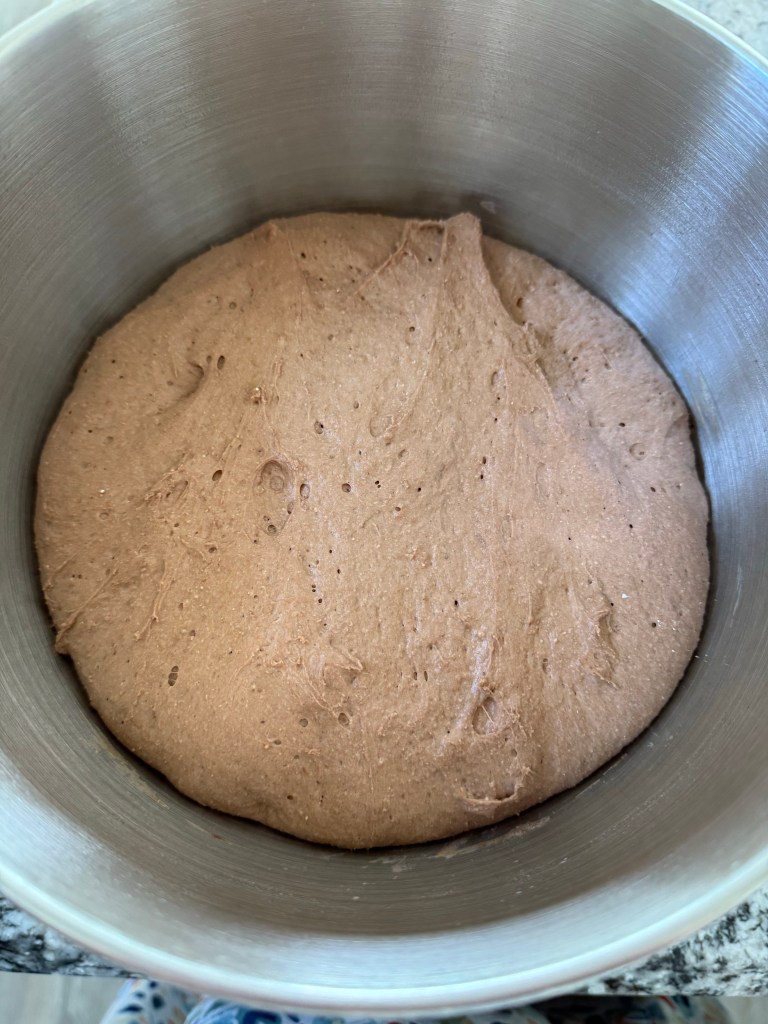
The dough rose for an hour…
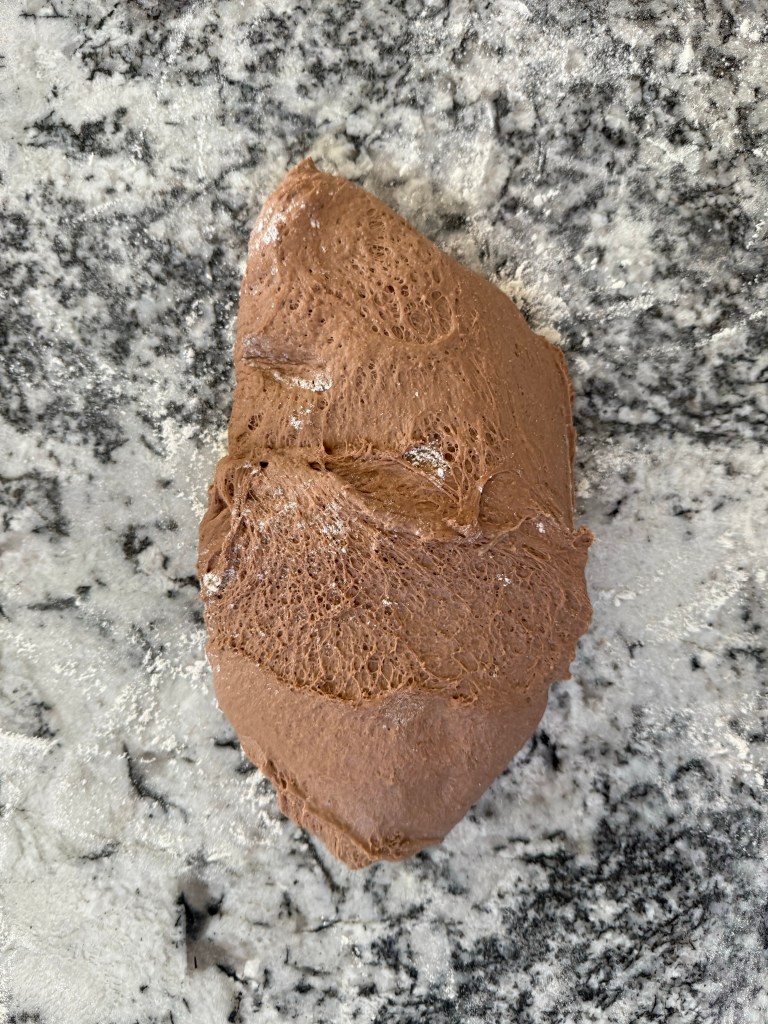
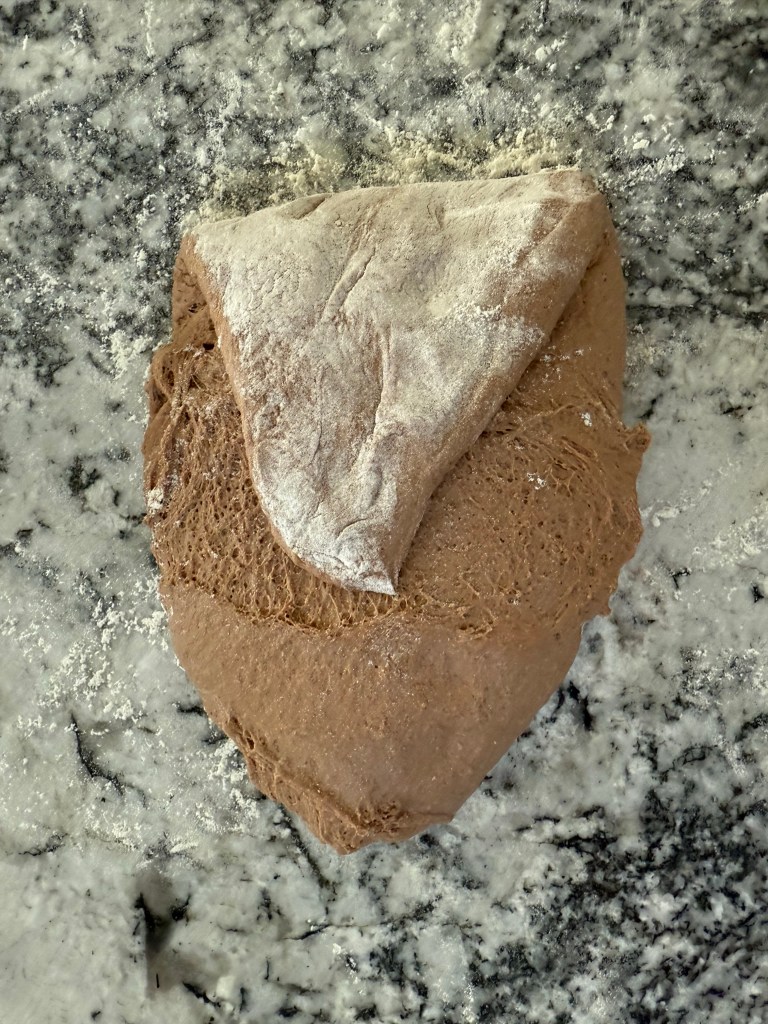
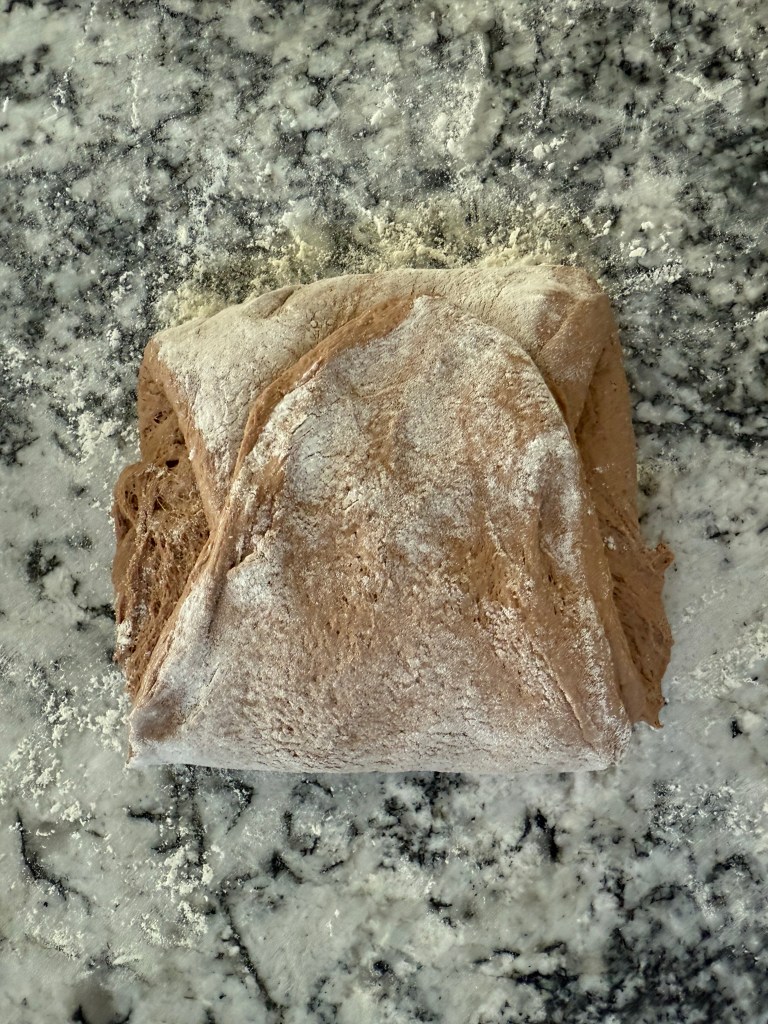
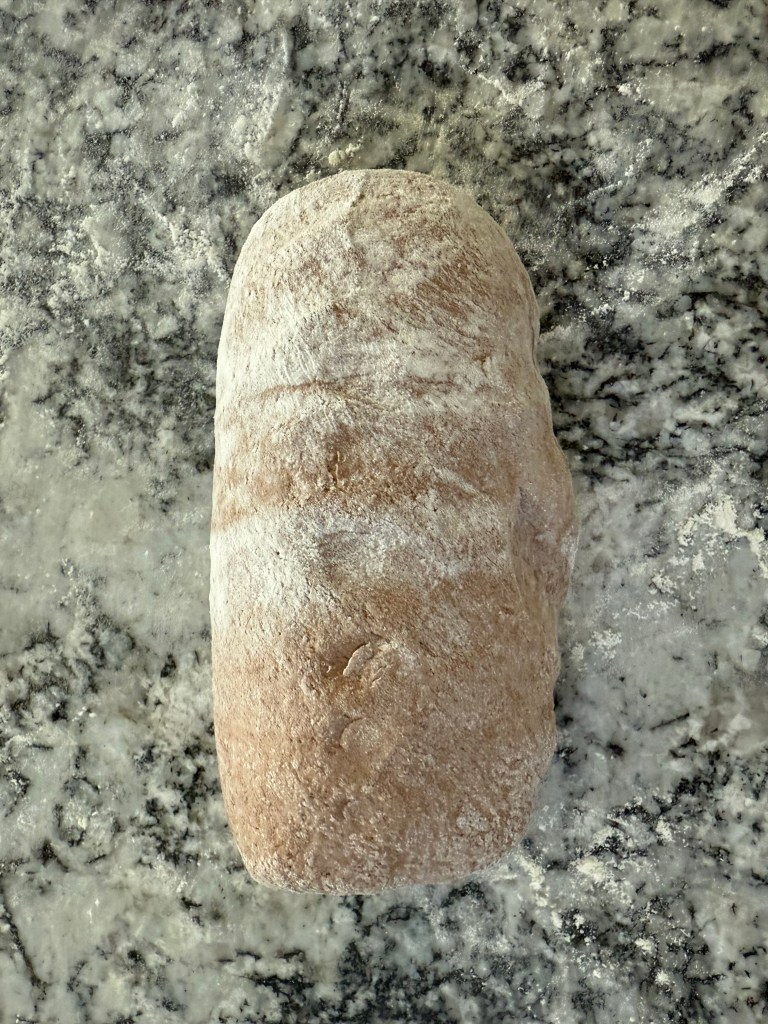
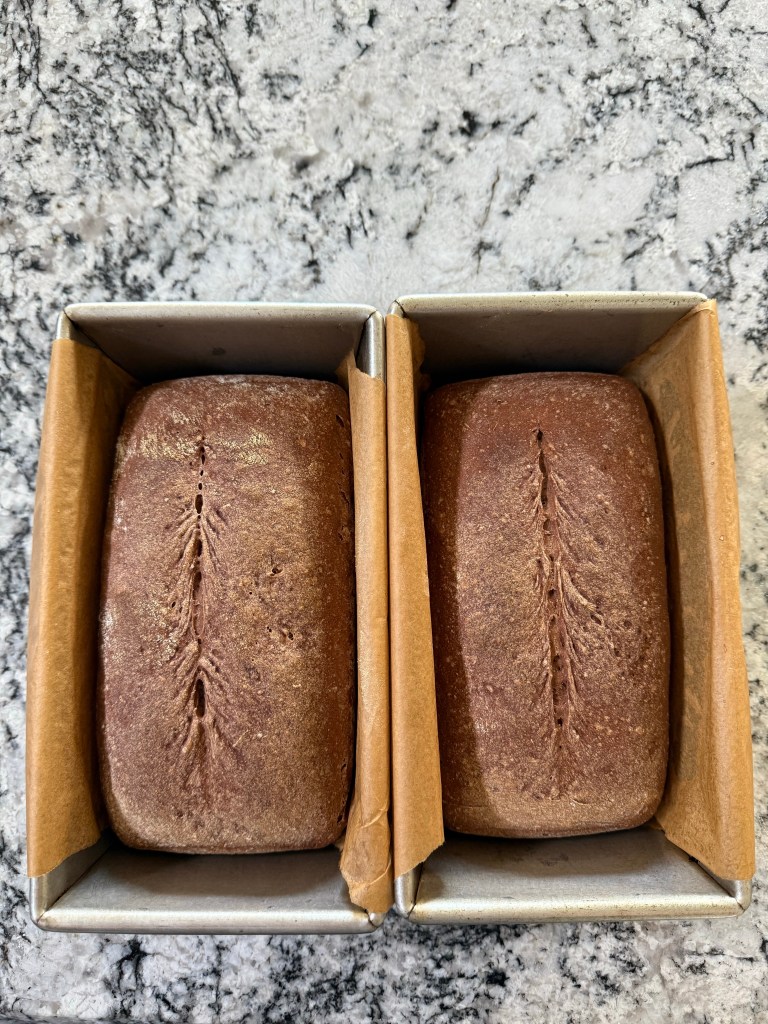
before I divided it into two and shaped each half into a loaf.
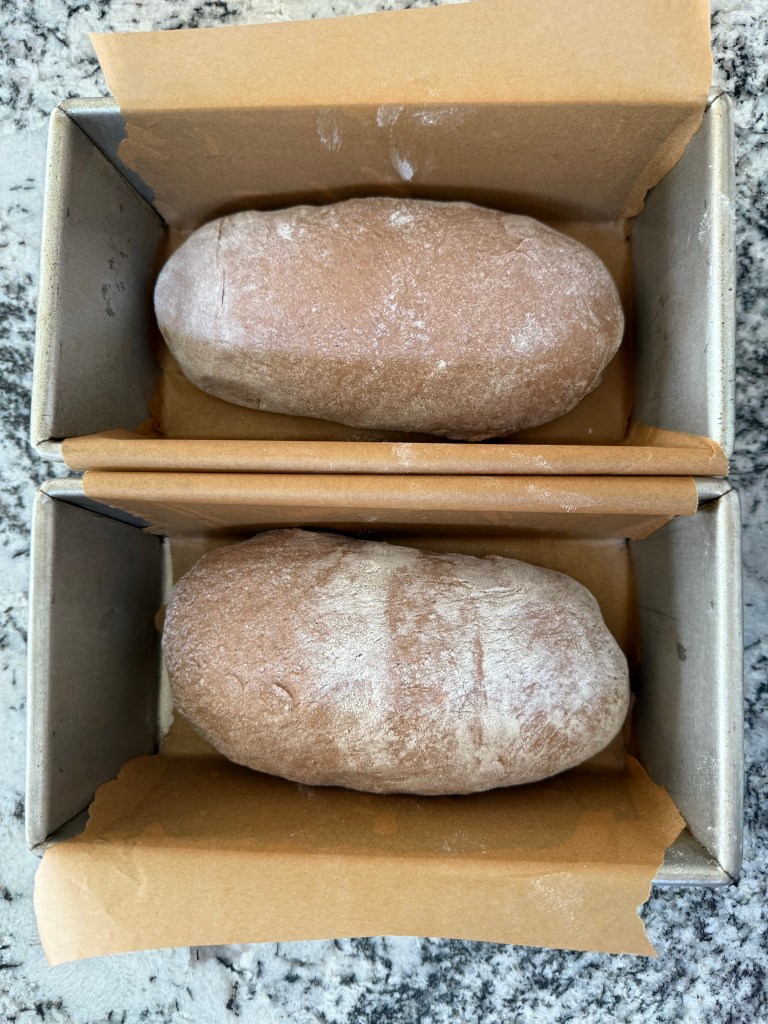
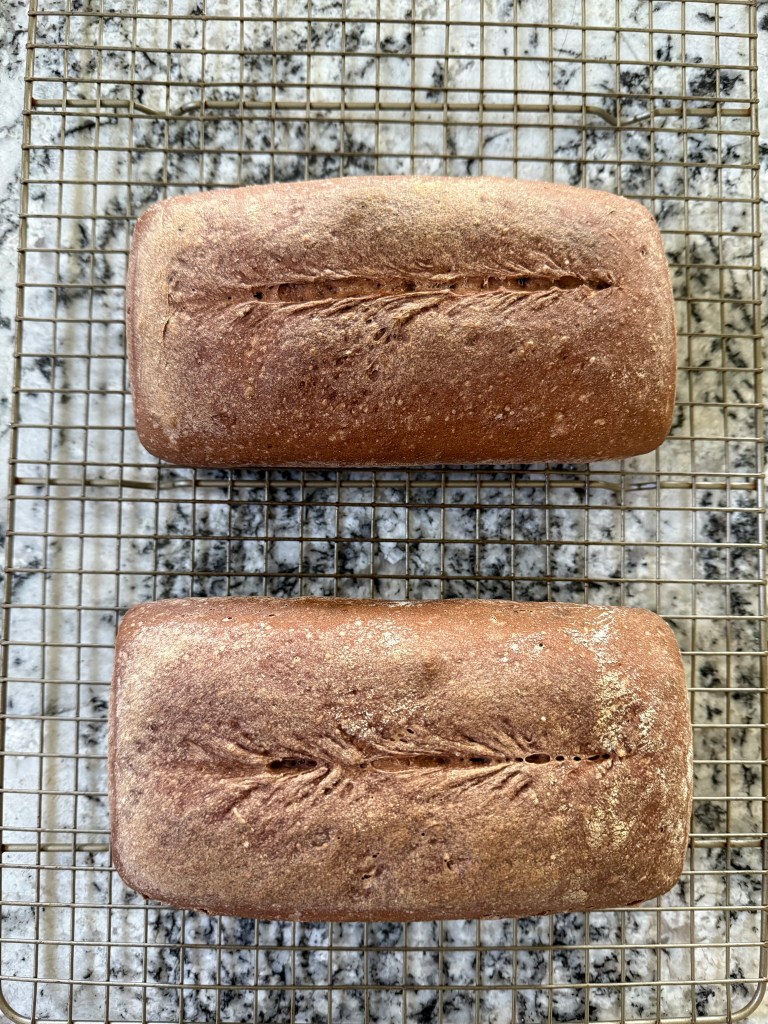
The loaves rose for 1 1/2 hours in the bread pans. I had a little trouble scoring them, since the dough was rather wet, then I put them into the oven to bake. When I took the bread out of the oven I noticed that the loaves had hardly any oven spring at all. I have baked this bread before and noticed the same thing. I contribue the lack of oven spring to the rye.
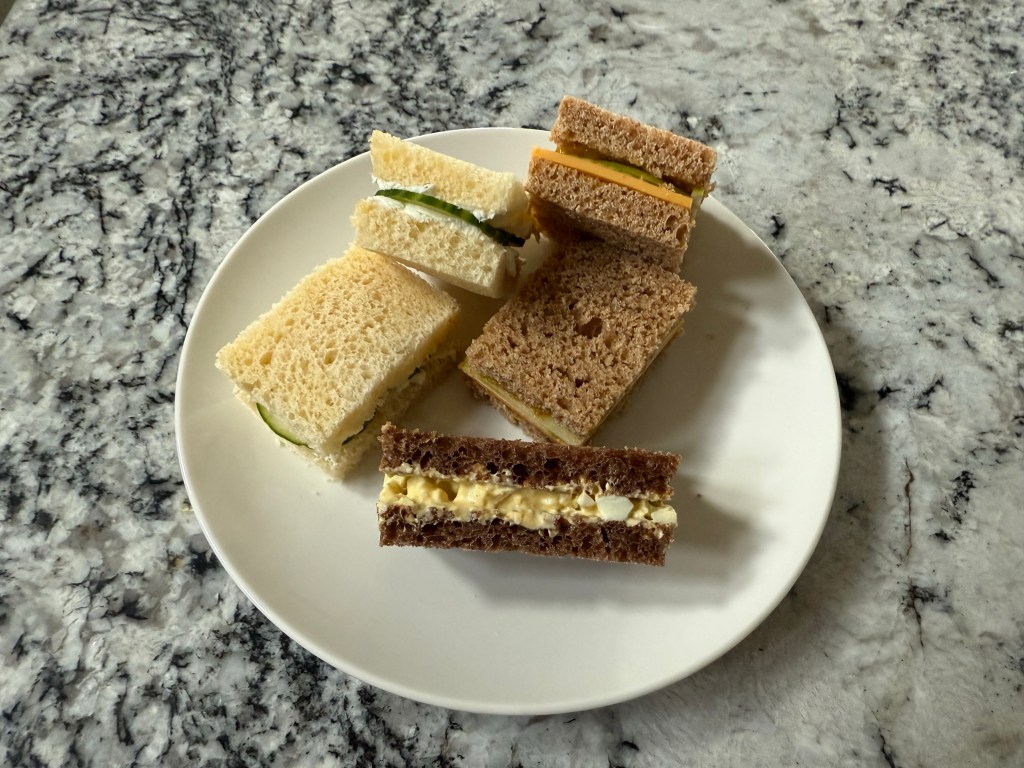
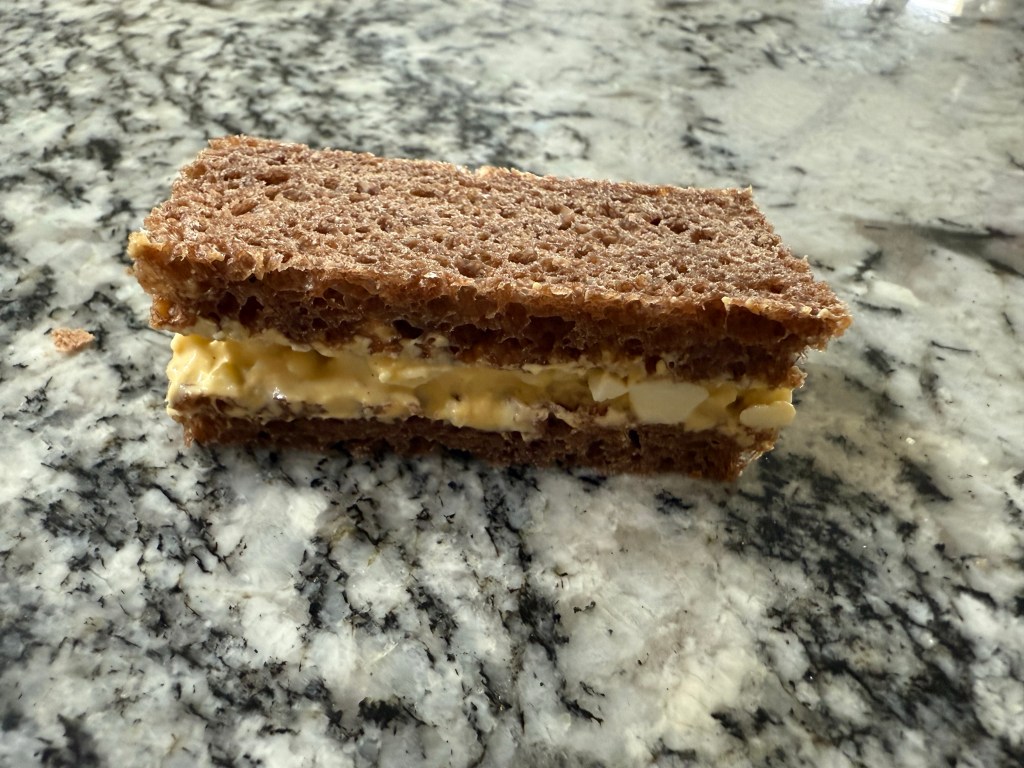
The loaves were pretty short, so I made long and thin sandwiches with all the crusts cut off.
These sandwiches were paired with classic cucumber and cream cheese sandwiches on Hawaiian bread and cheddar, apple, and chutney sandwiches on whole wheat bread.
Until the next time: may your yeast always rise and your flour never run out.
The last recipe of the first section of the King Arthur Baking School book is Baguettes. Initially I was intimidated by baguettes, but the dough turned out to be pretty straightforward, and the shaping was easier than I expected.
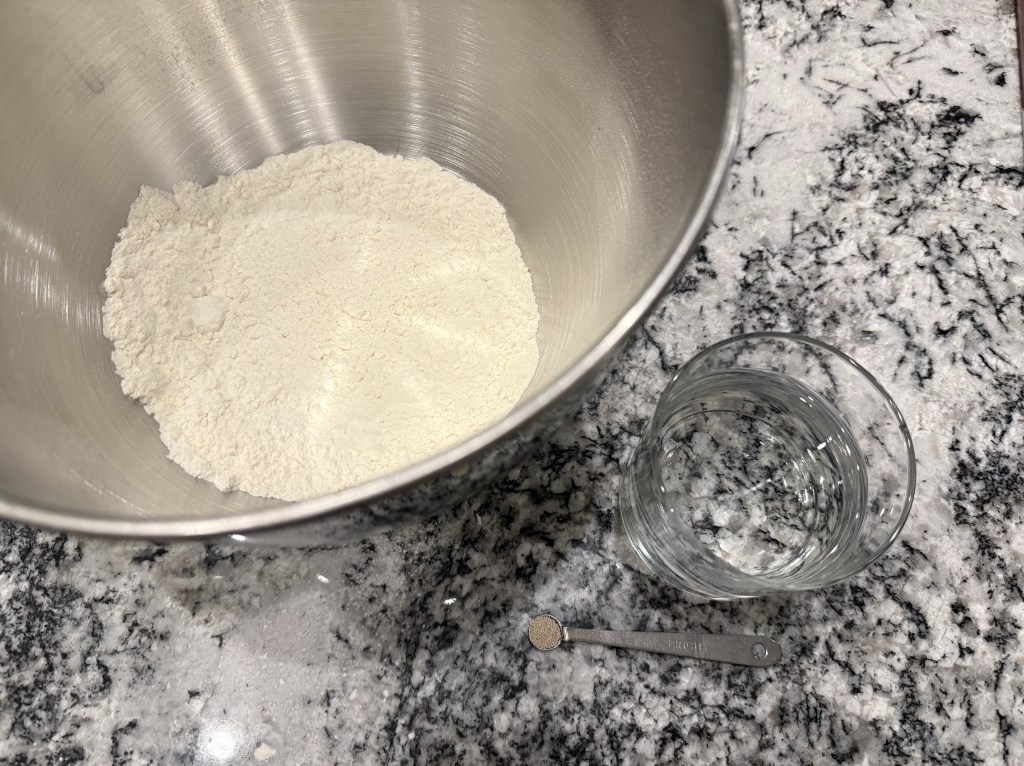
I gathered my mise en place:
This recipe introduces an interesting method for mixing the dough by using a dough scraper to scrape down the side of the bowl and up the middle, turning the bowl and repeating until the dough is fully mixed. I didn’t love this method as I felt there were some dry areas and wet areas in the dough despite my best efforts. But I’m glad I tried this new method anyway.
The dough bulk fermented for 3 hours with a fold (also done with the dough scraper) done every 30 minutes. I didn’t love the dough scraper for this job either, as I couldn’t grab the dough to pull it out from the main mass for each fold. I did, however, appreciate the suggestion for 20-25 strokes every half hour. It makes me wonder if I have been under-working my dough when I stretch-and-fold around the circle just once.
It was interesting to see how every time the dough rested it started to look more wet, but then when I completed the folds the dough immediately looked more dry. Also, I love the glossy sheen the dough developed around the 5th turn and that remained even after my 20 strokes.
First turn:
Second turn:
Third turn:
Fourth turn:
Fifth turn:
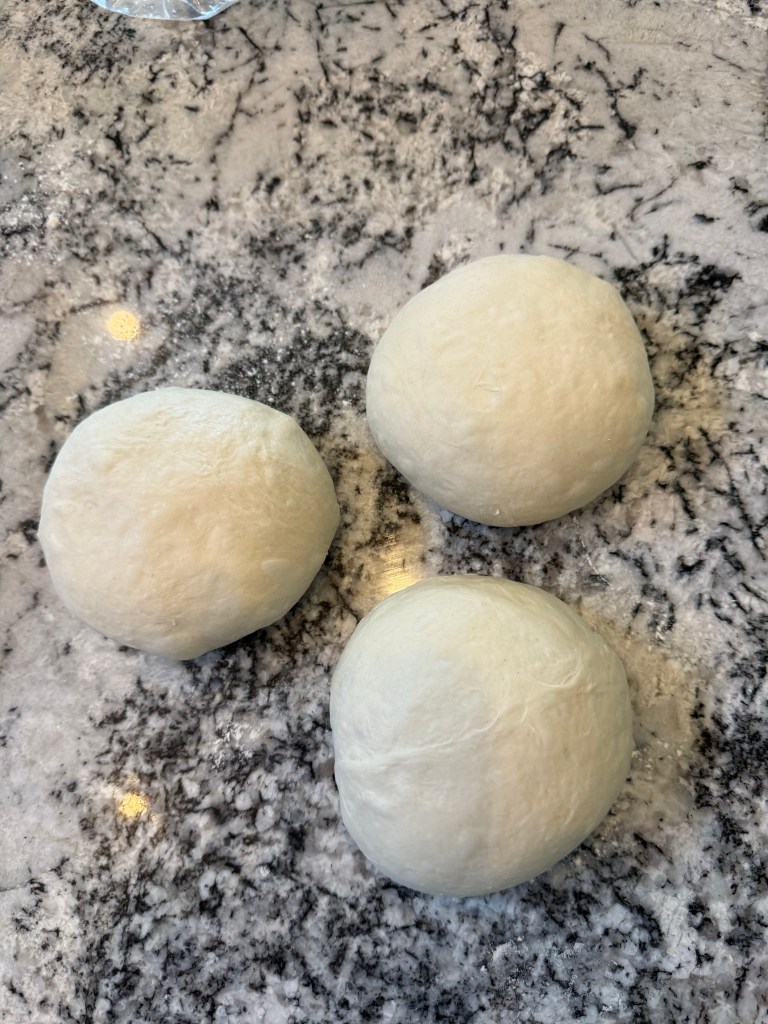
After 3 hours of bulk fermentation I turned the dough out onto the counter and divided it into 3 balls, which I pre-shaped before allowing them to rest for 15 minutes.
Then came the part that separates baguettes from other breads: shaping. The instructions in the book are pretty clear, but I also found this video to be helpful.
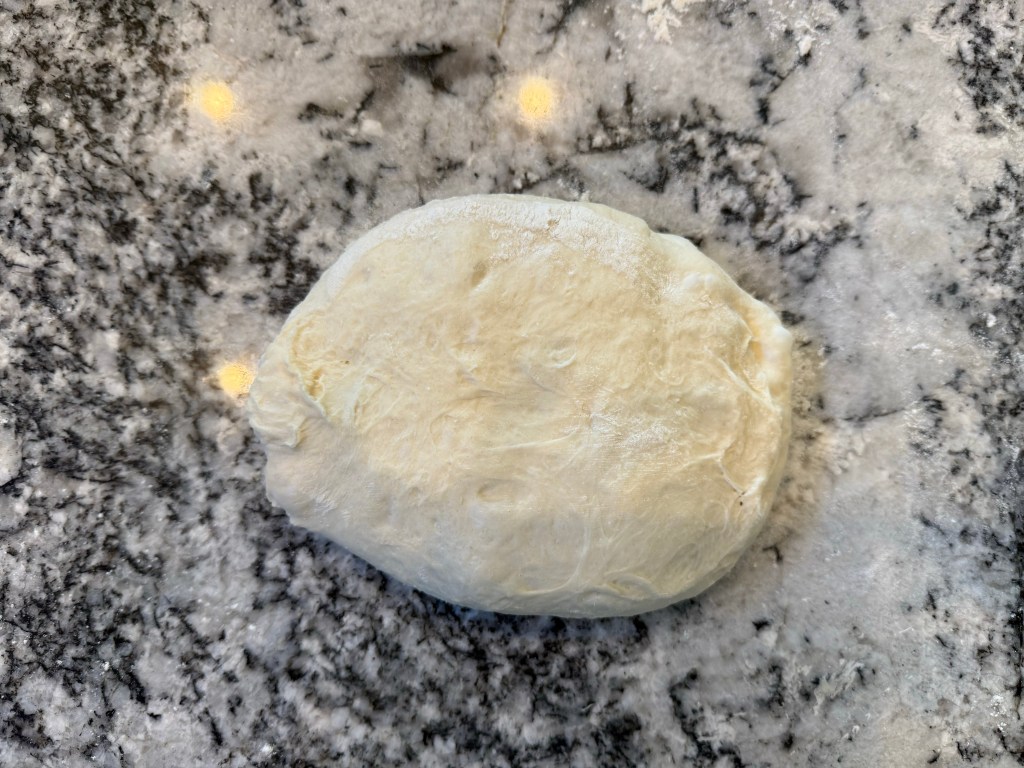
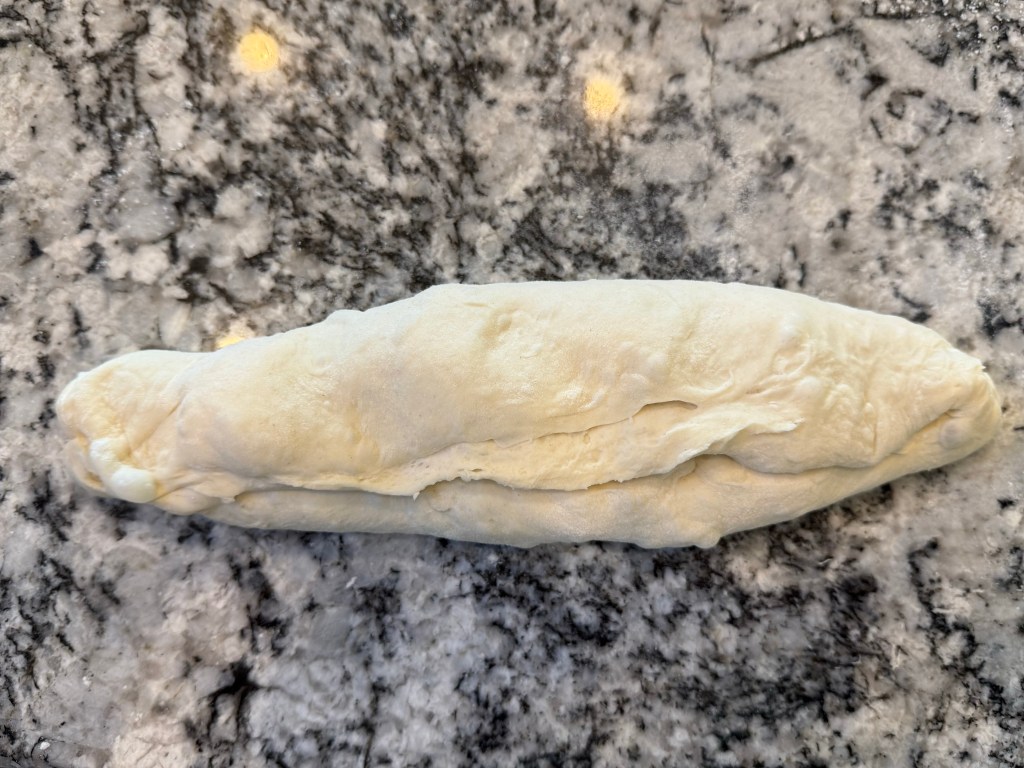
I started by patting the dough into an oval:
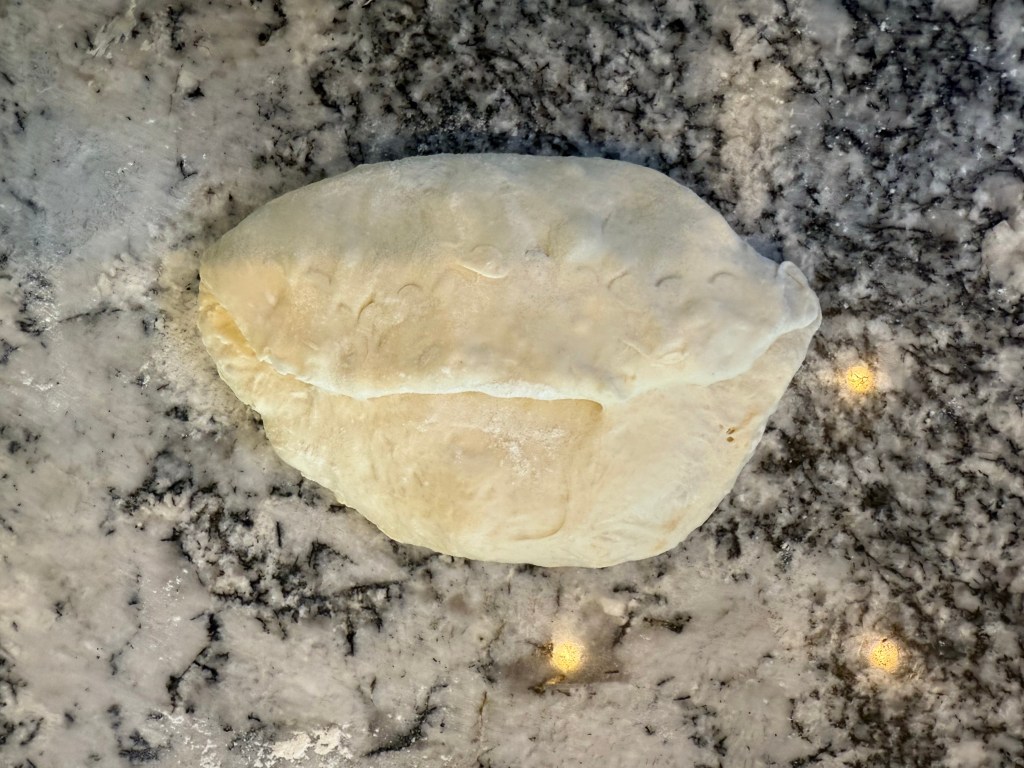
Then I folded the top third down and pressed the dough into itself with my fingertips. I turned the dough 180 degrees and folded the other third down into the center.
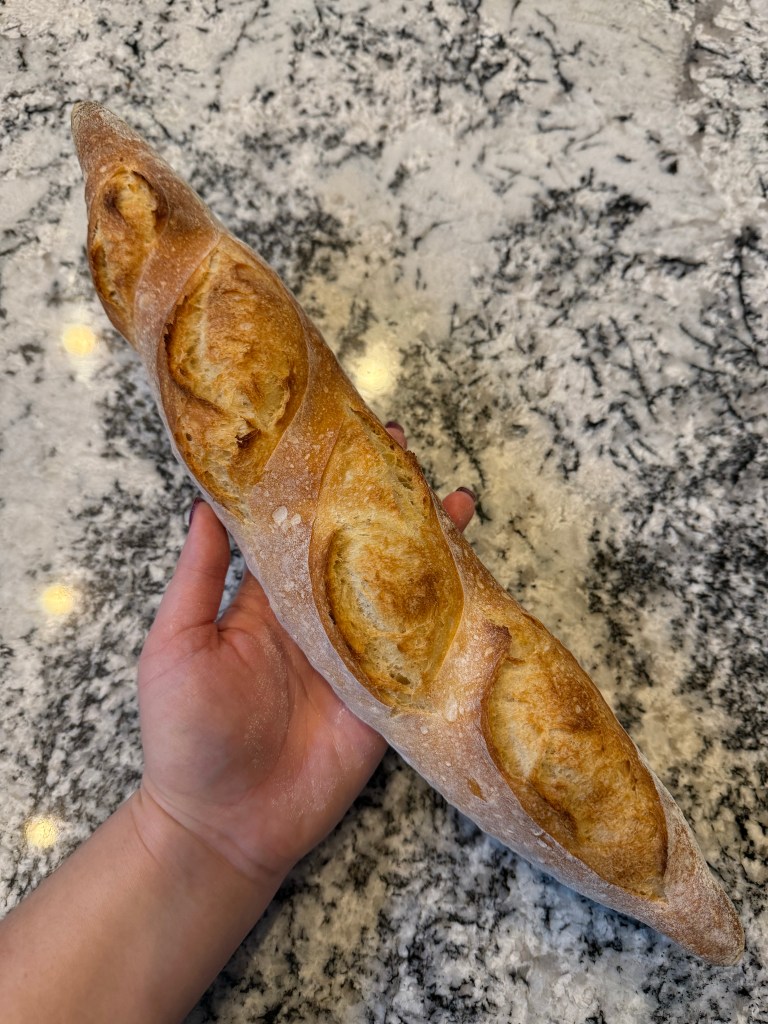
The next step was very similar: I folded the top almost down to the bottom, pressing to seal with the heel of my hand. I turned the dough 180 degrees and repeated, though this time the top of the dough was brought all the way down to the edge of the dough.
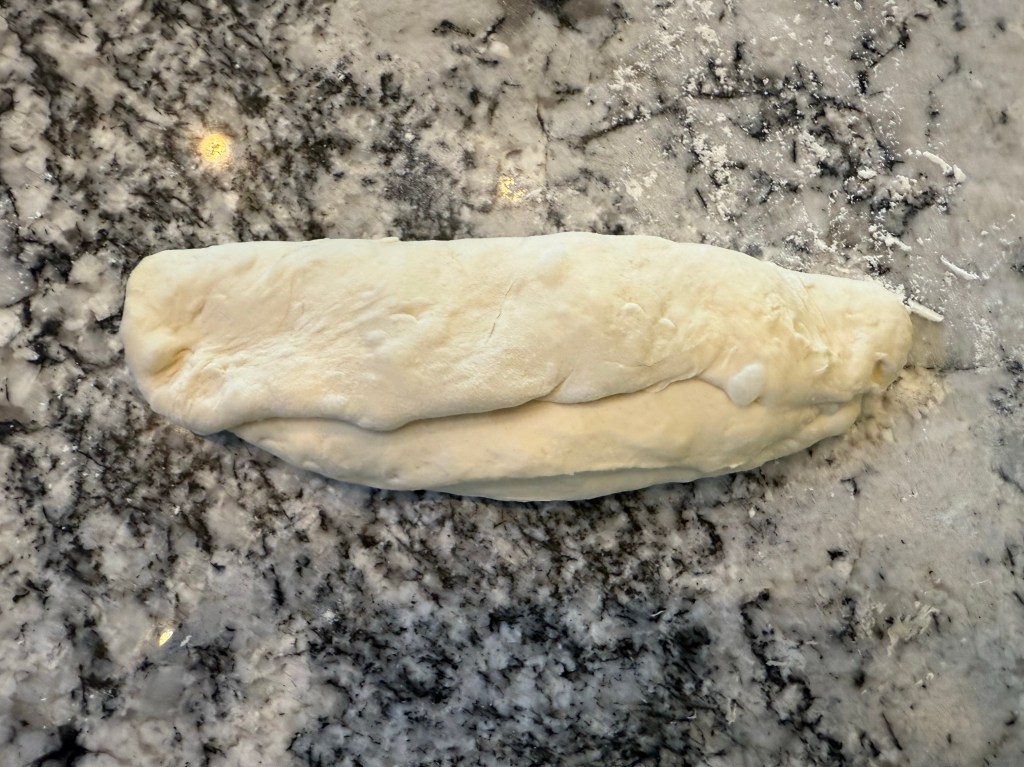
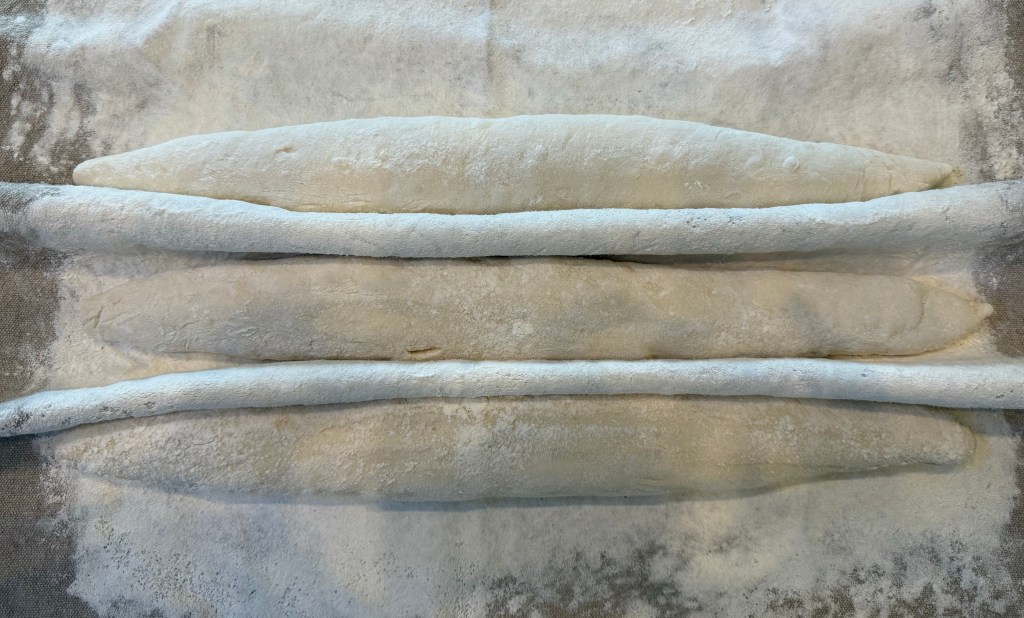
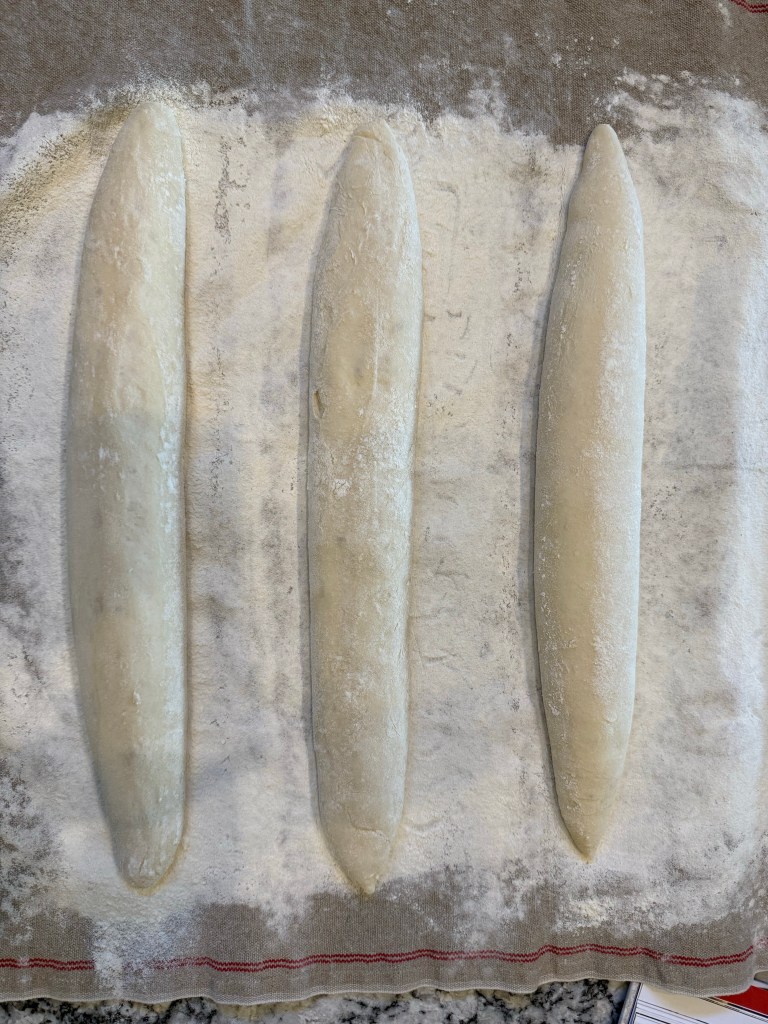
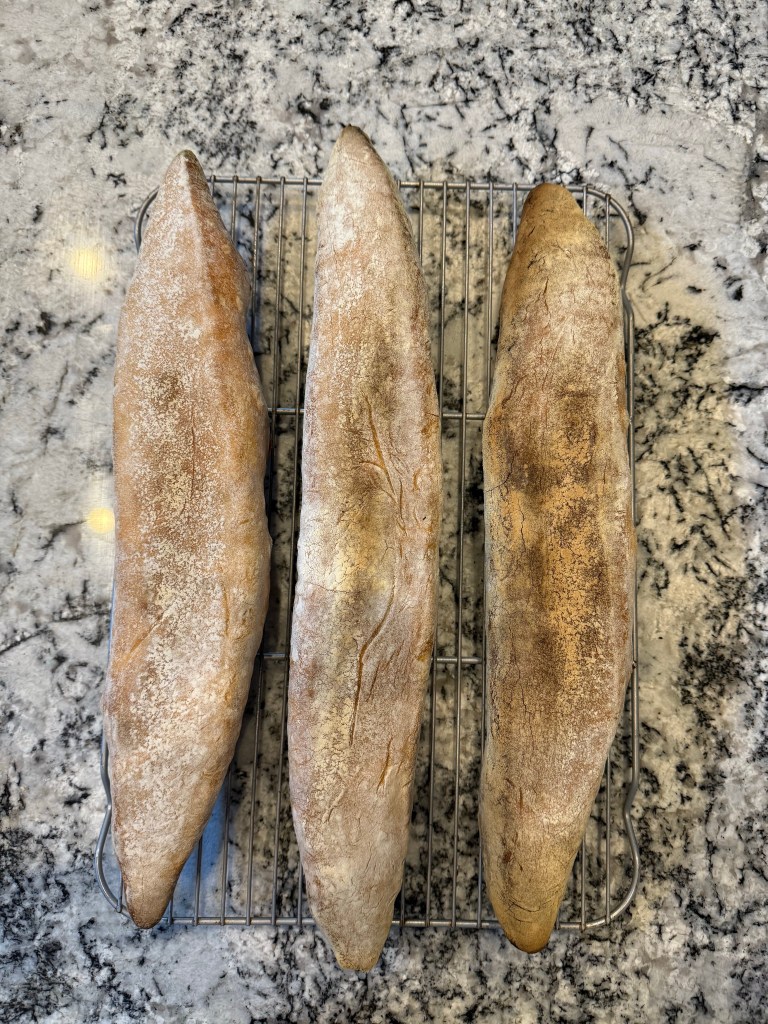
I placed the resulting seam against the counter and used both hands to roll the dough out to the longest length my oven can handle. I then placed the baguette on a heavily floured couche for the final rise.
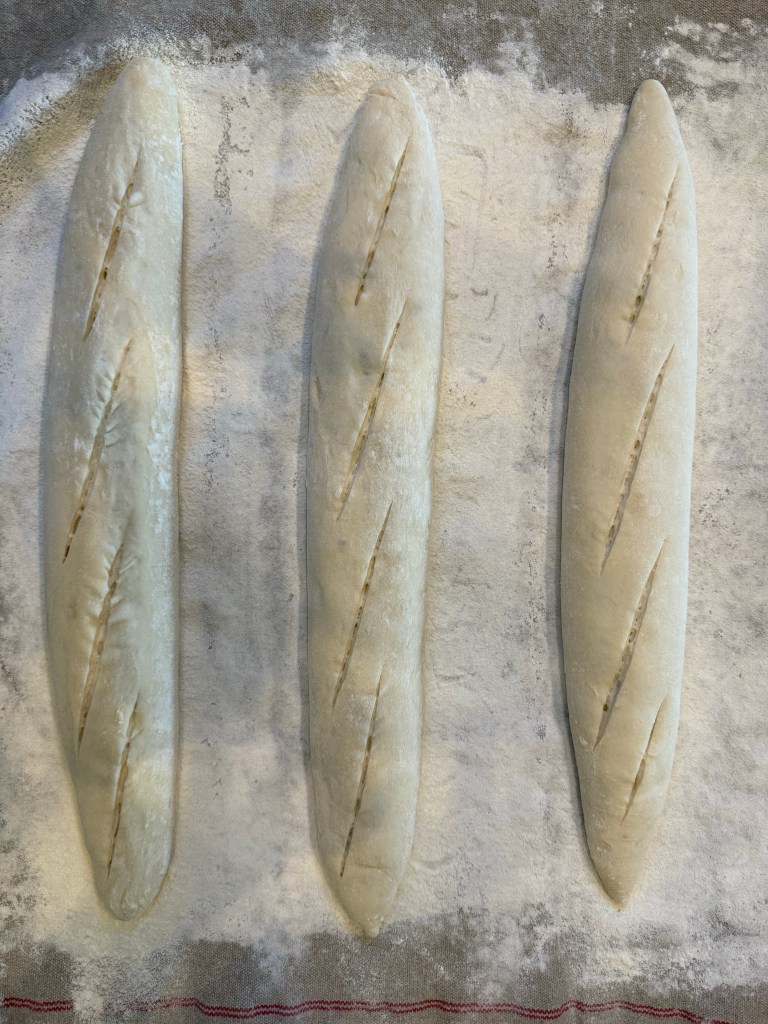
While the dough rested I started preheating my oven. The dough didn’t expand a lot, but it did pass the poke test. I slashed the tops of my loaves and put them into the oven on a baking stone with a cup of boiling water to create a steamy environment.
I struggled to get these loaves off the couche and onto a pizza peel to transfer them into the oven. Thankfully, the dough stood up well to the extra handling at this stage. By the third baguette I remembered you’re supposed to use the couche to flip the dough onto the peel.
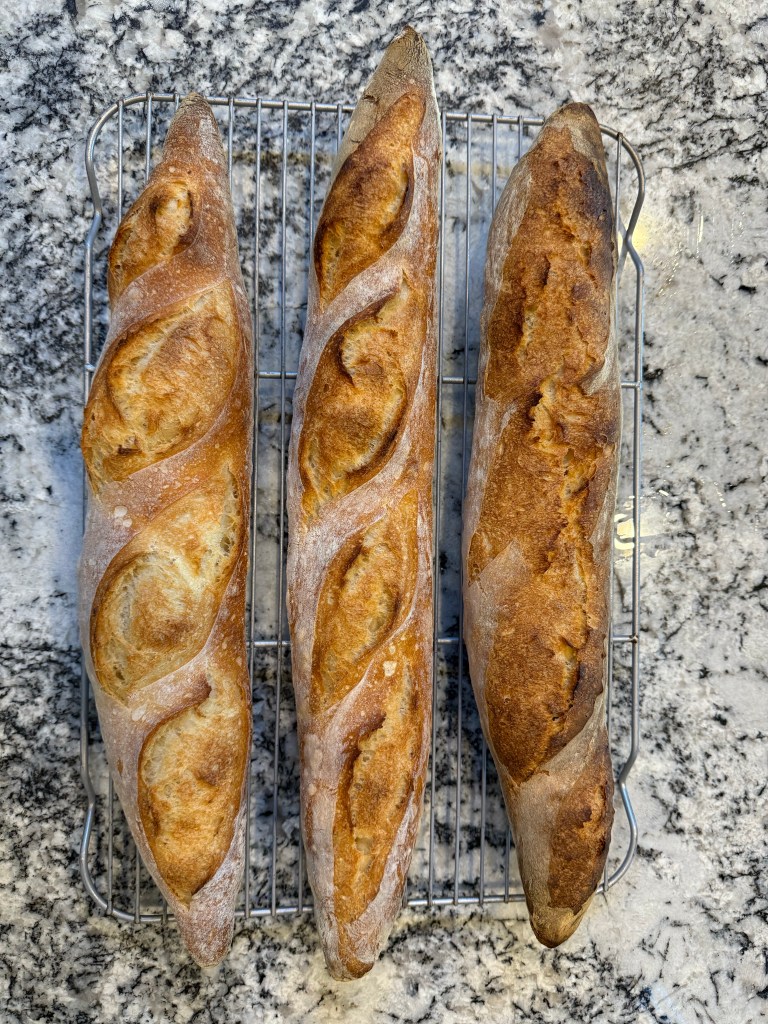
I experimented with the bake time since I had 3 baguettes. The palest loaf was in the oven for 20 minutes at the front of the oven. The middle loaf was in for 22, and the darkest loaf was in for 24 minutes at the back of the oven. Visually the middle bake is my favourite. I am working on allowing my breads to bake just a bit darker for better flavor, and seeing the difference in these 3 baguettes helps me get a better sense of when I will want to pull breads out of the oven in future.
So how is the bread? Delicious! I am so proud of the crumb on this one! It looks exactly how baguettes are supposed to look with a good balance of holes throughout without being too lacy. It tastes like good bread, very similar to other breads made with straight dough. It’s fantastic with butter and a sprinkle of salt.
Until the next time: may your yeast always rise and your flour never run out.
Ciabatta is a very wet dough. I have avoided doughs with very high hydration until now, but this was the next recipe in the King Arthur Baking School cookbook, and I am not one to back down from a challenge.
As in the last few recipes, I started the night before baking by mixing my preferment. This preferment is called a biga, and it has slightly more flour than water (by weight), so it was a little stiffer than the preferment for the French Bread, which had an equal weight of water and flour.
You can see how much it rose overnight (11 hours)!
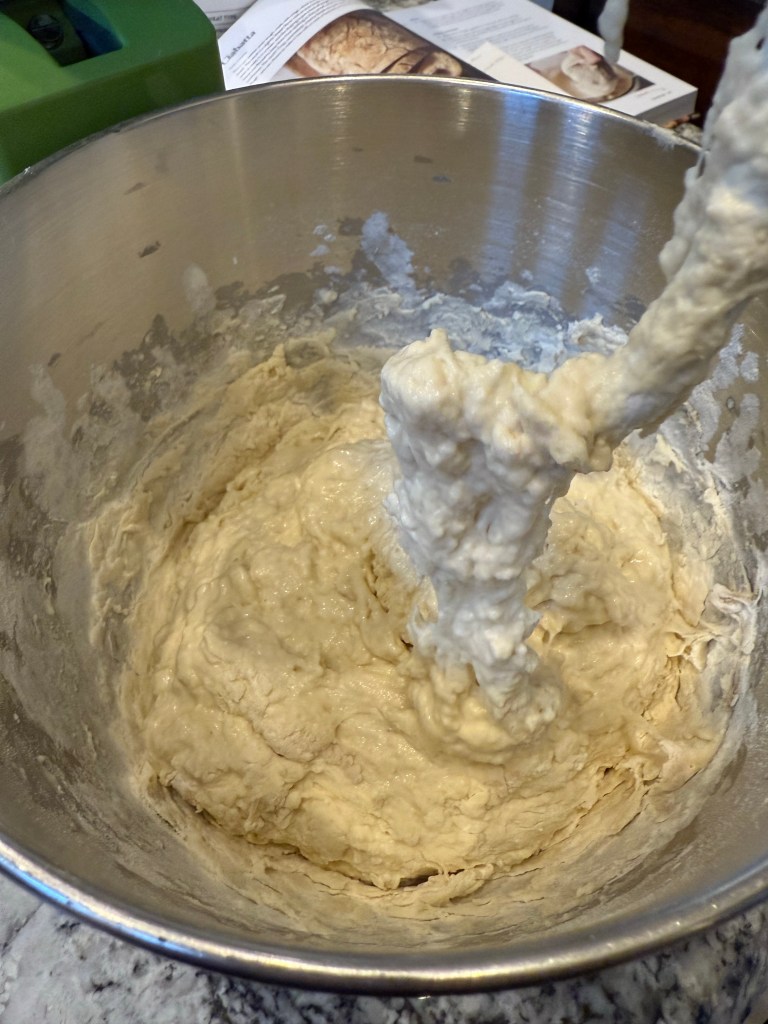
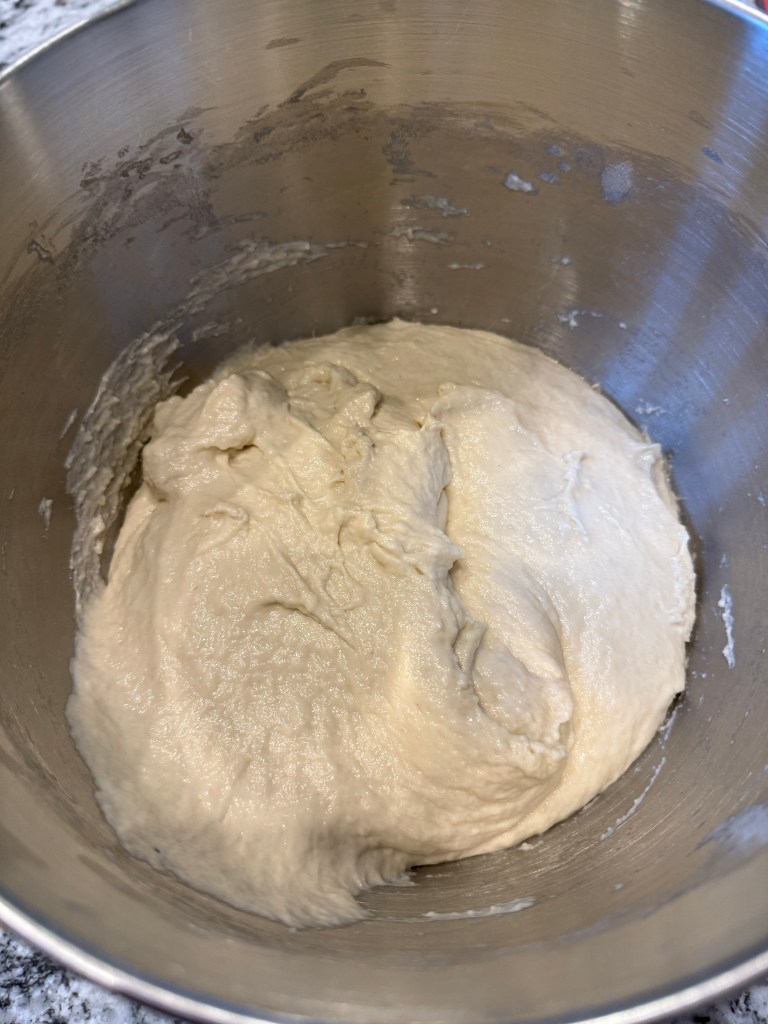
I added all the remaining dough ingredients to the biga and mixed at the slowest speed on my KitchenAid mixer until everything was combined. Then I increased the speed to medium-low and kneaded the dough for 4 minutes as directed. I covered the dough and set it aside to rise.
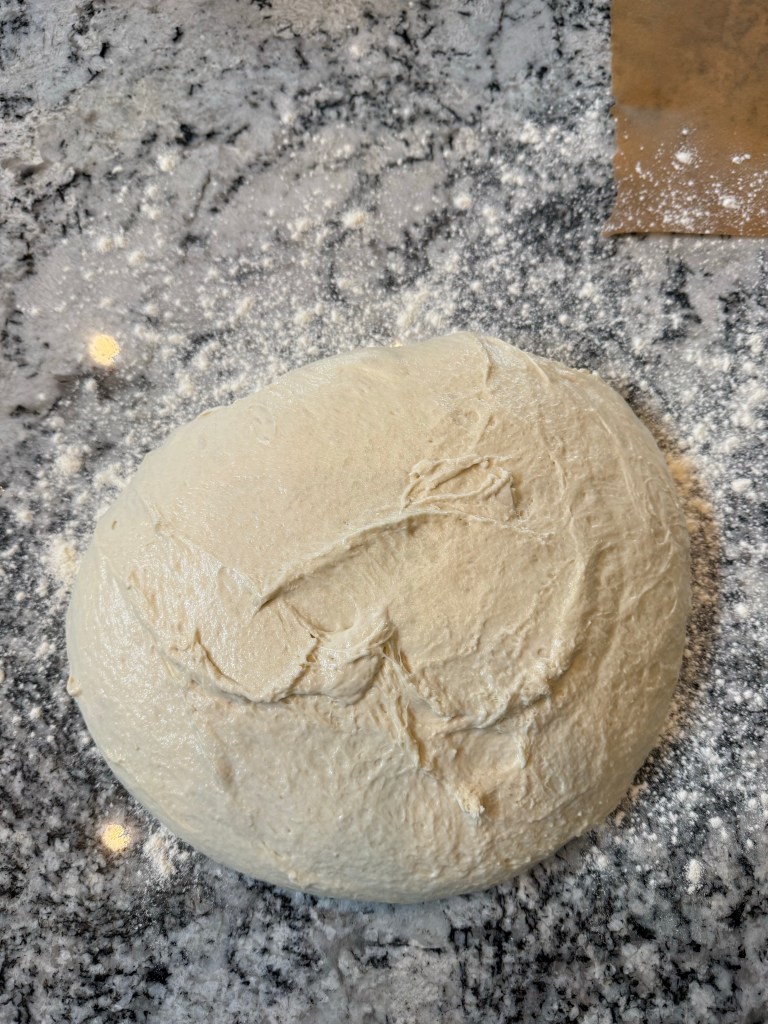
I gave the dough a fold every 30 minutes for the next hour and a half, and then turned the dough out onto the counter.
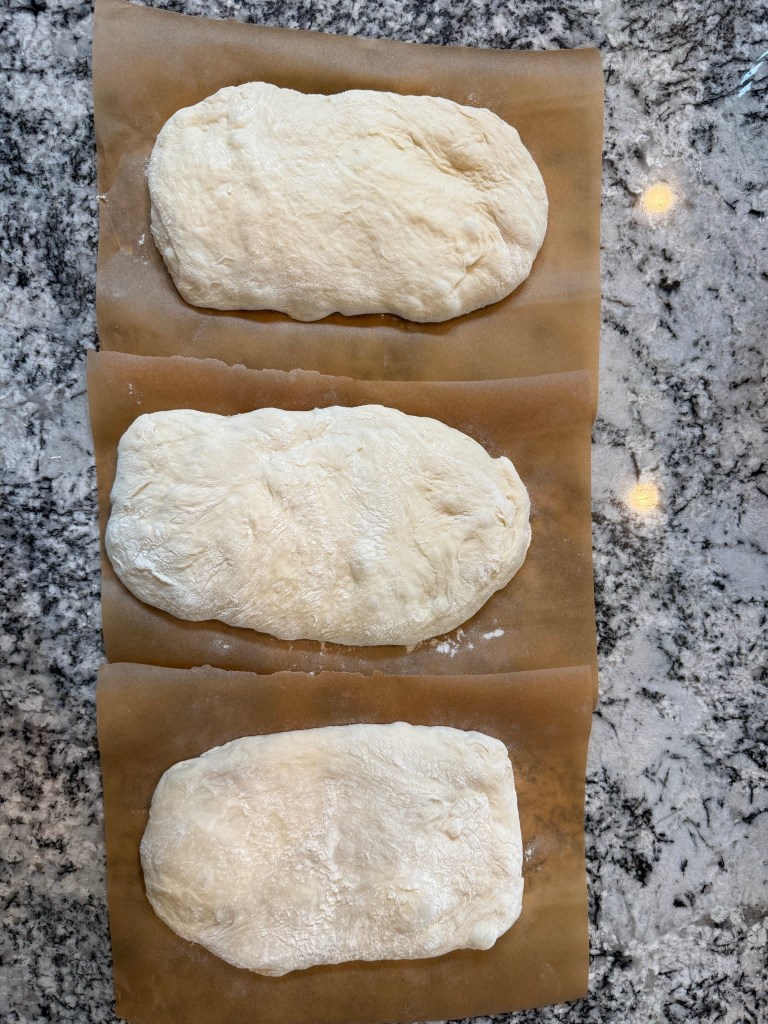
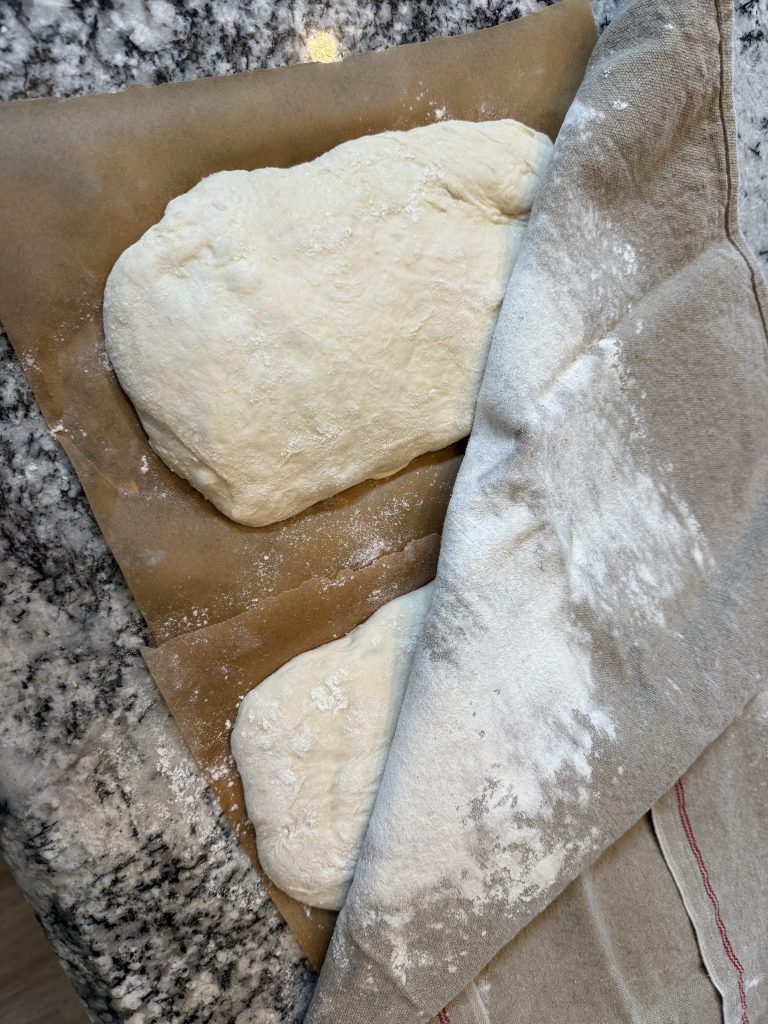
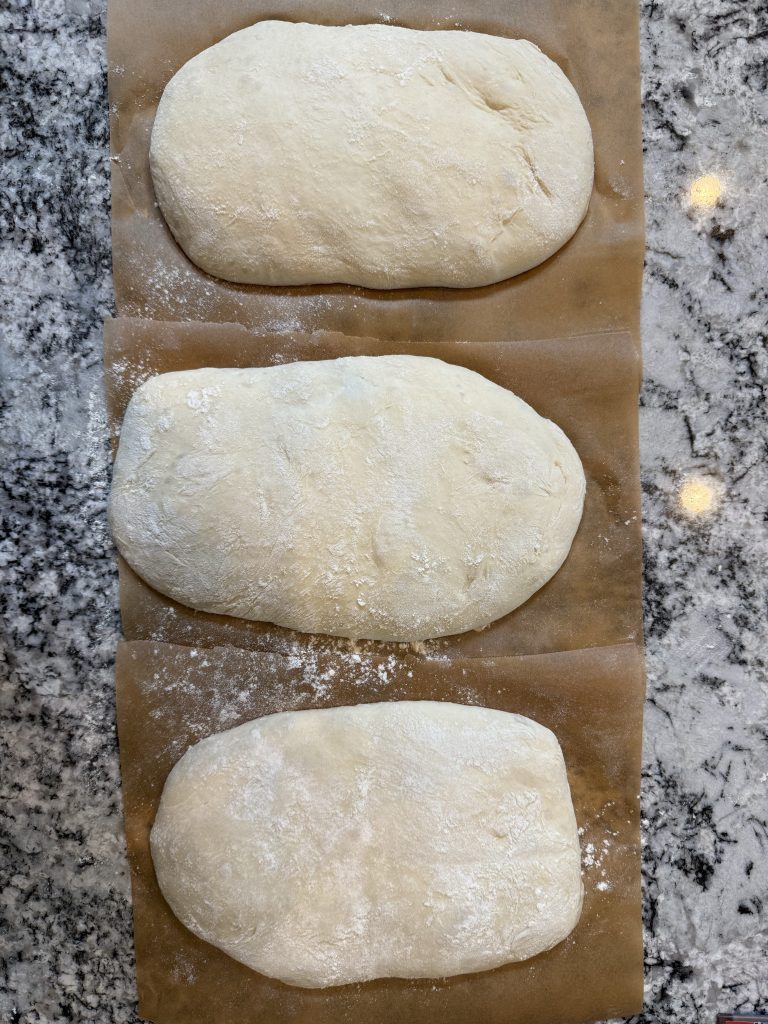
The shaping was surprisingly simple: I divided the dough into thirds and shaped each one into a rectangle. I placed each loaf on parchment paper, covered them with a cloth, and left them to rise.
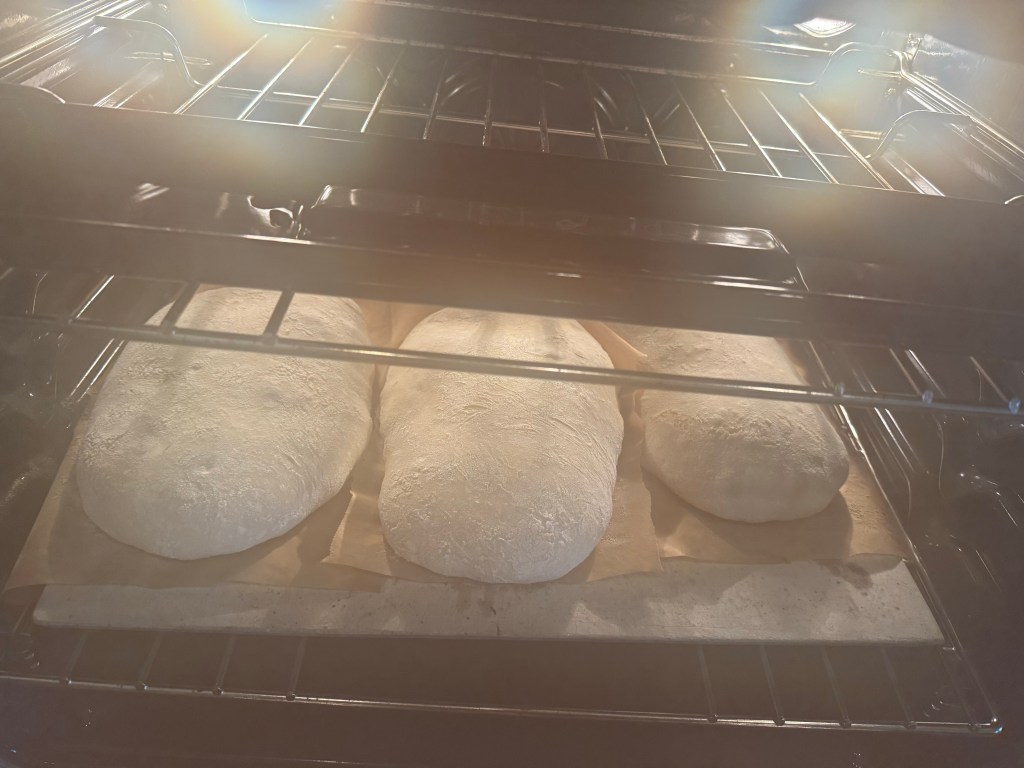
The recipe didn’t specify a final rising time, so I looked at a few ciabatta recipes online and guesstimated that an hour would be sufficient. During this time I preheated my oven and baking stone to 500 degrees Fahrenheit.
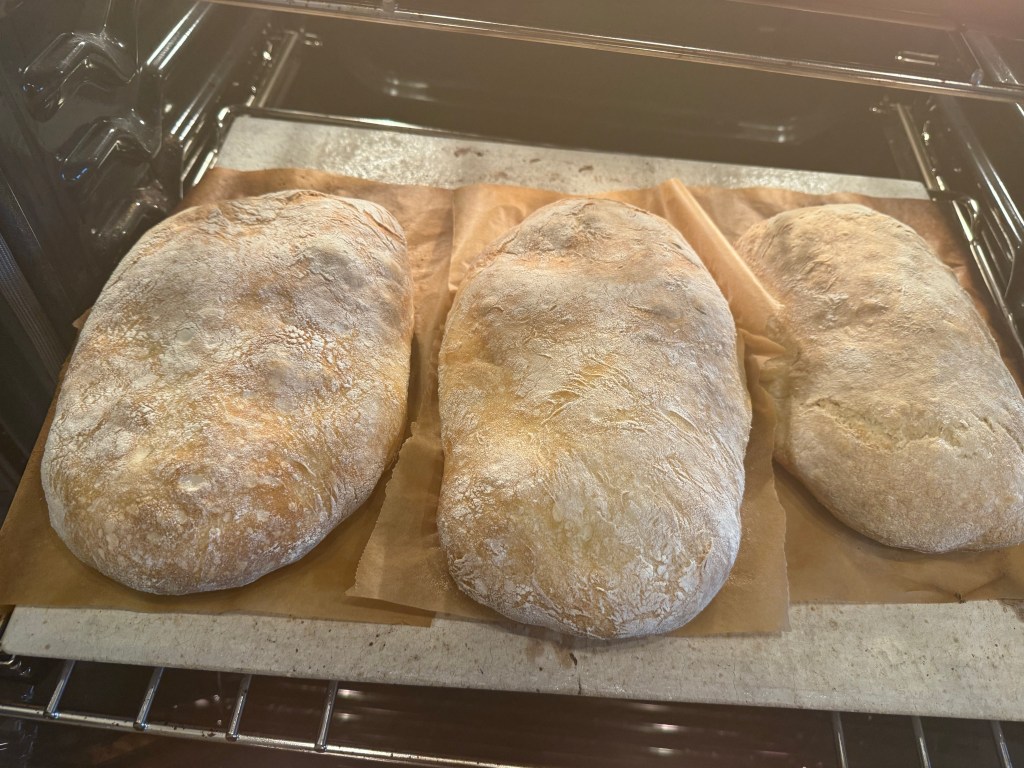
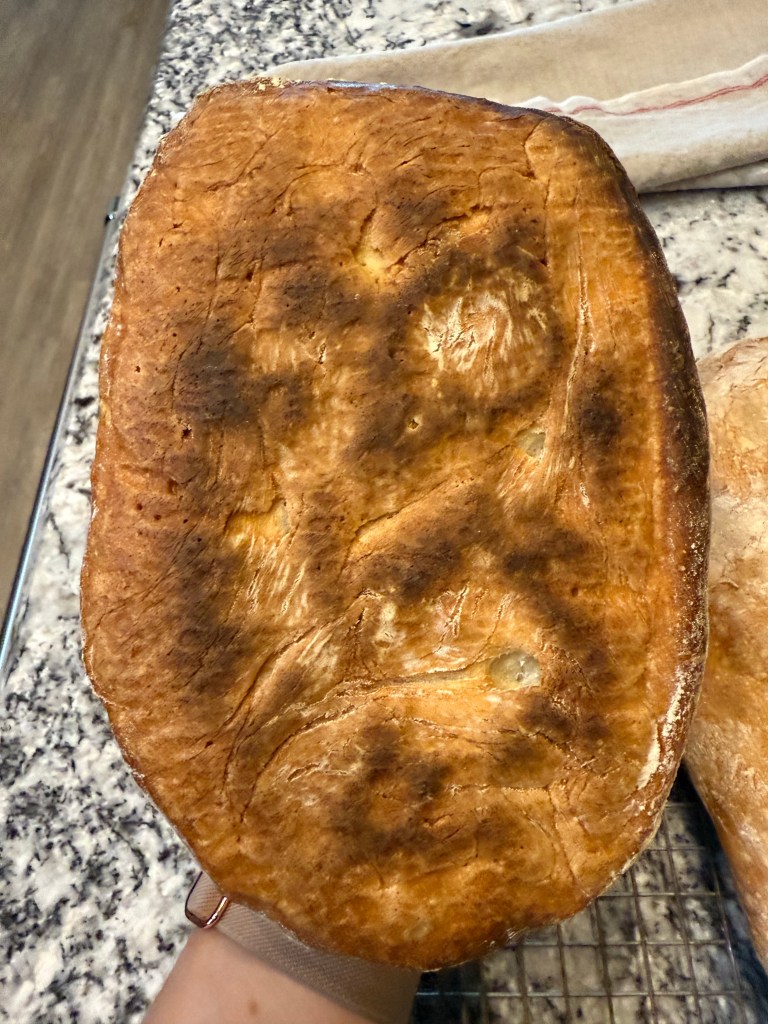
When the dough had risen and the oven was hot I used my pizza peel to load the bread into the oven. I poured boiling water into the steam tray, and let the bread bake. After 50 minutes I lowered the oven temperature to 450 degrees Fahreneheit. The loaves baked for 30 minutes total. I could have taken them out after 25 minutes, but I wanted a little more colour on the loaves.
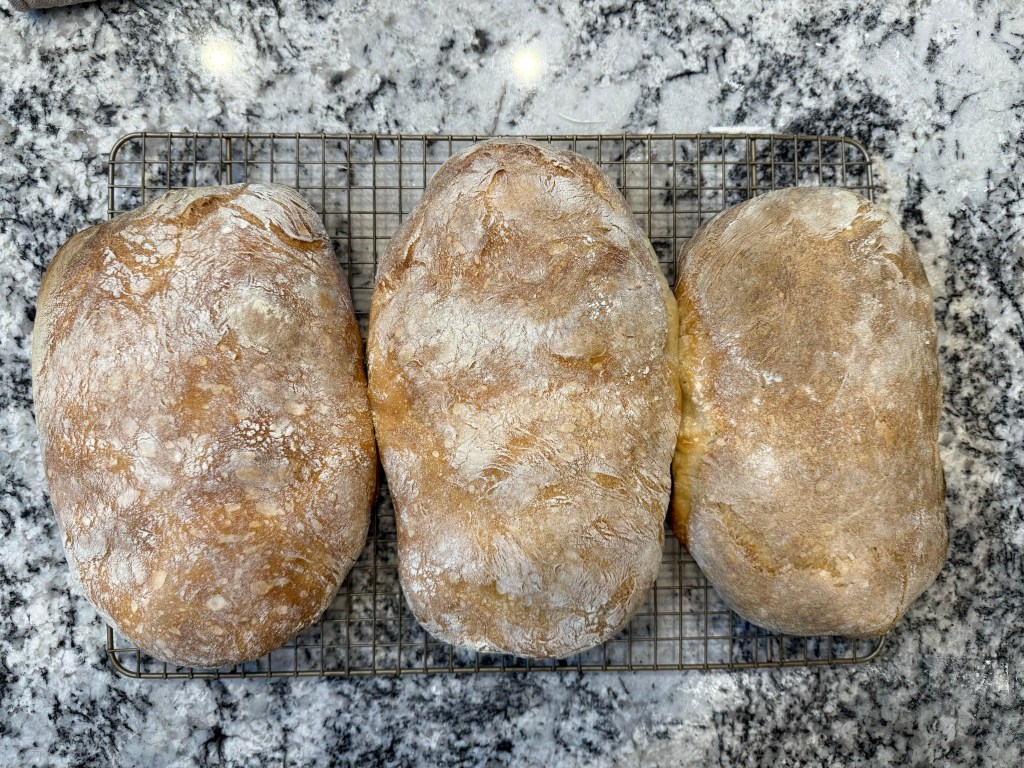
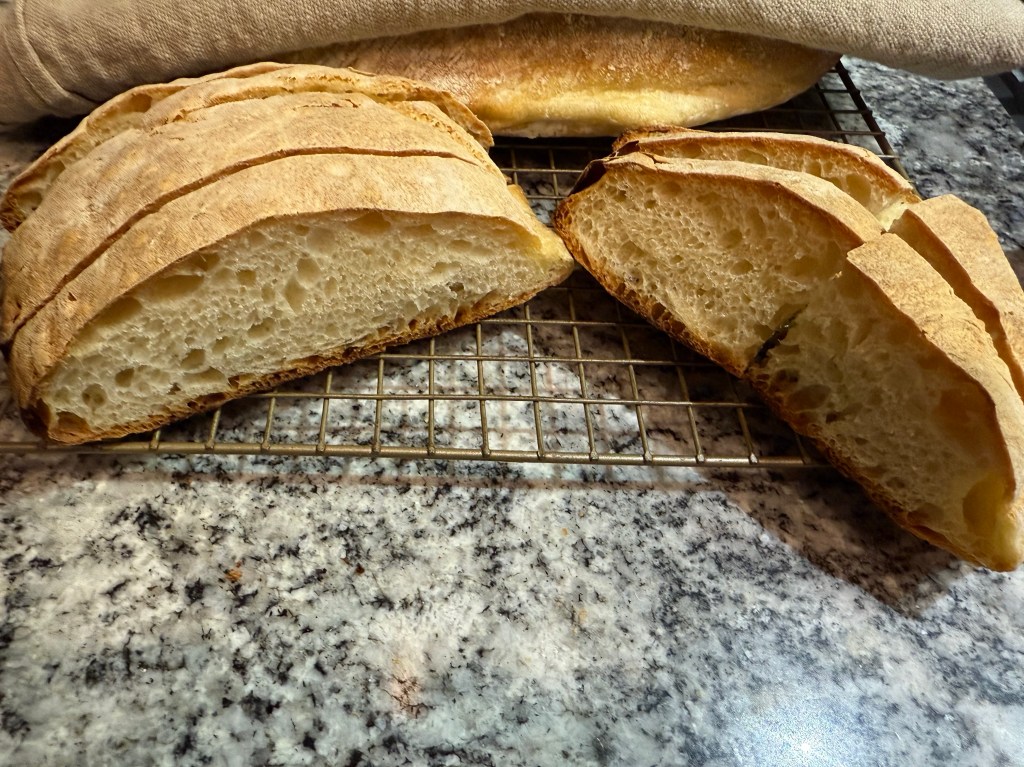
I really enjoyed this ciabatta bread! The loaves are rather flat, which is correct for this style of bread. The bread has a mixture of larger and smaller holes, and has a nice taste and texture. We ate it with bolognese and fresh pasta.
Until the next time: may your yeast always rise and your flour never run out.