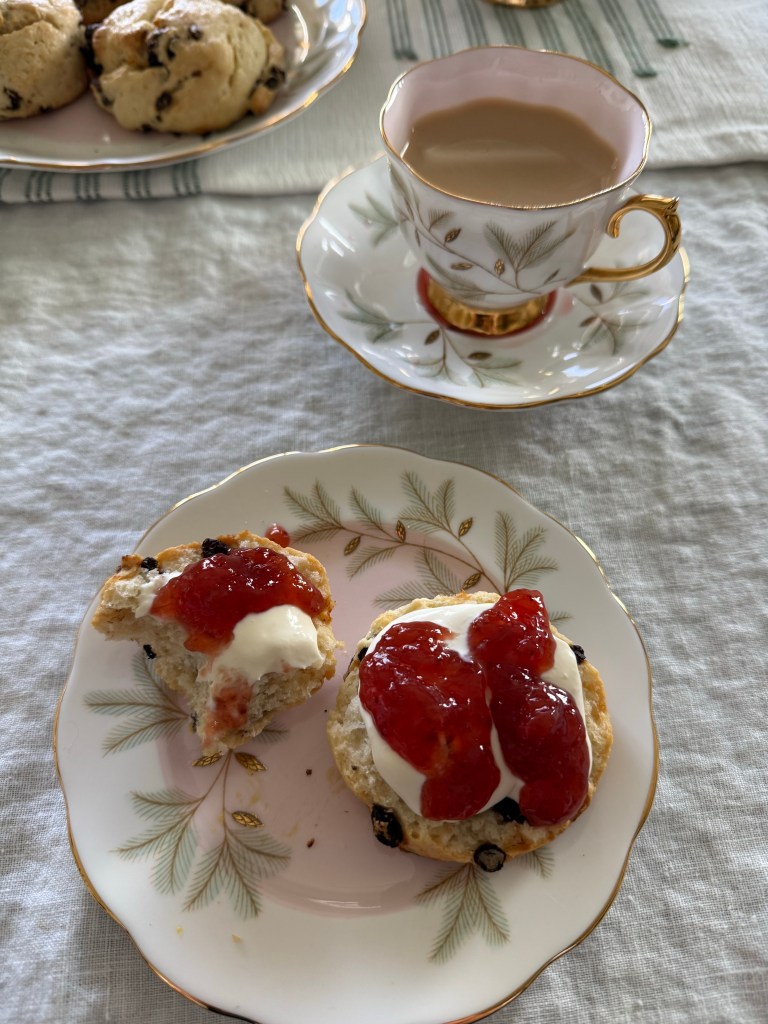
When I was a kid my mom would always make me a birthday cake. I got to choose the cake flavor, and her doing that for me always made me feel really special and loved. When I went to college my brother and my friends bought me cakes, but they were never as special as the ones my mom made for me. Over the years I started baking birthday cakes for my husband, my sister, and friends, but there was still no one to bake a cake for me, and that made me sad. Several years ago I decided to stop feeling sad and show myself the love I showed others by baking a cake for myself. Making my cake is now one of my treasured birthday traditions. This year the recipe for my birthday cake came from the King Arthur Baking School book.
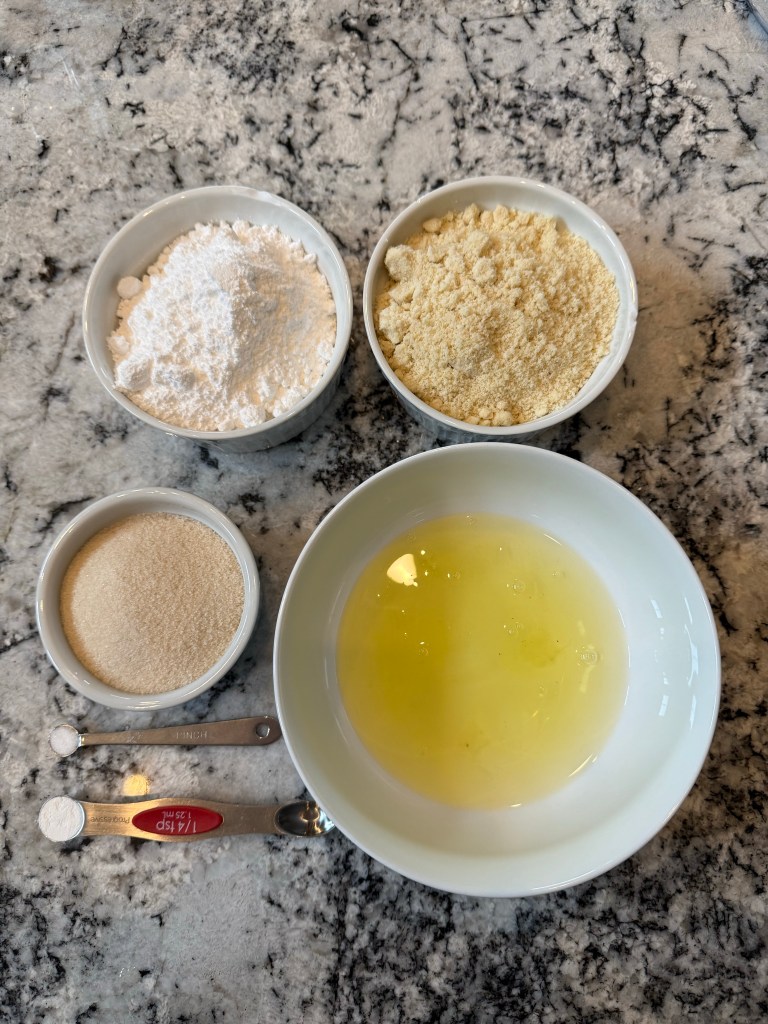
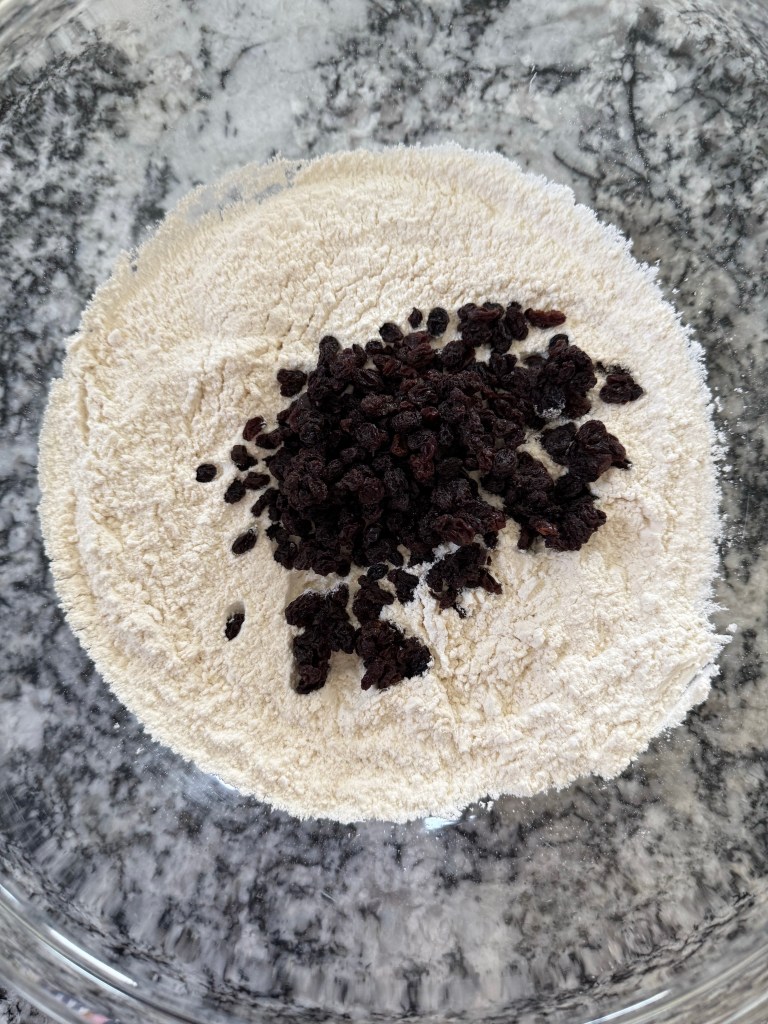
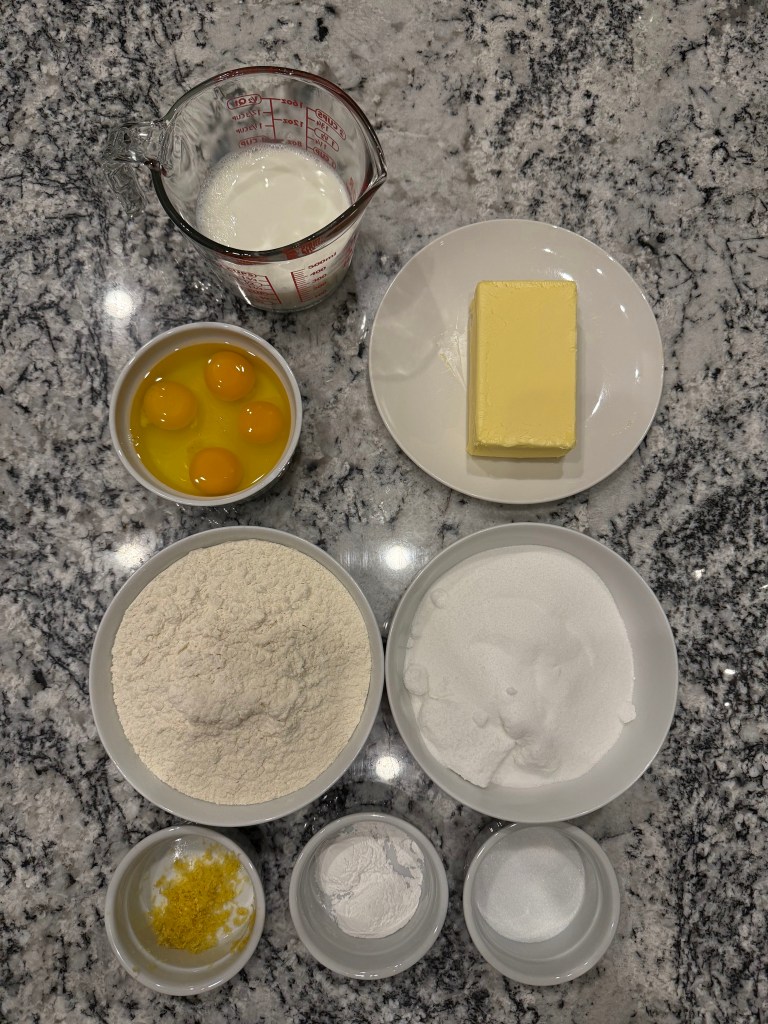
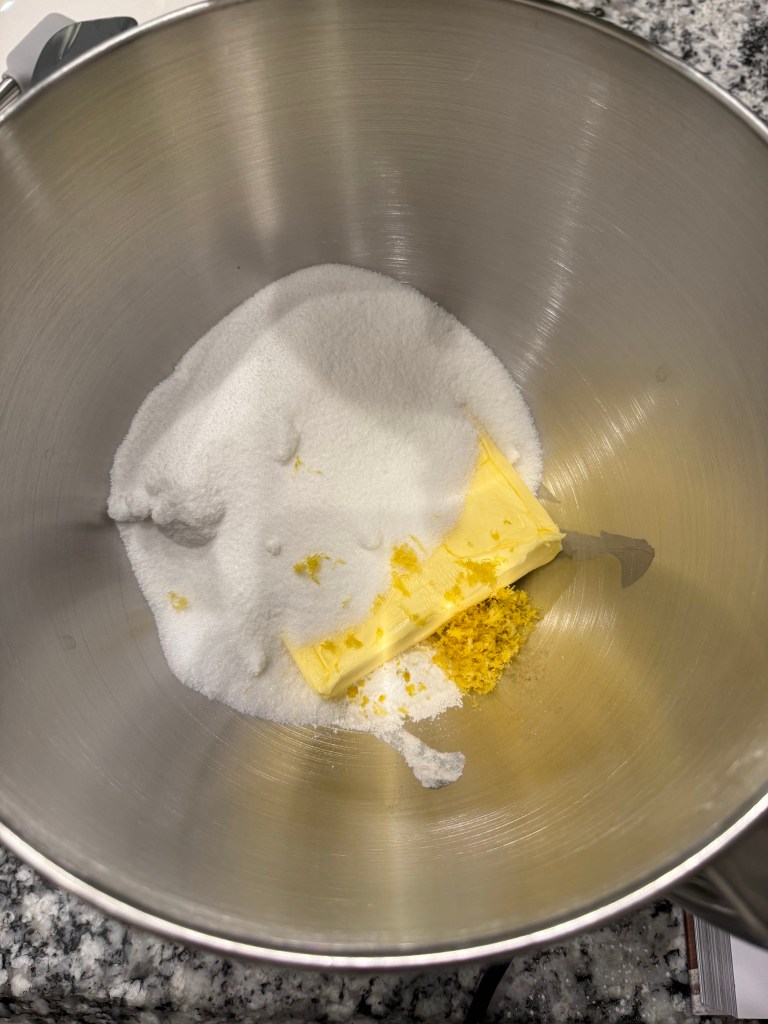
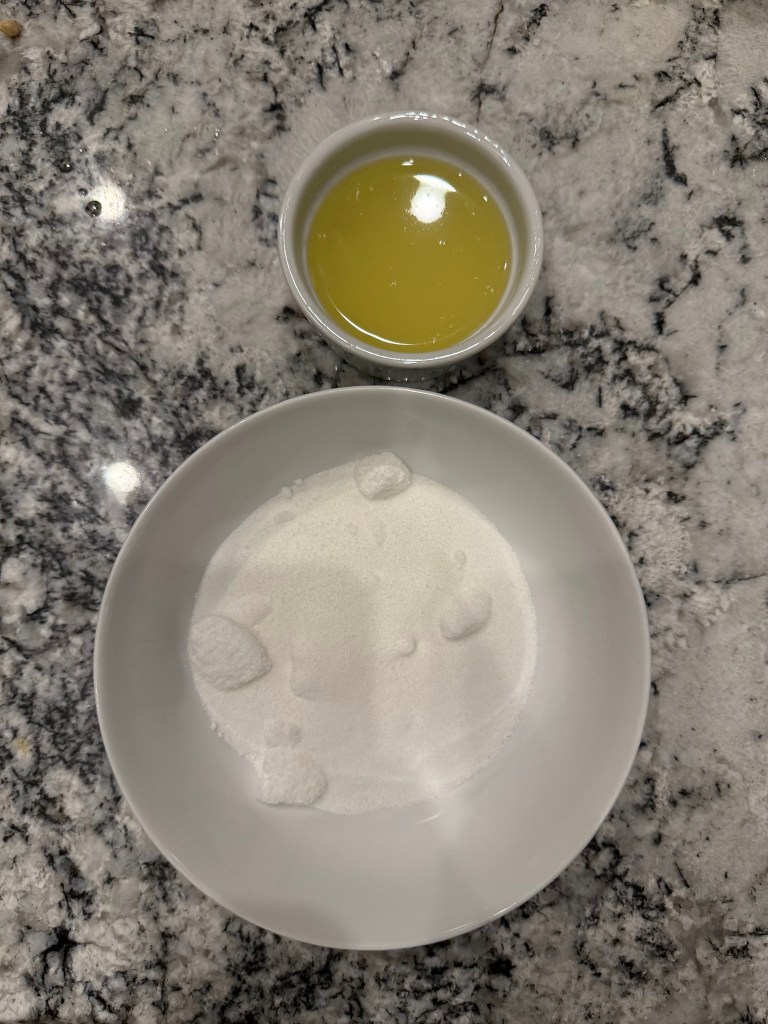
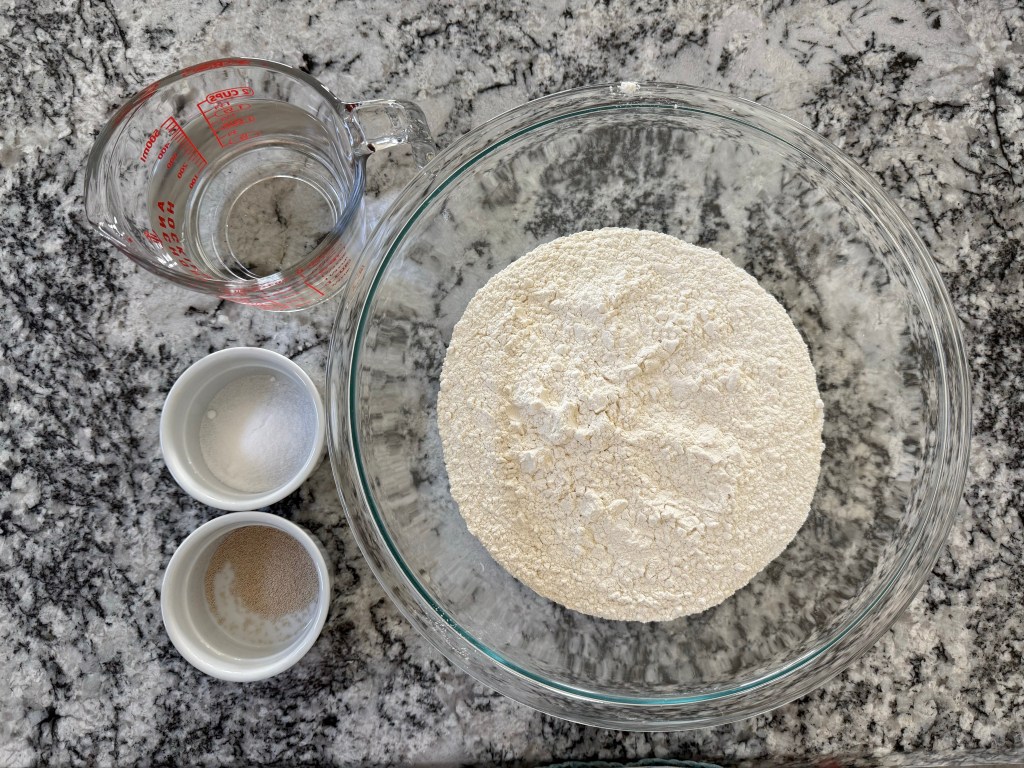
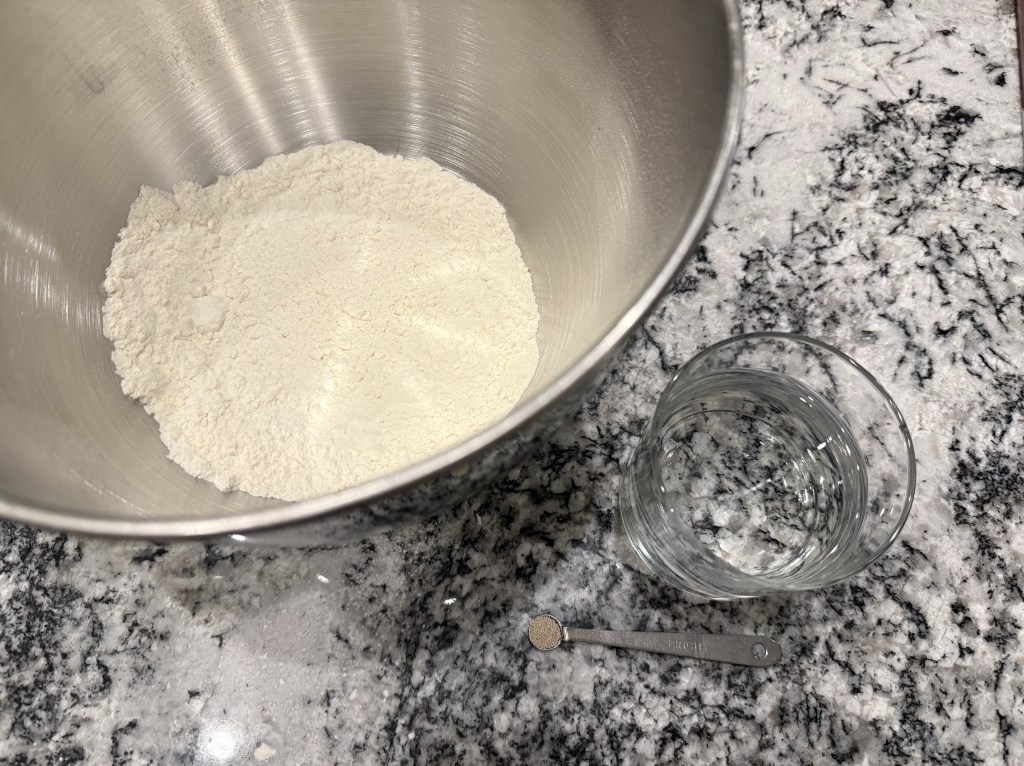
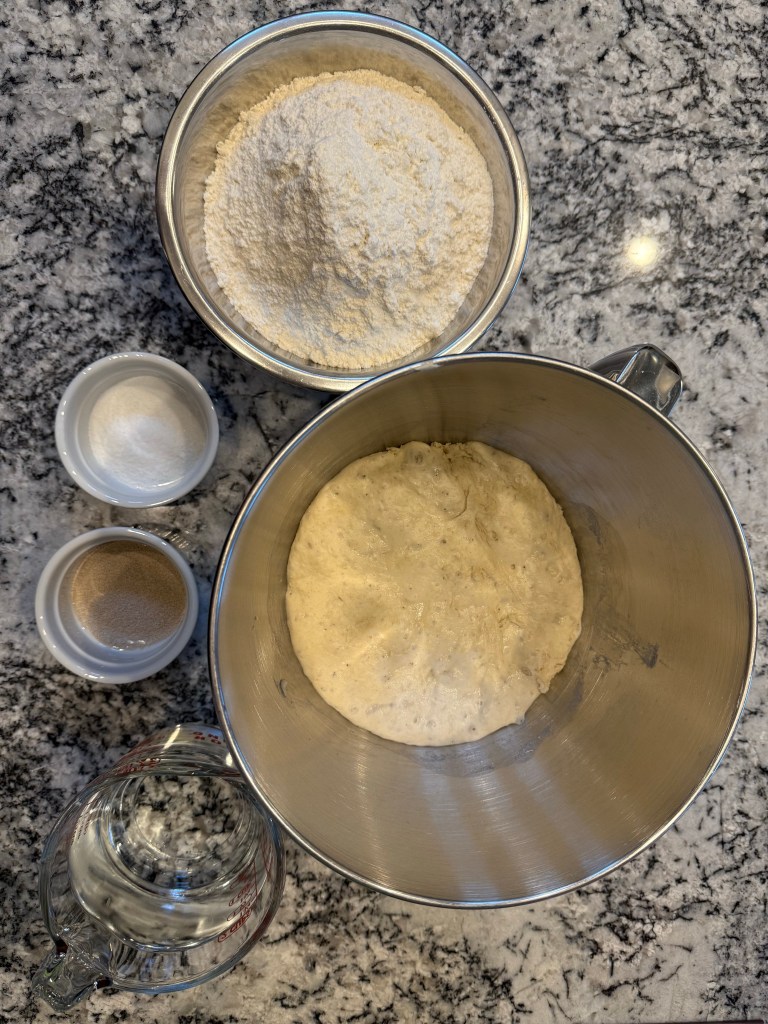
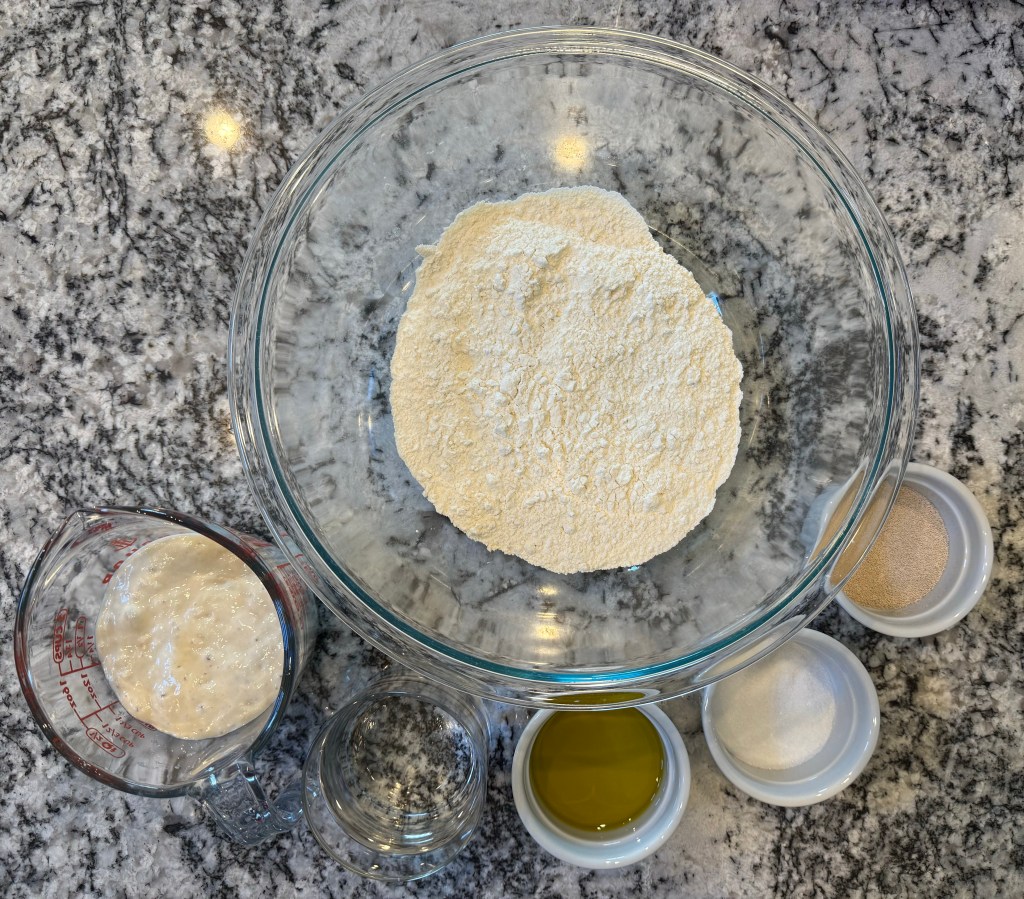
I started with the mise en place:

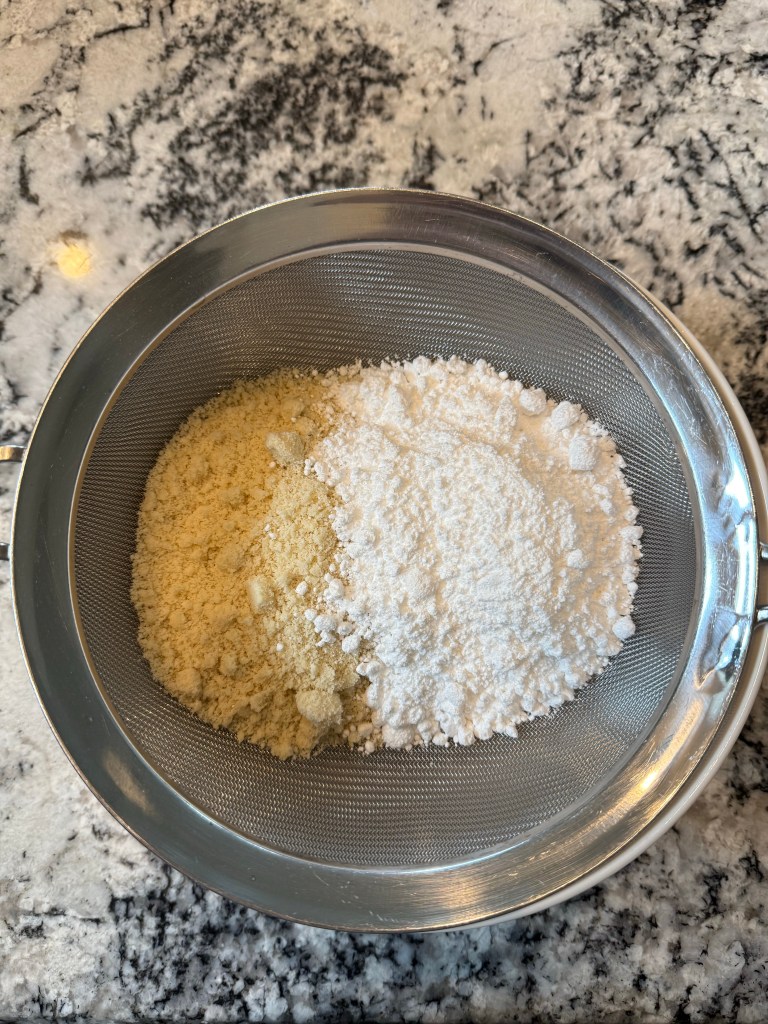
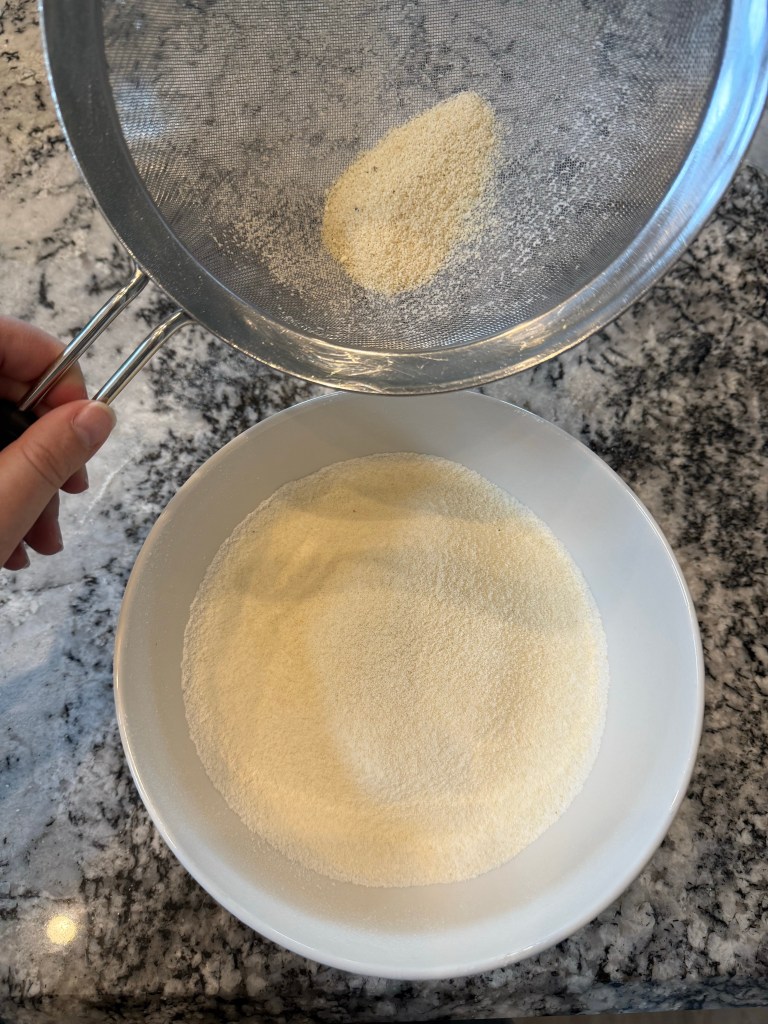
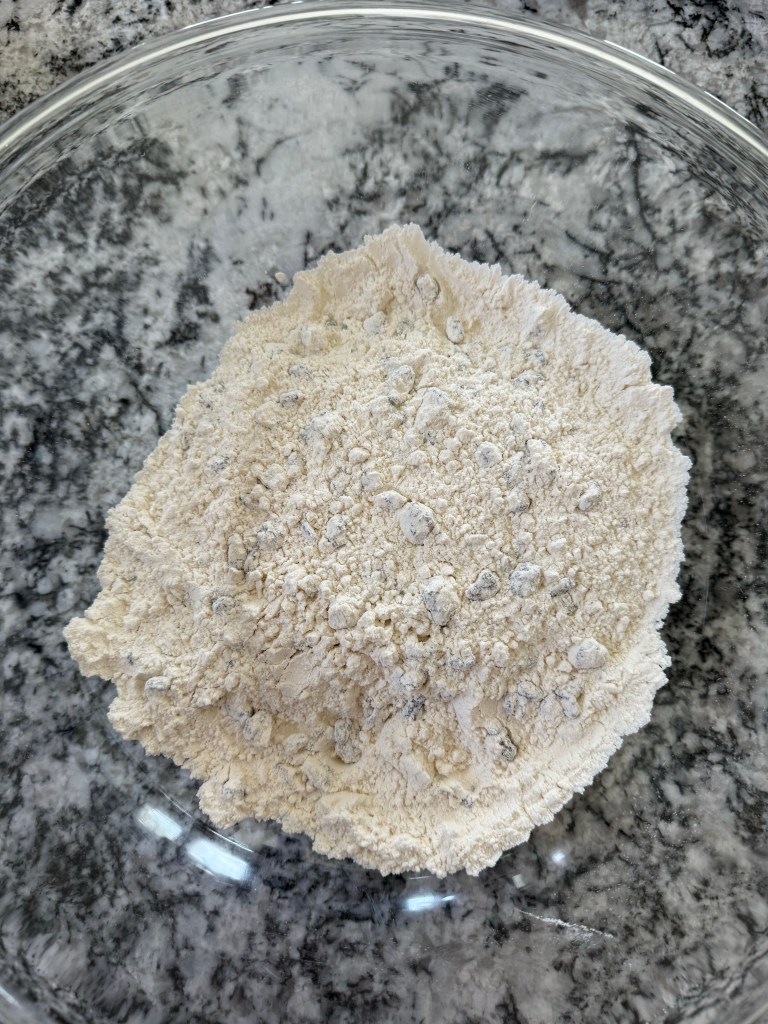
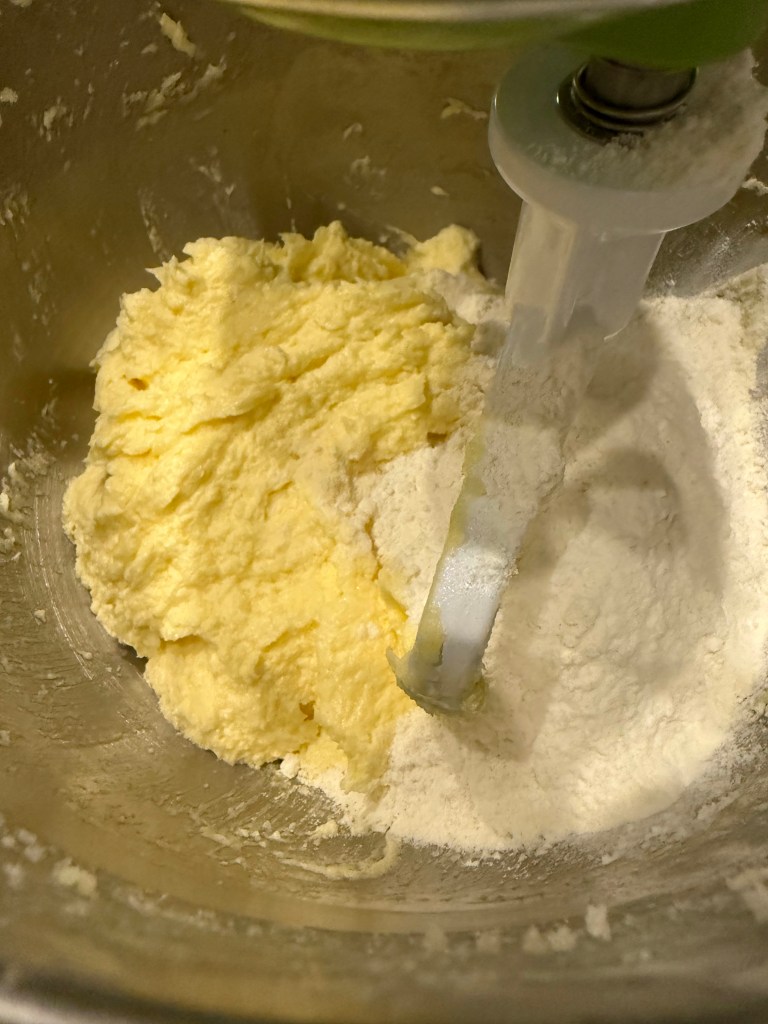
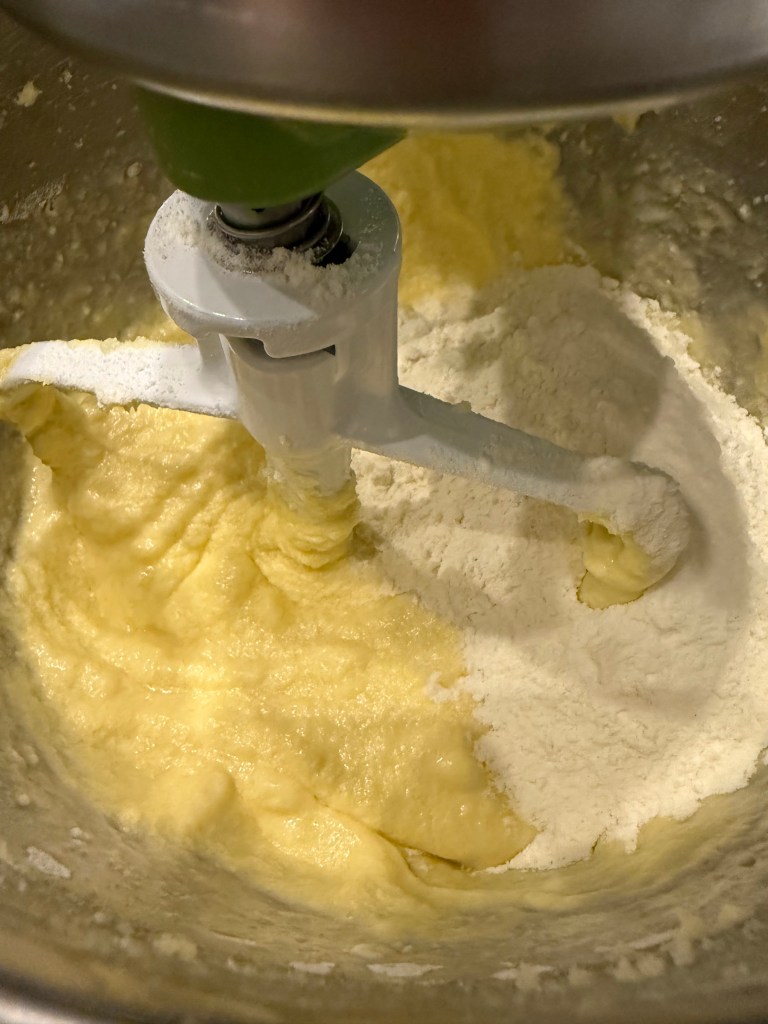
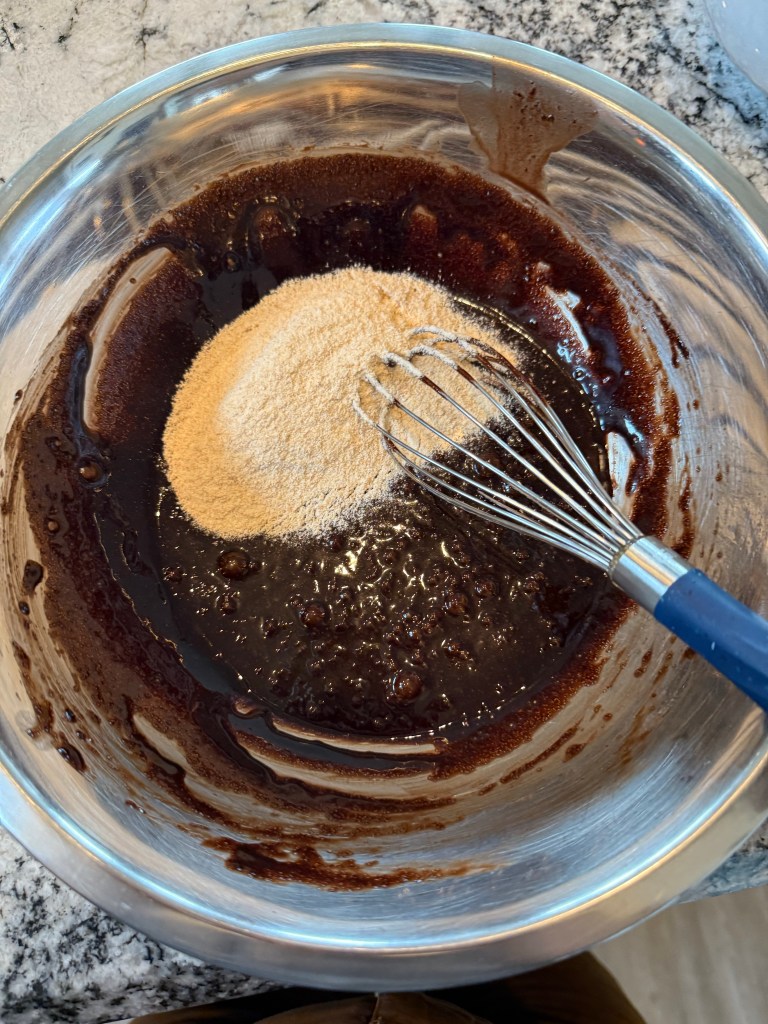
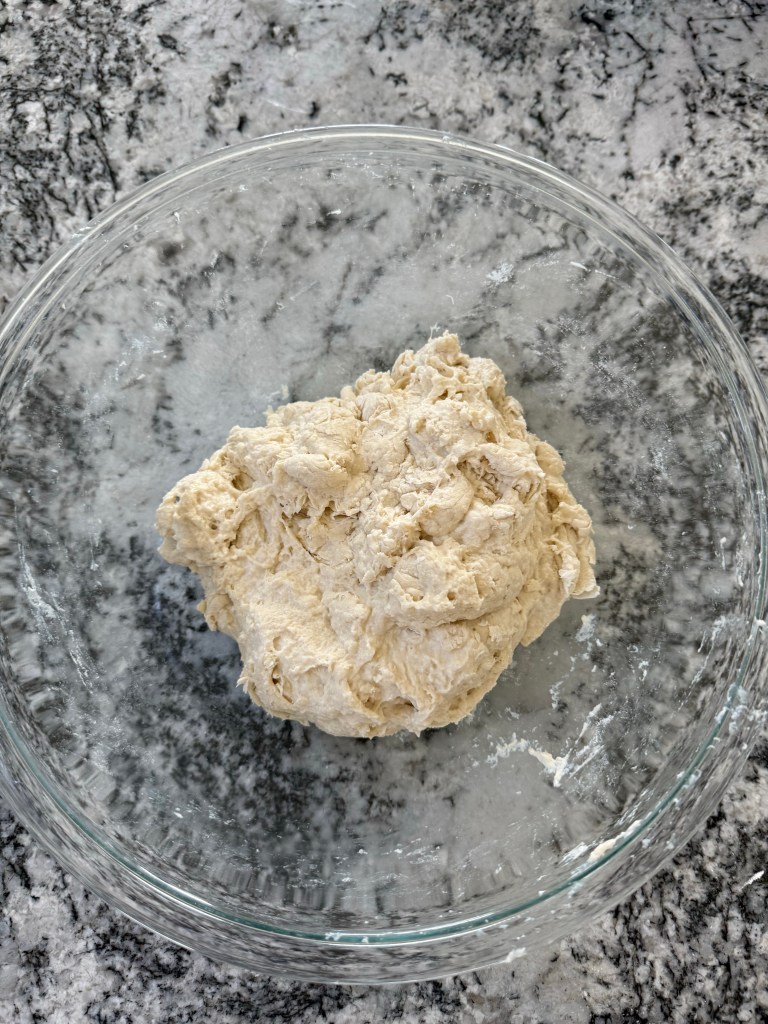
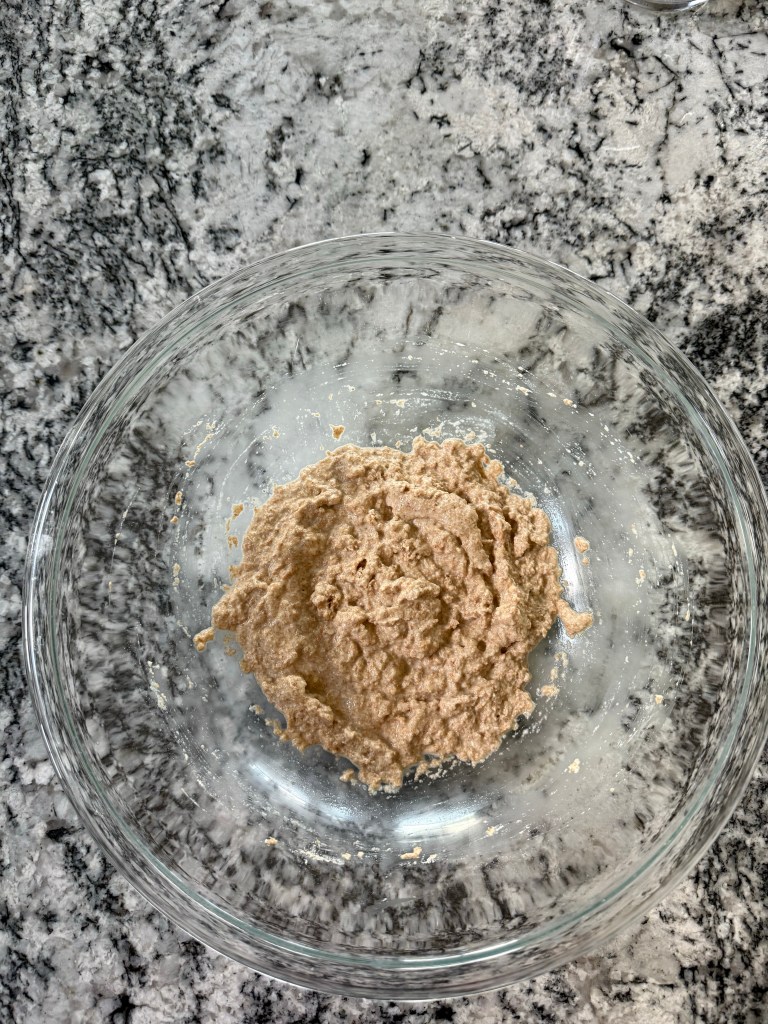
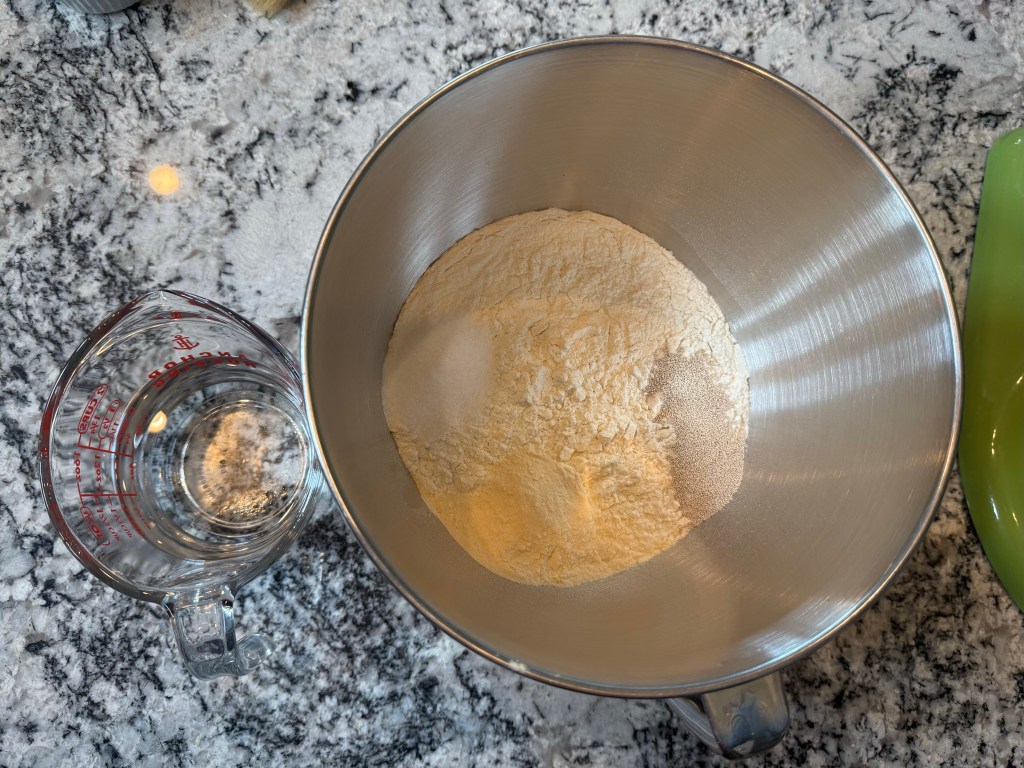
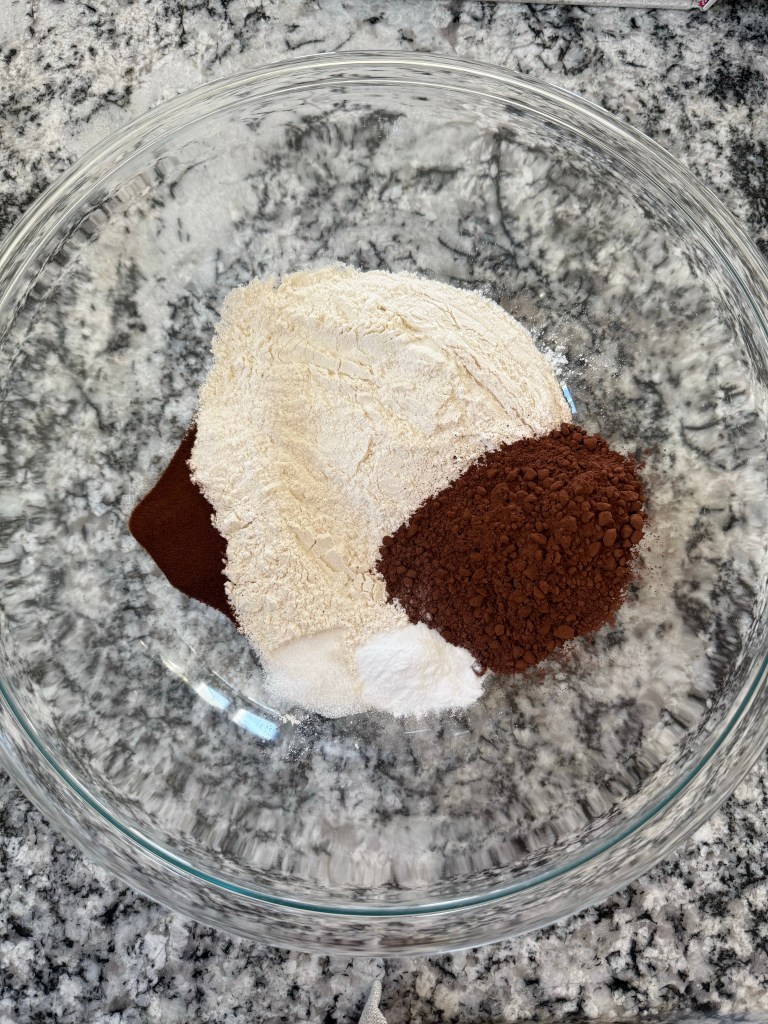
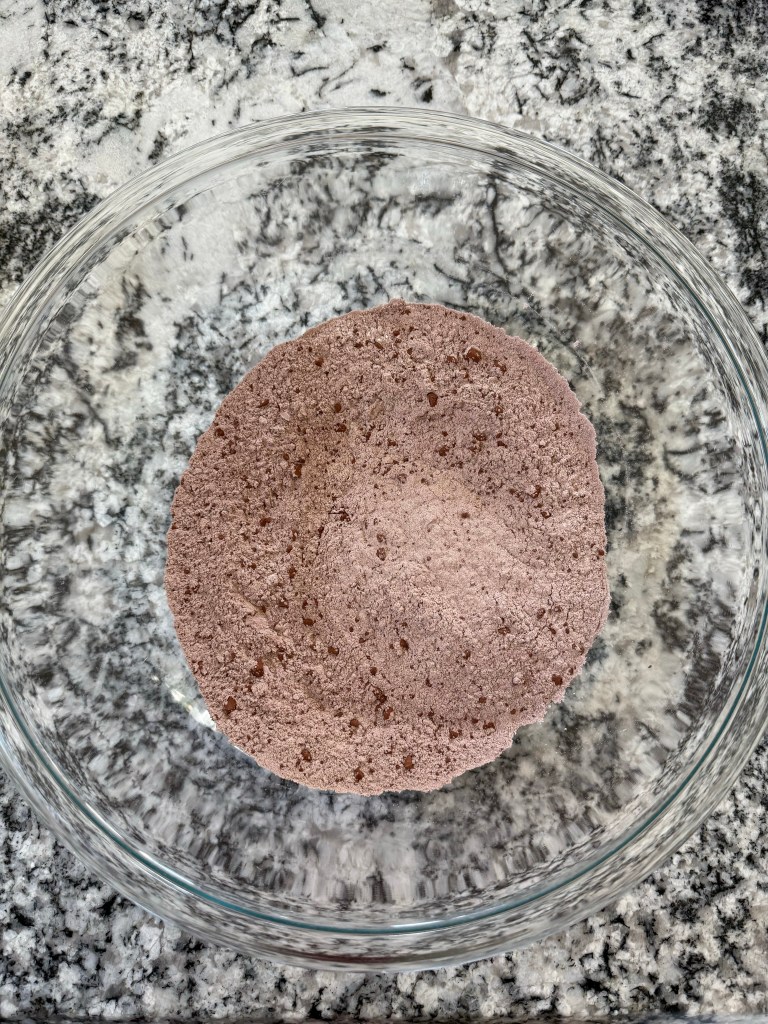
I mixed dry ingredients,
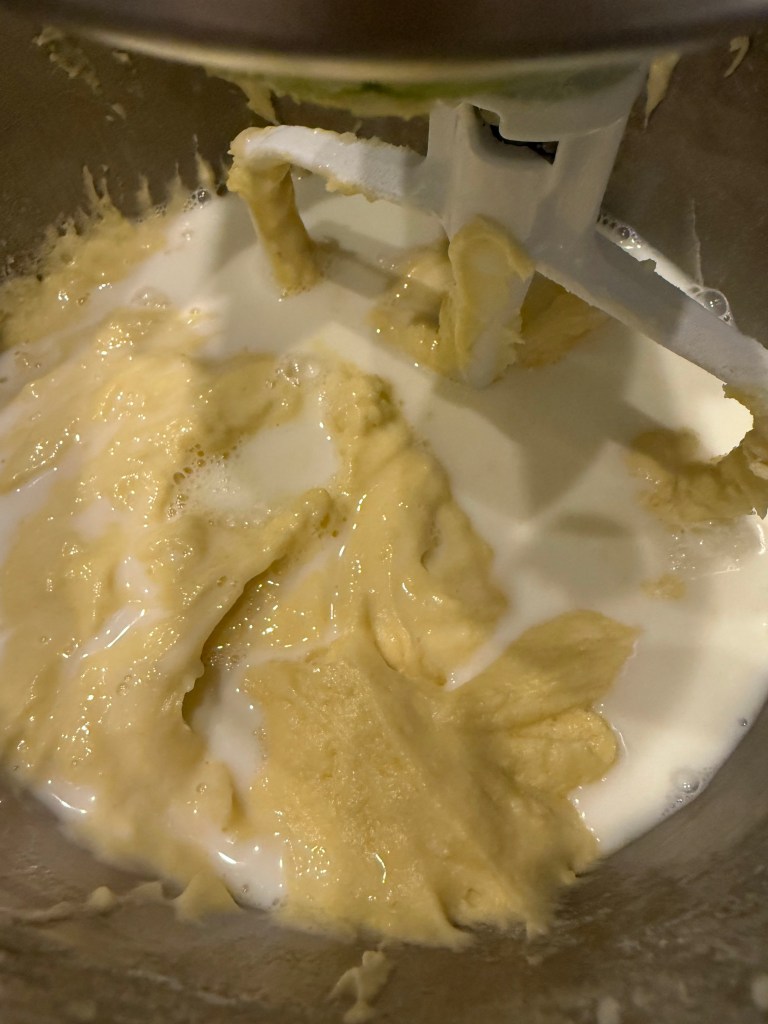
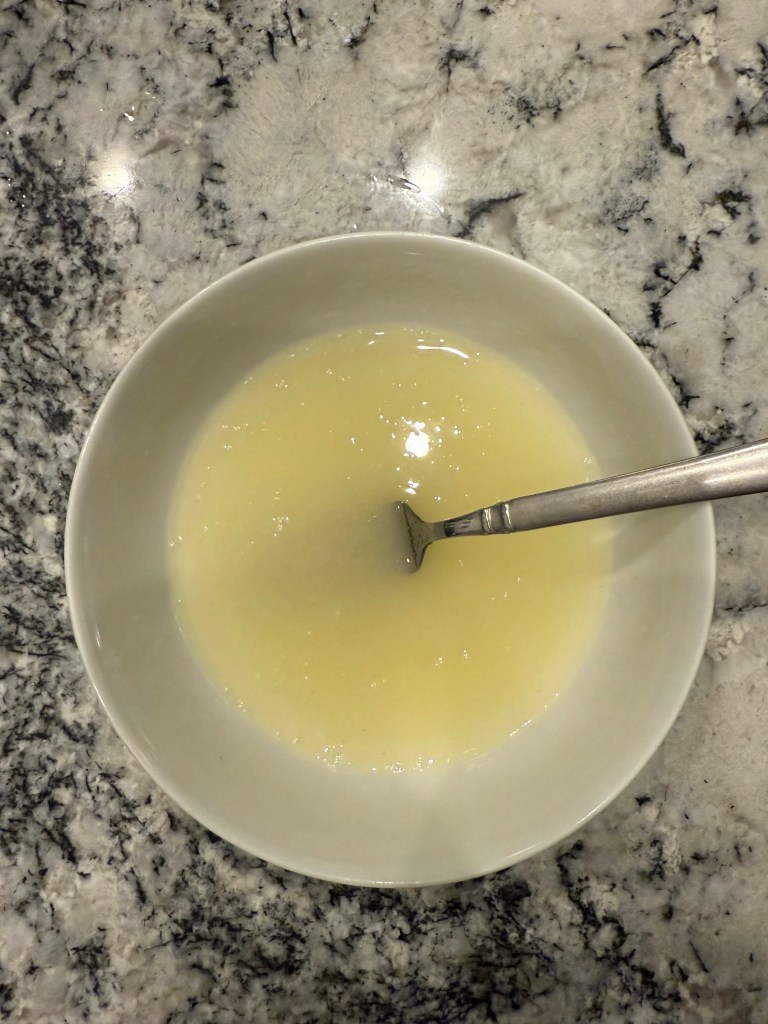
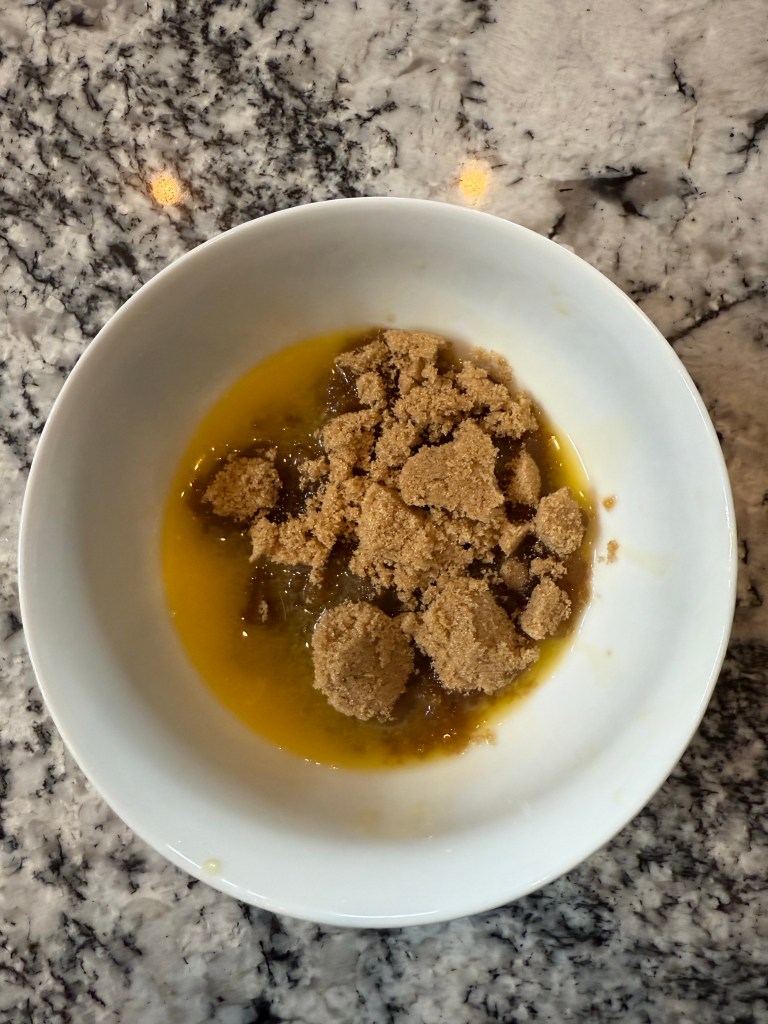
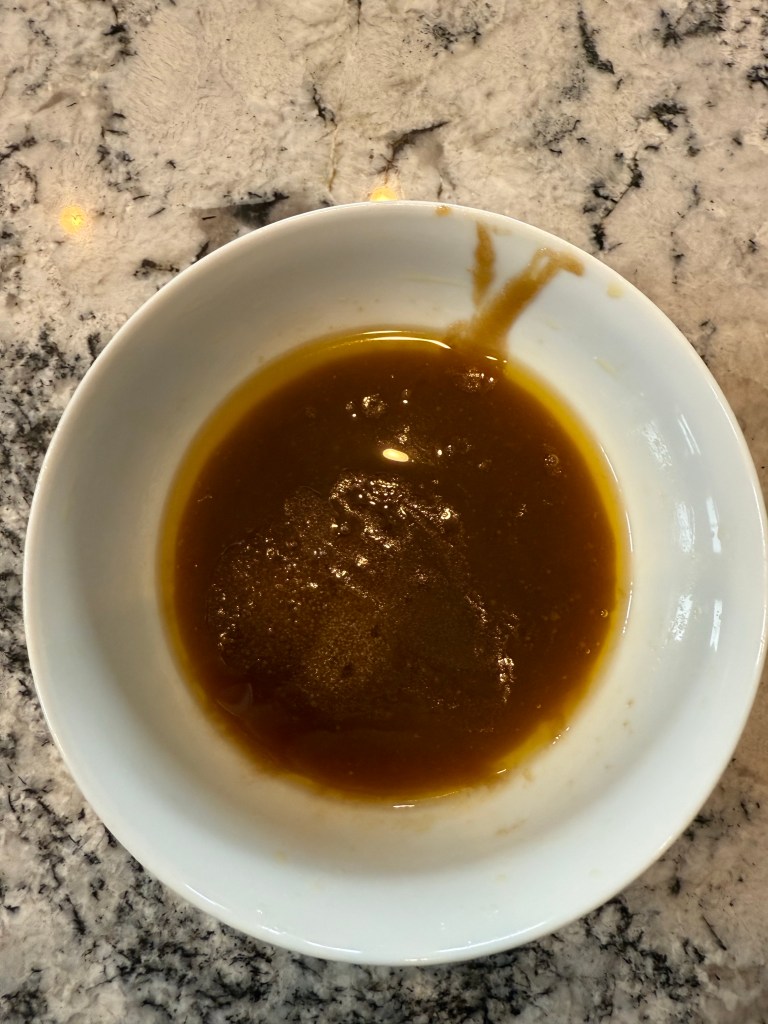
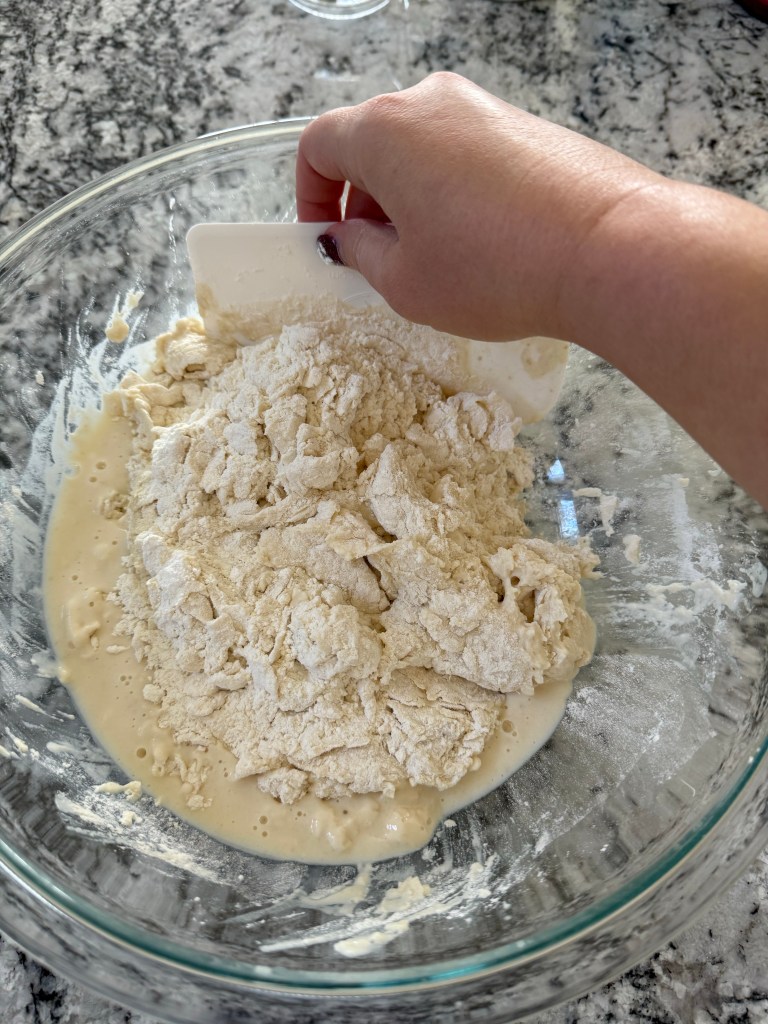
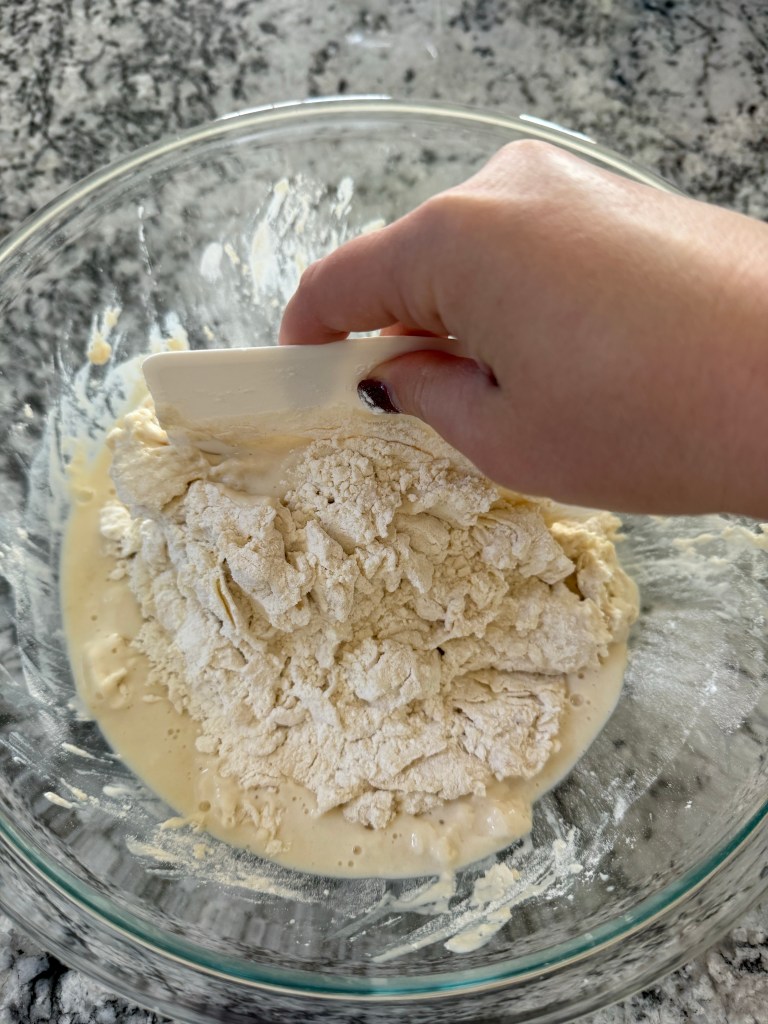
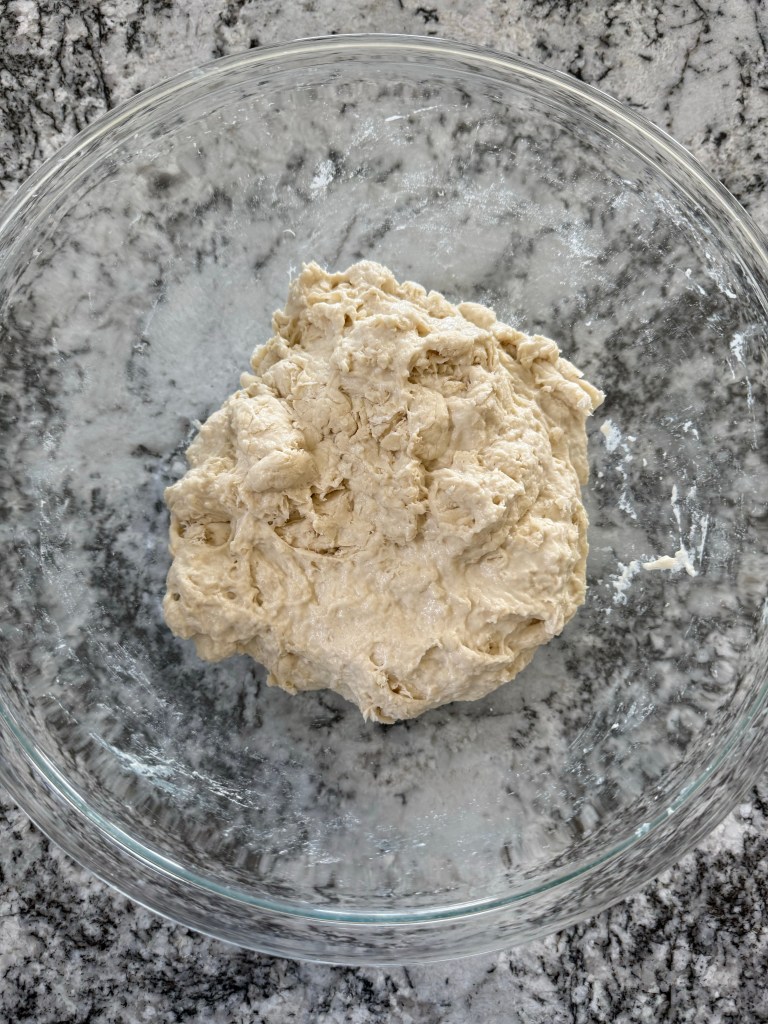
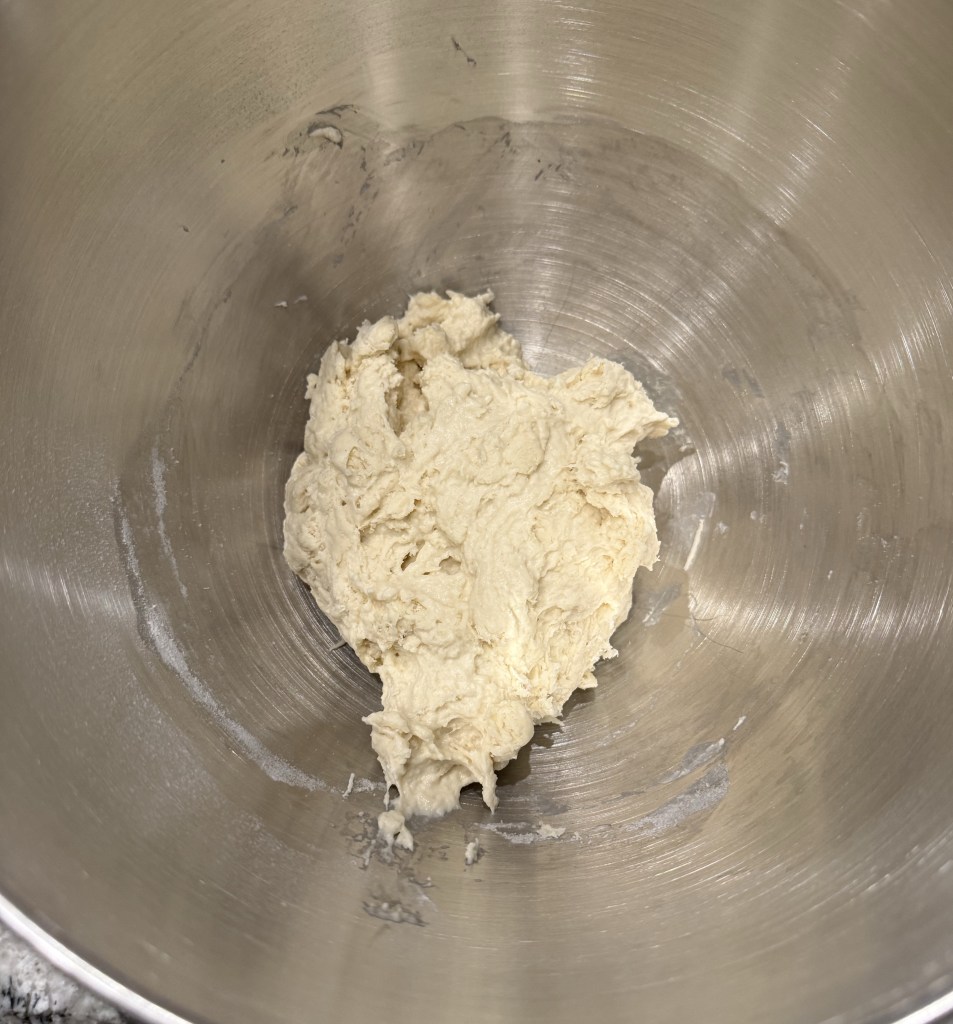
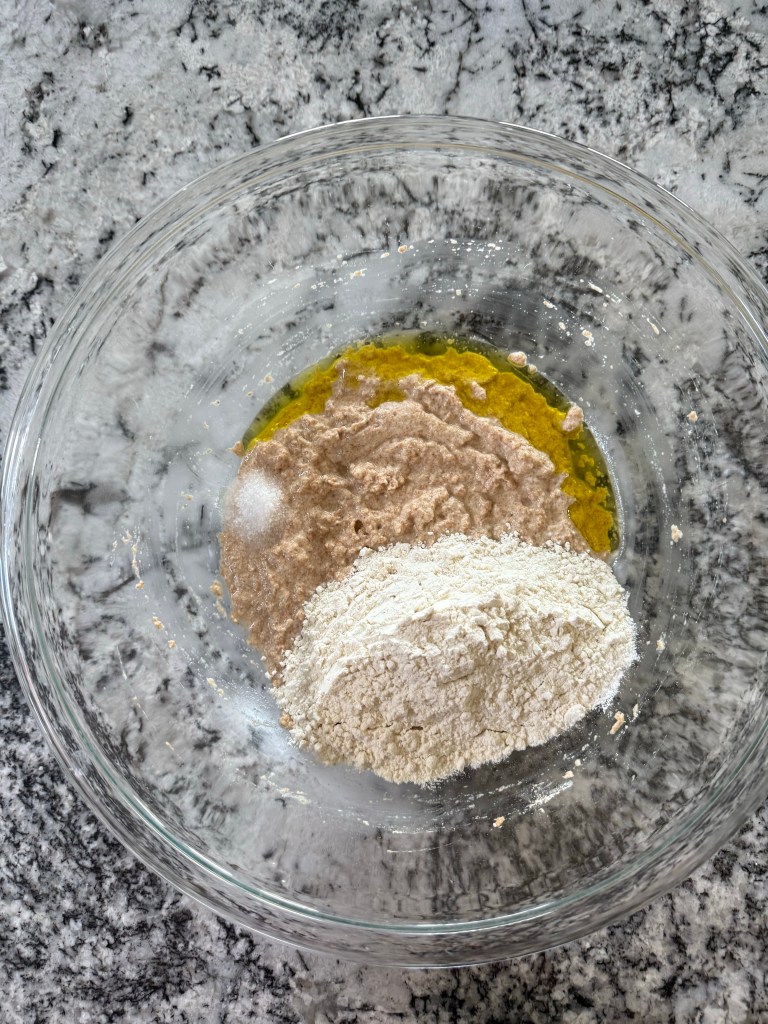
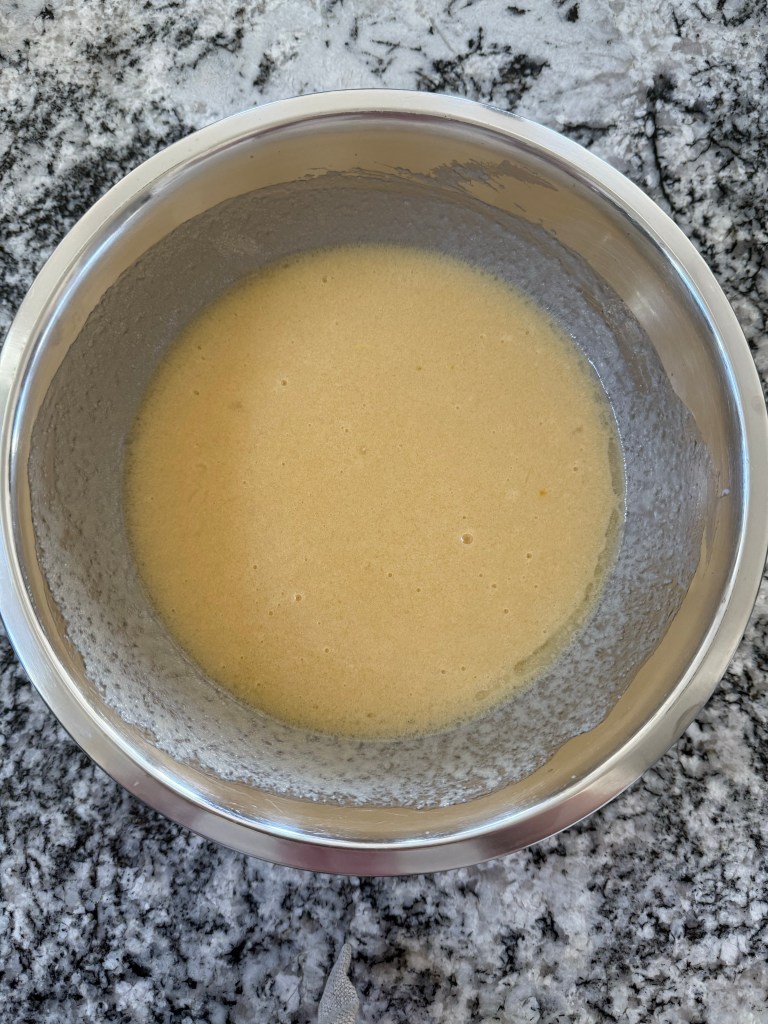
then the wet ingredients,

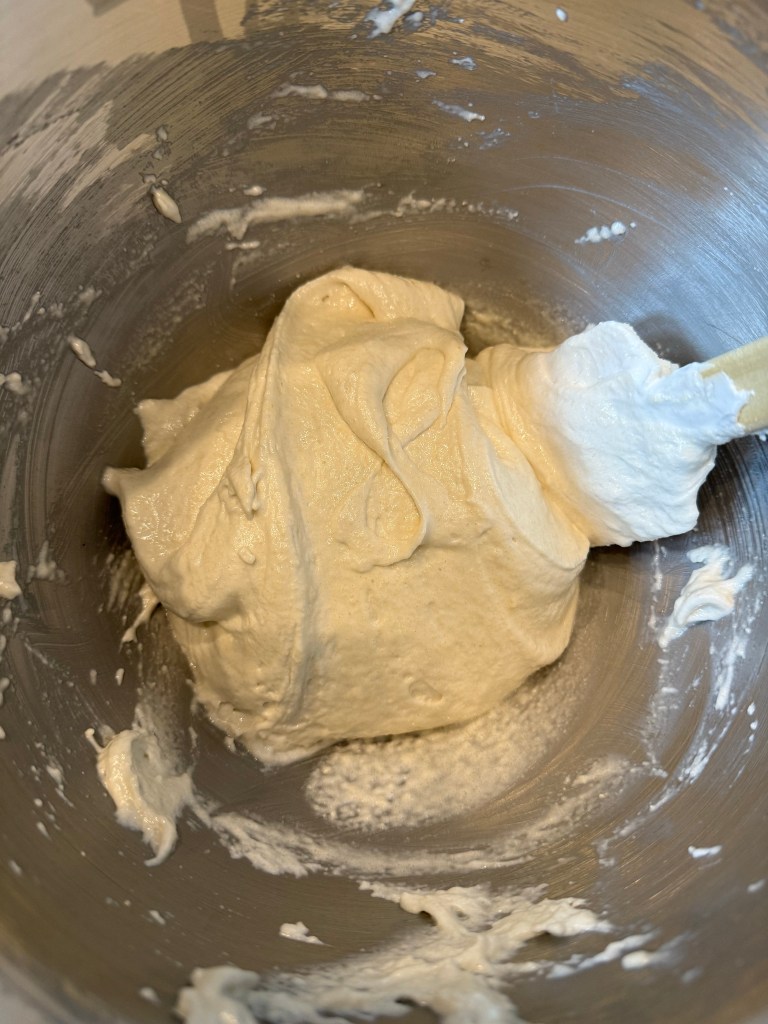
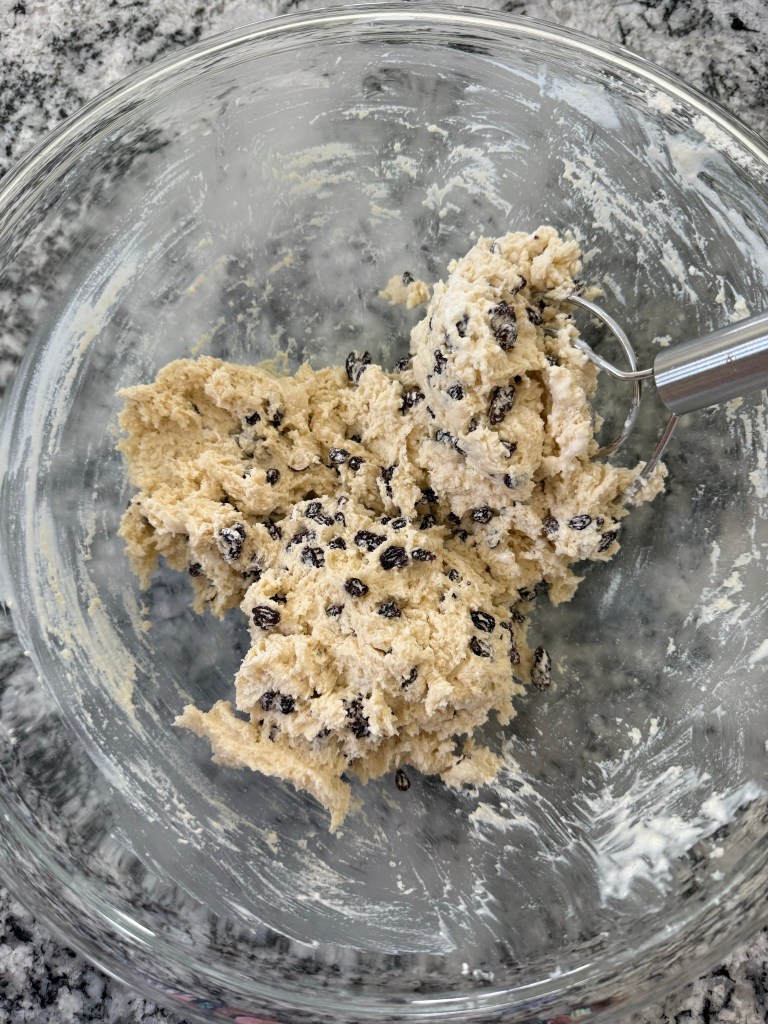
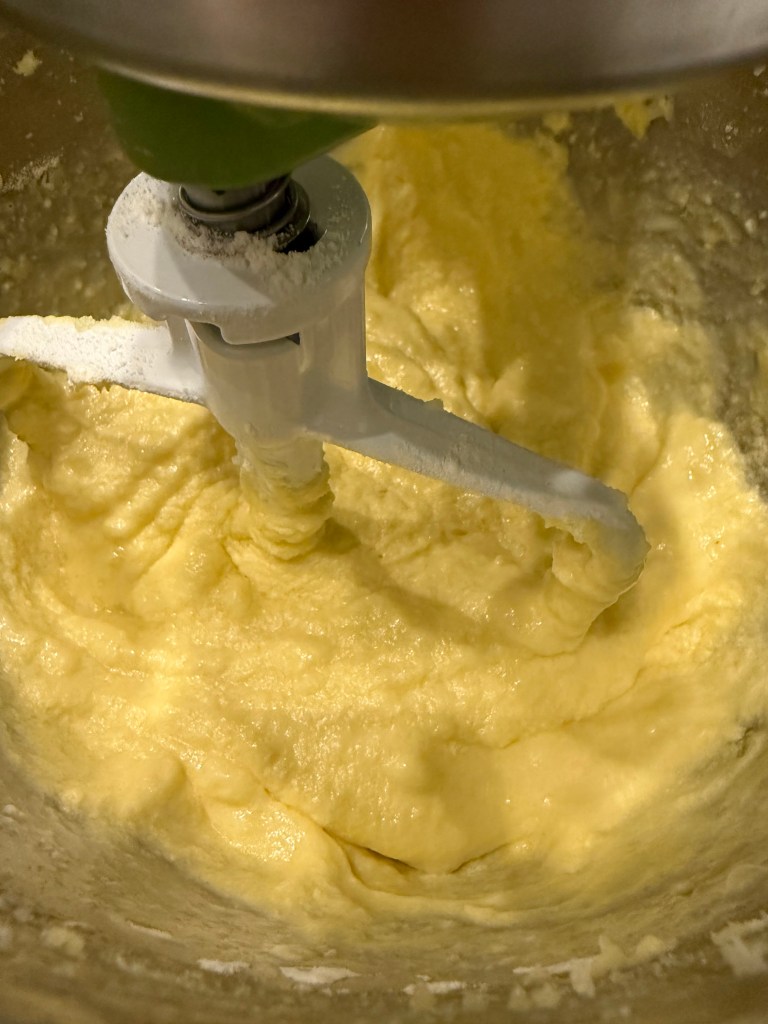
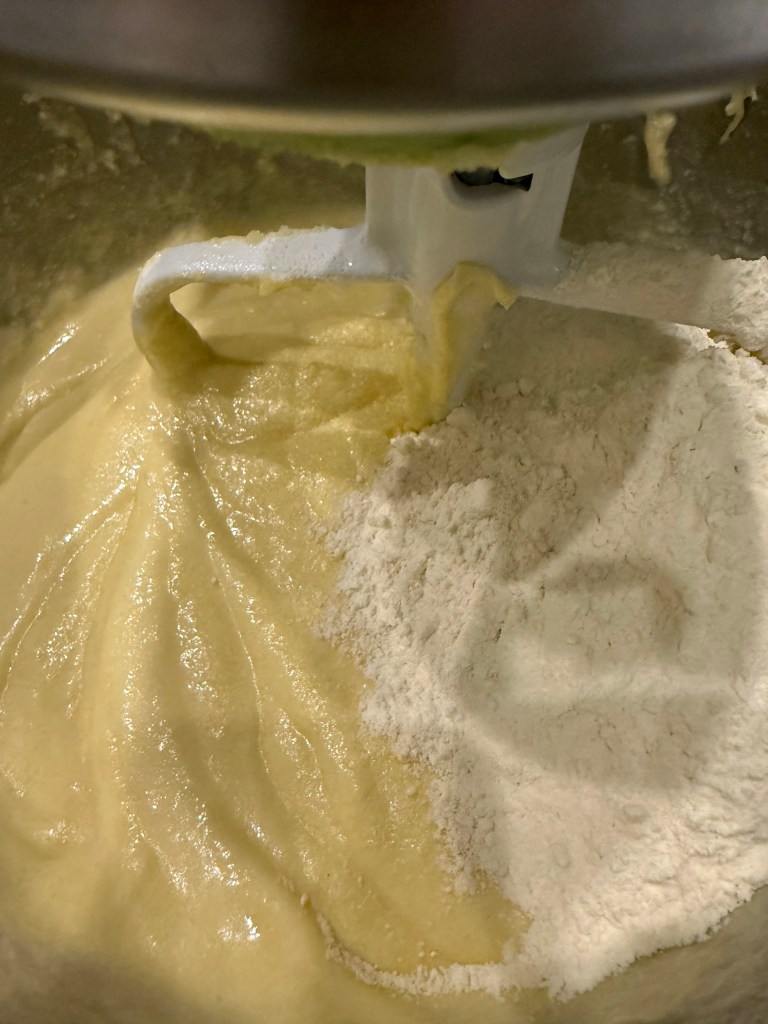
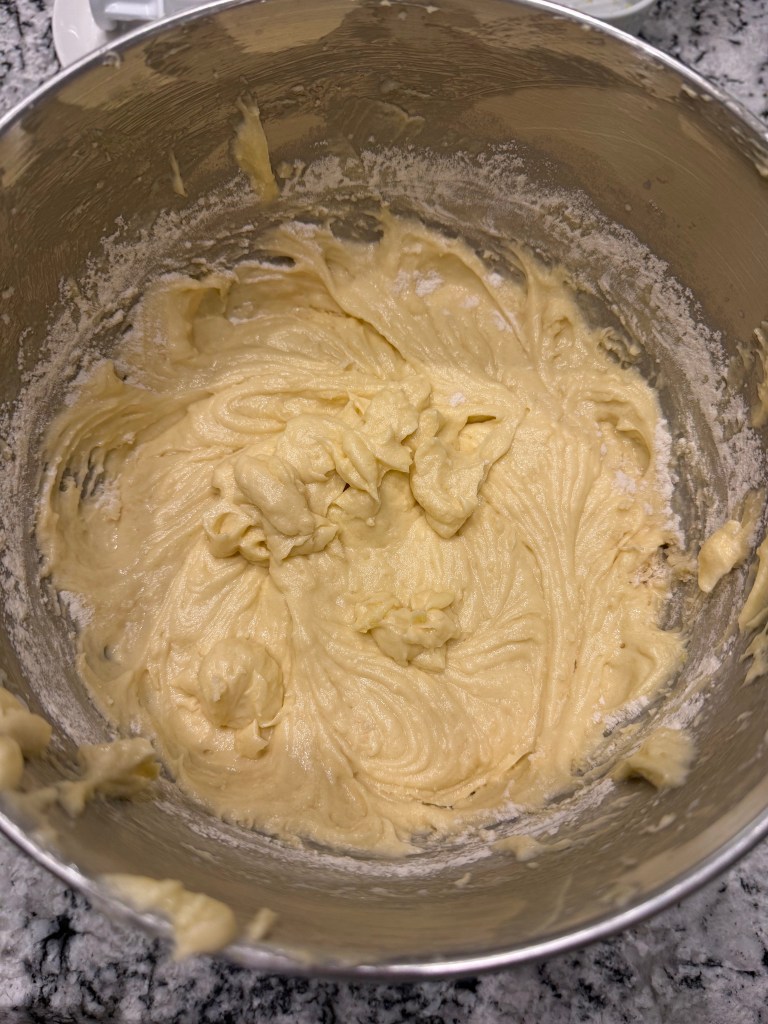
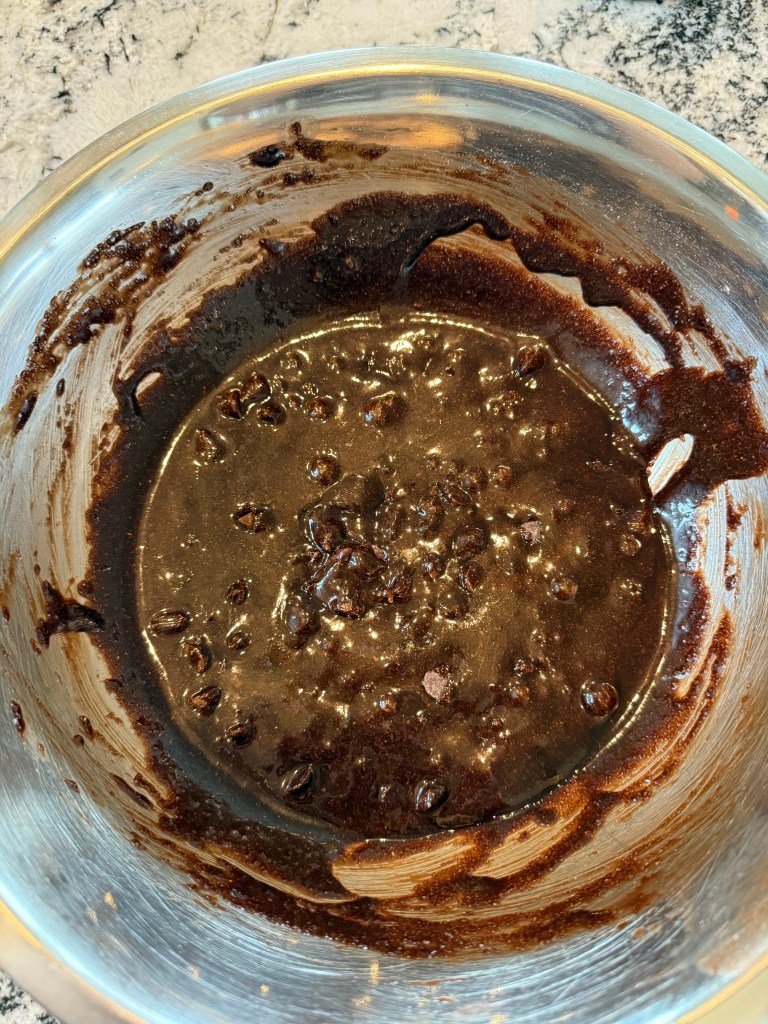
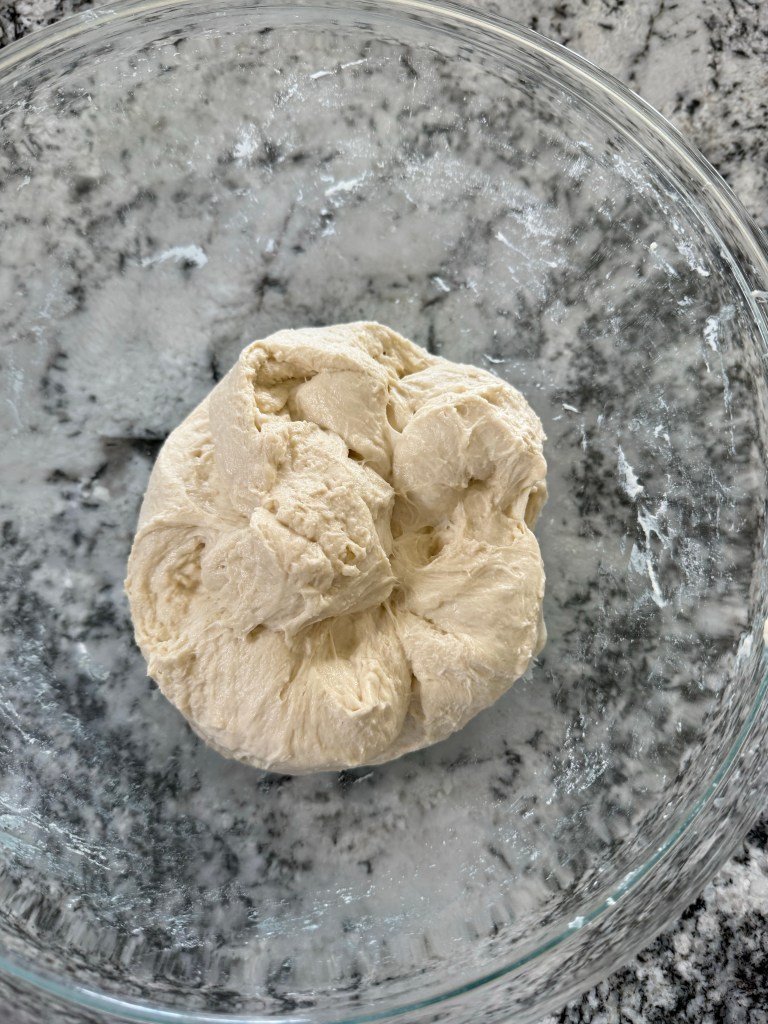
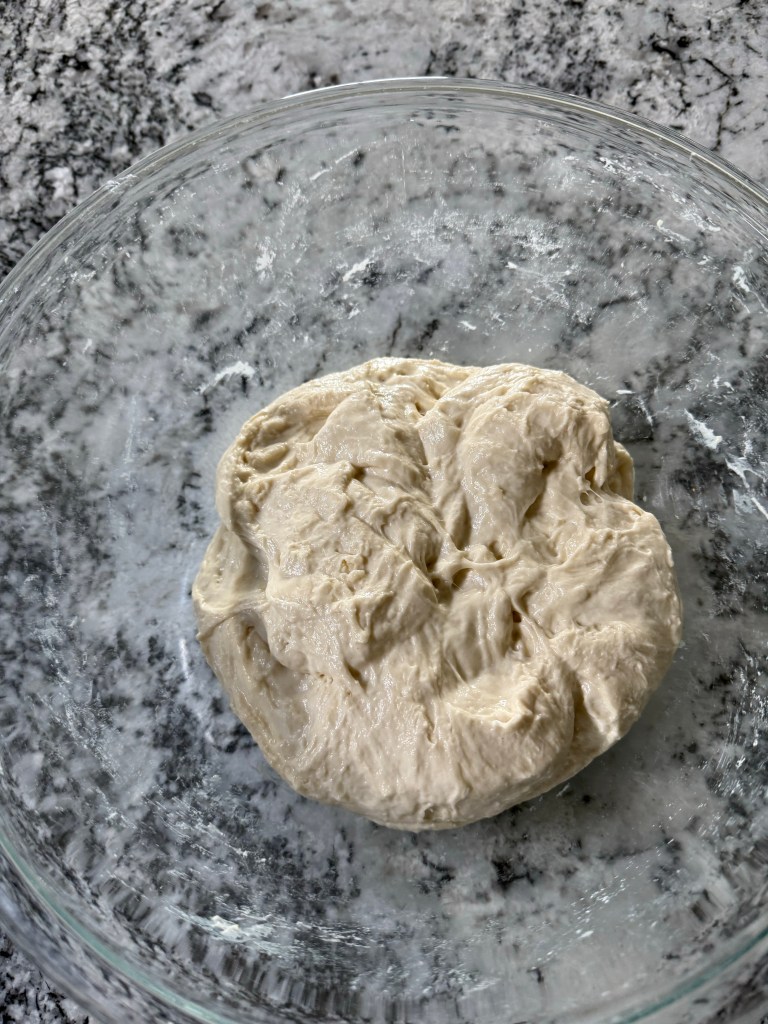
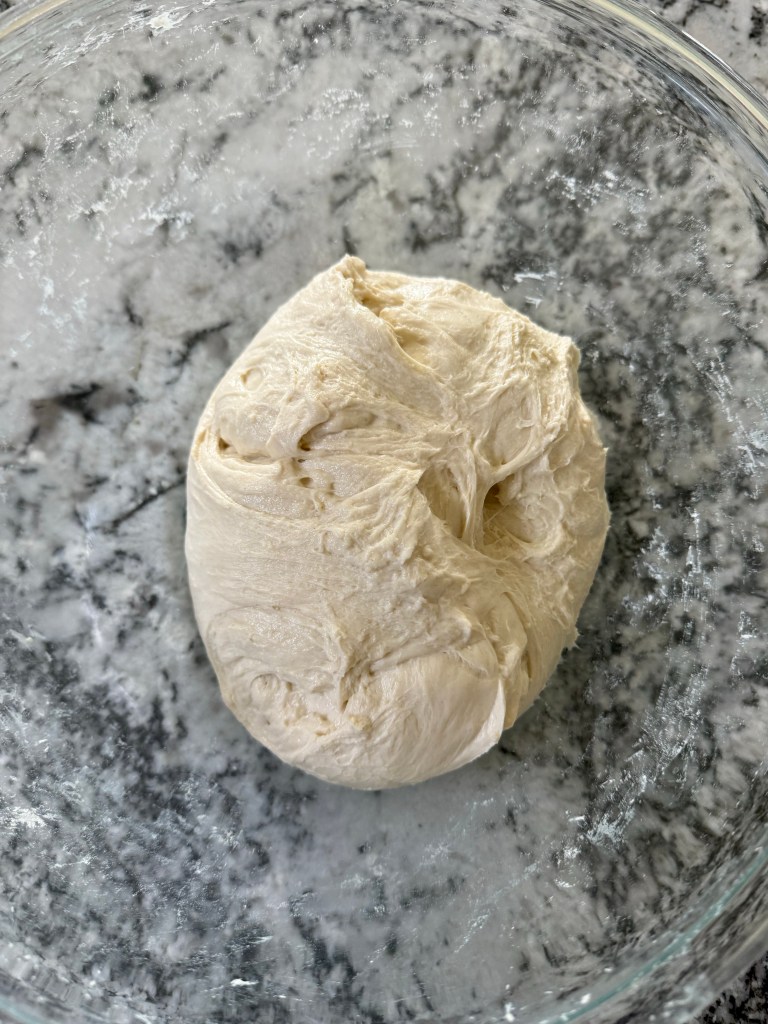
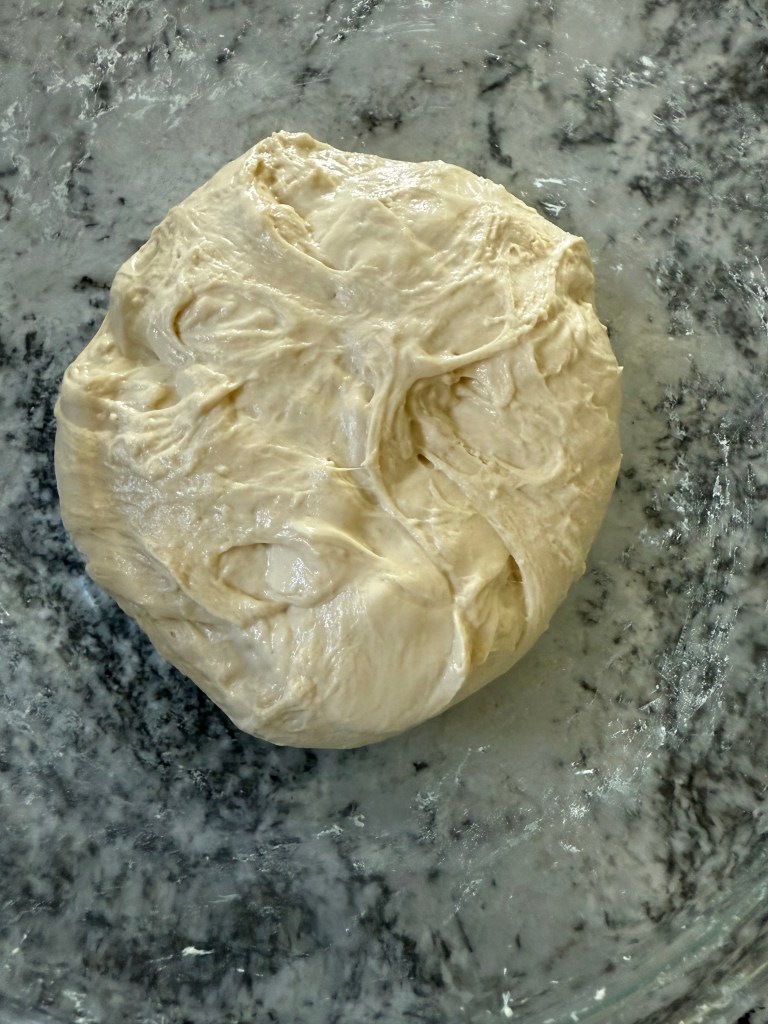
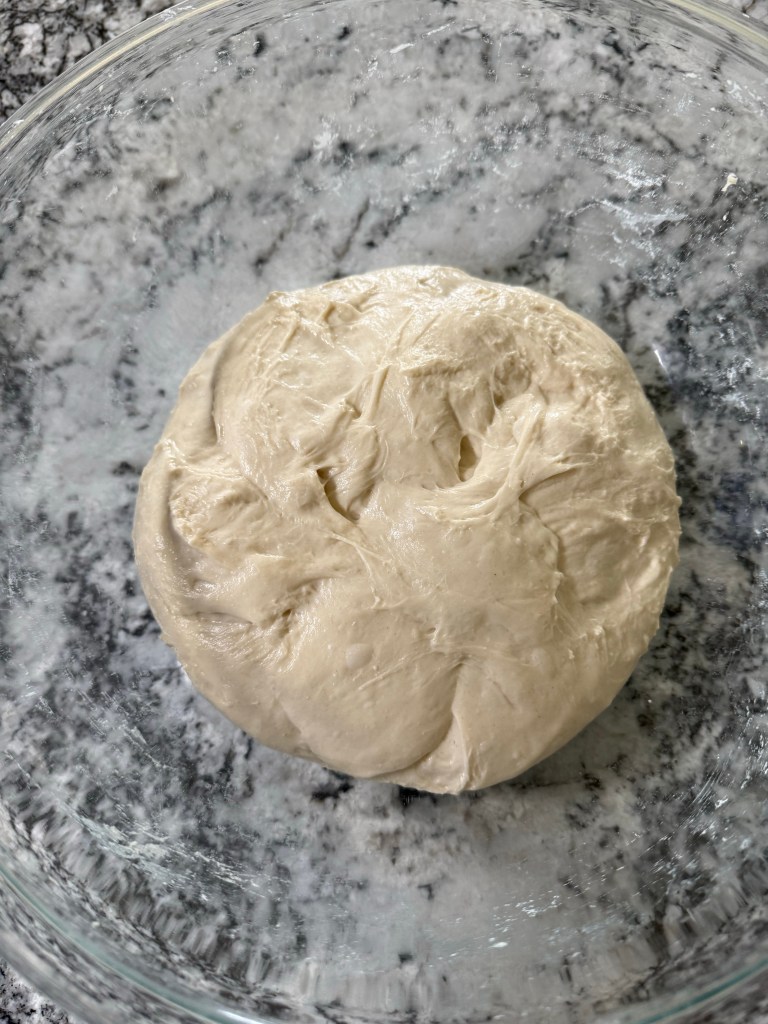
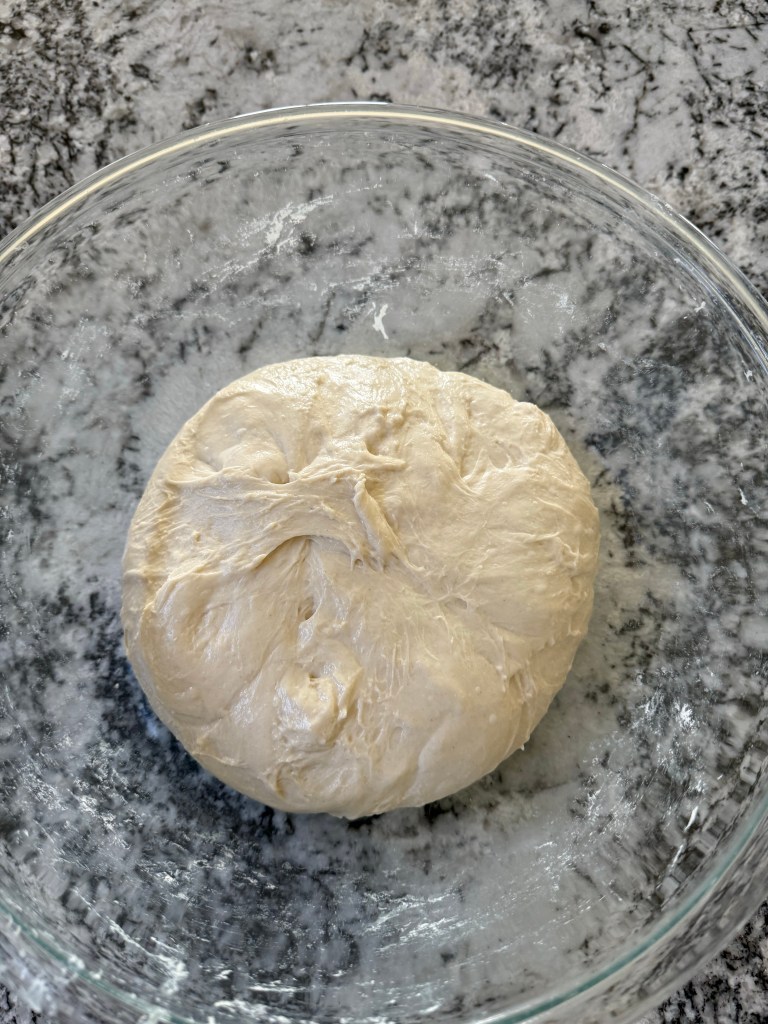
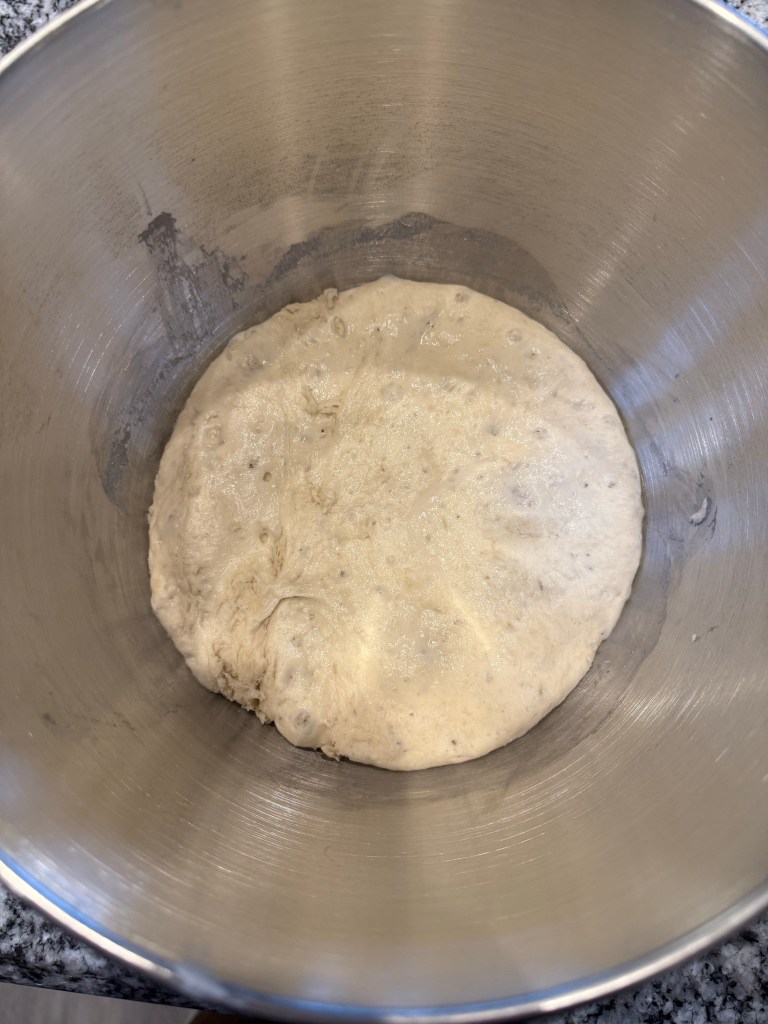
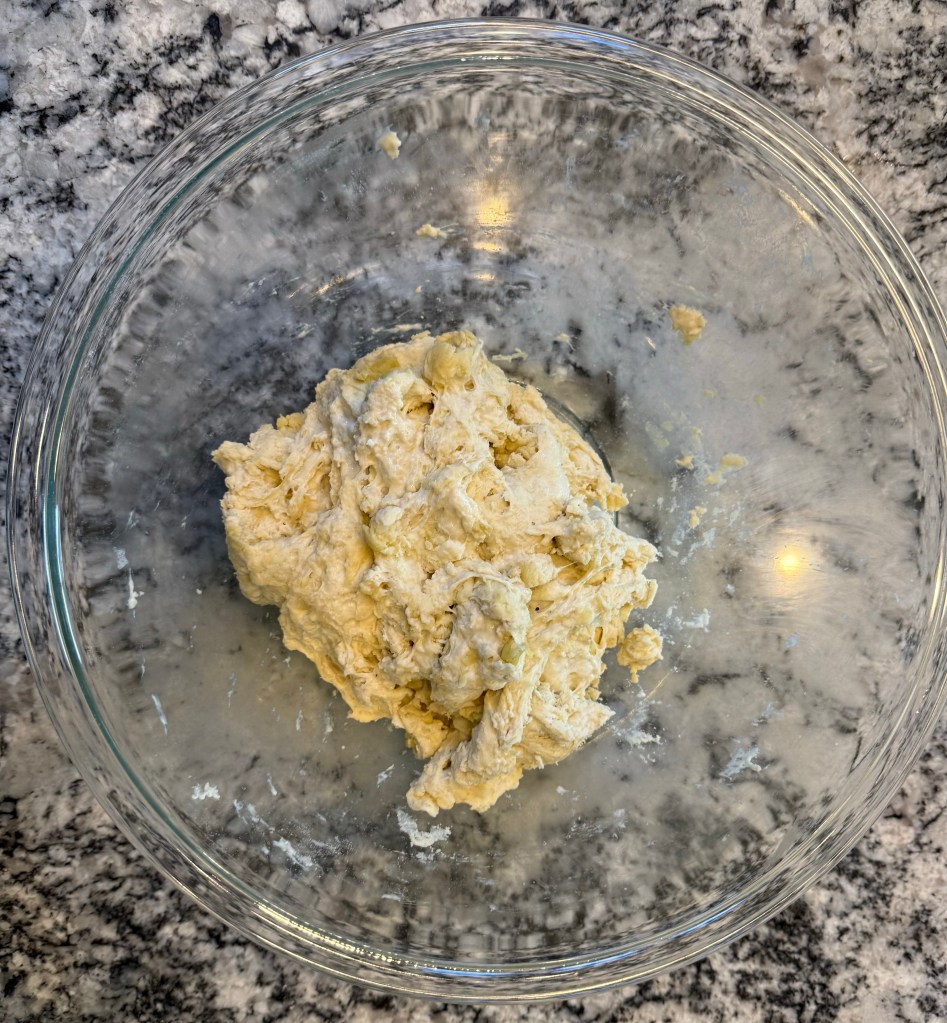
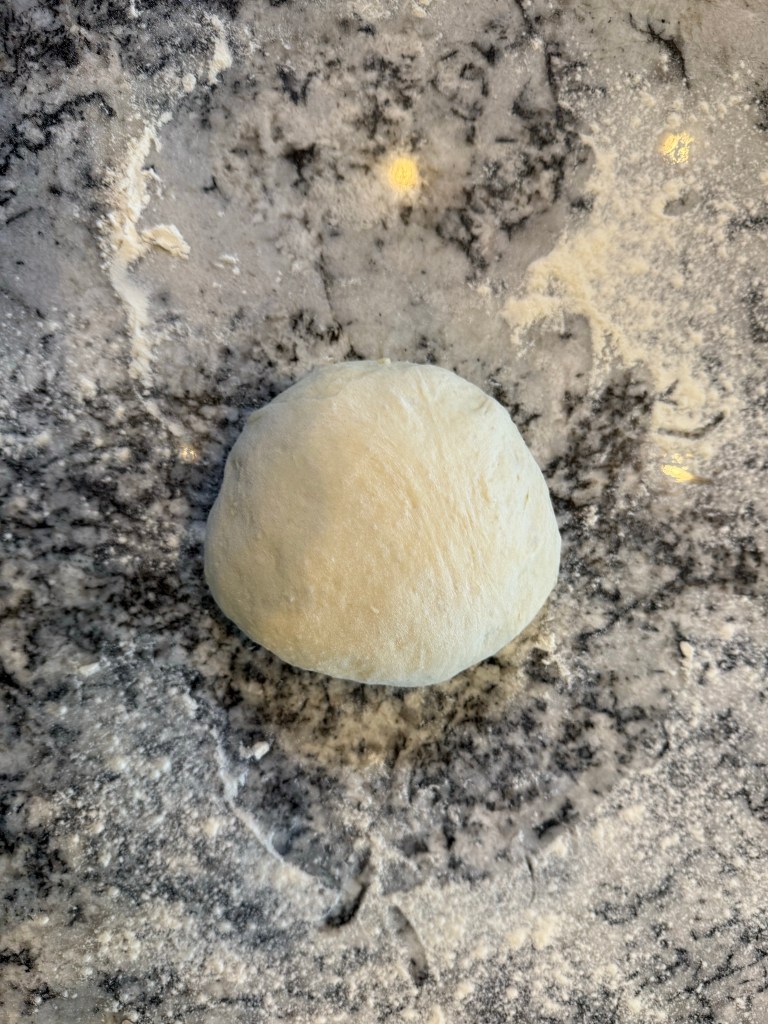
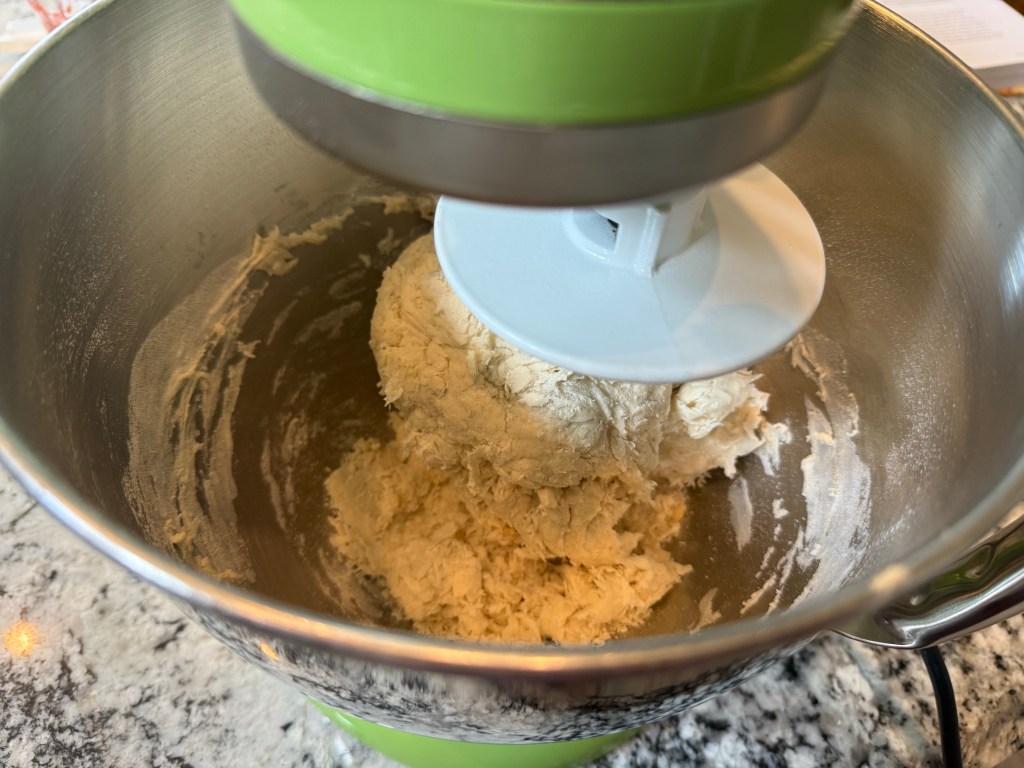
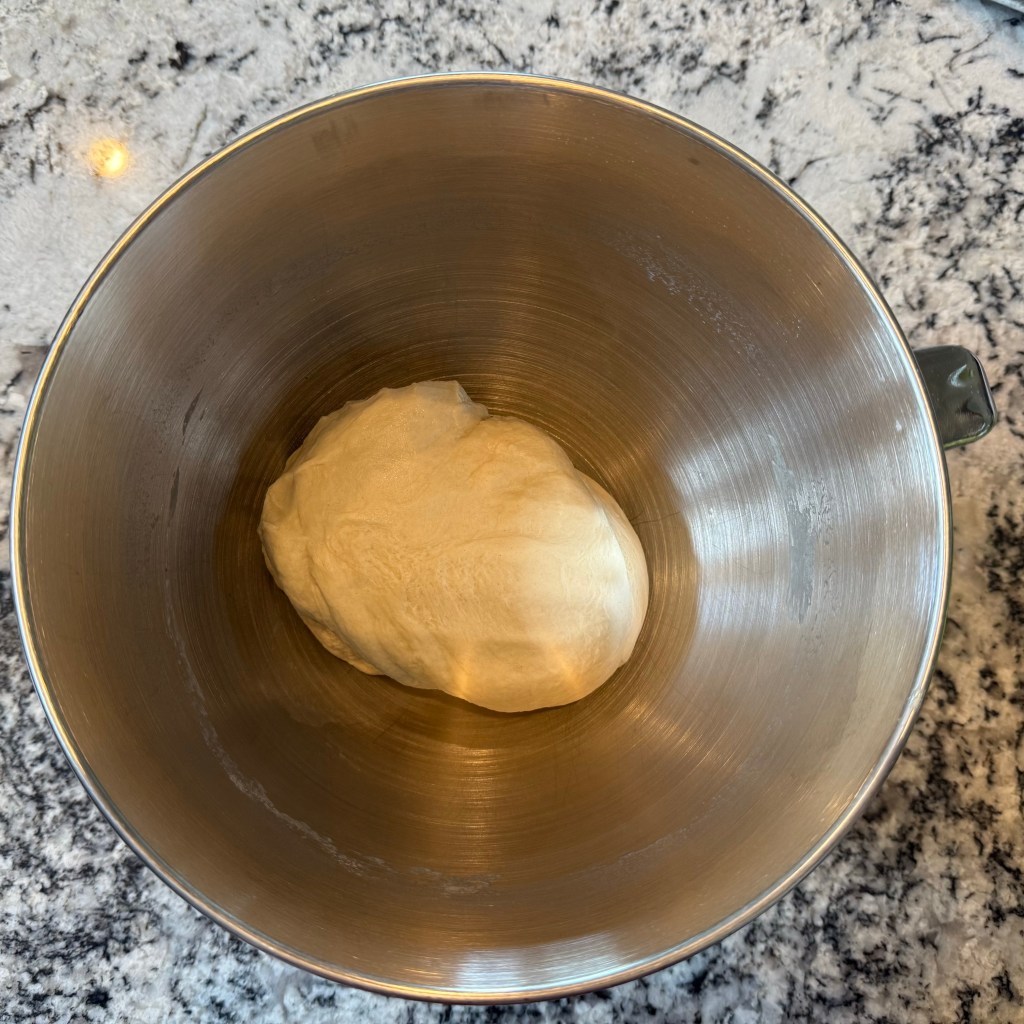
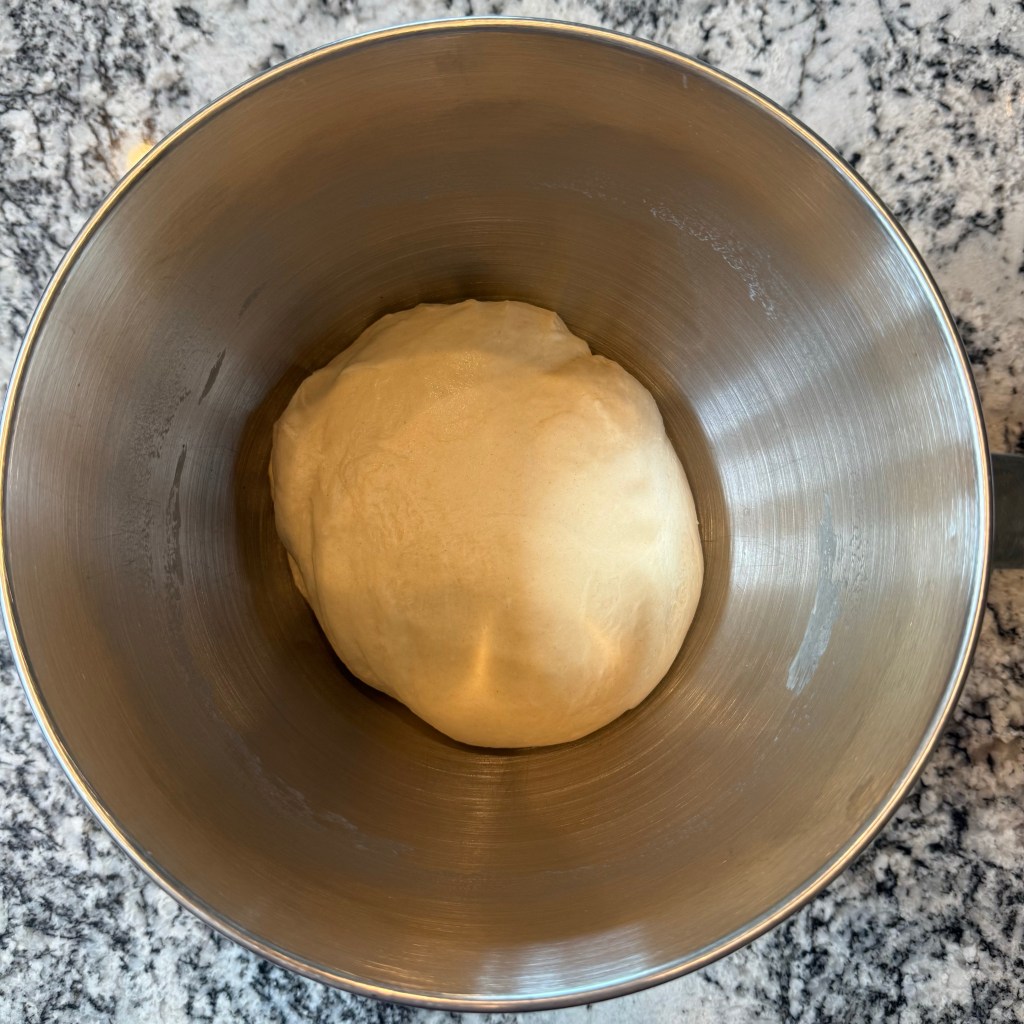
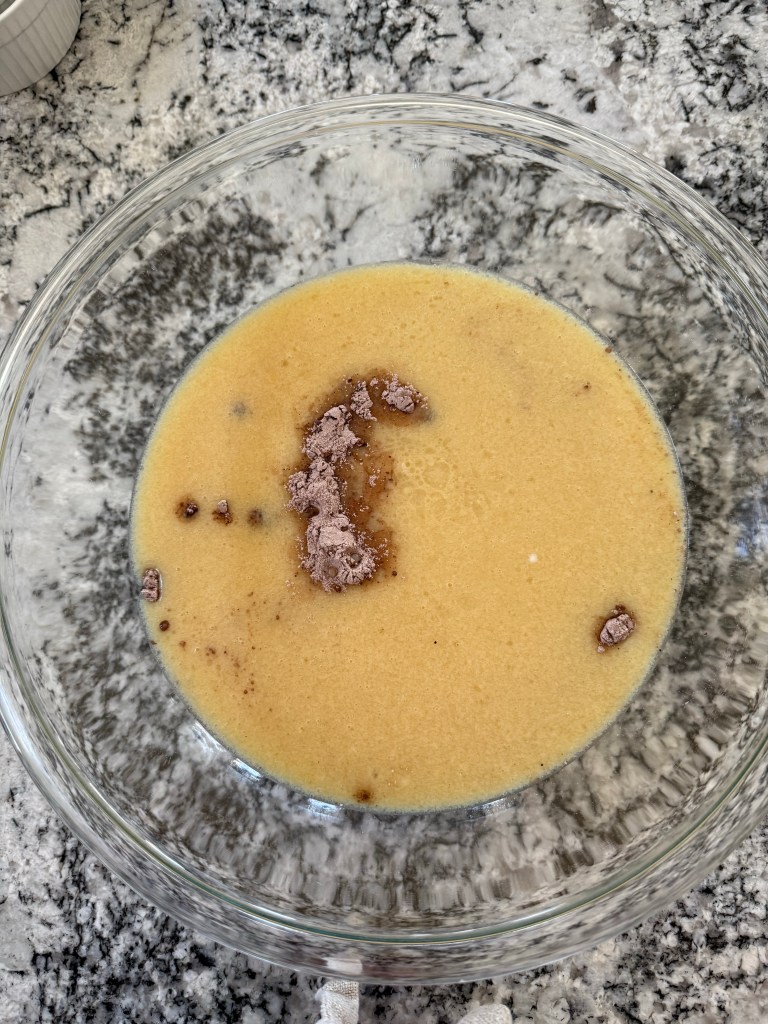
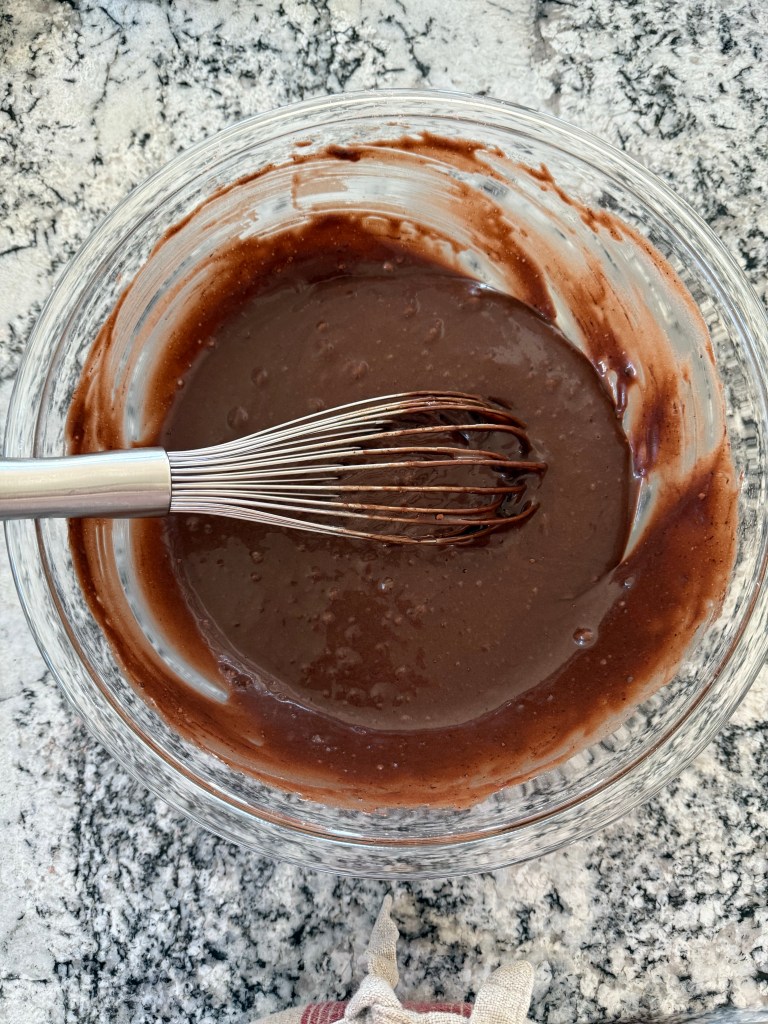
then combined the wet and dry mixtures. That’s all you do for this batter. It’s so easy.
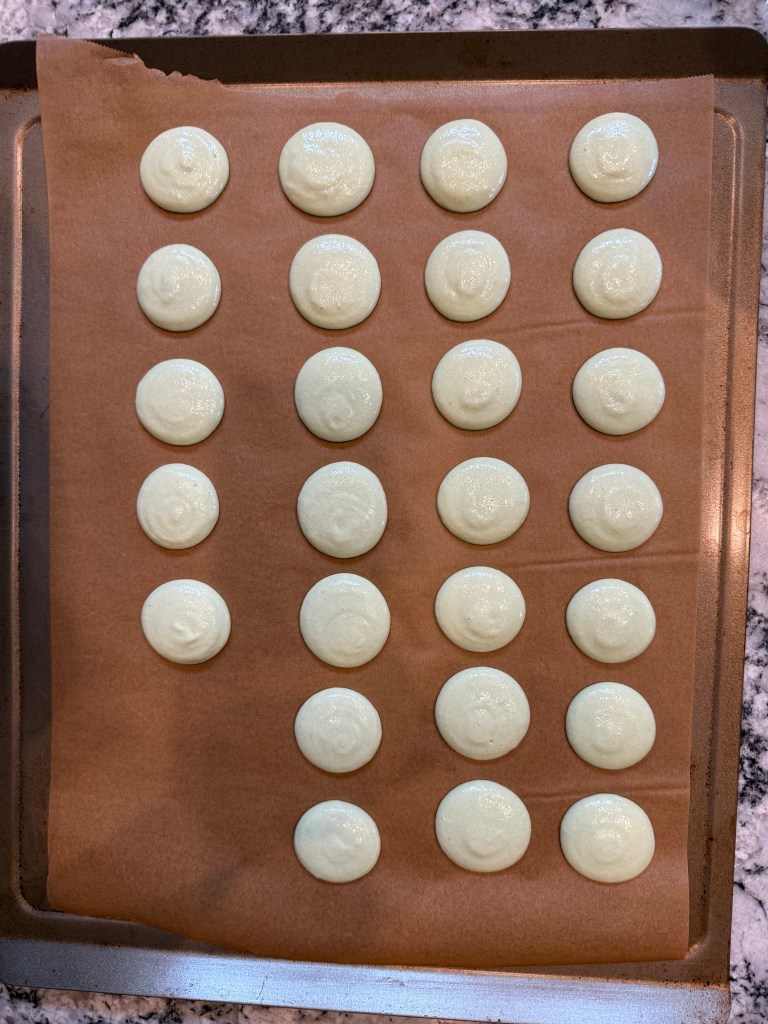
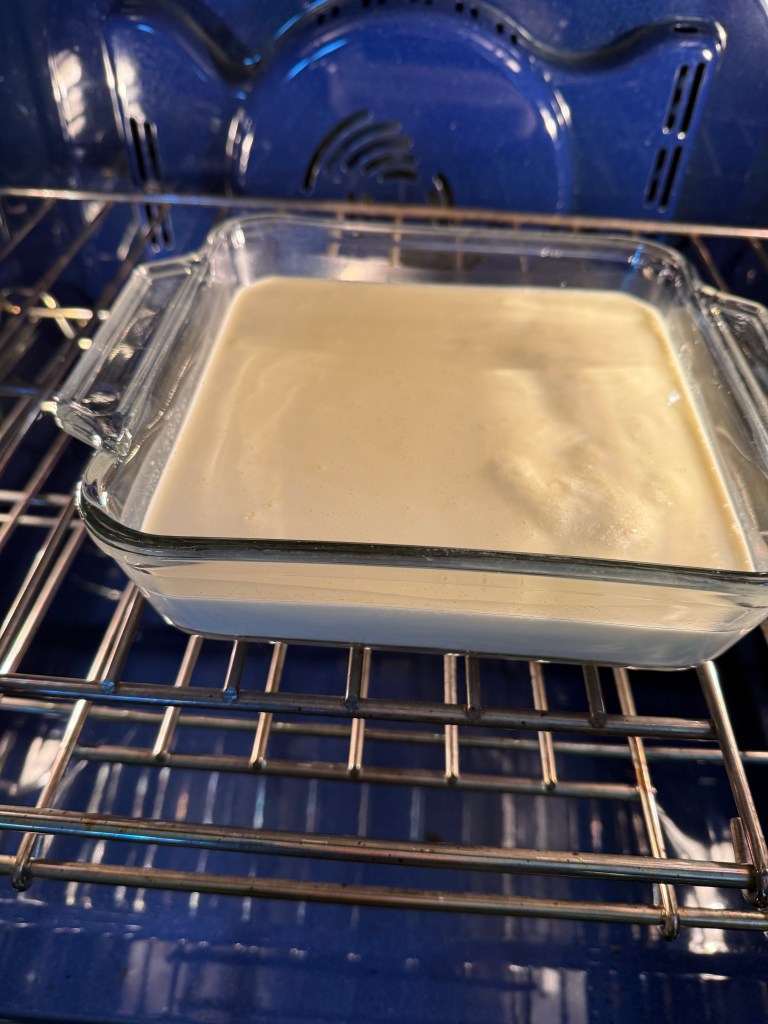
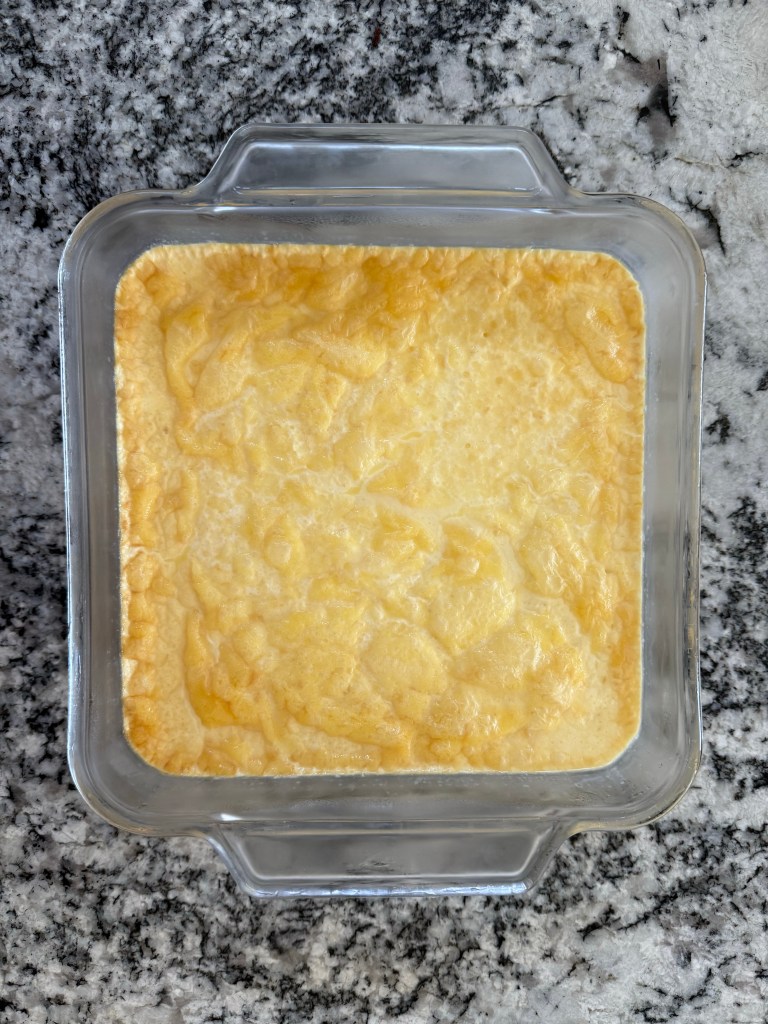
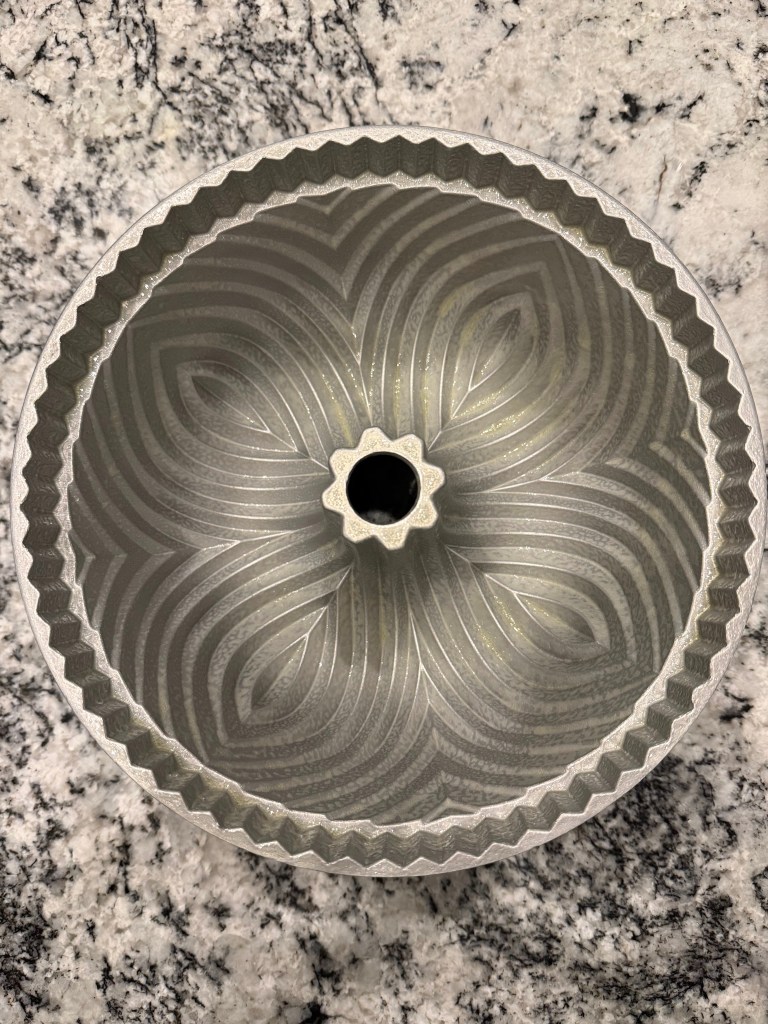
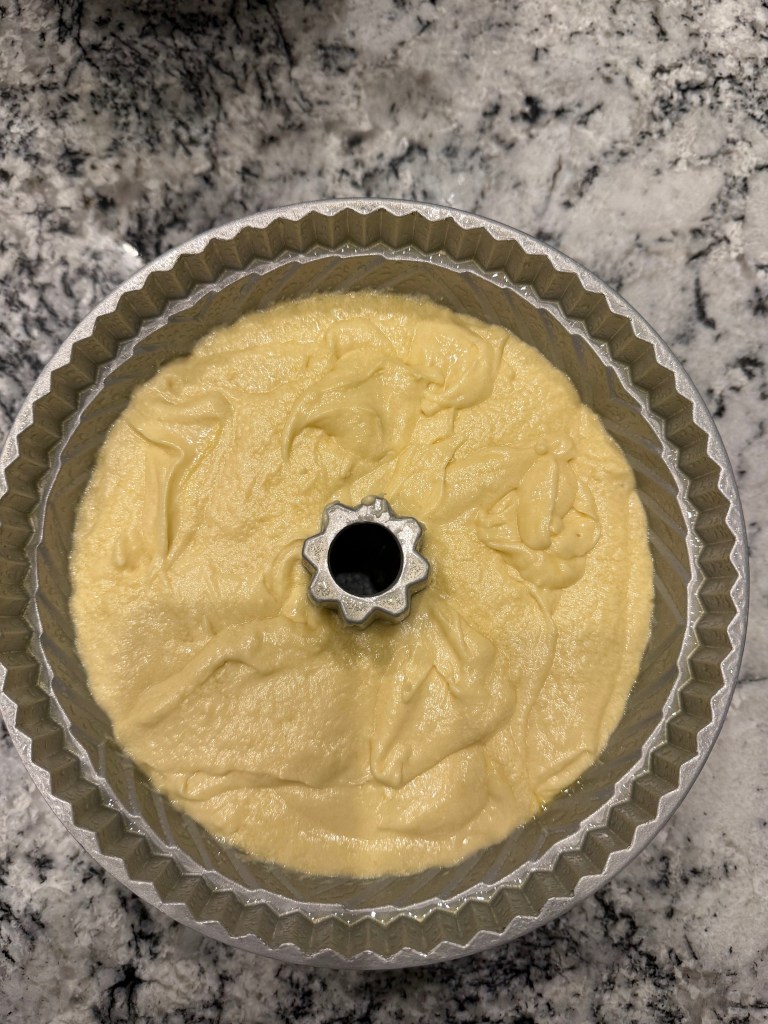
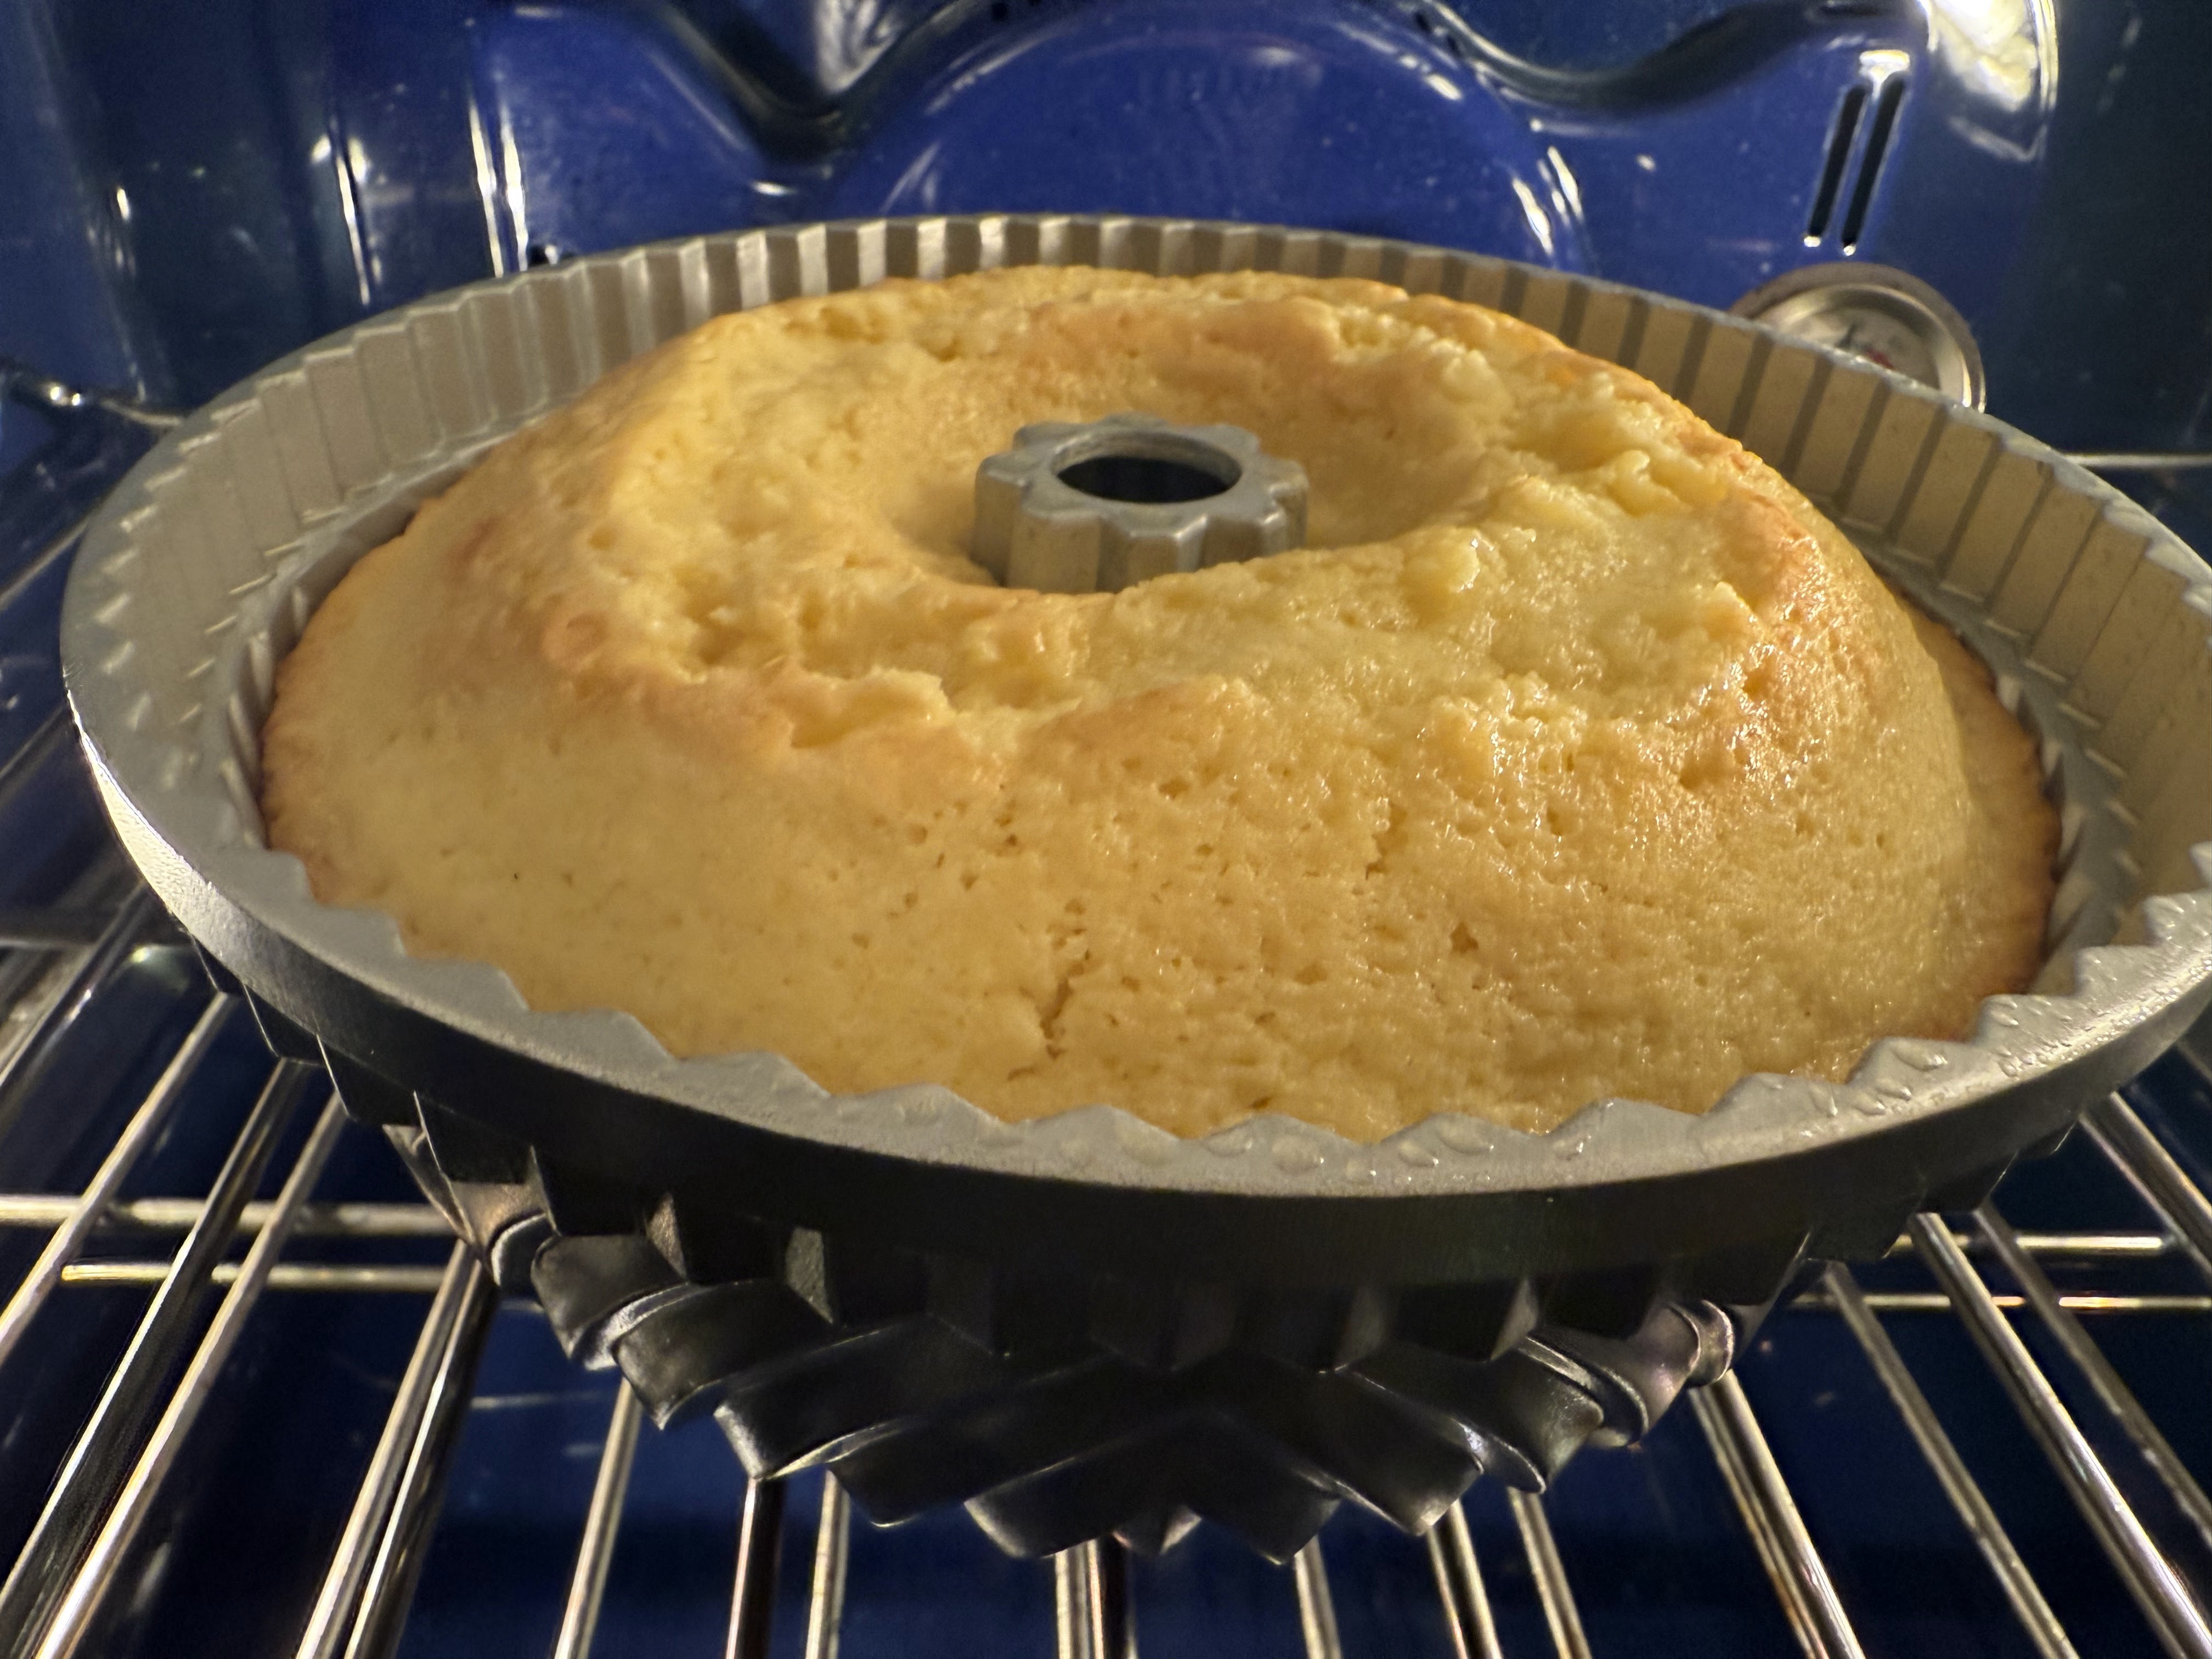
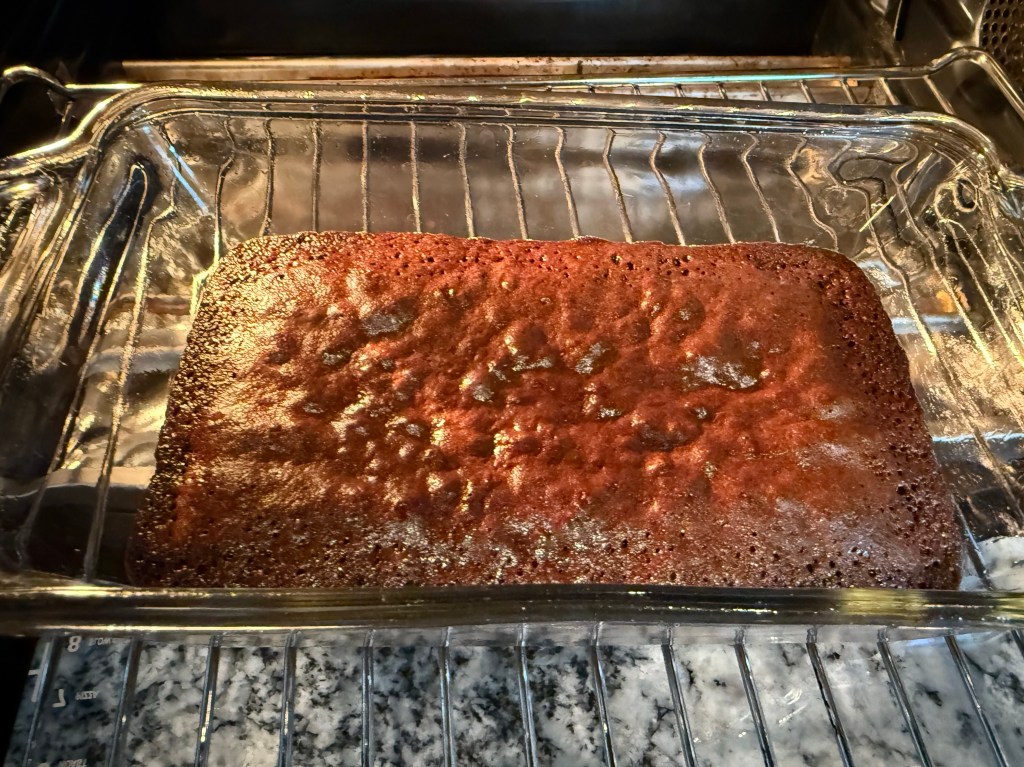
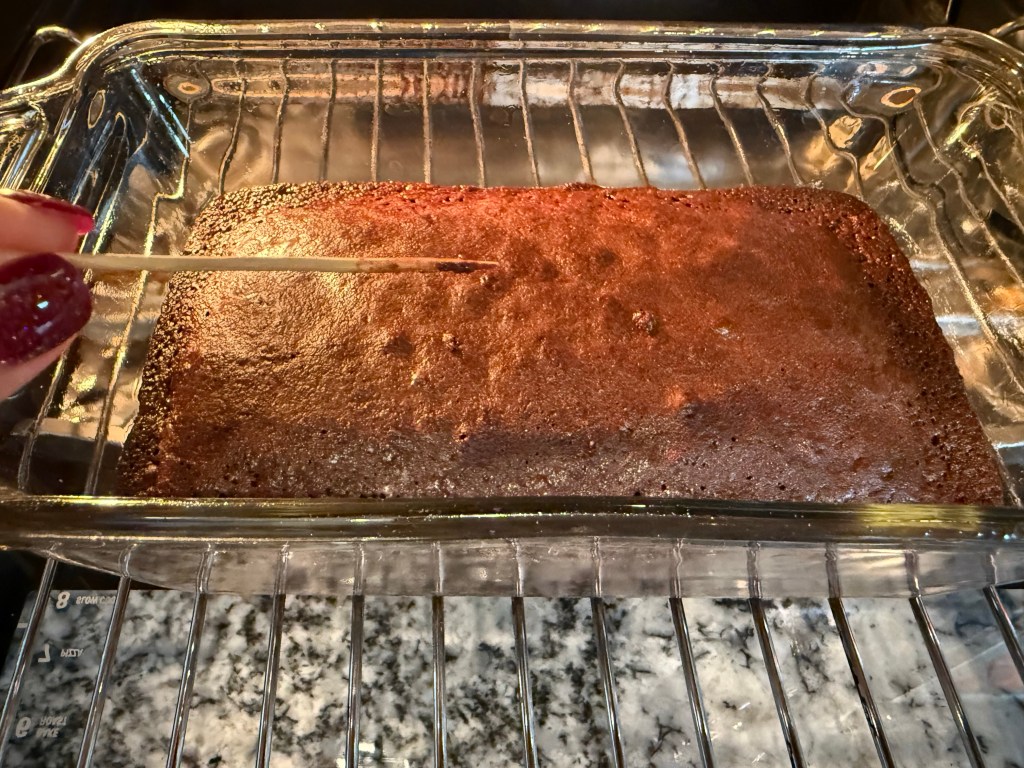
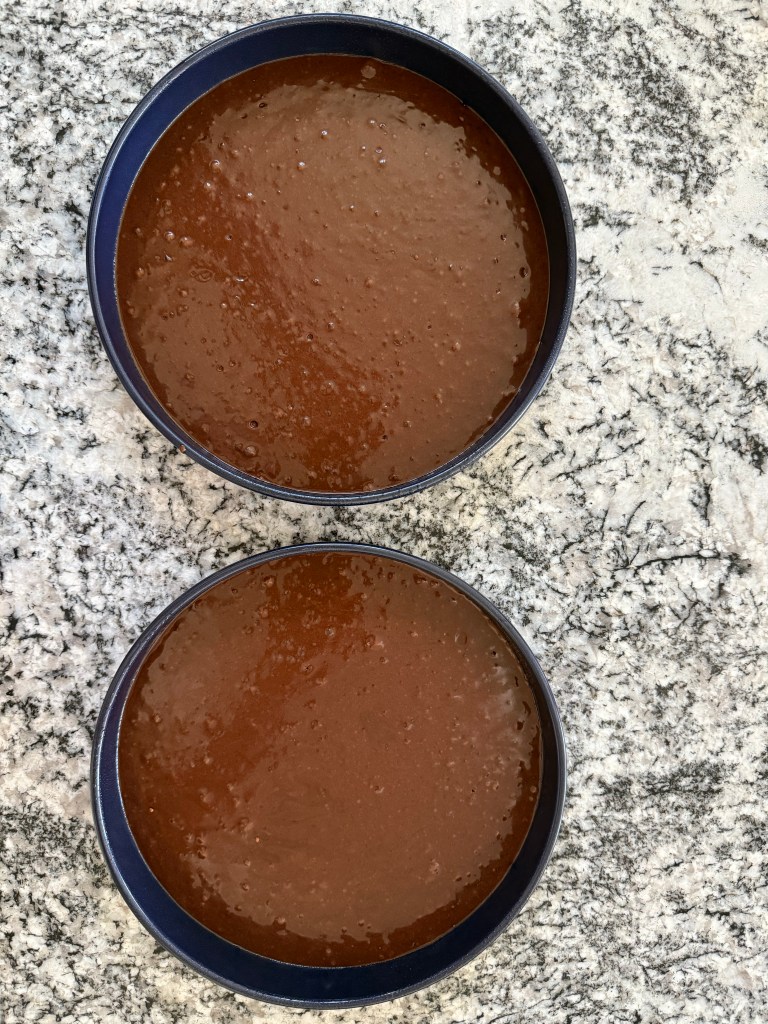
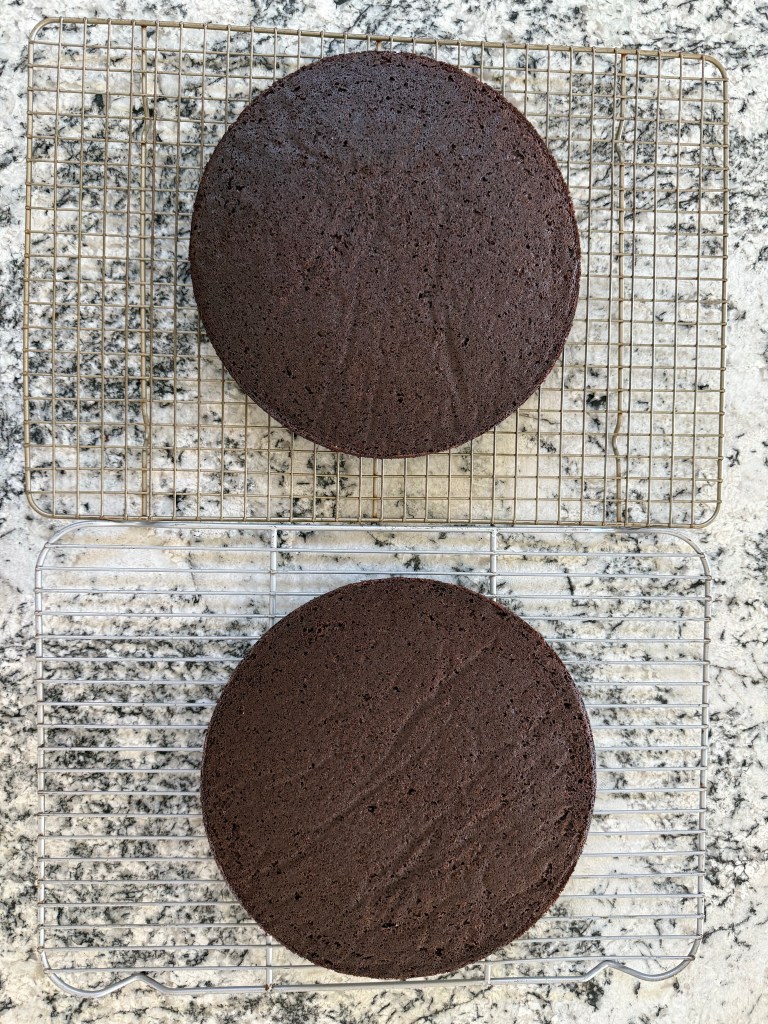
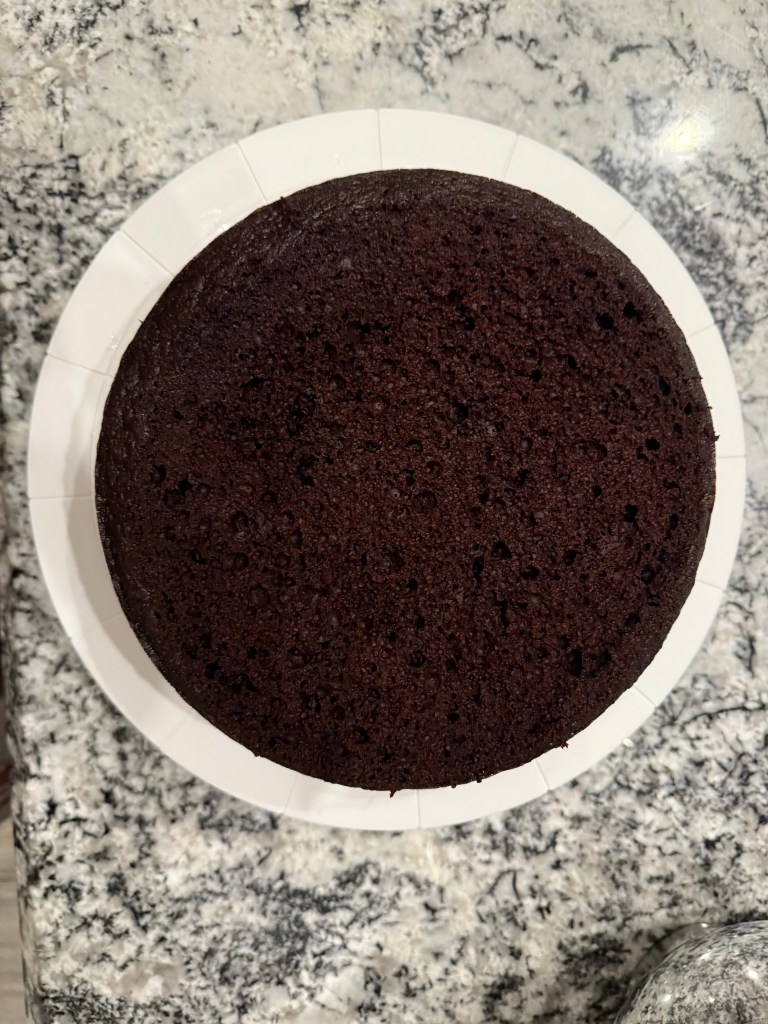
I divided the batter into 2 cake pans and baked them, then let them cool completely at room temperature.

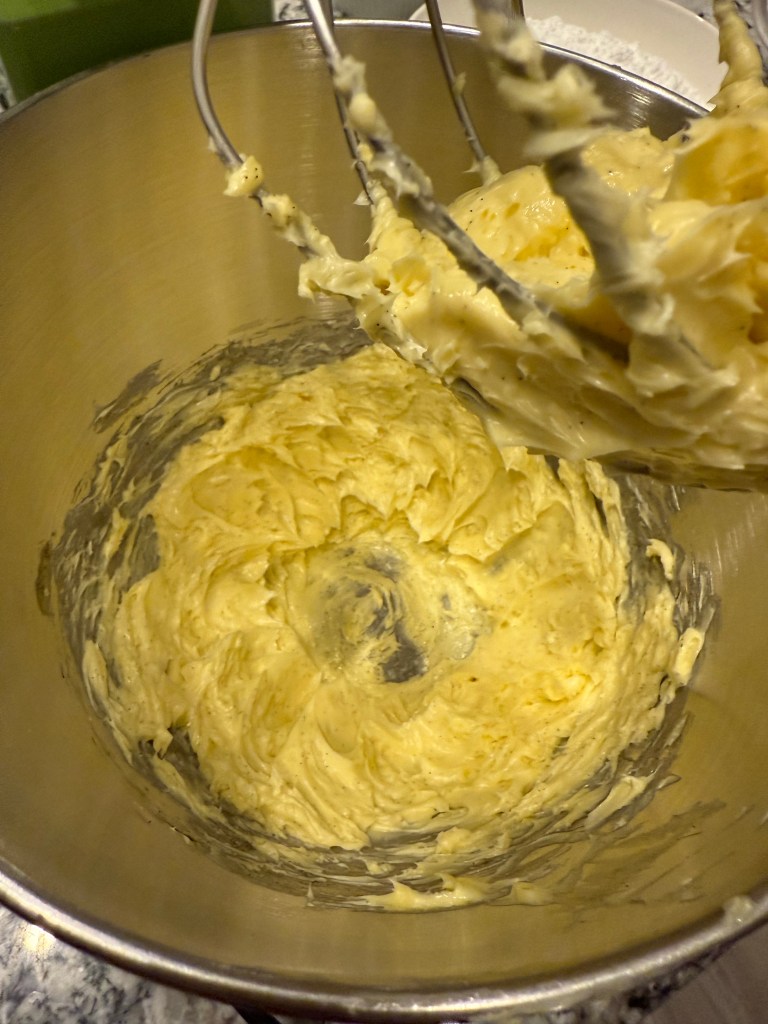
While the cake cooled I made the frosting.

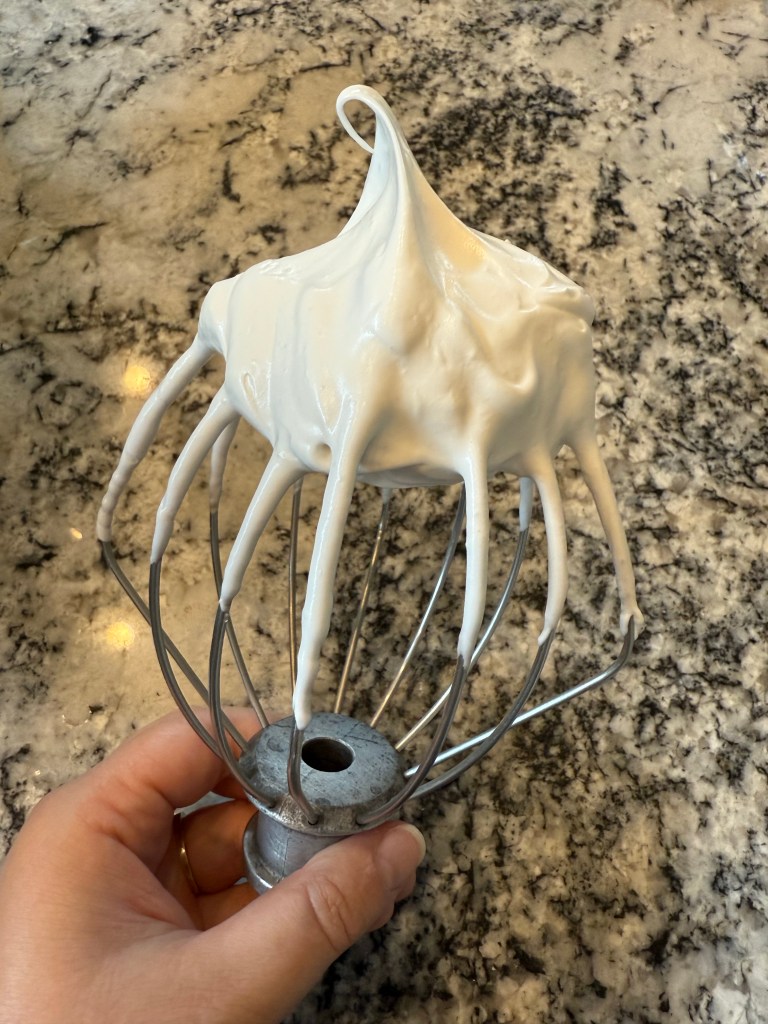
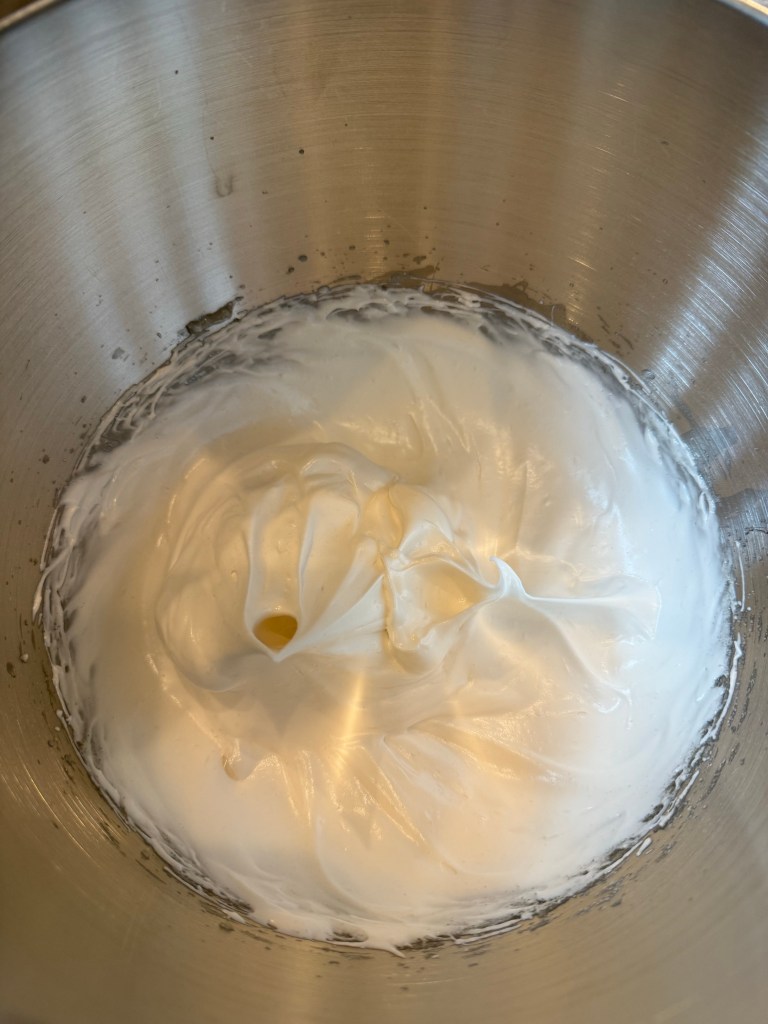
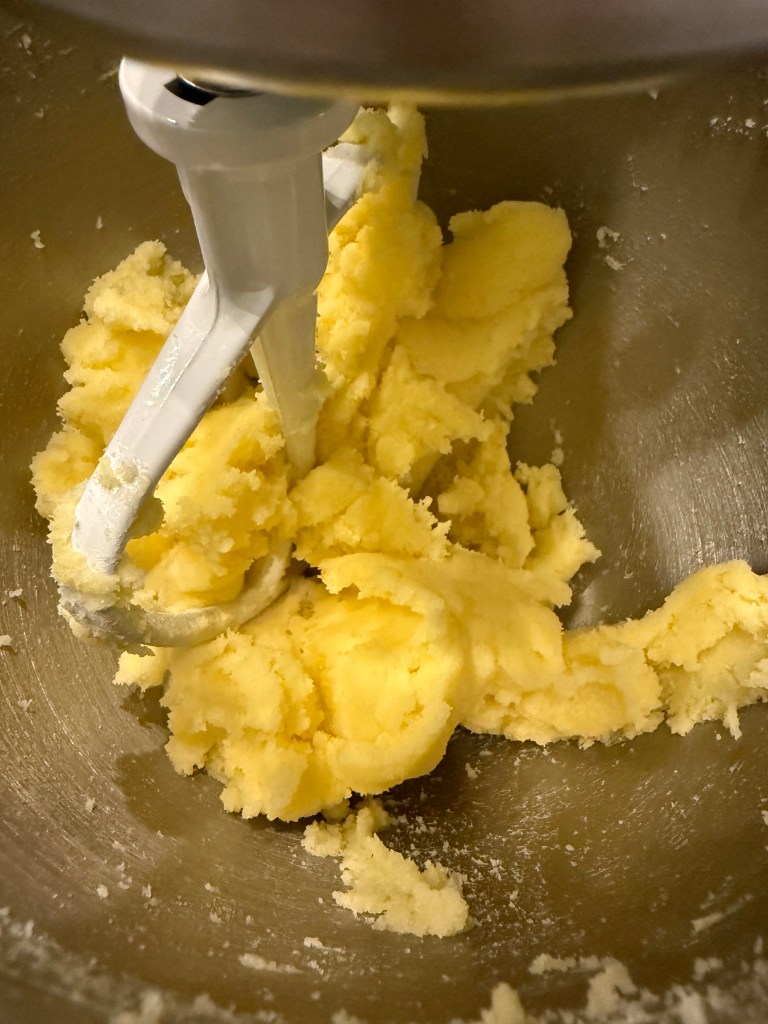
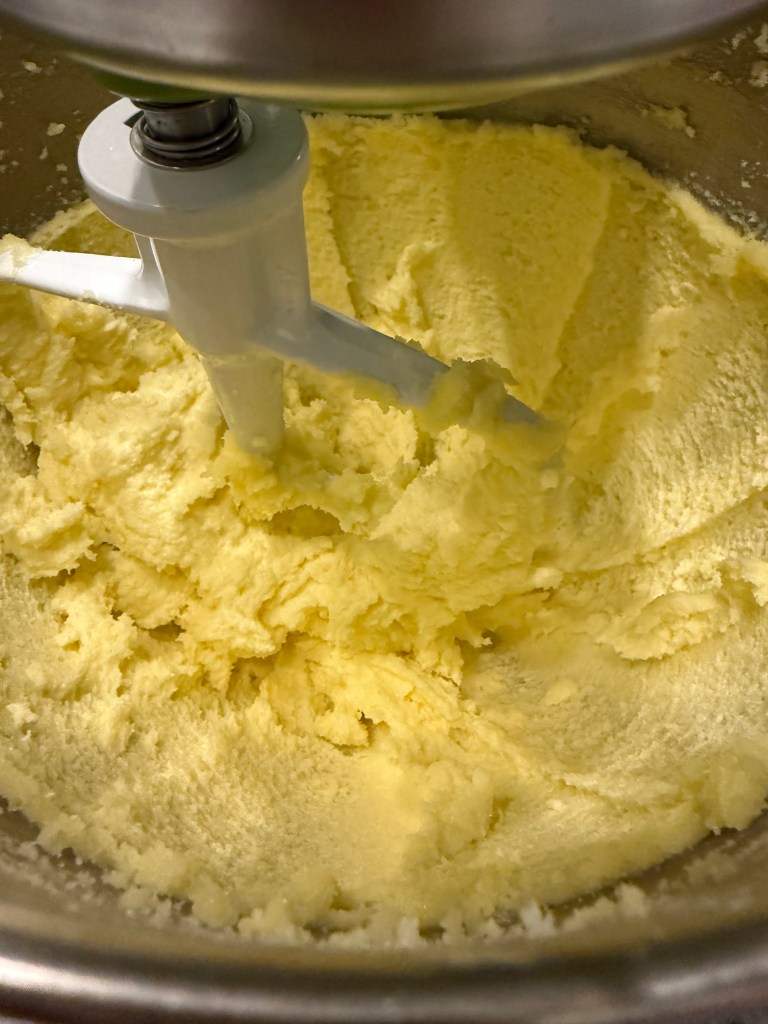
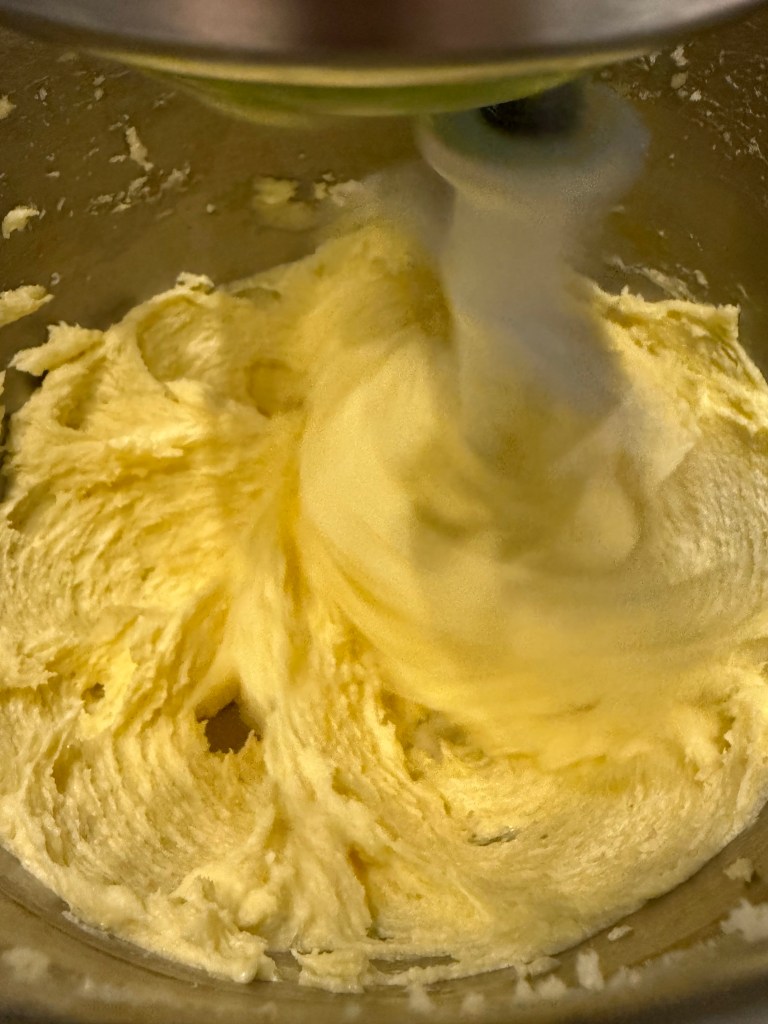
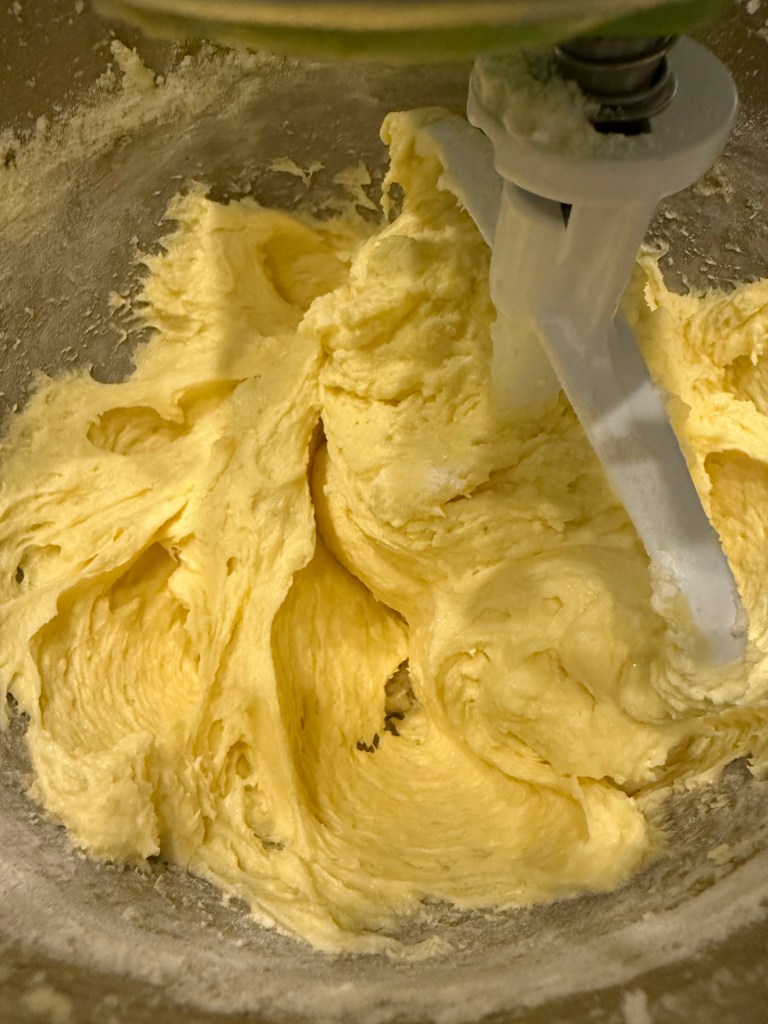
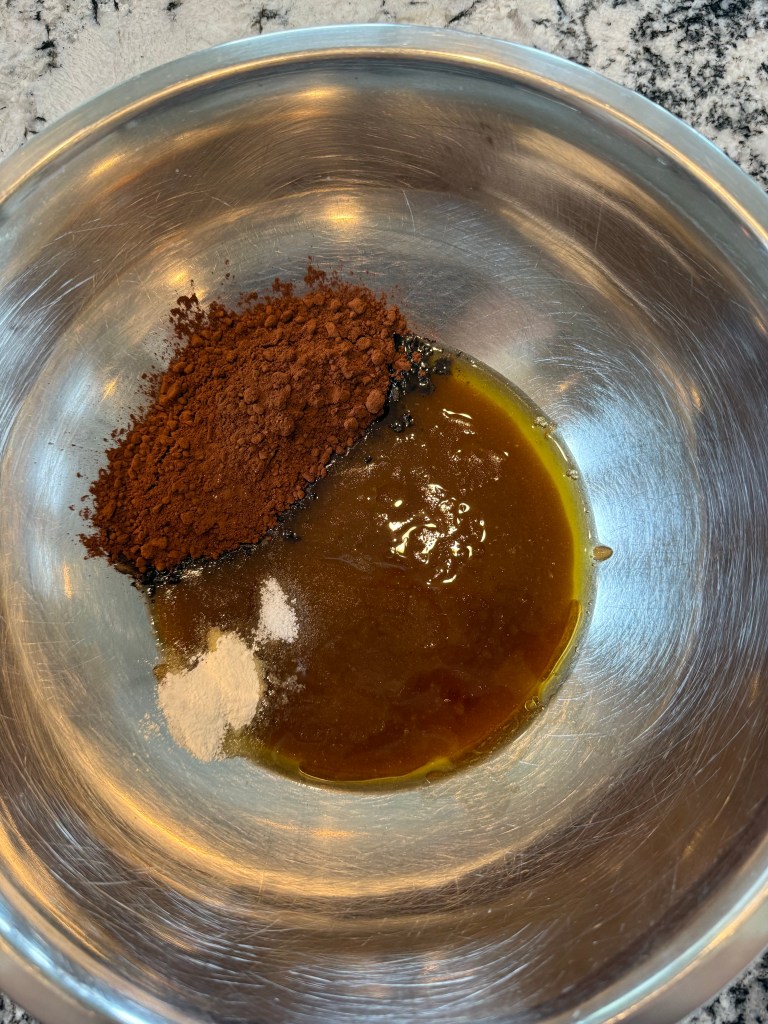
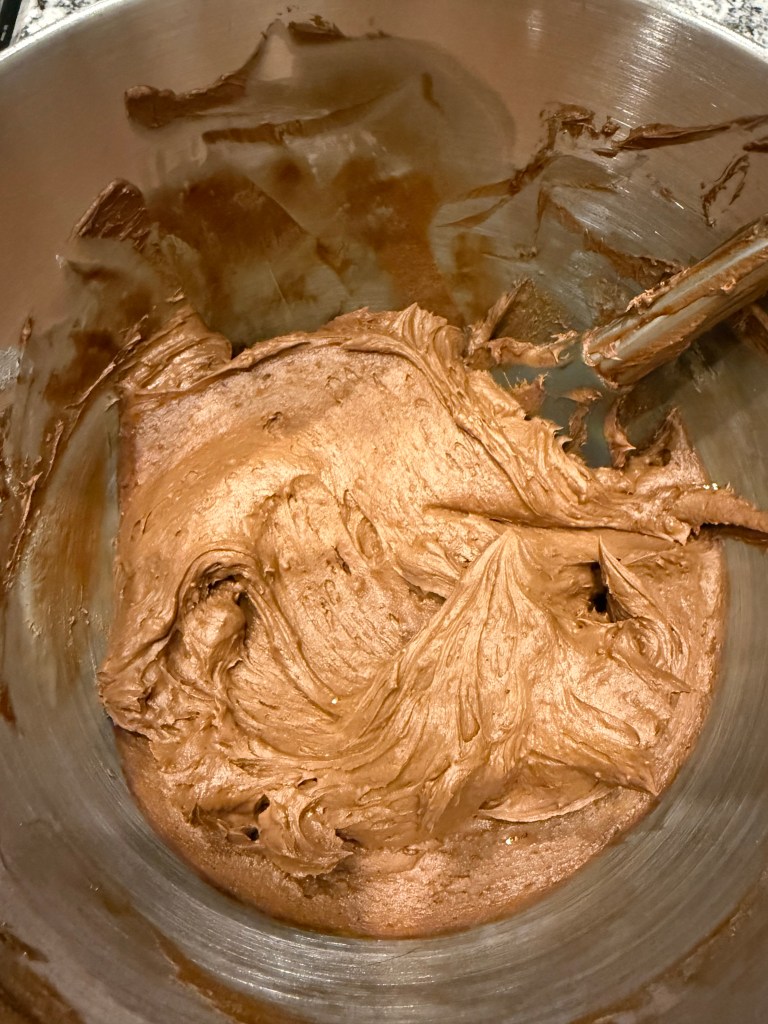
I creamed the butter, salt, and vanilla together,
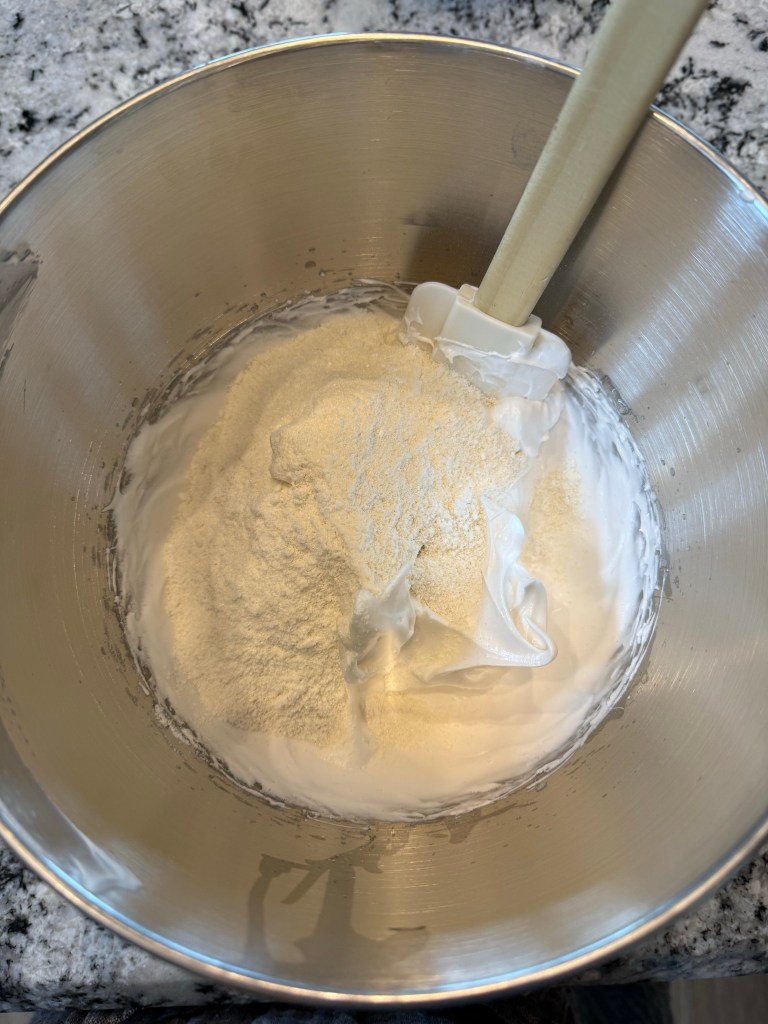
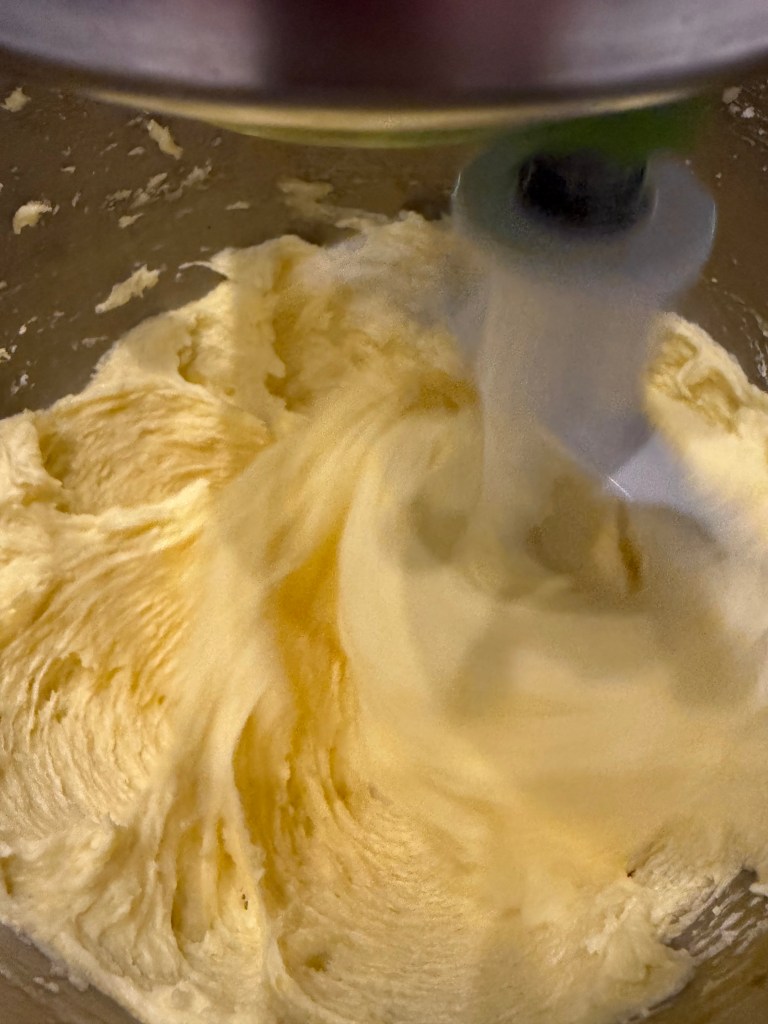
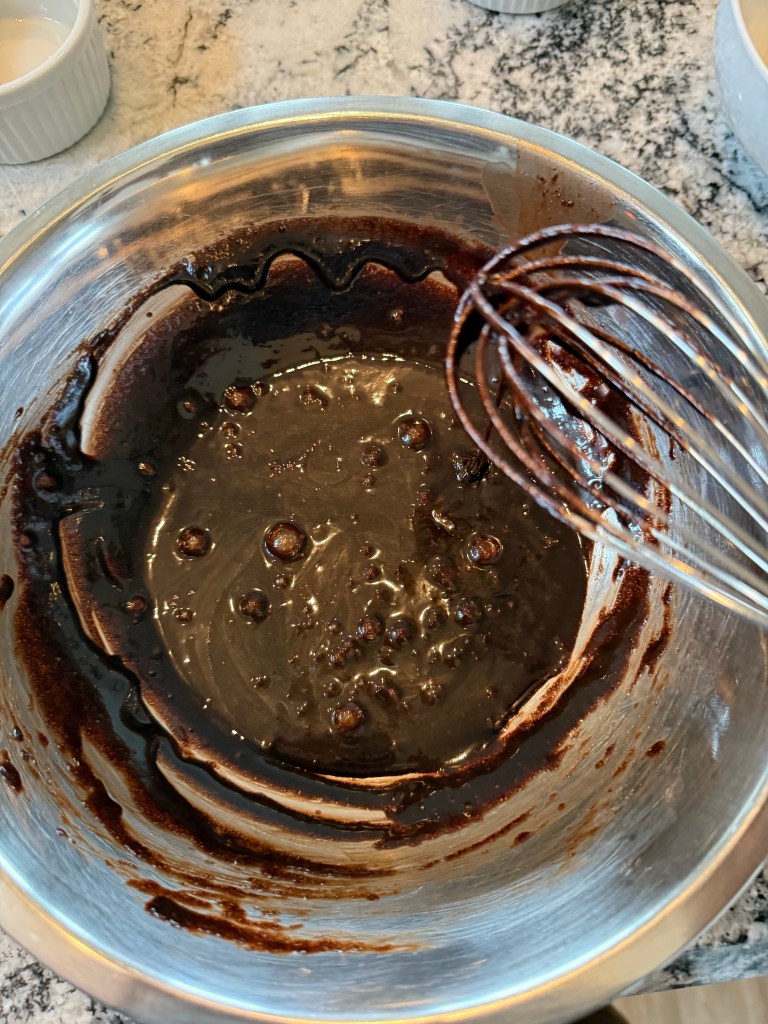
added the cocoa powder,
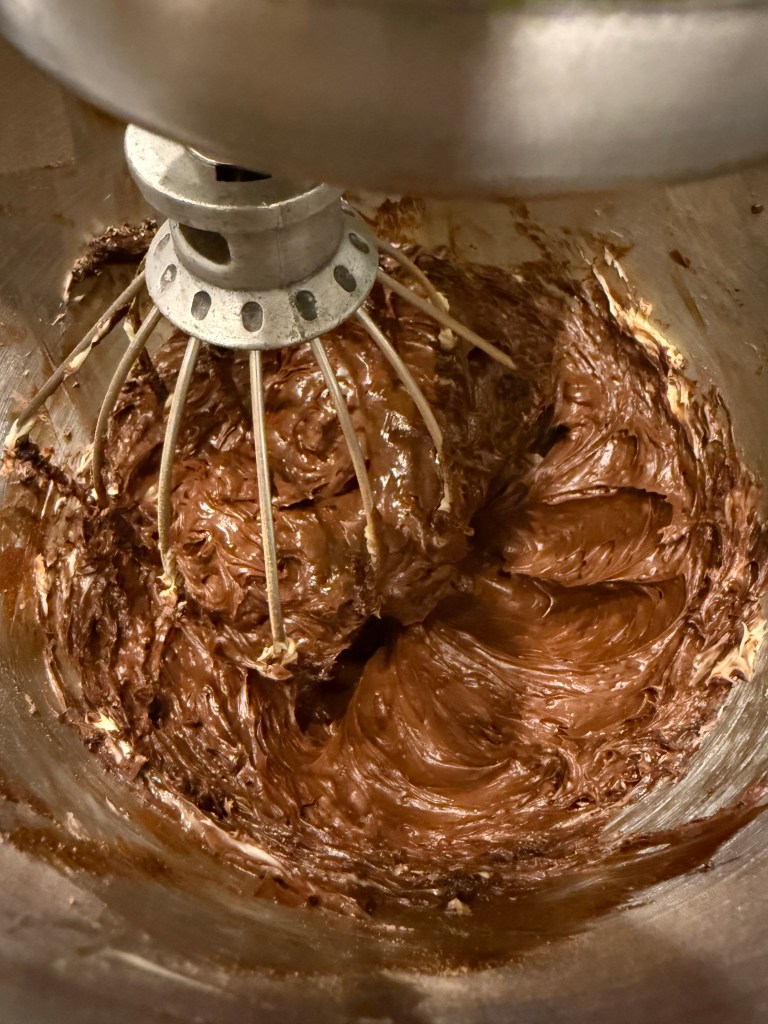
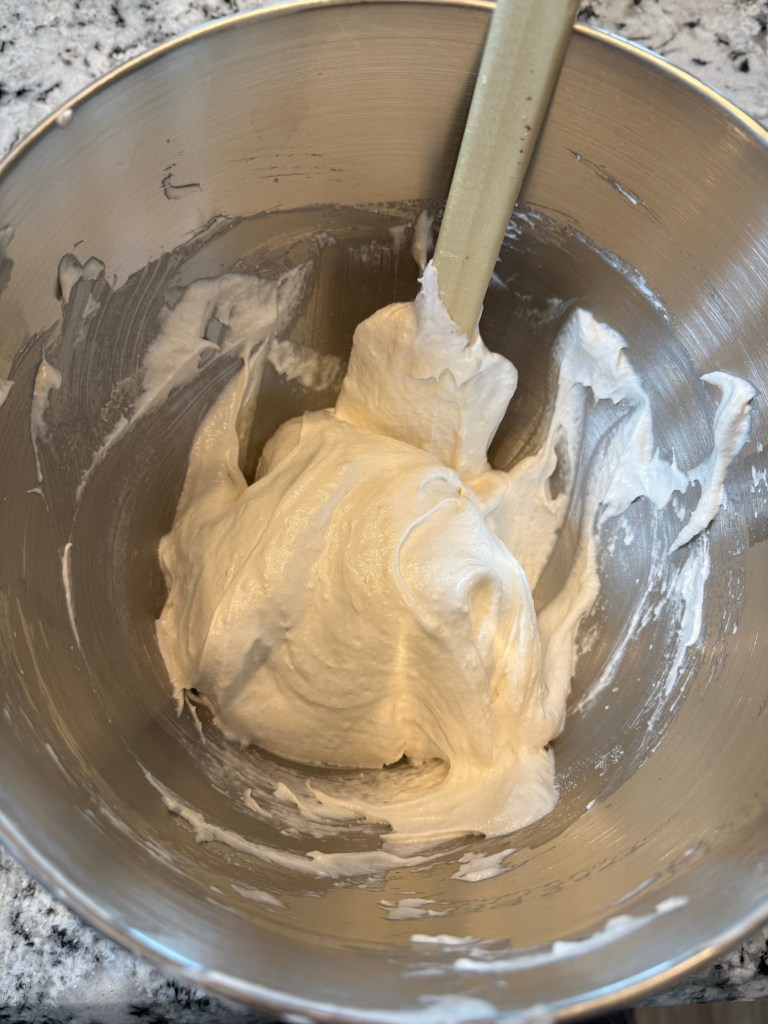
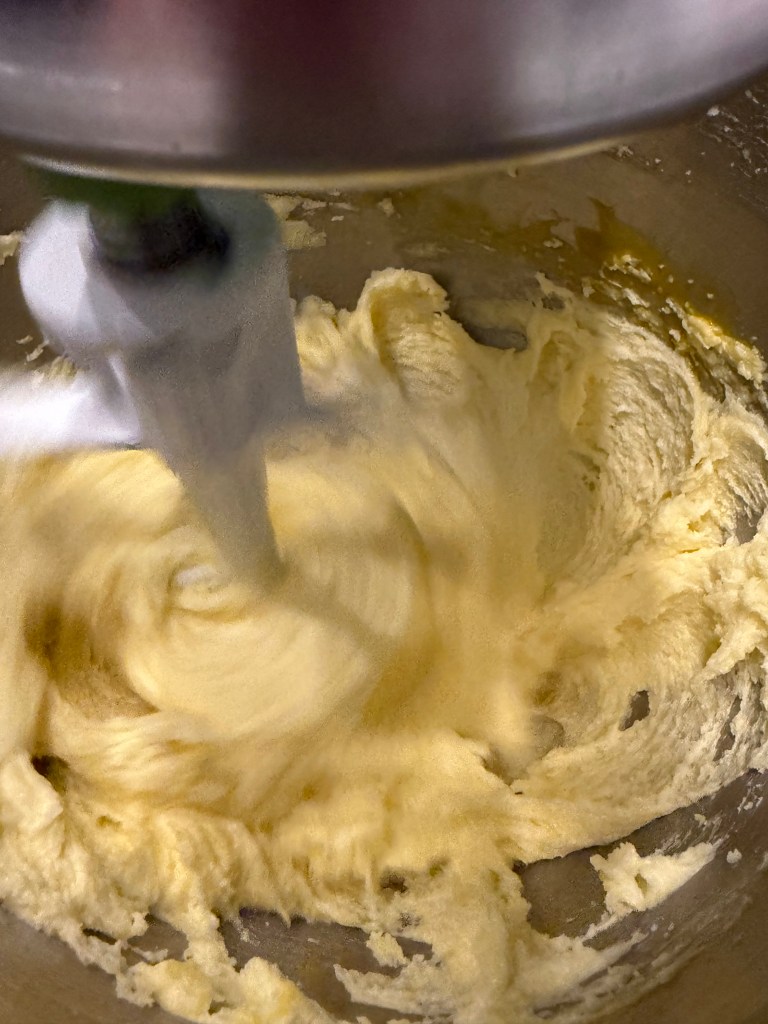
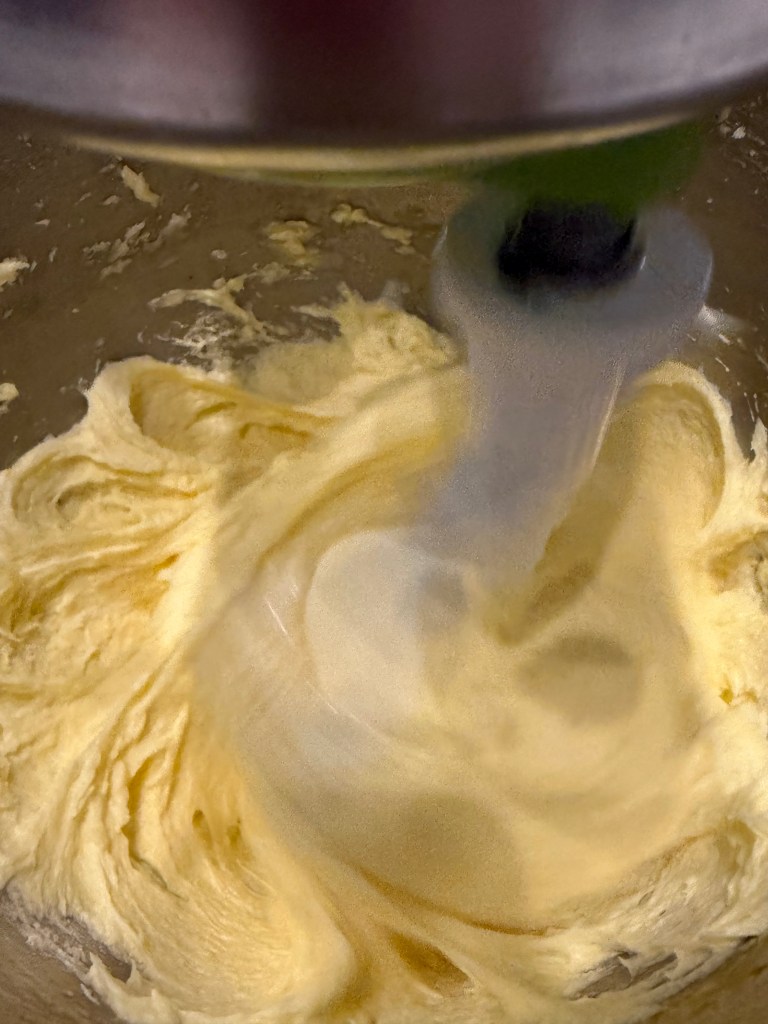
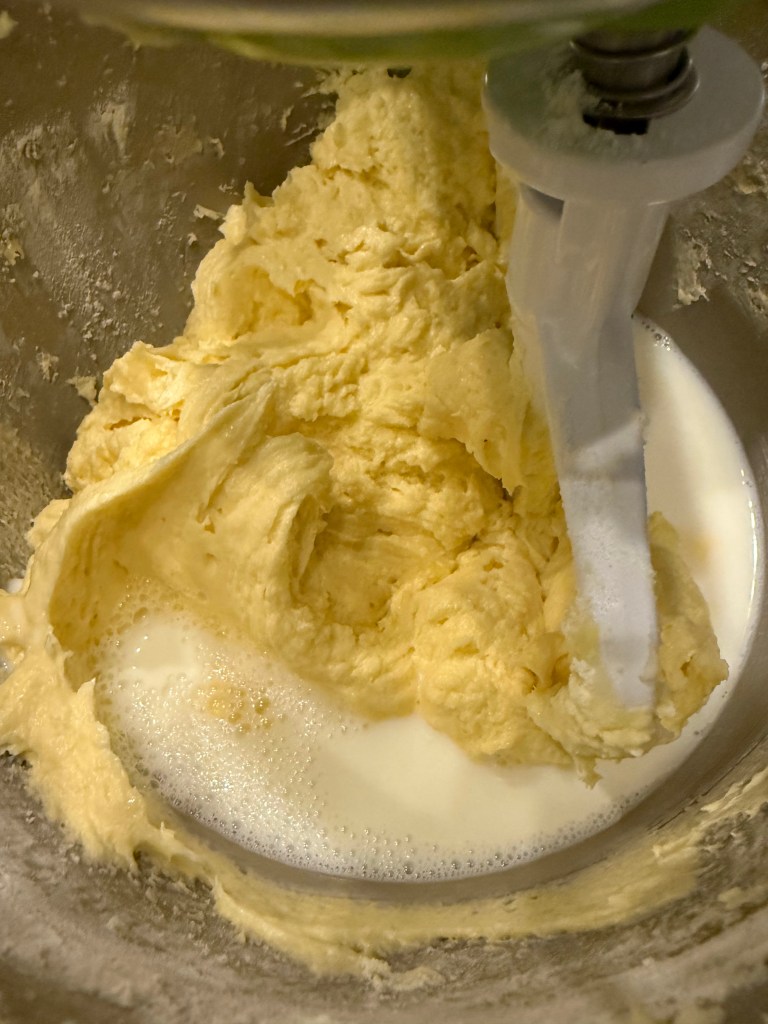
mixed in the heavy cream,
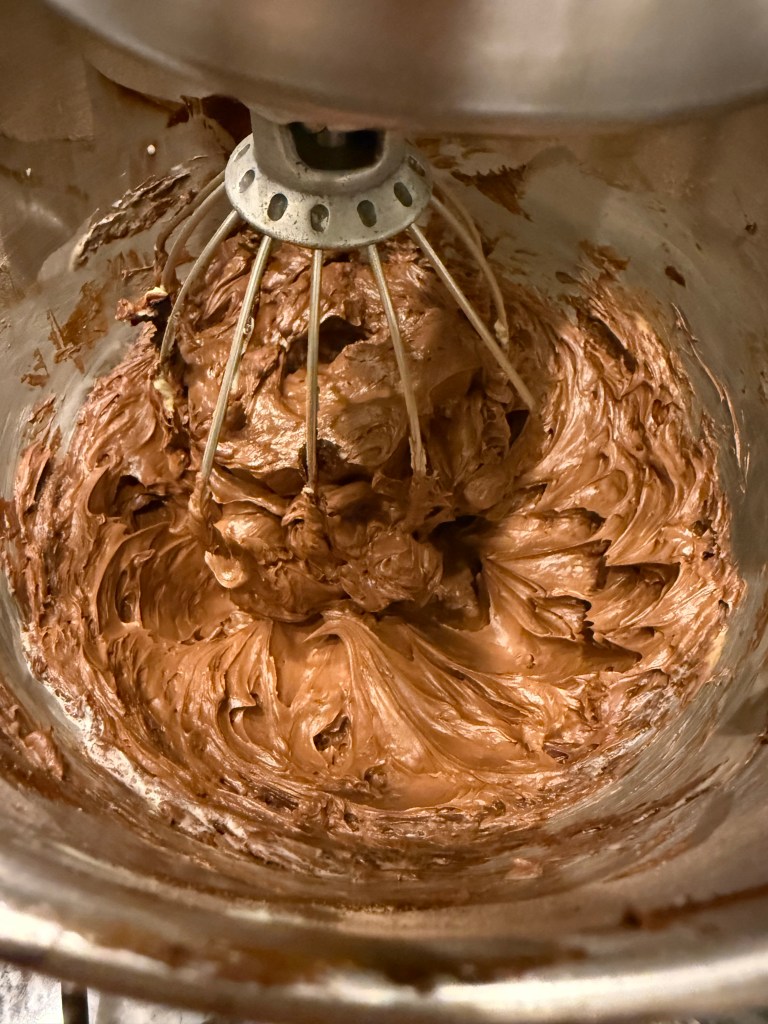
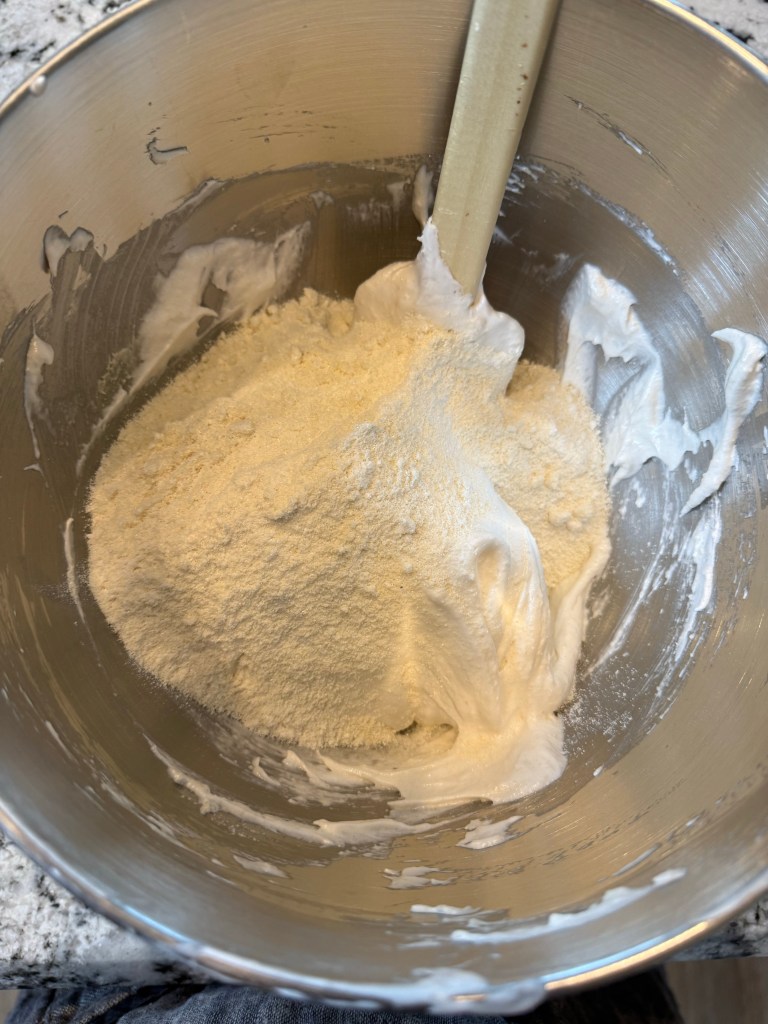
and then added the powdered sugar.
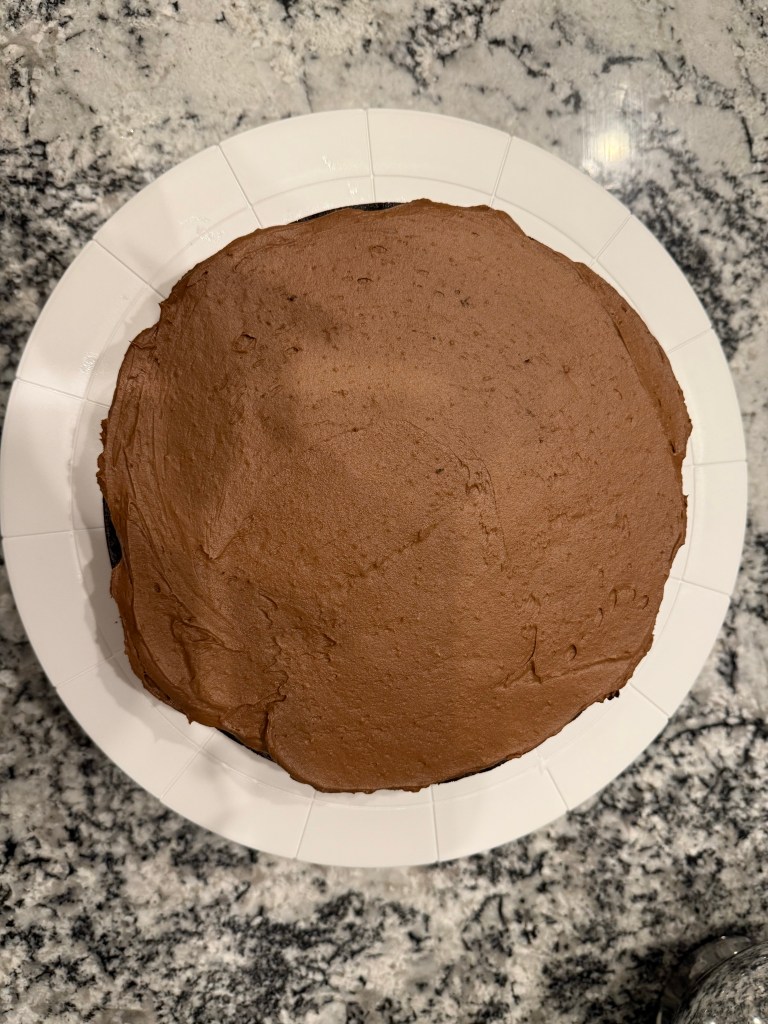
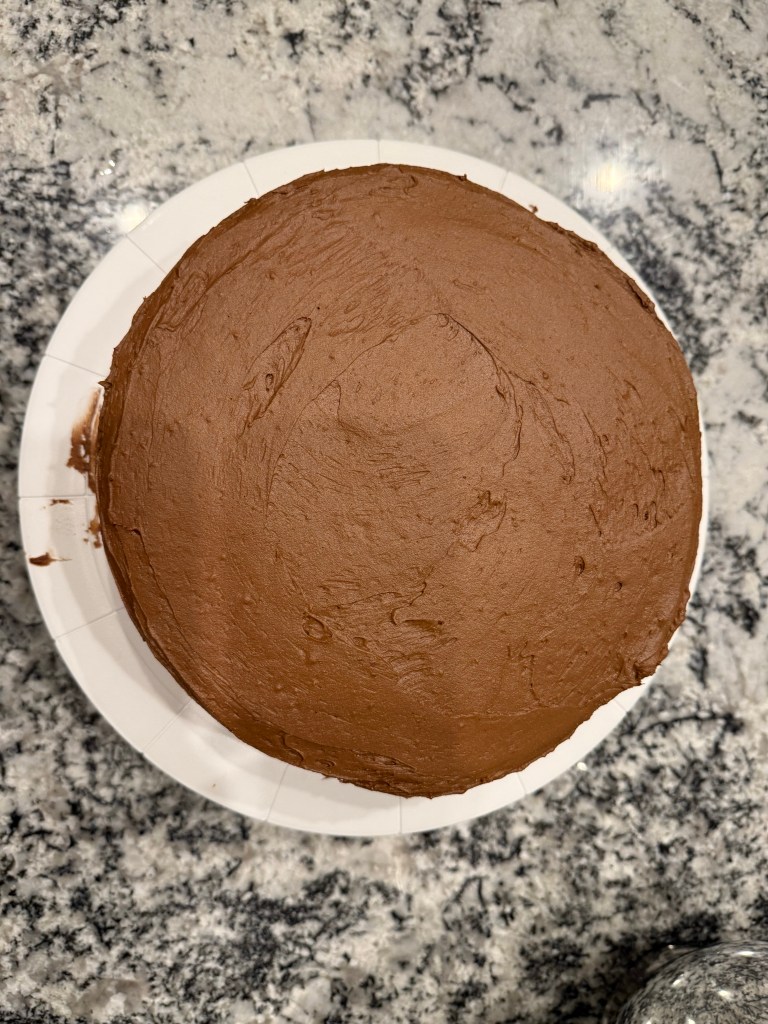
Once the cakes were cool trimmed the tops to be level, then I assembled the cake on my new cake turntable (it was a birthday gift). I frosted the first layer, then laid the second layer on and frosted the top and sides.
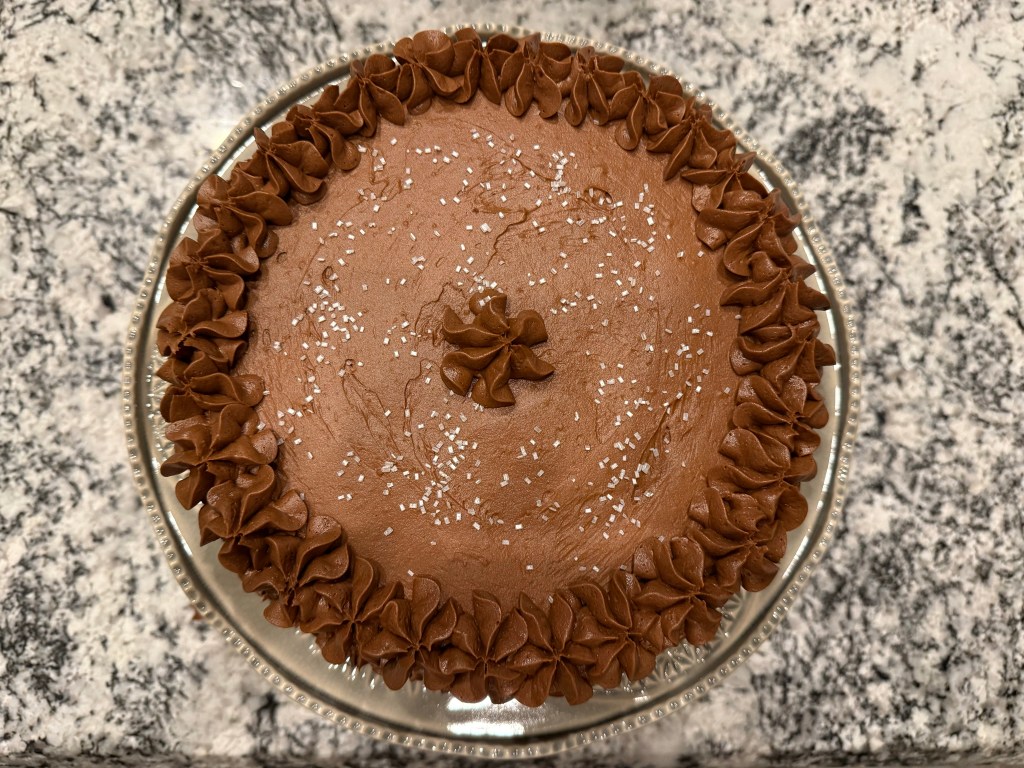
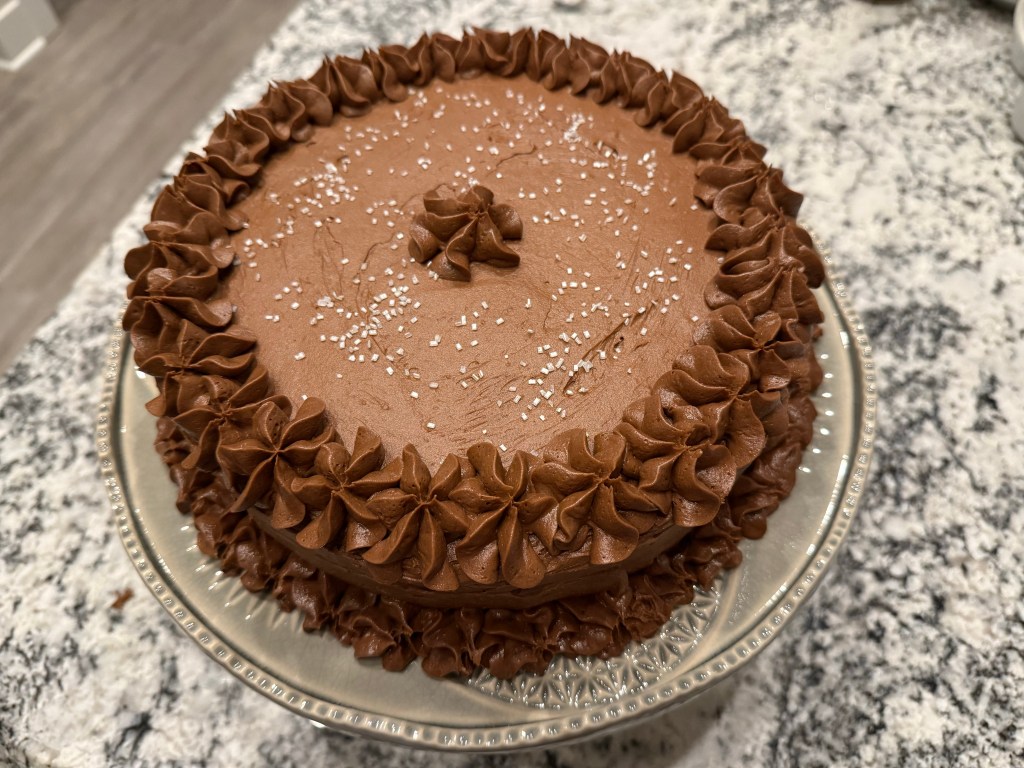
The last step is always the most fun: decoration. I transferred the cake to my cake plate, then I used a star tip to pipe a row of stars around the base of the cake as well as the top edge of the cake. I finished with a star in the center of the cake and some pearl sugar.
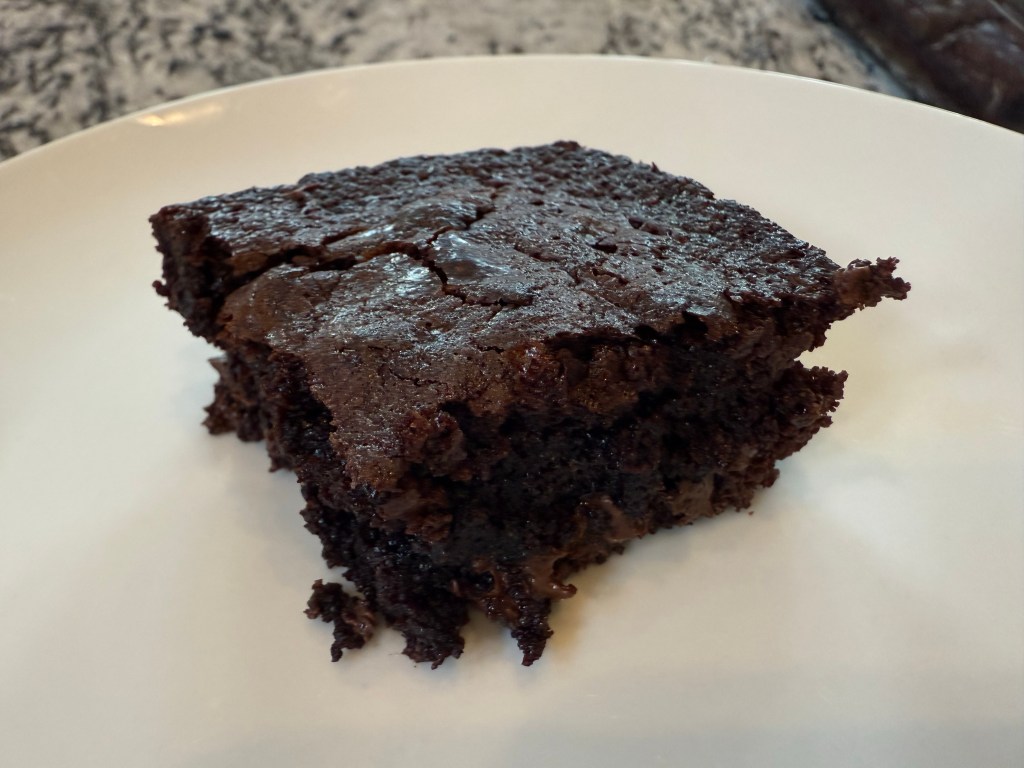
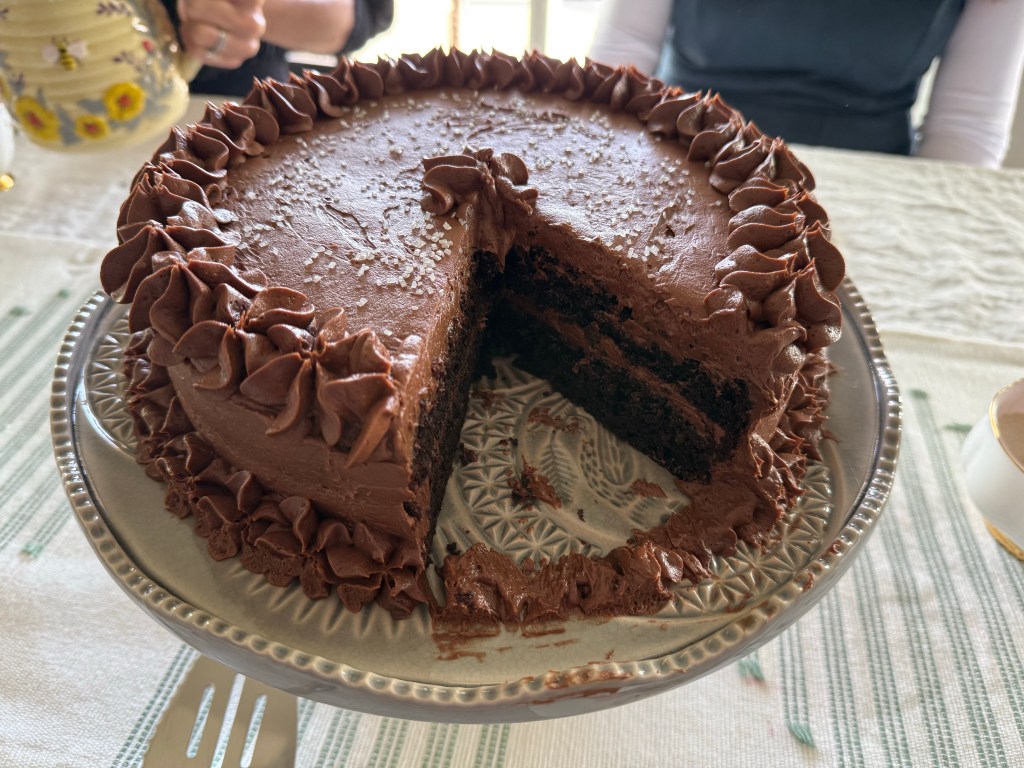
I forgot. The best part of making a cake is eating it. This cake is so moist and really delicious! The cake together and the frosting are such a good pairing. The cake has a more bitter chocolate flavor compared to the frosting, and the frosting is sweeter. It’s amazing that such an easy cake tastes so good!
Until the next time: may your yeast always rise and your flour never run out.