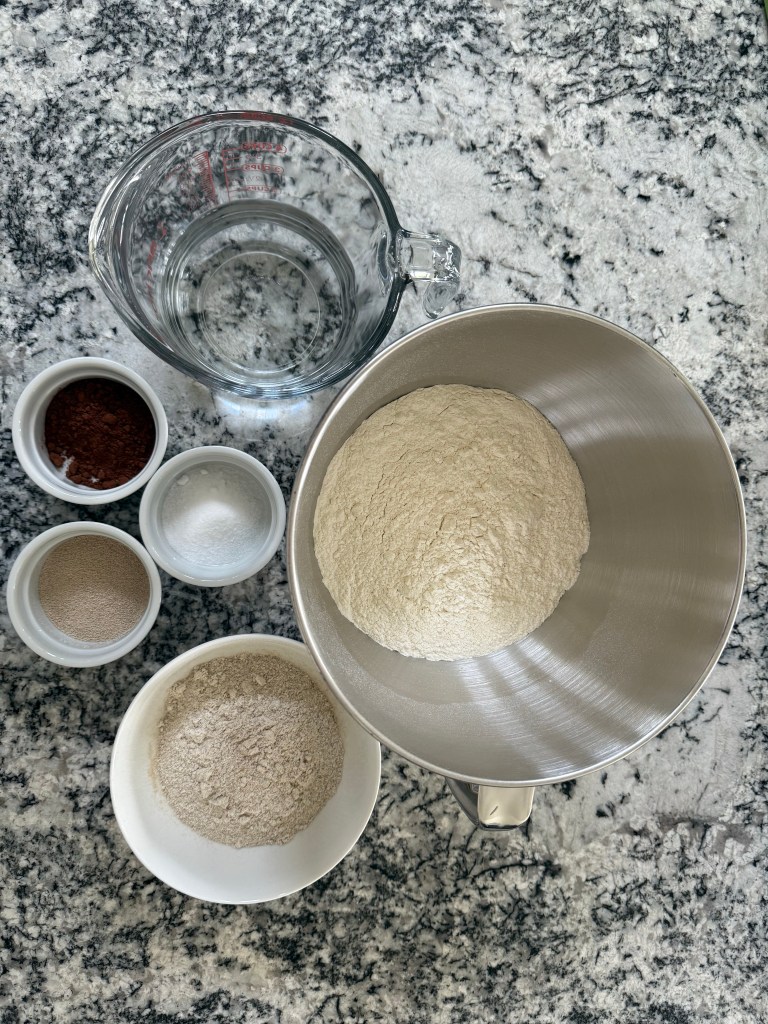
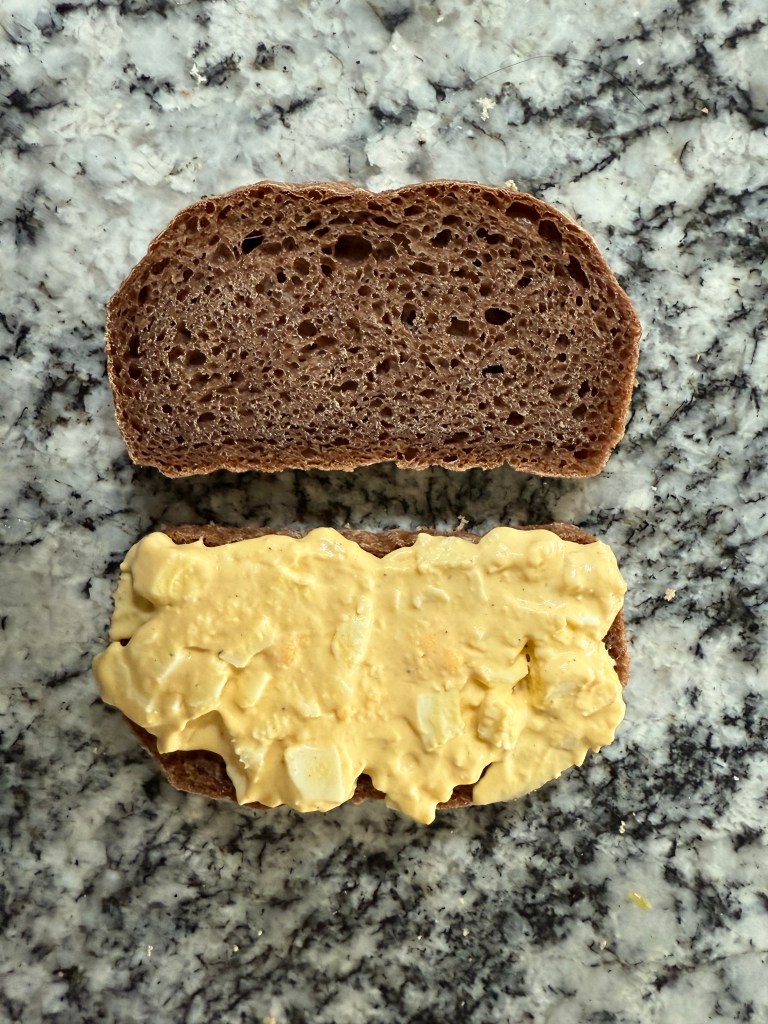
One of the sandwiches I made for my birthday tea party was egg salad on pumpernickel bread. In hindsight, the rye flavor was too strong for the egg salad, but the bread was very good. I used the King Arthur Pumpernickel Boule recipe.
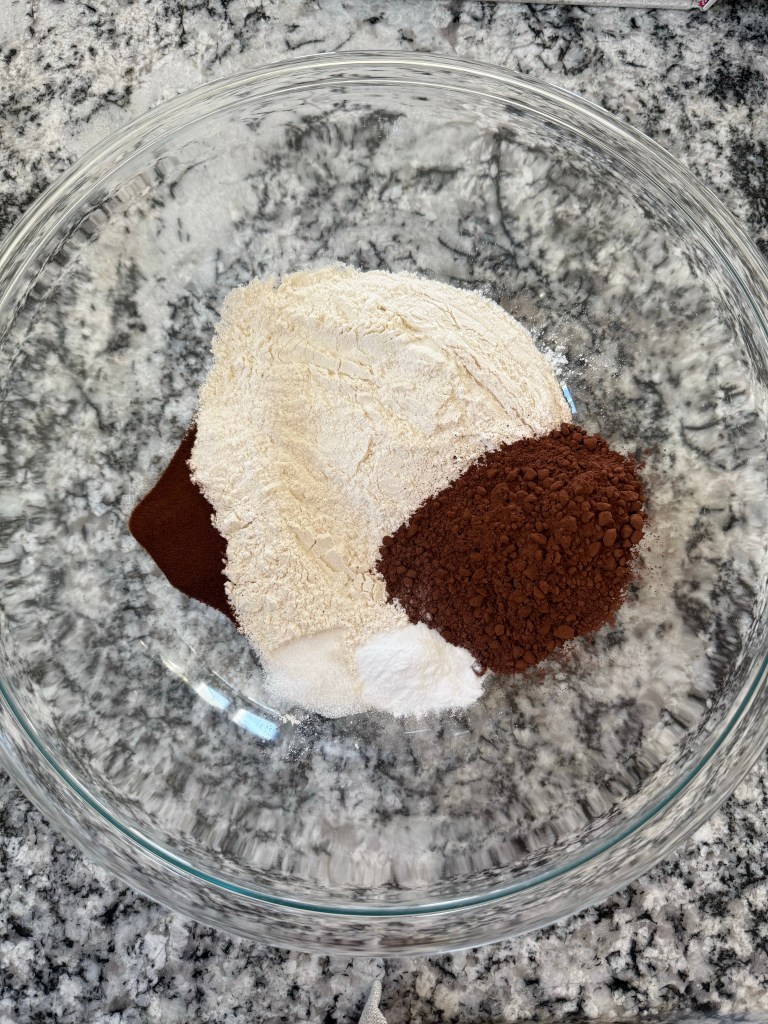
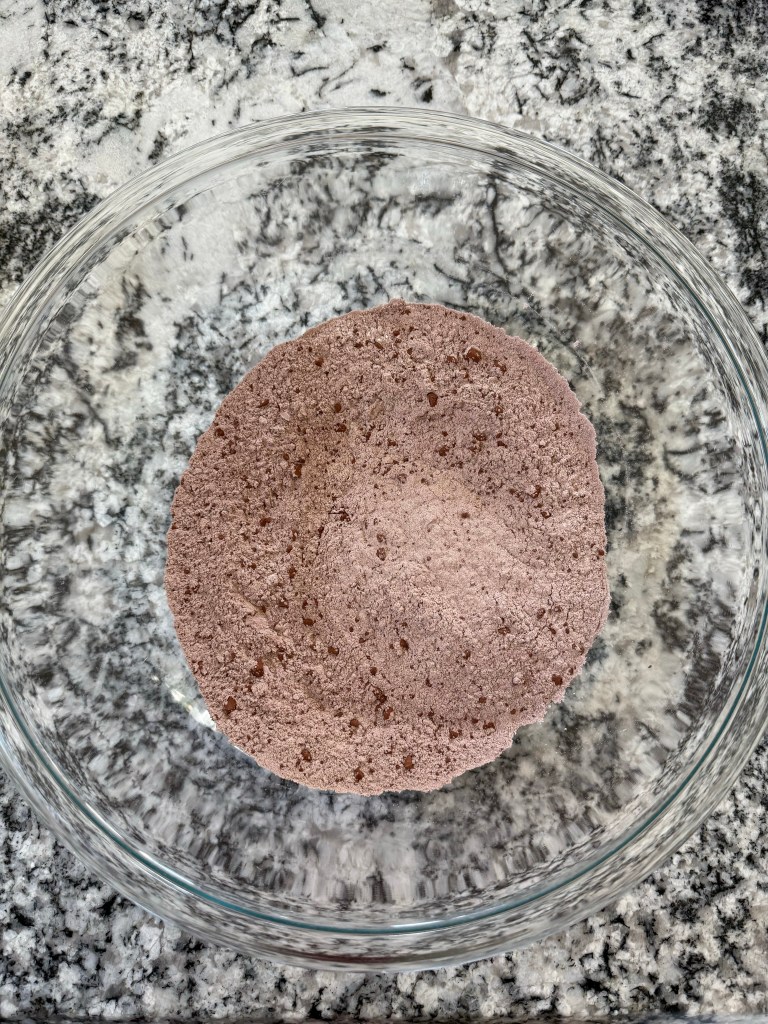
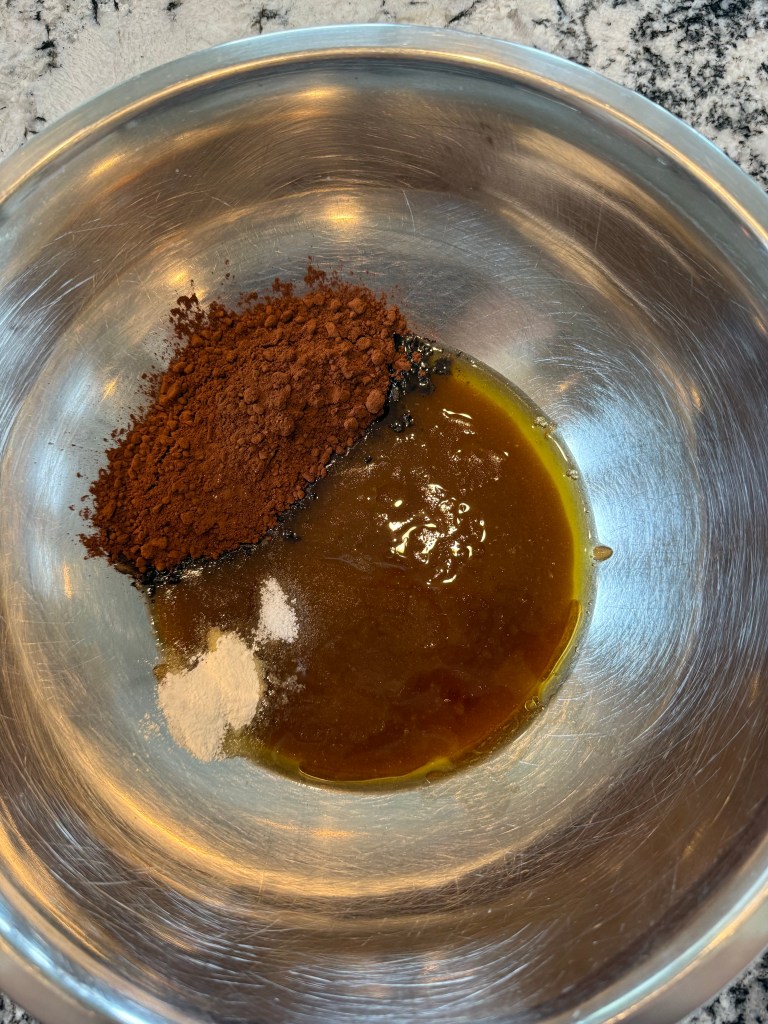
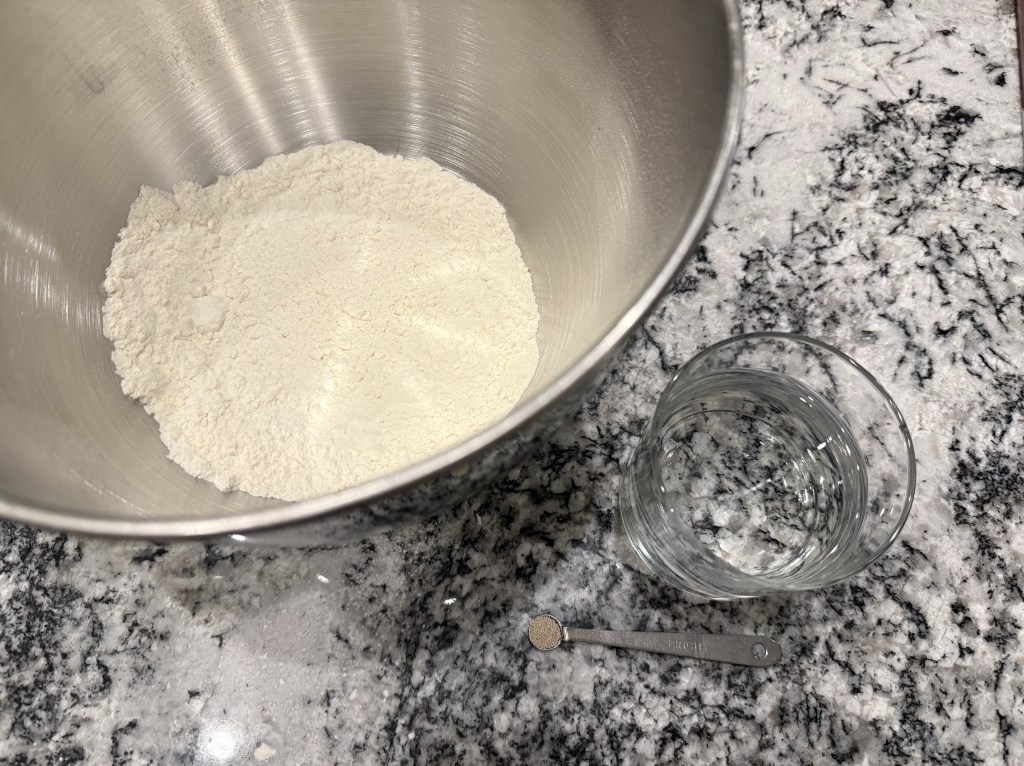
I gathered the mise en place: (I love that pumpernickel bread has cocoa powder in it)
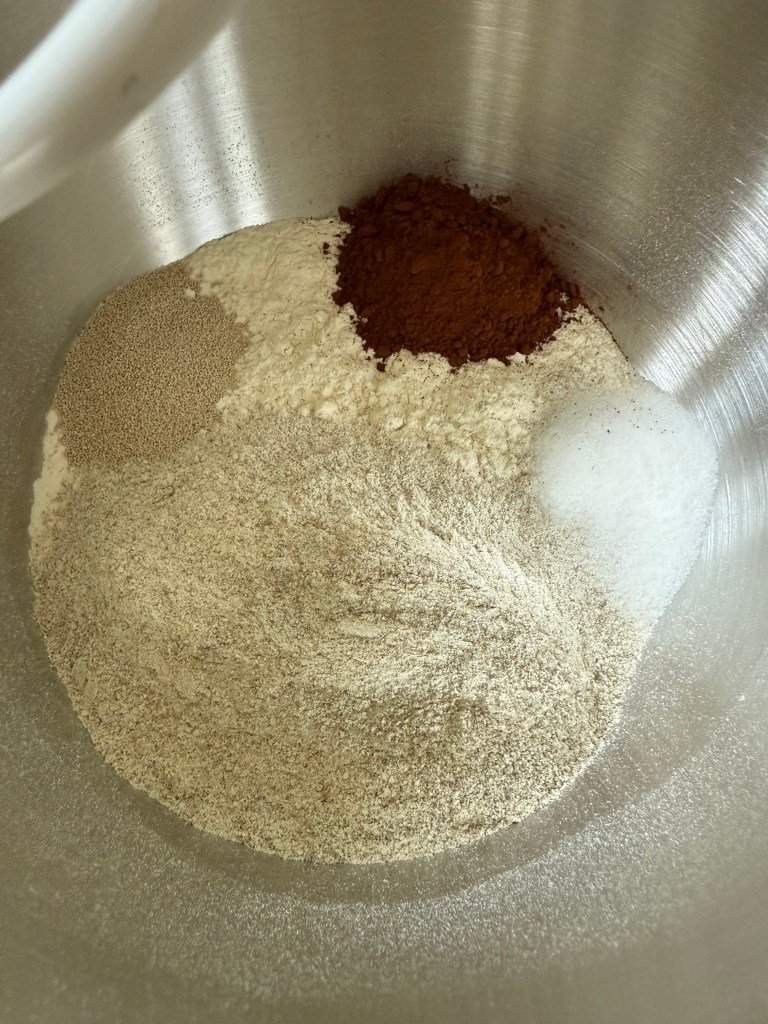
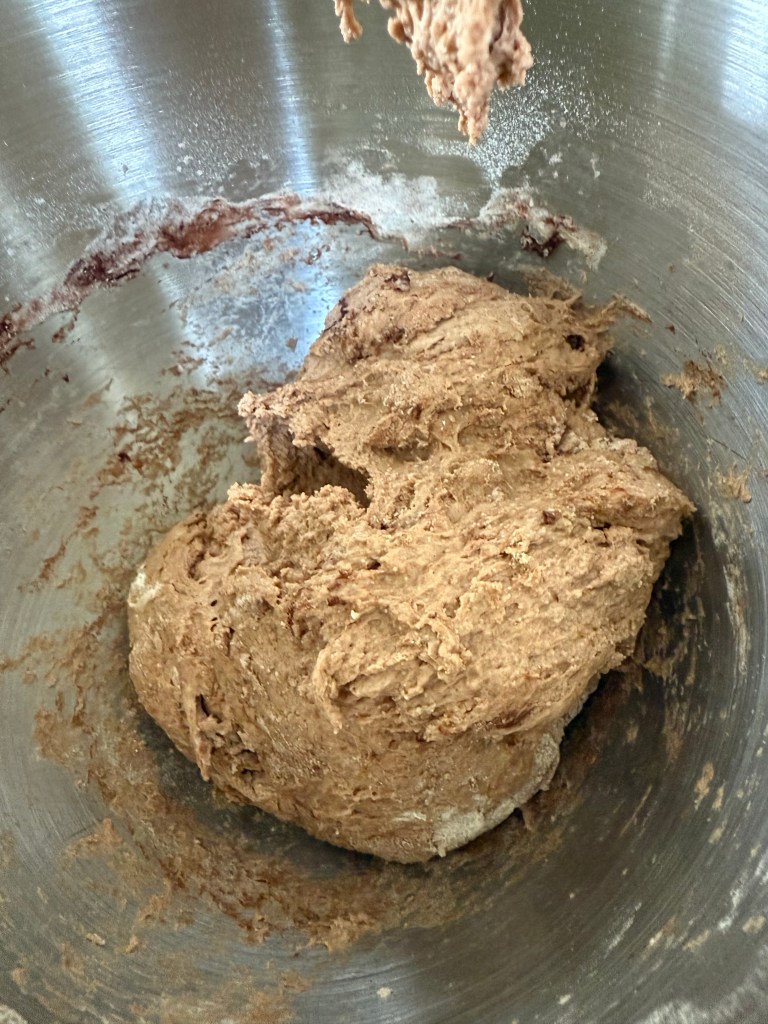
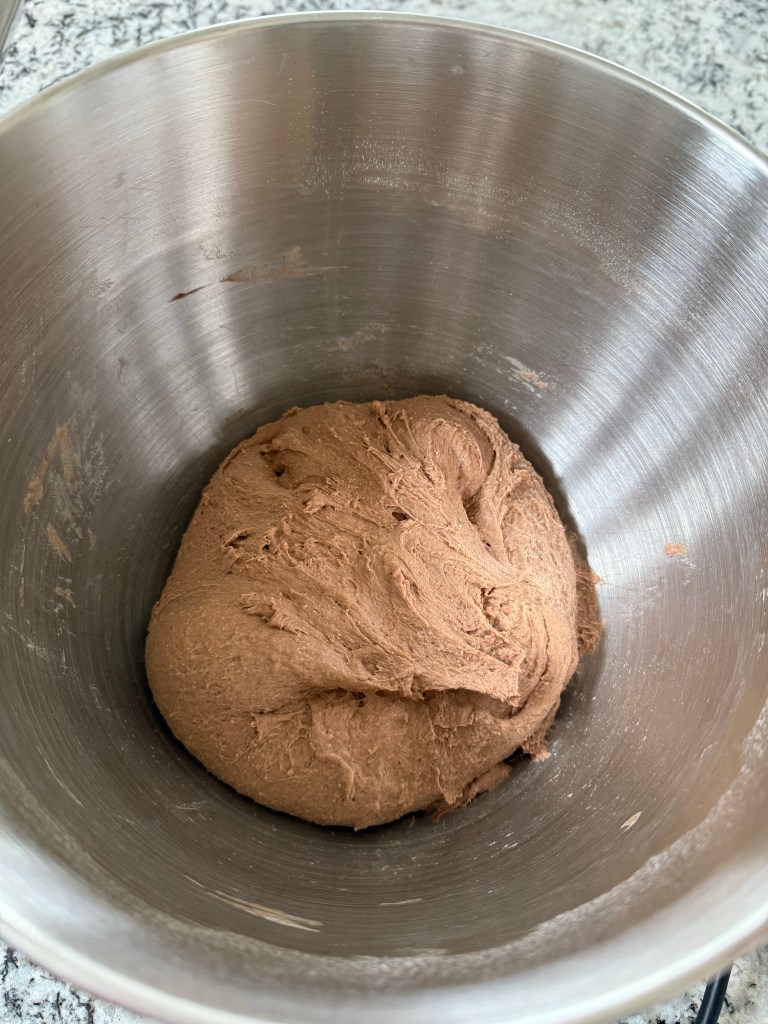
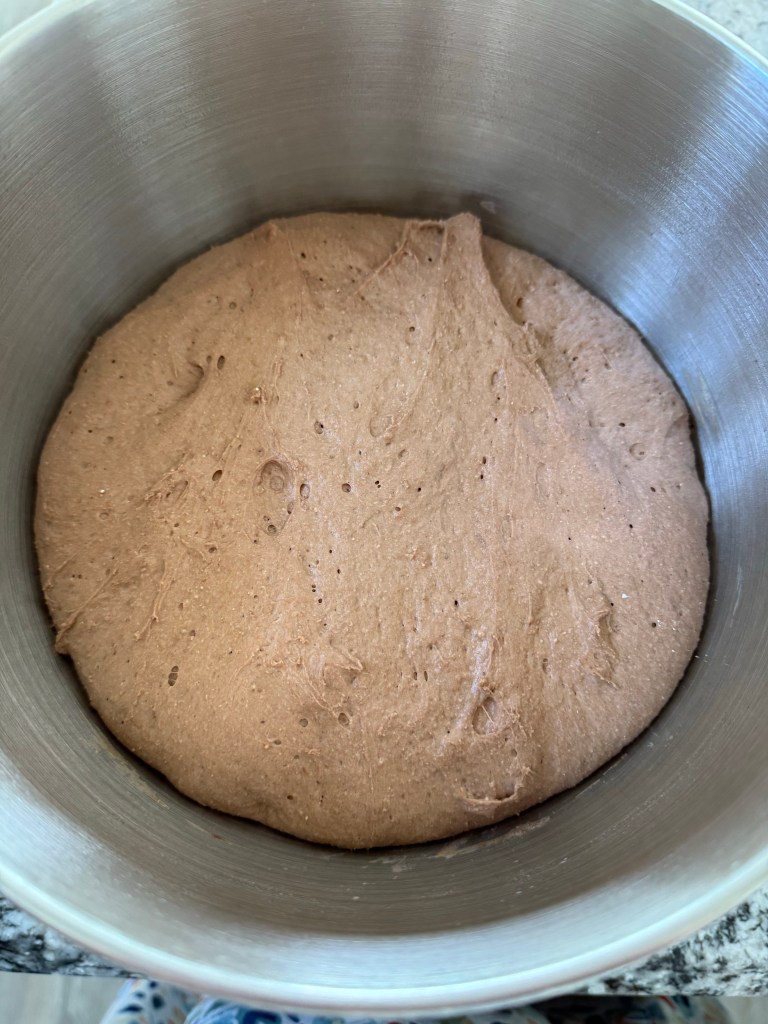
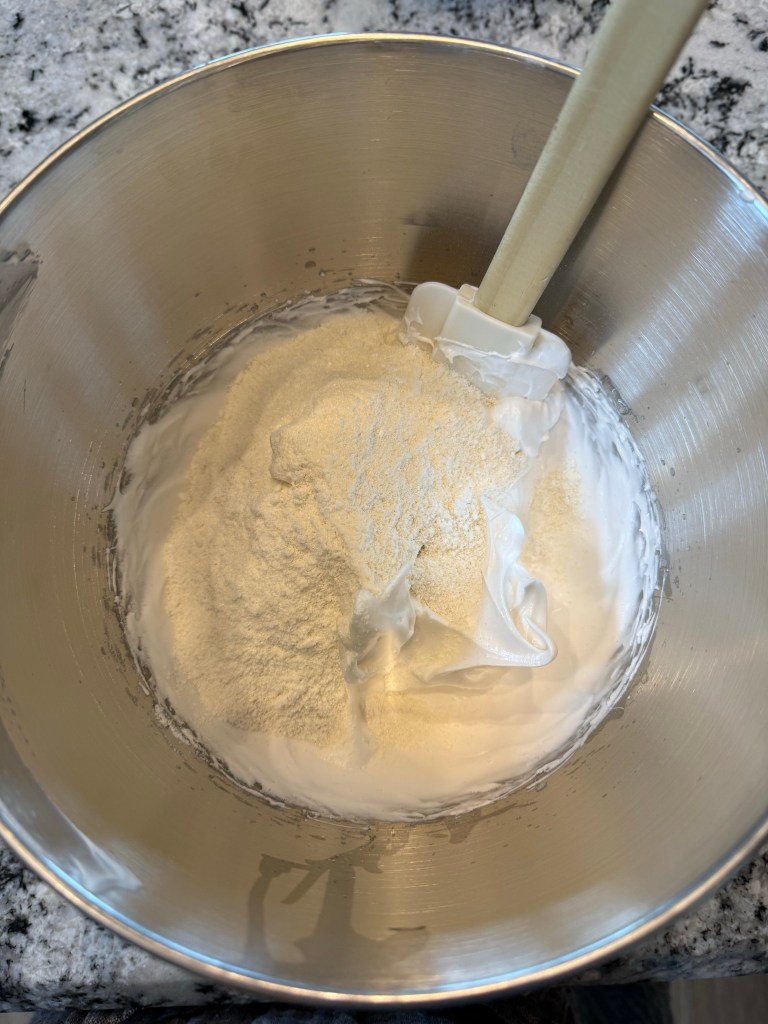
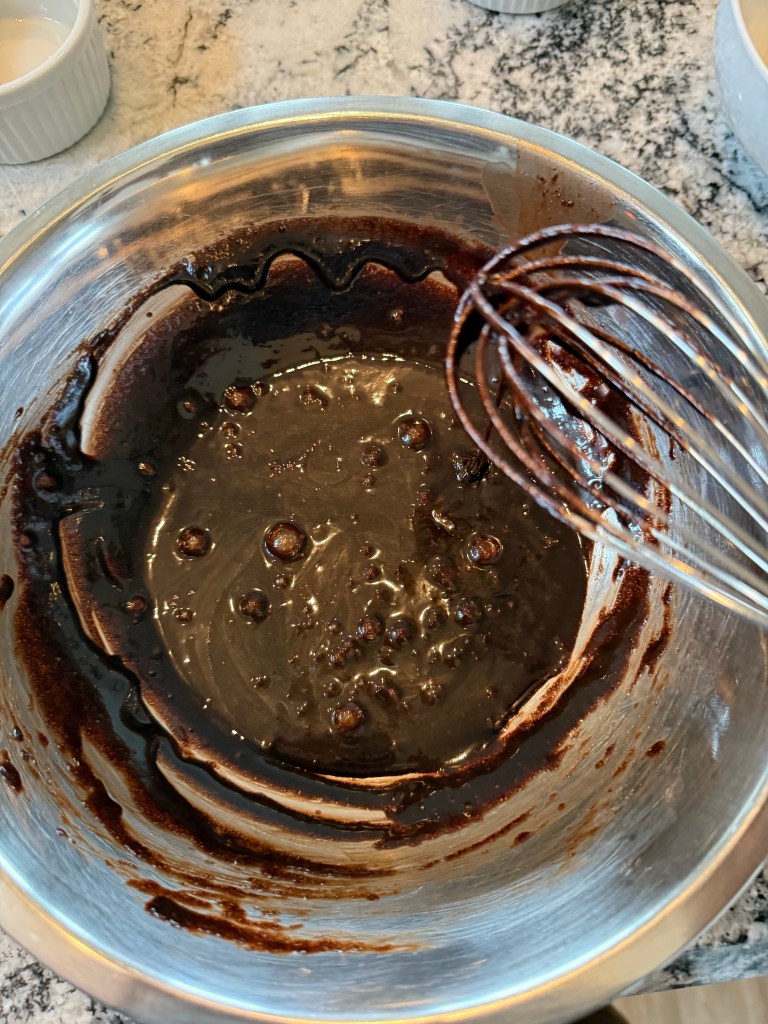
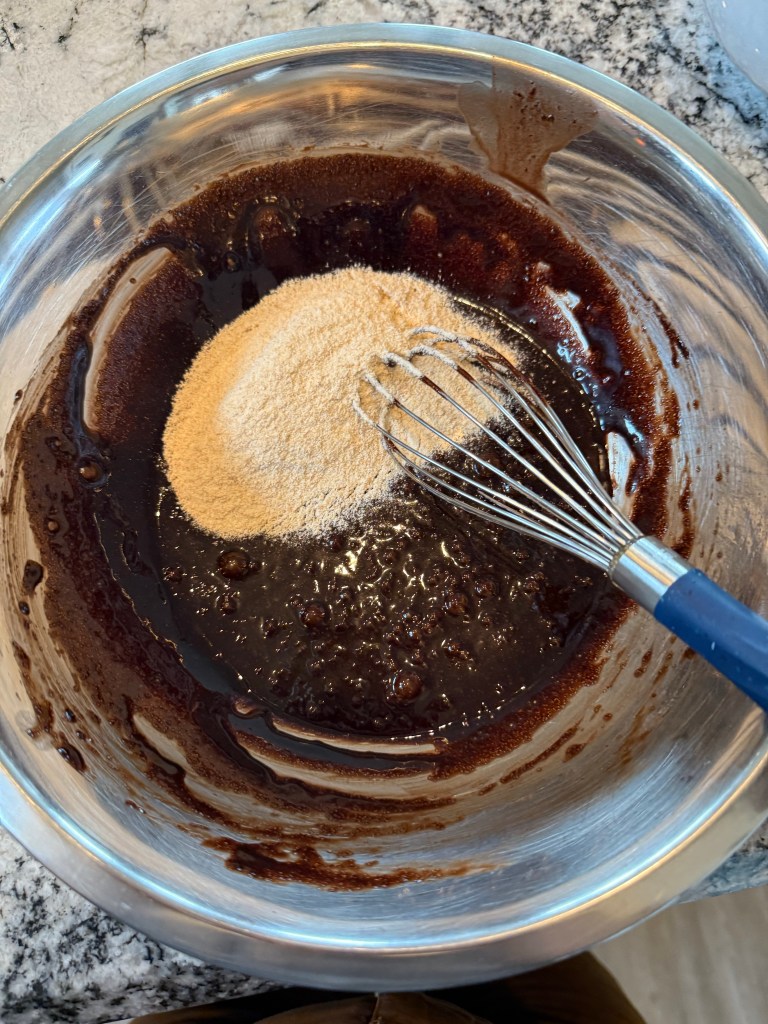
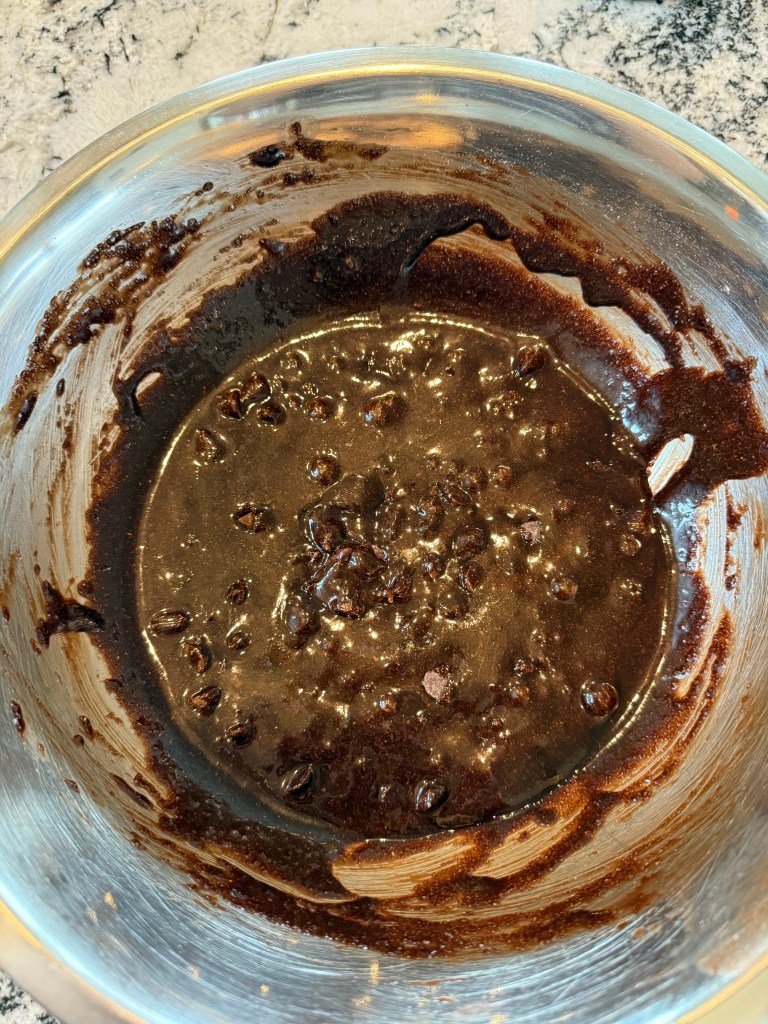
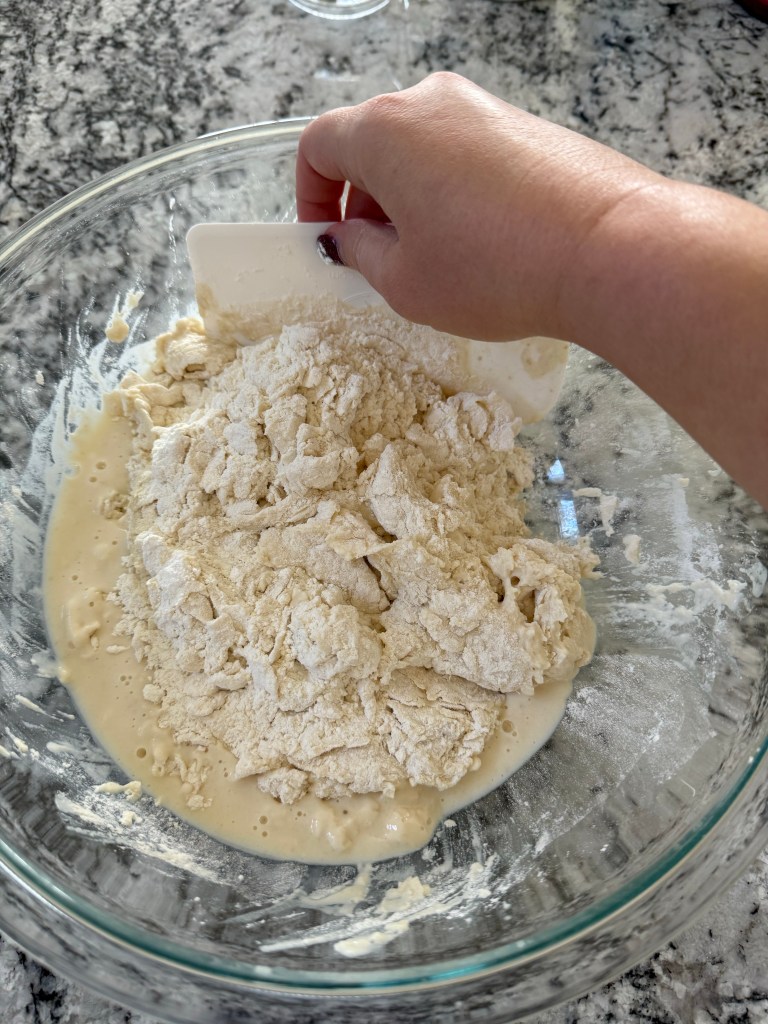
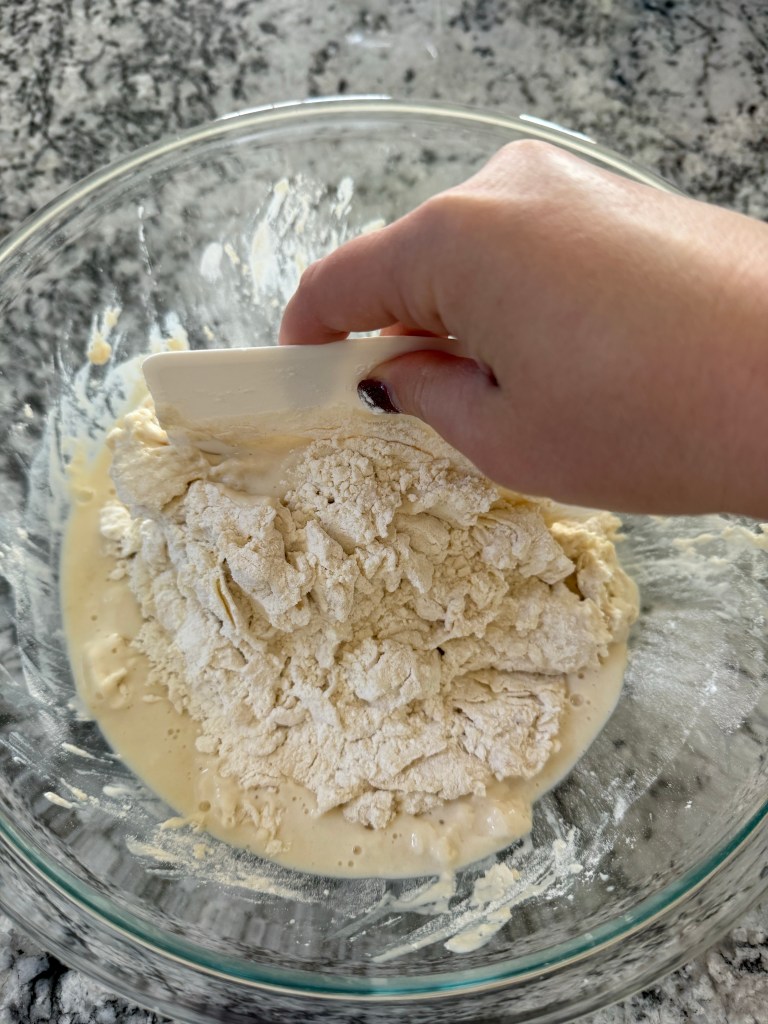
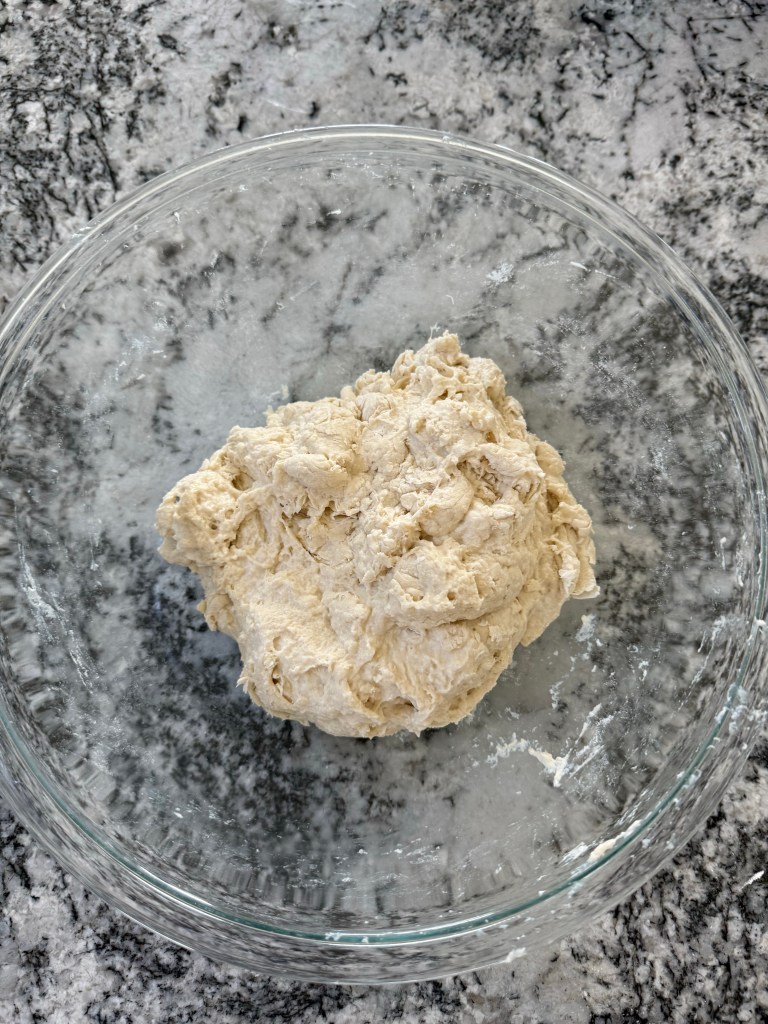
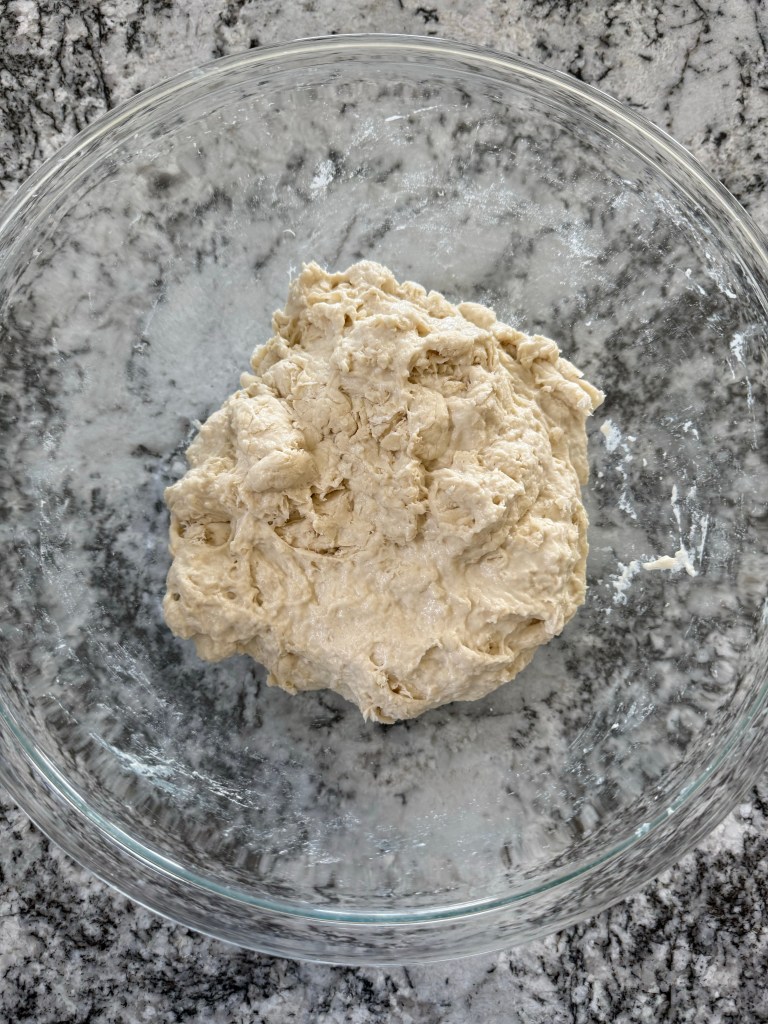
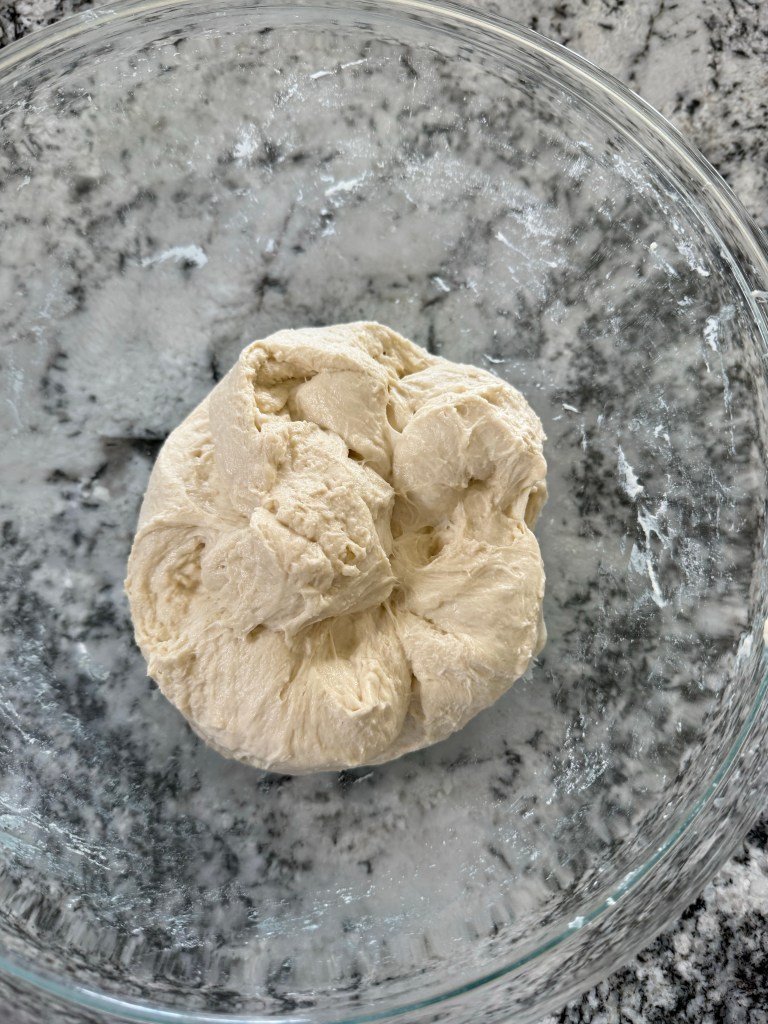
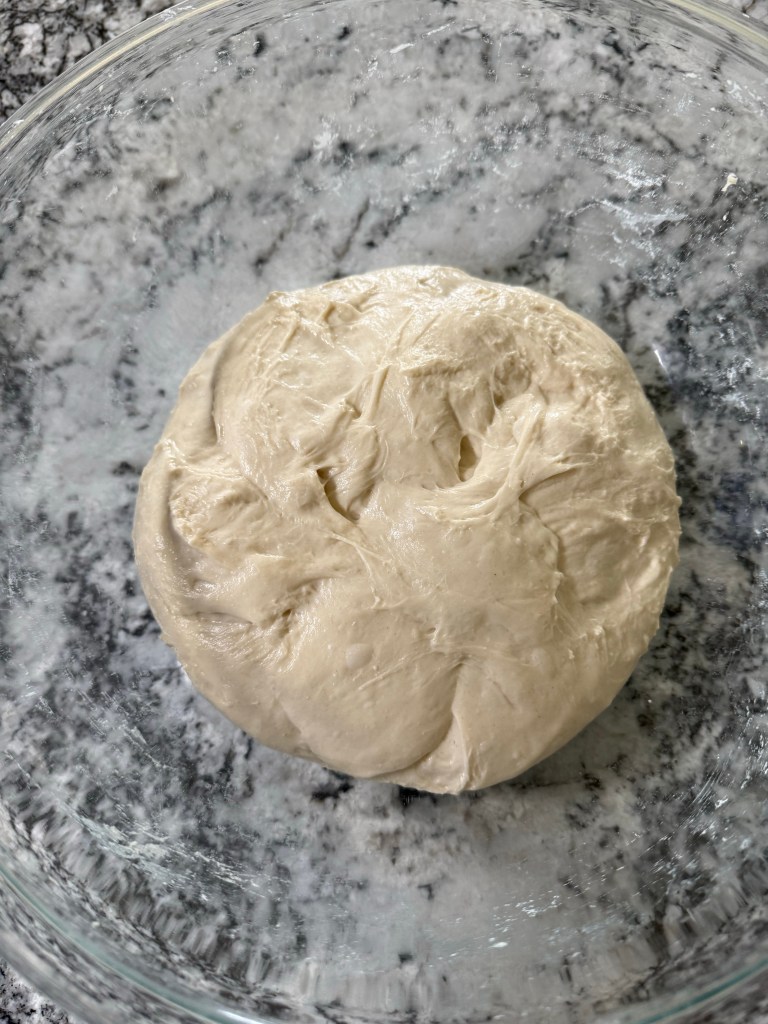
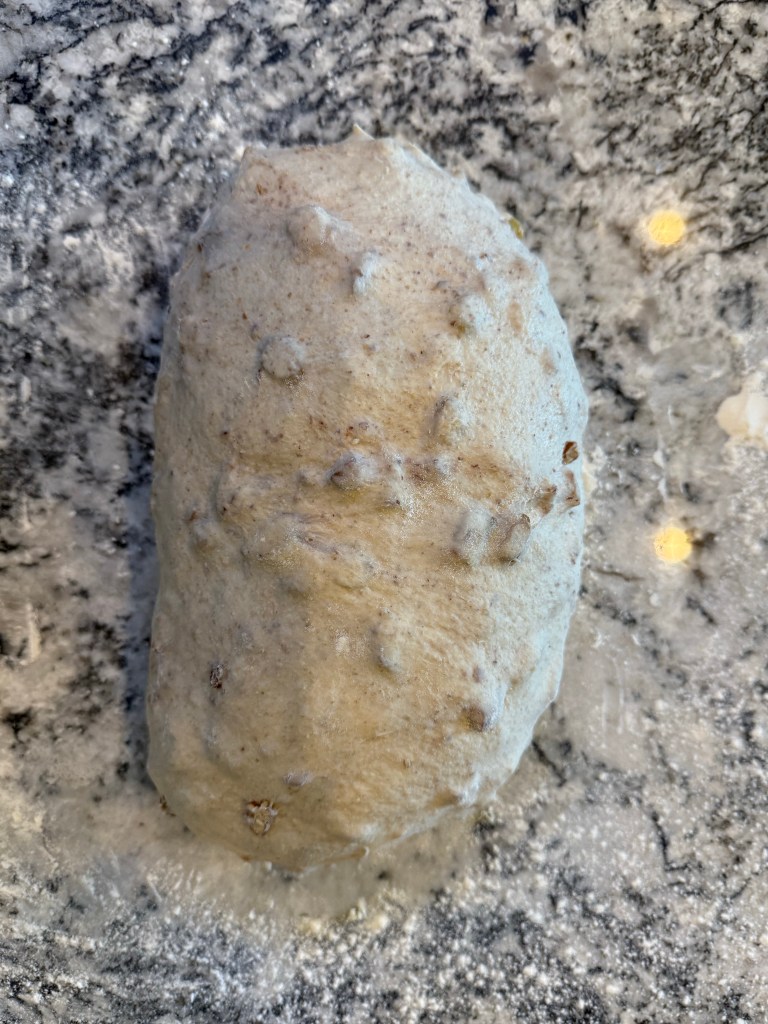
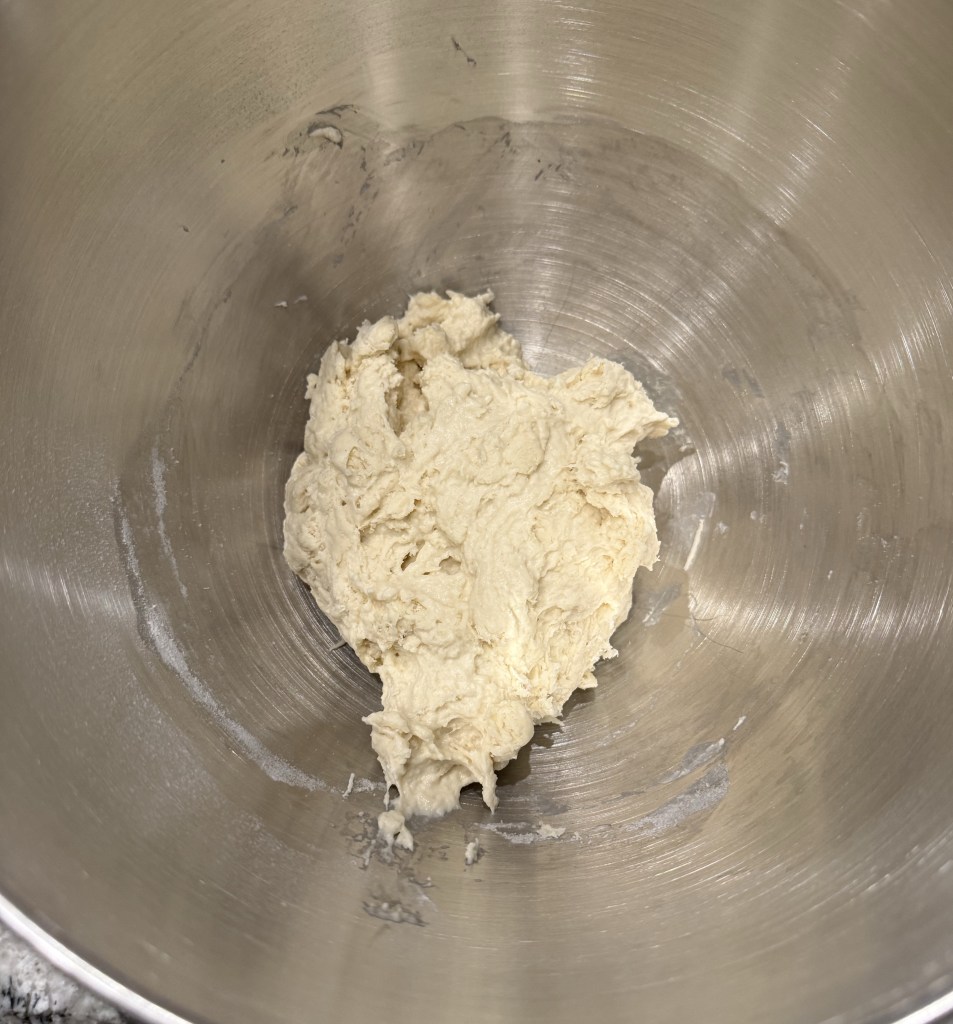
I combined the dry ingredients, then added the water, and kneaded in the stand mixer until it looked right.
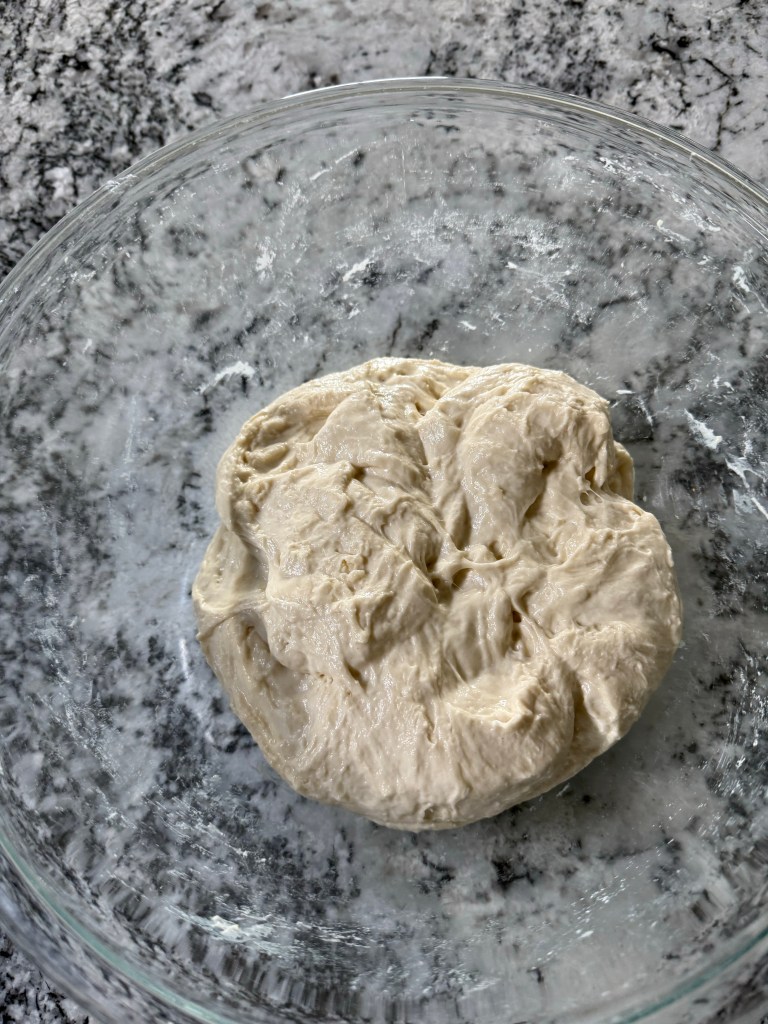
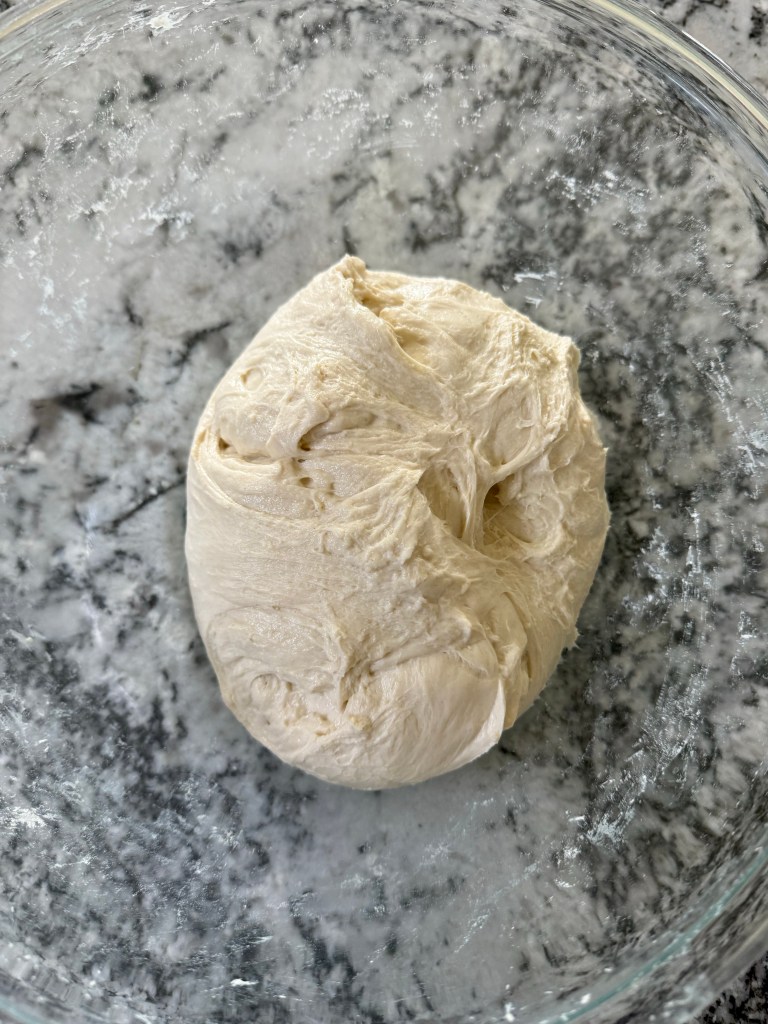
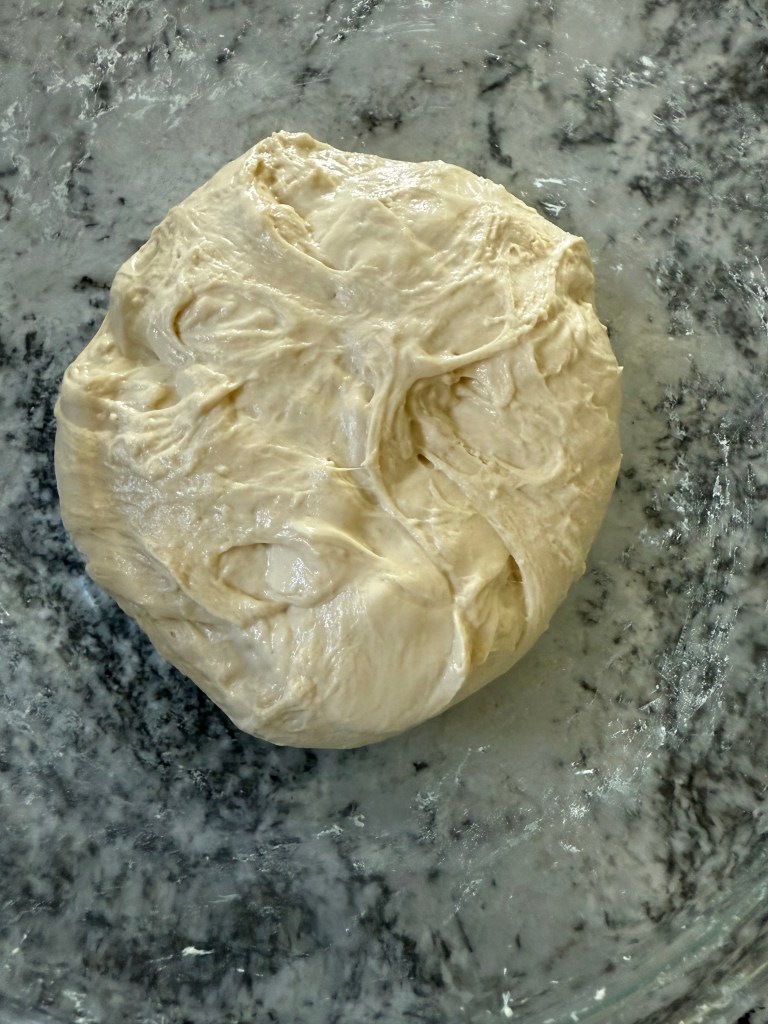
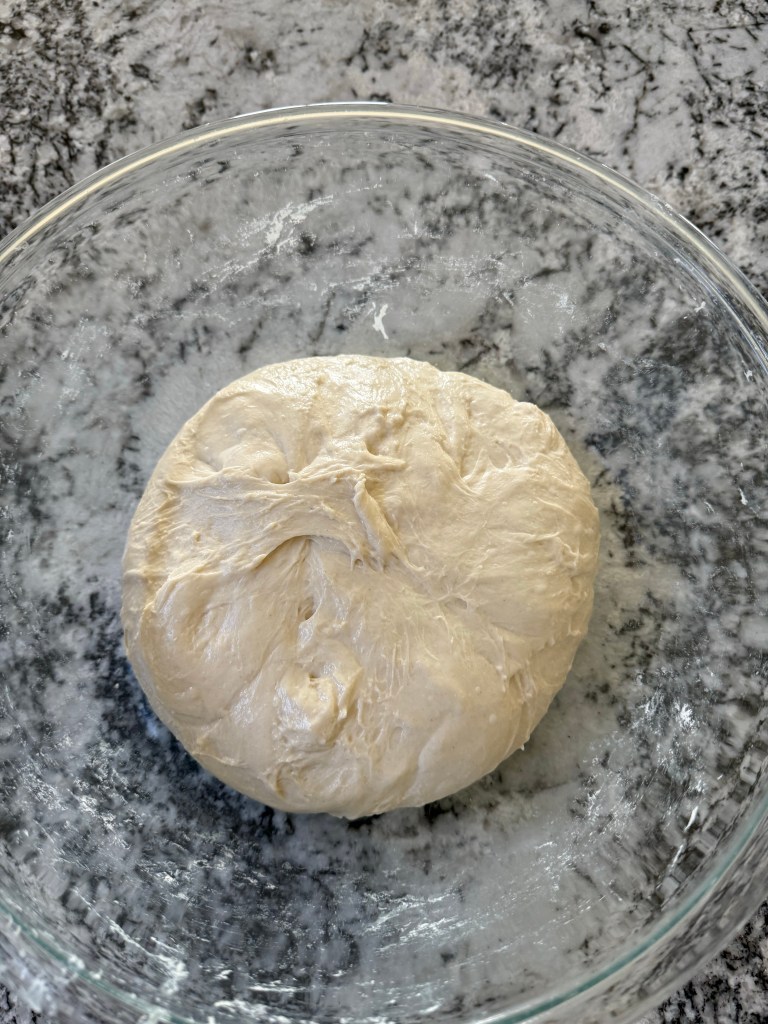
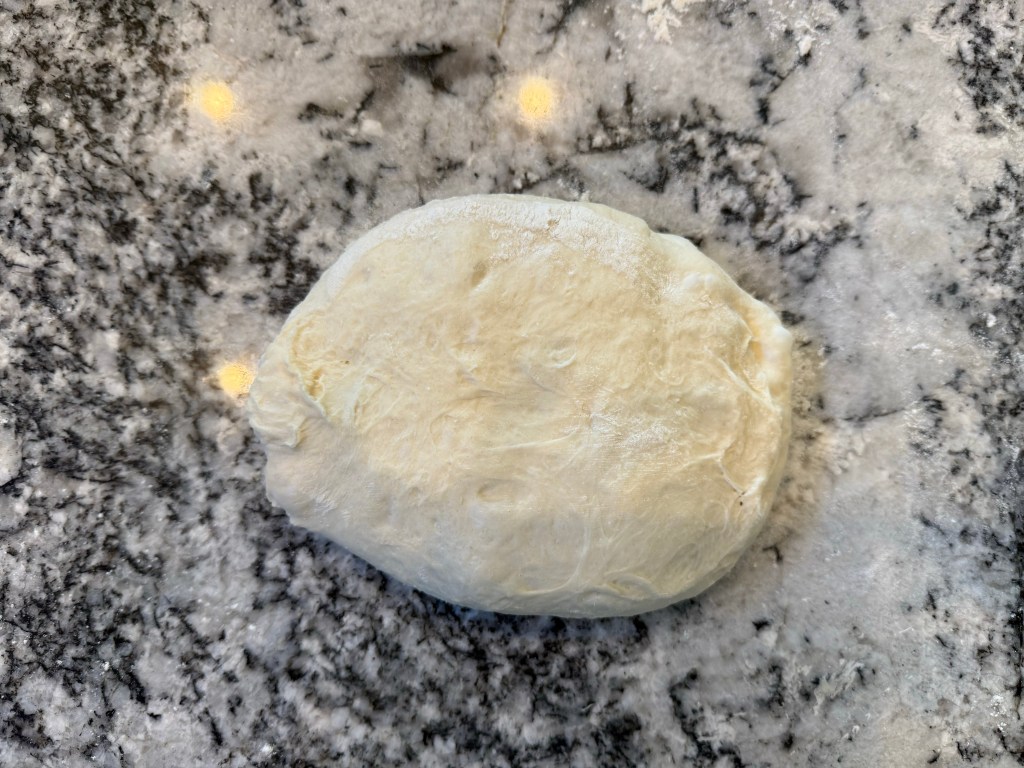
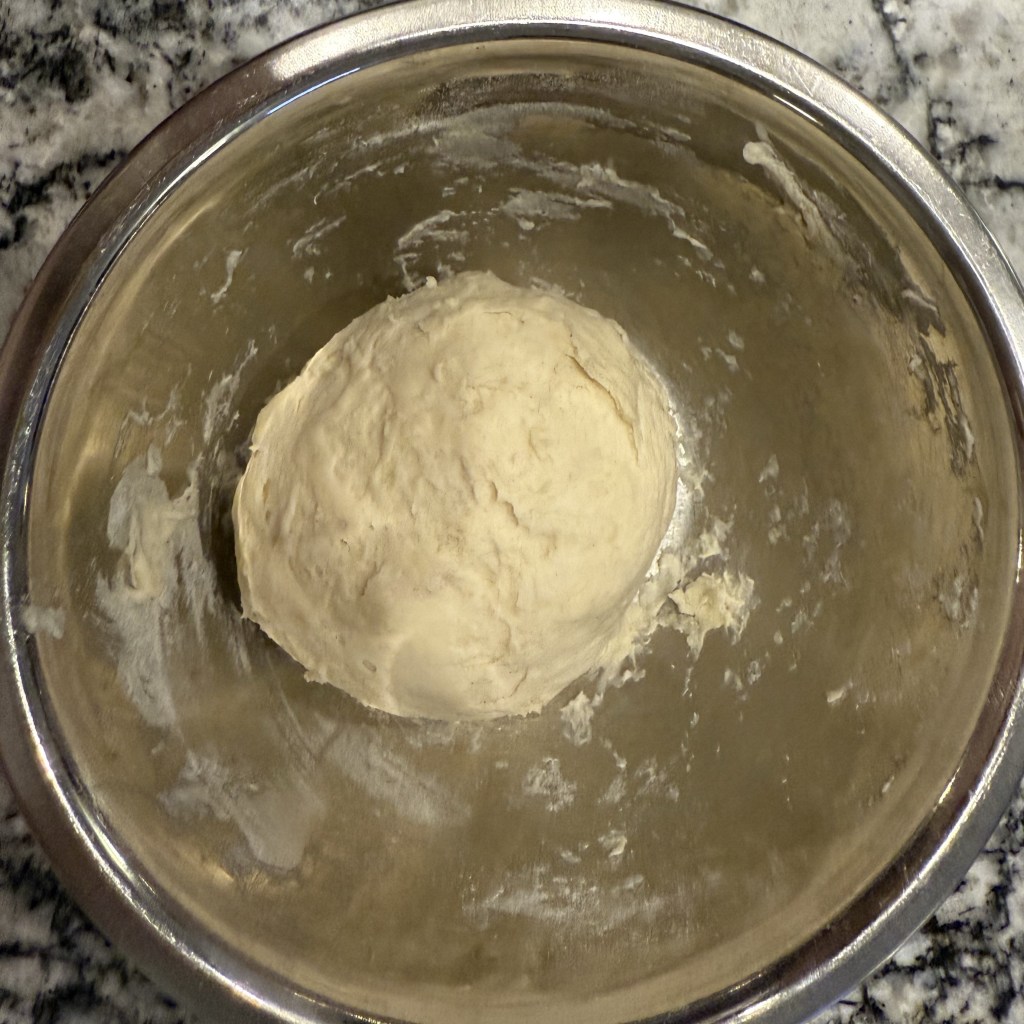
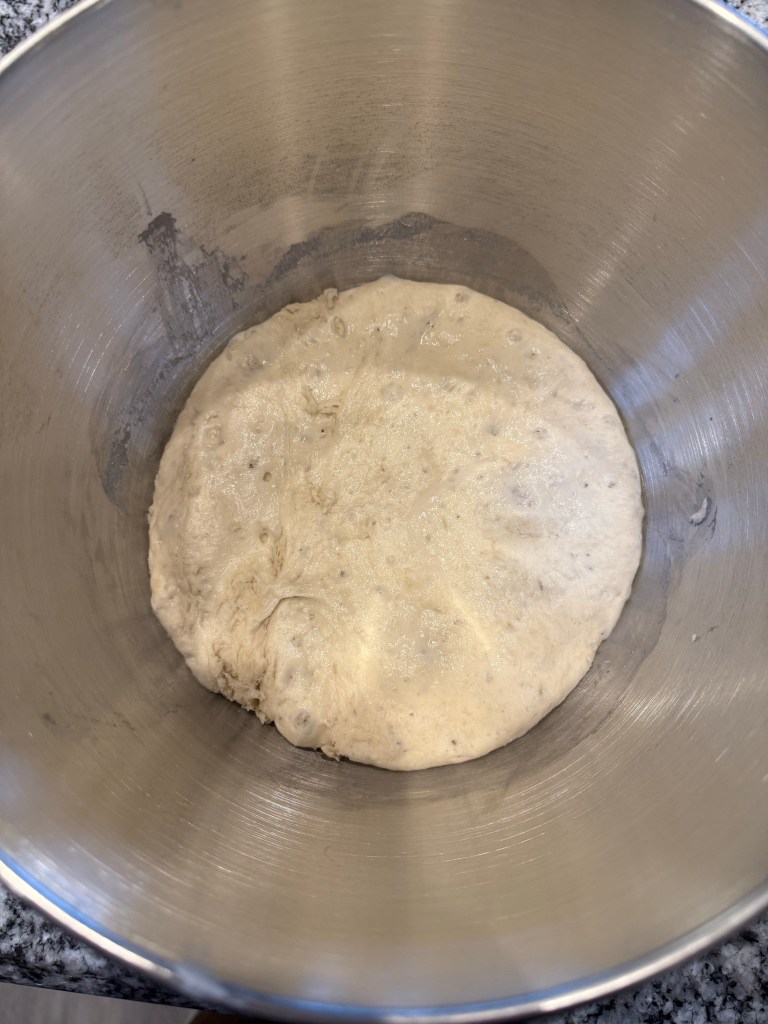
The dough rose for an hour…
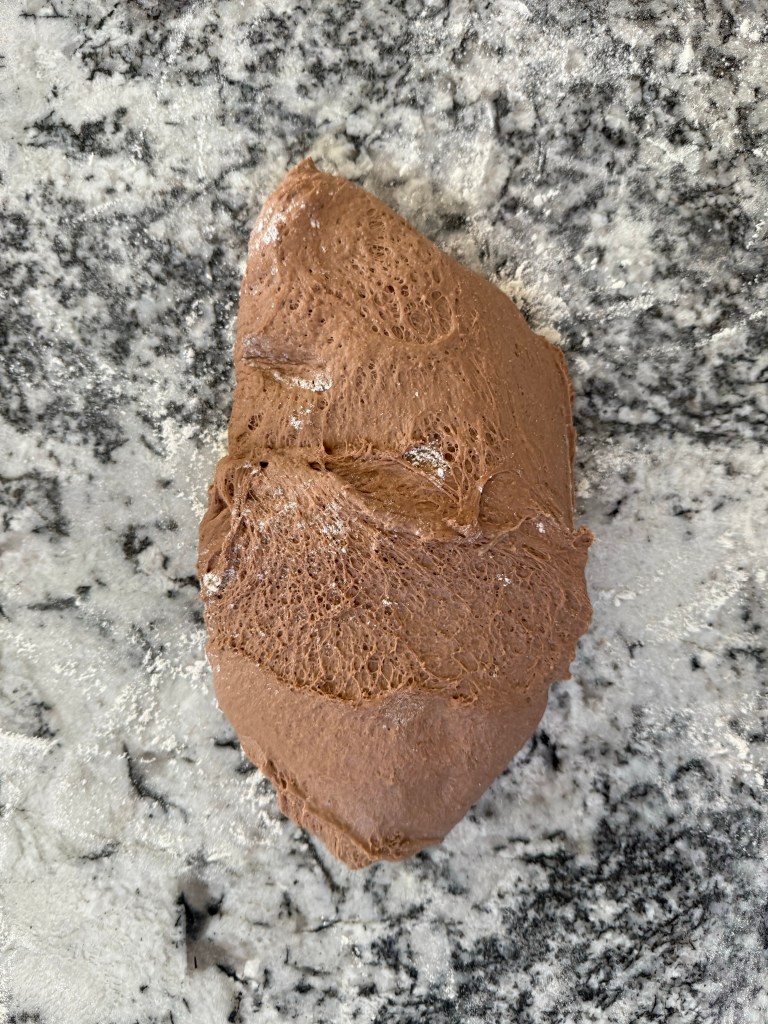
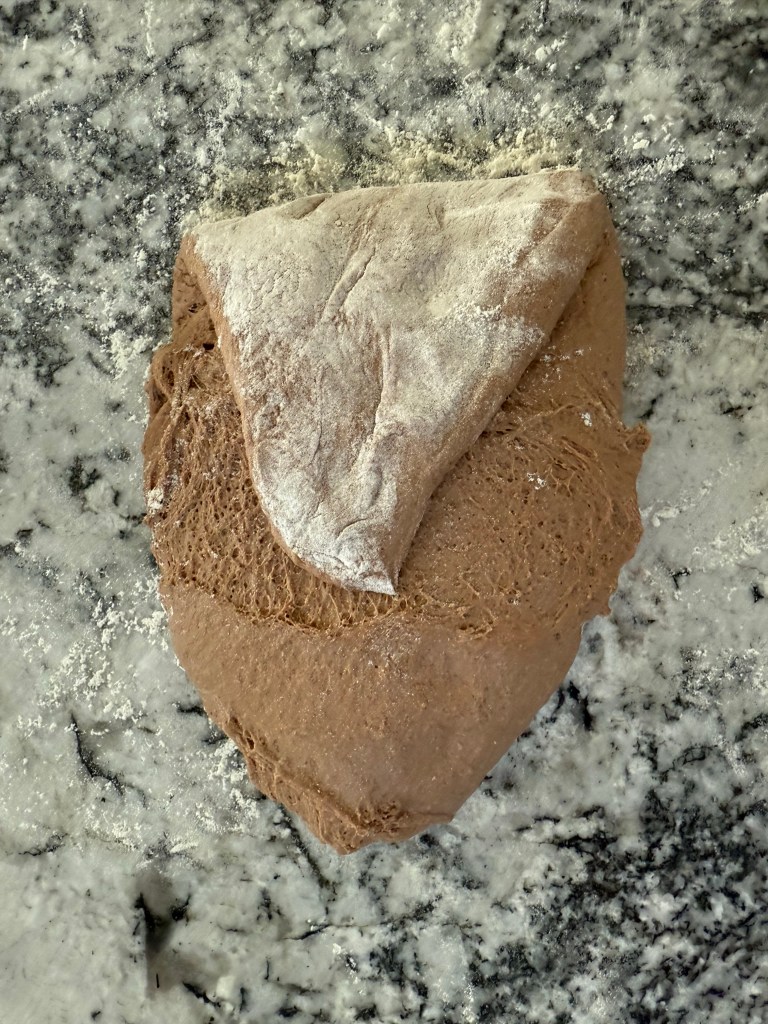
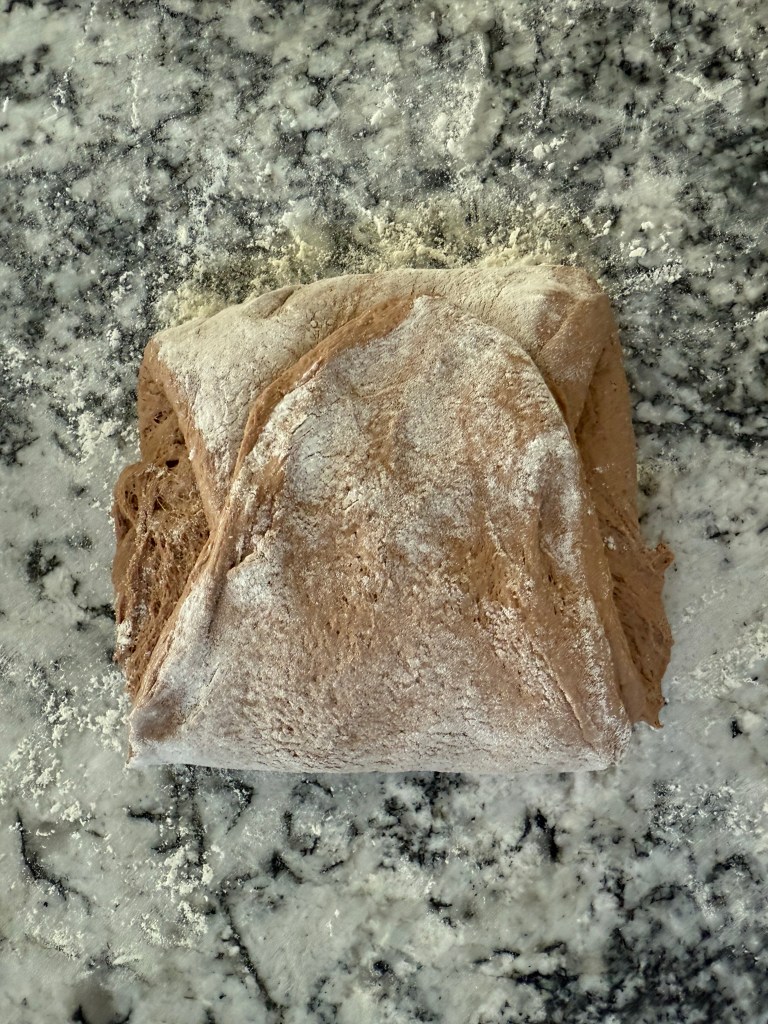
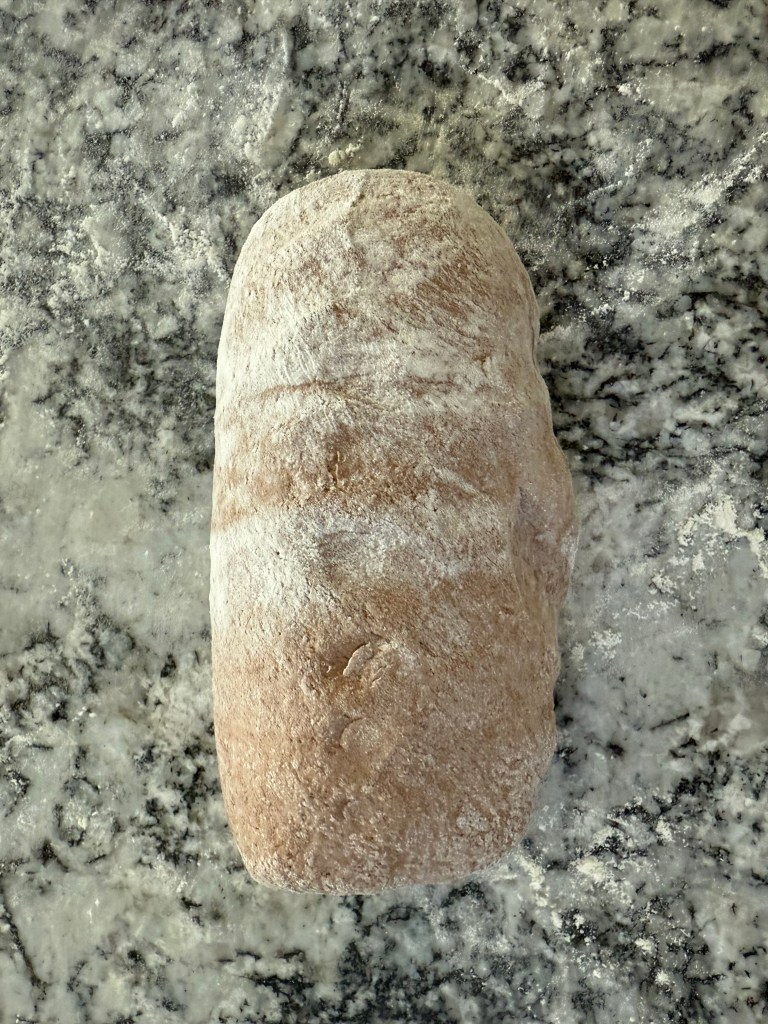
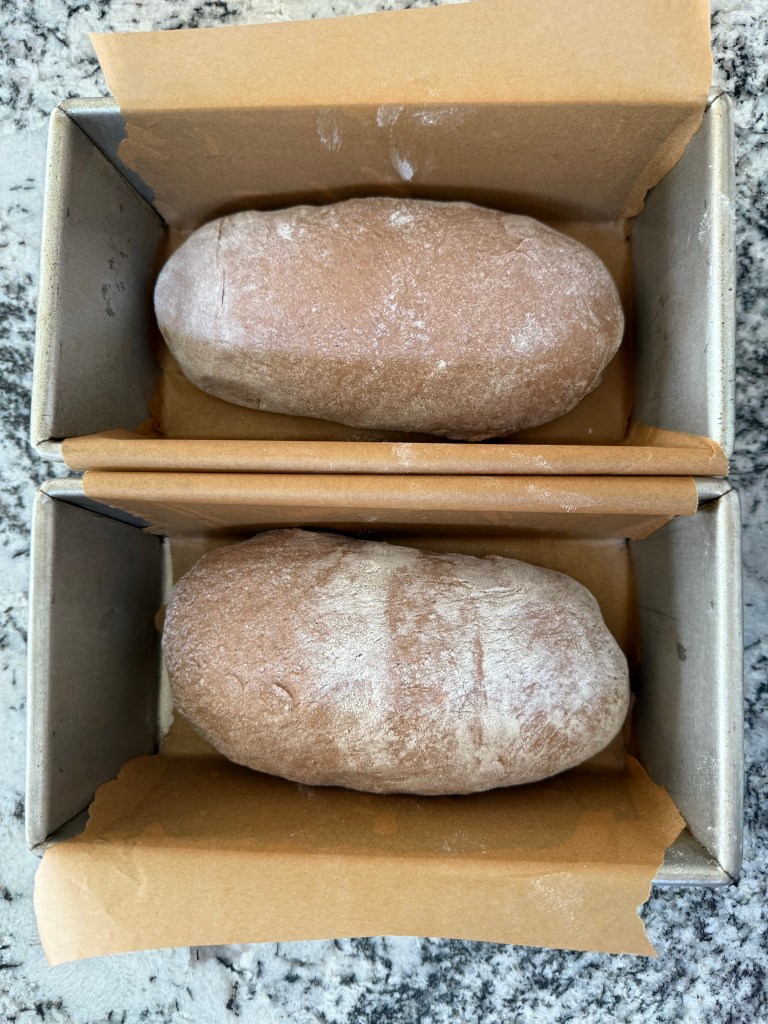
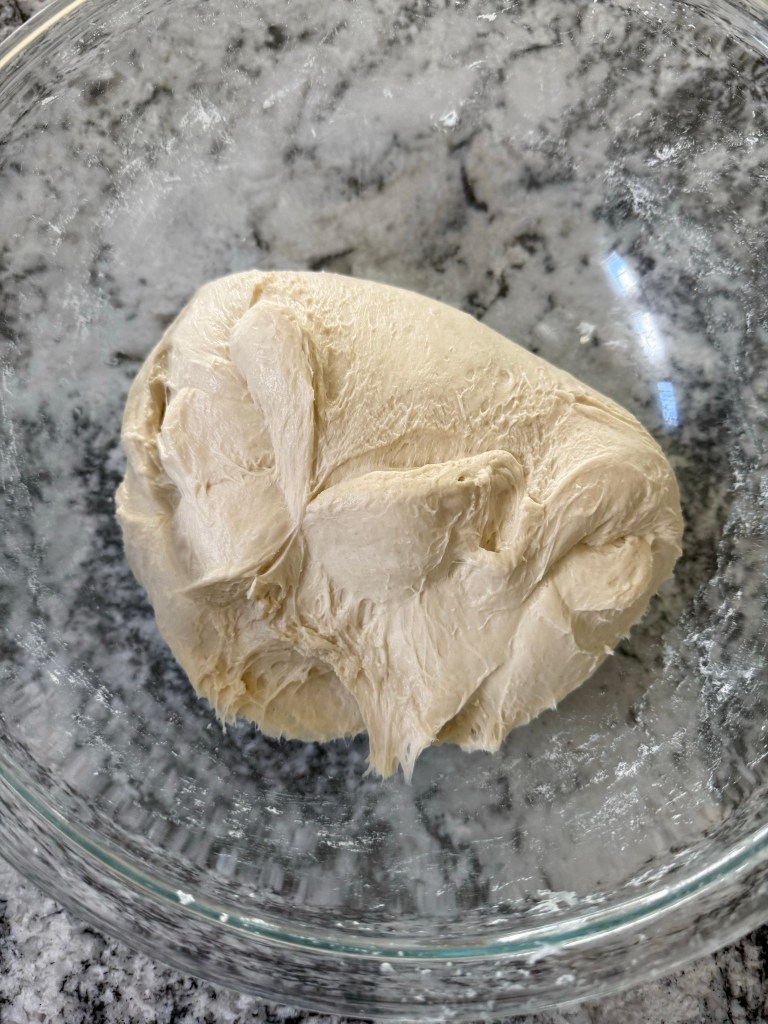
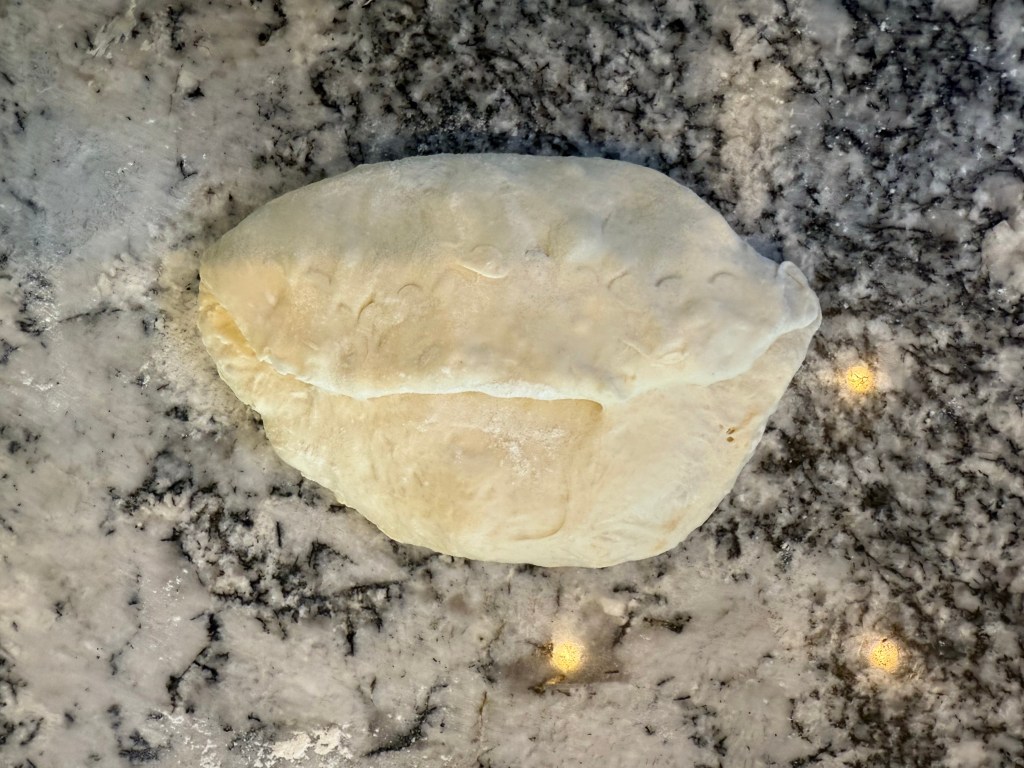
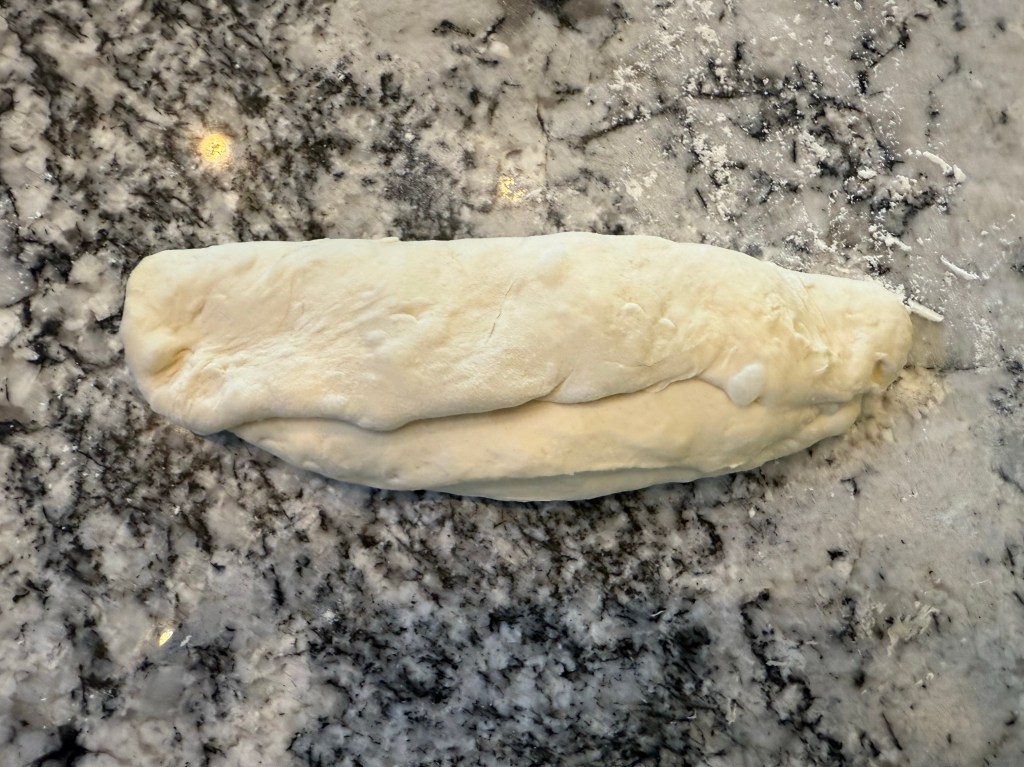
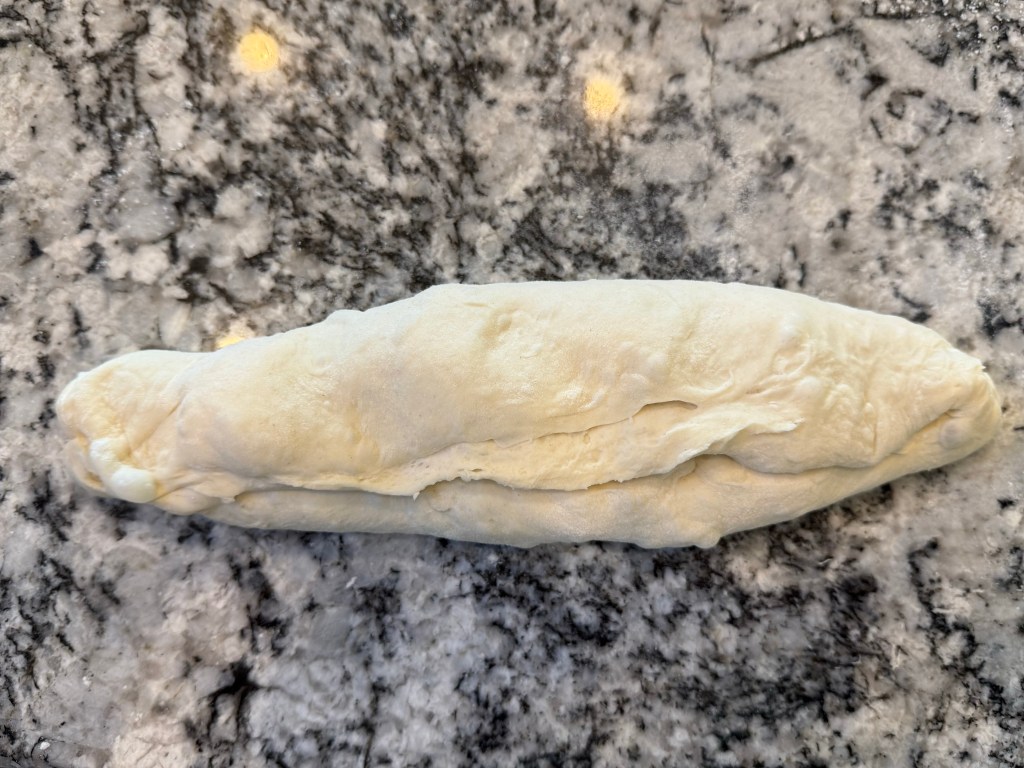
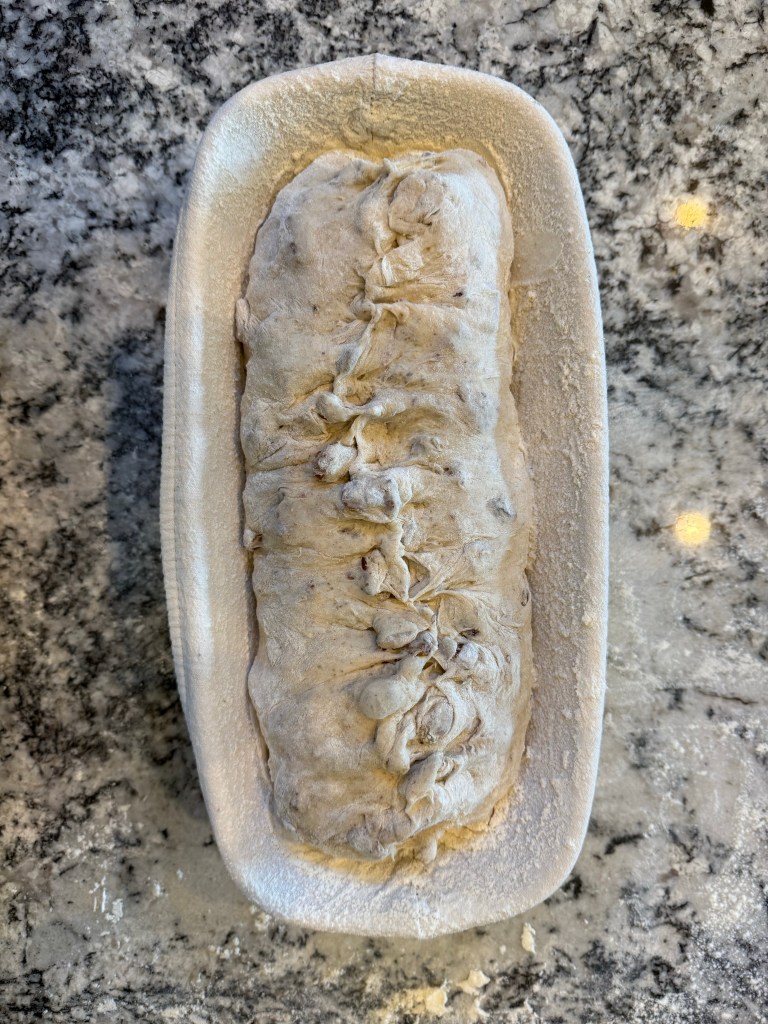
before I divided it into two and shaped each half into a loaf.
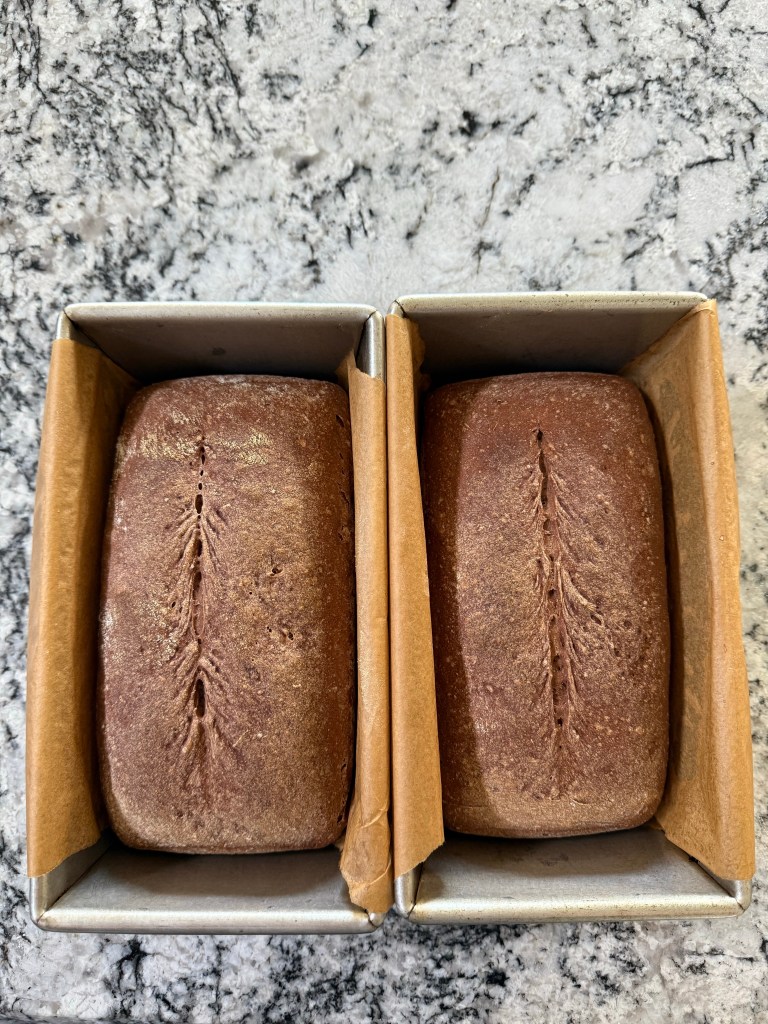
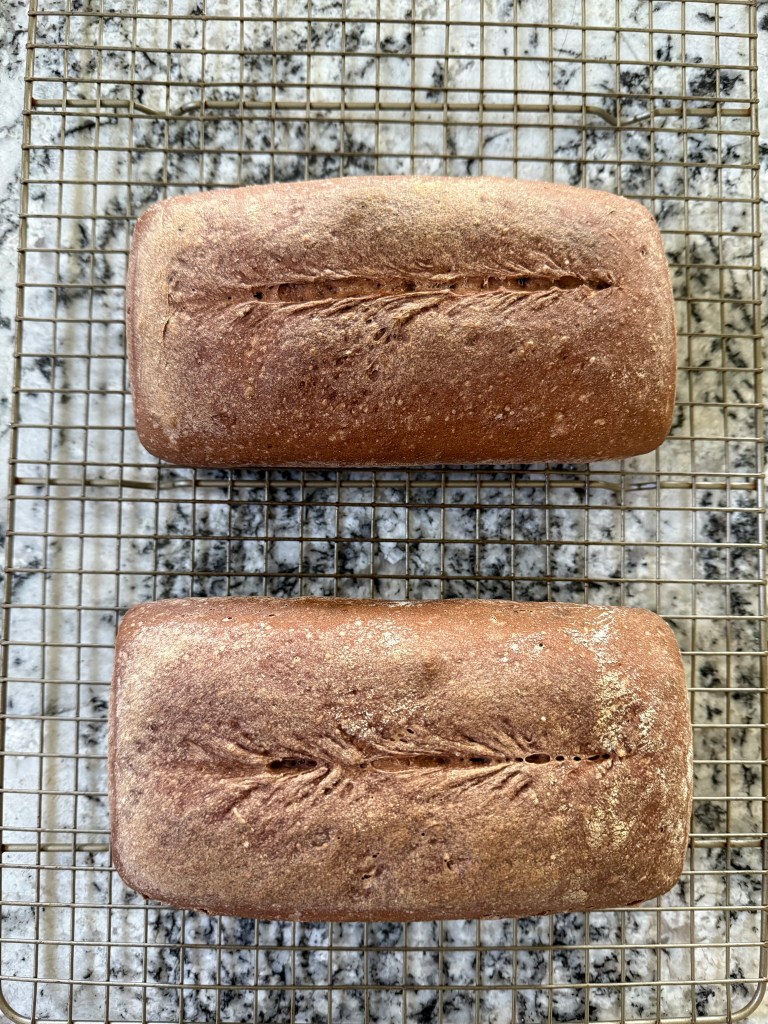
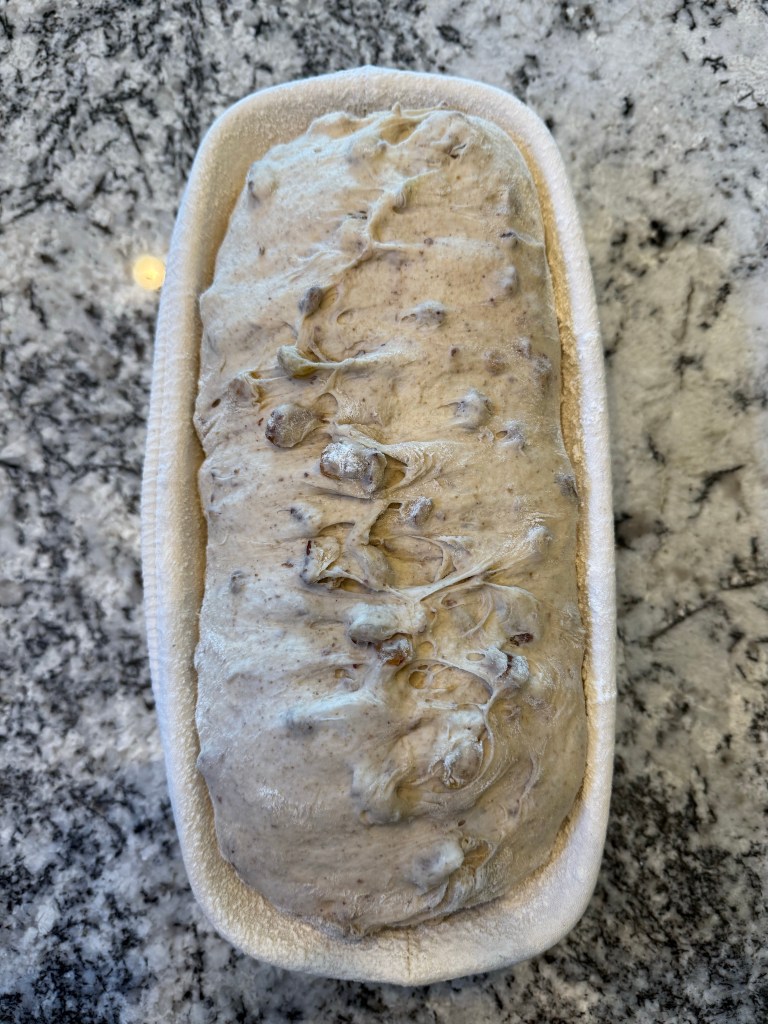
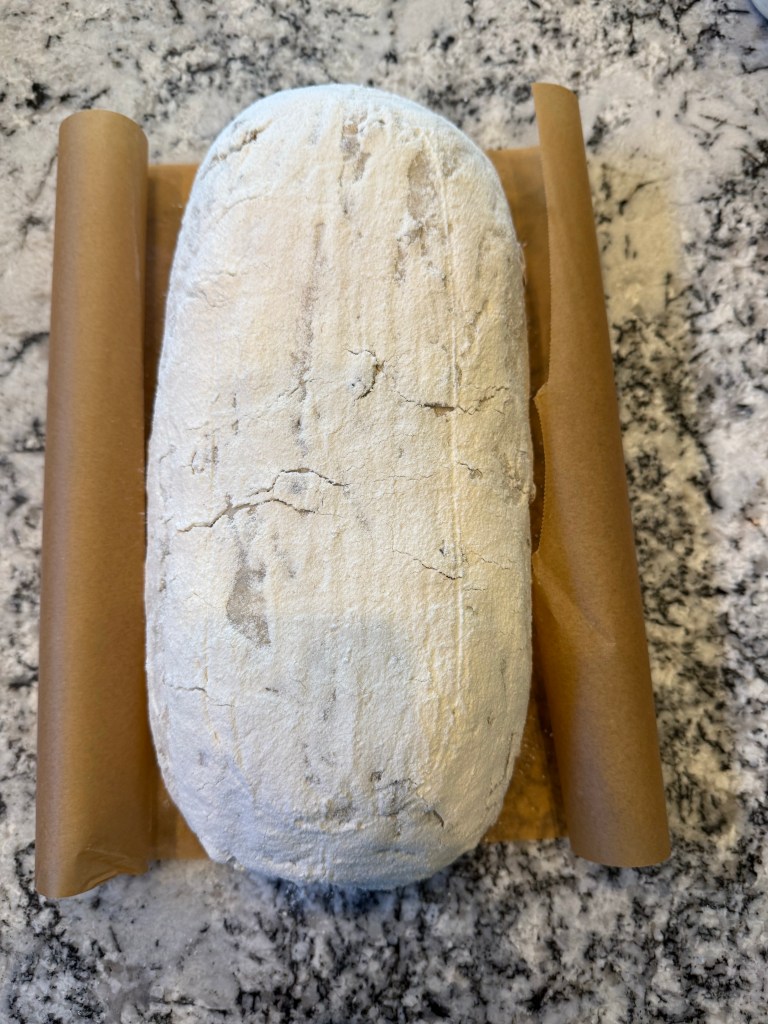
The loaves rose for 1 1/2 hours in the bread pans. I had a little trouble scoring them, since the dough was rather wet, then I put them into the oven to bake. When I took the bread out of the oven I noticed that the loaves had hardly any oven spring at all. I have baked this bread before and noticed the same thing. I contribue the lack of oven spring to the rye.
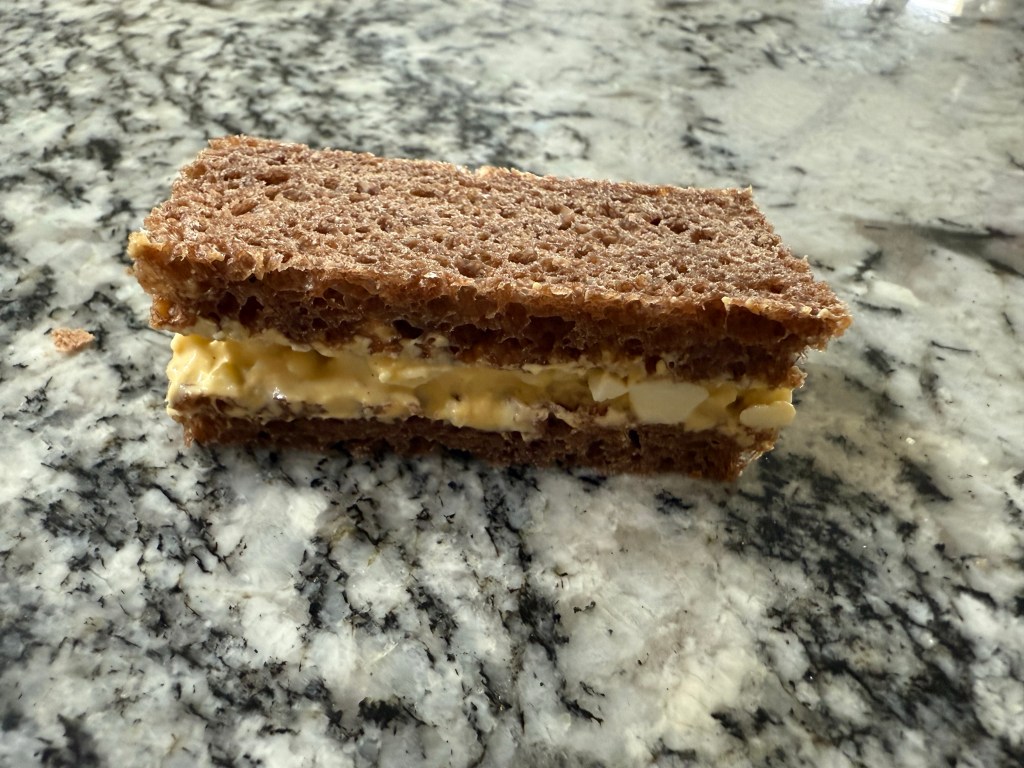
The loaves were pretty short, so I made long and thin sandwiches with all the crusts cut off.
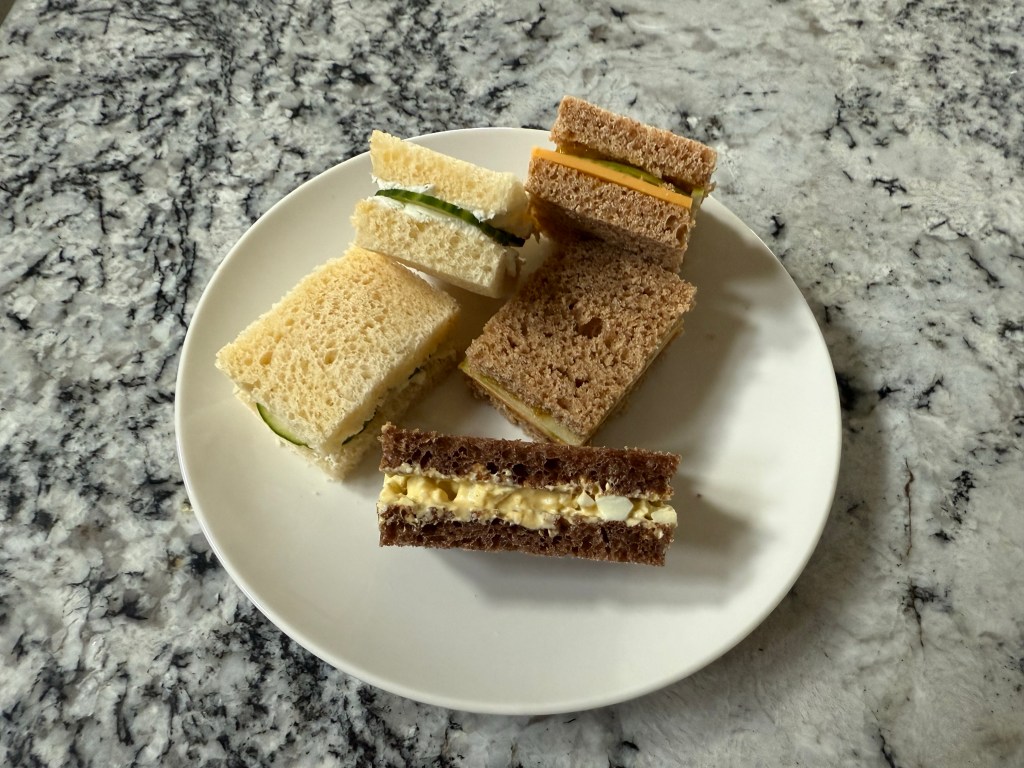
These sandwiches were paired with classic cucumber and cream cheese sandwiches on Hawaiian bread and cheddar, apple, and chutney sandwiches on whole wheat bread.
Until the next time: may your yeast always rise and your flour never run out.
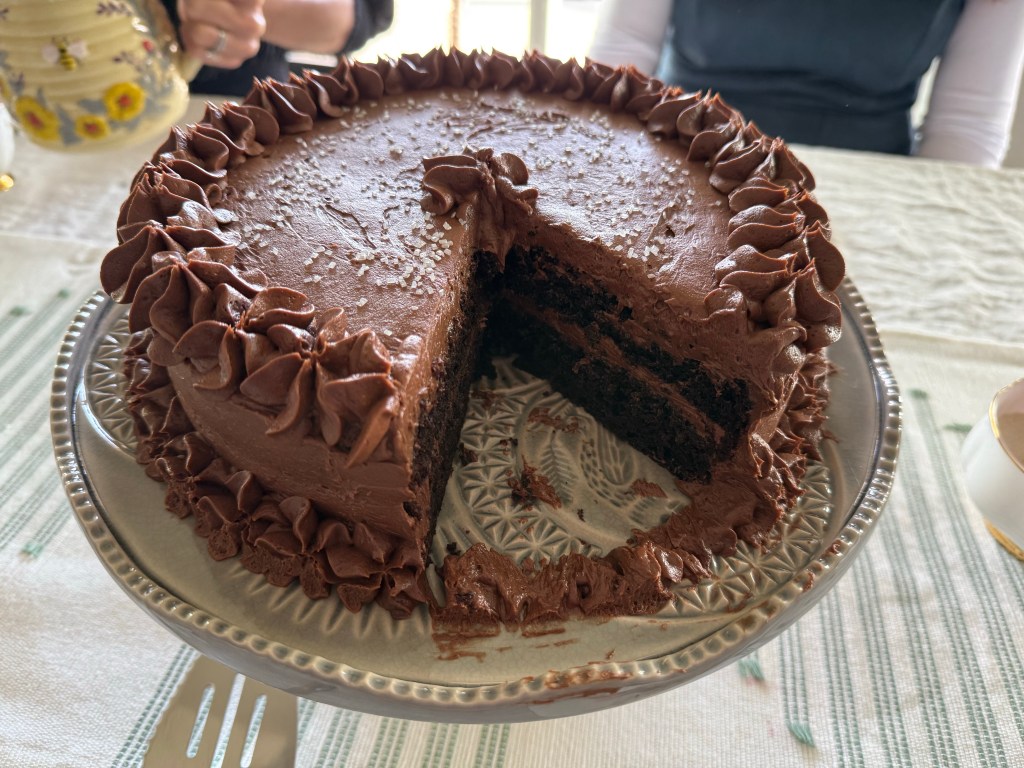
When I was a kid my mom would always make me a birthday cake. I got to choose the cake flavor, and her doing that for me always made me feel really special and loved. When I went to college my brother and my friends bought me cakes, but they were never as special as the ones my mom made for me. Over the years I started baking birthday cakes for my husband, my sister, and friends, but there was still no one to bake a cake for me, and that made me sad. Several years ago I decided to stop feeling sad and show myself the love I showed others by baking a cake for myself. Making my cake is now one of my treasured birthday traditions. This year the recipe for my birthday cake came from the King Arthur Baking School book.
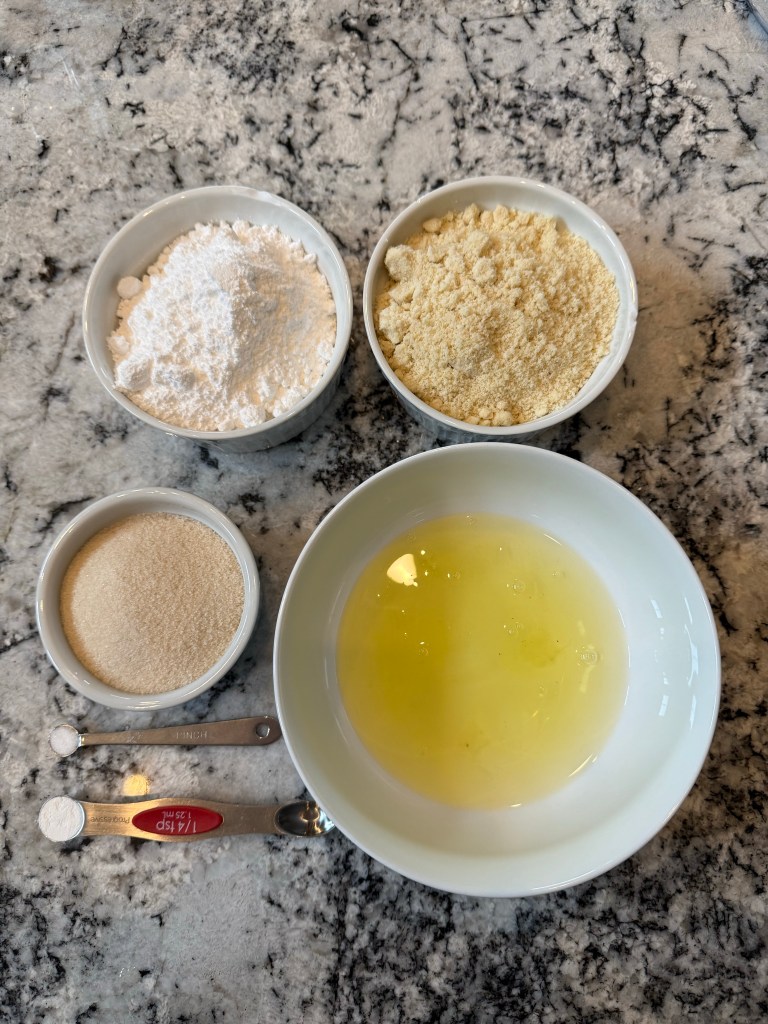
I started with the mise en place:
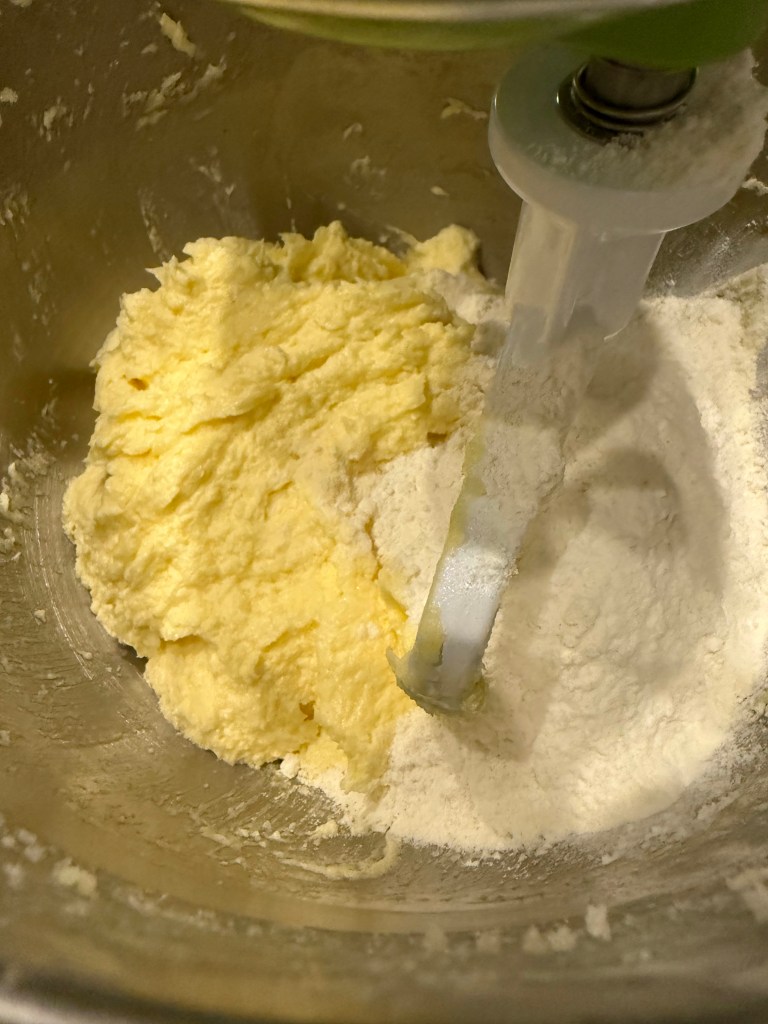
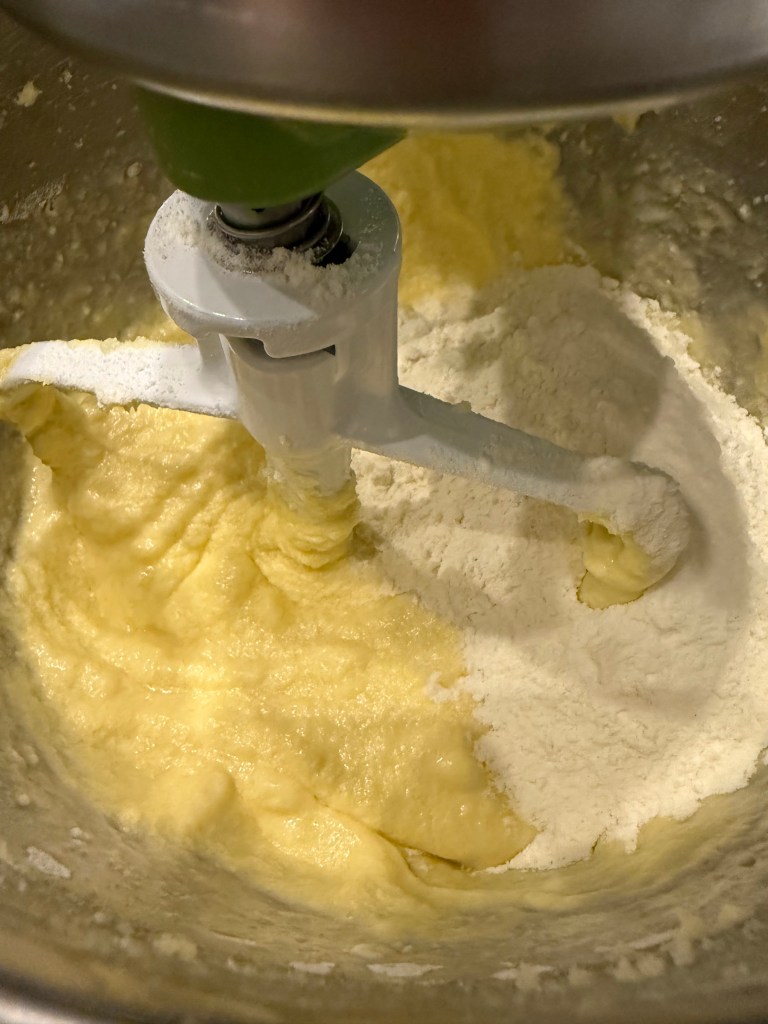
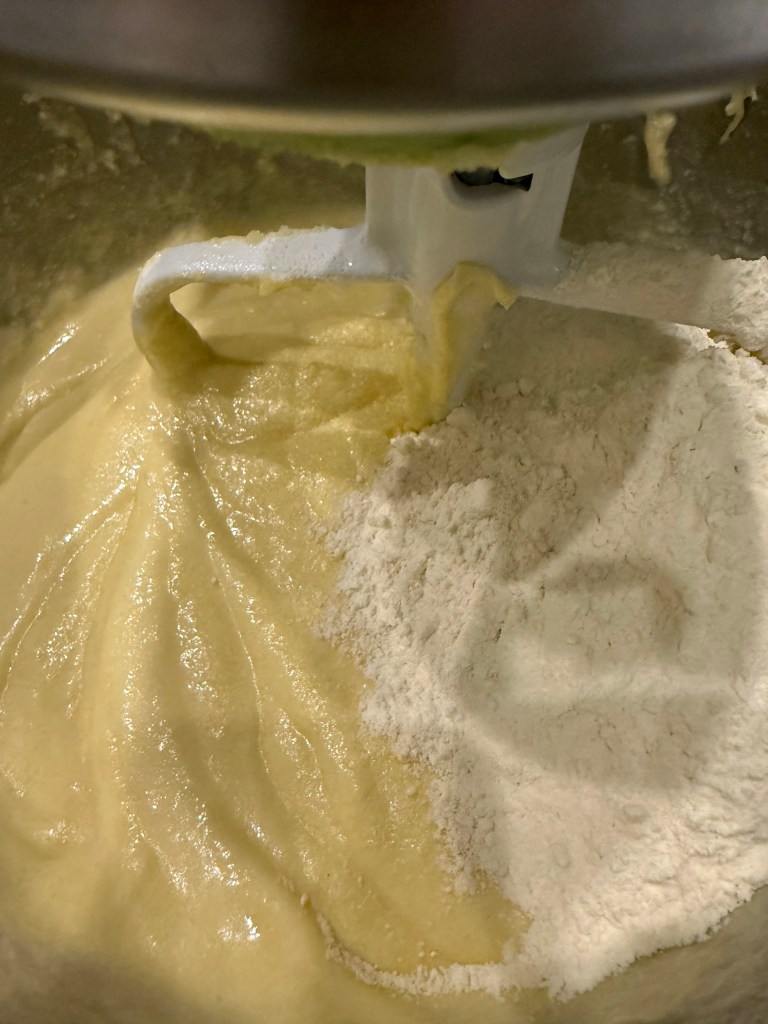
I mixed dry ingredients,
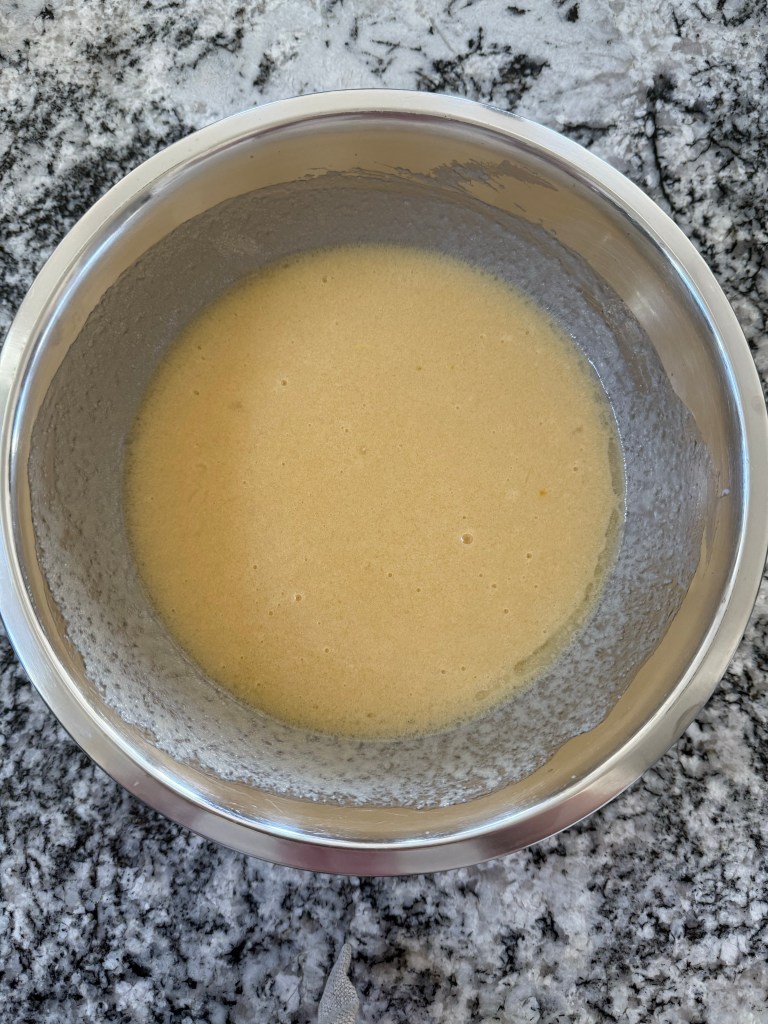
then the wet ingredients,
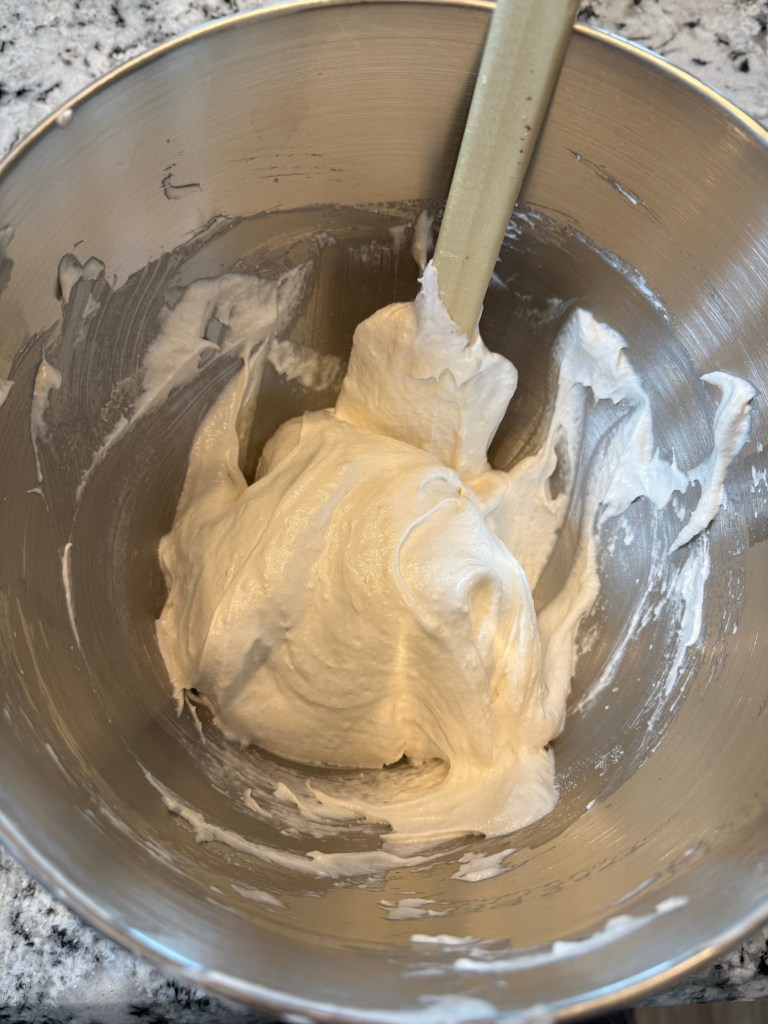
then combined the wet and dry mixtures. That’s all you do for this batter. It’s so easy.
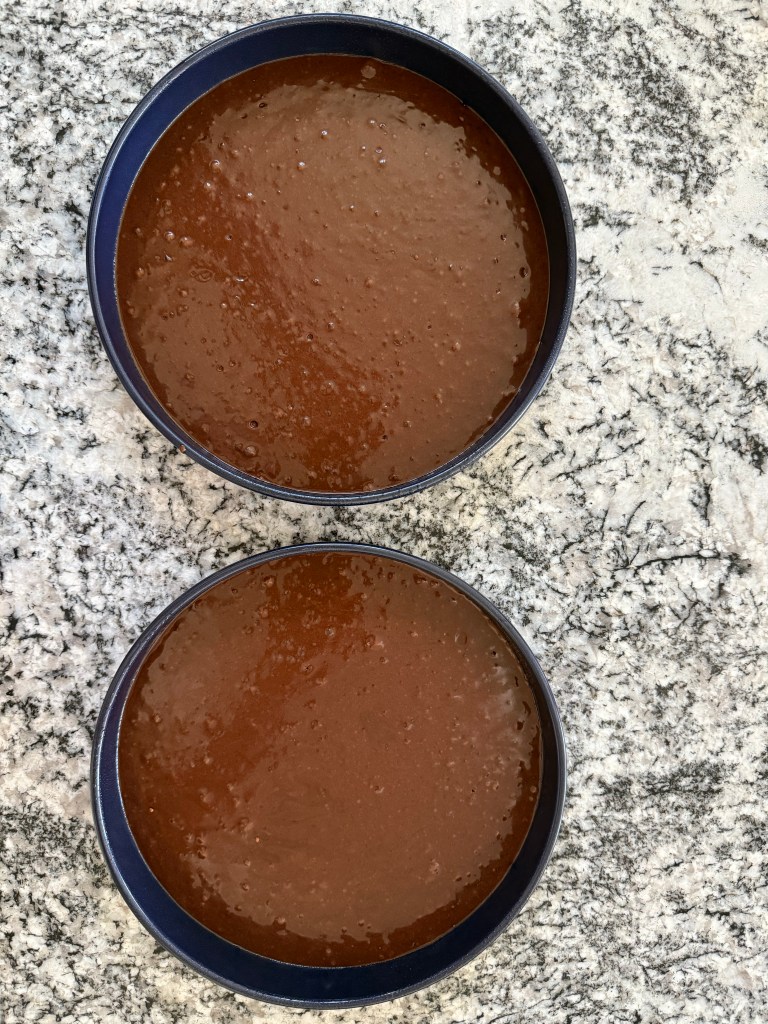
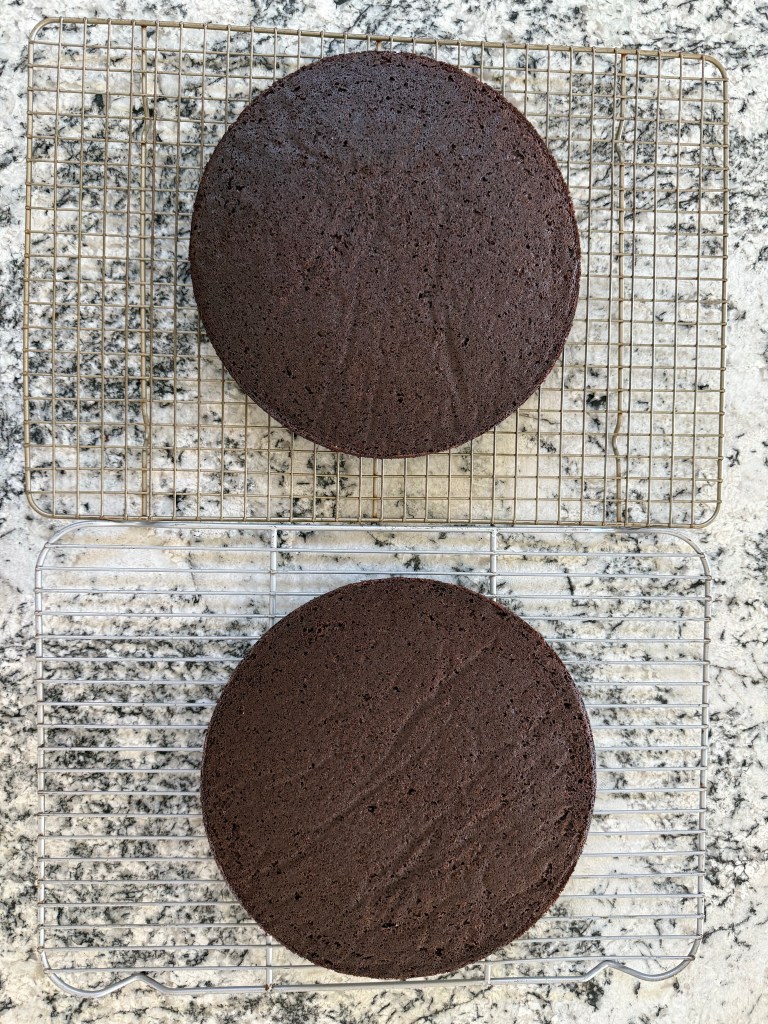
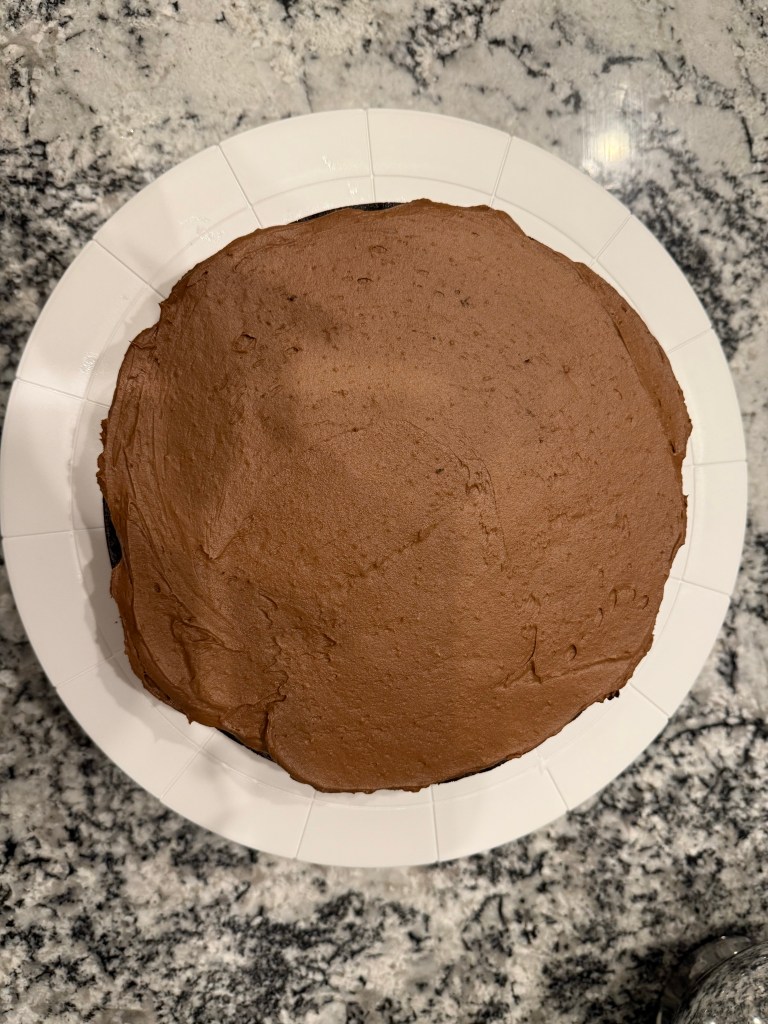
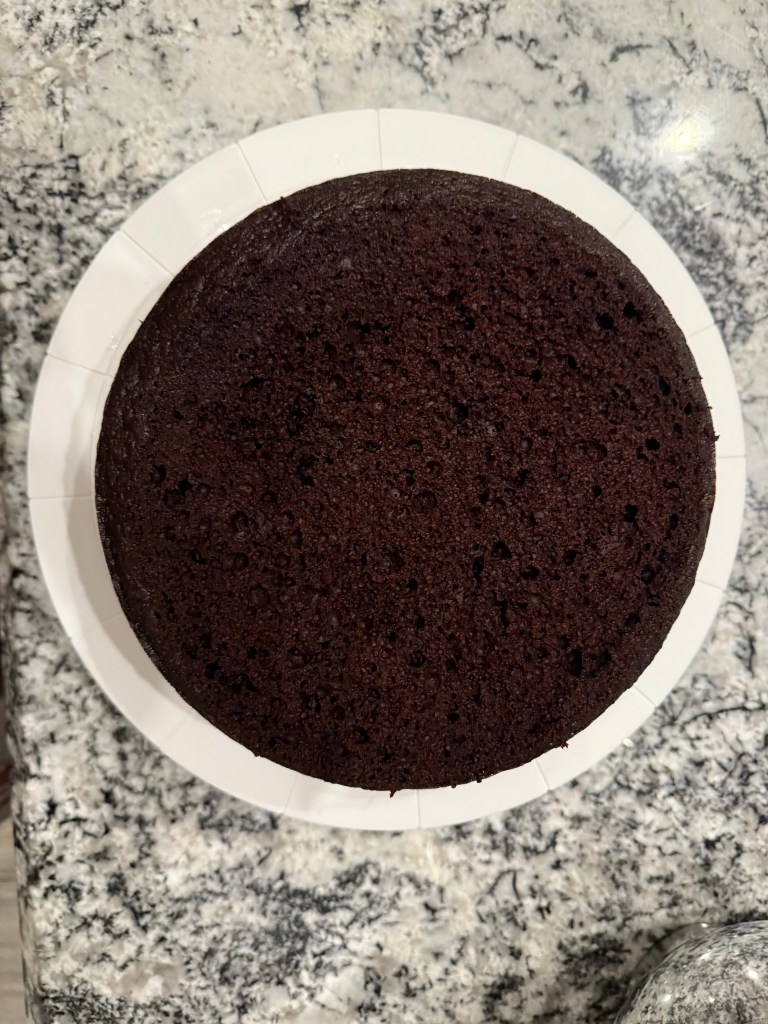
I divided the batter into 2 cake pans and baked them, then let them cool completely at room temperature.
While the cake cooled I made the frosting.
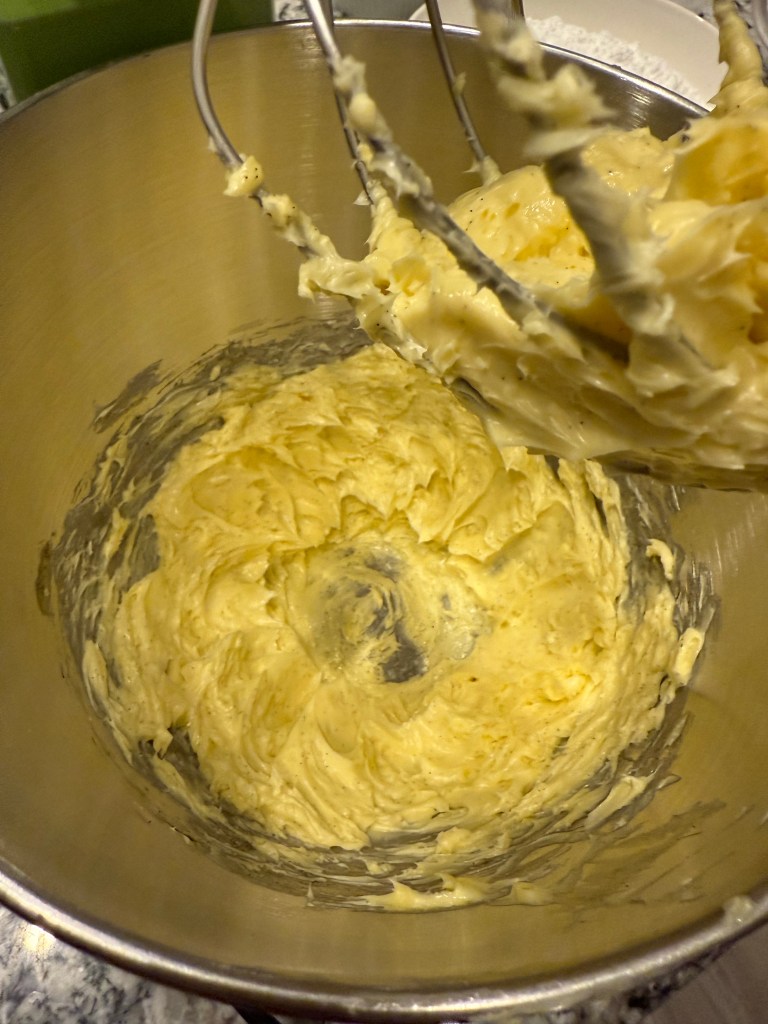
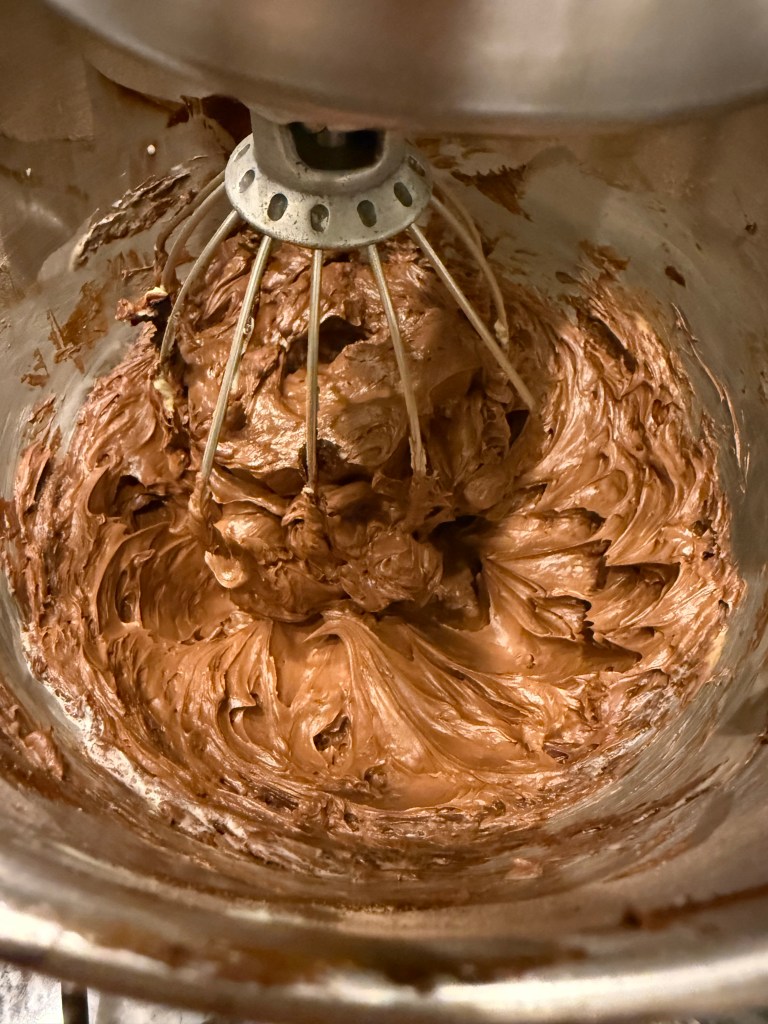
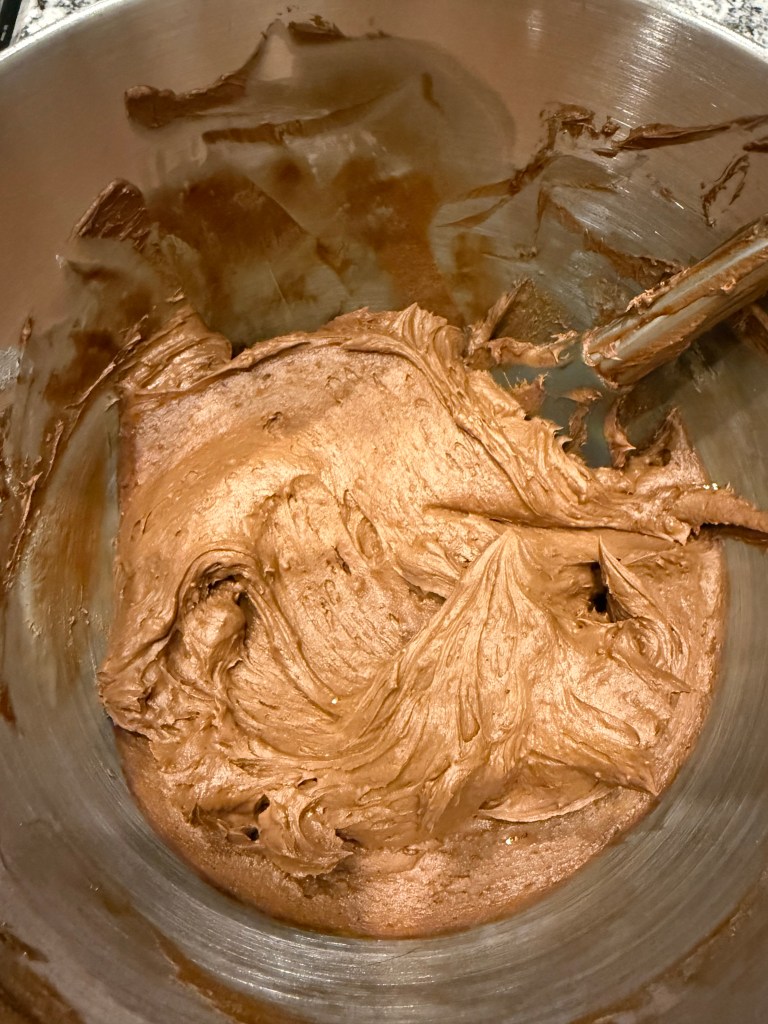
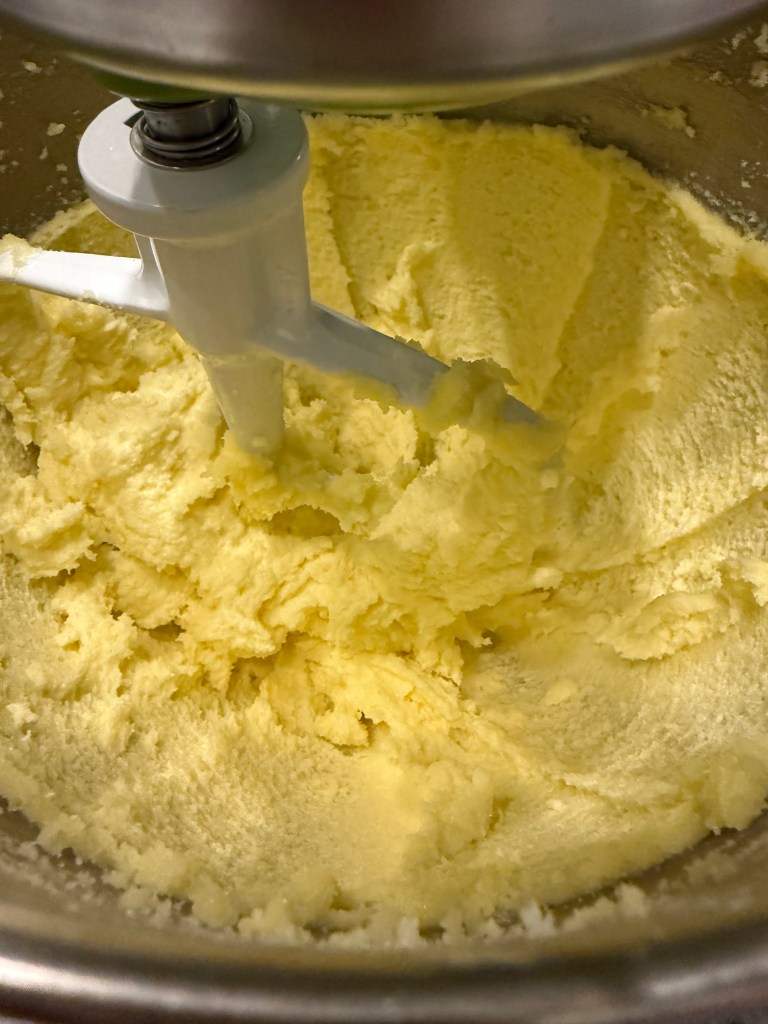
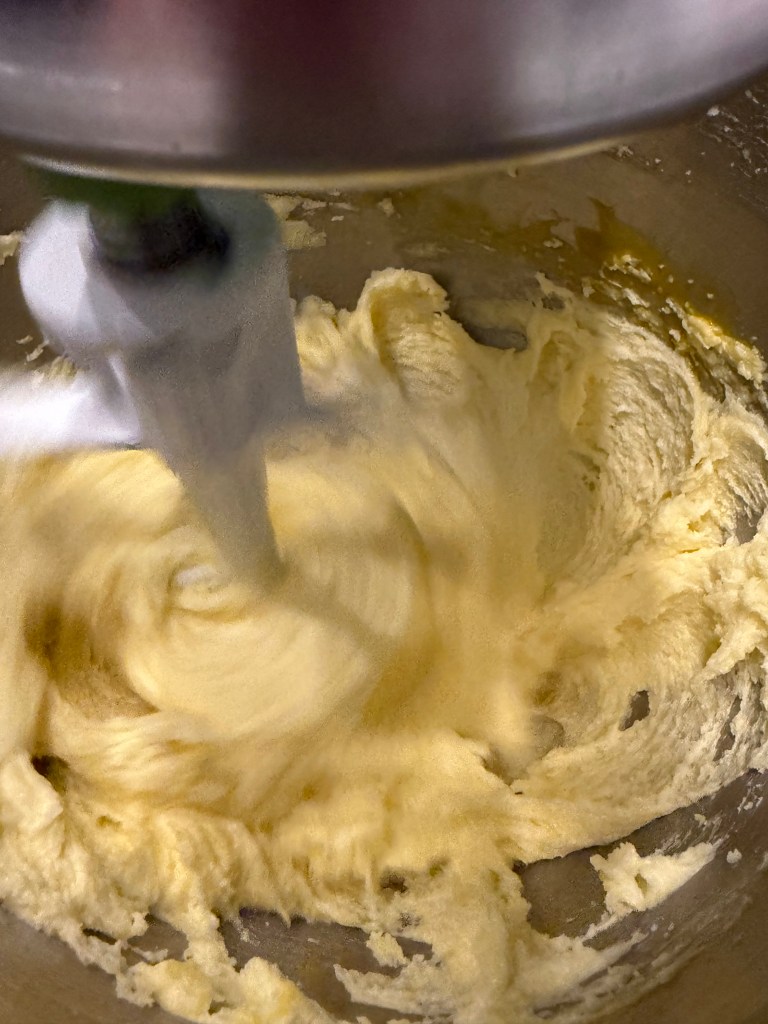
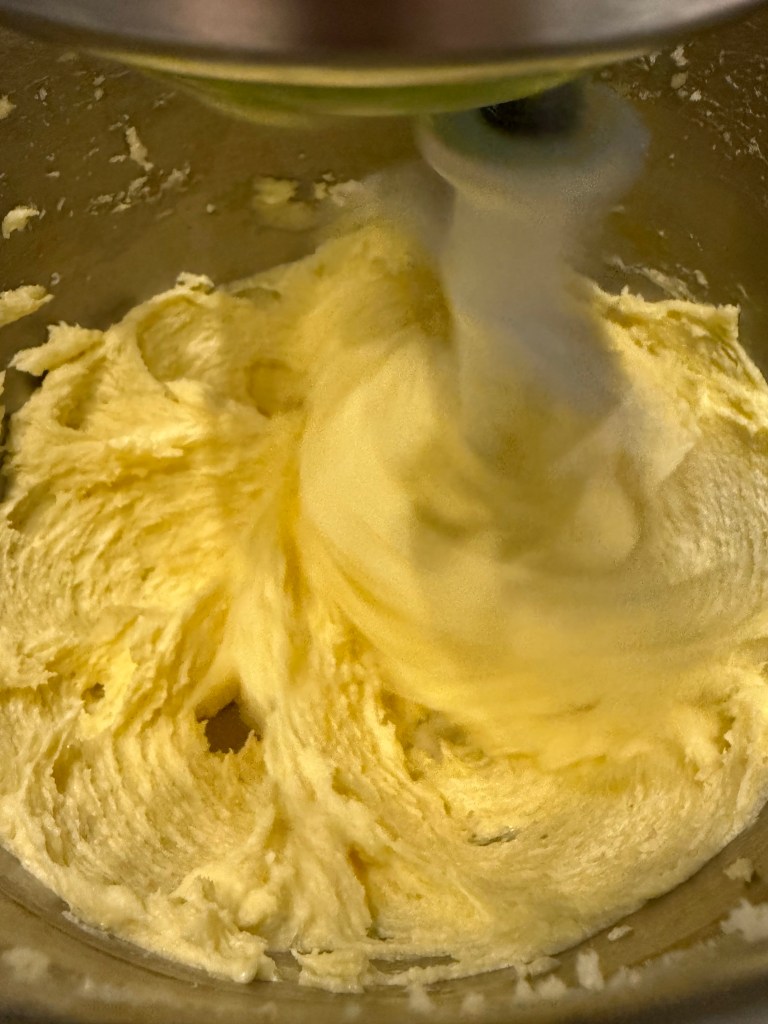
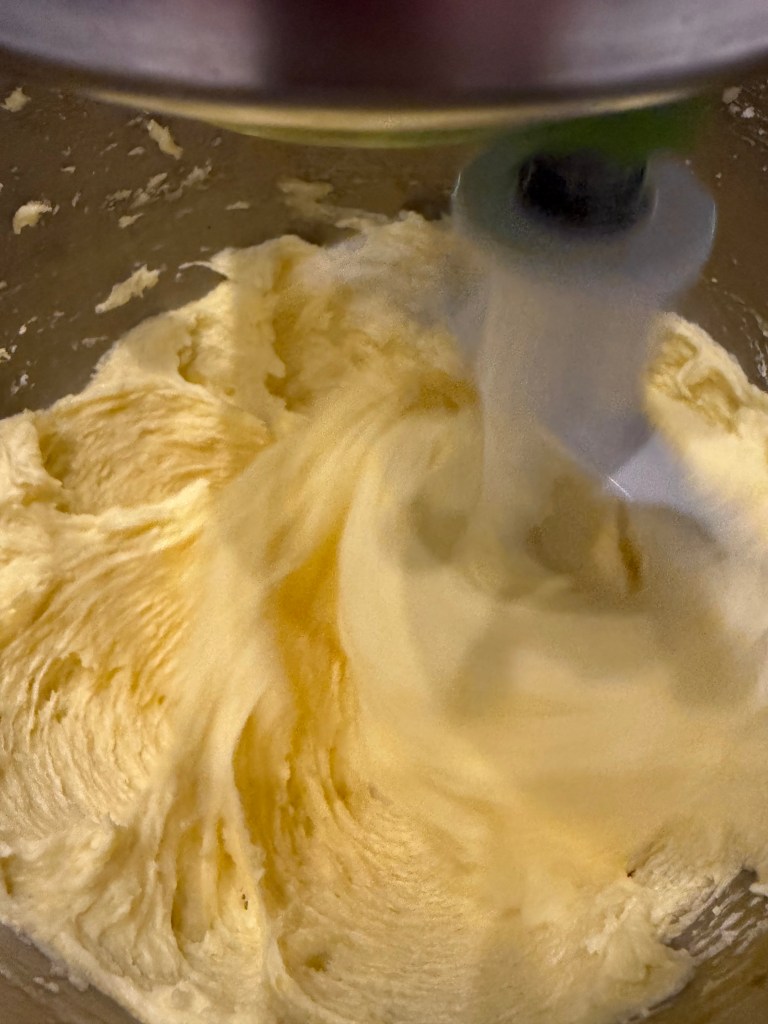
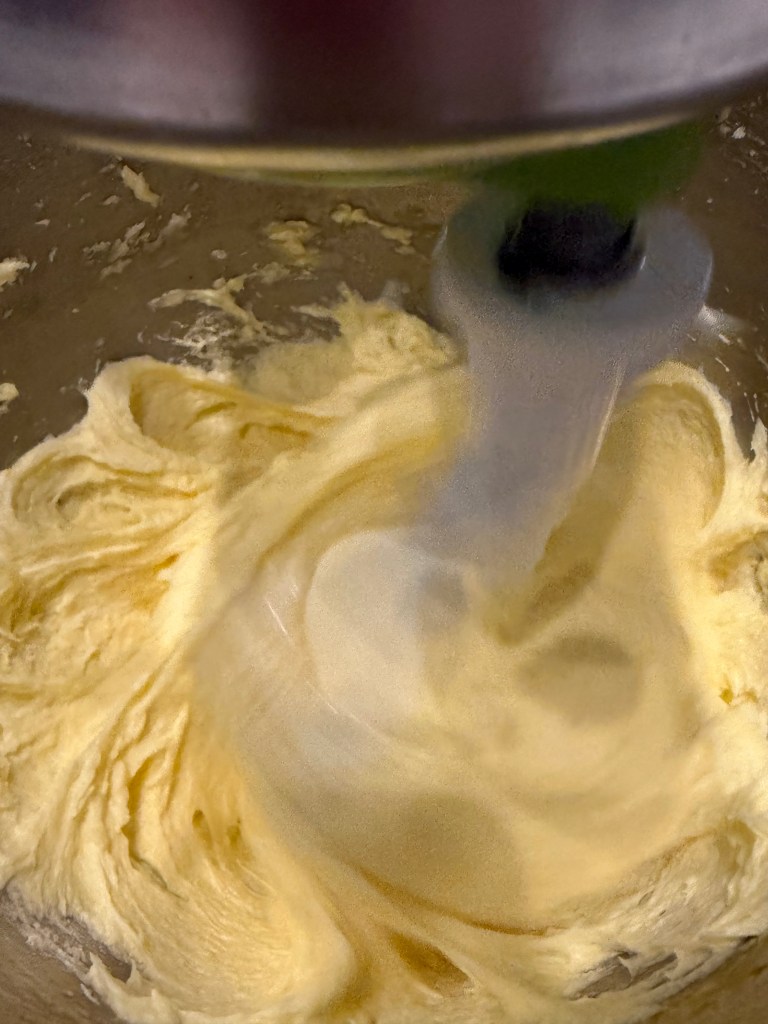
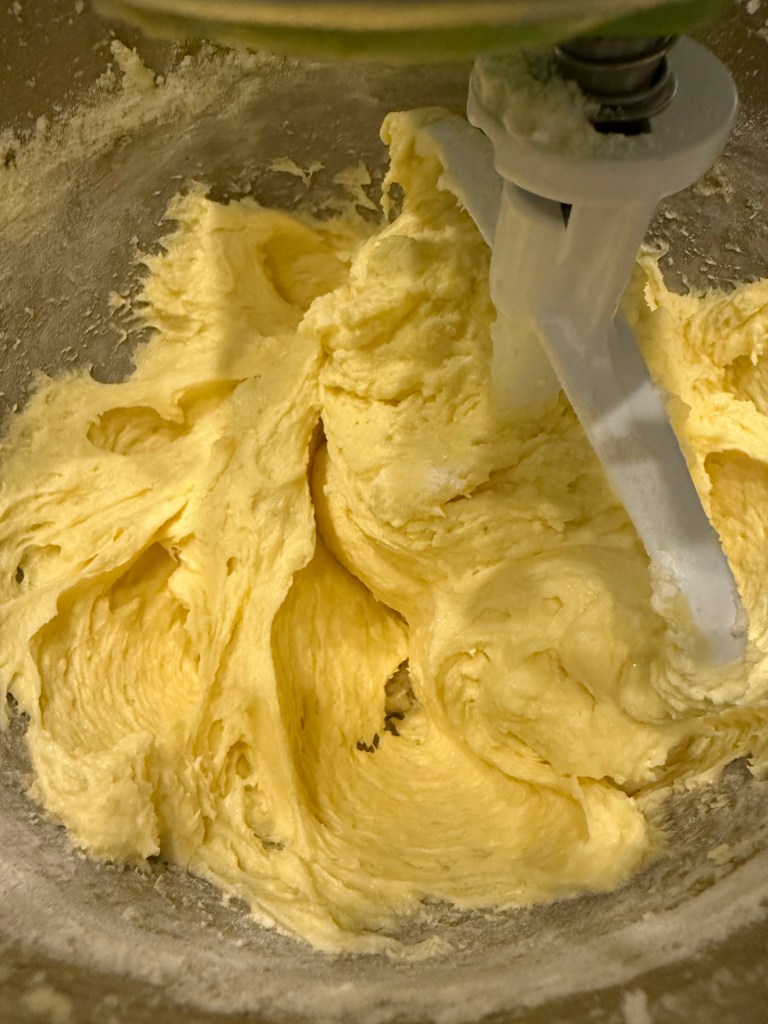
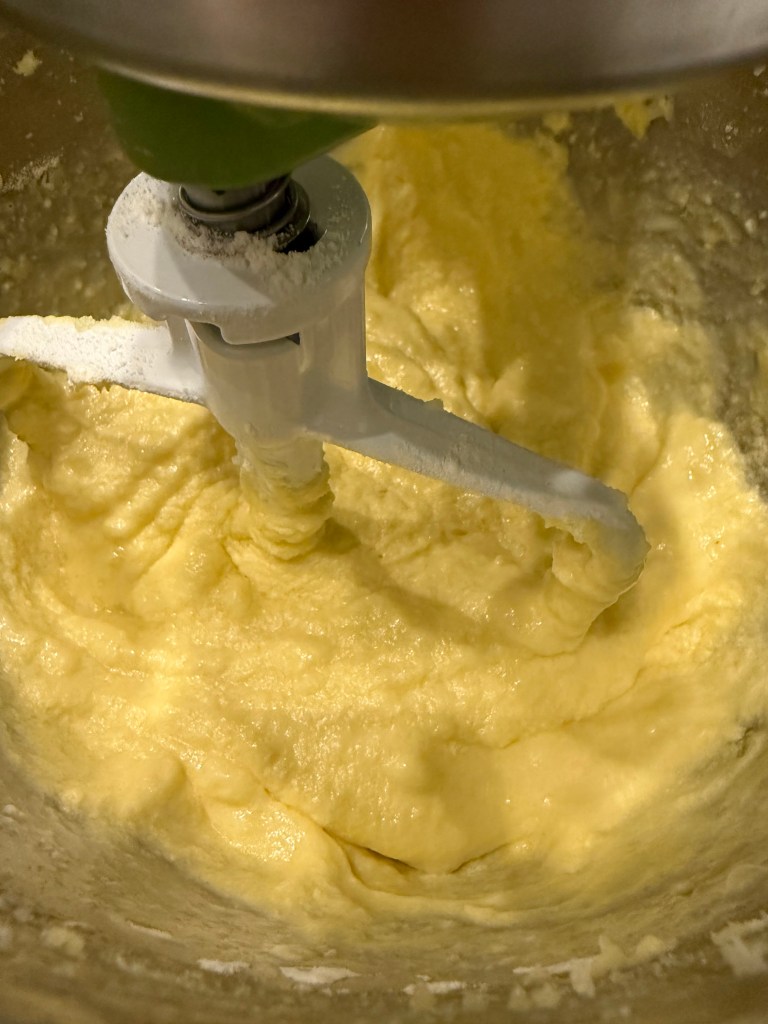
I creamed the butter, salt, and vanilla together,
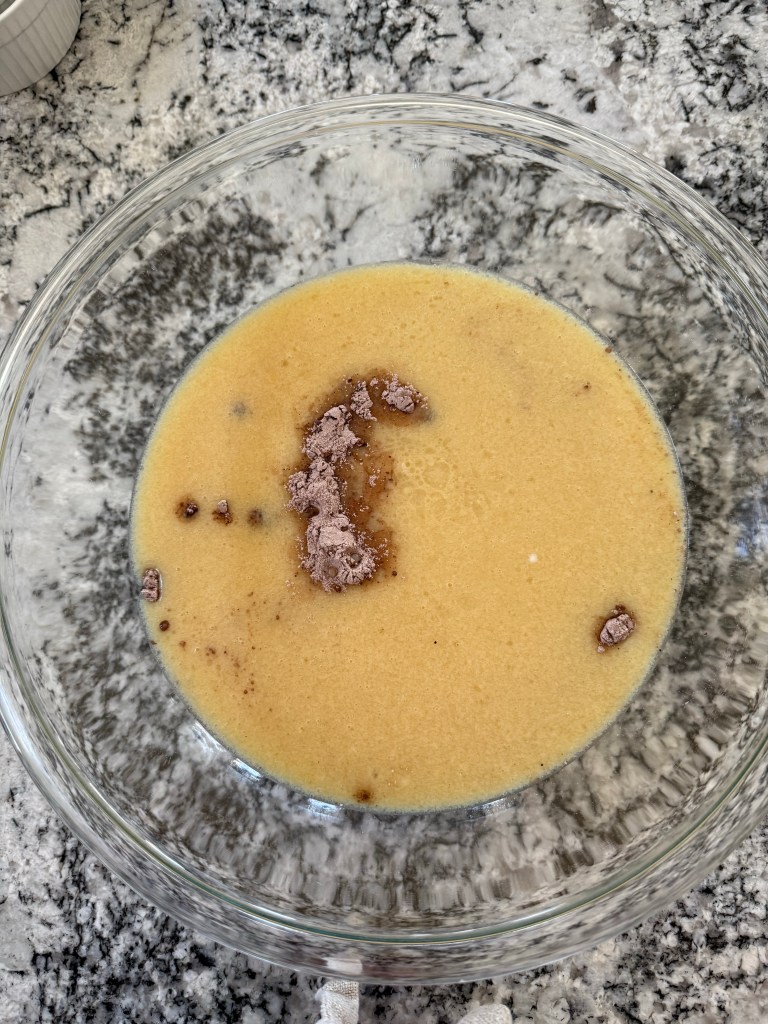
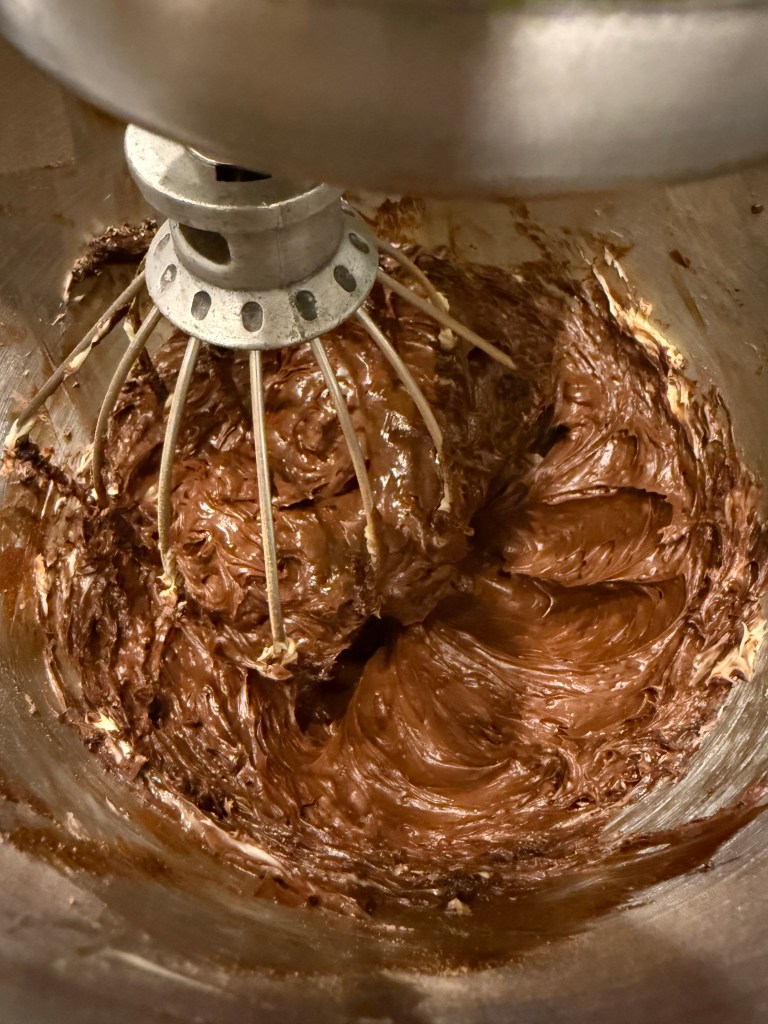
added the cocoa powder,
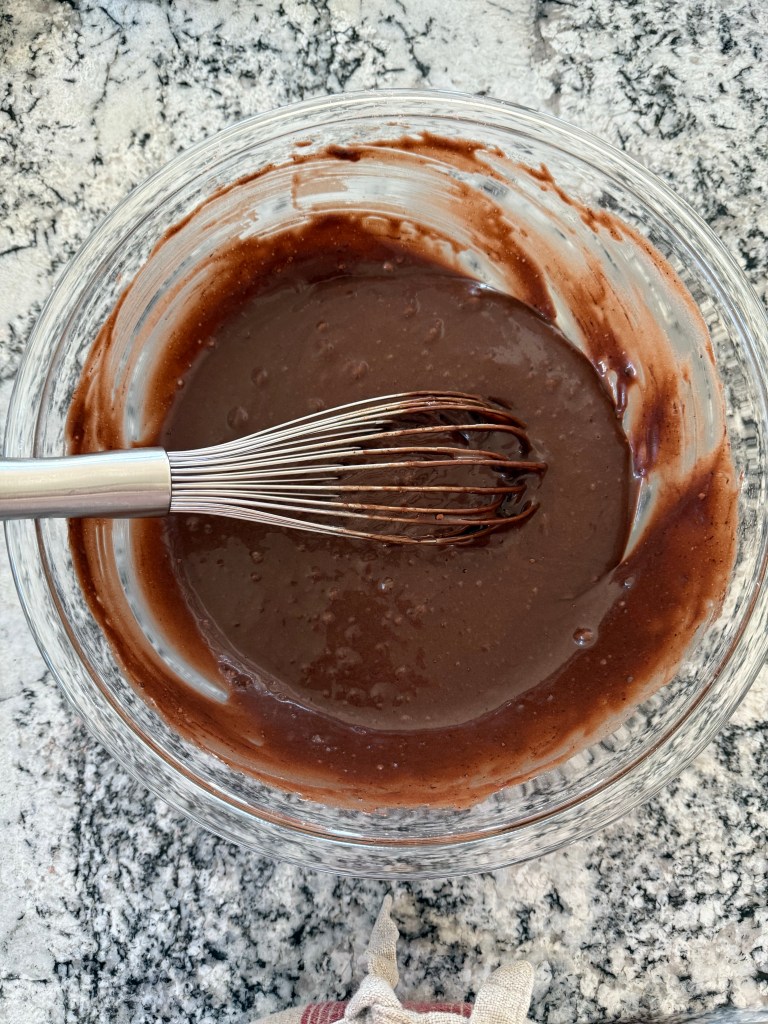
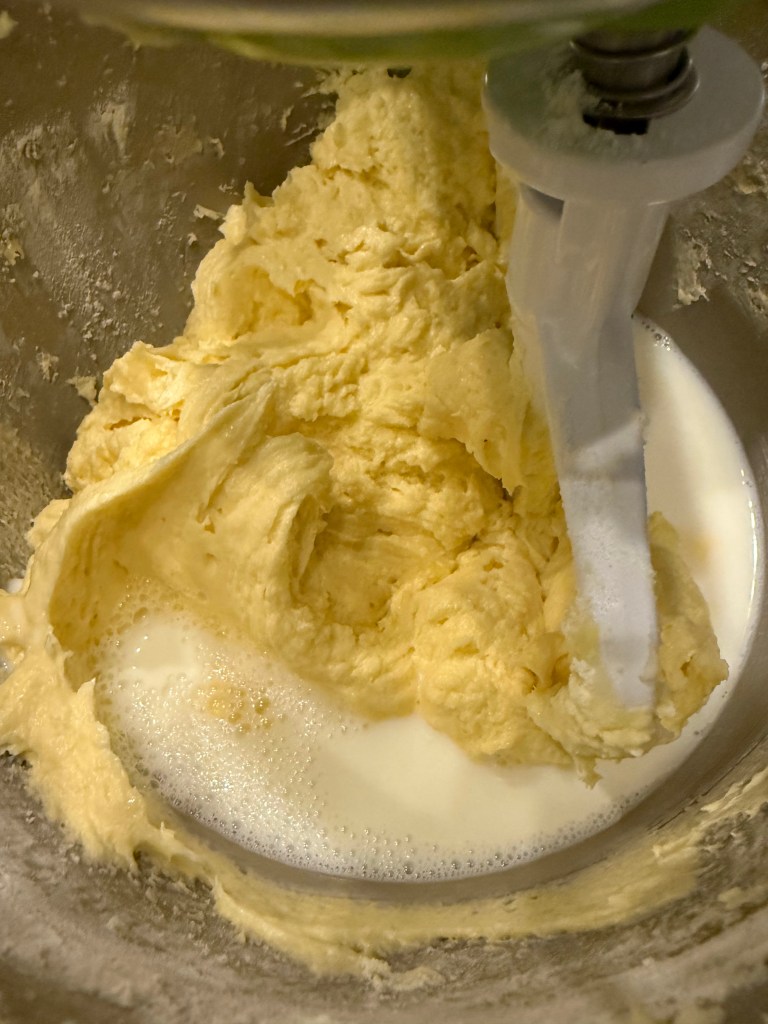
mixed in the heavy cream,
and then added the powdered sugar.
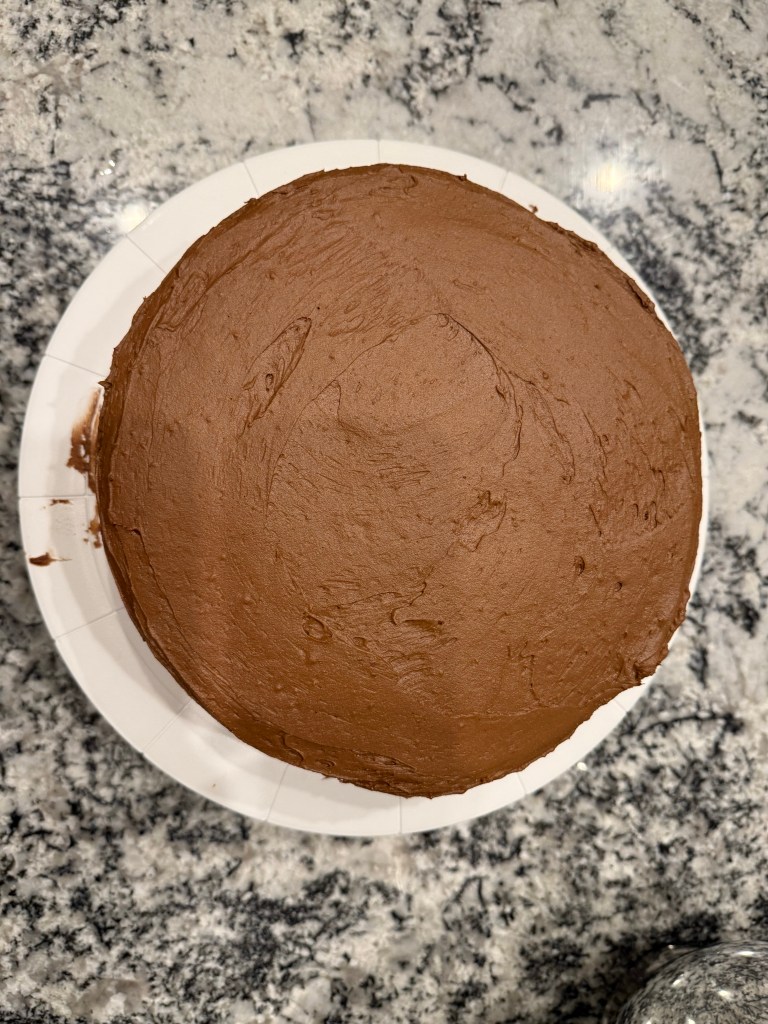
Once the cakes were cool trimmed the tops to be level, then I assembled the cake on my new cake turntable (it was a birthday gift). I frosted the first layer, then laid the second layer on and frosted the top and sides.
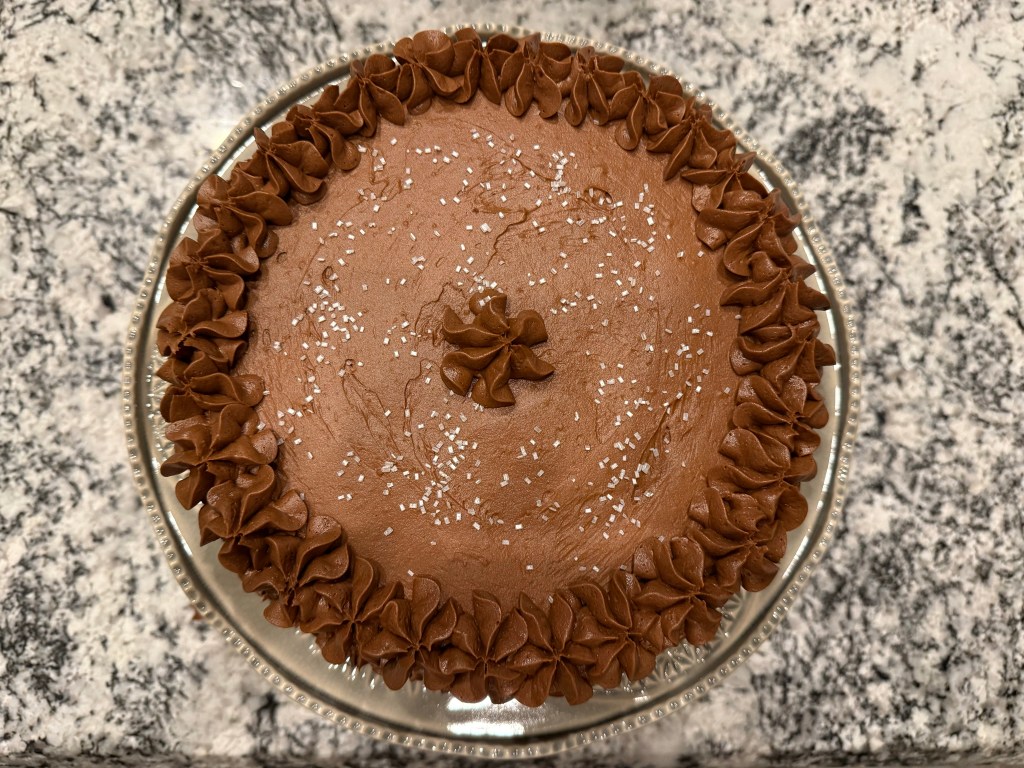
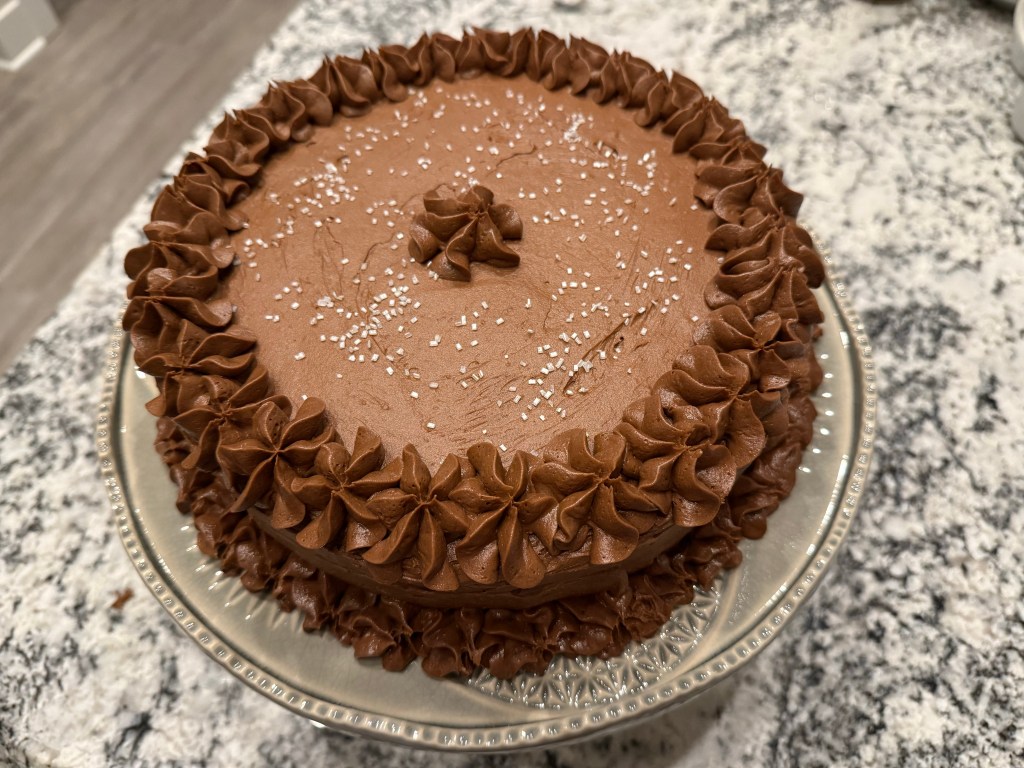
The last step is always the most fun: decoration. I transferred the cake to my cake plate, then I used a star tip to pipe a row of stars around the base of the cake as well as the top edge of the cake. I finished with a star in the center of the cake and some pearl sugar.
I forgot. The best part of making a cake is eating it. This cake is so moist and really delicious! The cake together and the frosting are such a good pairing. The cake has a more bitter chocolate flavor compared to the frosting, and the frosting is sweeter. It’s amazing that such an easy cake tastes so good!
Until the next time: may your yeast always rise and your flour never run out.
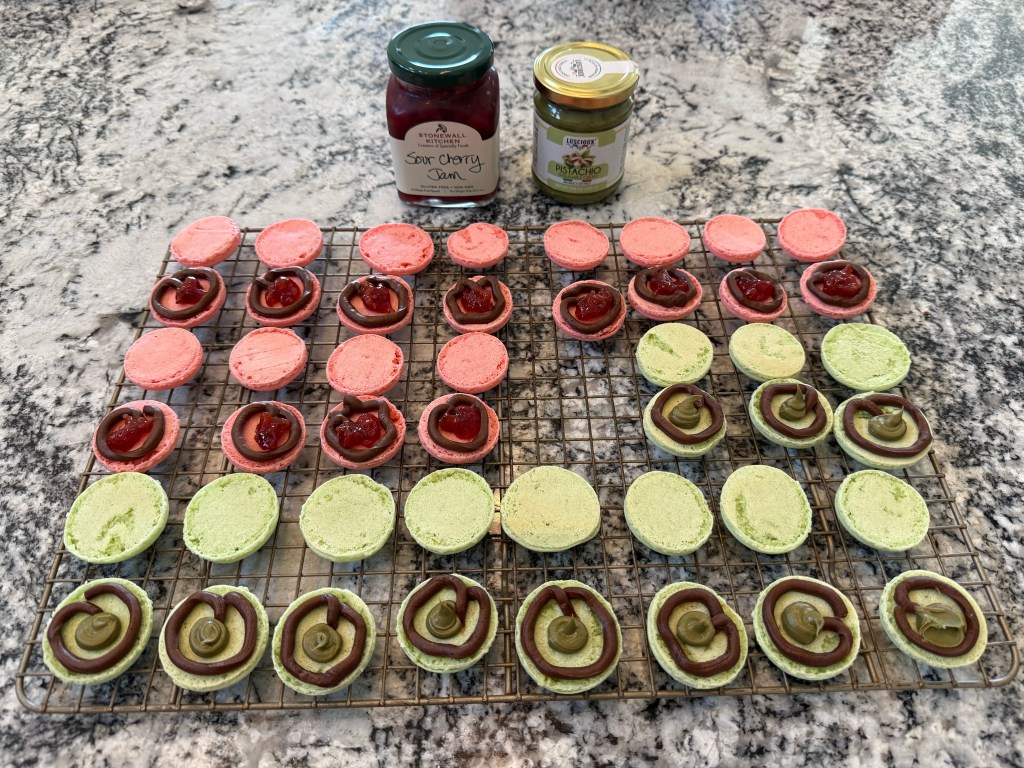
Making macarons always makes me feel like a member of the in-group. They aren’t technically that difficult to make, but you can’t be in a rush when making them, and you can’t cut corners. I’ve used the same pair of recipes to inform my macaron baking for a few years now. I like how this recipe has a lower amount of sugar, and I like the flavor suggestions for the fillings from this recipe. Both have good instructions.
As always, I started by gathering my mise en place.
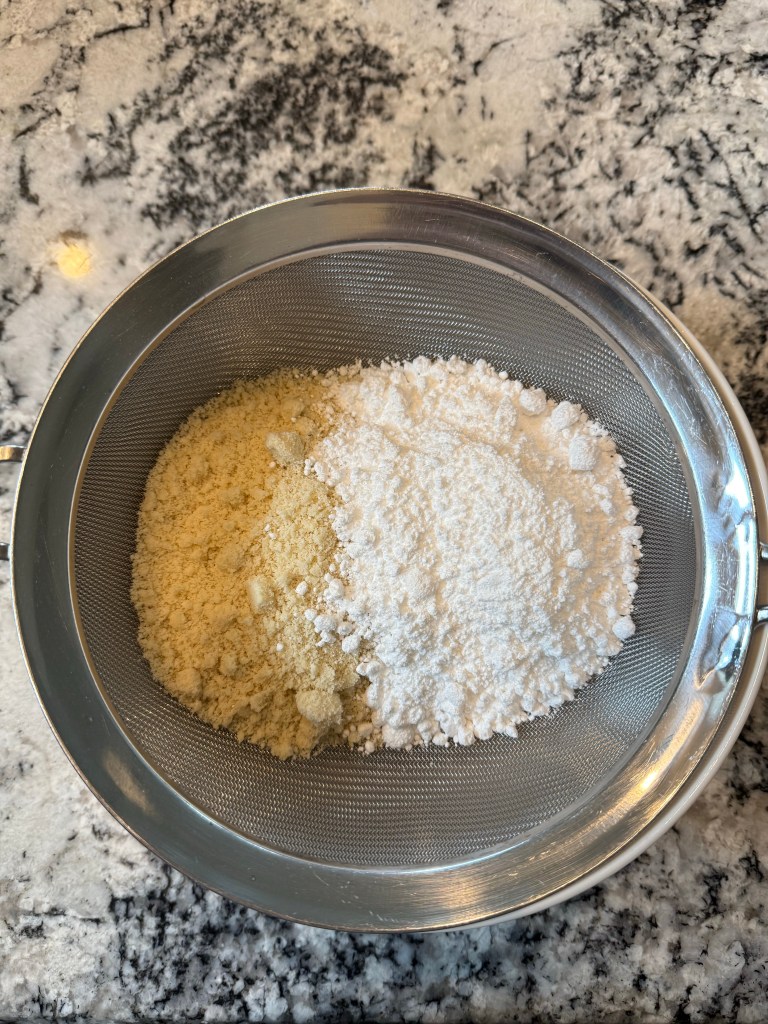
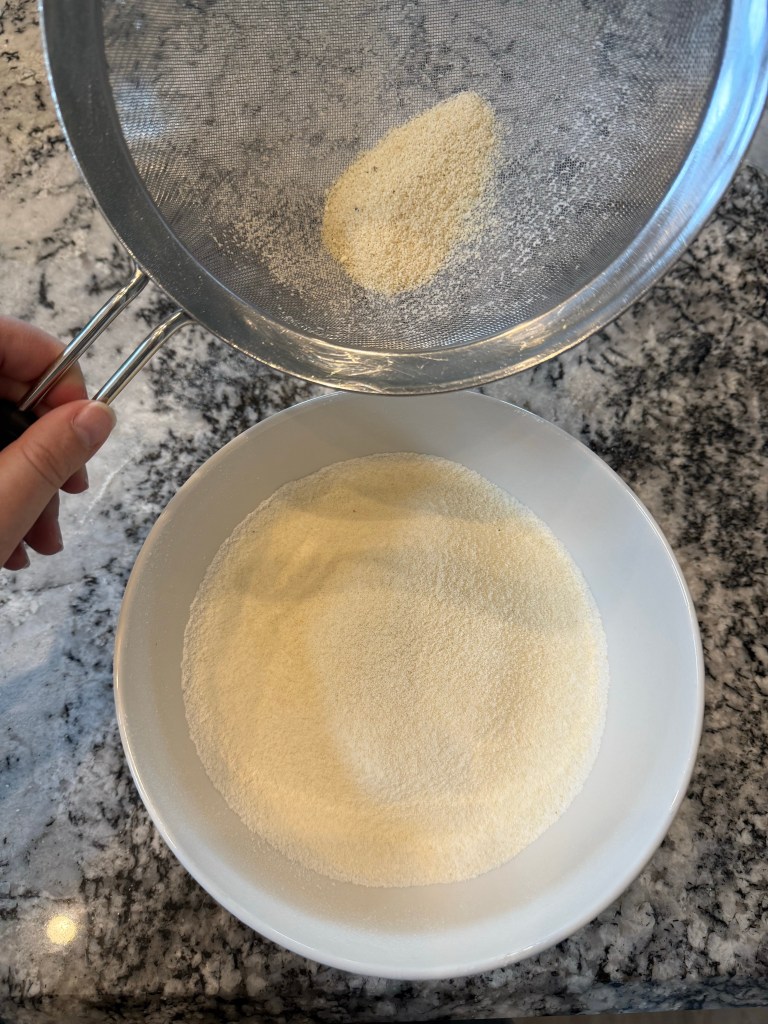
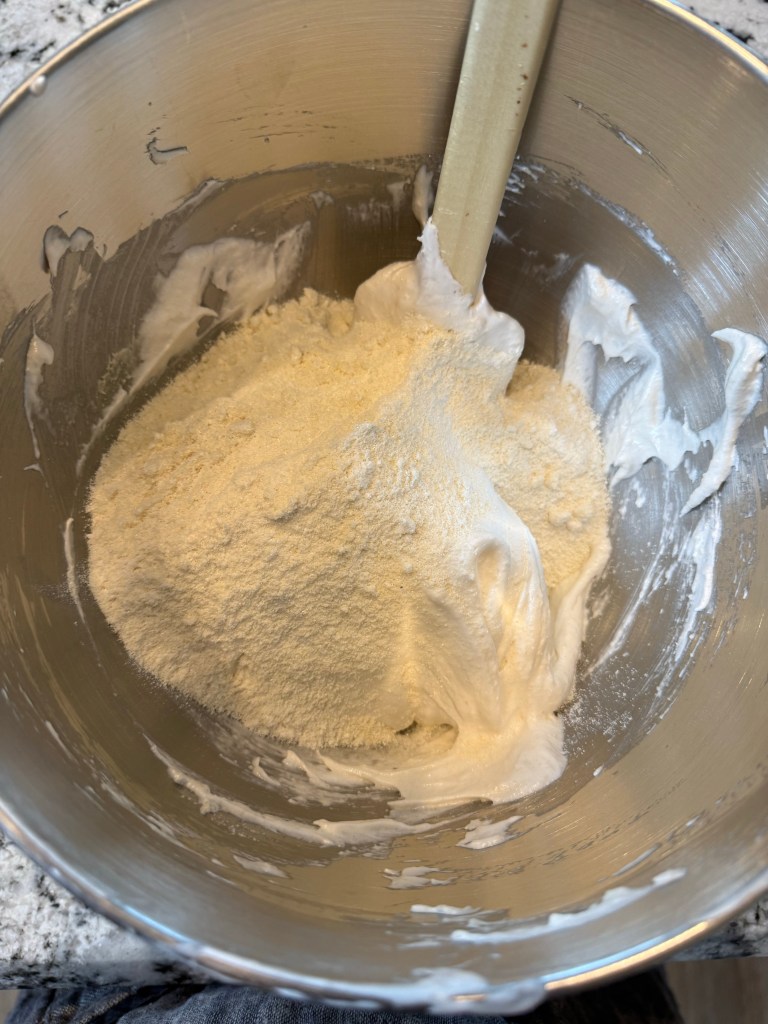
I combined the almond flour and powdered sugar in a sieve over a bowl and sifted them together. Almond flour is quite a bit more course than most wheat flour, so this process takes some time and effort. It’s important to work as much of the almond flour through the sieve as possible so the ratios of the recipe don’t become skewed.
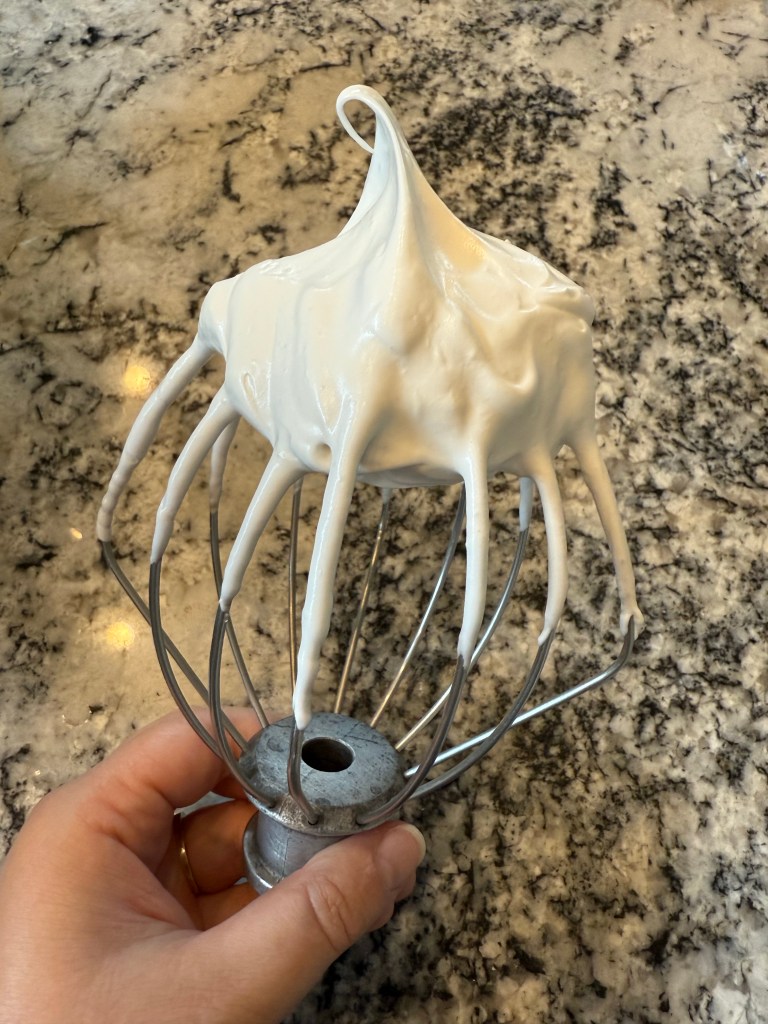
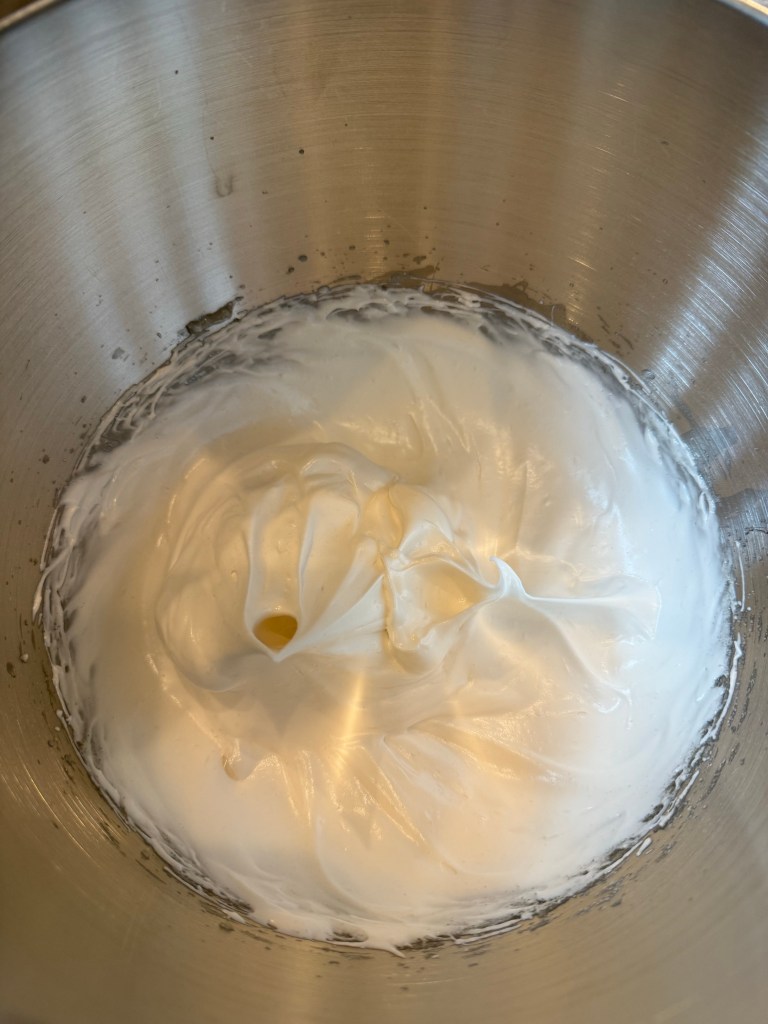
In a separate bowl I whisked the egg whites , salt, and cream of tartar until they were frothy, then turned on the speed on my KitchenAid mixer and slowly poured the granulated sugar in. I continued whipping until the eggs were at stiff peaks.
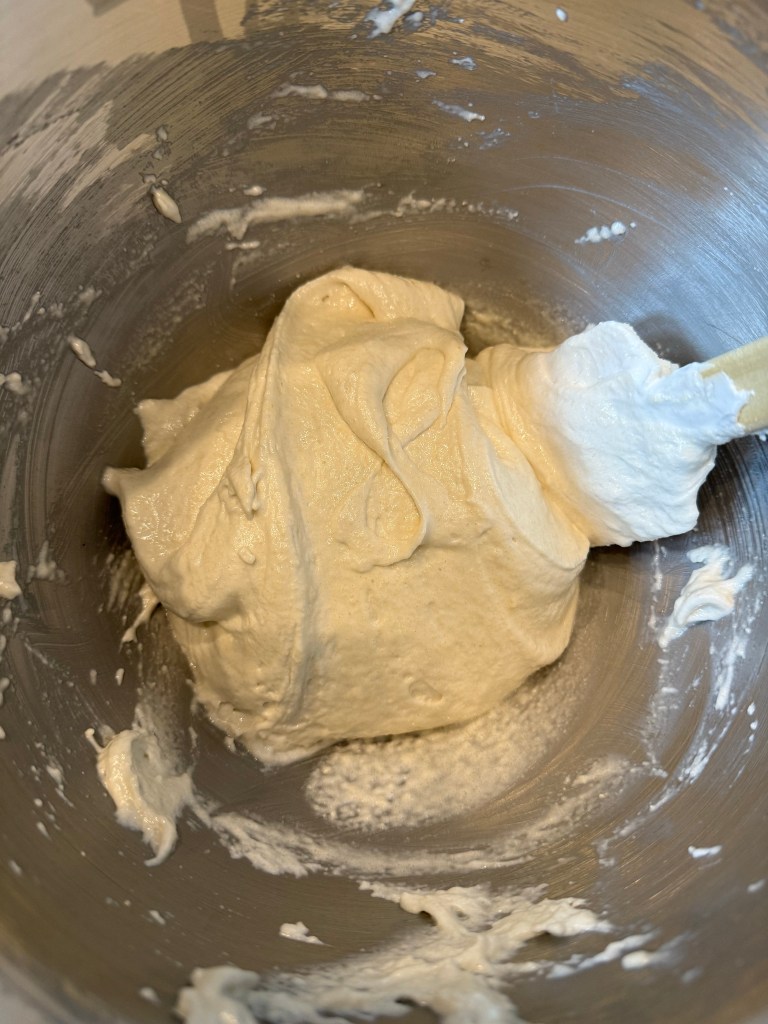
I gently folded the almond flour mixture into the egg whites in two parts, then continued folding until the batter could slowly run off my spatula to form an unbroken figure-8. This is the macaronage, and it is another part of the process that requires patience and attention to detail.
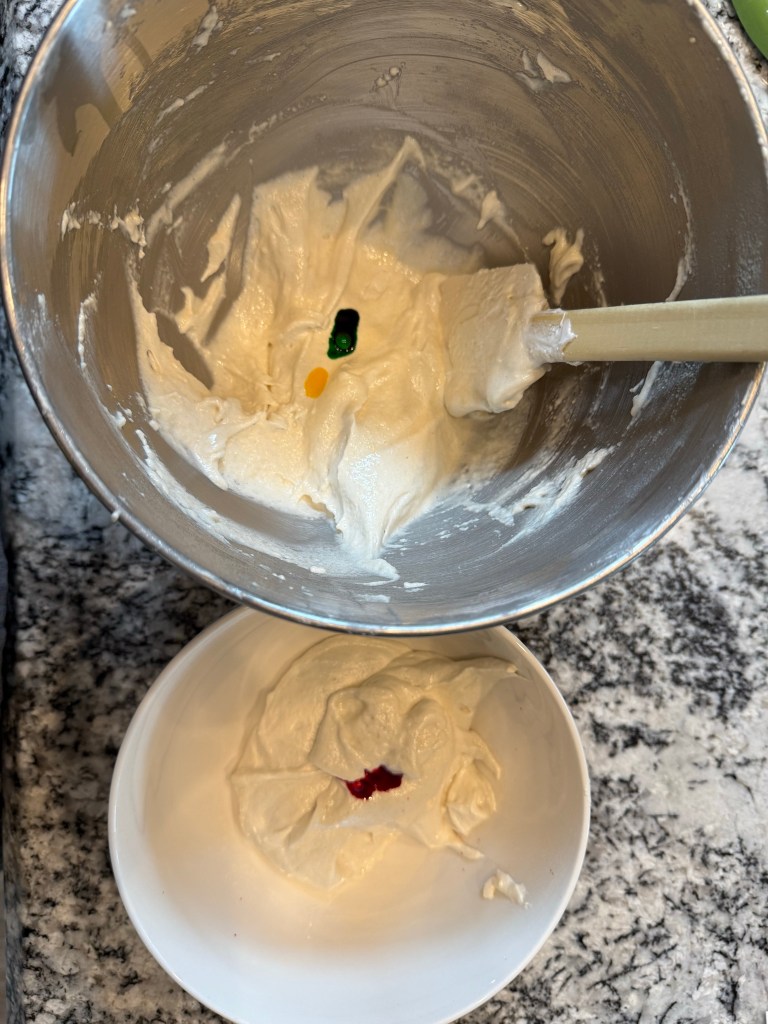
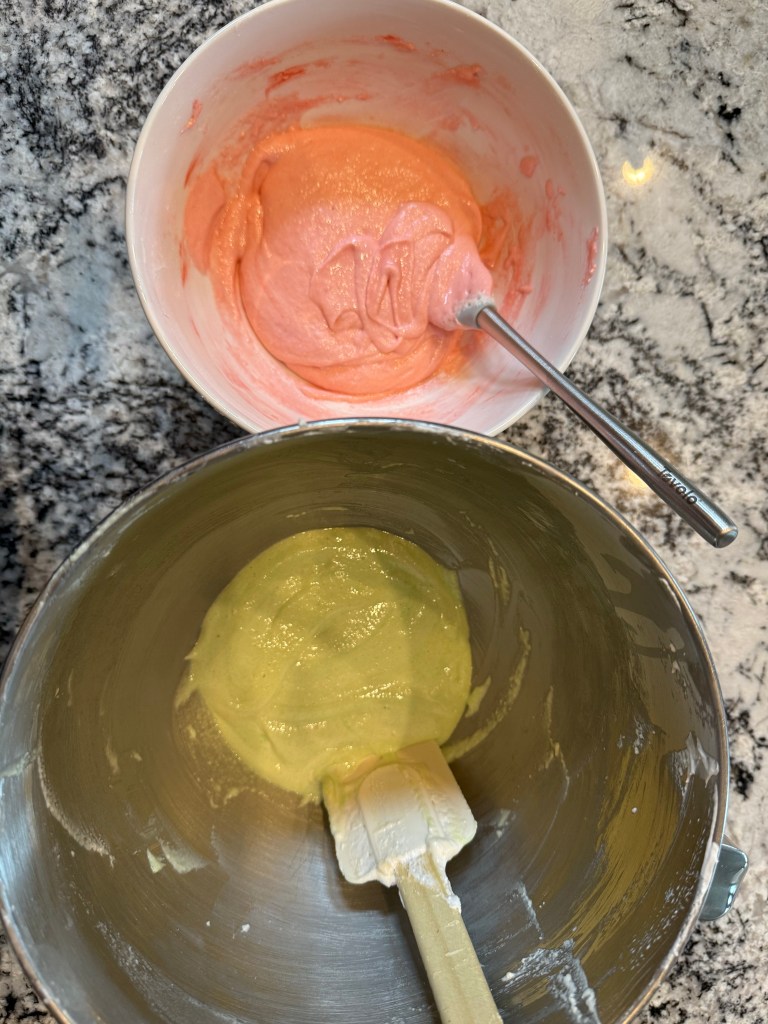
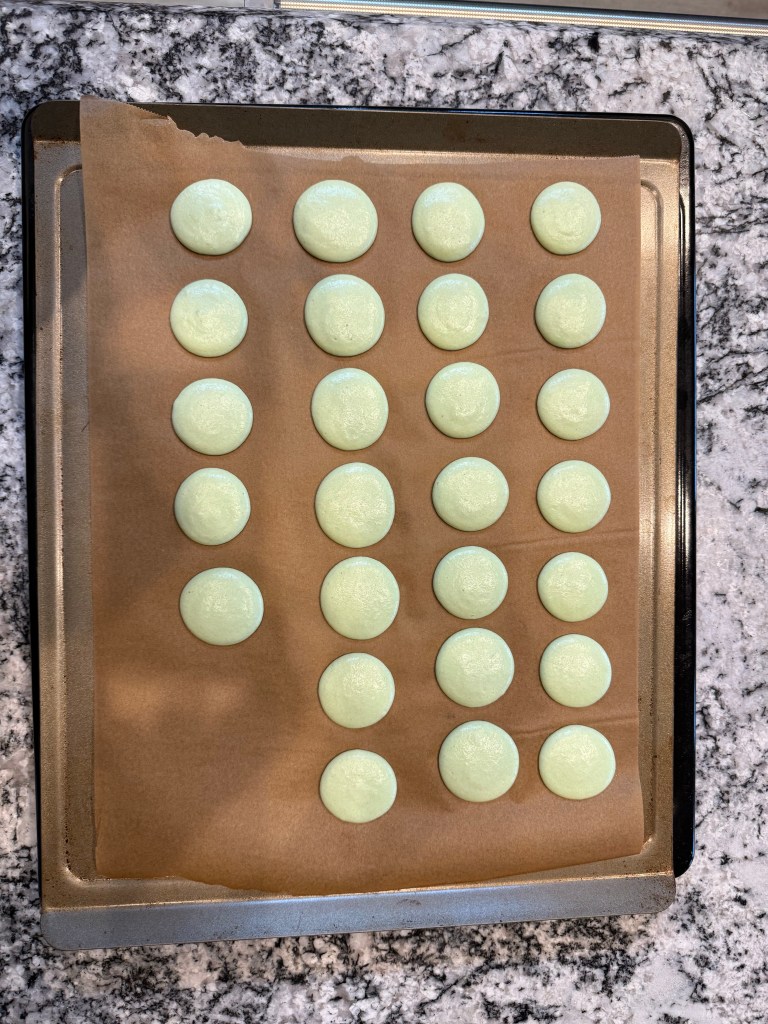
I divided the batter in half and added a few drops of food coloring, then folded the color in until the batter was evenly tinted. I also double-checked the macaronage at this point.
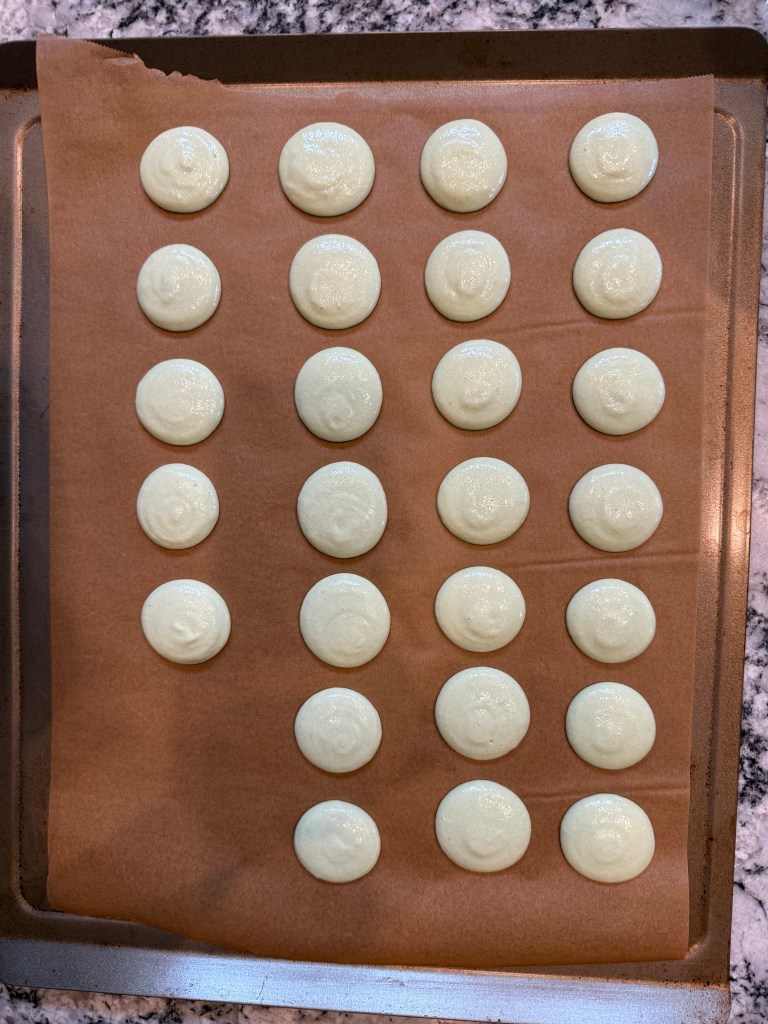
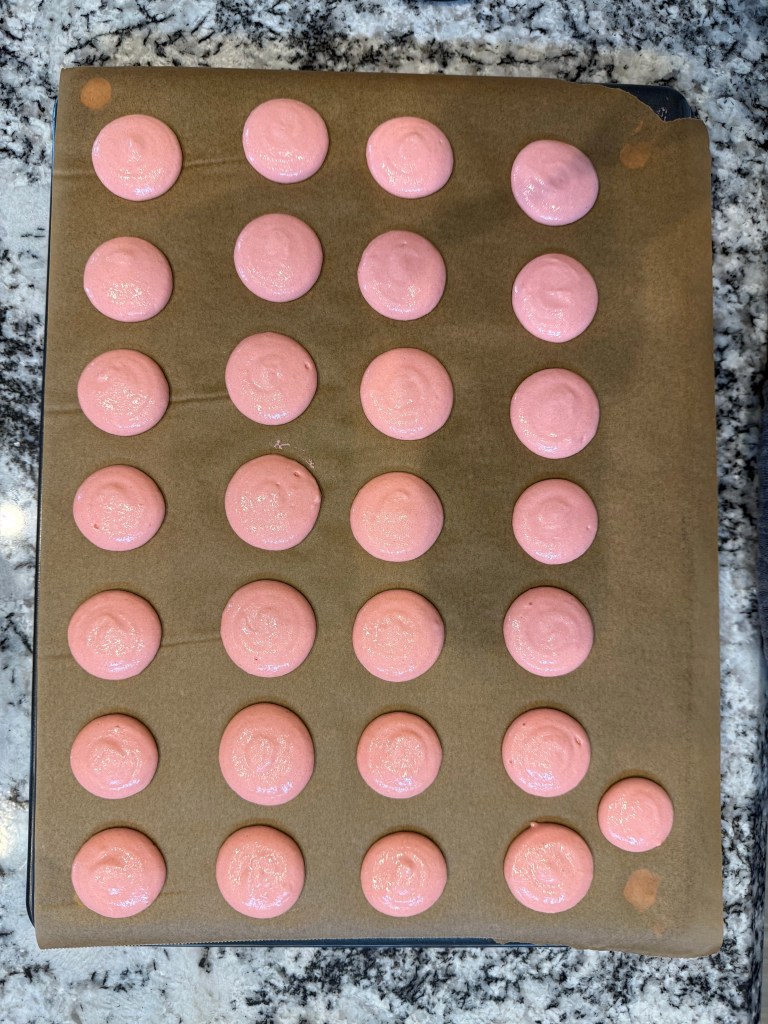
I poured both batters into untipped pastry bags, cut the ends of the bags, and piped the macarons.
Normally I like to wait for a dry day in the Spring or Autumn to make macarons because the air is dryer, which helps the macaron shells dry more quickly and bake dryer. The day I had set aside for baking these macarons turned out to be a rainy day, so the macarons needed to rest for an hour before the top of each cookie was sufficiently dry to be baked.
I baked the macarons for 14 minutes, rotating the baking sheet about 2/3 through each bake.
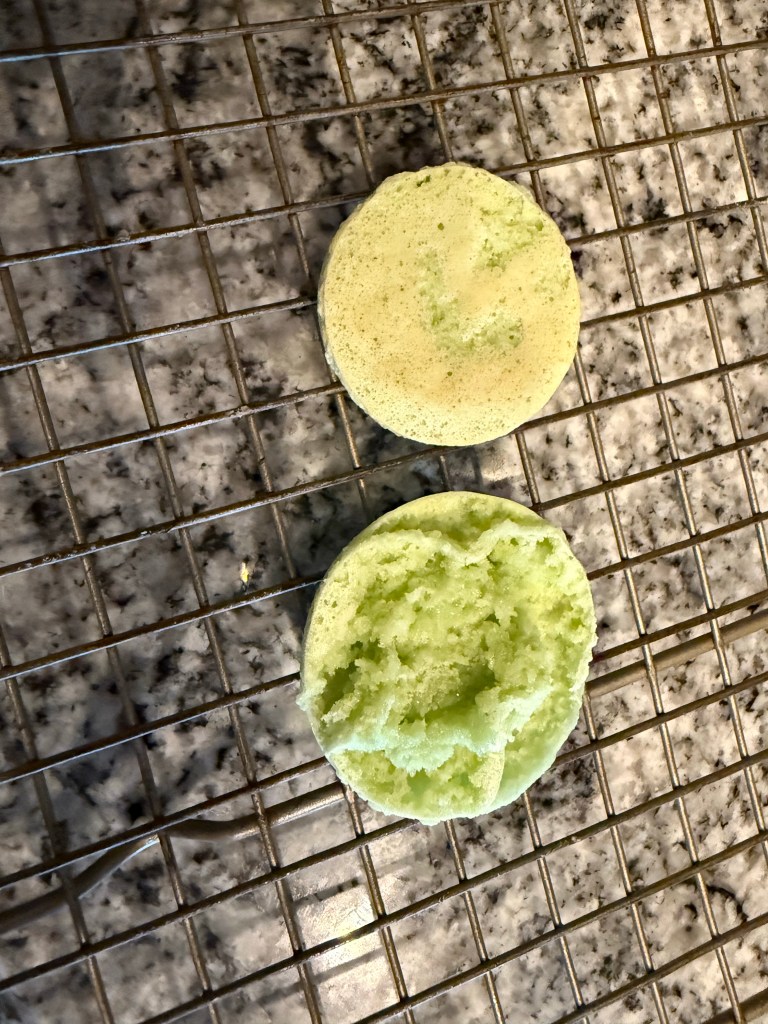
The macarons developed a lovely foot (the crinkly edge on the cookie) and the bake was gentle enough to not add any colour to the shells, but either they were ever so slightly underbaked, or the wet weather made them seem so. Either way, several shells didn’t pass quality assurance and were disposed of as test runs for my fillings. You know, in the name of science.
I baked the macaron shells 6 days before my tea party. I put the shells in a container and the container in a plastic bag and froze them until a day or two before the party. On the day of the party I filled them. The green shells got a ring of chocolate buttercream (leftover from decorating my cake) and a dollop of pistachio cream. The pink shells got a ring of chocolate buttercream and a bit of sour cherry jam.
These macarons always turn out so delicious. I’m so glad I included them in my tea party menu. I wish I had included a little more pistachio cream in the green macarons since the chocolate buttercream was much stronger in flavor than the pistachio. The tartness of the chocolate-cherry macarons was delightful, especially against the backdrop of chocolate cake.
Until the next time: may your yeast always rise and your flour never run out.
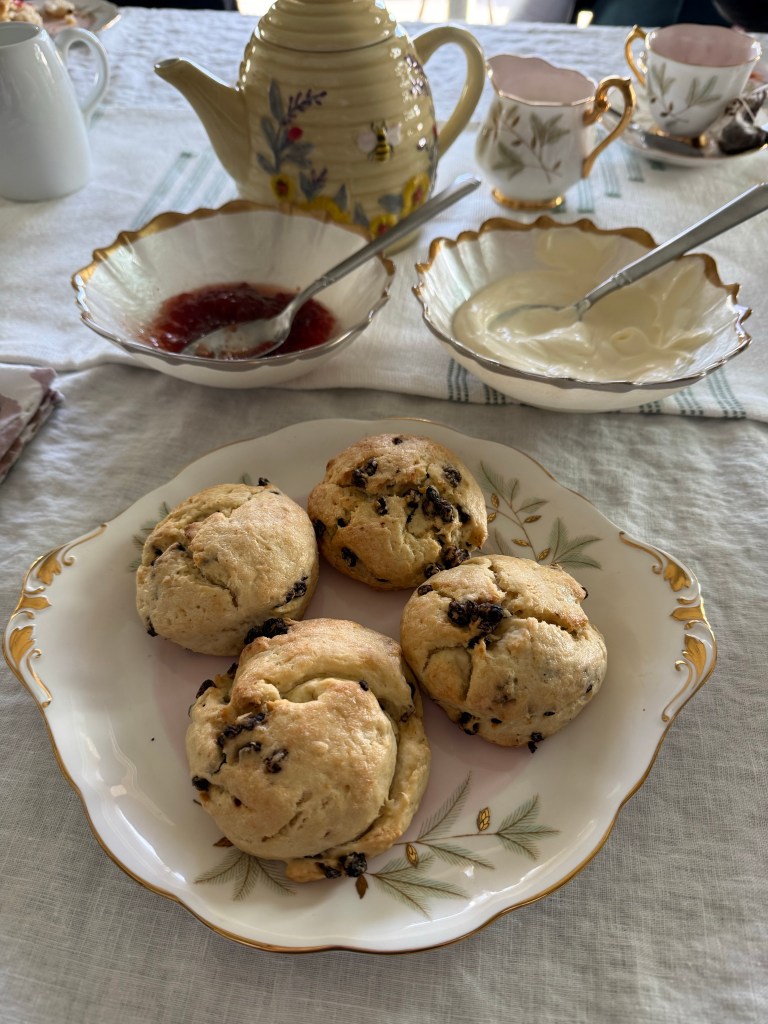
One cannot host a tea party without serving scones, and currant scones are such a classic. Scones are especially delightful because of how quick they are to make.
I gathered the mise en place:
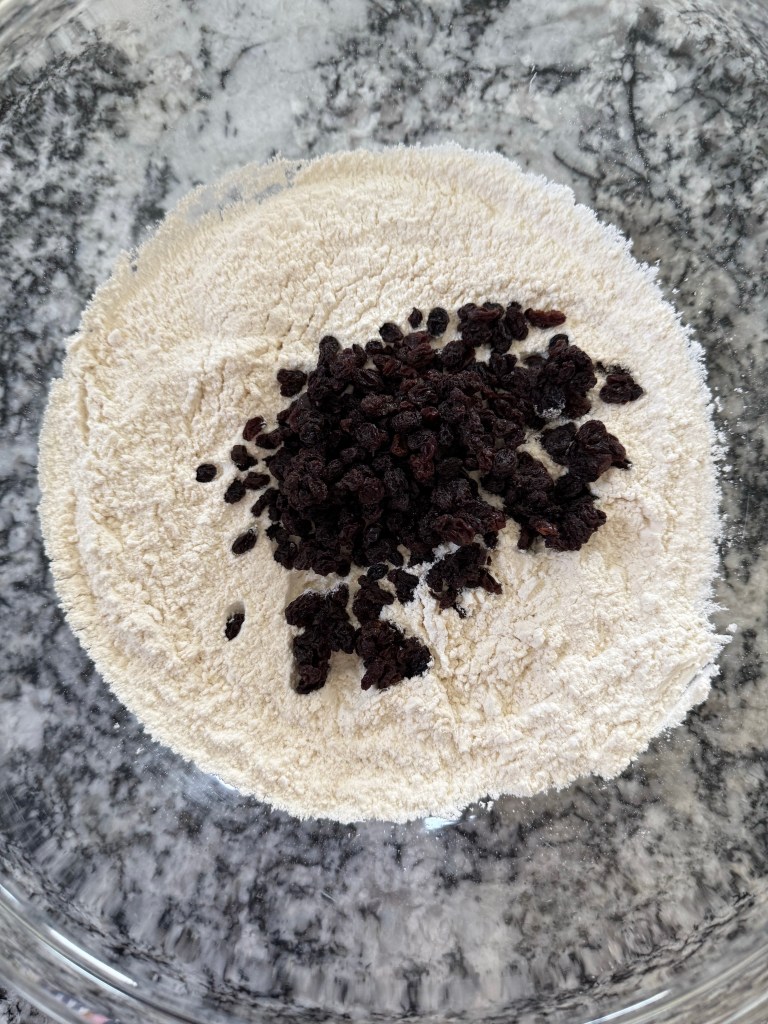
First, I combined the dry ingredients.
I added in the currants and made sure any clumps of fruit were broken up.
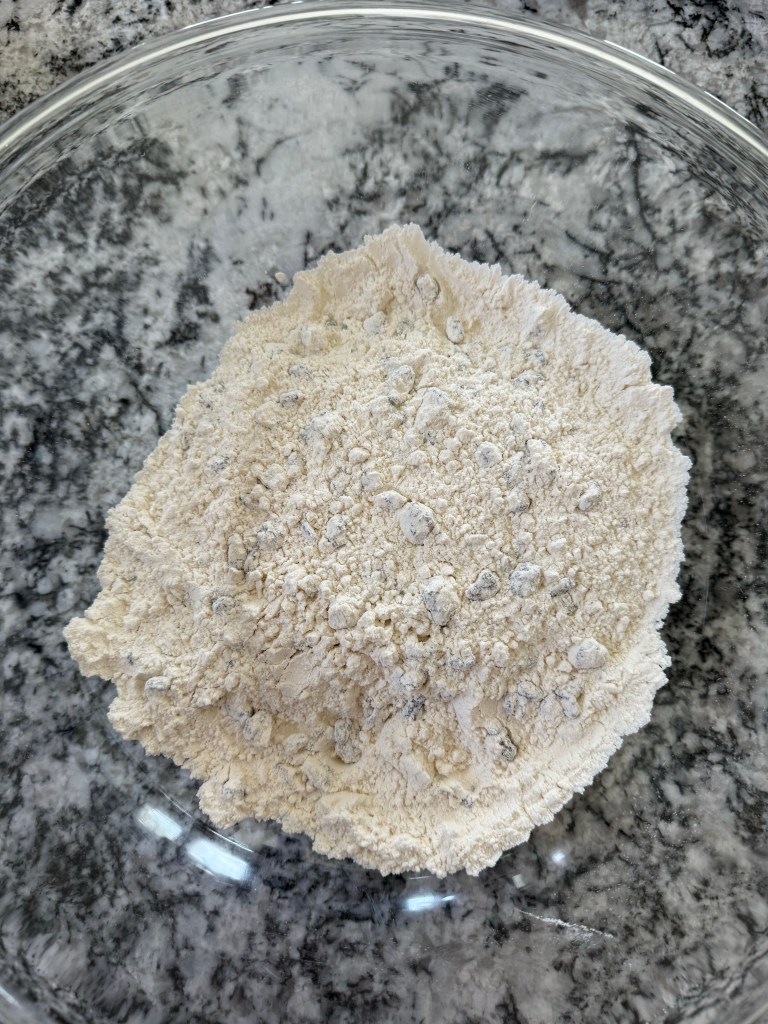
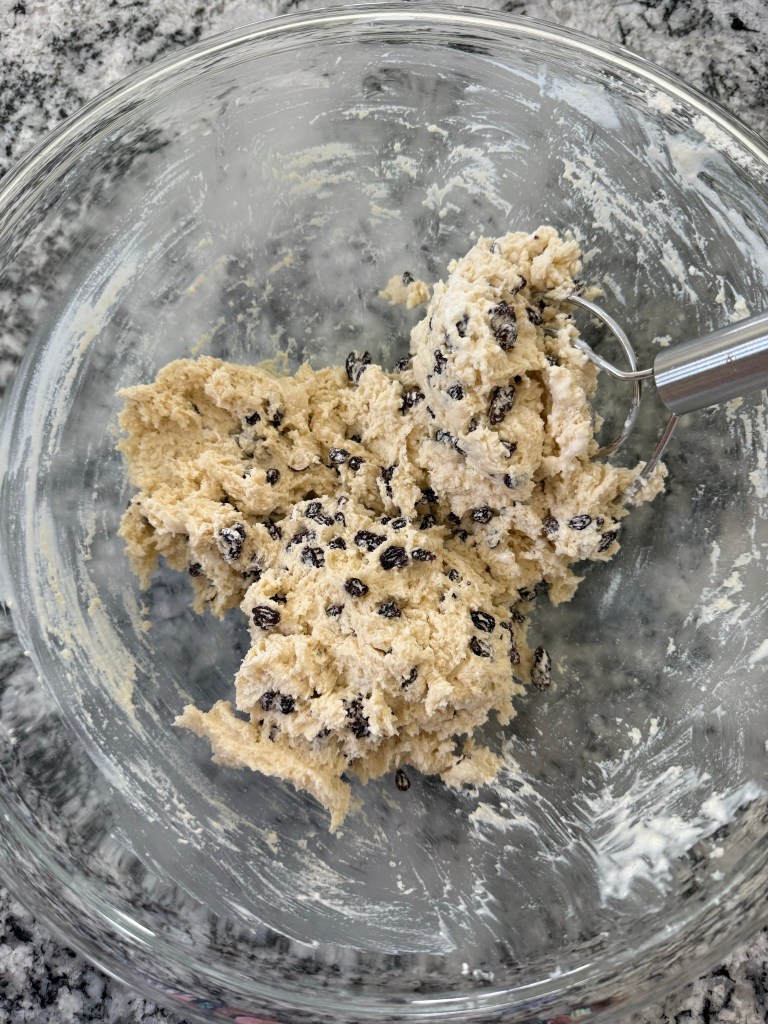
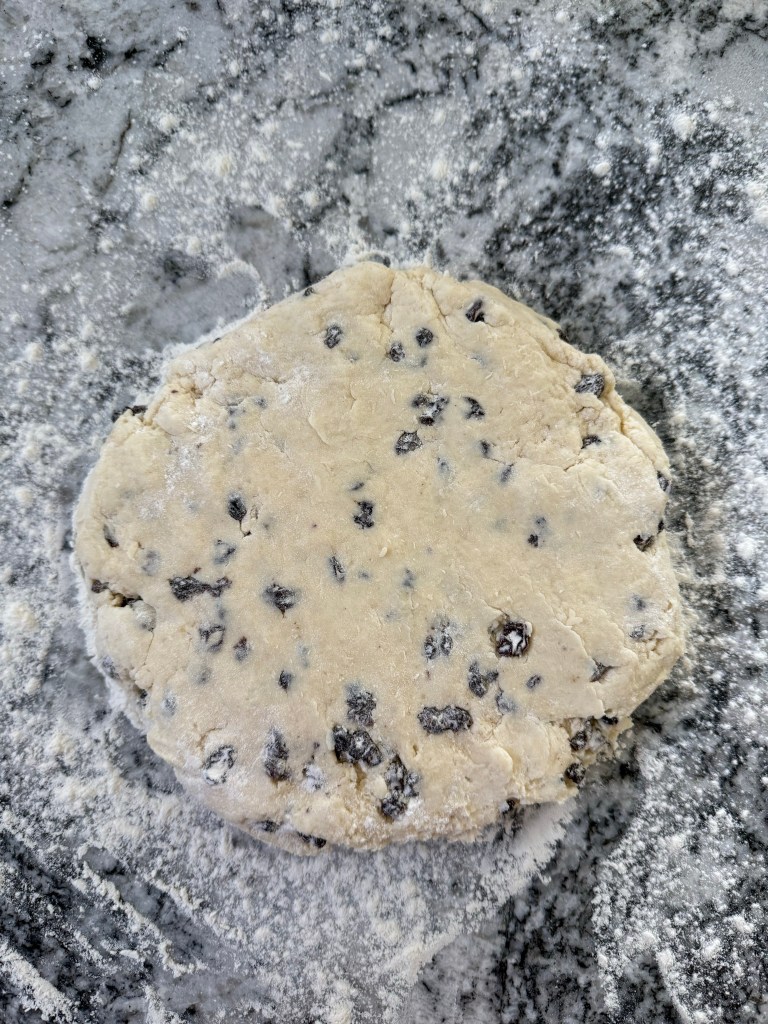
Lastly, I added the cream and stirred until the flour was all incorporated and I had a shaggy dough.
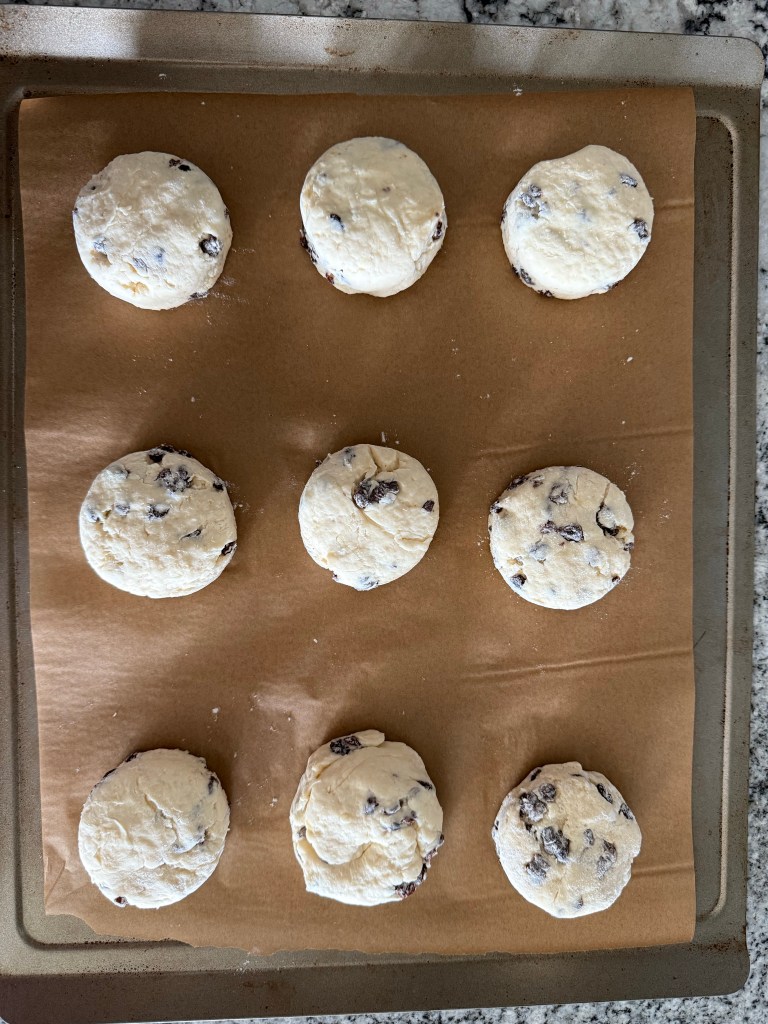
At this point I departed from the recipe. Instead of shaping the dough into one large round and cutting it into 8 wedges, I cut out 9 rounds.
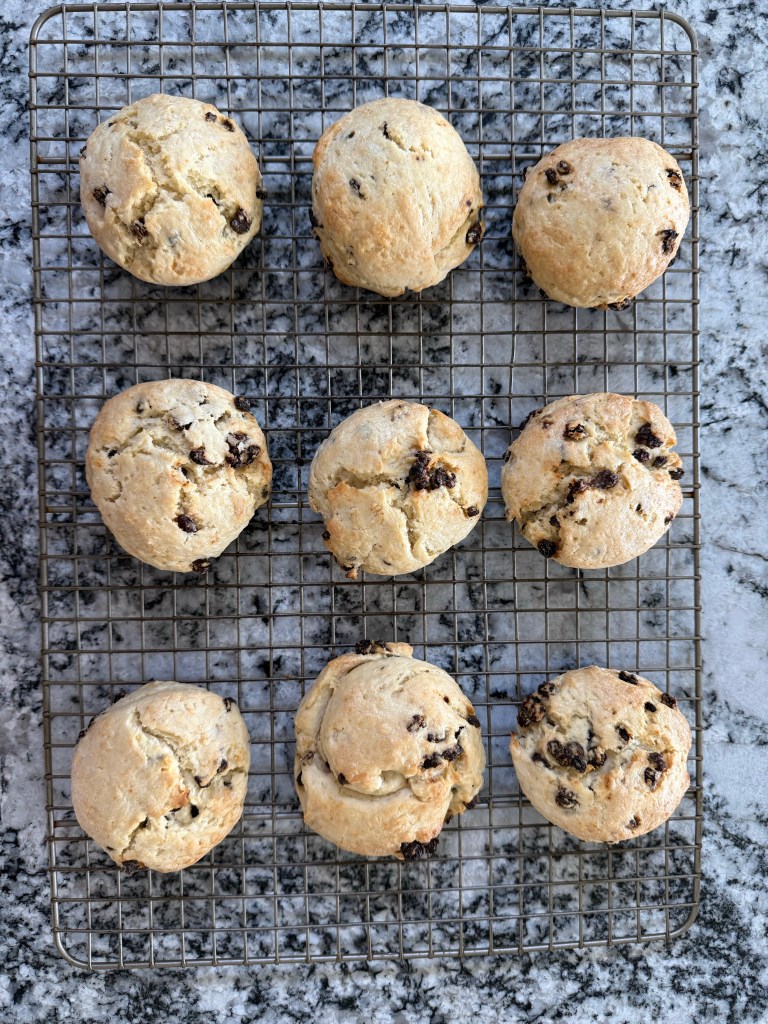
I brushed the tops of the scones with heavy cream, and baked them until the tops were beginning to become golden. This took 26 minutes for me, instead of the recommended 15-20 minutes.
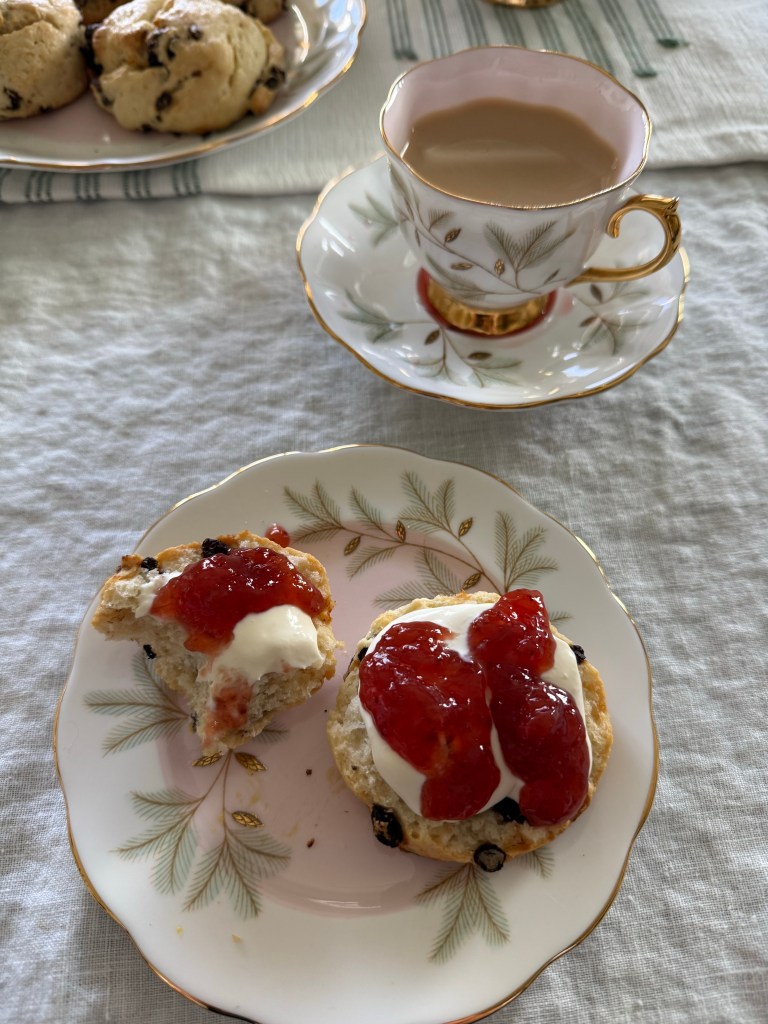
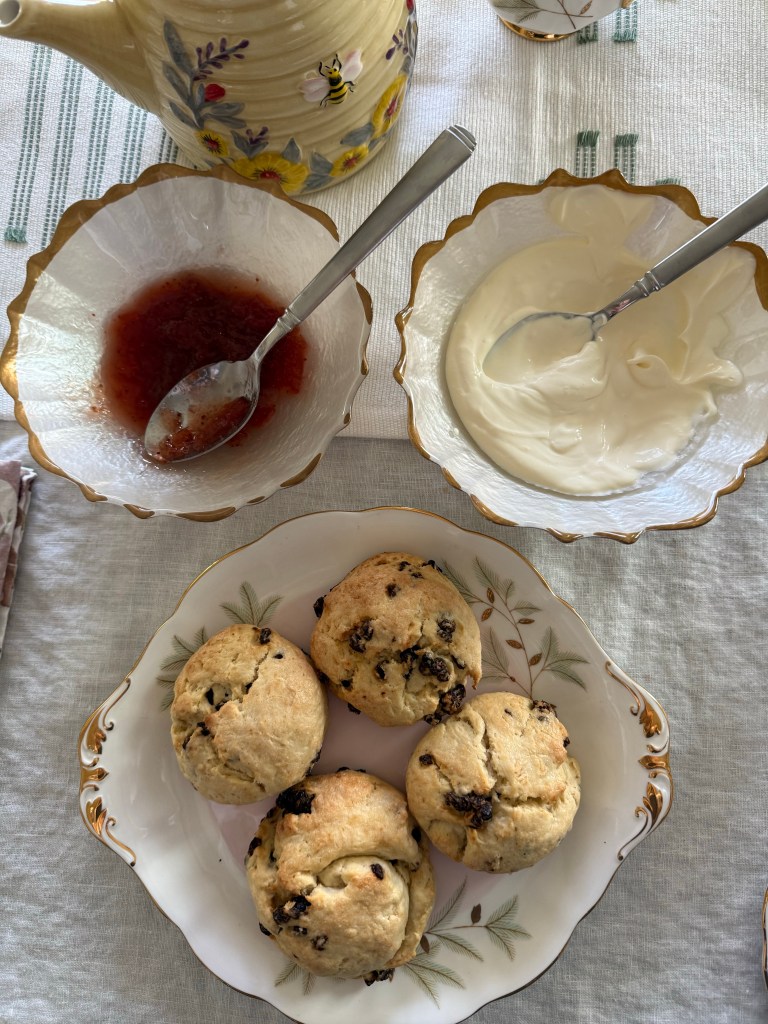
Scones are traditionally served with clotted cream and jam. Clotted cream is rather difficult to find, so I decided to make my own. The making of clotted cream does take a good 24 hours, so I started this a few days before I baked the scones.
I used this recipe. I was able to find pasteurized (but not ultra-pasteurized) heavy cream at my grocery store as recommended in the recipe. I poured the whole quart of cream into a baking dish, and baked it at the lowest temperature my oven would allow. I set the oven to 180 degrees Fahrenheit, but it was closer to 225 degrees Fahrenheit for most of the bake. After 9 hours the top of the cream was golden brown, and you could see a separation of the cream from the whey.
I allowed the cream to cool overnight, then poured off the whey. The golden bits on the top were rather crunchy, and that wasn’t the texture I was going for, so I strained the remaining cream through a sieve before serving.
The scones were lovely, and the combination of scones, cream, and jam was so wonderful. My neighbor, who is from Scotland, said these are the best scones he’s had in a very long time (he also approved the clotted cream).
Until the next time: may your yeast always rise and your flour never run out.
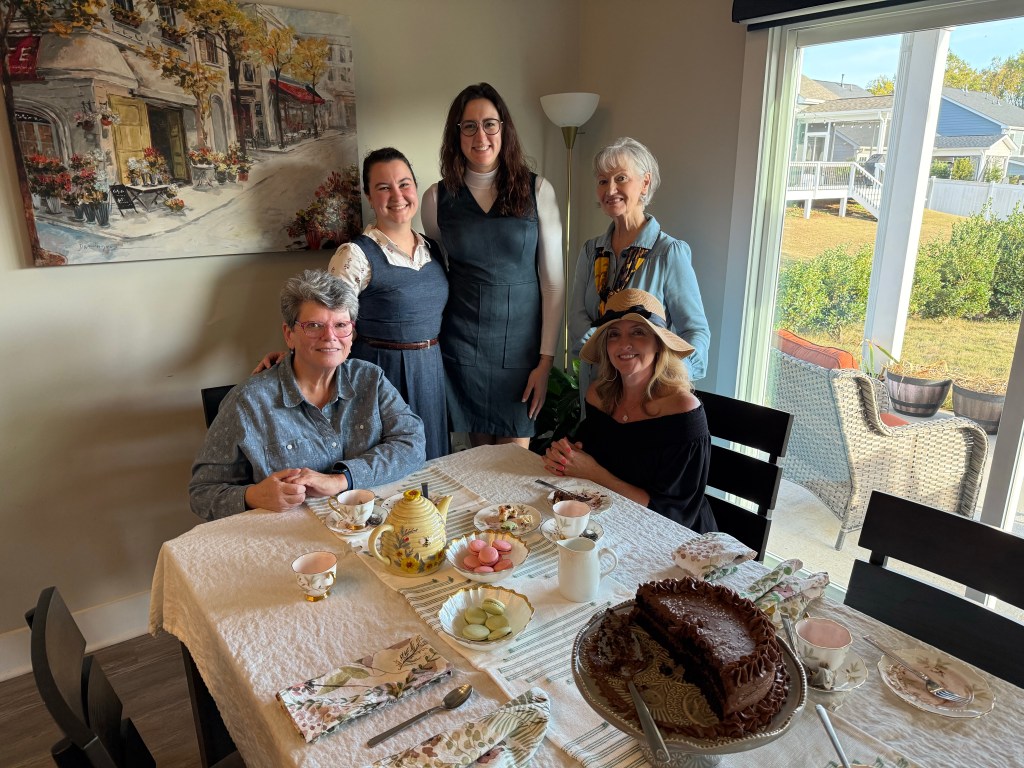
My birthday was at the end of October, and I celebrated by hosting a tea party. I wanted a 3-course afternoon tea, and I wanted to bake everything I served. I consulted a tea magazine my husband had bought me, and used the King Arthur Baking School book, The Bread Baker’s Apprentice, and online resources for the recipes and planning.
Here is the menu I came up with:
Tea sandwiches:
Apple, cheddar, and chutney on whole wheat bread. This was my favourite of the three sandwiches. Sweet and sour and umami all in the same bite. Major Grey’s Chutney is a revelation!
Cucumber sandwiches on Portuguese bread. Classic. The key is to dry the cucumber slices. Delicious.
Egg salad sandwiches on Pumpernickel bread. I had high hopes for this sandwich, but the dark rye and cocoa were a bit too strong in flavor for the egg salad.
Scones: I went with a classic – currant cream scones from the Baking School cookbook. They turned out delicious, though I did have to bake them 6 minutes longer than instructed. I served the scones with strawberry jam and homemade clotted cream. The clotted cream was delightful, and much less expensive to make than to buy (though more time-consuming).
Sweets:
Chocolate cake with chocolate icing – both from the Baking School book. The cake was moist and flavorful and was a little bitter (in the best way). The icing was sweet, and they balanced and played off each other so well.
I started baking my breads 2 weeks before the party. The remaining bread and the macaron shells were baked a week ahead. The cake was made the day before the party. The macarons were filled, sandwiches assembled, and scones were baked on the day of the party. I was finishing up preparations as my guests arrived, and I found that stressful, but once they were all here I had the best time having tea with my friends.
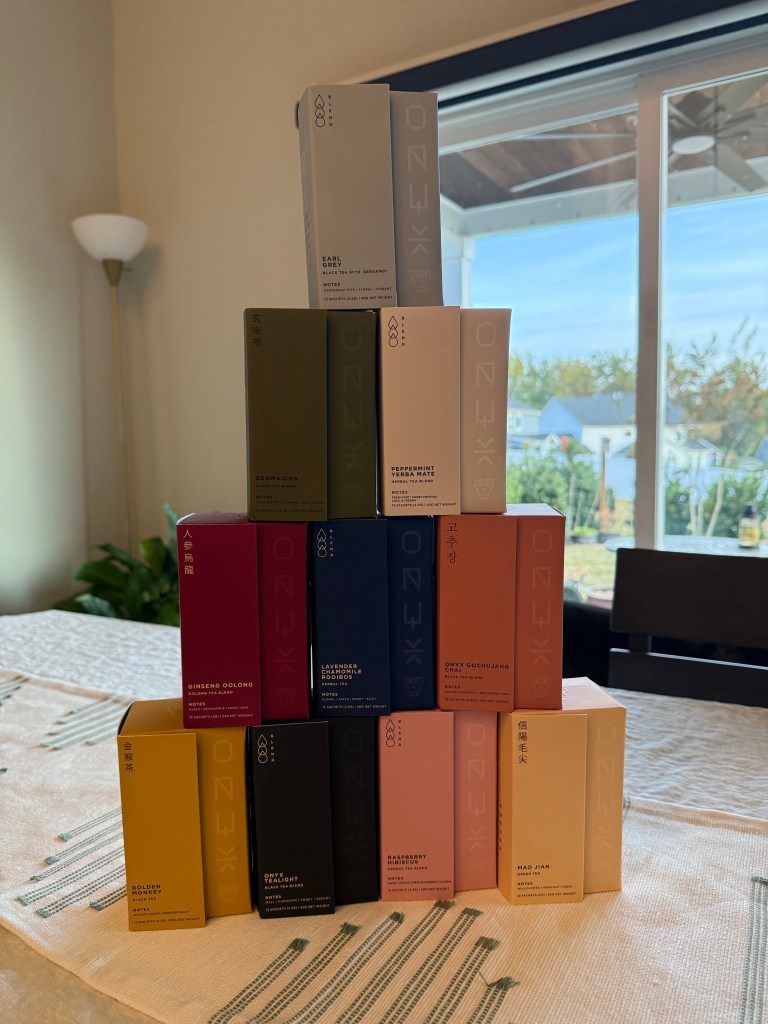
My husband is the most thoughtful person. He bought me a whole selection of nice teas so we could all choose whichever teas we wanted to have with each course. I had the Raspberry Hibiscus tea with the sandwiches, the Earl Grey with the scone, and Golden Monkey with the sweets.
Planning and executing this tea party was a big task, and I can see how my baking skills and confidence are improving. I’ve wanted to do tea parties in the past, but I never knew where to start or how to make it all happen. I’m so pleased with how this all came together and proud of myself.
Until the next time: may your yeast always rise and your flour never run out.
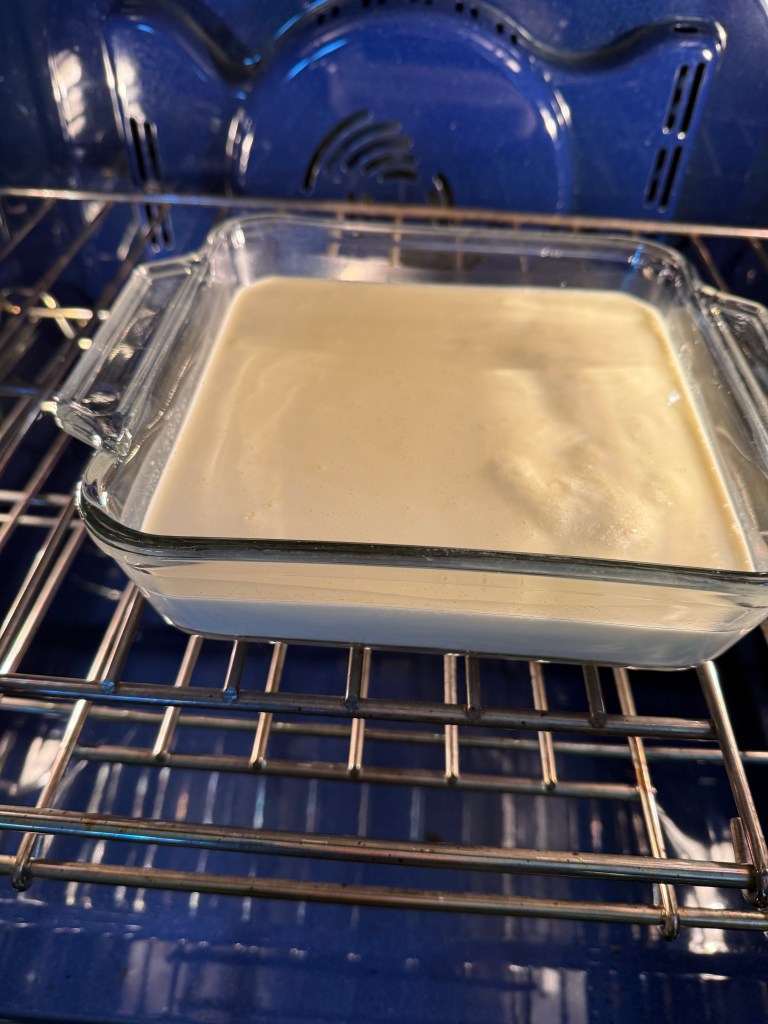
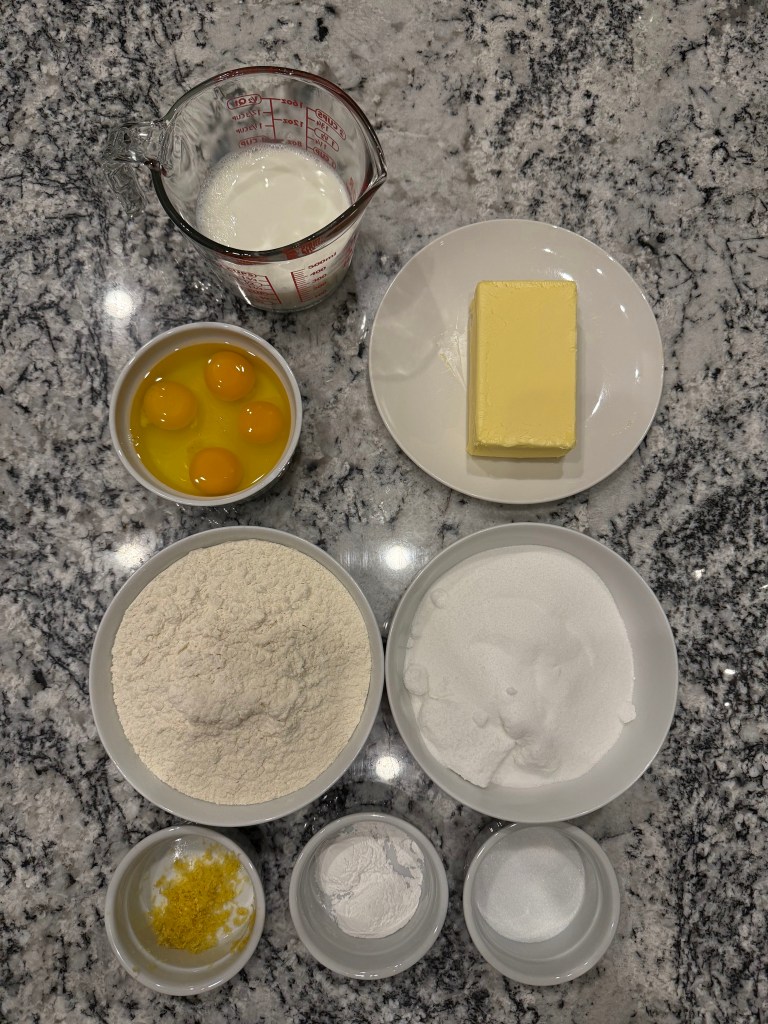
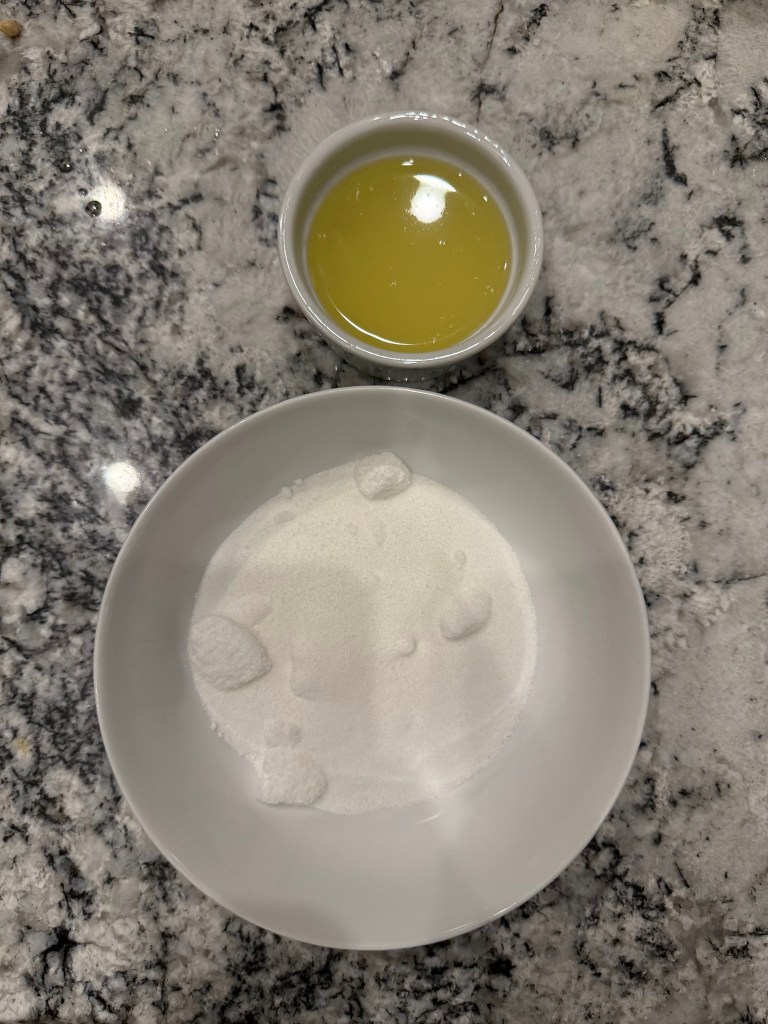
I love lemonade and lemon-flavored treats, so I bought a bag of lemons not fully realizing just how many lemons I had just acquired. In an effort to use some of the lemons I decided to make a lemon cake. I leafed through the King Arthur Baking School cookbook and found this lemon bundt cake. Perfection.
I gathered my mise en place:
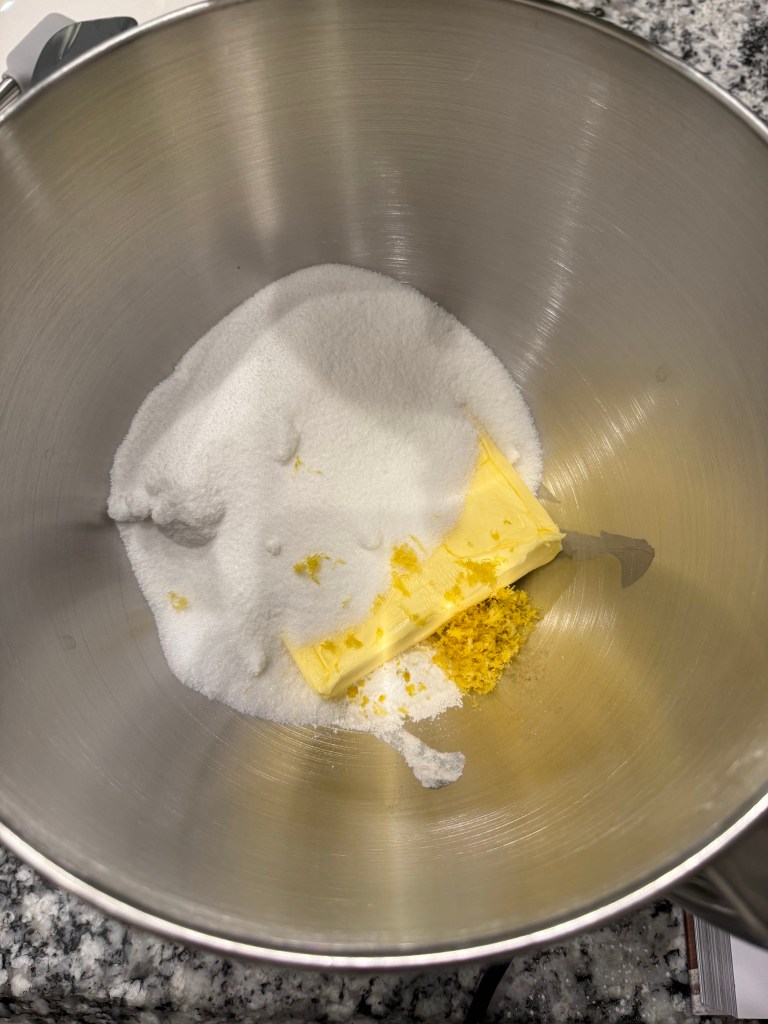
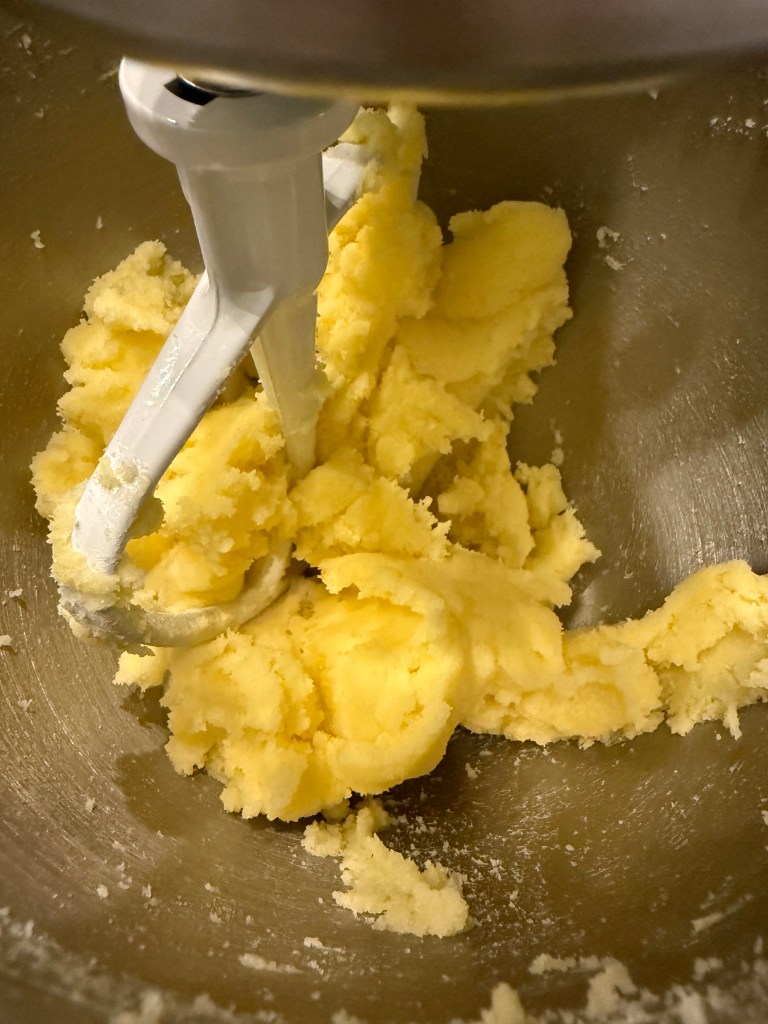
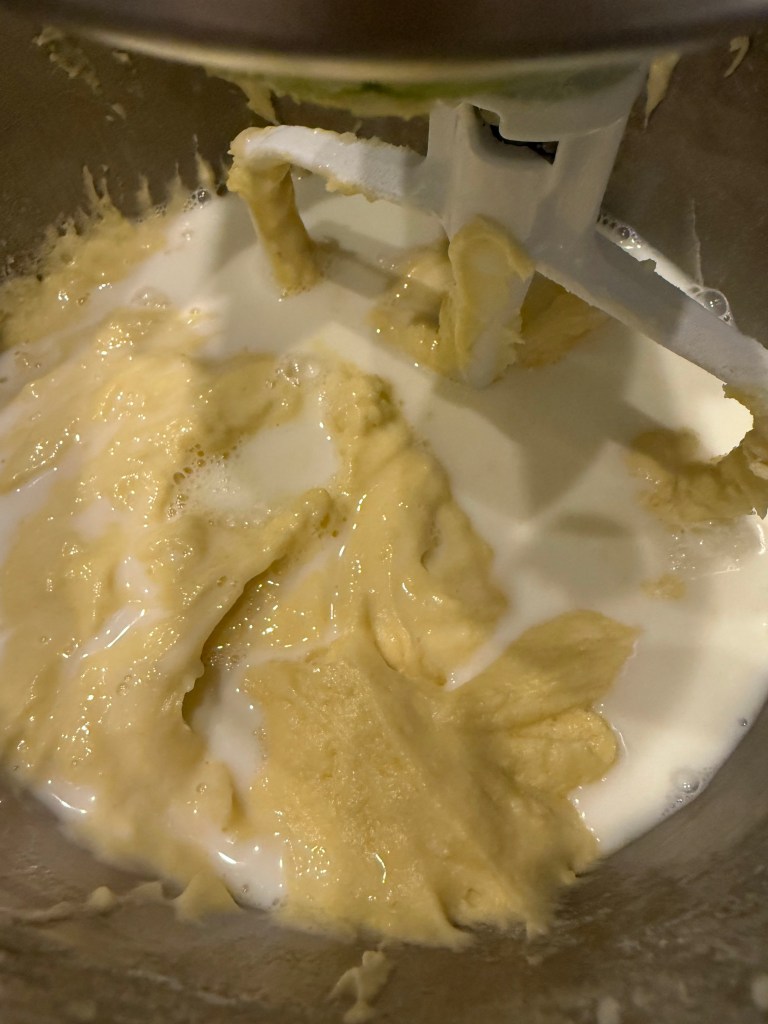
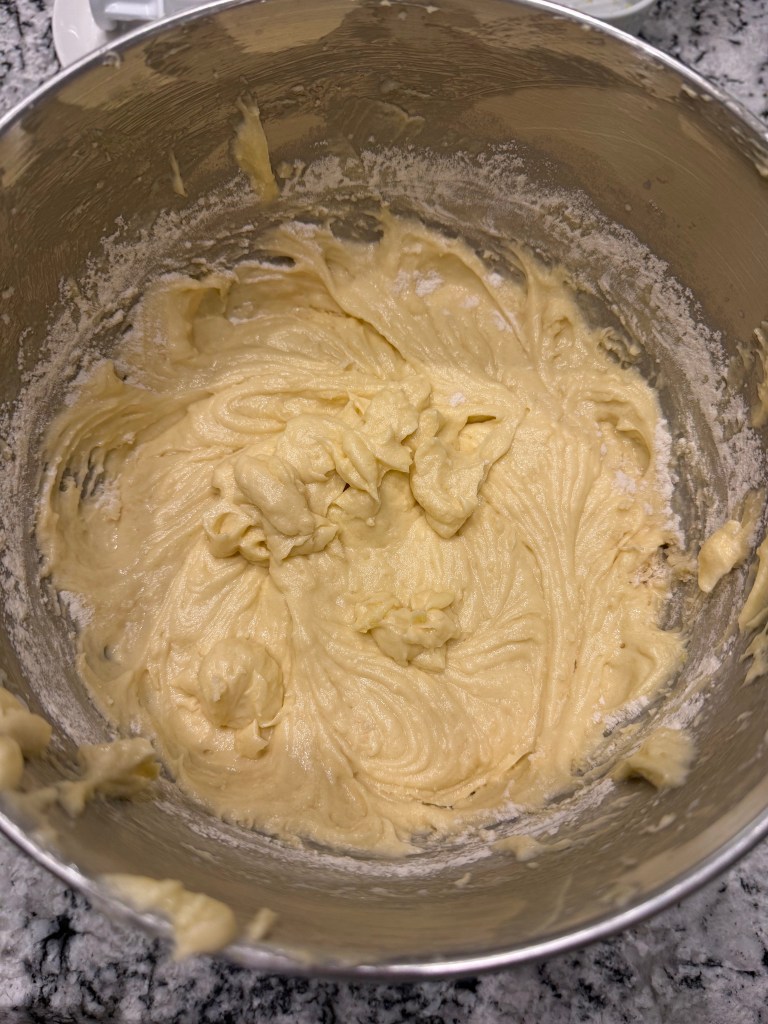
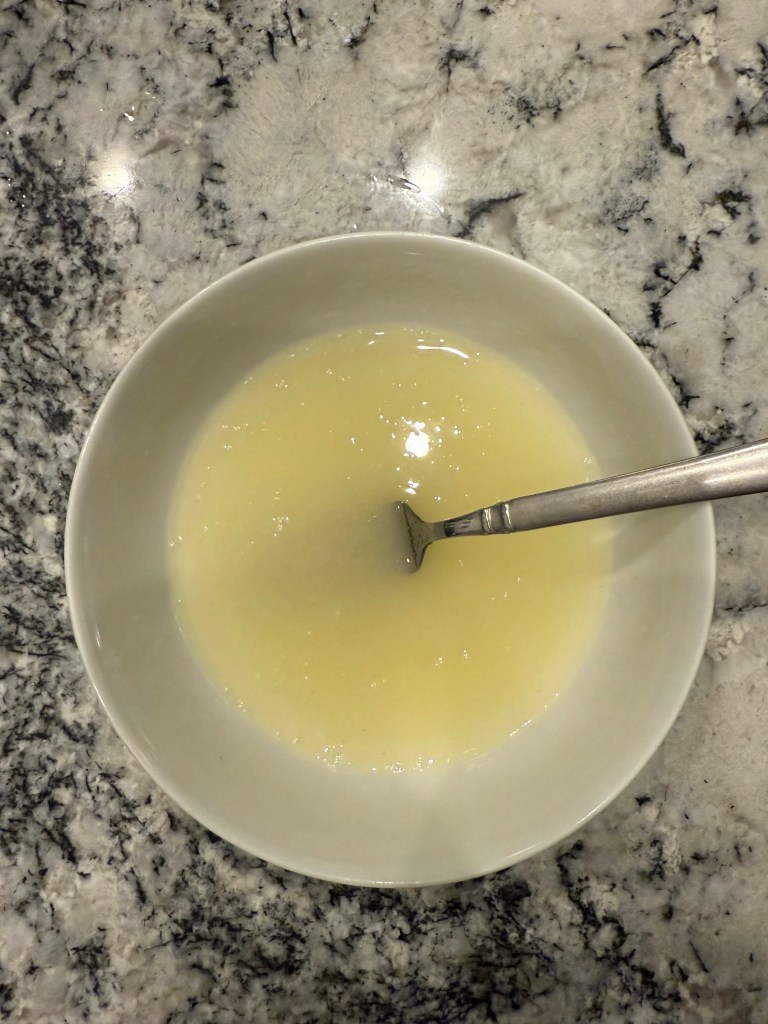
I started by creaming together the butter, sugar, and lemon zest.
Then I added the eggs one at a time, beating each one in before adding the next.
Next, I alternated stirring in the flour and the milk.
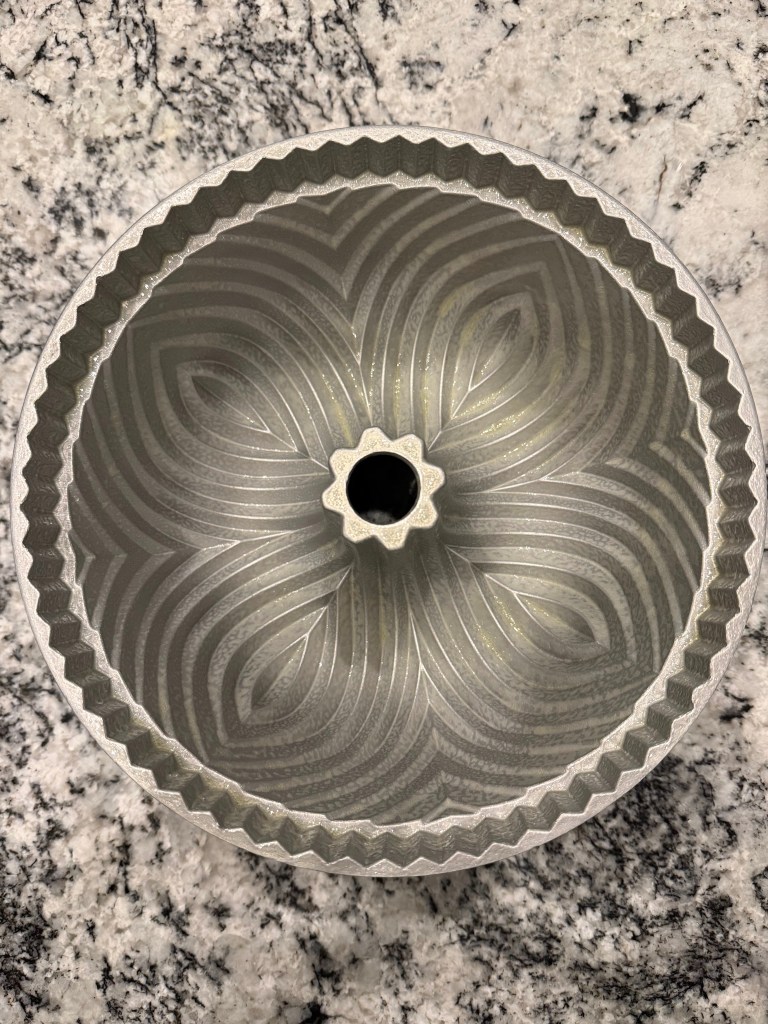
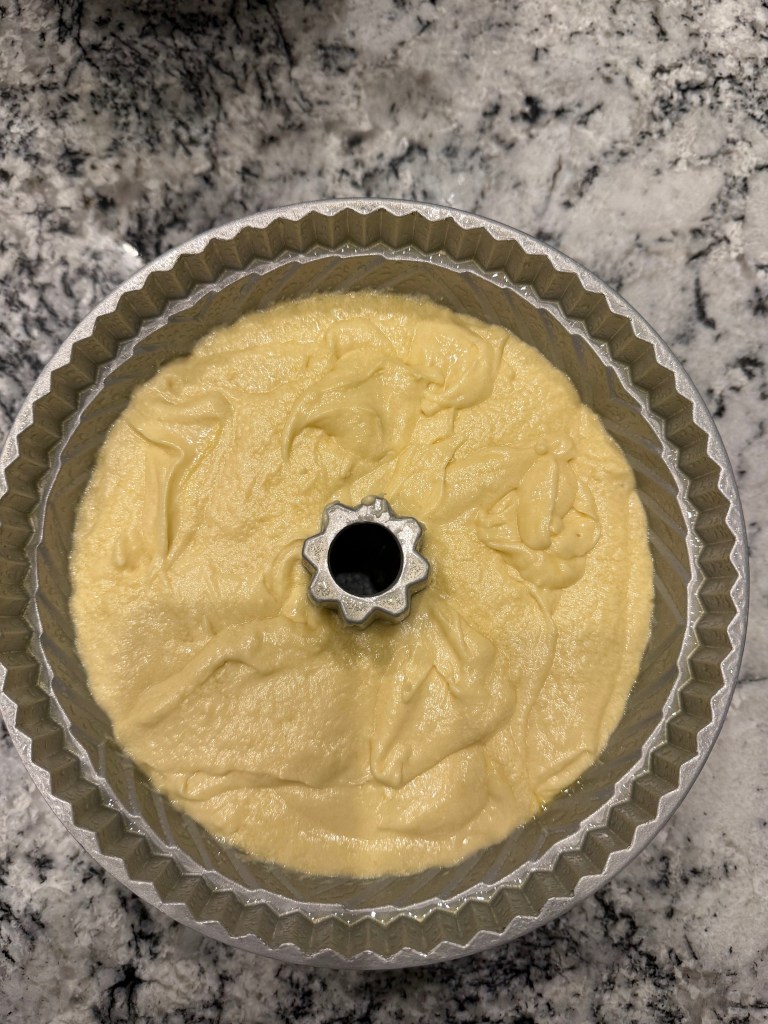
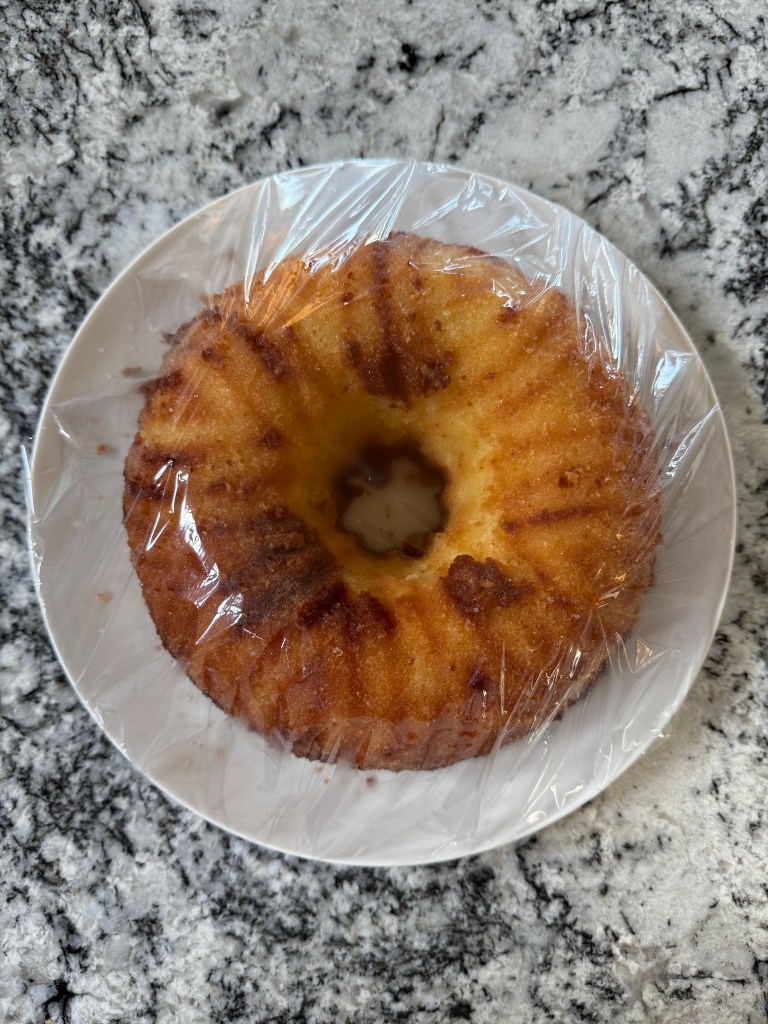
With my batter ready to bake, I prepared my bundt pan. Normally I would prepare the pan before mixing my batter. I typically use the classic method of generously buttering the pan with a pastry brush and then flouring the pan, but the book suggested that I could merely spray the pan with oil liberally just before scooping the batter in and all would be well. I was skeptical, but I’ll try anything once.
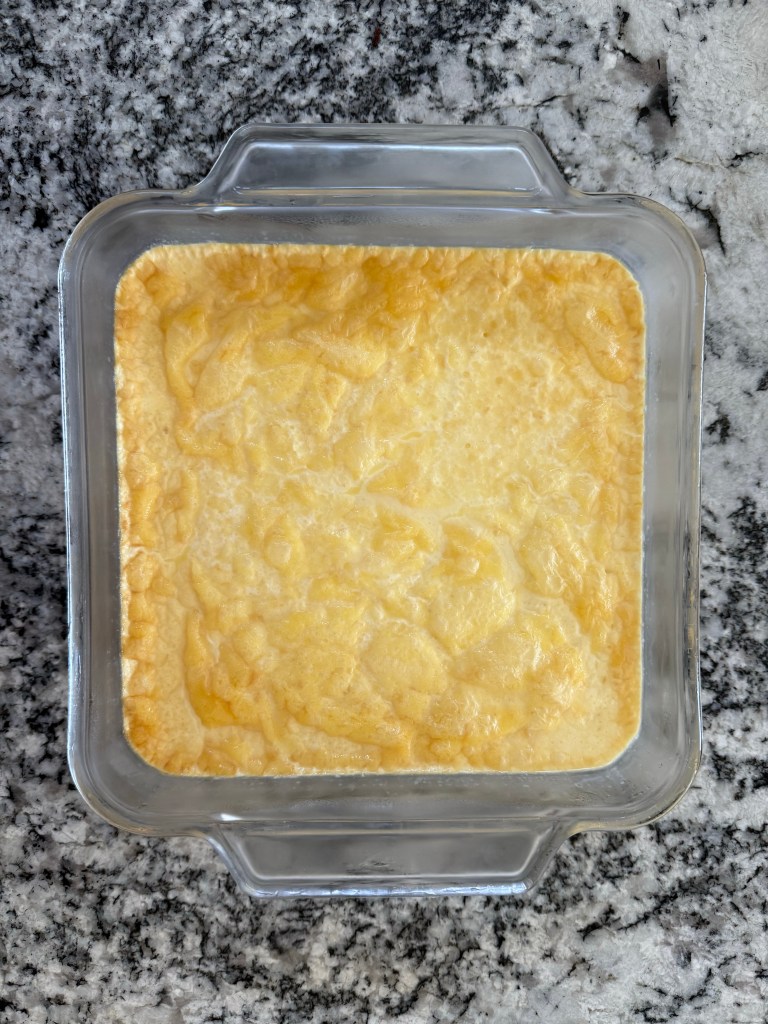
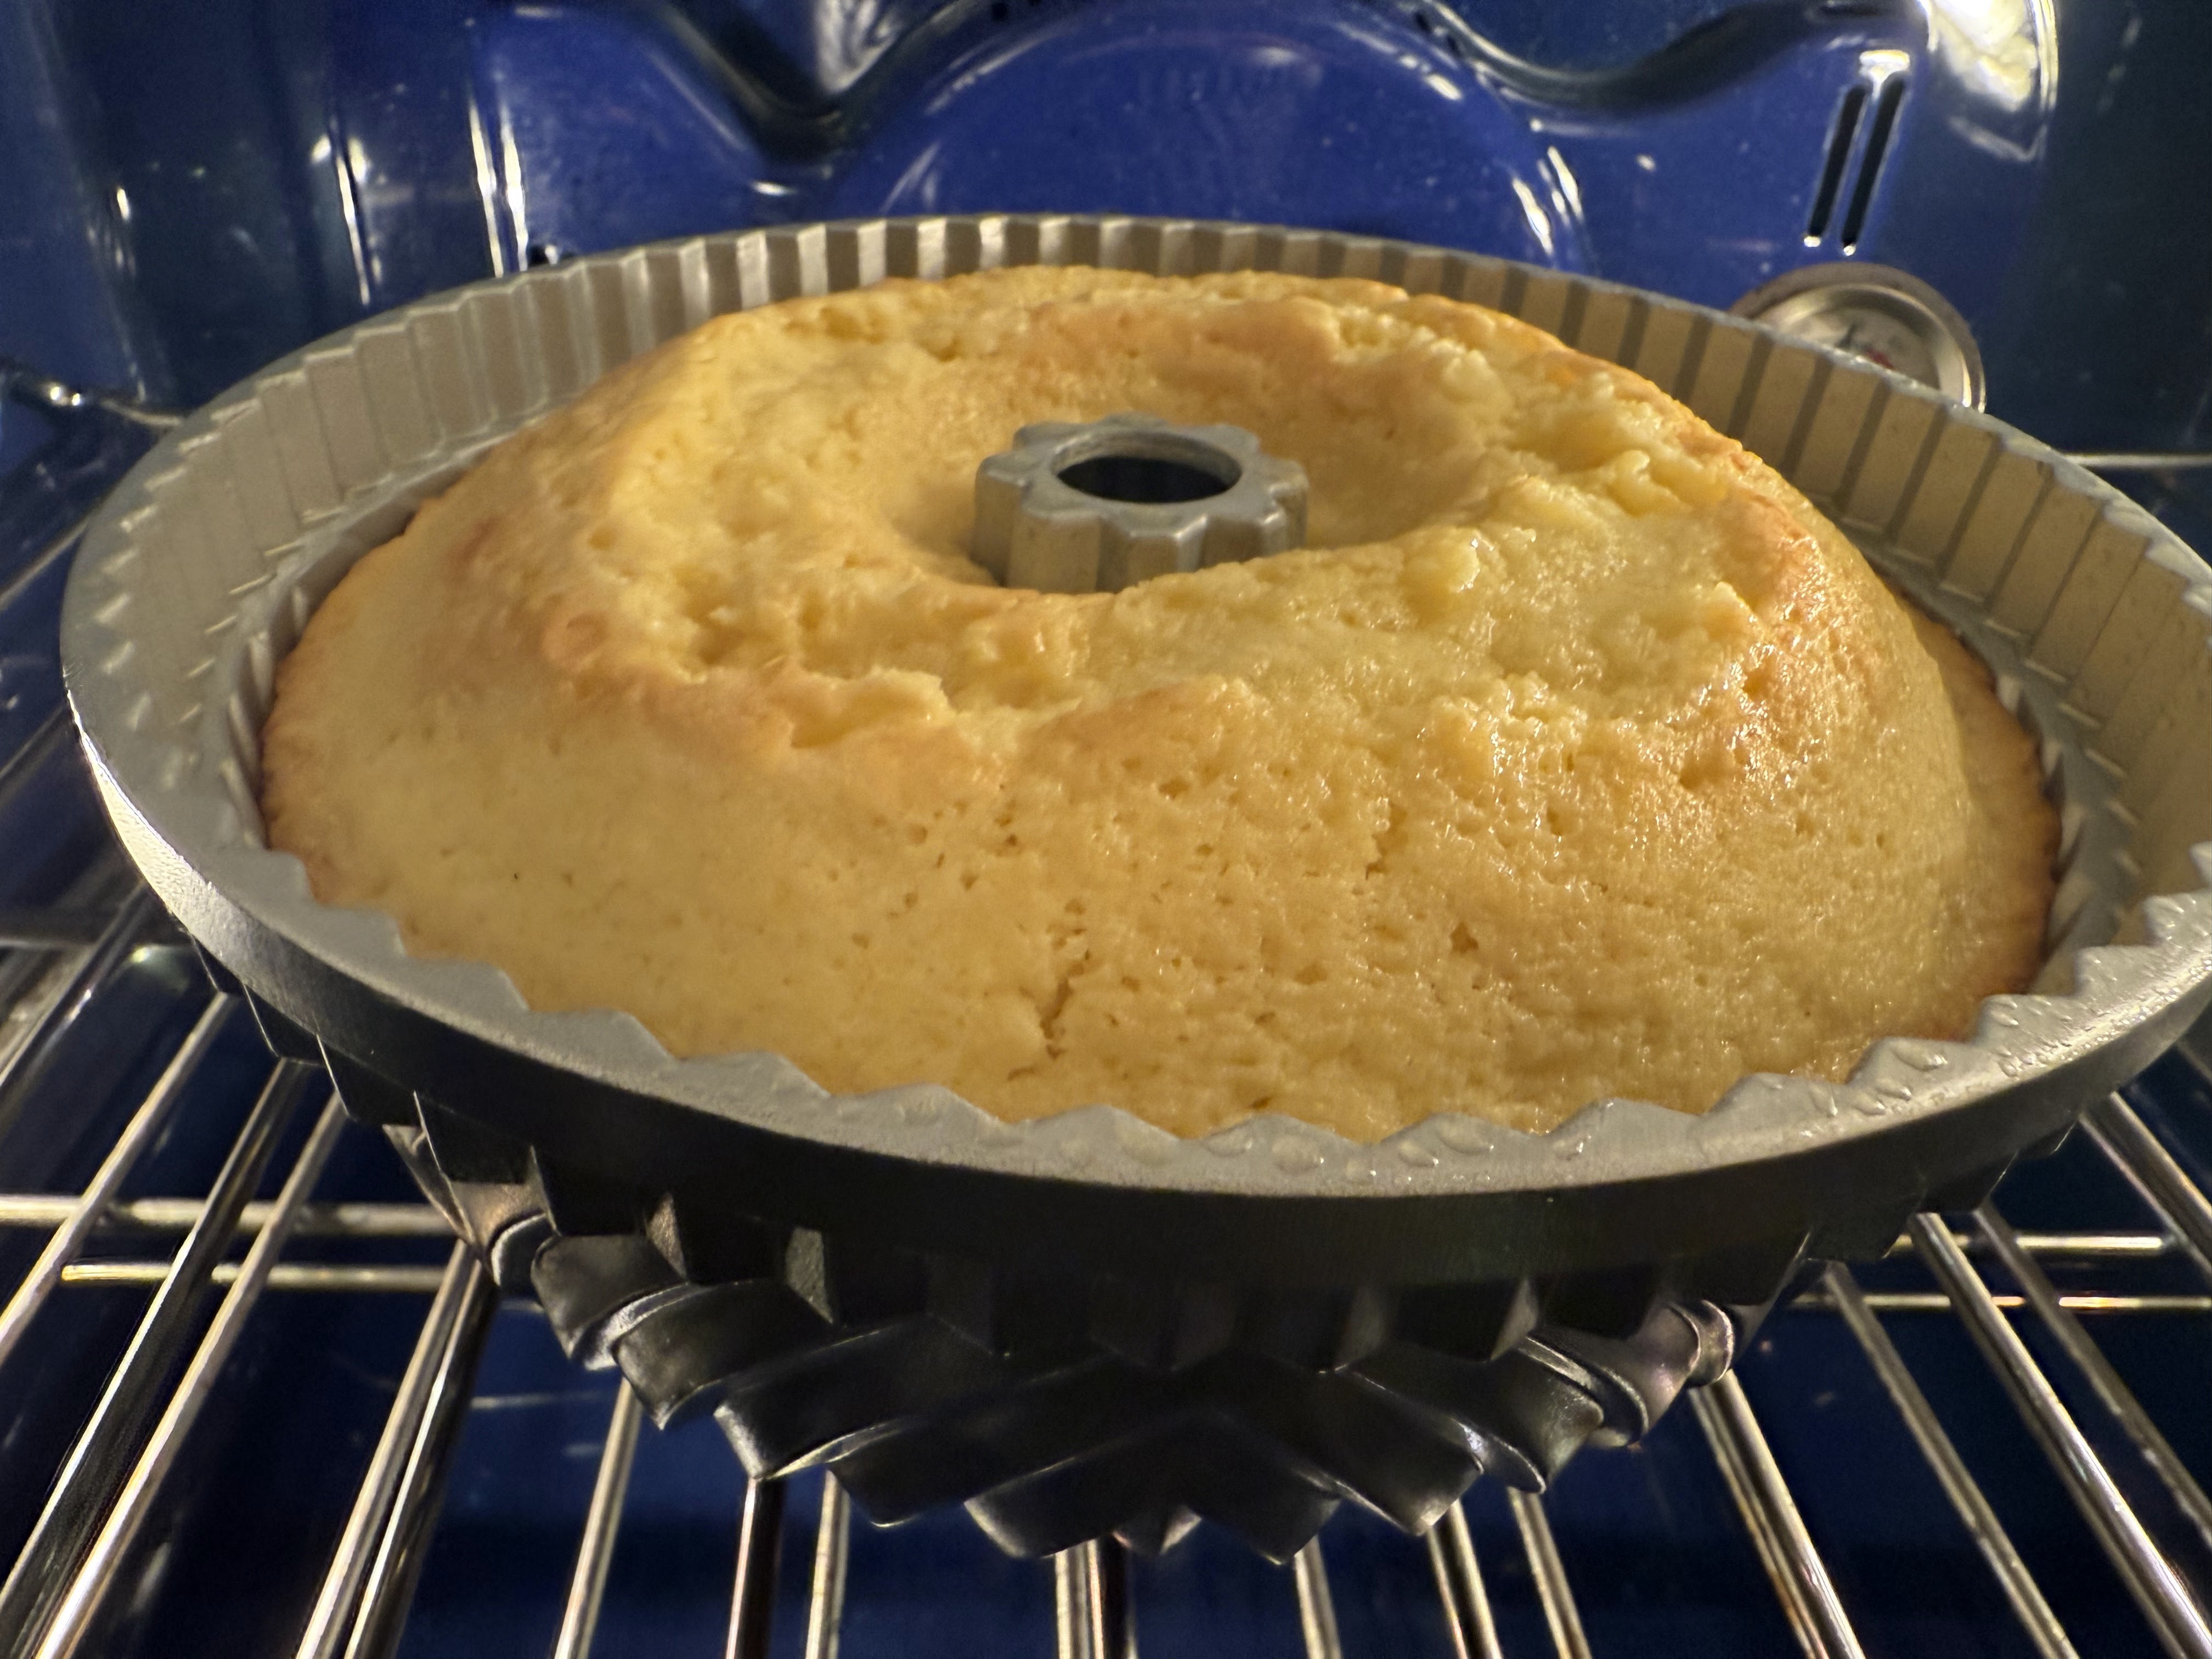
I put my cake into the oven and watched as it baked. It all looked good for the first 20 minutes, but then the center of the cake began to dome upwards. I watched helplessly. There was nothing I could do but wait for the cake to be finished baking.
The recipe said the cake should take 40 minutes to bake, but mine was in the oven for over an hour before the cake tester came out clean.
I let the cake cool in the pan for 10 minutes as recommended, then attempted to get it out of the bundt pan. Friends,it was stuck in there. With the cake still warm I couldn’t get it out of the pan without completely mauling it, so I took a page out of the angel food cake recipe and flipped the cake-in-the-pan over on a cooling rack to cool with the hope that gravity would assist me. Unfortunately, this did nothing. I ended up using my least rigid spatula to pry the cake away from the pan once it was fully cooled. It was not my best moment, but the cake still looked alright, so I whipped up the glaze.
Before plating the cake I cut off the domed portion to help it sit flat on the plate. I drizzled the glaze over the cake, then wrapped the whole thing up to take to a meetup with some friends.
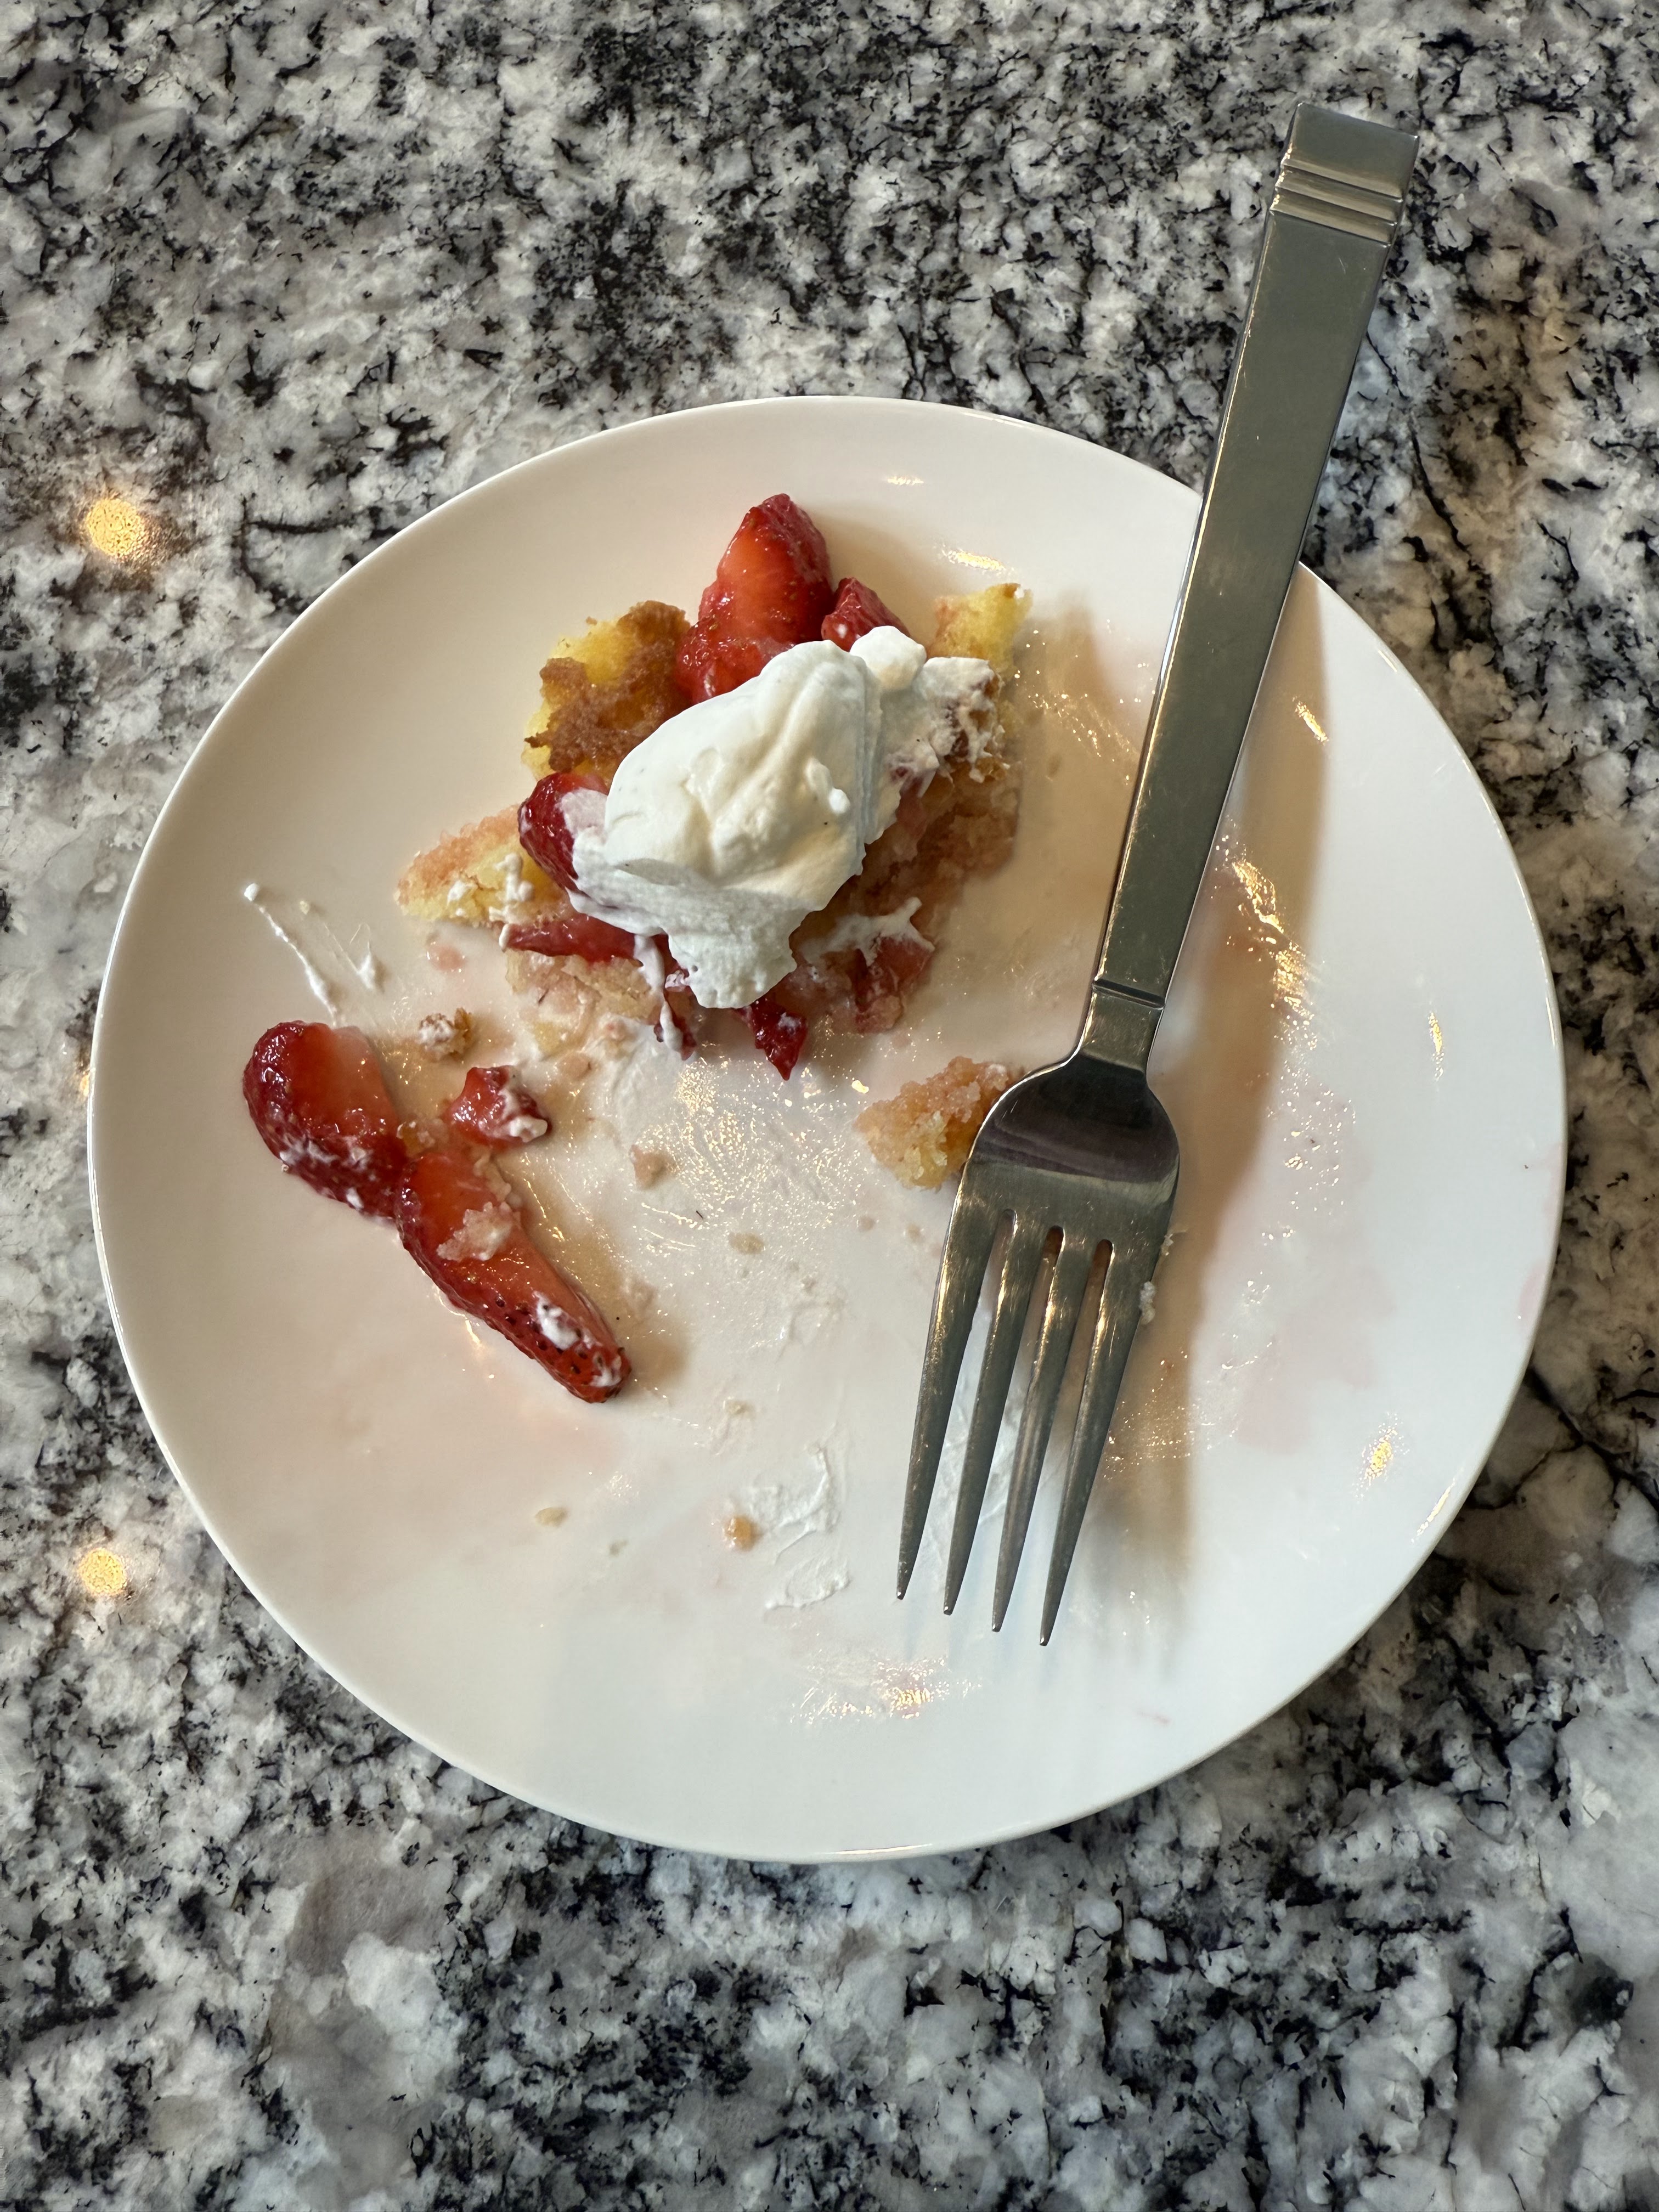
My friends declared the cake to be delicious. They had no idea of the fight I had just had with it. I agree it was a good cake. Lemony, but not overwhelmingly so. Sweet, but not too sweet. Very tender, and not dry in the least. I would absolutely make this cake again, but I would go back to the tried-and-true method of buttering and flouring the cake pan, and I would lower the oven temperature in an attempt to avoid the doming I got with this cake.
Lastly, this cake makes excellent strawberry “shortcake”. This was a great way to use up the leftover cake trimmings.
Until the next time: may your yeast always rise and your flour never run out
Several years ago I found a copy of Whole Grain Baking by King Arthur Flour at a thrift store. I immediately snapped it up, and I’ve baked several things from the book (the carrot cake recipe is particularly good). Today I wanted some brownies. I found this recipe in the book, and remembered that chocolate and whole grains go together smashingly, so I decided to give it a try. I’m so glad I did.
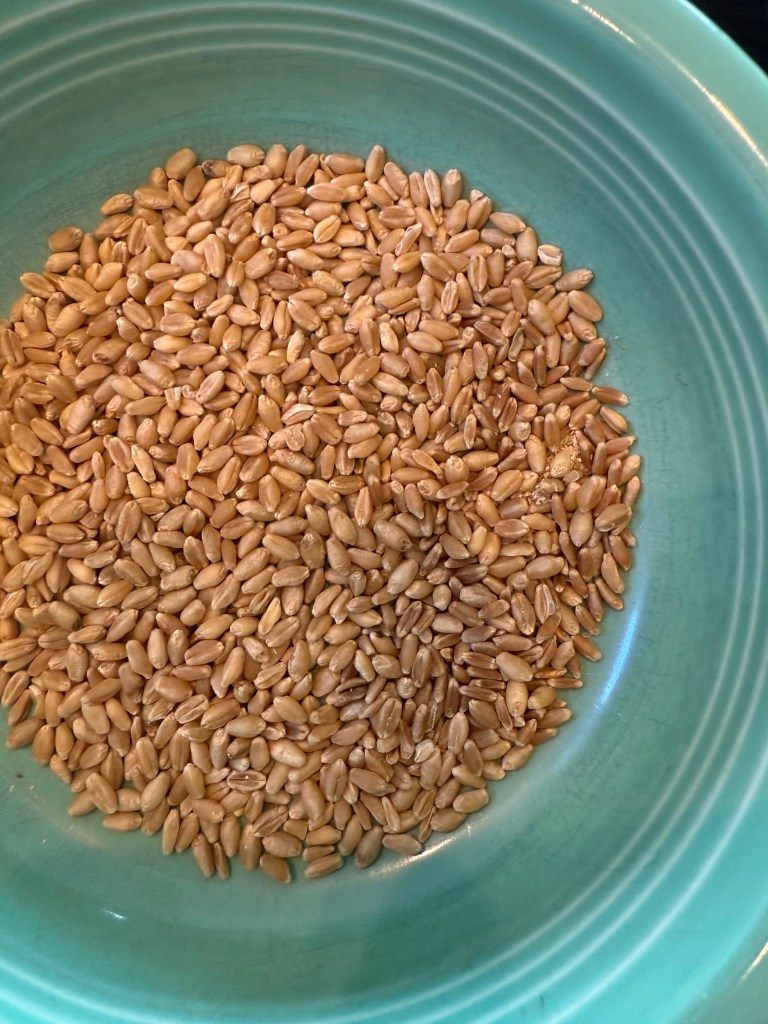
Since these brownies use whole wheat flour, I took the opportunity to grind some wheat berries fresh. I used up the last of my hard red winter wheat and got to open up a new bag of heirloom Turkey Red wheat. I thought the difference in size, shape, and colour between the two varieties of wheat was fascinating.
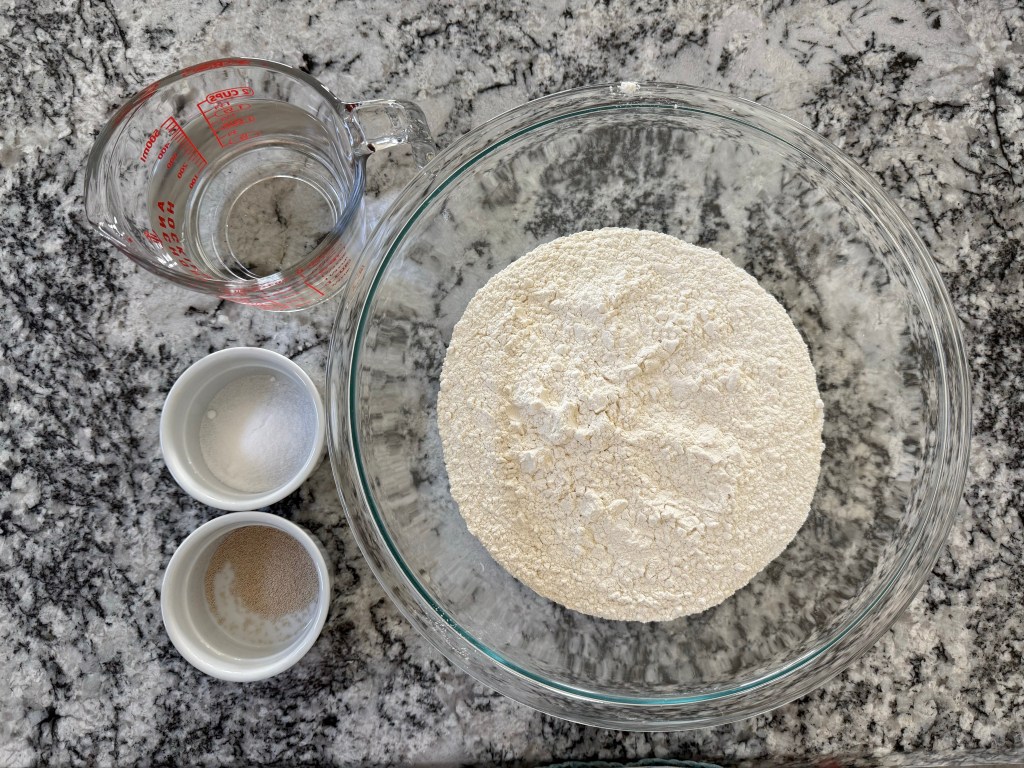
I gathered my mise en place:
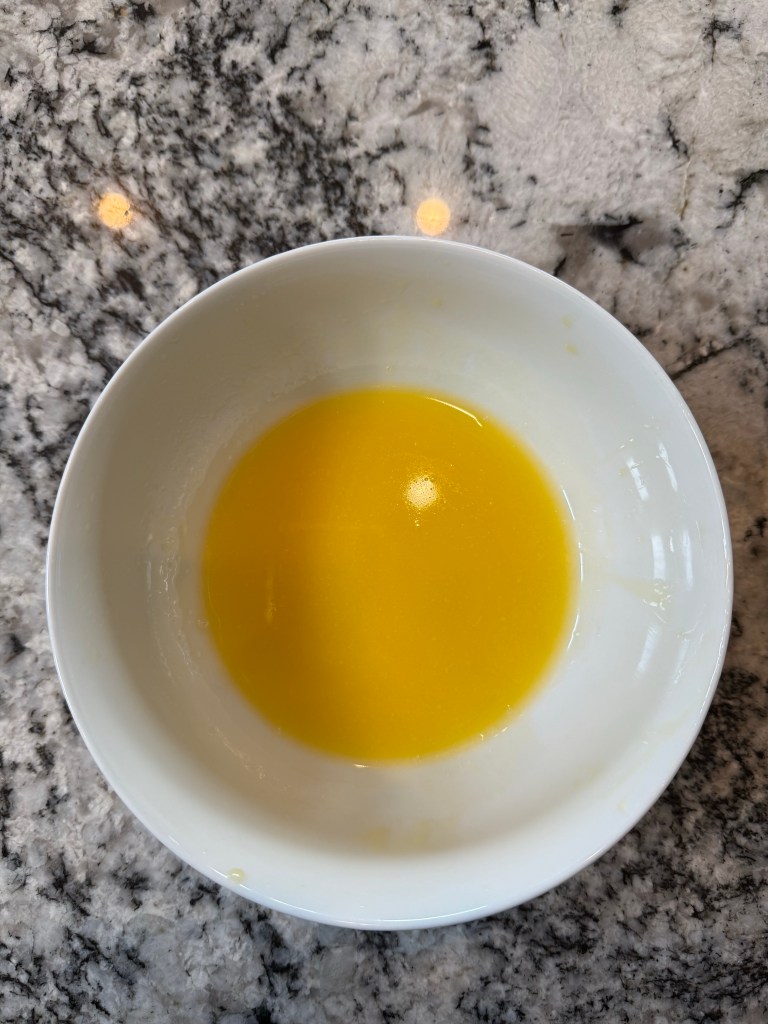
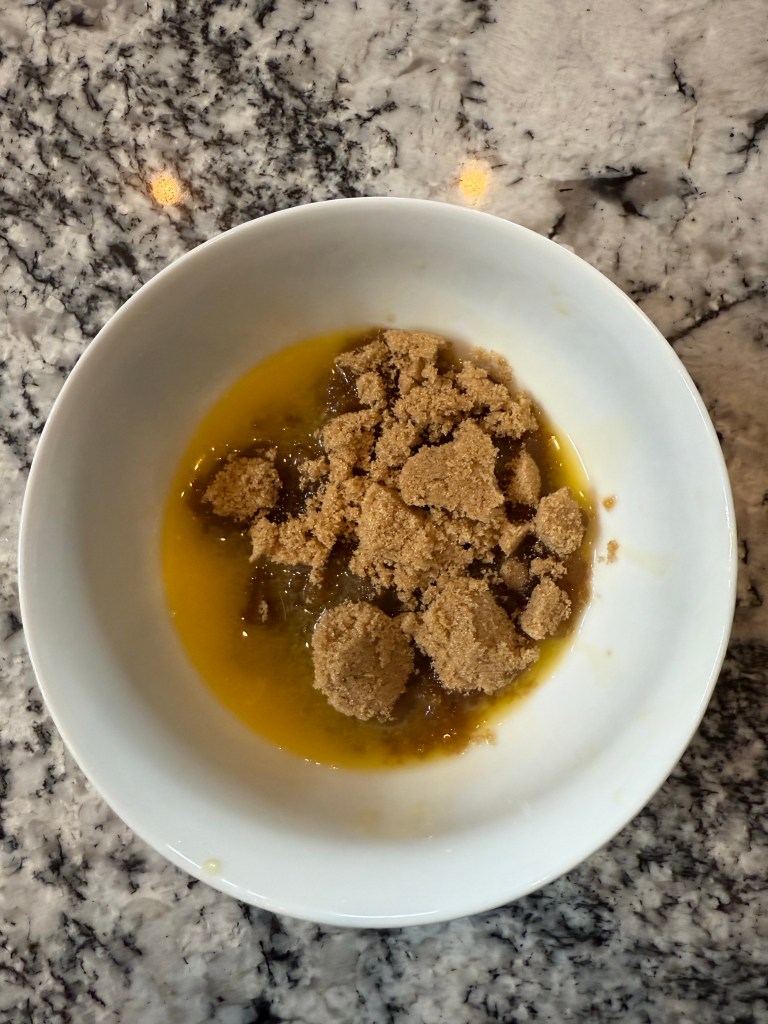
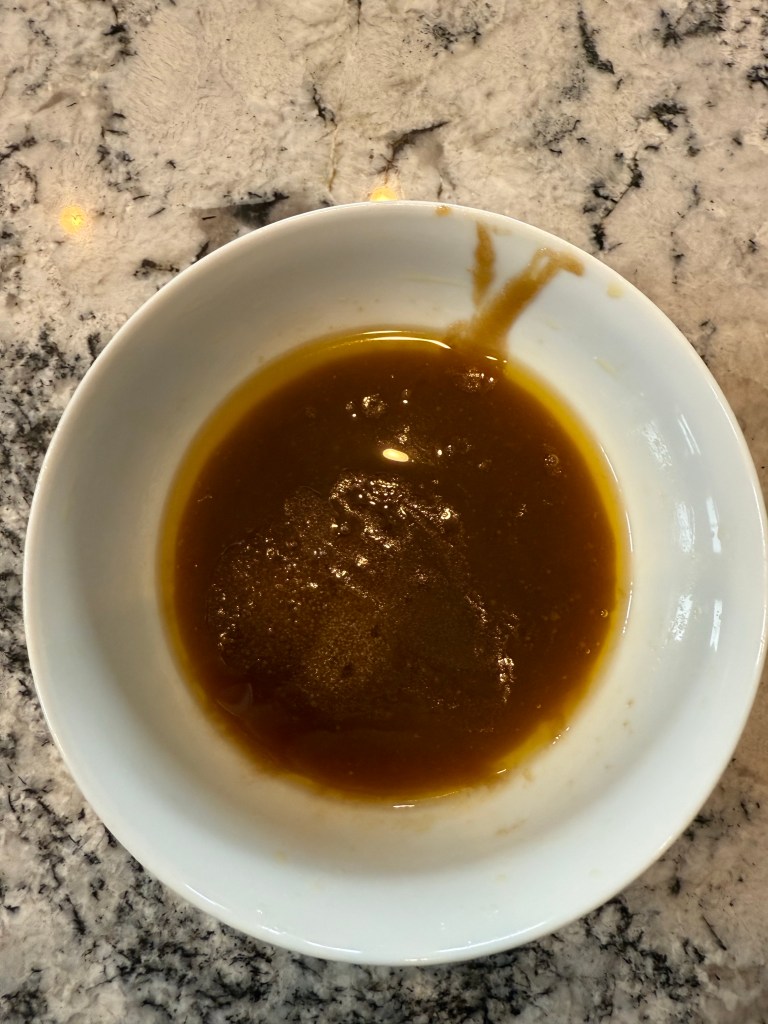
I melted the butter, stirred in the brown sugar, then put it back in the microwave at half power for ~45 seconds until the mixture began to bubble. This second heating step helps the top of the brownies become more glossy during baking.
I moved the mixture to a bigger bowl and stirred in the cocoa powder, baking powder, salt, and vanilla. The butter still wanted to ooze out of the batter at this point.
I checked the temperature with my finger before I whisked in the egg. Since this is a very small batter it didn’t need any additional cooling time. It was astonishing how the batter transformed with the addition of the egg. It became beautifully smooth and glossy.
I added the flour and stirred it in, then stirred in the chocolate chips.
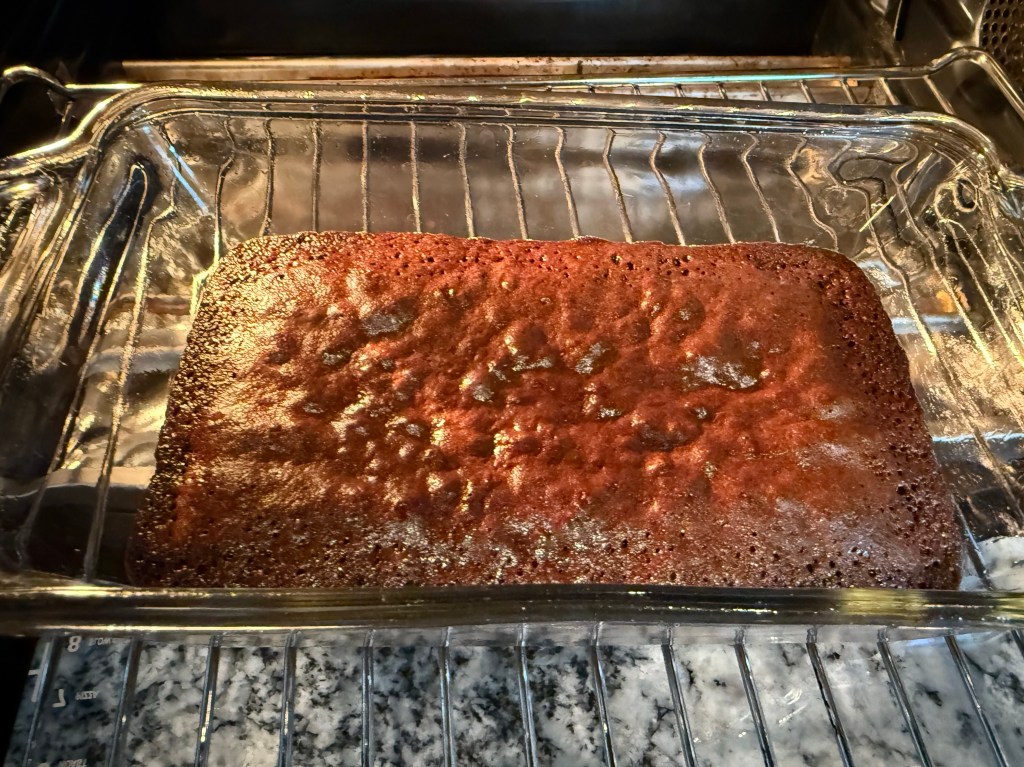
I poured the batter into an oiled pan, then put it into the oven.
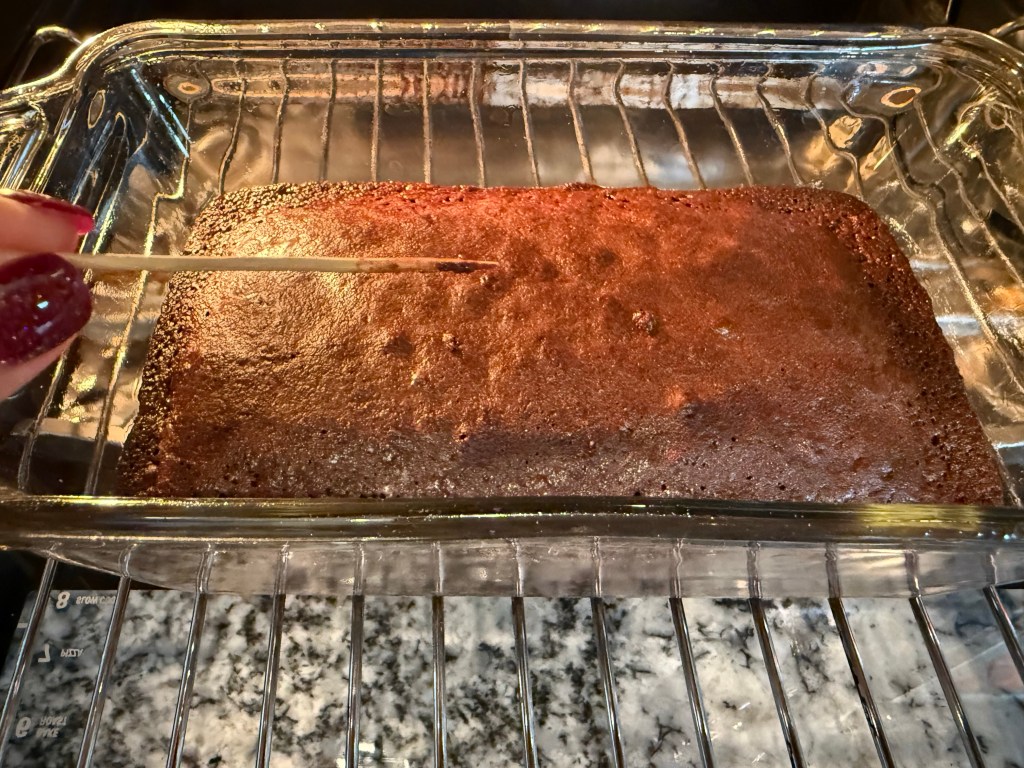
I baked the brownies at 350 degrees Fahrenheit for 20 minutes, then tested for doneness. They needed more time.
5 minutes later, it was looking better, but still needed a few more minutes.
3 minutes later the brownies were ready. I took them out of the oven and set them aside to cool.
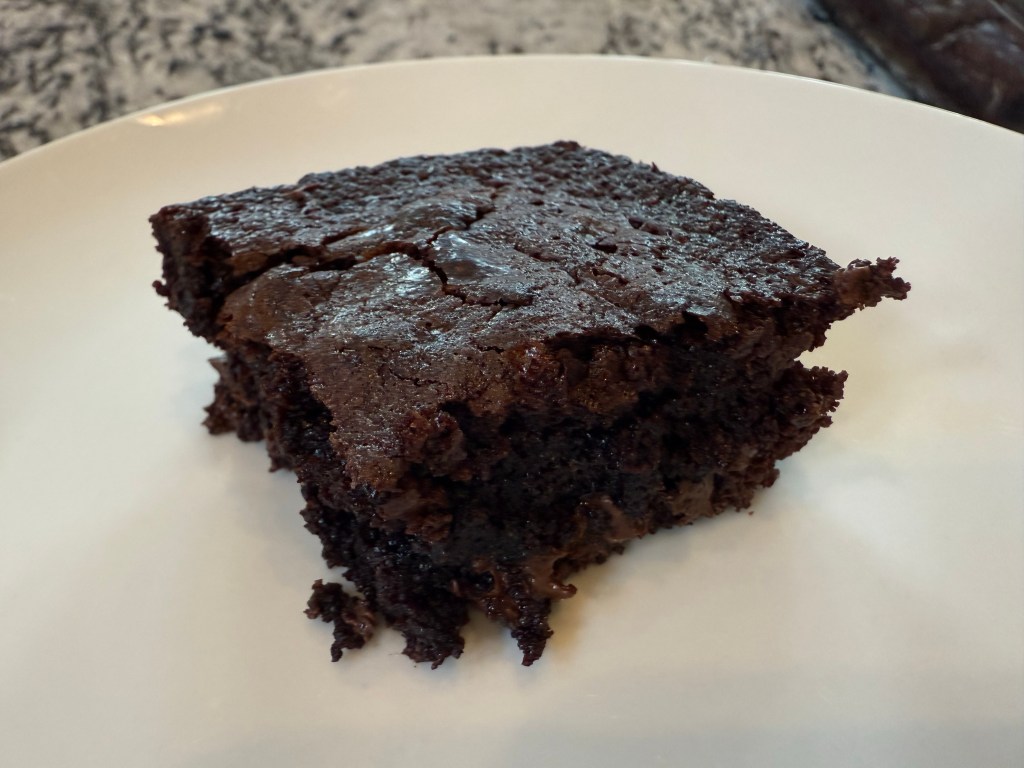
After a 15 minute cooling period, we tried the brownies.
Wow, are these delicious! Deeply rich and chocolatey. Ooey, gooey, and fudgy, but with a substantial texture from the whole grains to balance the fudginess. Sweetness and bitterness are nicely in balance. My husband said these are some of the best brownies he’s ever had. I agree.
Until the next time: may your yeast always rise and your flour never run out.
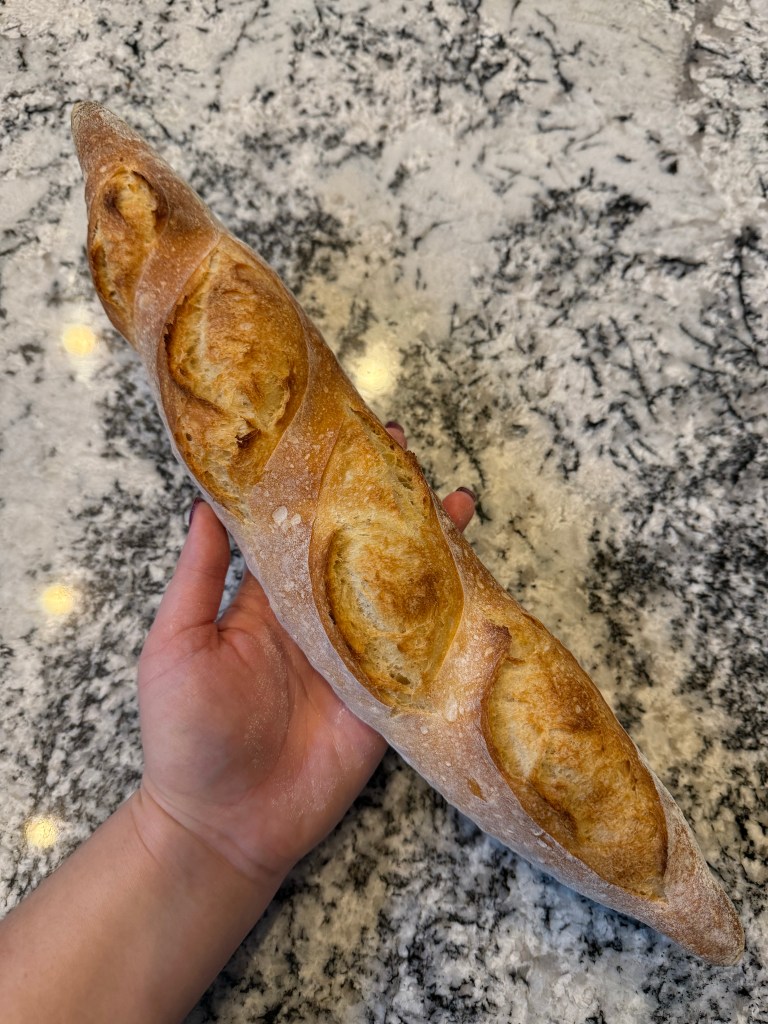
The last recipe of the first section of the King Arthur Baking School book is Baguettes. Initially I was intimidated by baguettes, but the dough turned out to be pretty straightforward, and the shaping was easier than I expected.
I gathered my mise en place:
This recipe introduces an interesting method for mixing the dough by using a dough scraper to scrape down the side of the bowl and up the middle, turning the bowl and repeating until the dough is fully mixed. I didn’t love this method as I felt there were some dry areas and wet areas in the dough despite my best efforts. But I’m glad I tried this new method anyway.
The dough bulk fermented for 3 hours with a fold (also done with the dough scraper) done every 30 minutes. I didn’t love the dough scraper for this job either, as I couldn’t grab the dough to pull it out from the main mass for each fold. I did, however, appreciate the suggestion for 20-25 strokes every half hour. It makes me wonder if I have been under-working my dough when I stretch-and-fold around the circle just once.
It was interesting to see how every time the dough rested it started to look more wet, but then when I completed the folds the dough immediately looked more dry. Also, I love the glossy sheen the dough developed around the 5th turn and that remained even after my 20 strokes.
First turn:
Second turn:
Third turn:
Fourth turn:
Fifth turn:
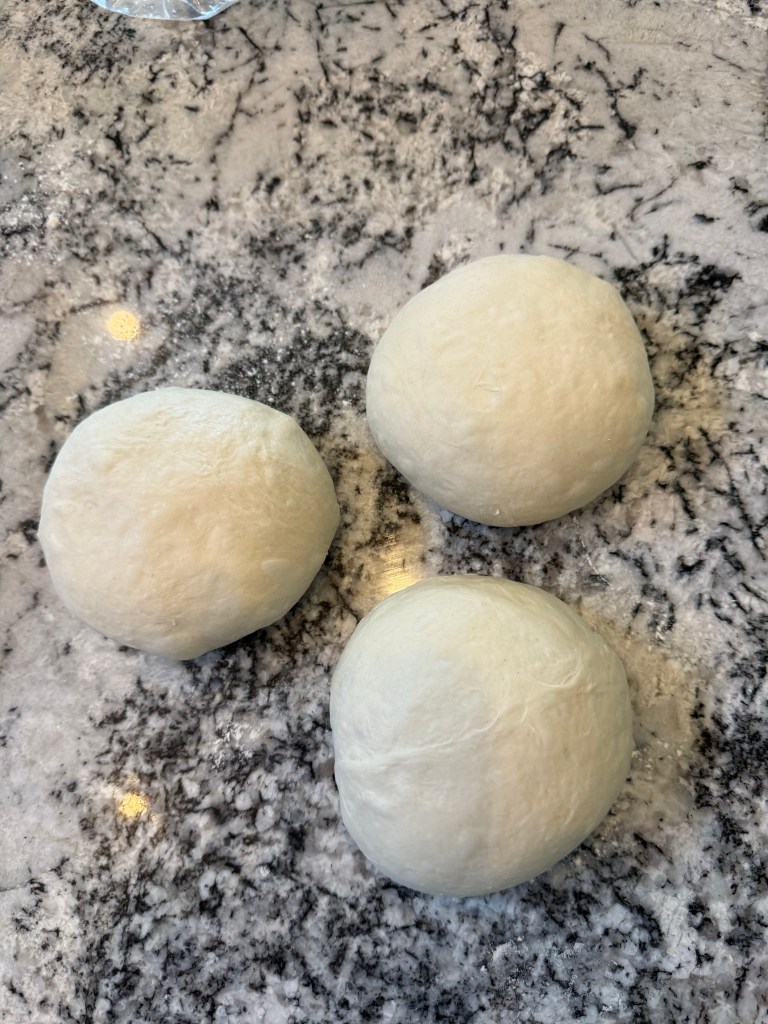
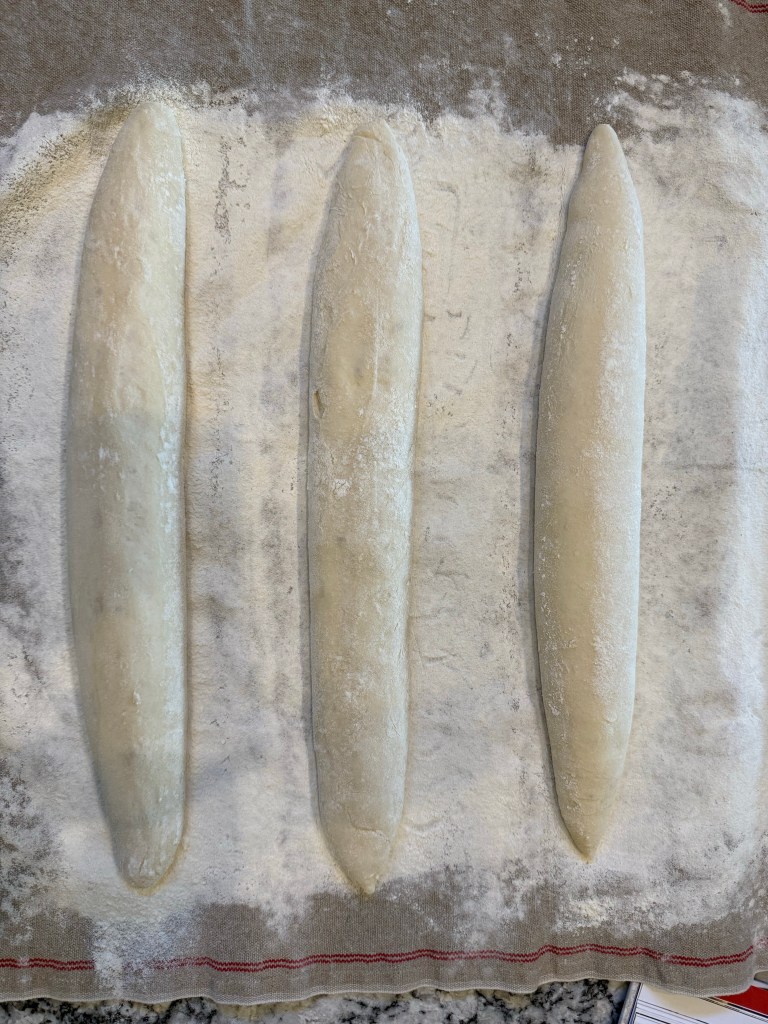
After 3 hours of bulk fermentation I turned the dough out onto the counter and divided it into 3 balls, which I pre-shaped before allowing them to rest for 15 minutes.
Then came the part that separates baguettes from other breads: shaping. The instructions in the book are pretty clear, but I also found this video to be helpful.
I started by patting the dough into an oval:
Then I folded the top third down and pressed the dough into itself with my fingertips. I turned the dough 180 degrees and folded the other third down into the center.
The next step was very similar: I folded the top almost down to the bottom, pressing to seal with the heel of my hand. I turned the dough 180 degrees and repeated, though this time the top of the dough was brought all the way down to the edge of the dough.
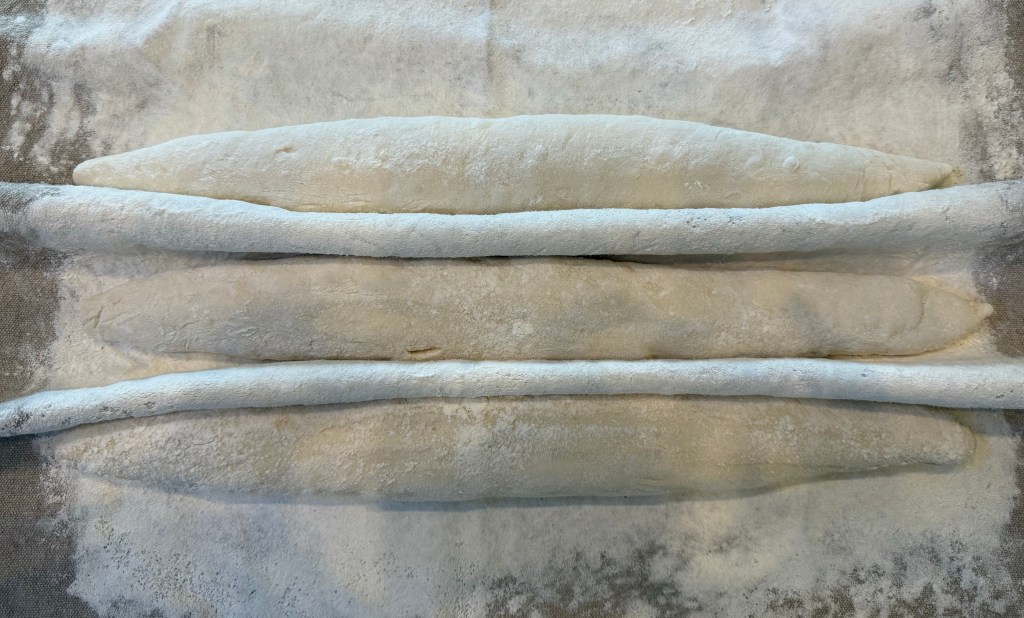
I placed the resulting seam against the counter and used both hands to roll the dough out to the longest length my oven can handle. I then placed the baguette on a heavily floured couche for the final rise.
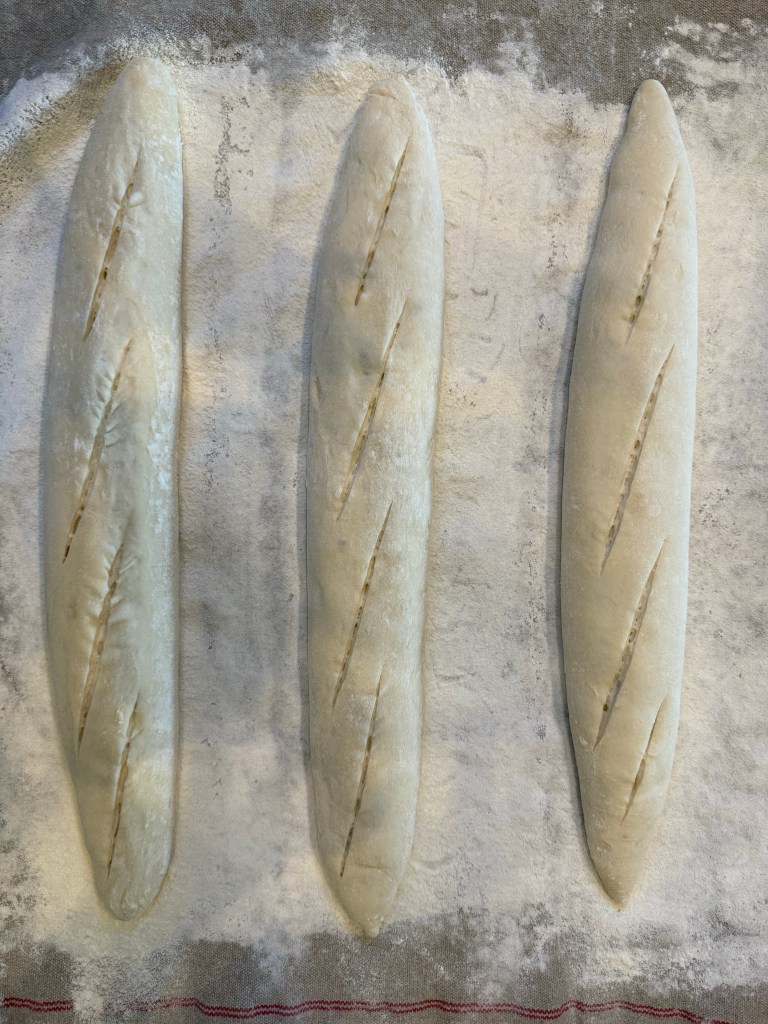
While the dough rested I started preheating my oven. The dough didn’t expand a lot, but it did pass the poke test. I slashed the tops of my loaves and put them into the oven on a baking stone with a cup of boiling water to create a steamy environment.
I struggled to get these loaves off the couche and onto a pizza peel to transfer them into the oven. Thankfully, the dough stood up well to the extra handling at this stage. By the third baguette I remembered you’re supposed to use the couche to flip the dough onto the peel.
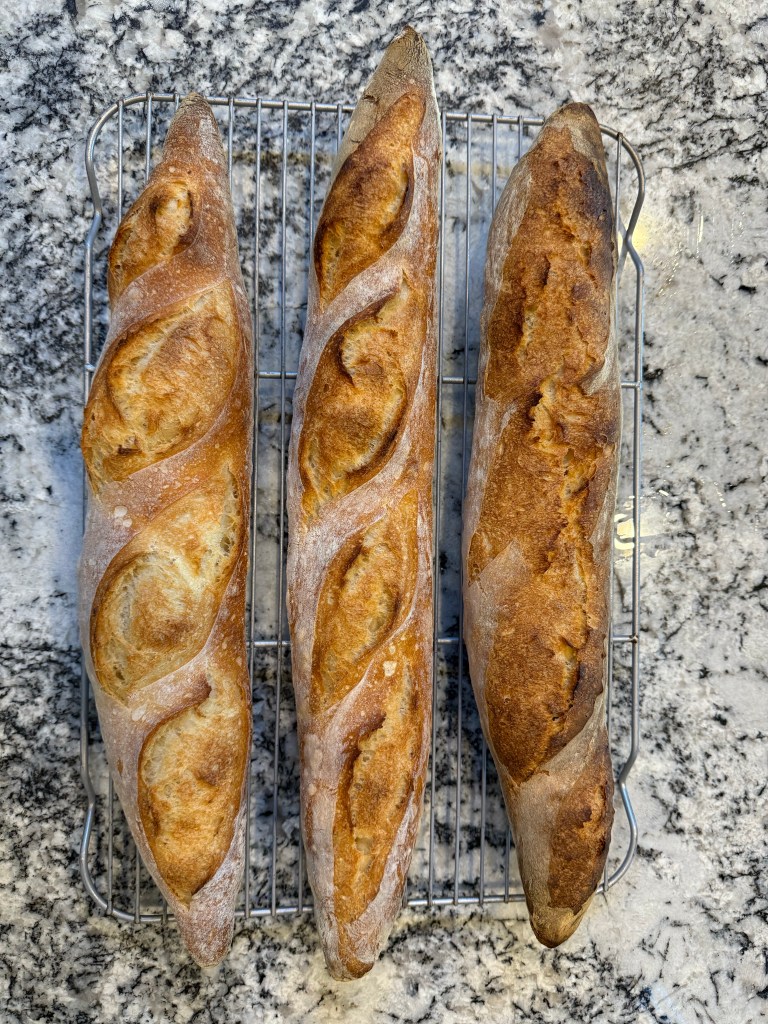
I experimented with the bake time since I had 3 baguettes. The palest loaf was in the oven for 20 minutes at the front of the oven. The middle loaf was in for 22, and the darkest loaf was in for 24 minutes at the back of the oven. Visually the middle bake is my favourite. I am working on allowing my breads to bake just a bit darker for better flavor, and seeing the difference in these 3 baguettes helps me get a better sense of when I will want to pull breads out of the oven in future.
So how is the bread? Delicious! I am so proud of the crumb on this one! It looks exactly how baguettes are supposed to look with a good balance of holes throughout without being too lacy. It tastes like good bread, very similar to other breads made with straight dough. It’s fantastic with butter and a sprinkle of salt.
Until the next time: may your yeast always rise and your flour never run out.
The night before my bake I mixed the biga. This was quite a stiff preferment, and after mixing the flour, water, and yeast together I had to knead them in the bowl for a minute or two to incorporate the last of the flour.
The biga was ready 11 or 12 hours later, but since the yeast gives one a window of several hours before it expends all its food and starts to deflate, I waited until a convenient time for me to start baking, which was about 15 hours after mixing.
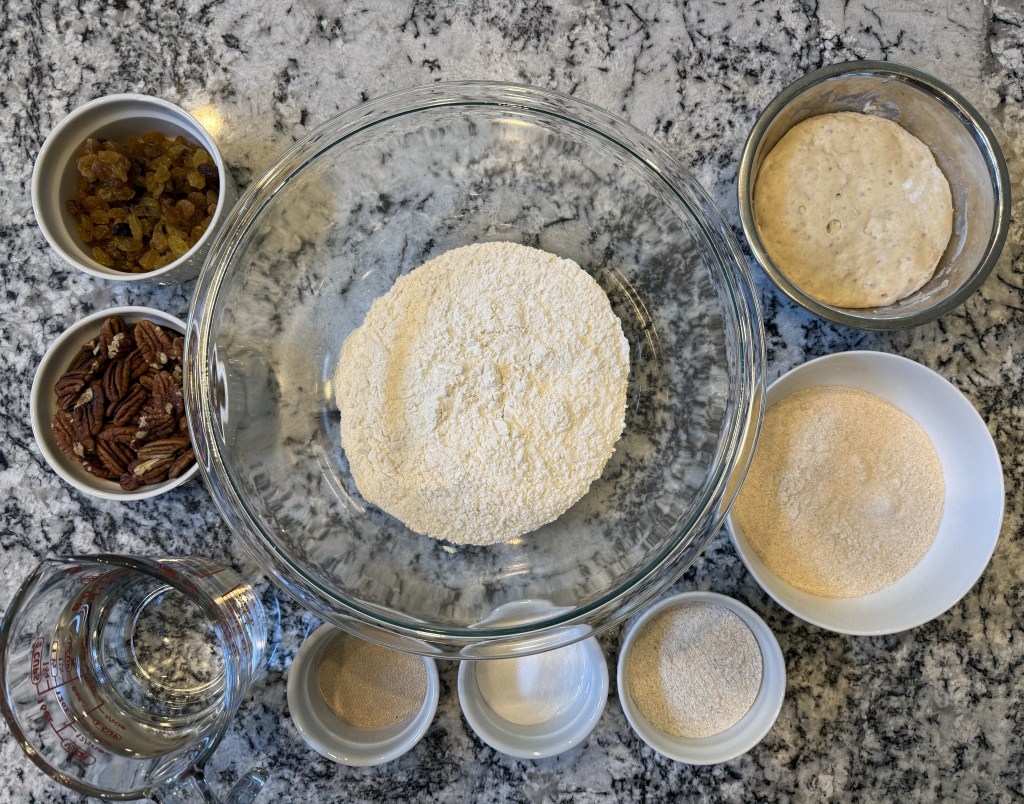
I gathered my mise en place for the bread, which included the risen biga. This recipe uses a portion of whole wheat flour (freshly milled in my case) and rye flour, and cleverly uses a bread flour with a higher protein content to make up for the reduced gluten in the rye and whole wheat flours.
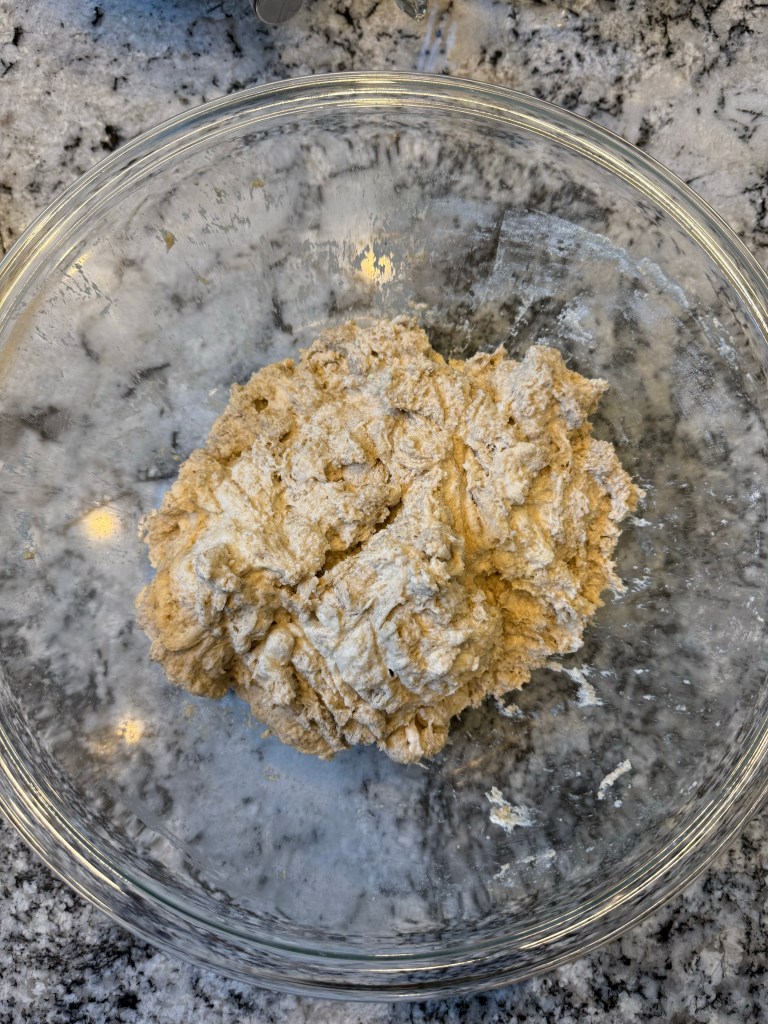
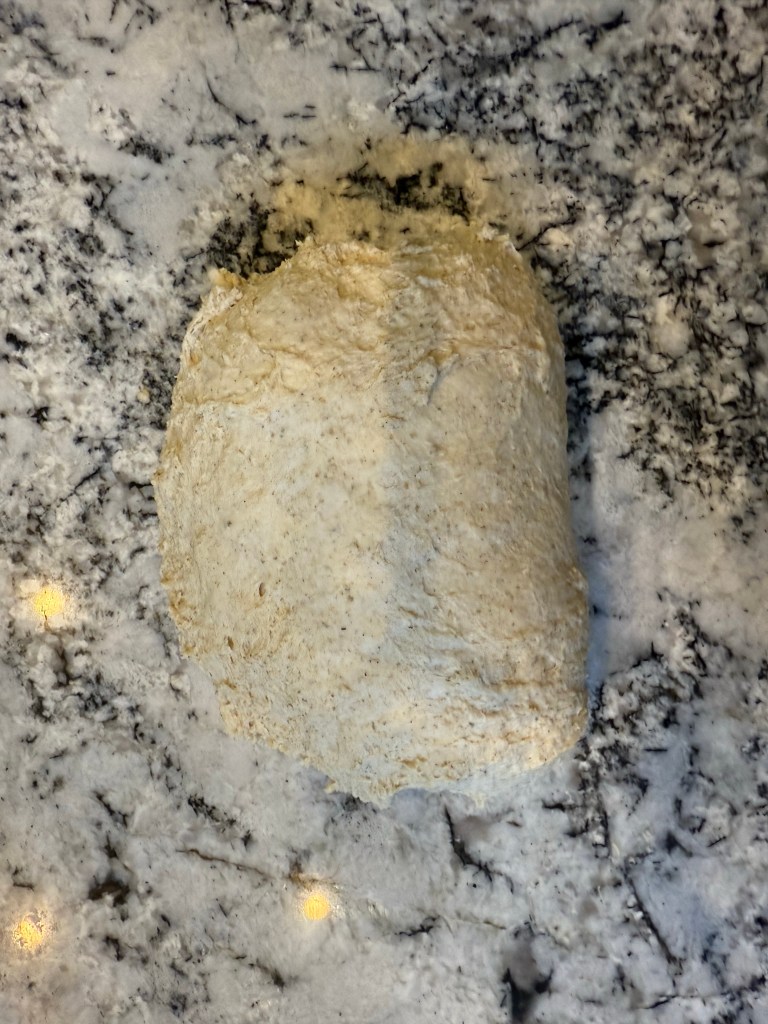
Then I mixed together all the ingredients except the raisins and pecans. The dough was rather shaggy, and there was some flour that didn’t quite get incorporated in the initial mix. I hoped this flour would get hydrated during the rest between mixing and kneading, but my hopes were in vain.
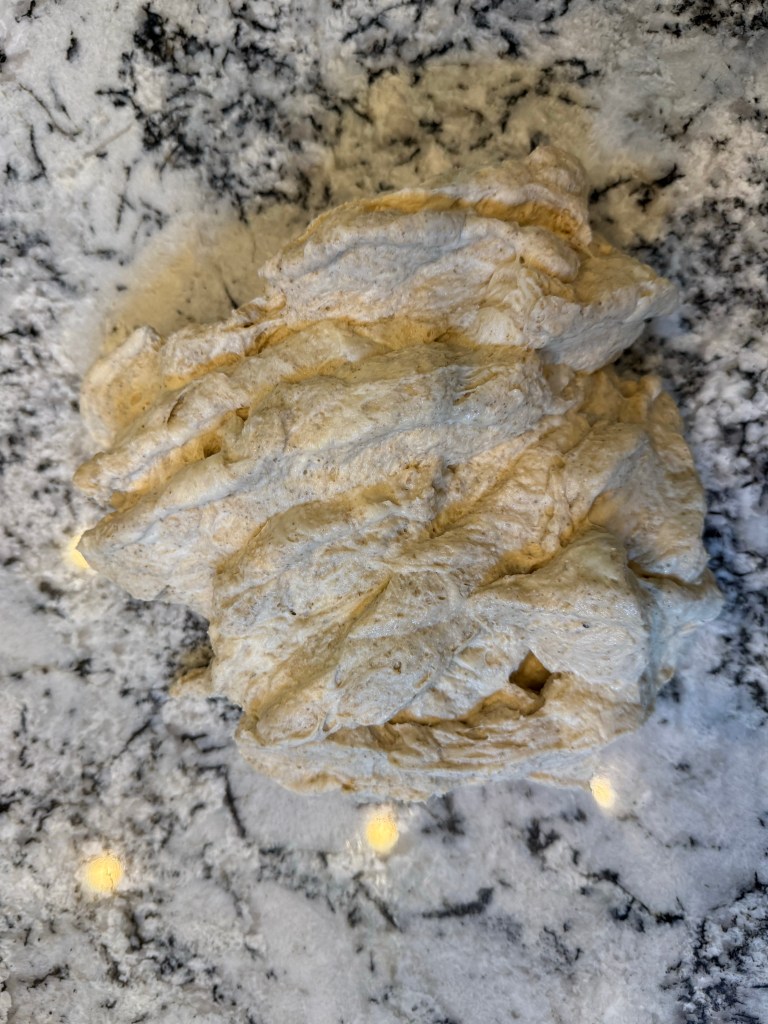
After 15 minutes of rest I began kneading the dough using the chop, slap, and fold method as outlined on pages 54 and 55 of the book. I’ve never used the slap and fold method kneading before, but I quite liked it.
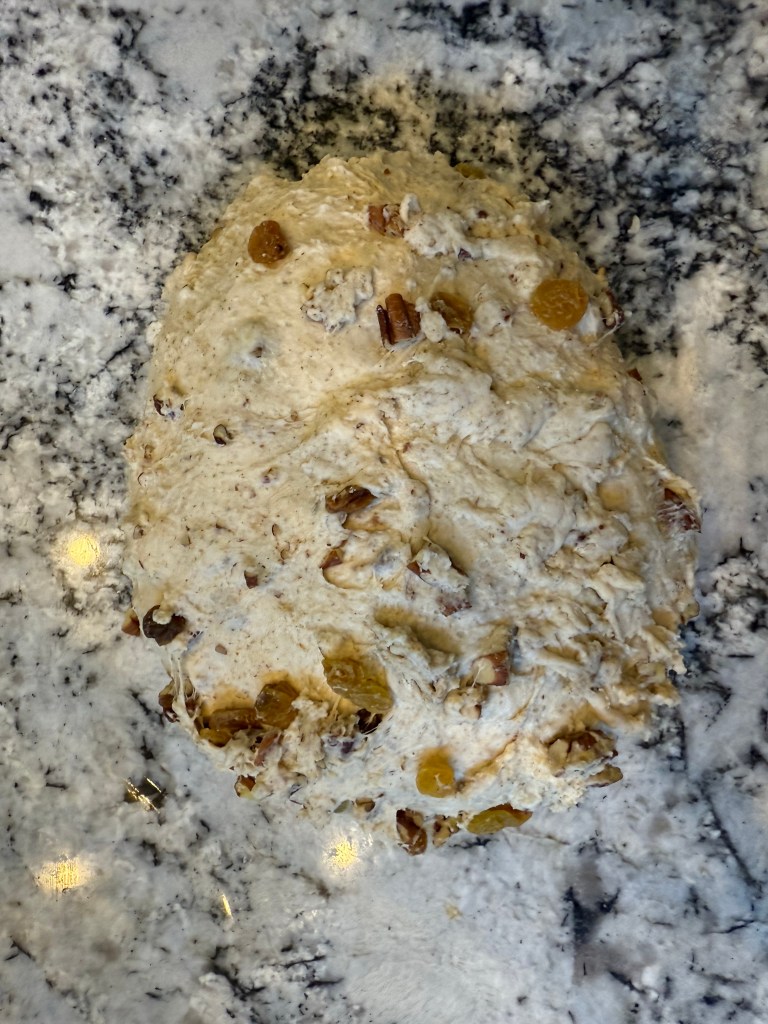
Once the dough was kneaded to my satisfaction I added the inclusions. I had considered using my KitchenAid mixer to mix and knead the dough, but decided against it since the overall kneading time was so minimal. I wish I had used it. Kneading in inclusions by hand is no joke, and the slap and fold method, when used vigorously, can cause raisins and pecans to go flying across the kitchen. Nevertheless, I persisted, and eventually the dough was as homogenous as it was going to get. I covered the dough and left it to rise.
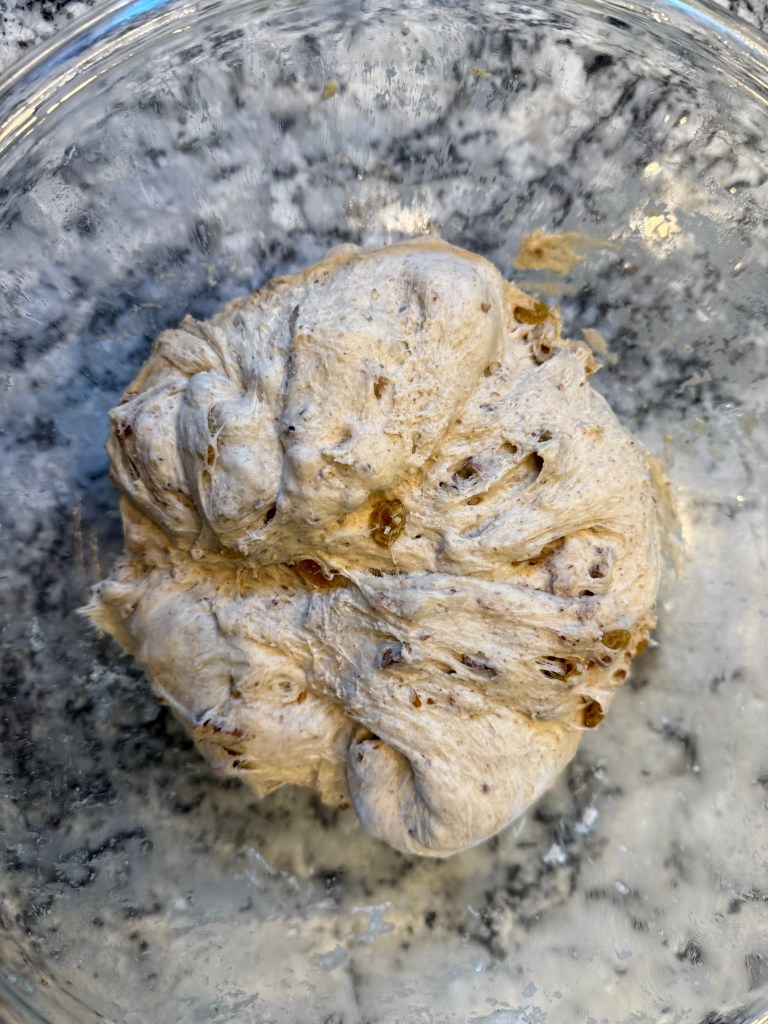
I gave the dough a fold (2 rounds) after an hour.
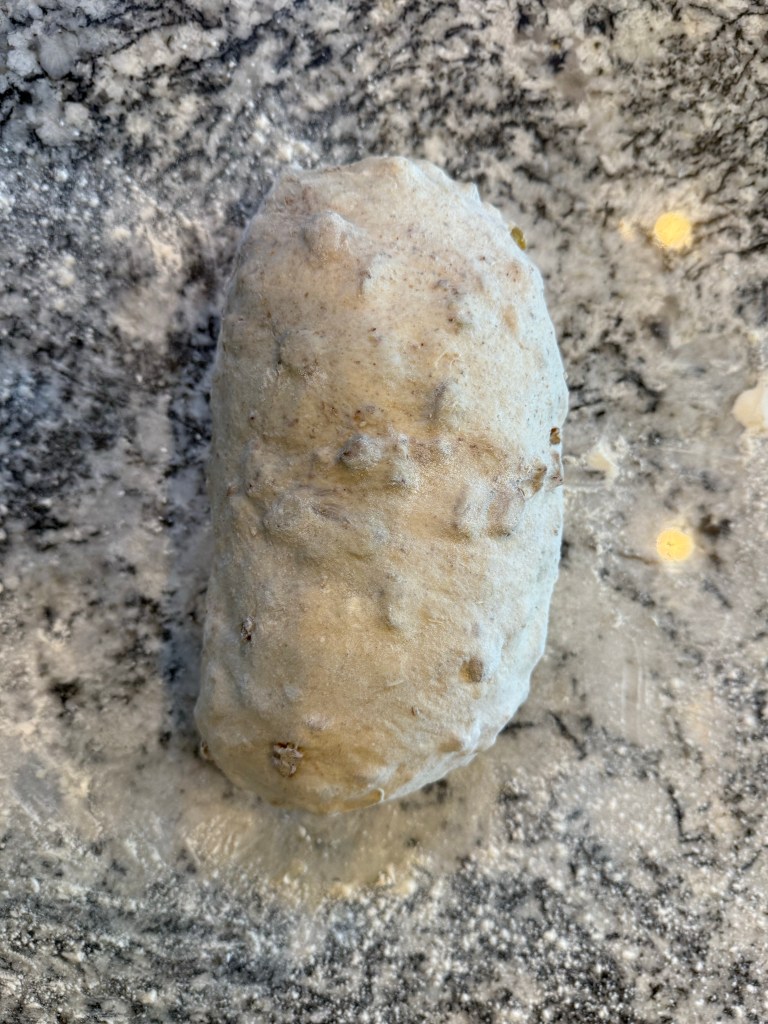
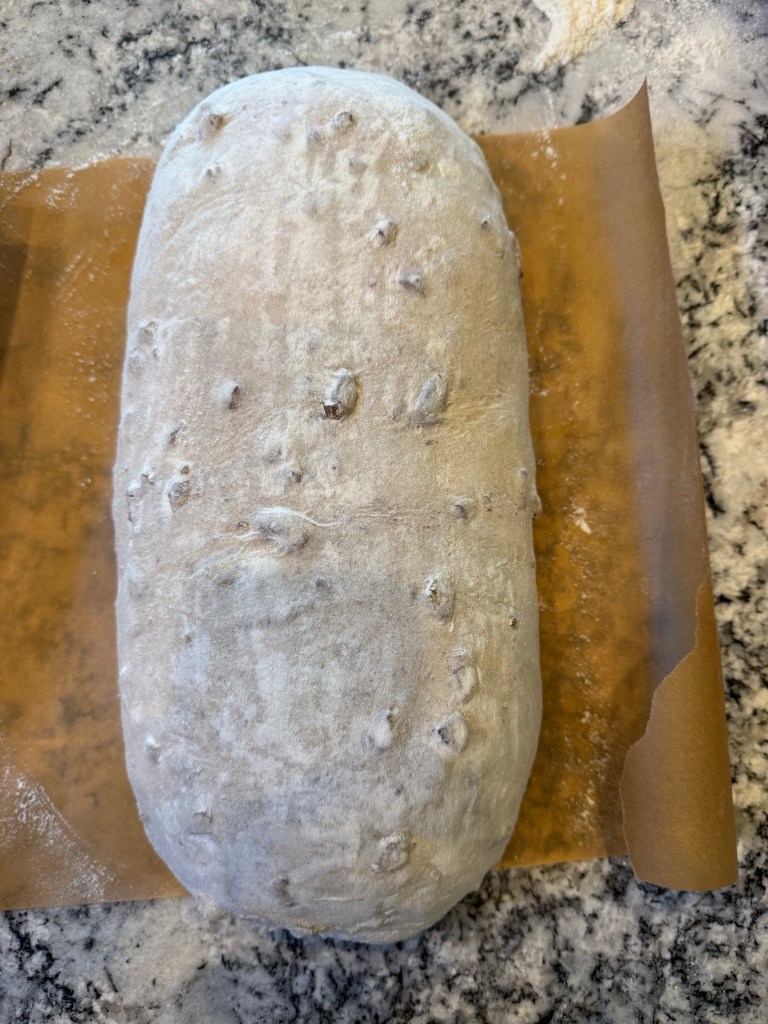
2 hours after kneading (and 1 hour after the last fold) the dough had risen nicely and was ready to be preshaped. I chose to make one large loaf instead of two smaller boules. I have an Emile Henry baker that makes lovely large loaves that are perfectly sized for sandwiches and toast, and I wanted to use that. The preshape was very simple: I formed the dough into a rough rectangle, folded the top in, folded the sides in, then rolled the bottom up. I let the dough rest (covered) for 20 minutes.
While the dough rested I floured my banneton. I like to do a first pass with rice flour and a second pass with all purpose flour. This uses a lot of flour, but I never have to worry about my dough sticking to the banneton liner. The dough relaxed ever so slightly during the resting period. To shape the dough I repeated the same process I used for the preshape, but I spent more time sealing the bottom of the loaf. I moved the loaf to the banneton, seam side up, and then stitched the seam together before covering the loaf and setting it aside for the final rise.
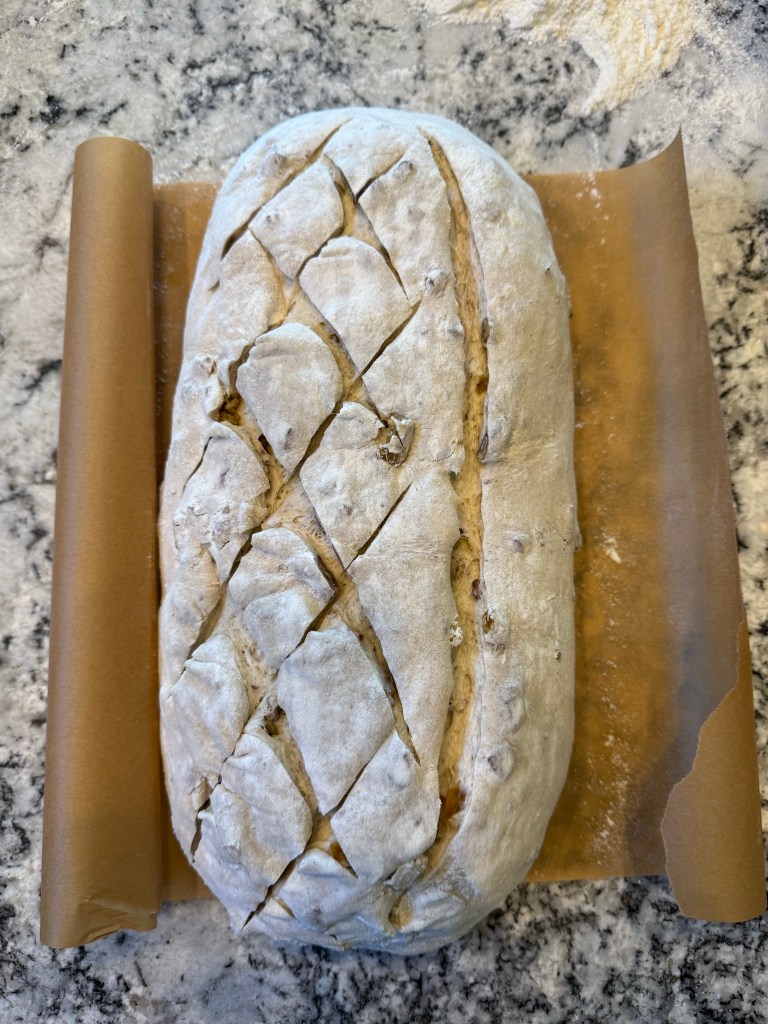
The bread rose for an hour while the oven (and my clay baker) preheated to 500 degrees Fahrenheit. The dough passed the poke test, so I turned it out onto parchment paper and dusted off the (thick) layer of flour with a pastry brush. With the dough cleaned up, I scored it, put it into the very hot clay baker, put the lid on, and put the whole thing into the oven.
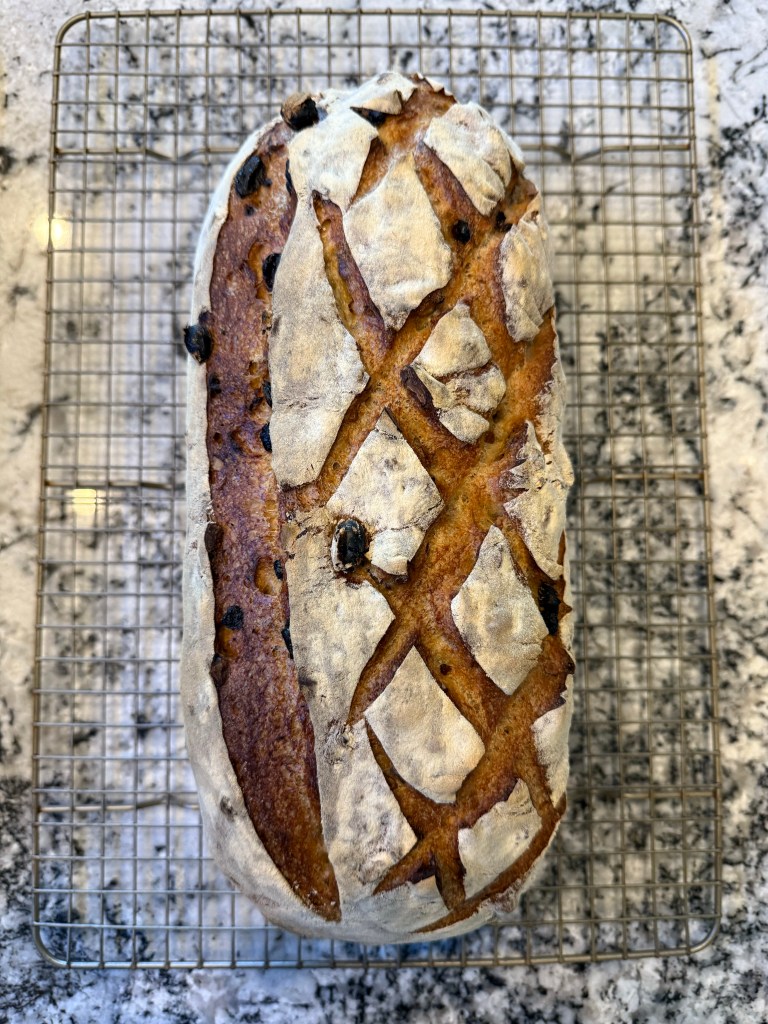
I took the lid off the baker after 15 minutes.
I meant to turn the oven down to 400 degrees Fahrenheit when I removed the lid, but I forgot, so I turned the oven down 10 minutes later. The bread stayed in the oven for another 30 minutes, for a total bake time of 55 minutes.
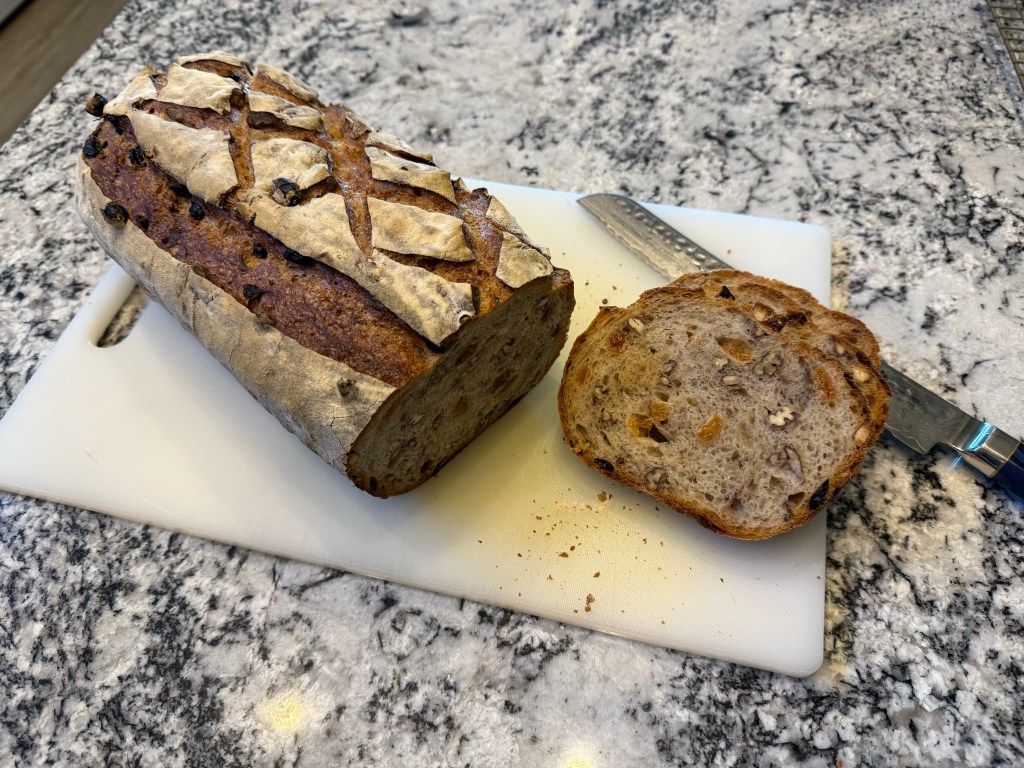
Fresh, hot bread is always irresistible, but somehow I always find enough discipline to wait at least an hour to cut into a finished loaf. While I wait I listen to the song of the bread, as Chad Robertson so poetically calls the crackling of the crust while it cools. My husband and I tried the fresh, warm bread with butter and a sprinkle of finishing salt and it was excellent. Nutty, jammy, delicious. We also tried it with butter and cinnamon sugar to really highlight the sweetness of the raisins, which was also delicious.
I love this bread. I love the whole grains in the dough. I love the flavors the nuts and fruit bring to the mix. It makes excellent toast. I would absolutely make this bread again. The one thing I would be aware of next time is the bake time/temperature. The few raisins that popped out of the dough on top got carbonized, so they are ashy and tasteless in the mouth, which is not a great experience. Next time I would simply pick them off the top of the dough before baking. I would make sure to turn the oven temperature down as soon as I remove the lid from the baker, and I would bake the loaf a bit more blonde.
Until the next time: may your yeast always rise and your flour never run out.
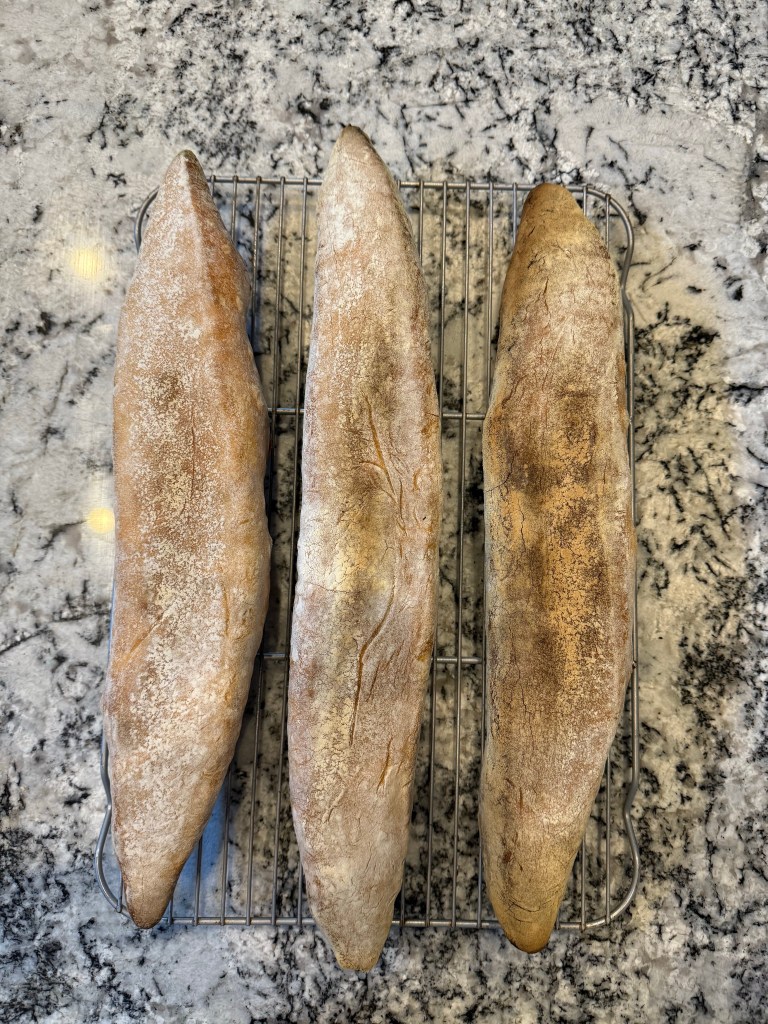
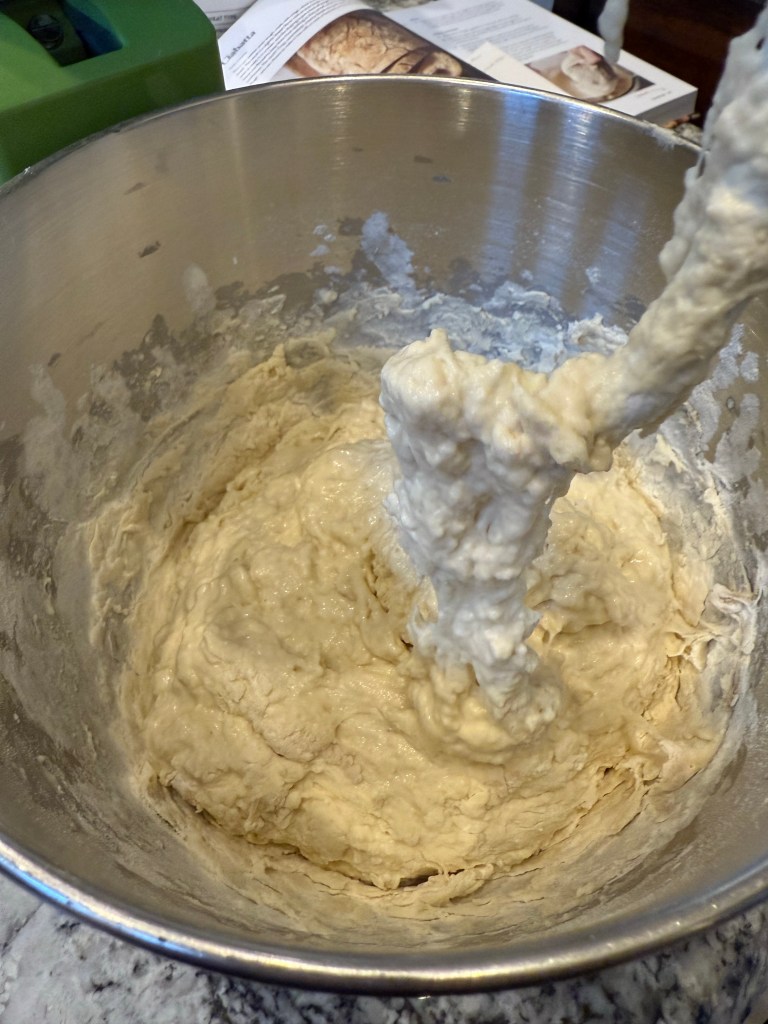
Ciabatta is a very wet dough. I have avoided doughs with very high hydration until now, but this was the next recipe in the King Arthur Baking School cookbook, and I am not one to back down from a challenge.
As in the last few recipes, I started the night before baking by mixing my preferment. This preferment is called a biga, and it has slightly more flour than water (by weight), so it was a little stiffer than the preferment for the French Bread, which had an equal weight of water and flour.
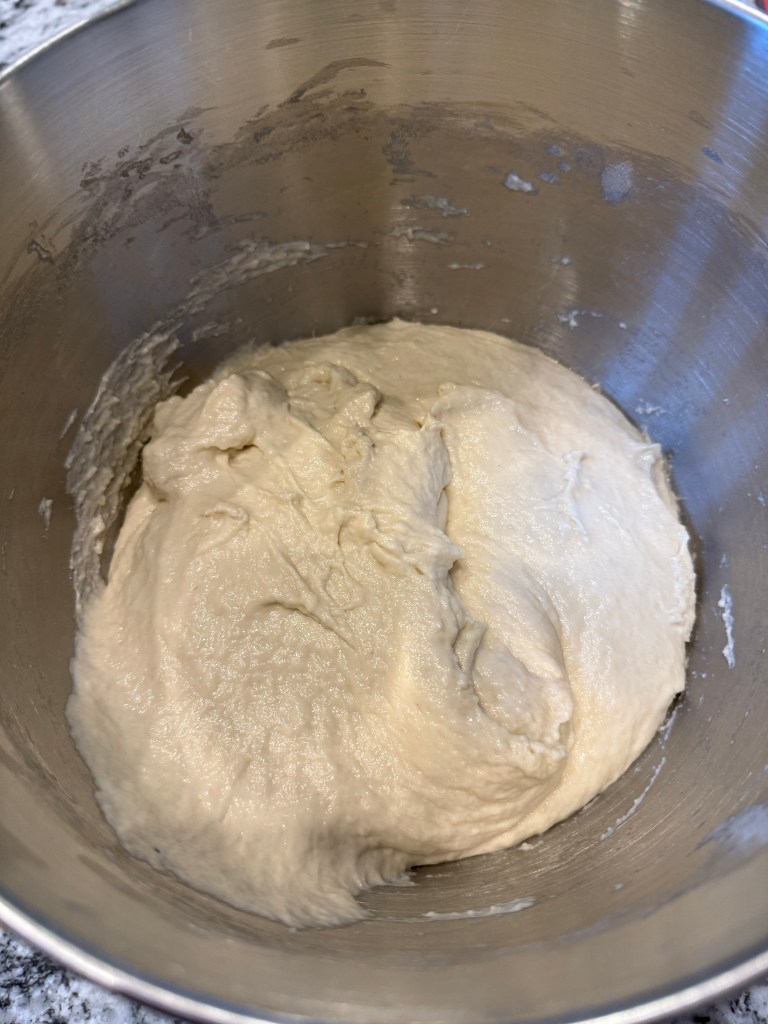
You can see how much it rose overnight (11 hours)!
I added all the remaining dough ingredients to the biga and mixed at the slowest speed on my KitchenAid mixer until everything was combined. Then I increased the speed to medium-low and kneaded the dough for 4 minutes as directed. I covered the dough and set it aside to rise.
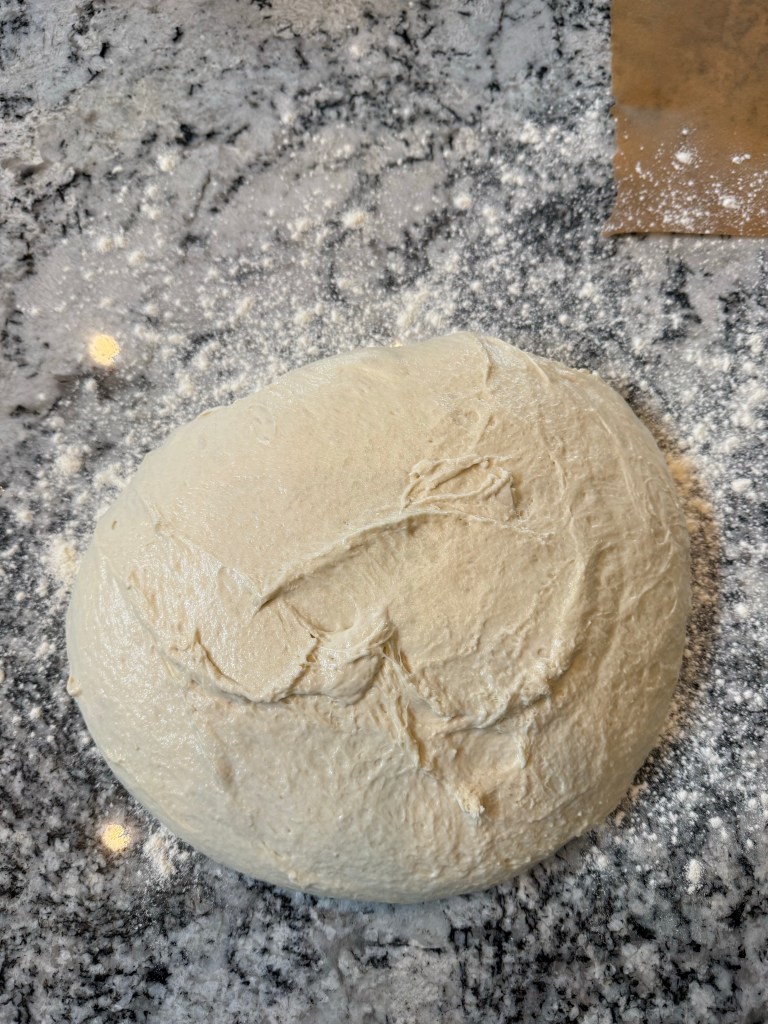
I gave the dough a fold every 30 minutes for the next hour and a half, and then turned the dough out onto the counter.
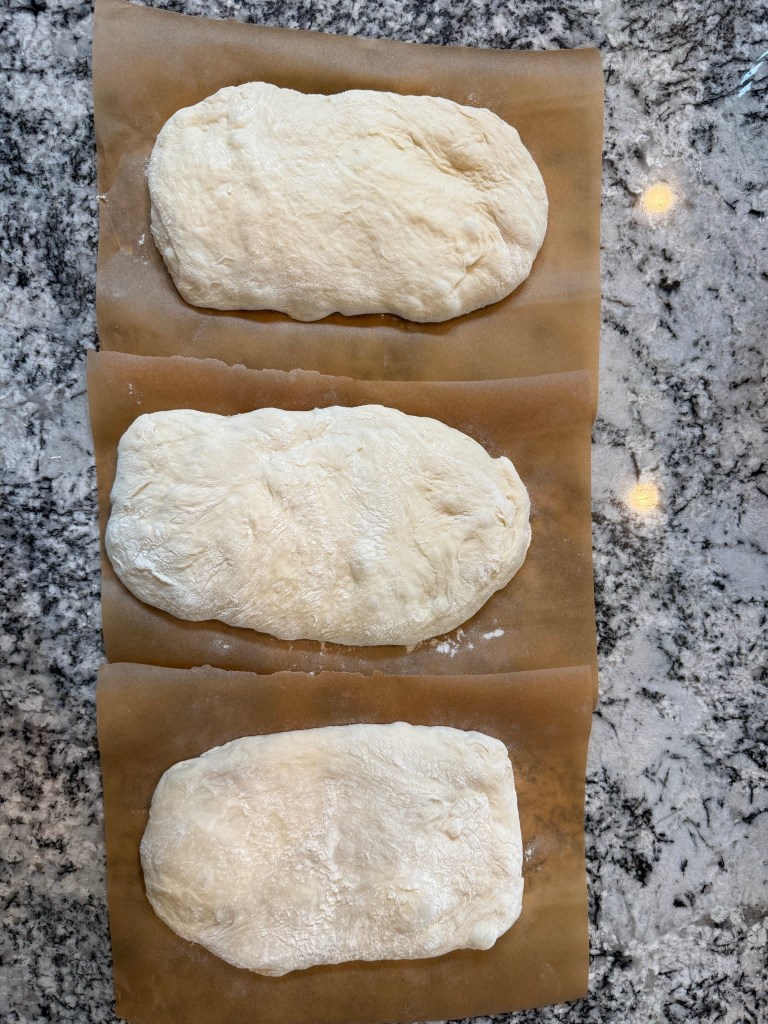
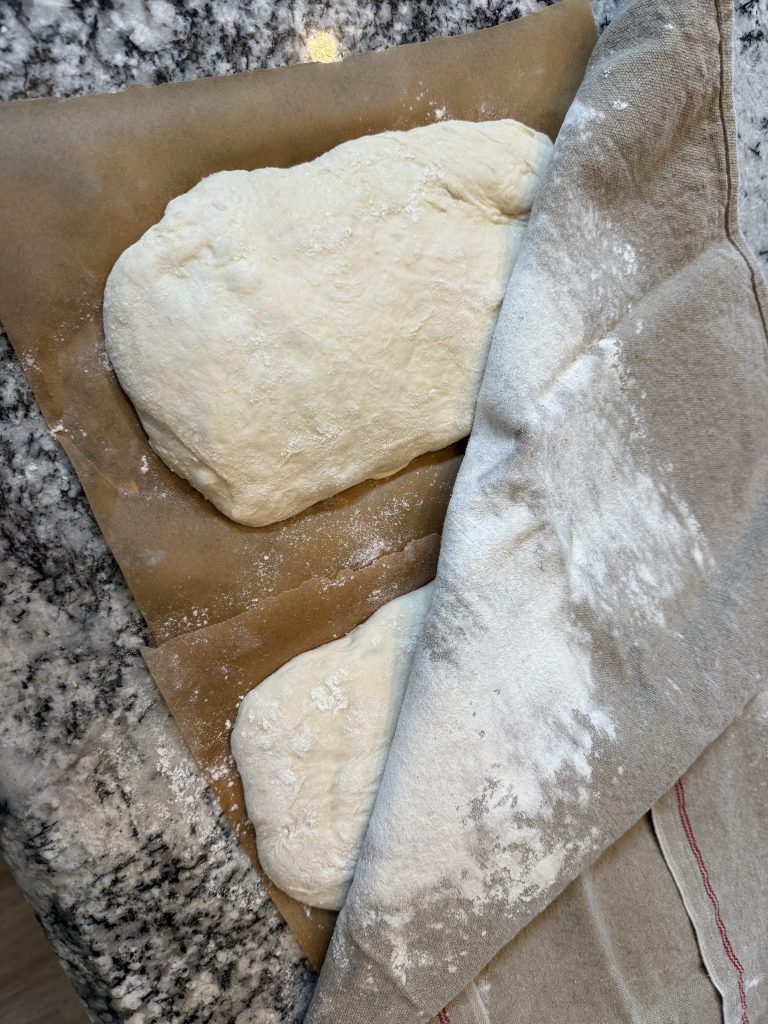
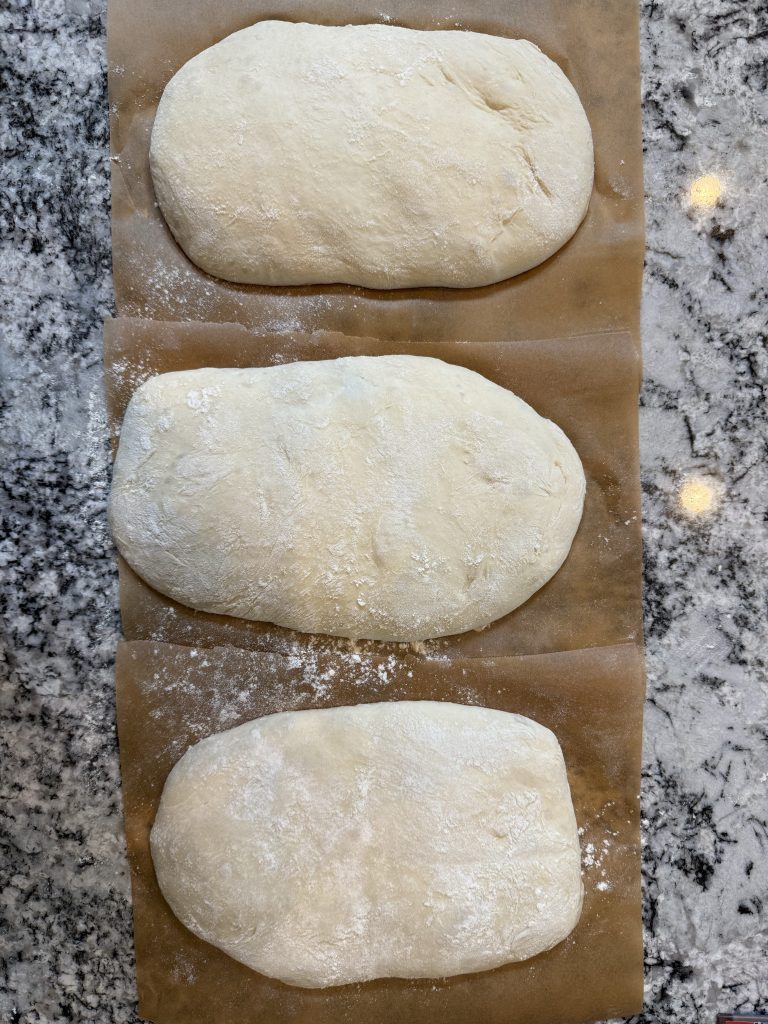
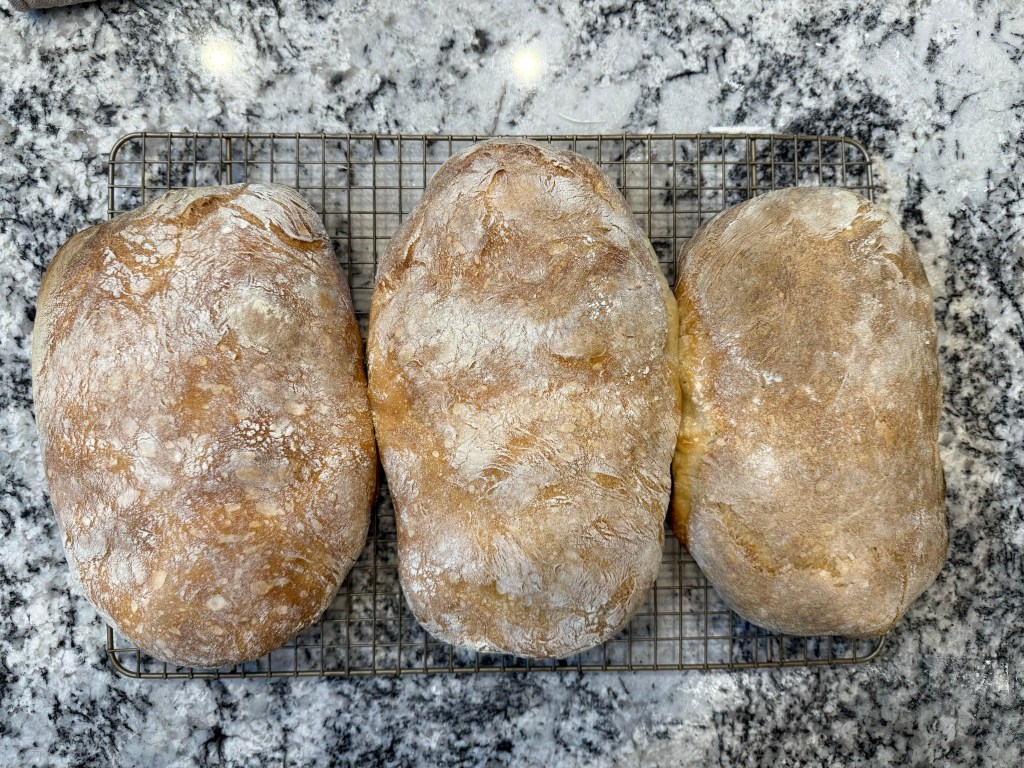
The shaping was surprisingly simple: I divided the dough into thirds and shaped each one into a rectangle. I placed each loaf on parchment paper, covered them with a cloth, and left them to rise.
The recipe didn’t specify a final rising time, so I looked at a few ciabatta recipes online and guesstimated that an hour would be sufficient. During this time I preheated my oven and baking stone to 500 degrees Fahrenheit.
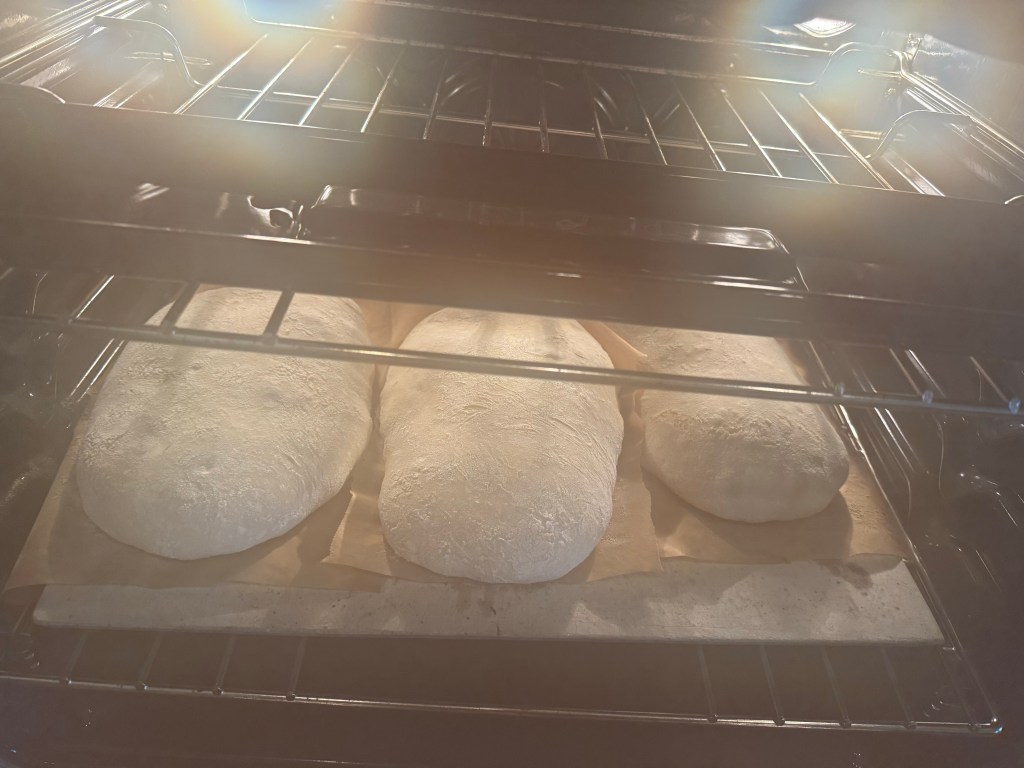
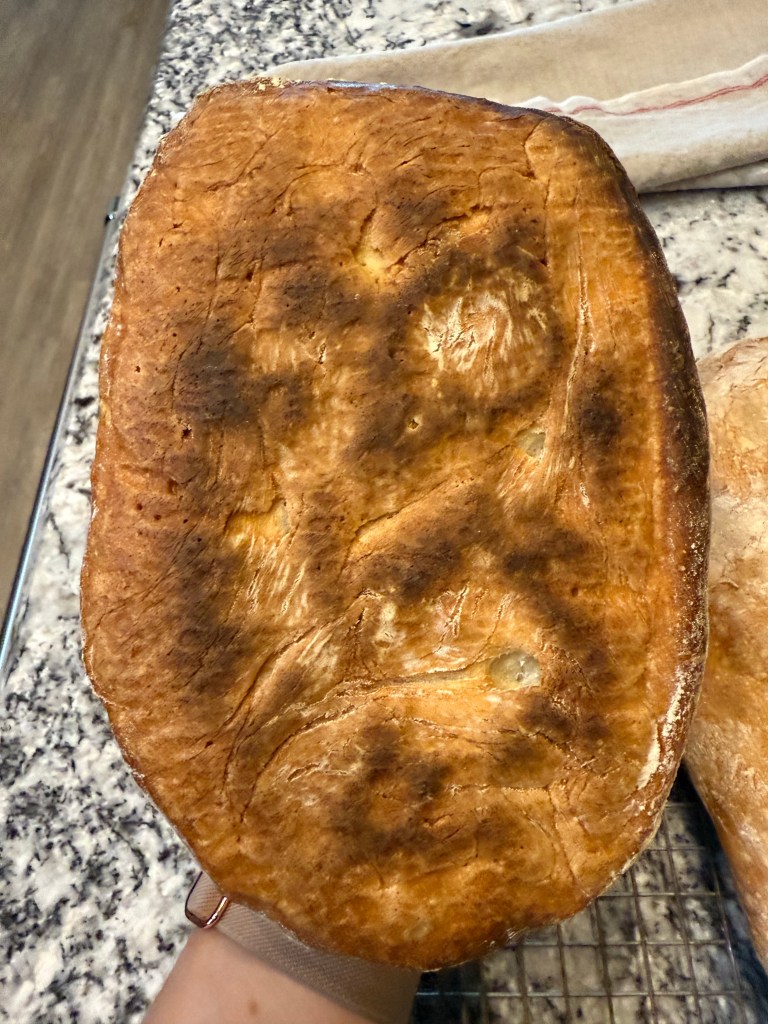
When the dough had risen and the oven was hot I used my pizza peel to load the bread into the oven. I poured boiling water into the steam tray, and let the bread bake. After 50 minutes I lowered the oven temperature to 450 degrees Fahreneheit. The loaves baked for 30 minutes total. I could have taken them out after 25 minutes, but I wanted a little more colour on the loaves.
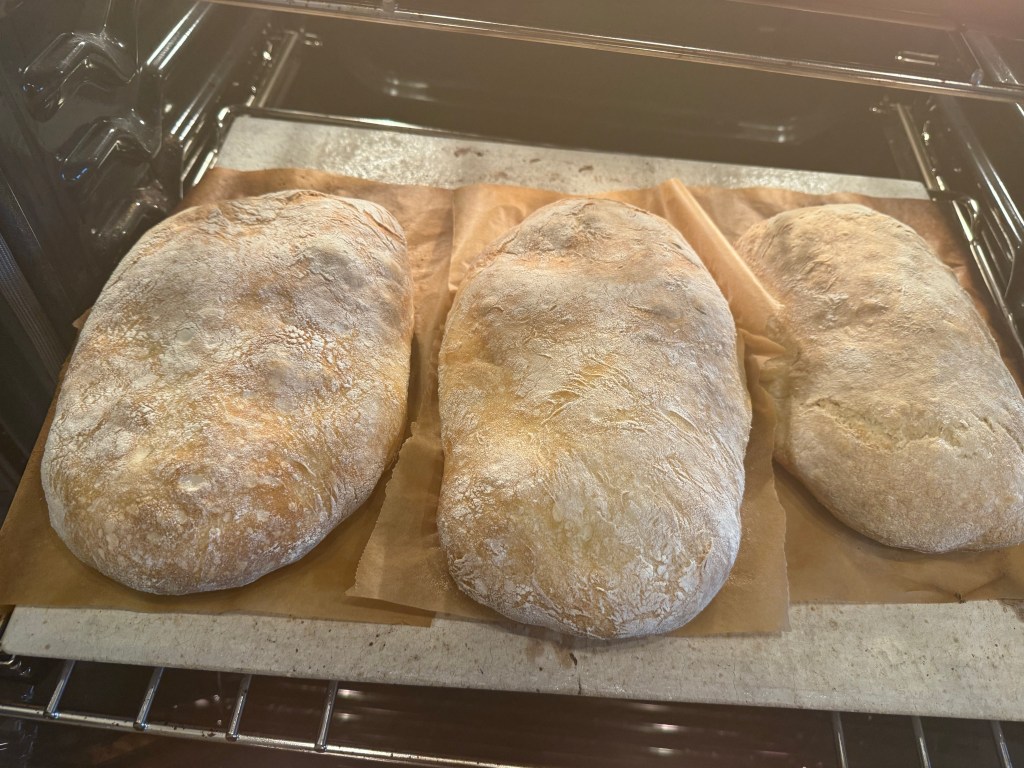
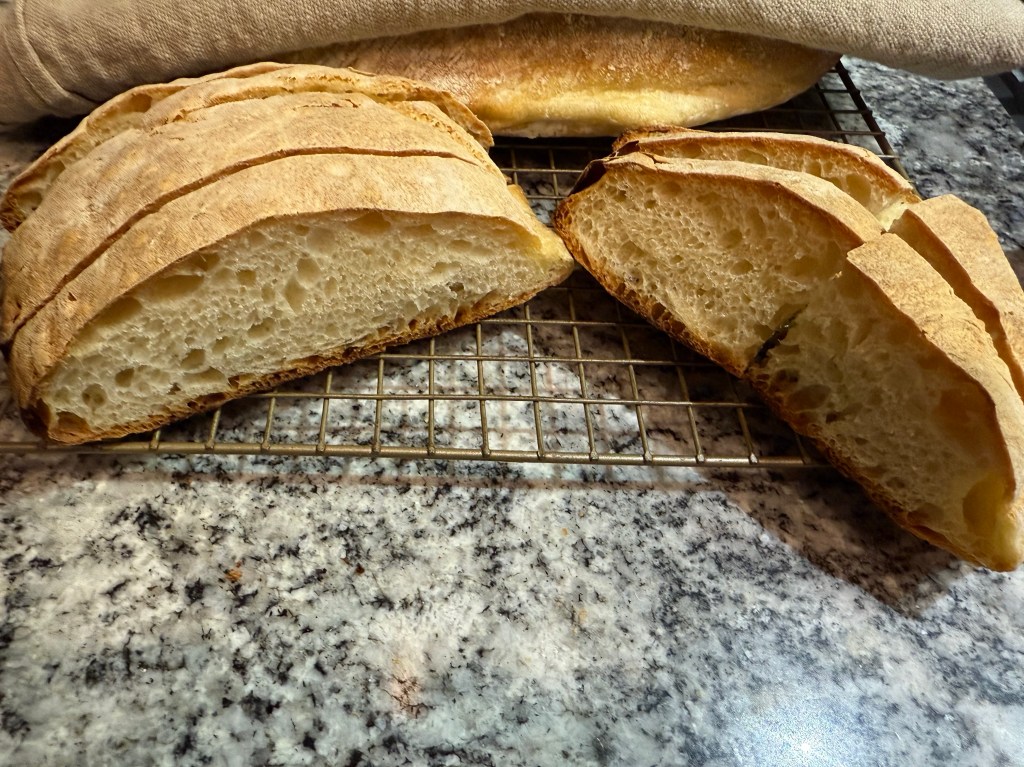
I really enjoyed this ciabatta bread! The loaves are rather flat, which is correct for this style of bread. The bread has a mixture of larger and smaller holes, and has a nice taste and texture. We ate it with bolognese and fresh pasta.
Until the next time: may your yeast always rise and your flour never run out.