Are you familiar with the phrase, “When life gives you lemons, make lemonade?” I think we should start using its corrolary: When your bananas go sad and bown, make banana bread. Catchy, no? This recipe is from King Arthur’s Whole Grain Baking.
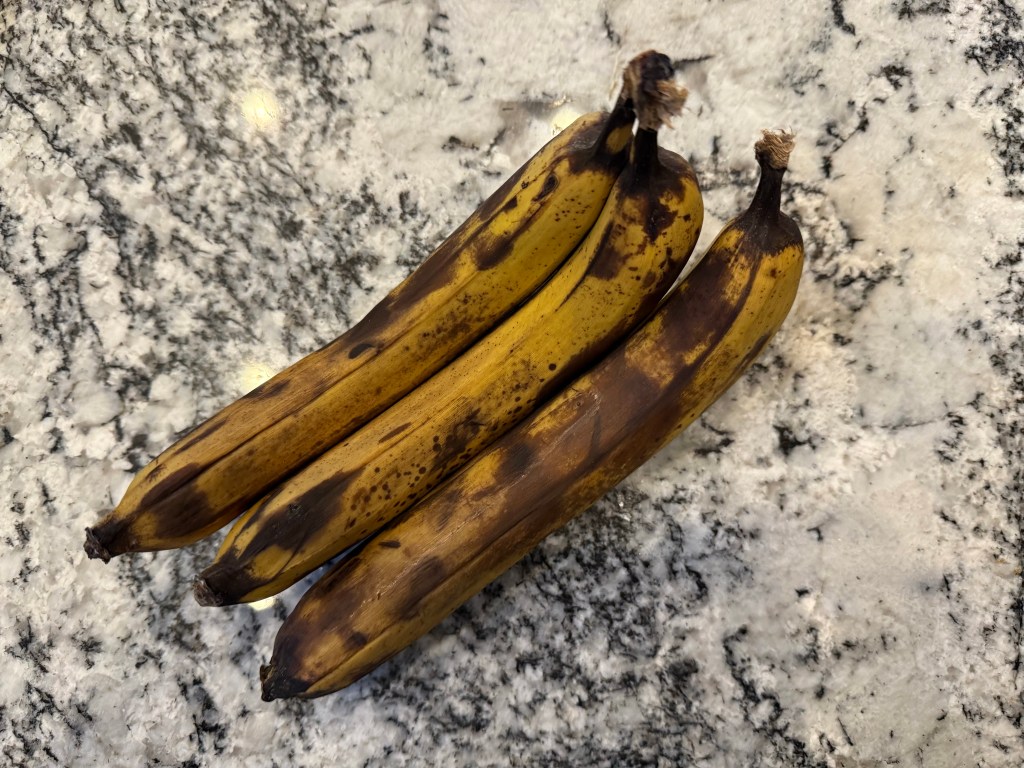
Here are the very ripe bananas in question:
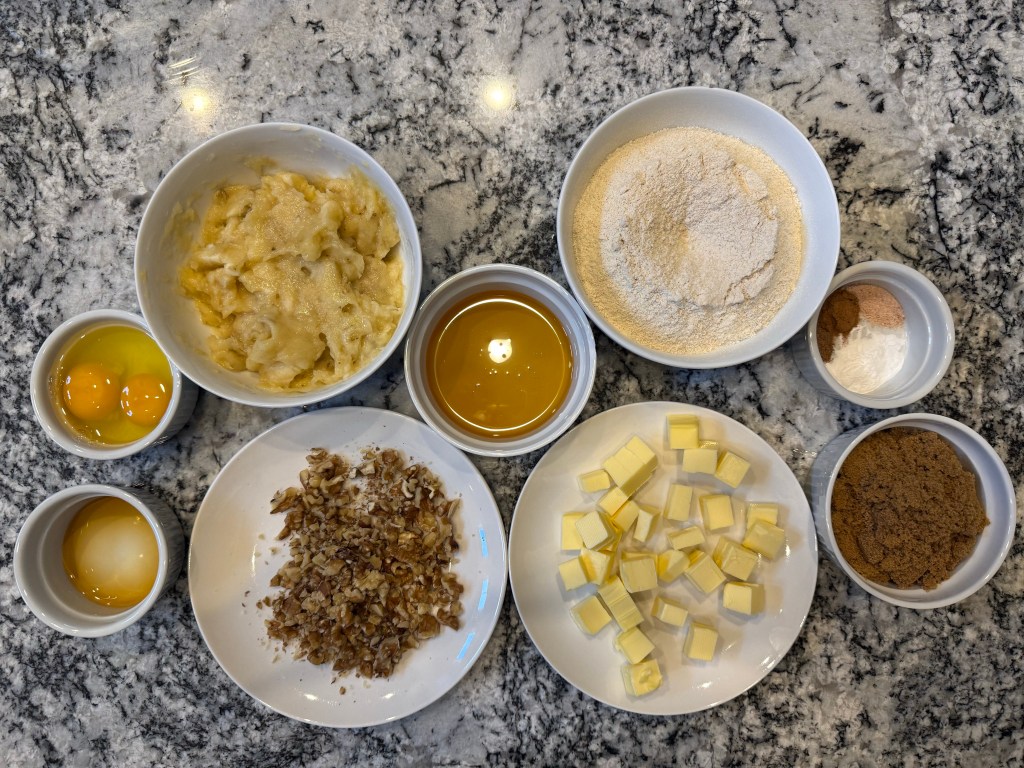
I smashed up the bananas and gathered the mise en place.
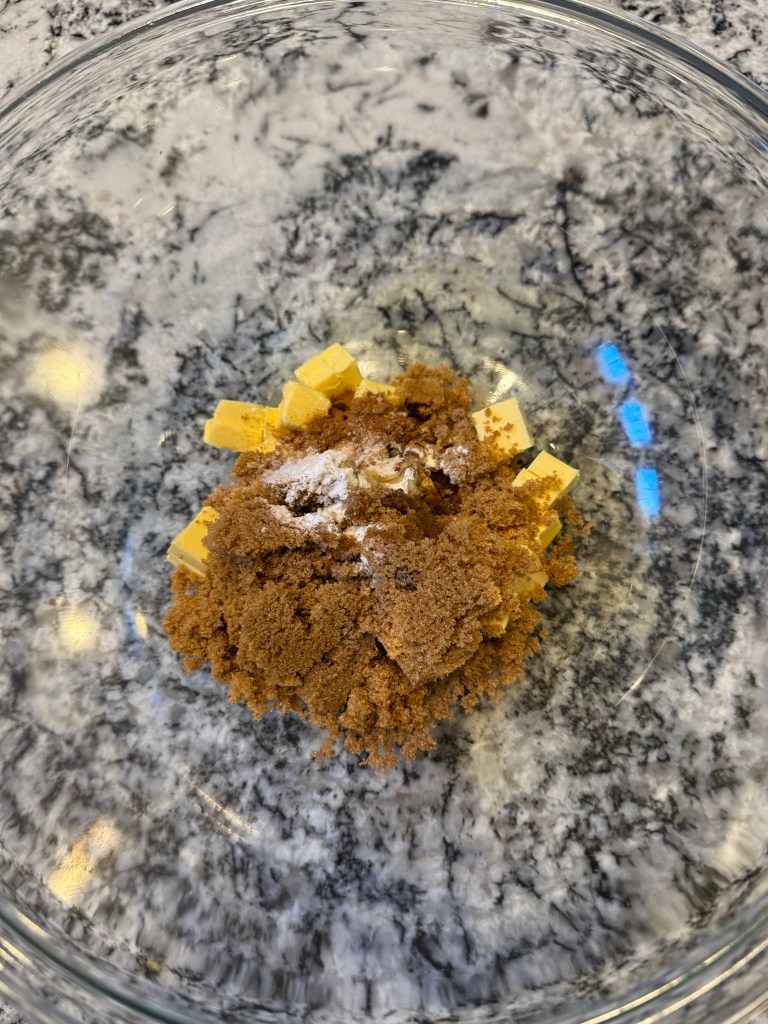
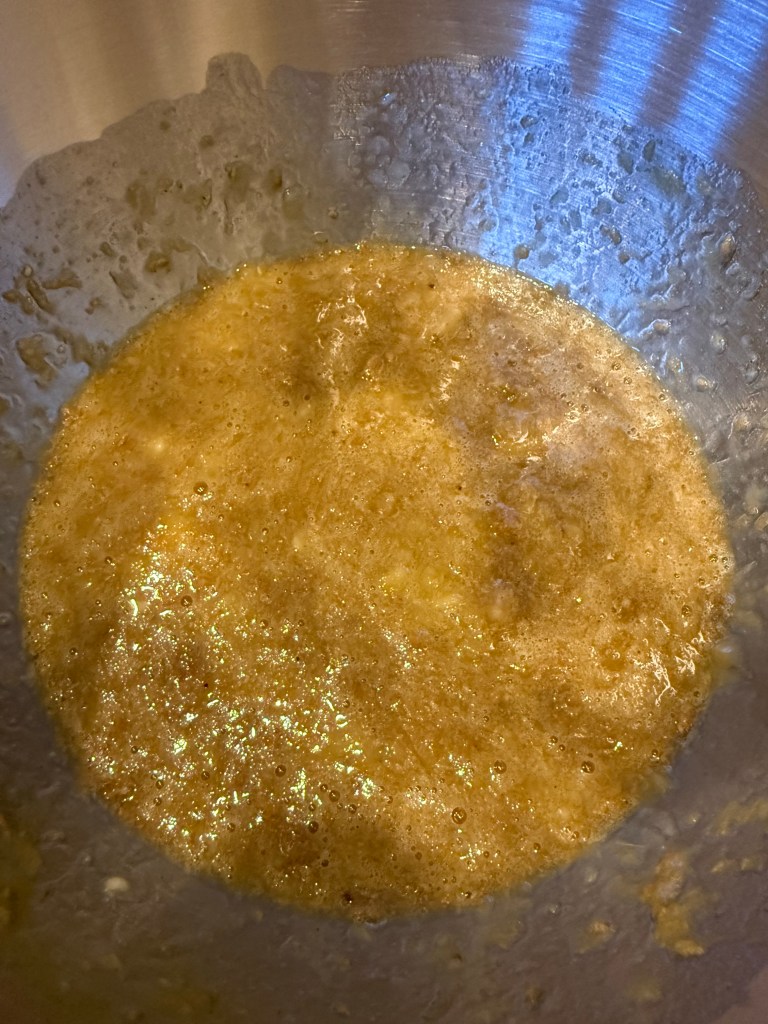
I mixed the butter, sugar, and spices. I initially tried to do this with the handheld mixer in a bowl, but the butter refused to incorporate with the sugars, so I switched to the stand mixer. This worked much better.
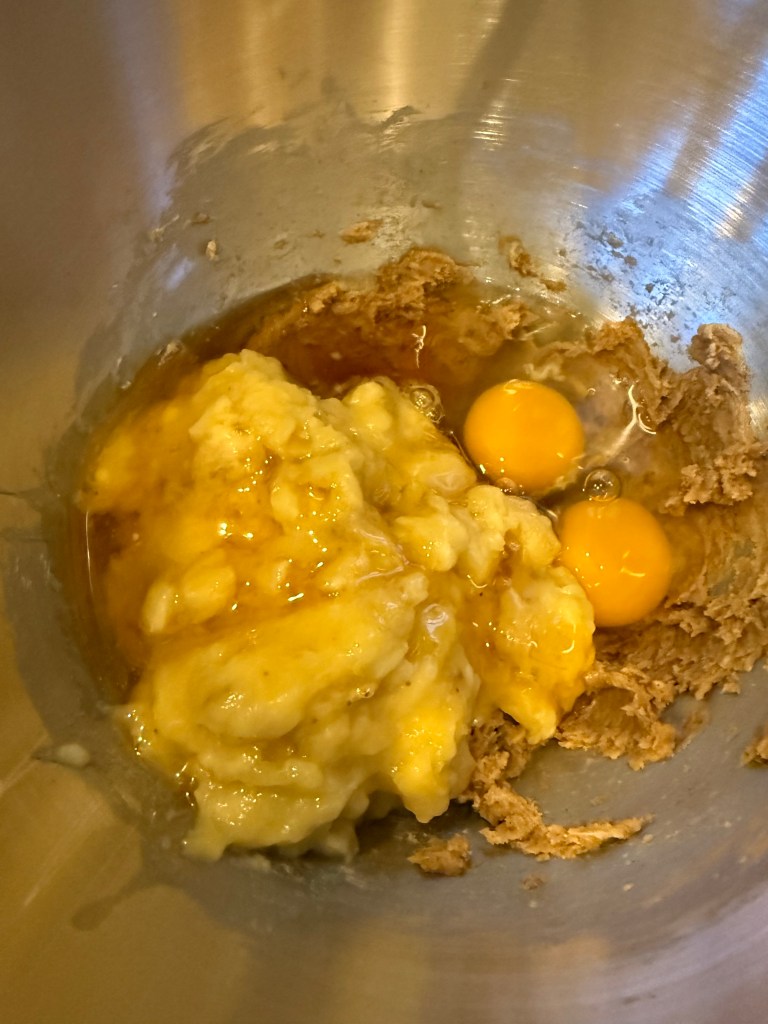
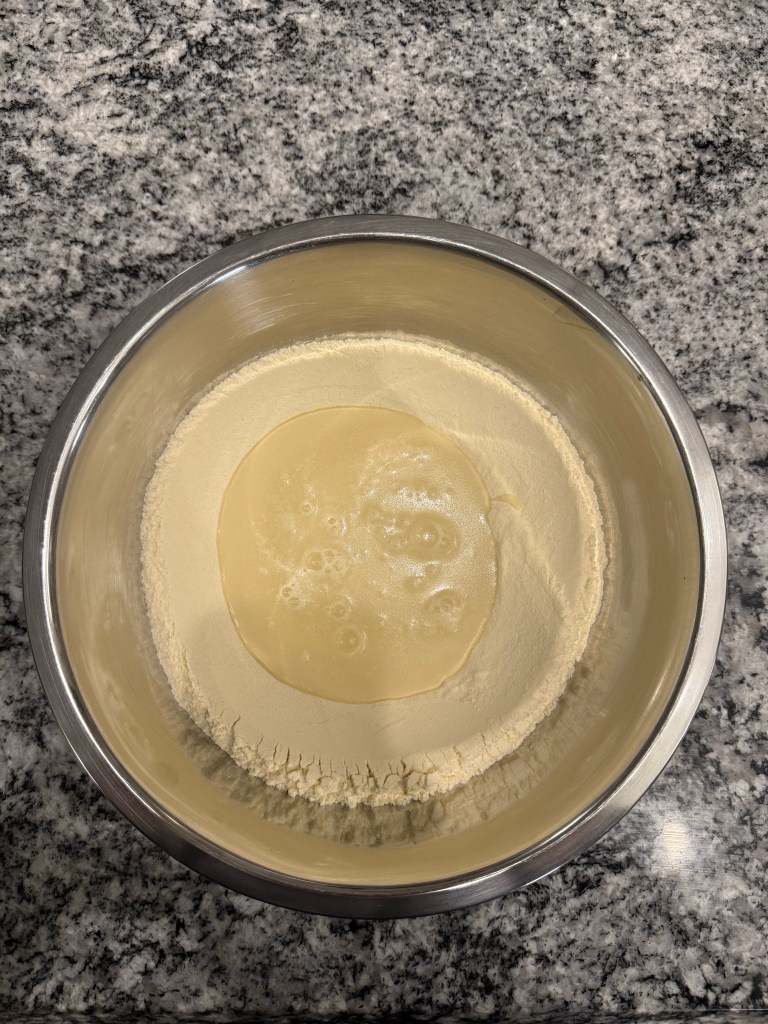
I added the honey, eggs, and banana…
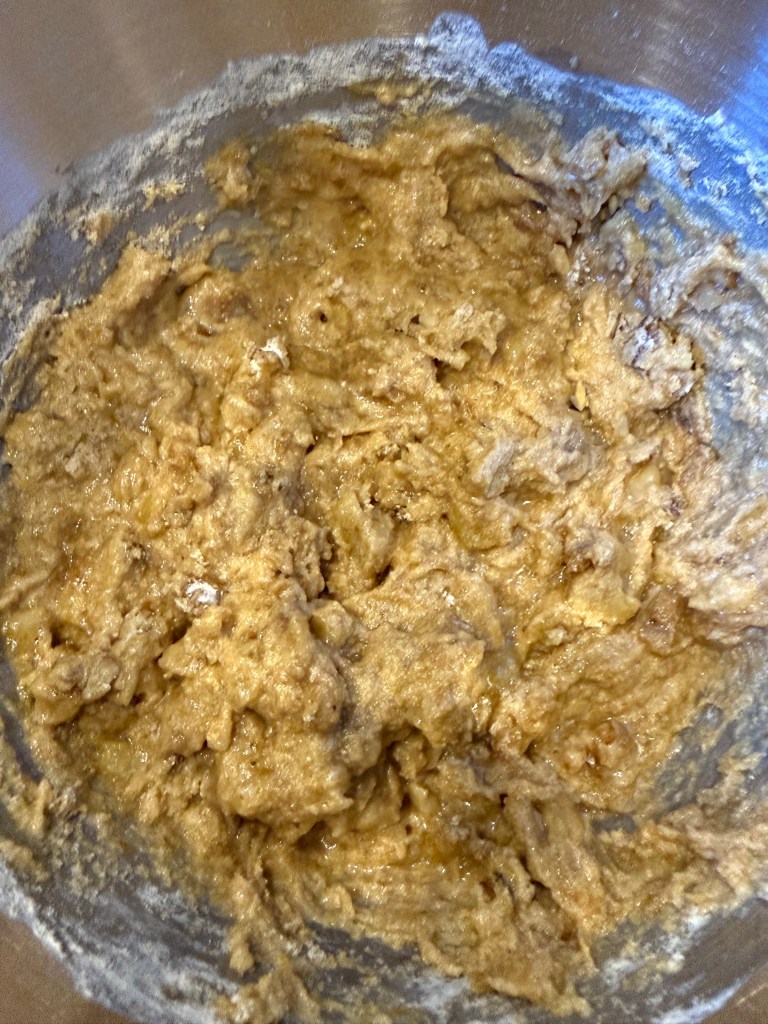
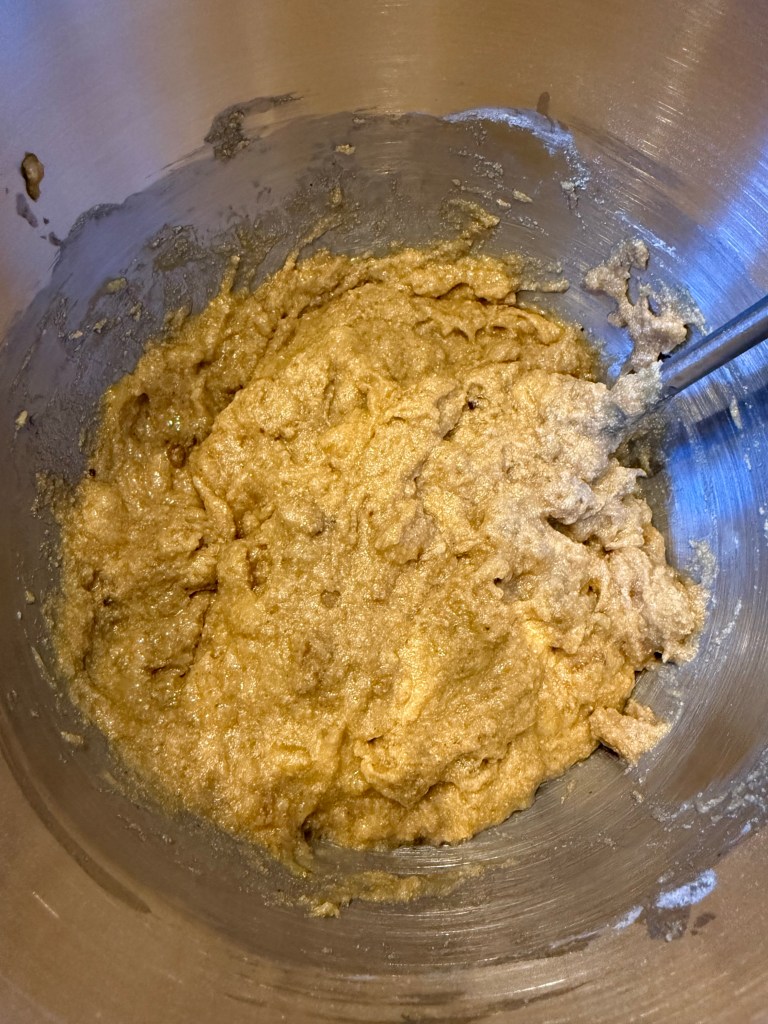
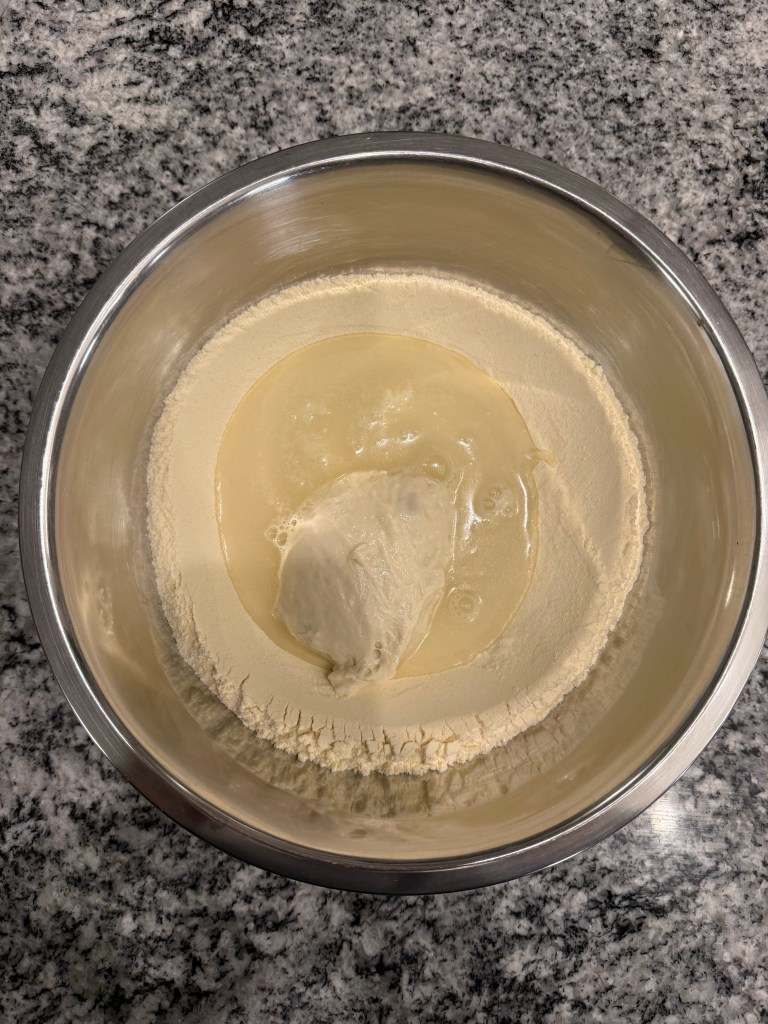
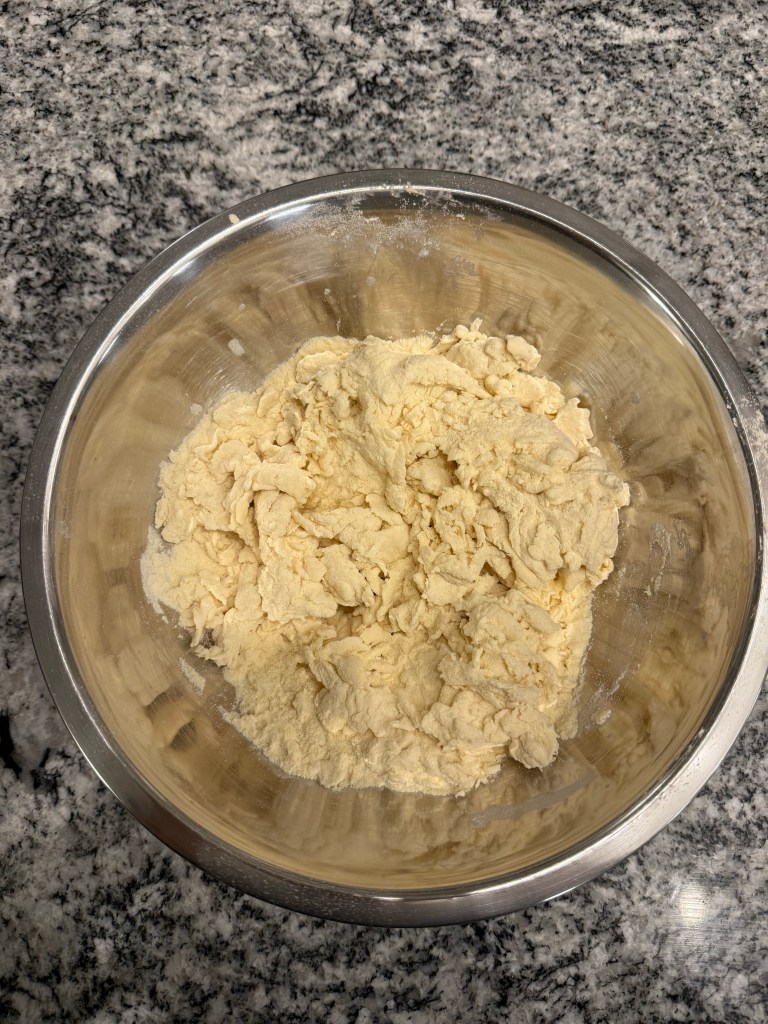
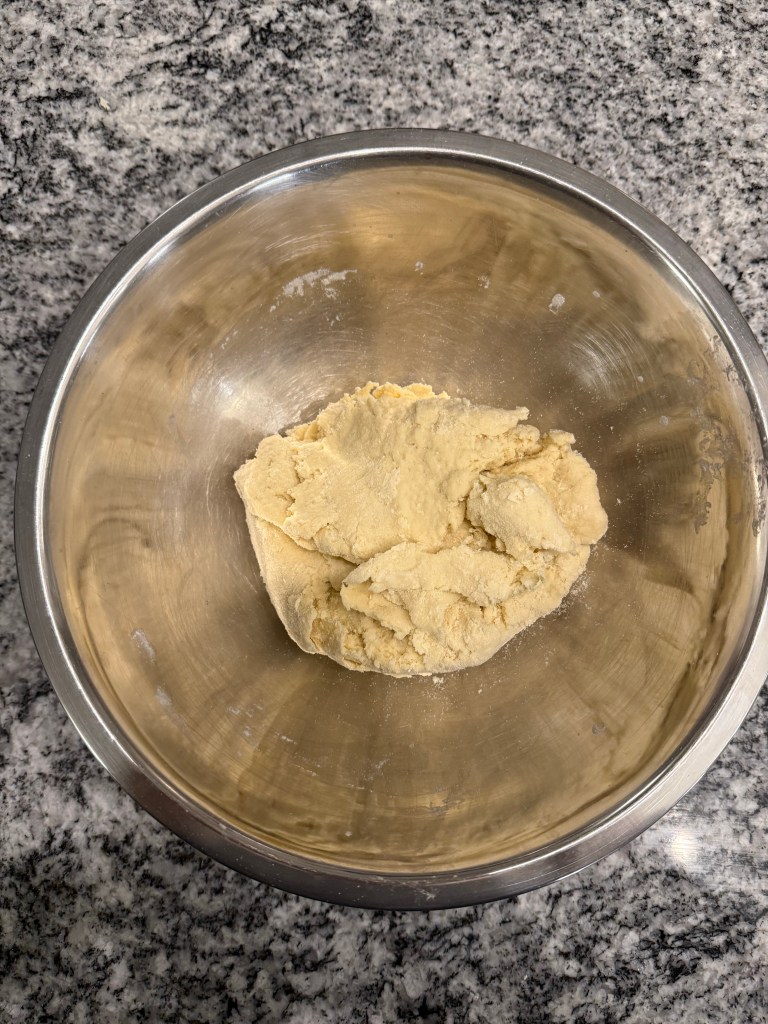
then added the flour and nuts and mixed in the stand mixer until the flour was mostly incorporated. To prevent overmixing and keep the loaf as tender as possible, I finished the mixing by hand.
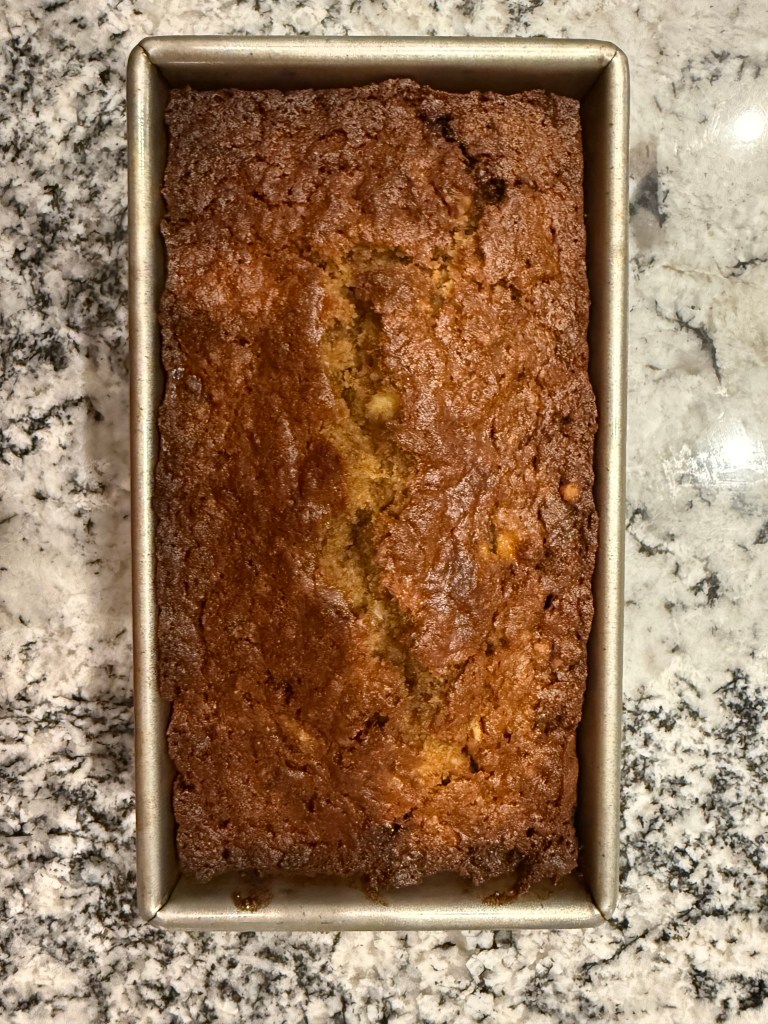
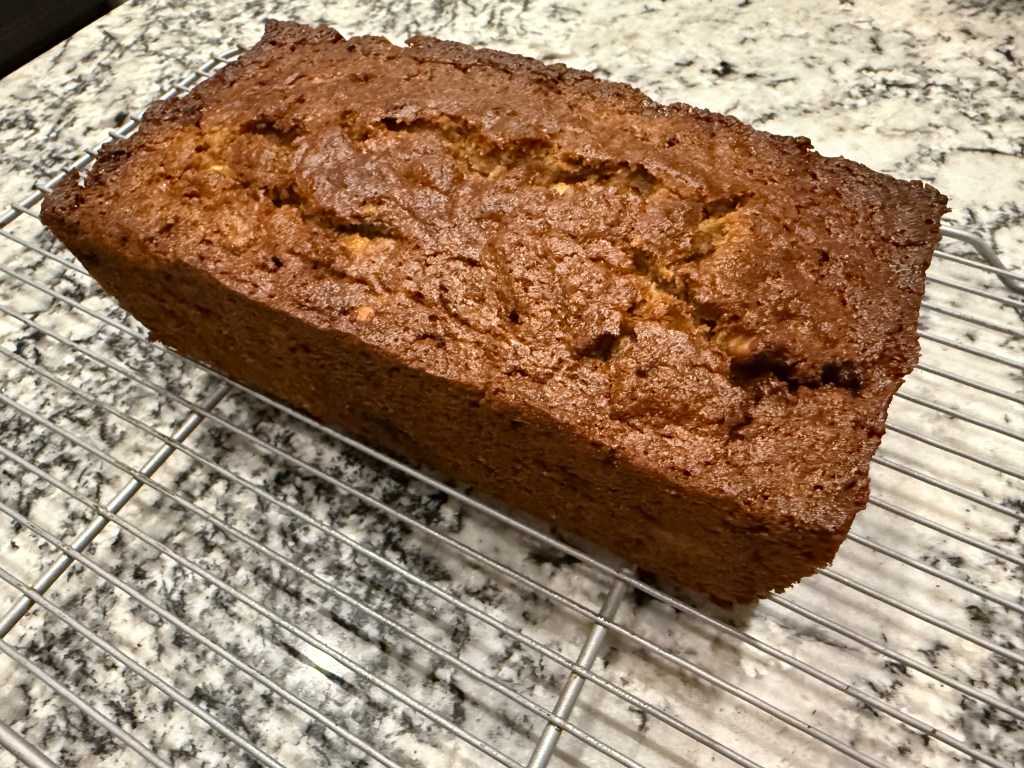
I poured the batter into a greased loaf pan and baked it for 50 minutes.
The loaf baked up beautifully and even came out of its pan very nicely.
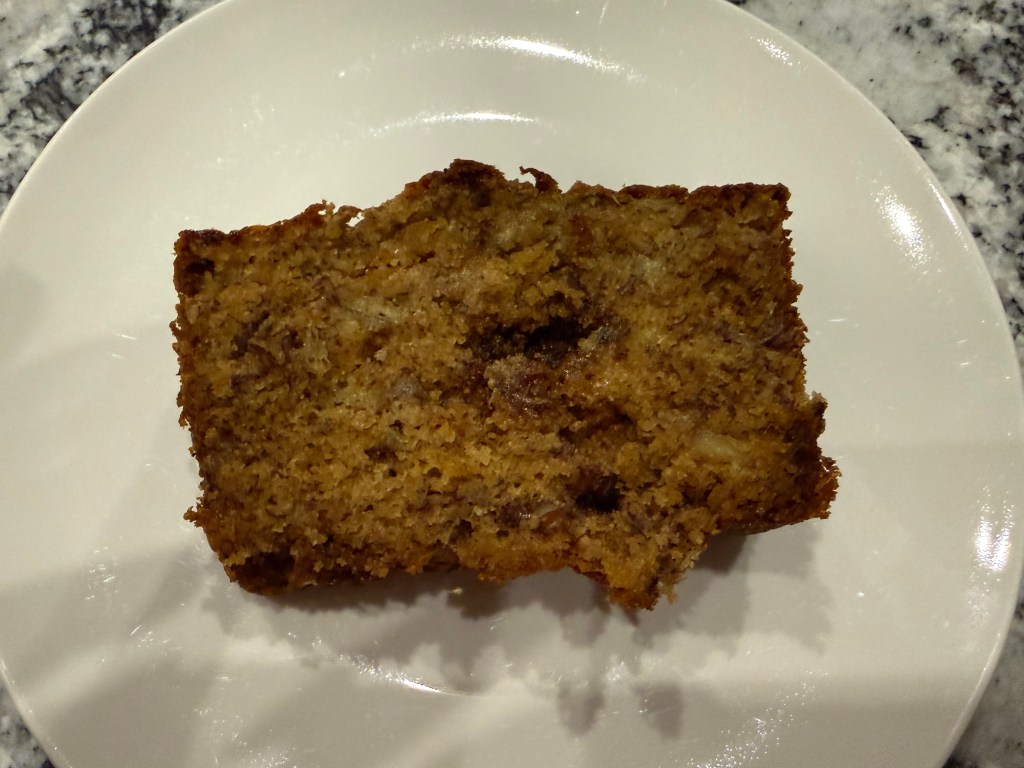
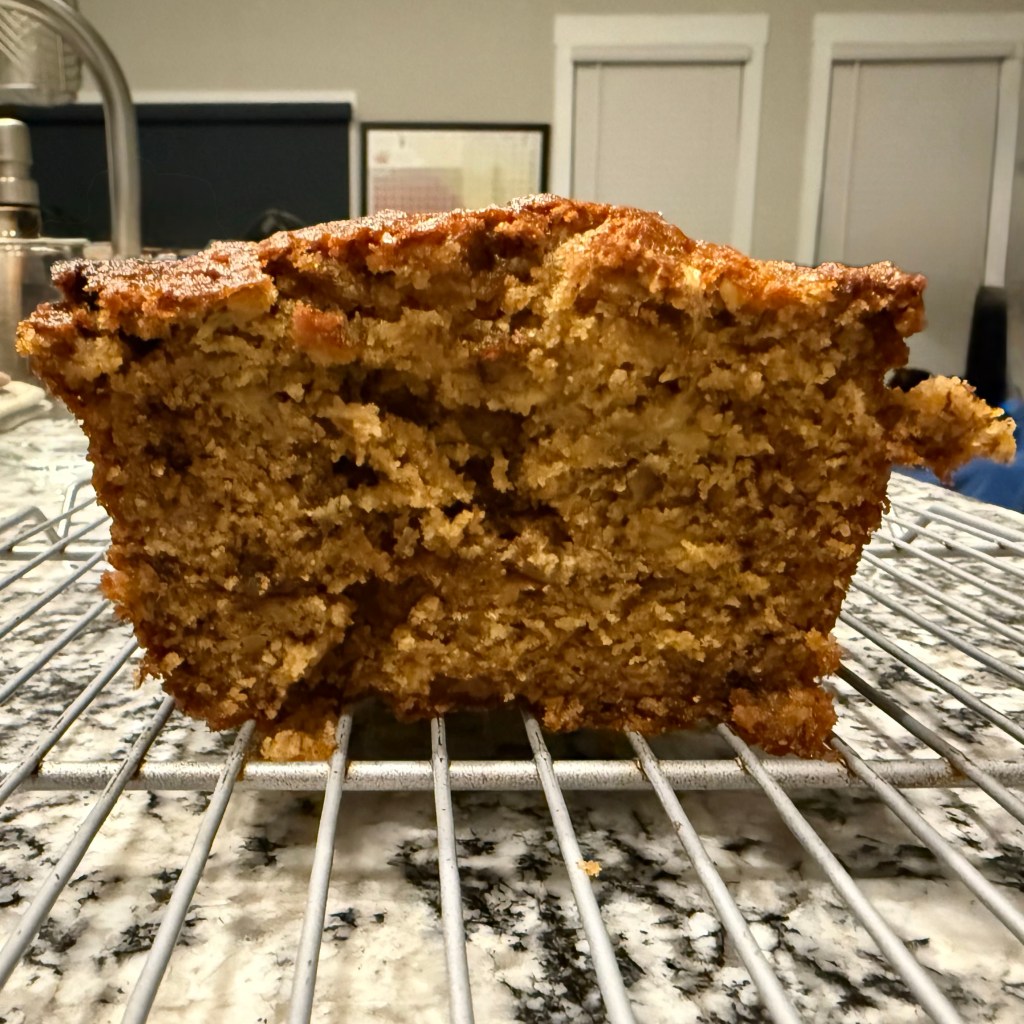
This bread is delicious! It’s dense, but not stodgy (as the British would say). It’s banana-y, but not too much. It’s sweet, but not too sweet. It’s made with whole wheat flour, but you would never guess it from the flavor or texture. This is another winner from the Whole Grain Baking book.
Until the next time: may your yeast always rise and your flour never run out.
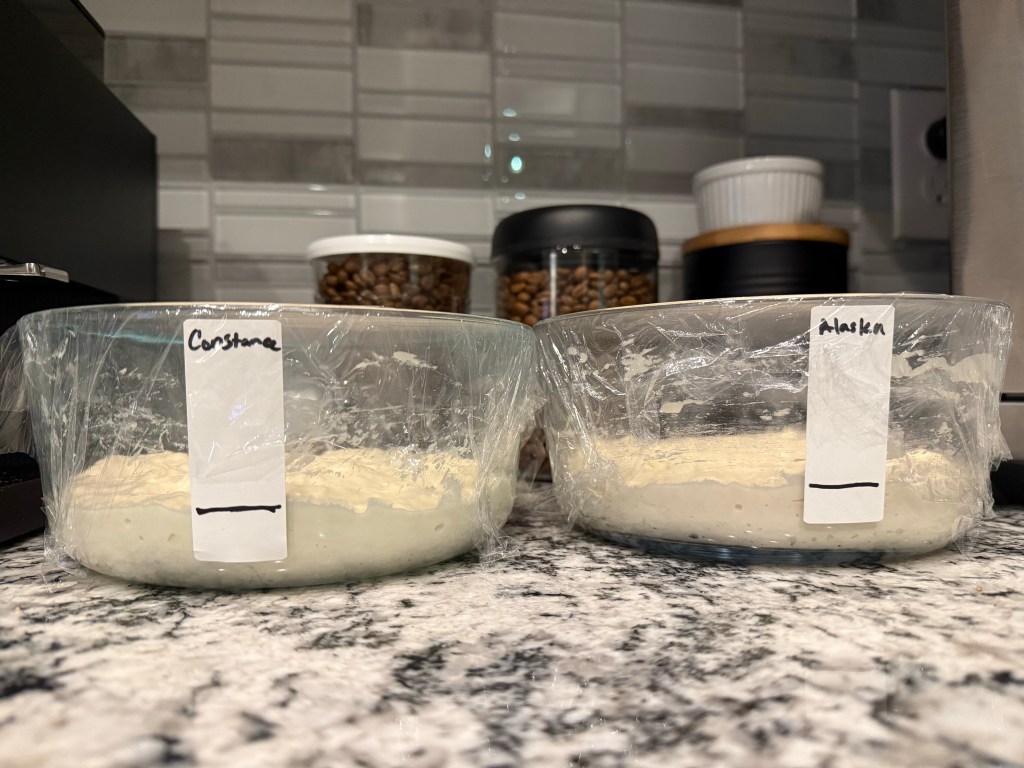
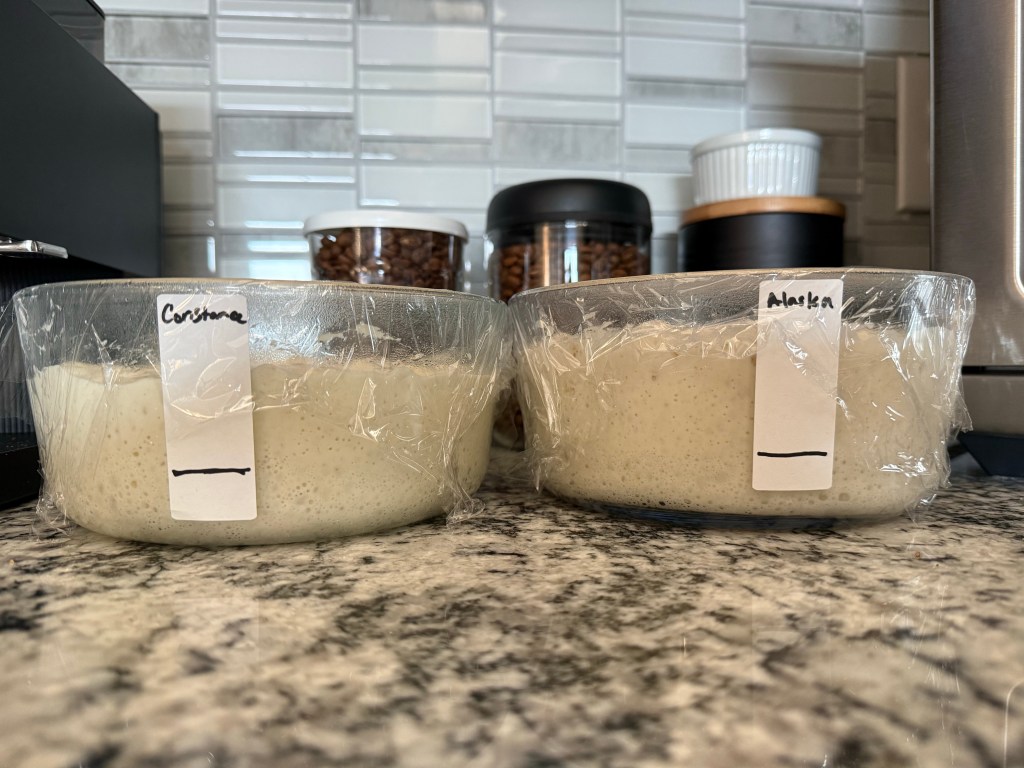
Ever since I bought the starter from Alaska I’ve wanted to see how it compares to my own starter, Constance. It took a few months, but I finally set up an experiment to see if there is a difference in rise, flavor, and bread texture between the starters. In the process I made a lot of bread and learned a little about how hard Science is, especially in relation to setting up experiments.
I’ll start off with a brief explanation of my methodology. I keep both starters in similarly-sized glass crocks. I feed them the same amount of flour and water (both ingredients at the same temperature for both doughs), and mix them with separate tools. I do my best to avoid cross-contamination, but I am only human, and I work in a kitchen, not a lab, so cross-contamination is entirely possible. Both starters have been kept in my kitchen and baked with periodically for several months (at least), and both starters rise consistently and are very healthy. When working with the doughs I always worked with Constance first. This helped keep the timings between the doughs more or less consistent. Knowing the possibility of cross-contamination, working with Constance first also helps me limit the possibility of contaminating her with the Alaska starter. Finally, a caveat: I am very fond of Constance, and I should acknowledge that seeing her come out better in every way than the Alaska starter would make me very happy.
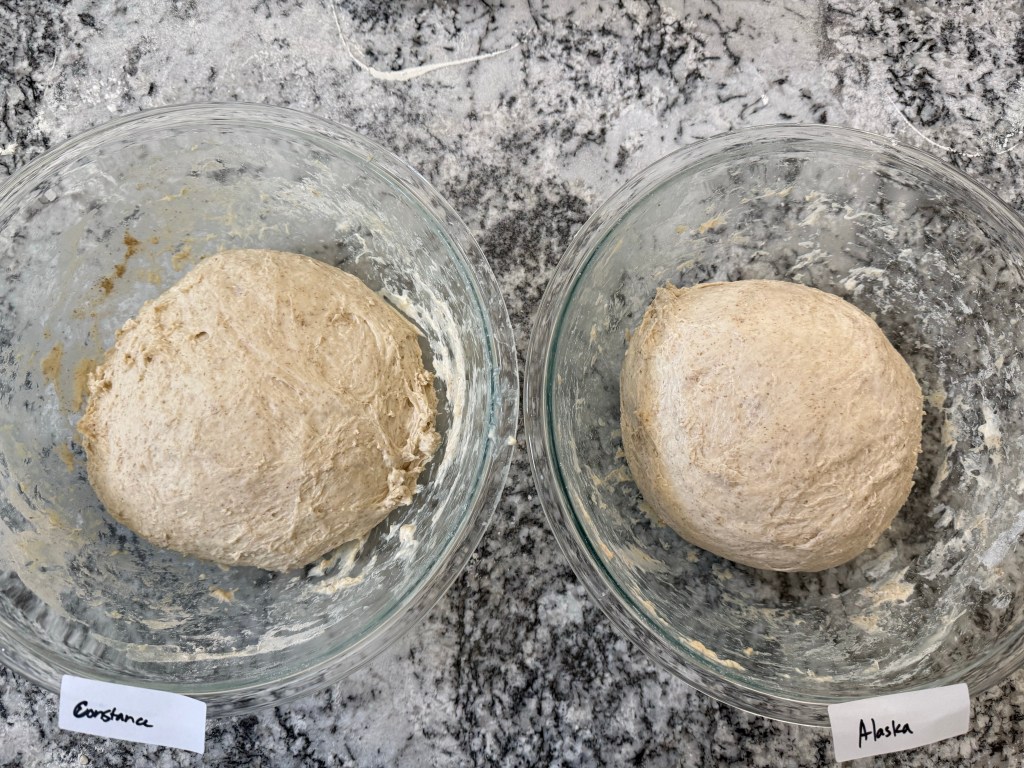
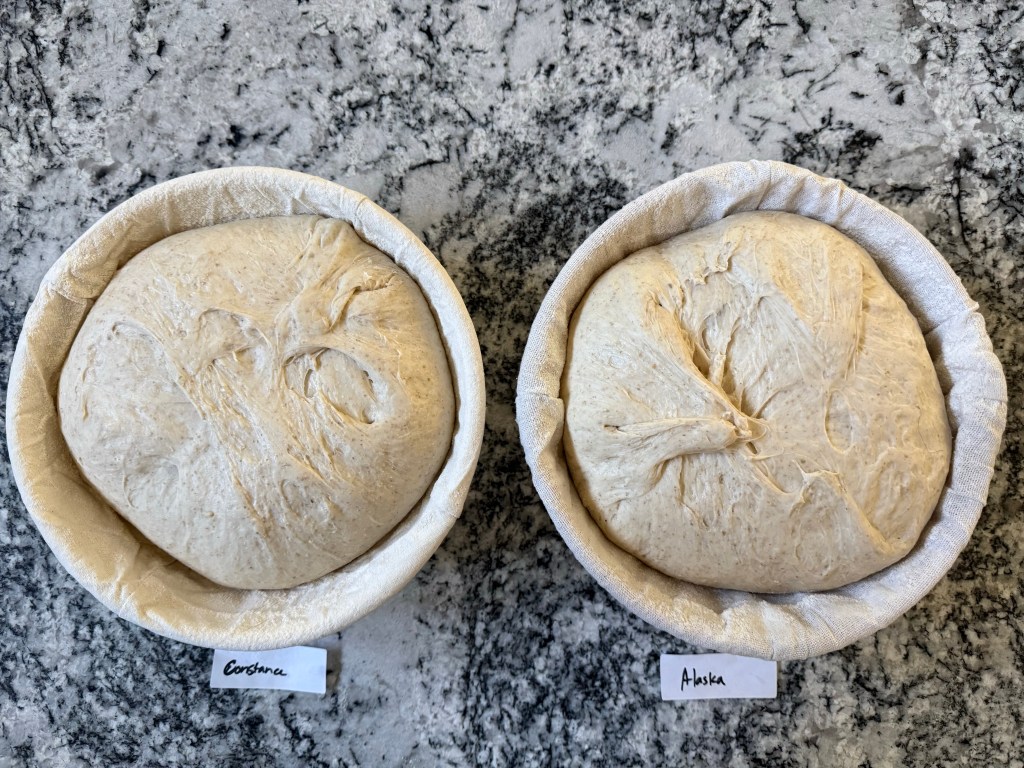
I mixed both levains the night before baking, and by the next morning it was already apparent that the Alaska starter rose more than Constance.
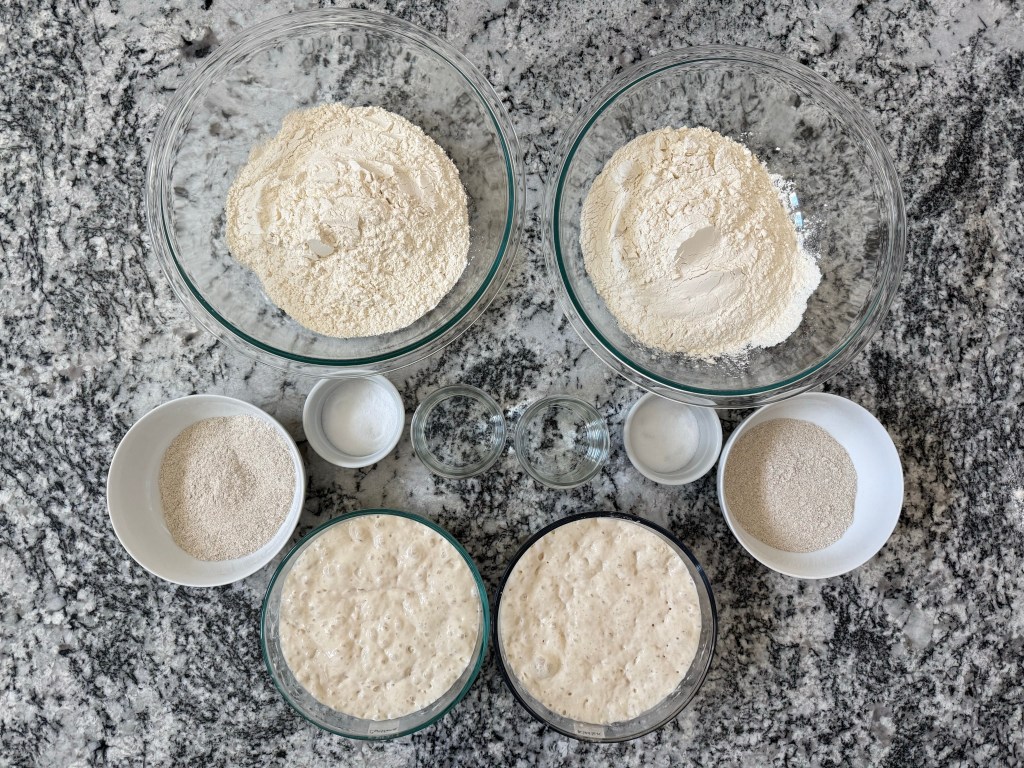
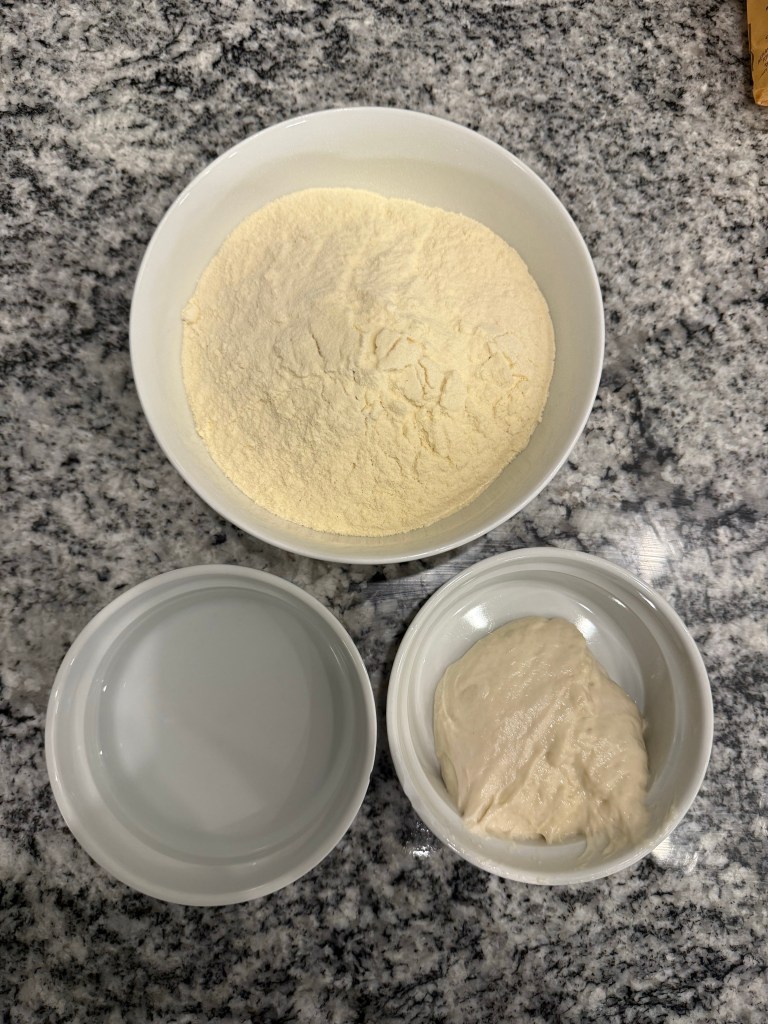
I gathered the mise en place for both doughs:
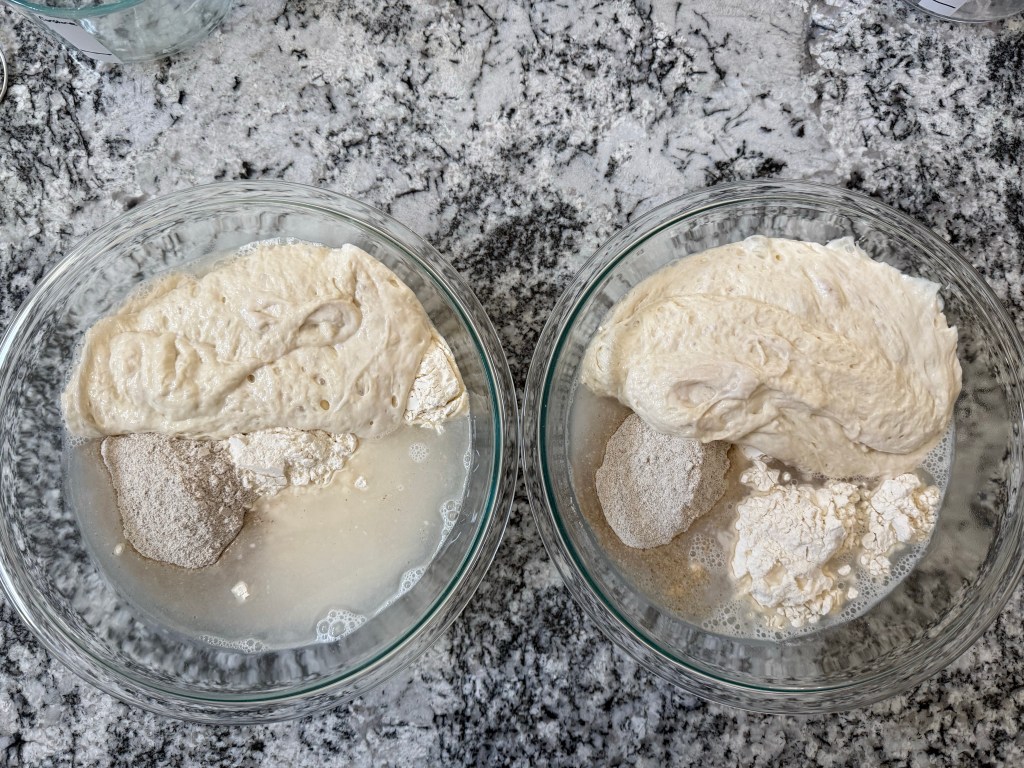
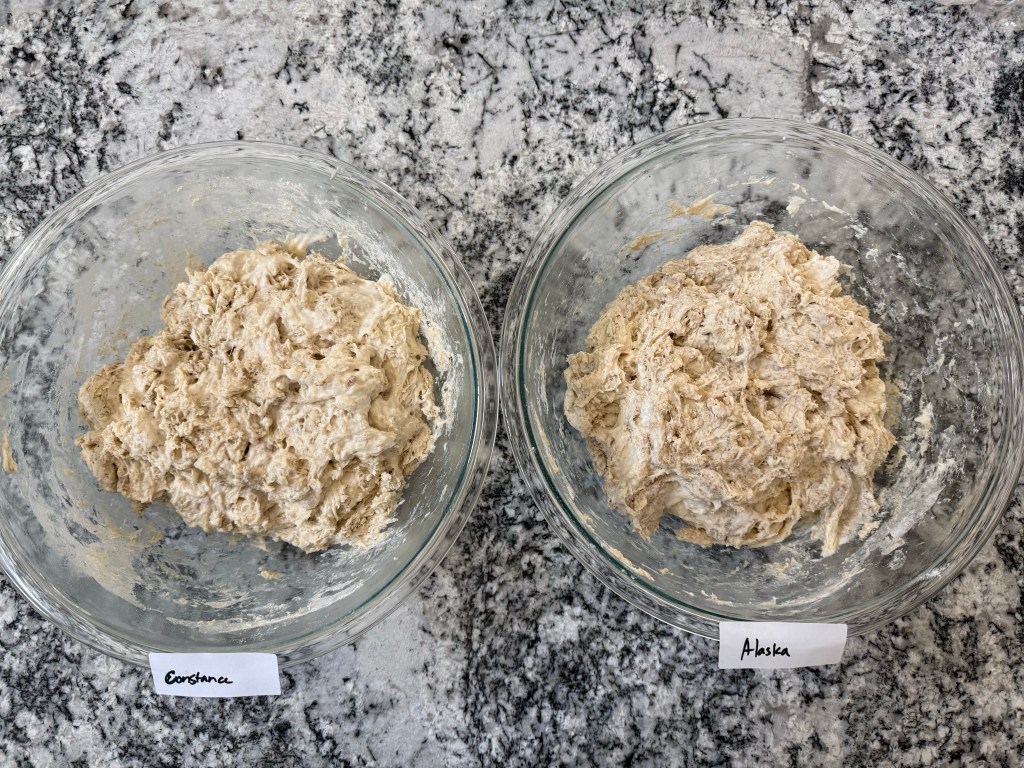
I added all the ingredients except salt to both bowls and mixed until shaggy, then kneaded each using a modified slap-and-fold technique.
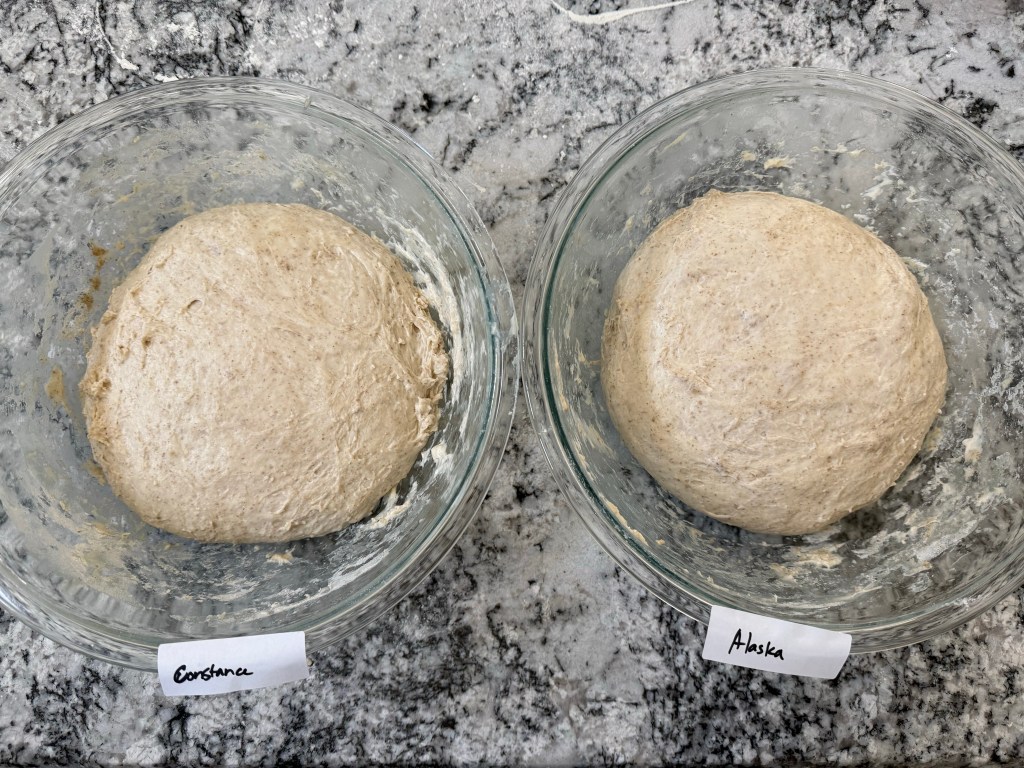
The doughs rose for 45 minutes in a warm environment, then I performed bowl-folds, going twice around each bowl.
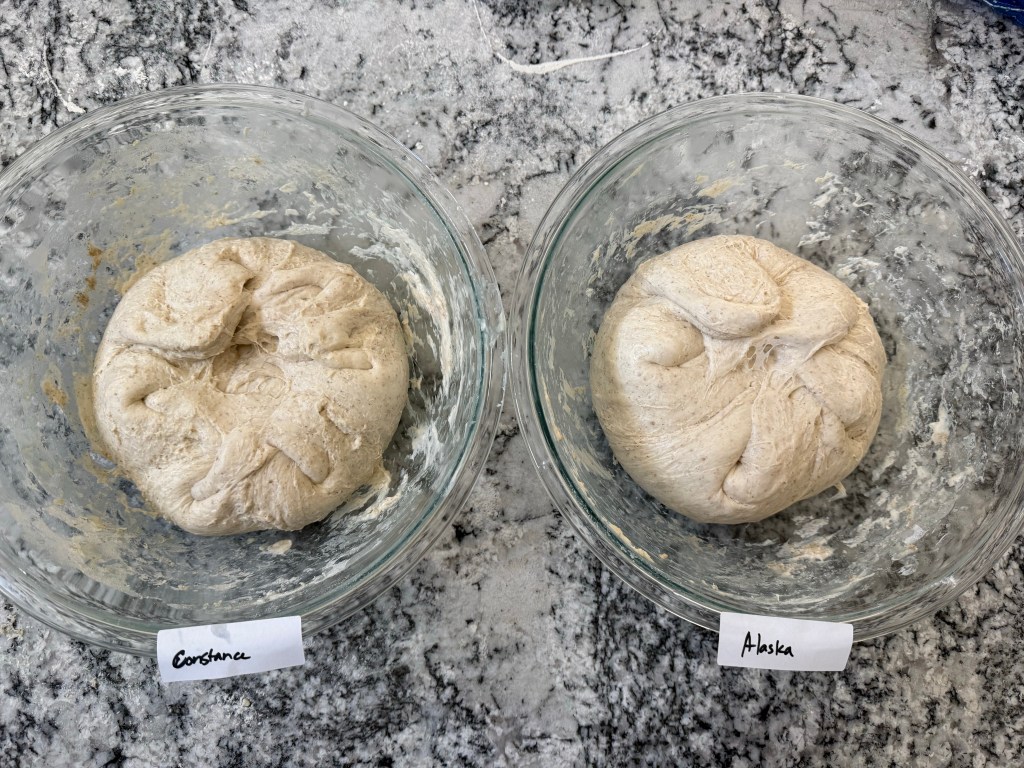
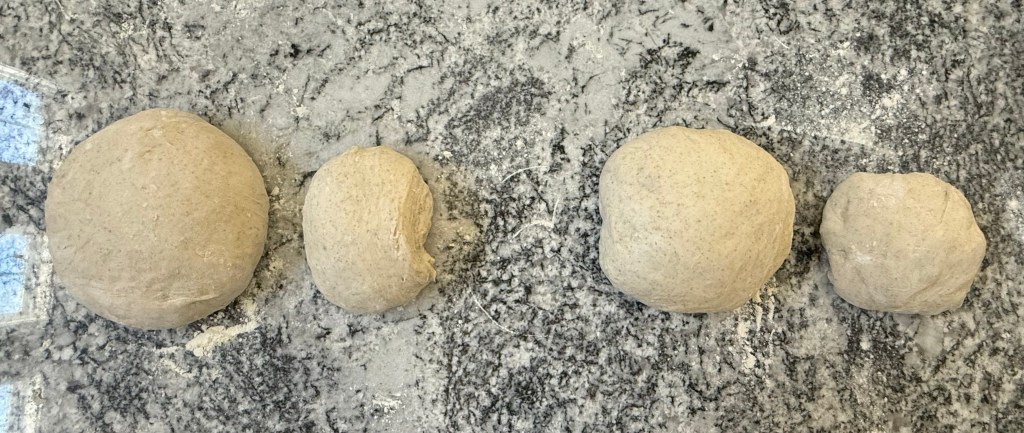
The dough rose again for another hour and 15 minutes (2 hours bulk ferment in total). I divided and preshaped both doughs.
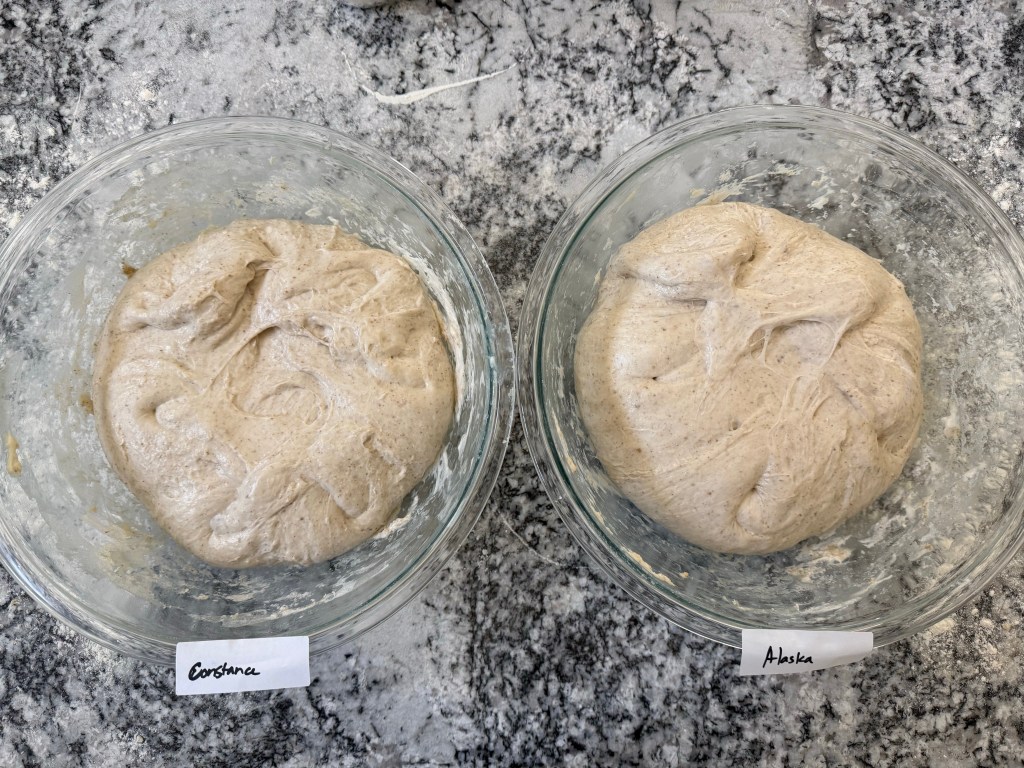
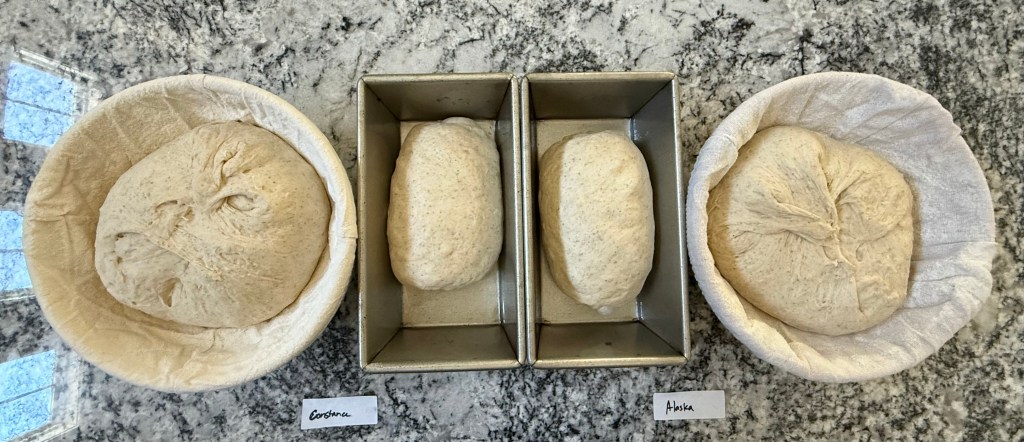
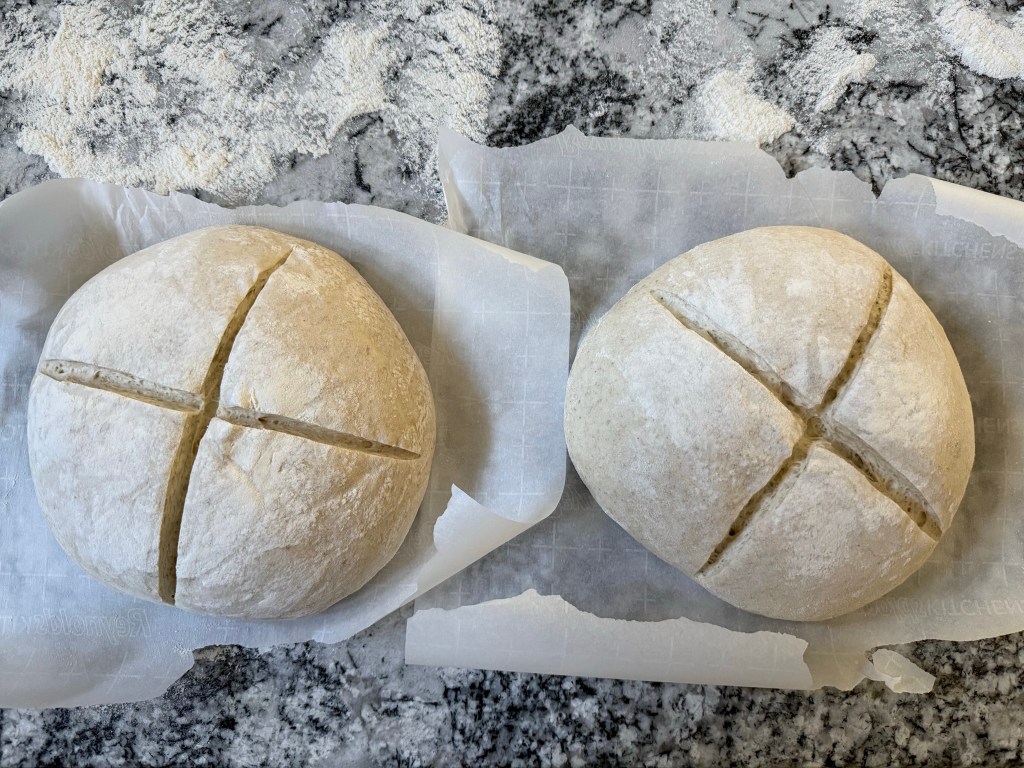
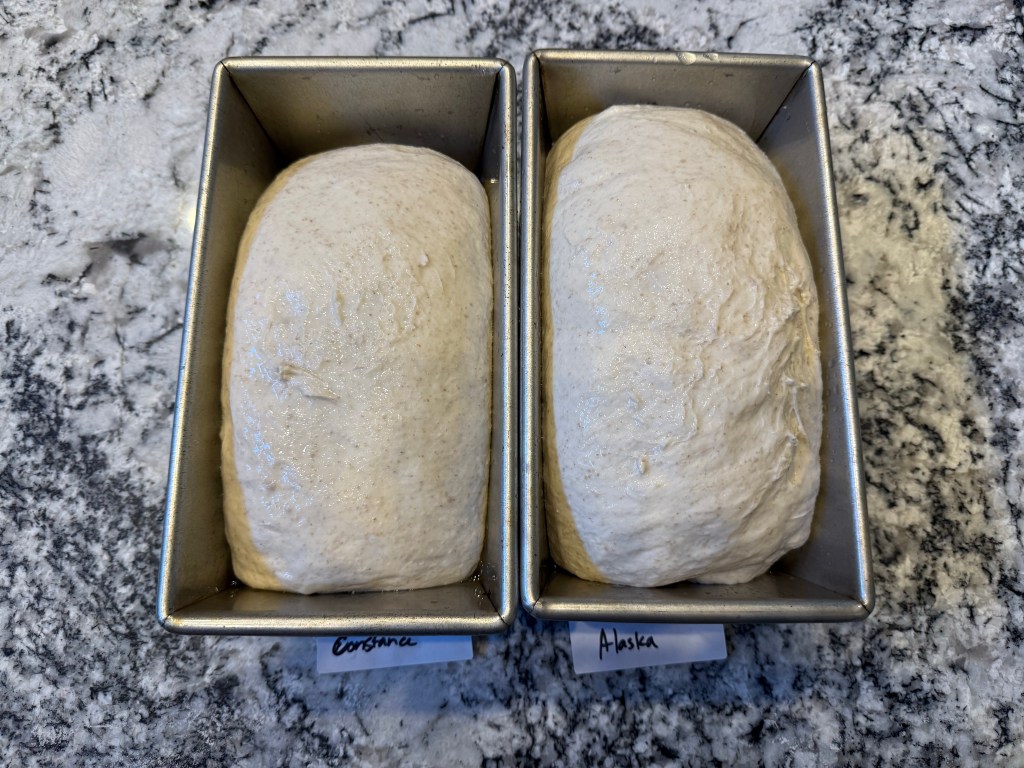
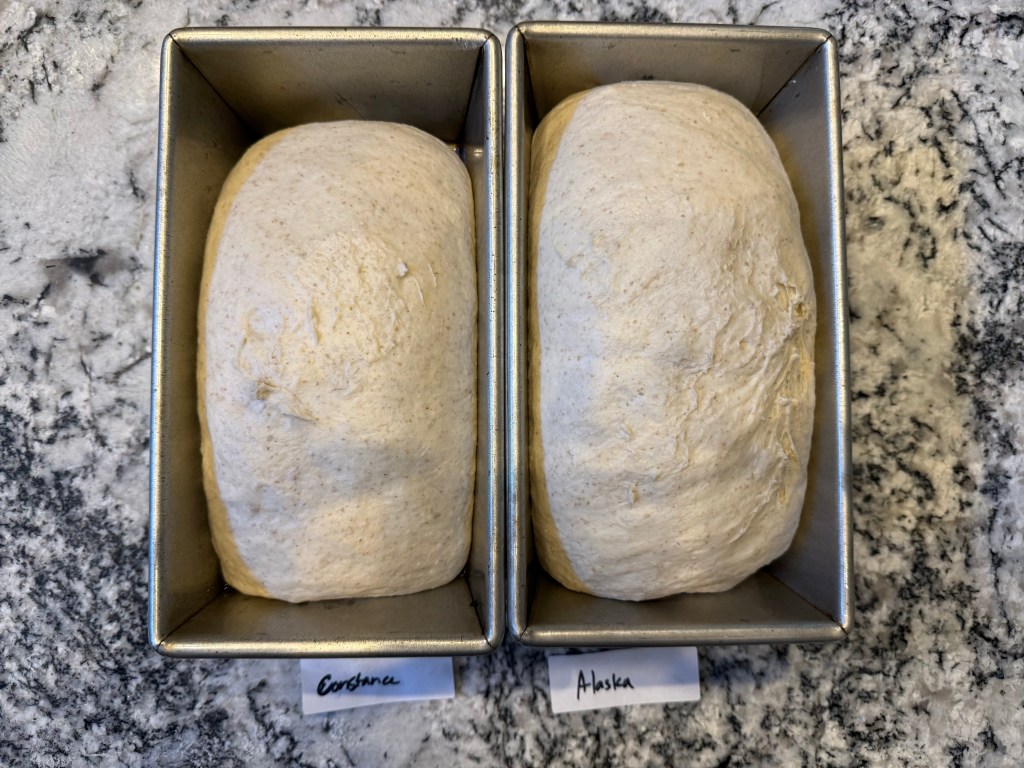
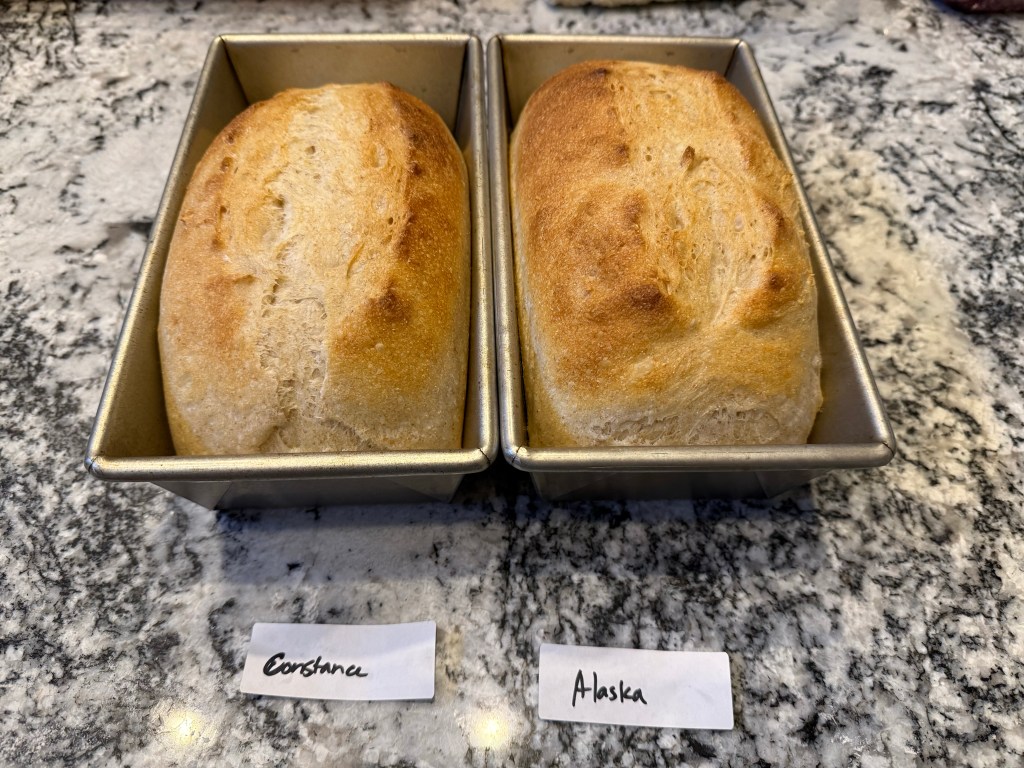
The doughs rested on the cool counter for 20 minutes, then I shaped them. Each dough was divided into a larger and smaller loaf. The smaller loaves completed their final rise directly in (identical) loaf tins. The larger loaves rose in floured bannetons.
The doughs proofed for 2 hours before I prepped and scored the larger loaves. My oven is not big enough to accommodate all 4 loaves at once, so I am baking these in 2 batches.
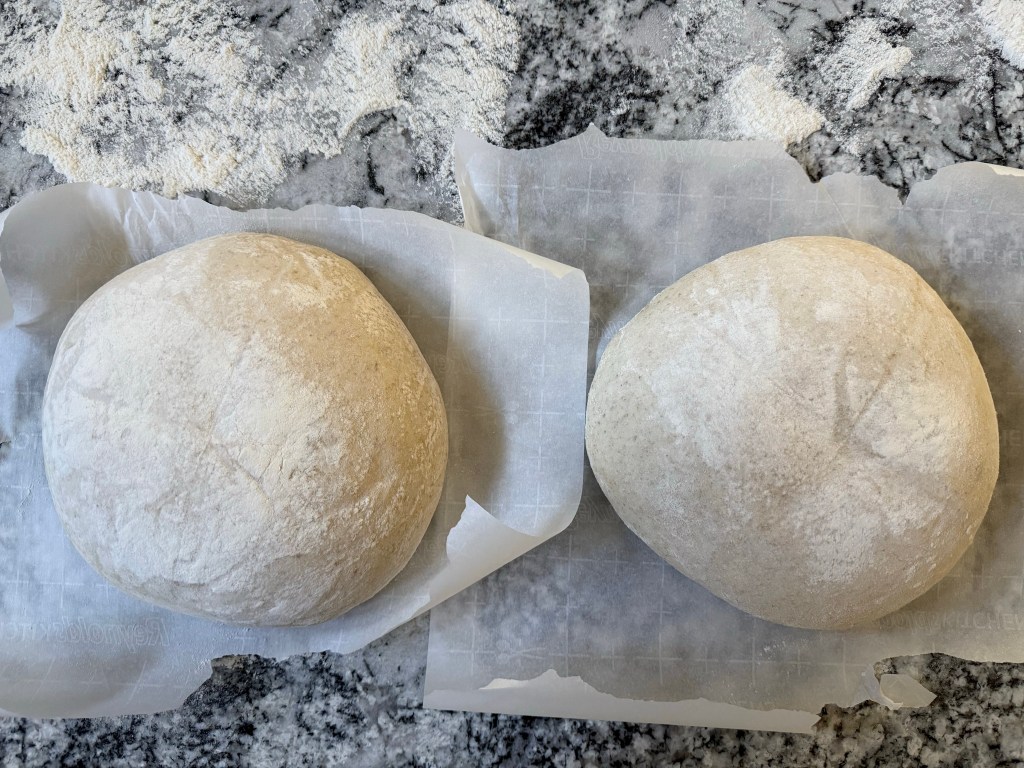
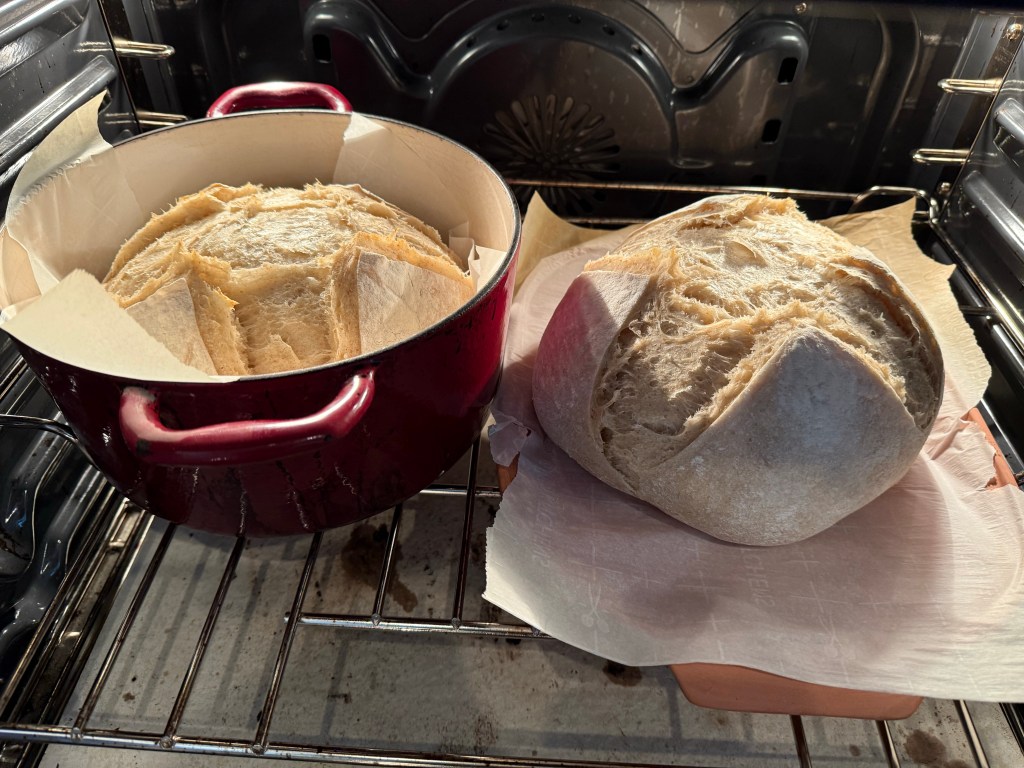
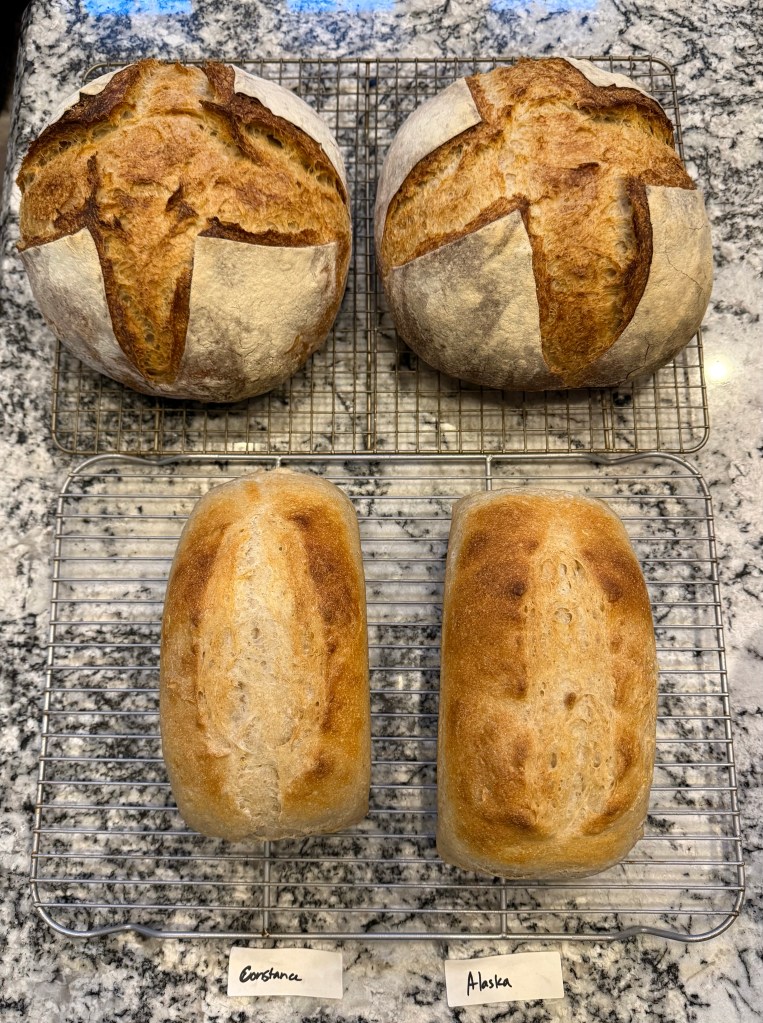
I baked larger loaves, and this is the biggest hole in my experiment. While I have identical bread tins for the smaller loaves, for the larger loaves I have a Dutch Oven and a Clay Baker. I have a fondness for Constance, so I put her in the Dutch Oven, which I suspected was the better baking vessel. Alaska’s loaf went in the clay baker. Both loaves had great oven spring, but Constance did rise higher than Alaska in the oven.
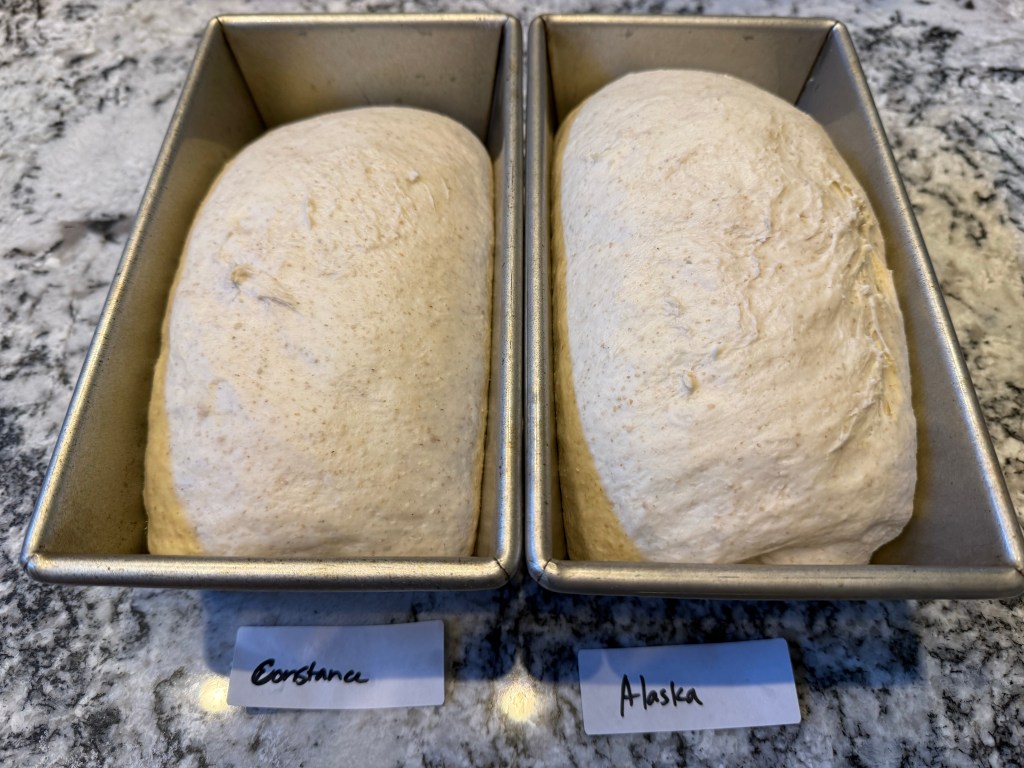
Once the large loaves were out of the oven I baked the pan loaves. This was the truly fair experiment. Throughout the final rise Alaska rose higher than Constance. I brushed both loaves with water and scored them down the middle before putting them in the oven for an open bake. This time the Alaska loaf kept its size advantage throughout the bake.
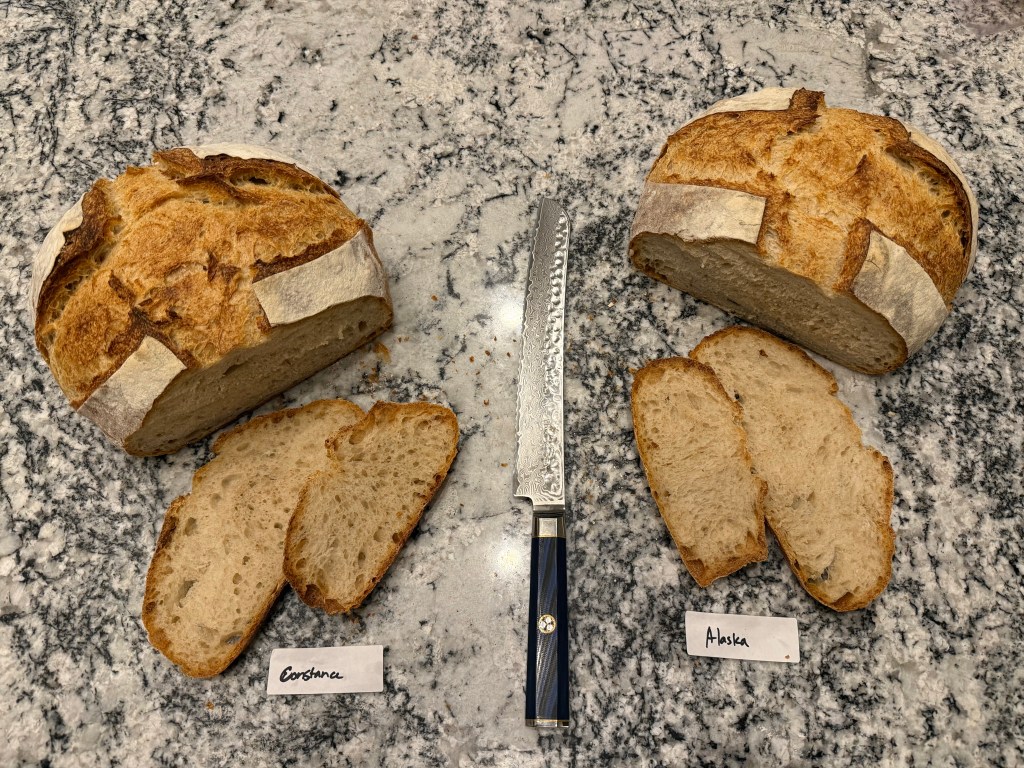
Here are a few side-by-side comparisons of both loaves. For the large loaves, Constance rose slightly higher, but the Alaska loaf is significantly wider.
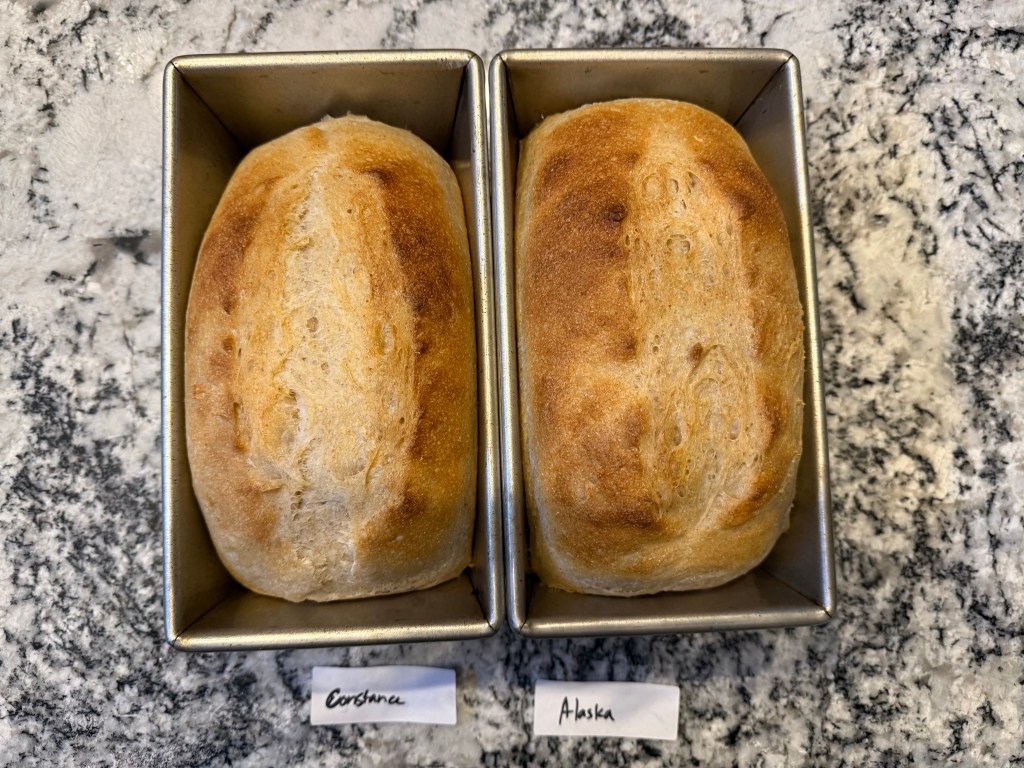
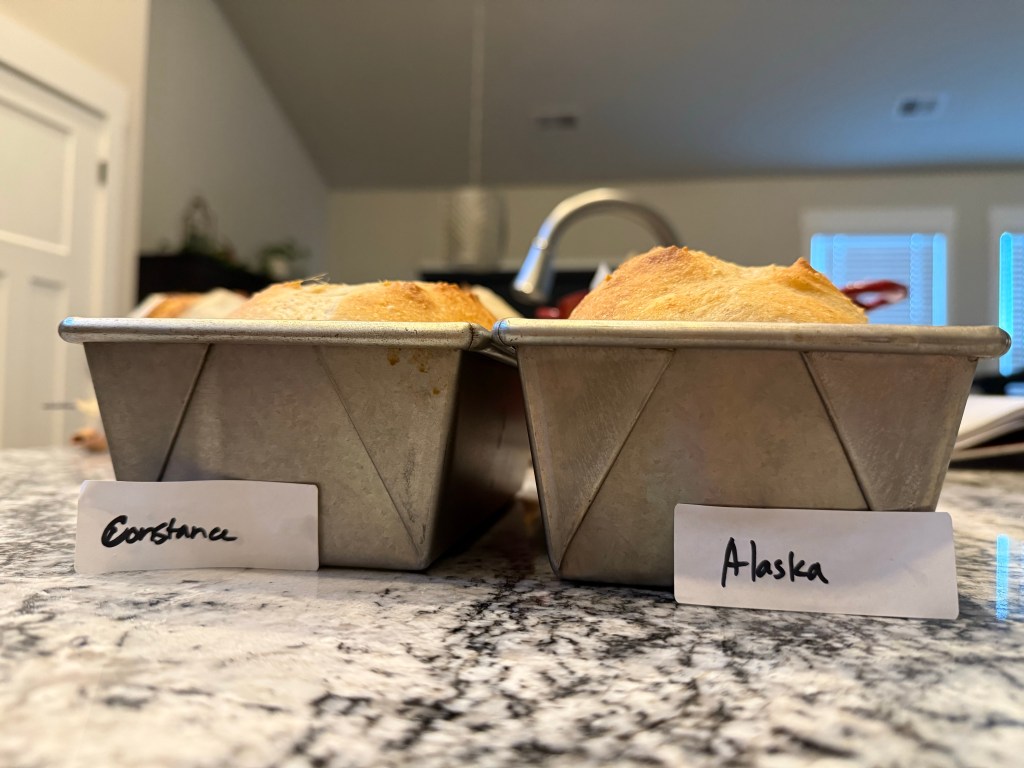
For the smaller loaves, the Alaska loaf rose higher and filled its pan up more than the Constance loaf.
The crumb: both loaves have a lovely crumb, but Constance’s crumb is slightly more open. I didn’t cut into the smaller loaves since they’re easier to freeze or give away, so perhaps the crumb comparison is unfair due to the difference in baking vessels.
And finally, the taste: Both loaves are delicious! Constance had a bit more sourness than the Alaska, but the loaf was still quite mild in flavor. The Alaska loaf was hardly sour at all, almost tasting like a long-fermented yeast bread. It also rose higher at every stage.
So. What did I learn from this experiment?
Despite living in my kitchen, being fed the same food, and possible cross-contamination, these starters are distinct from each other. They make breads with different levels of rise and sourness. This supports the idea that once a sourdough colony is established, and assuming it is cared for in relatively stable conditions, it resists changes to its microbiome.
Baking conditions matter a lot. An enameled Dutch Oven retains more steam than an unglazed clay baker, and that impacts the oven spring. I suspect that a glazed clay baker would perform similarly to an enameled Dutch Oven.
Science is hard! I washed my hands so many times in an effort to avoid cross-contamination. Everything was harder and took longer because I was working with more dough and because I couldn’t let anything touch anything else. Getting timings perfectly even between both batches of dough was impossible. As hard as I tried, I knew the experiment was flawed from the beginning.
I learned so much from this experiment, and despite how hard it was to setup and perform, it raises so many other questions for me. I want to see the effect of the different baking vessels on the same dough. I want to try breads with different flours or different hydration. I don’t know that I’ll ever be a true bread scientist, but I am having a lot of fun learning.
Until the next time: may your yeast always rise and your flour never run out.
After making the Semolina Sourdough bread I had a little semolina flour left that I needed to use up before the flour’s expiration date. Conveniently, around this time I saw a blog post from The Clever Carrot about making semolina cavatelli with sourdough starter. I wanted to use all my flour, so I scaled the recipe up based on the amount I had available.
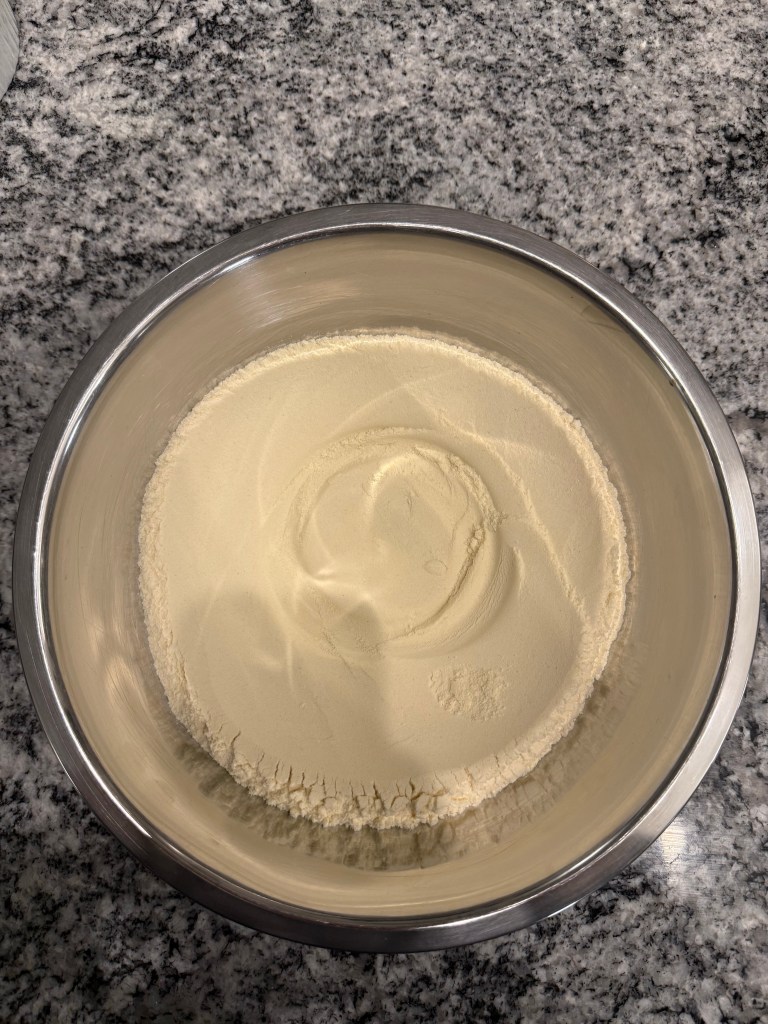
I gathered the mise en place:
I made a well in the flour and added the water and then the starter.
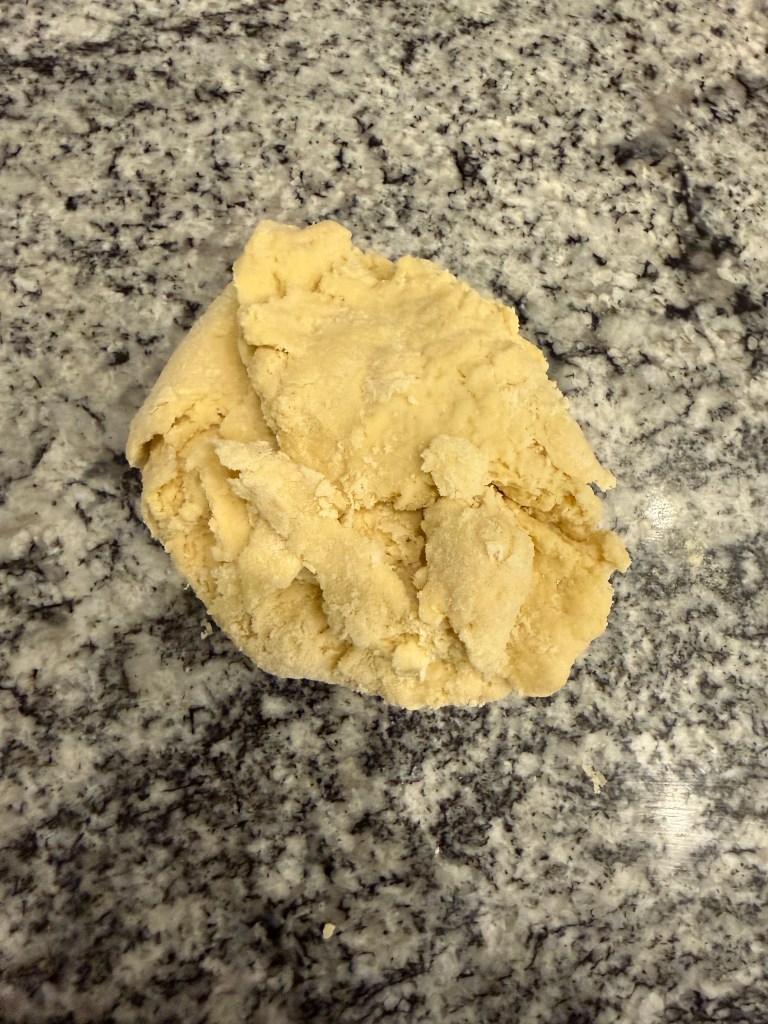
I mixed the dough with a fork, then kneaded it in the bowl by hand until all the flour was absorbed. At this point the dough was very dry and sandy, and it was hard to get the dough to incorporate all the flour.
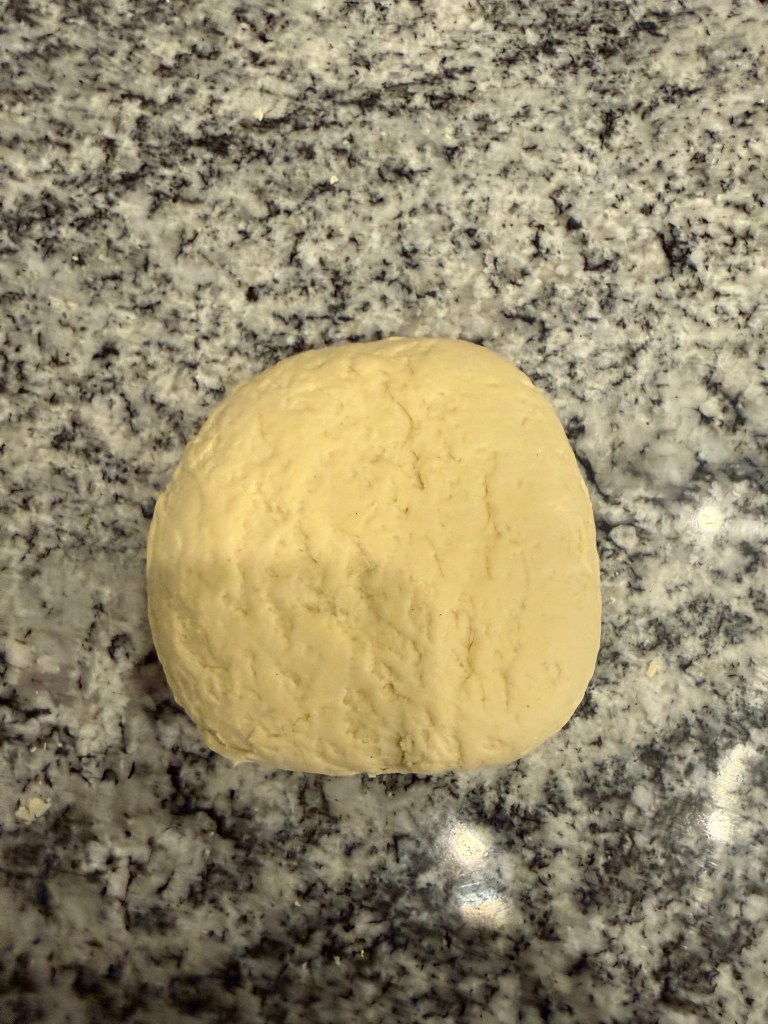
The dough rested for 10 minutes, then I kneaded it on the counter for a mere 2 minutes until dough was smooth and no longer gritty. I was amazed at how quickly the dough transformed into a smooth mass!
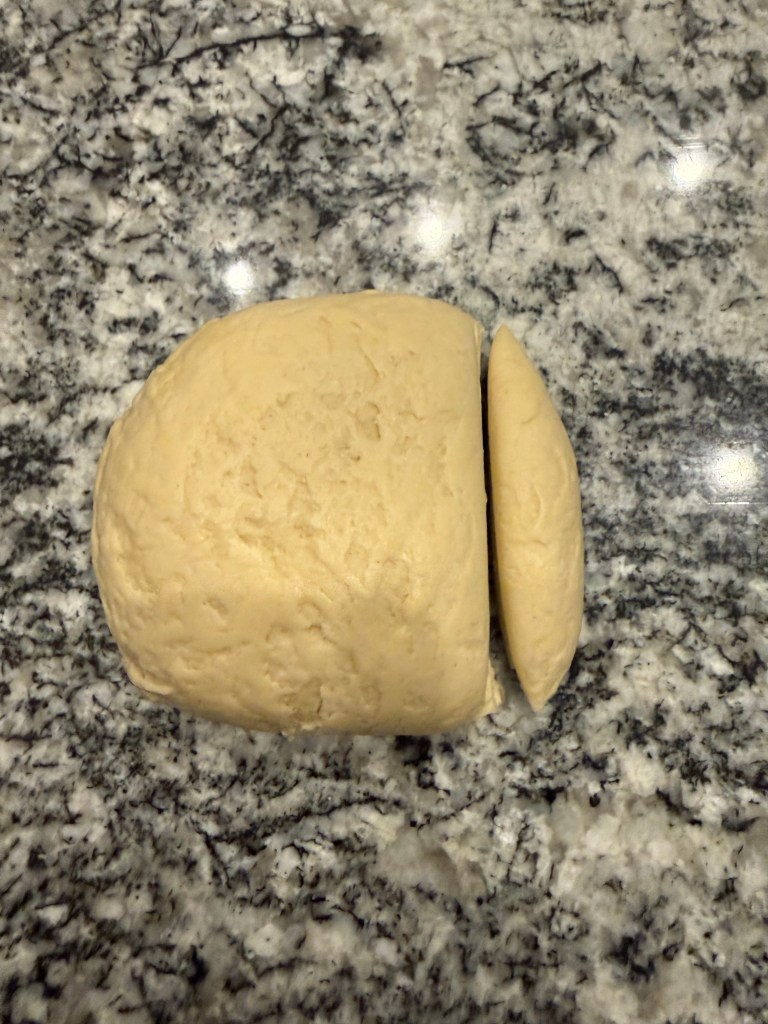
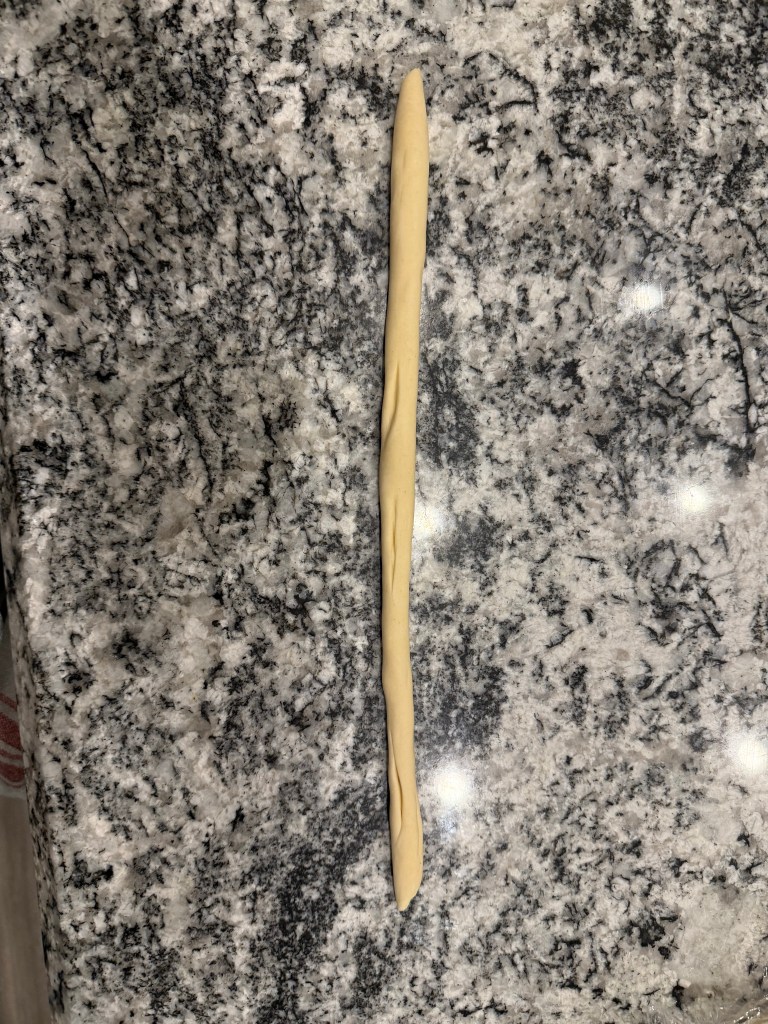
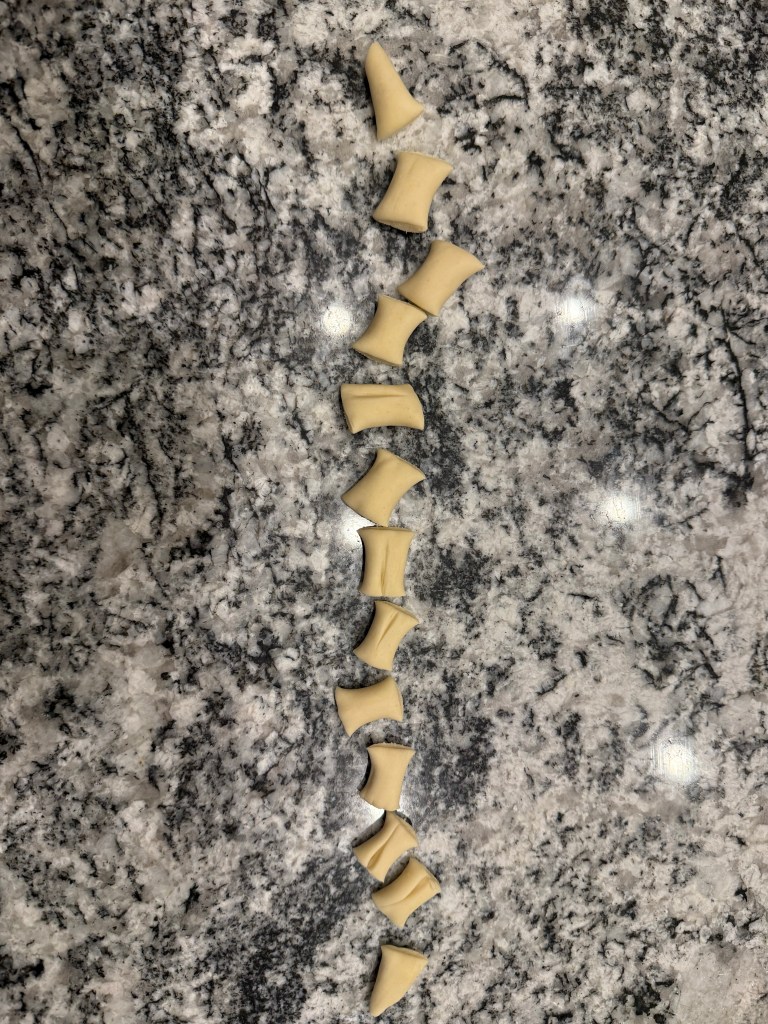
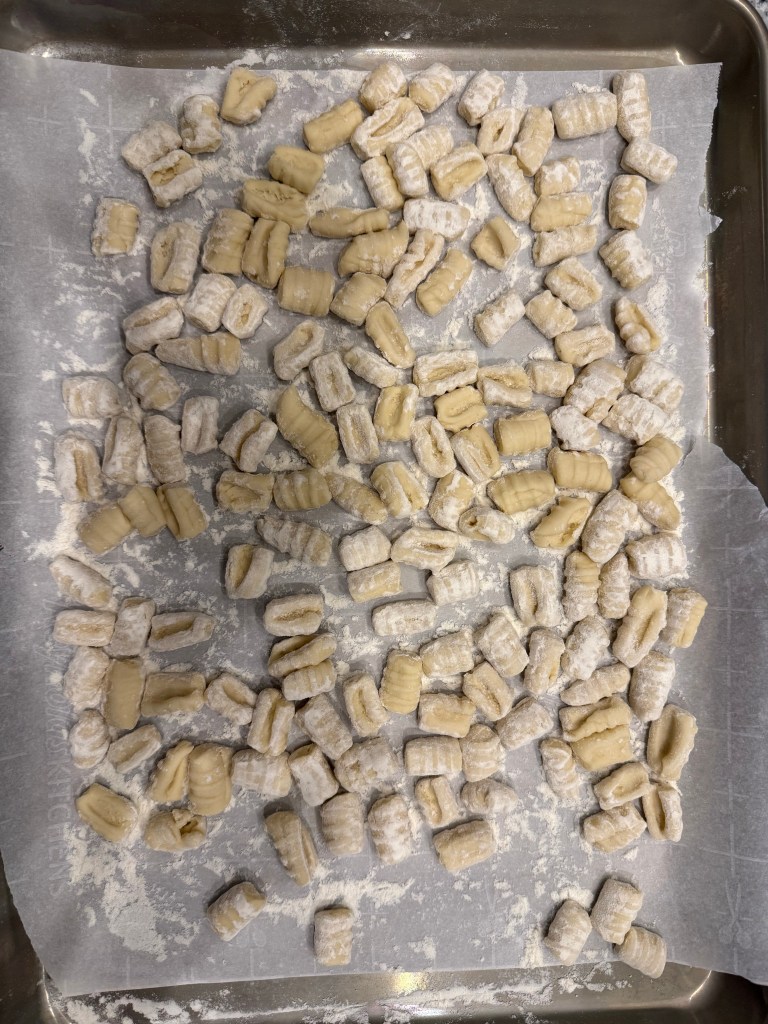
The dough rested in the fridge for 24 hours until I was ready to use it. I cut the round into strips, rolled each strip out, then cut each roll into inch-long pillows. I shaped them into cavatelli with a fork. I placed the finished cavatelli on a floured sheet pan and covered them while I worked on each rope.
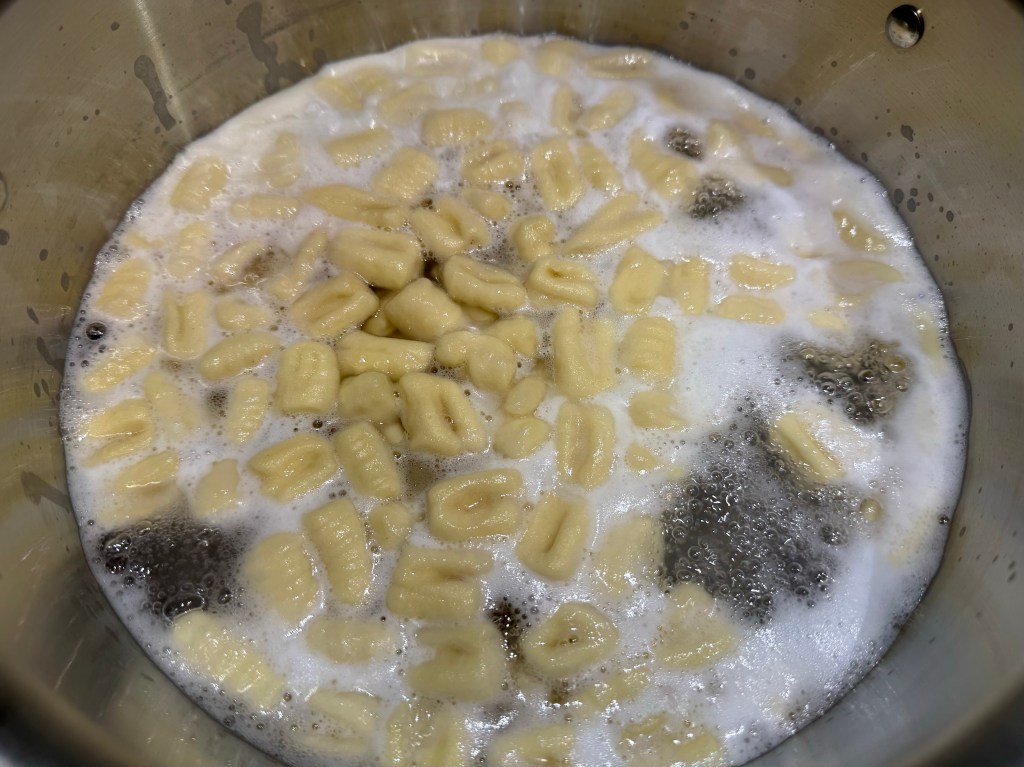
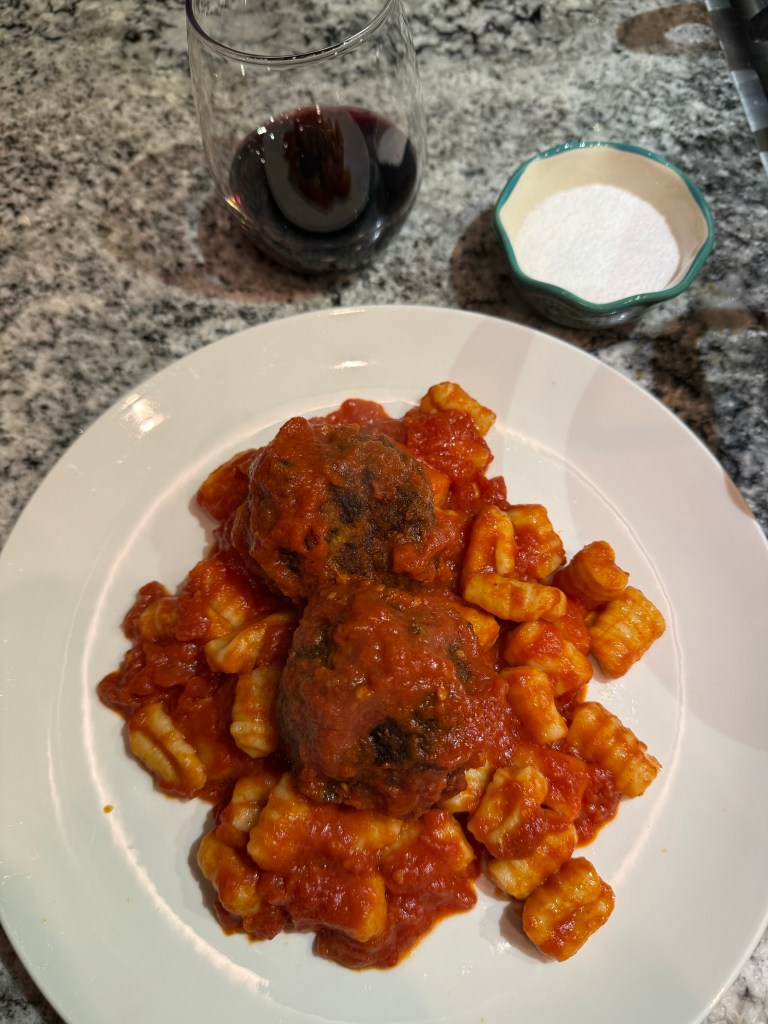
Once they were all shaped, I boiled the noodles in salted water. I cooked the cavatelli for 8 minutes, when they were very much on the chewy side of al dente, but they could have could have cooked for longer for a softer noodle.
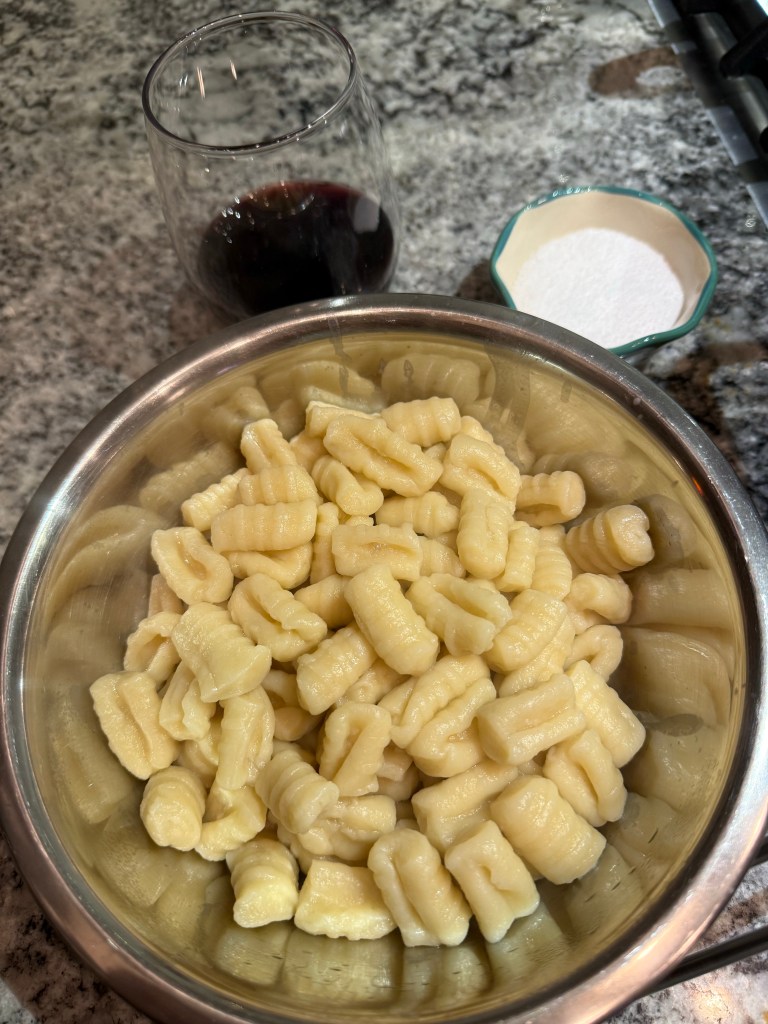
The cavatelli did not taste sour, which is absolutely fine, since fermentation was not the goal here. They tasted very fresh, and the shaping of the cavatelli was very pleasant. This project has made me much more interested in making more pasta at home. If you’re at all interested, I would definitely recommend giving it a try!
Until the next time: may your yeast always rise and your flour never run out.