
This semolina sourdough recipe is from Tartine Bread by Chad Robertson. This is the book I learned to make sourdough bread from, so this recipe feels like a bit of a homecoming for me.
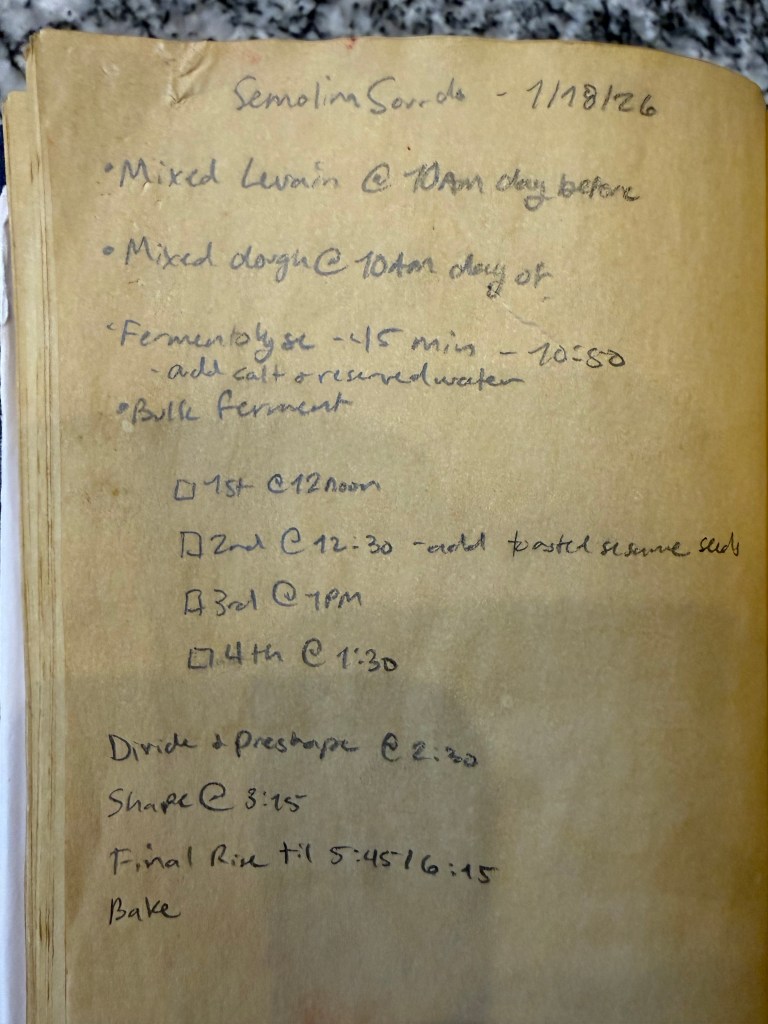
Whenever I mix a dough that needs to ferment for more than a few hours I like to build myself a schedule. This helps me make sure I don’t have any scheduling overlaps and that I know when I can be away from my dough for a while if needed.
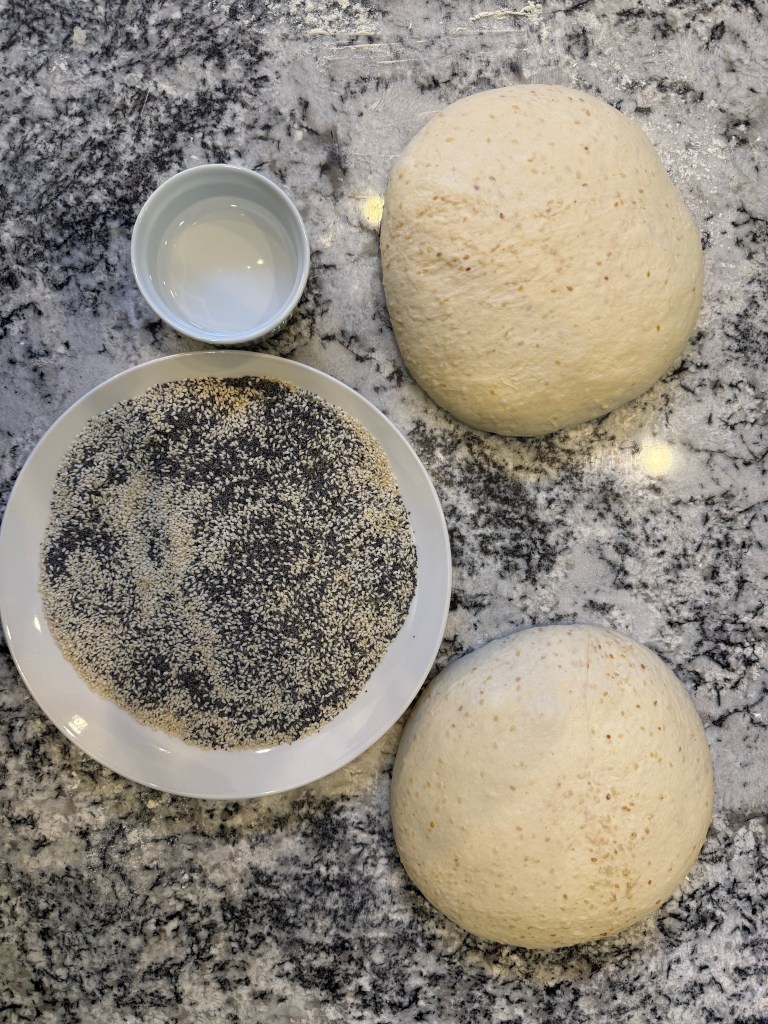
I gathered the mise en place:

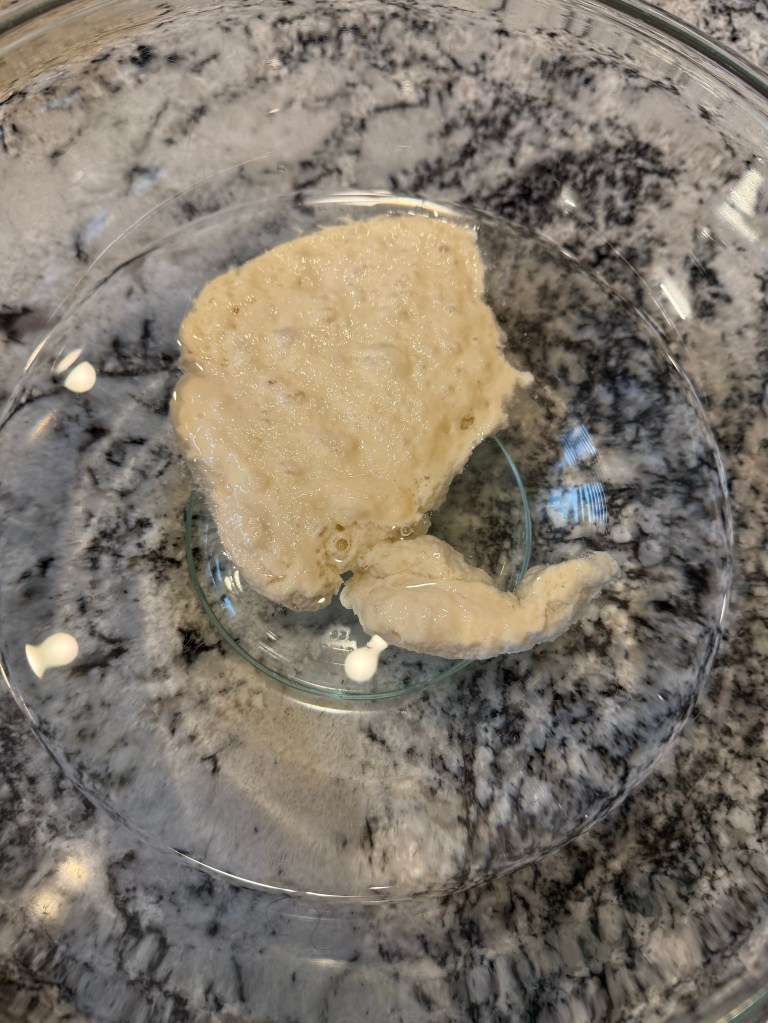
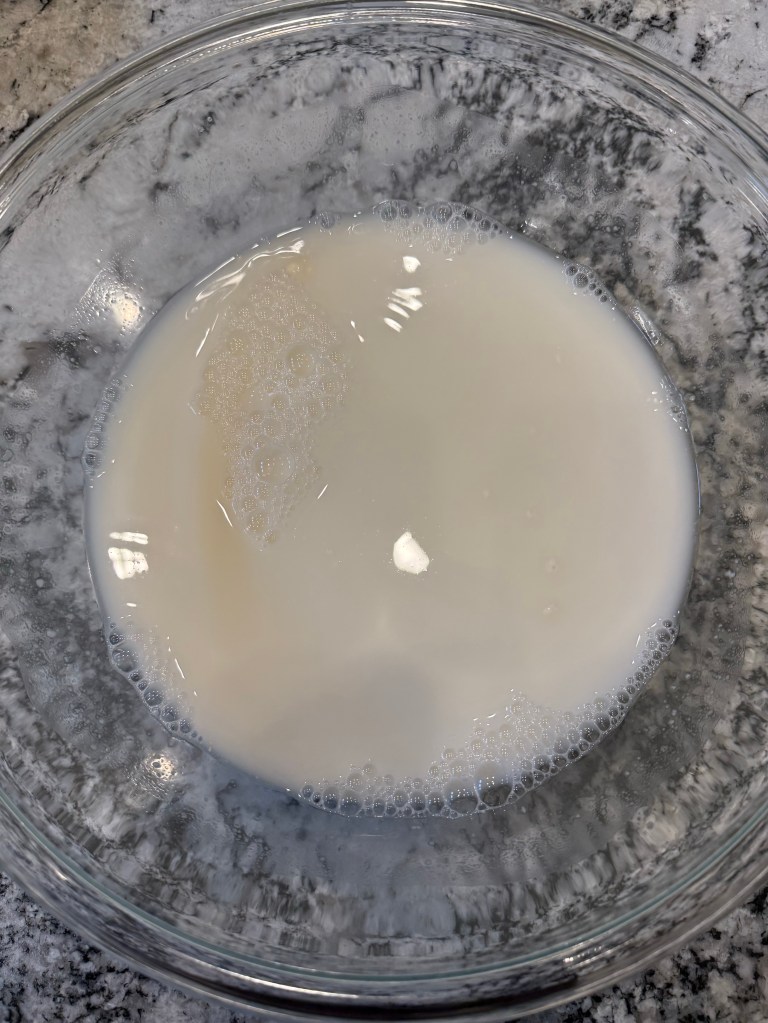
I started by pouring my starter into the water and marvelled that it floats. I’ve been baking sourdough bread since 2019, and floating starter still amazes me every single time. I mixed the starter into the water until reasonably-well distributed and the mixture looked milky. Do not be deceived: There were still small chunks of starter beneath the surface of the mixture.

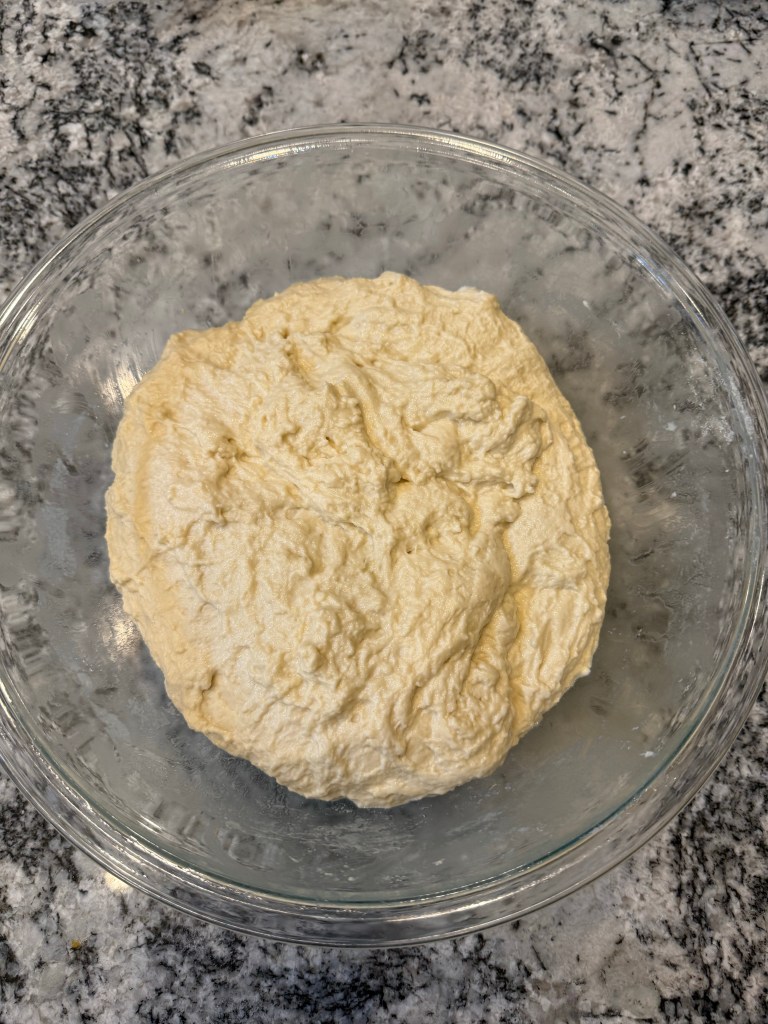
I mixed in the semolina and All-Purpose flours until the dough was shaggy. I set the dough aside to rest for 45 minutes. Chad describes this resting step as an autolyse, but technically an autolyse only includes flour and starter, and does not include any leavener. I’ve heard this step referred to as a fermentolyse when the starter is included. Since it is January and my kitchen is cold I put the dough in my countertop oven on the “Proof” setting (80 degrees Fahrenheit) to speed up the rise and hopefully limit sourness in the final loaf.
Regardless of what the rest is called, when 45 minutes had passed I added the salt and 50 grams of water that had been reserved at the beginning and mixed the dough well.
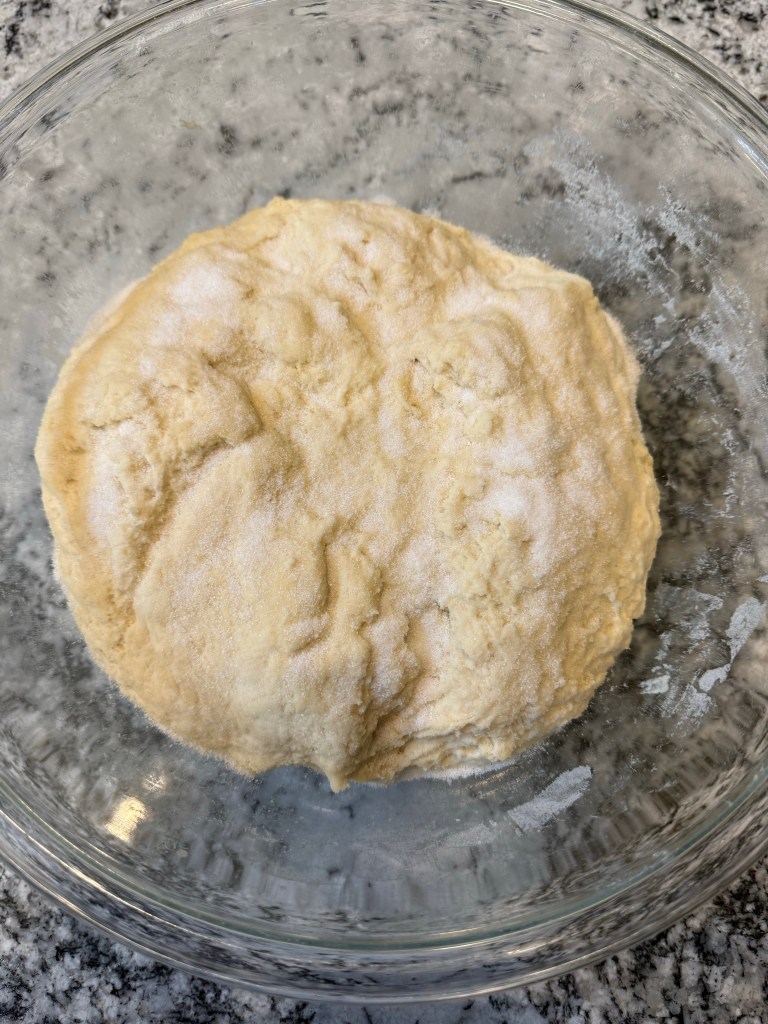
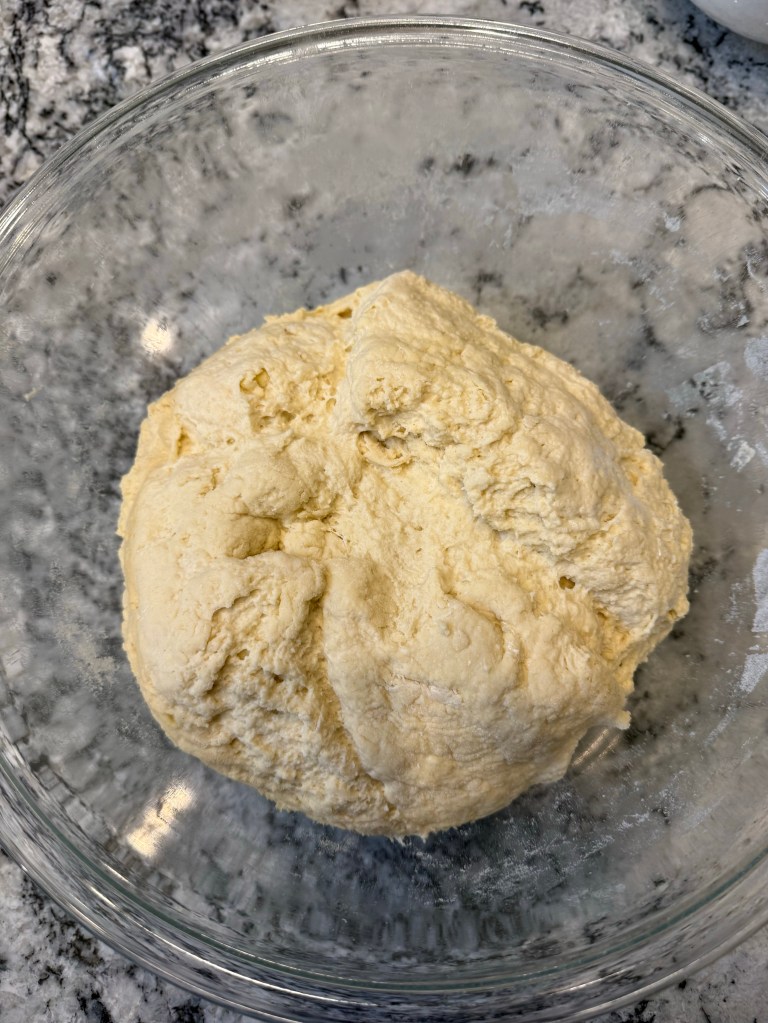
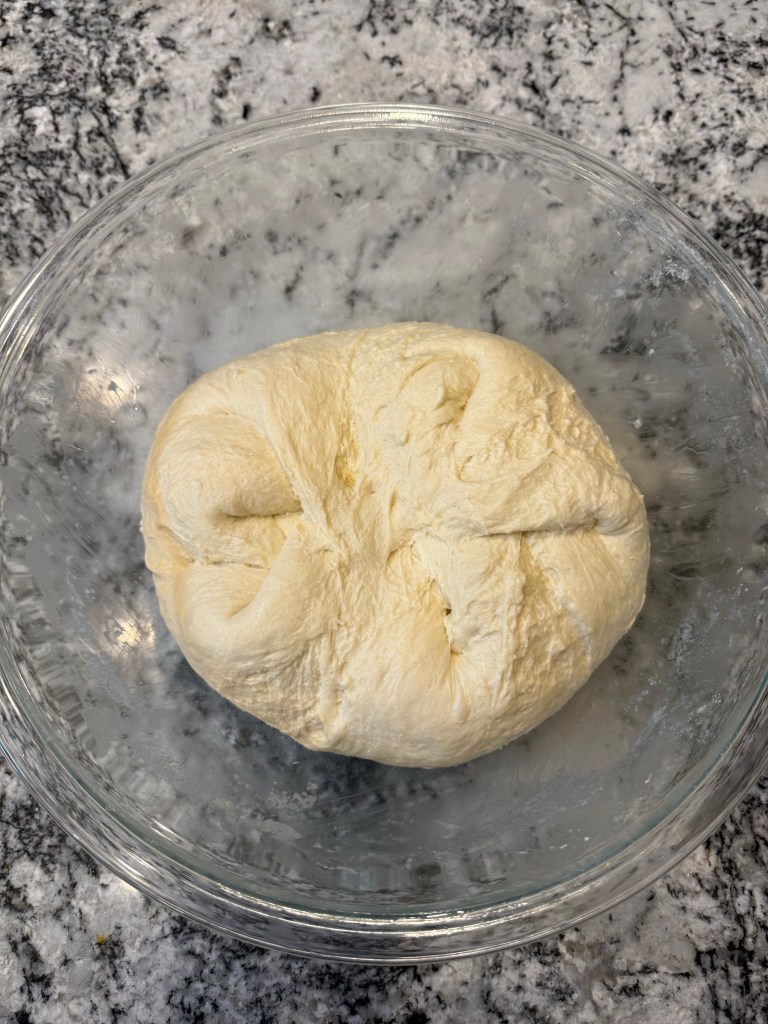
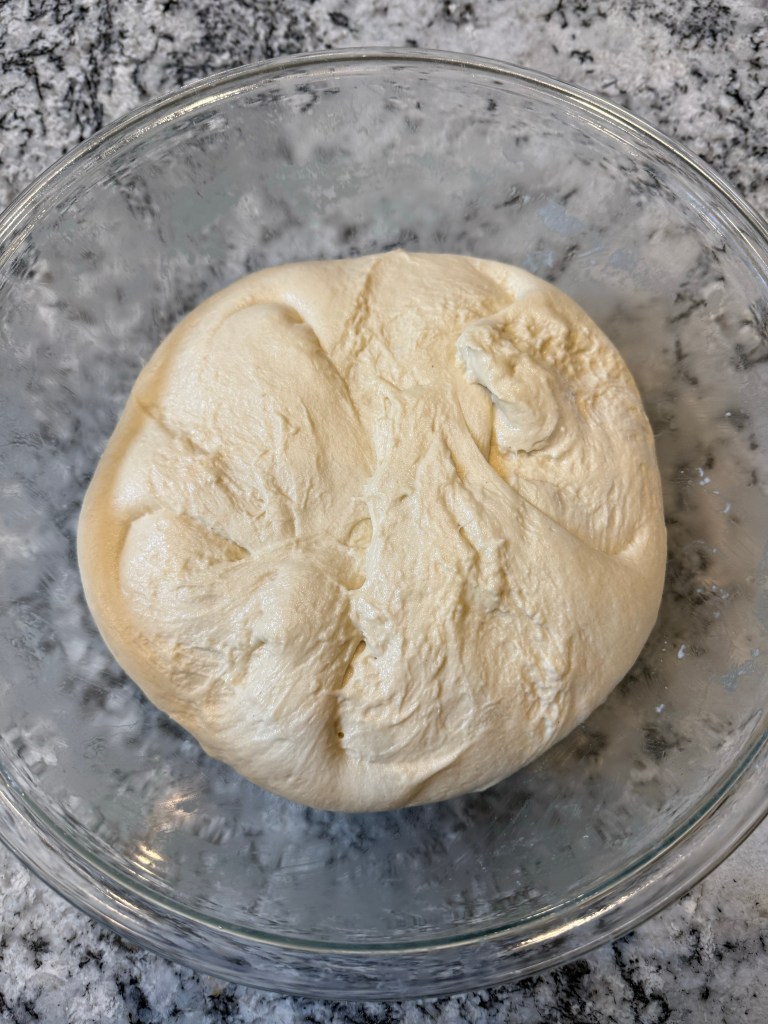
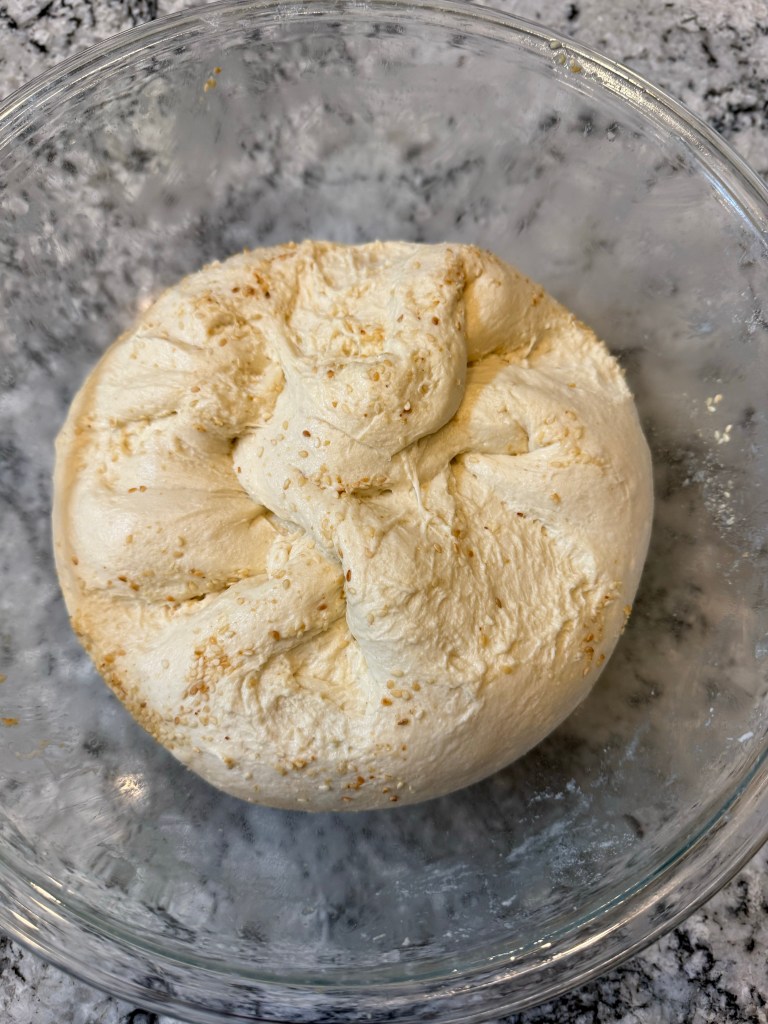
From here I did 4 “turns” or dough-folds in the bowl, every half hour. First turn (30 minutes in):
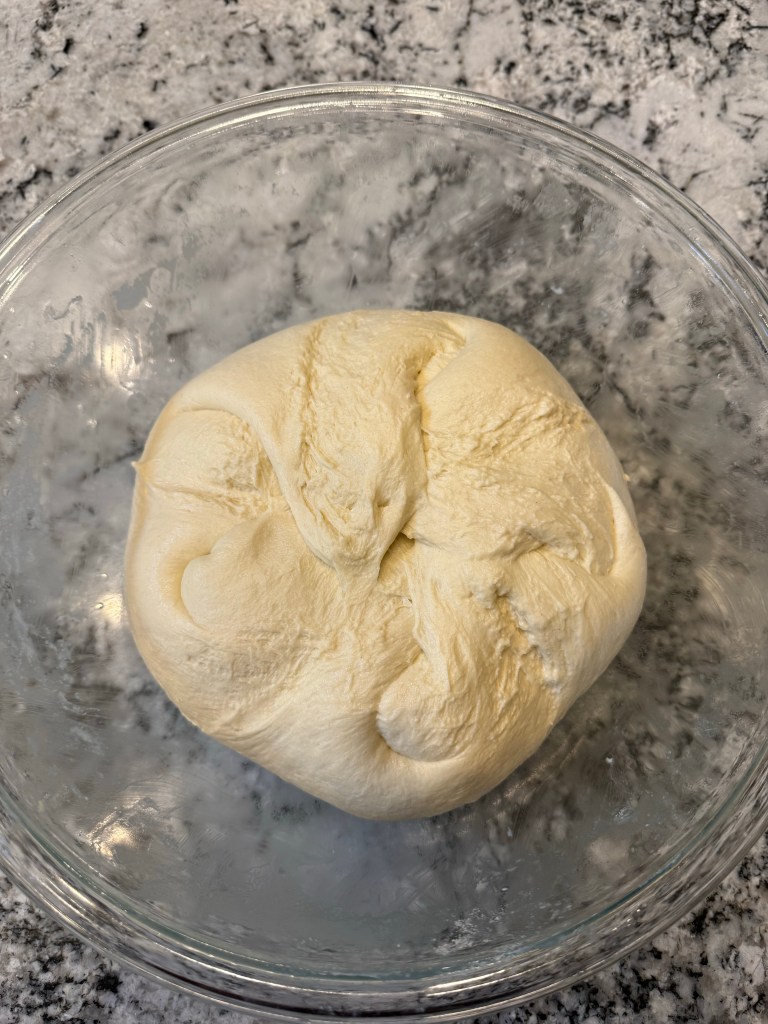
2nd turn (1 hour in):

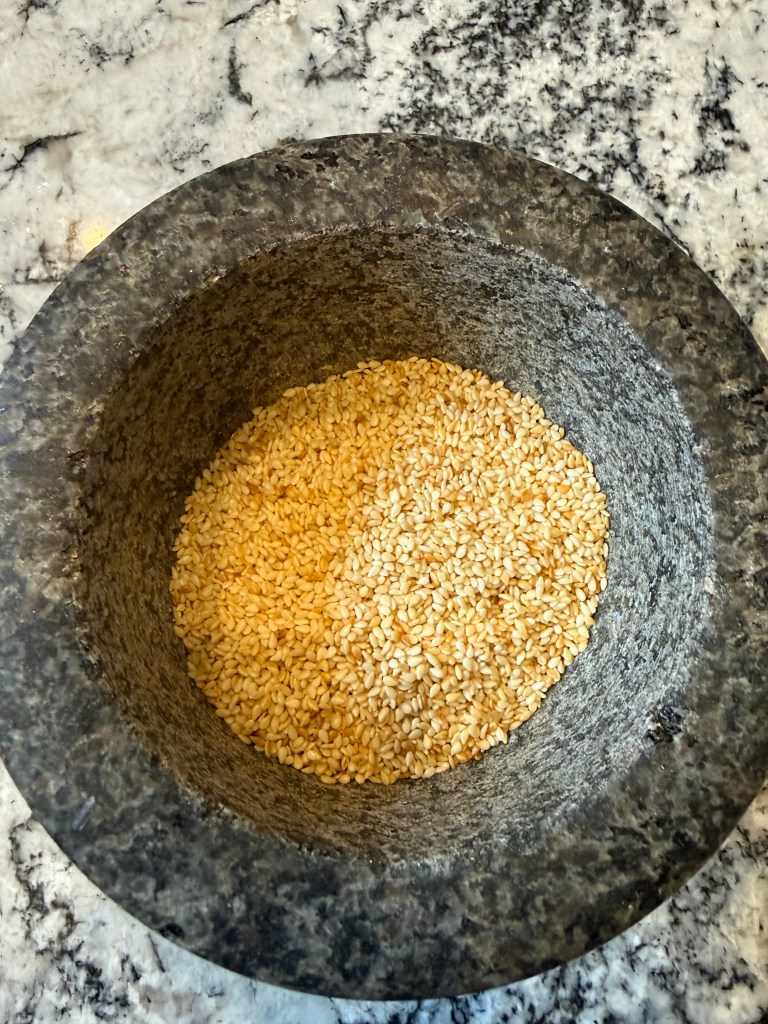
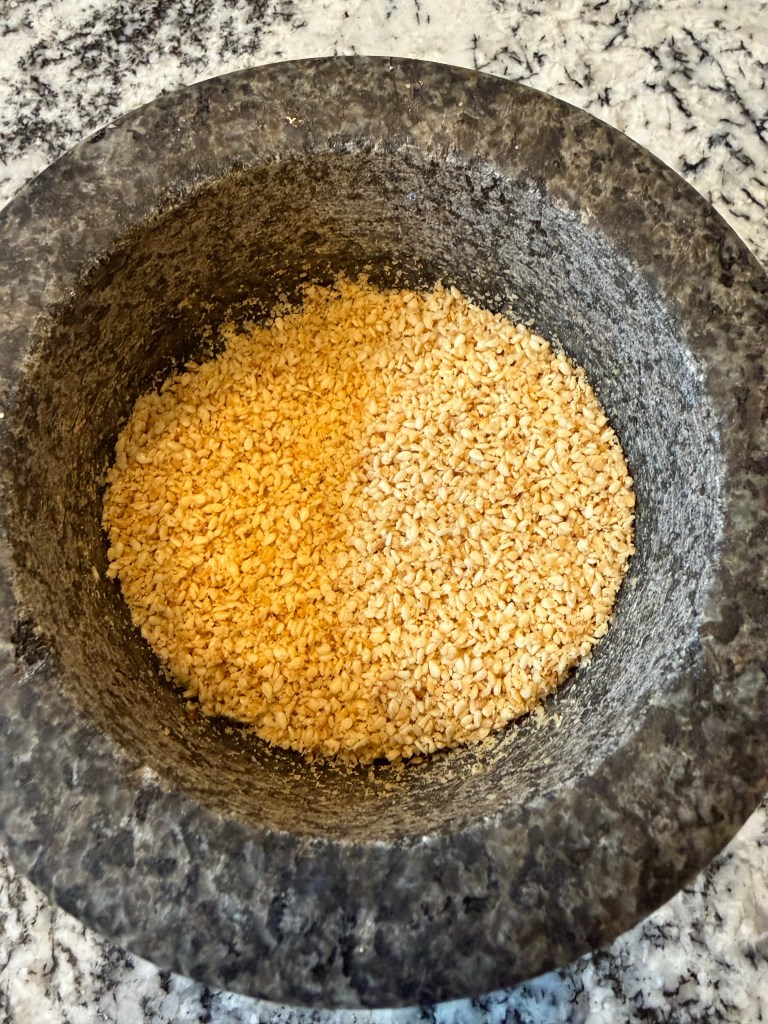
I was meant to add in some toasted and lightly ground sesame seeds during the 2nd turn, but I forgot, so I added them during the 3rd turn.
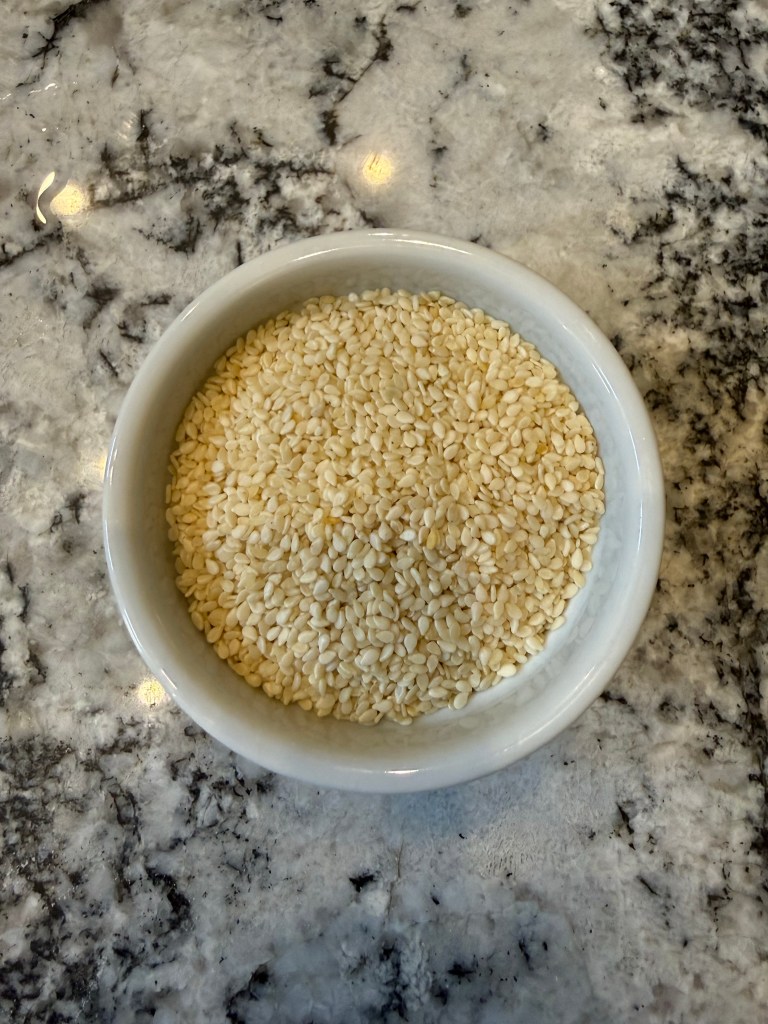
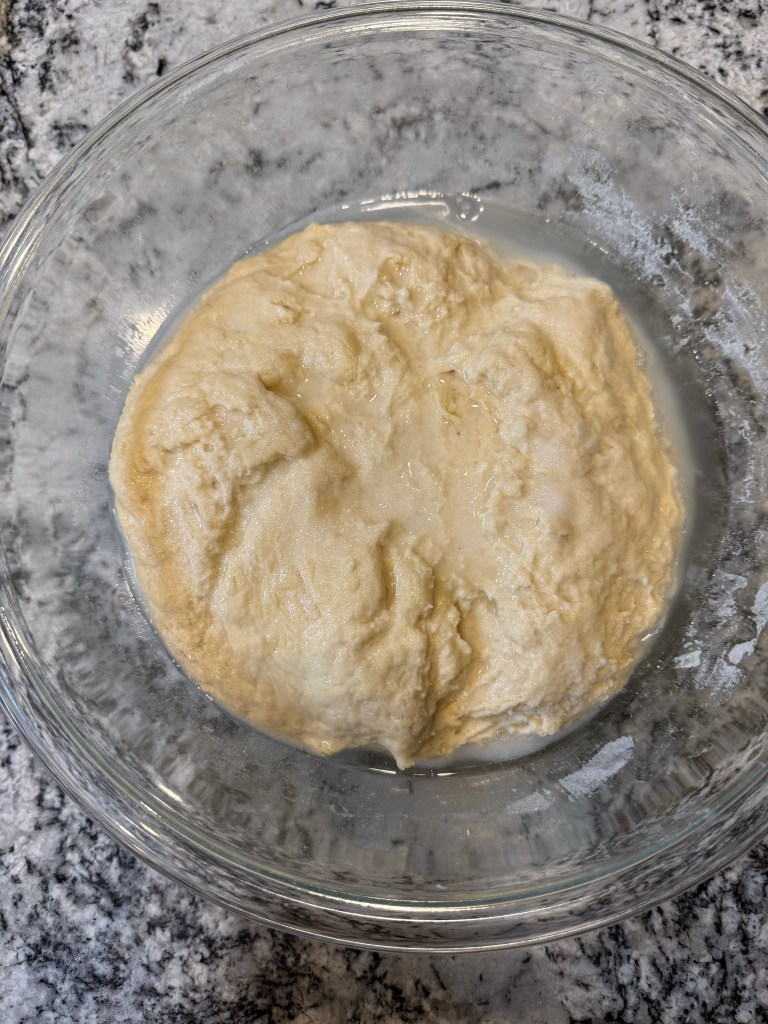
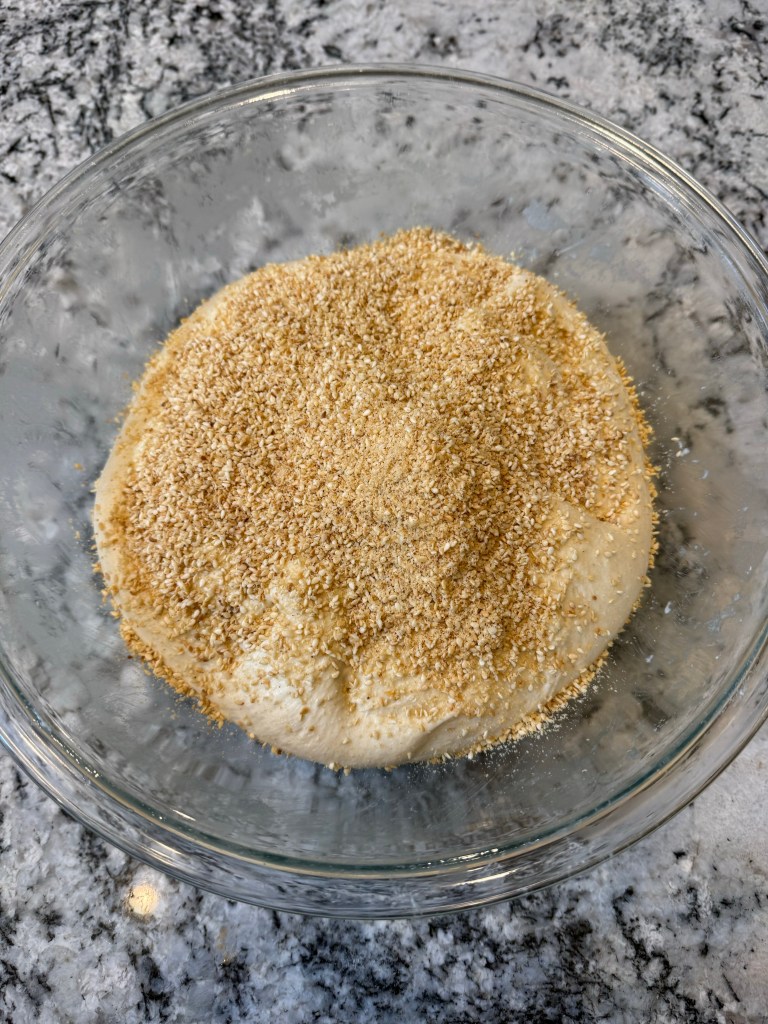
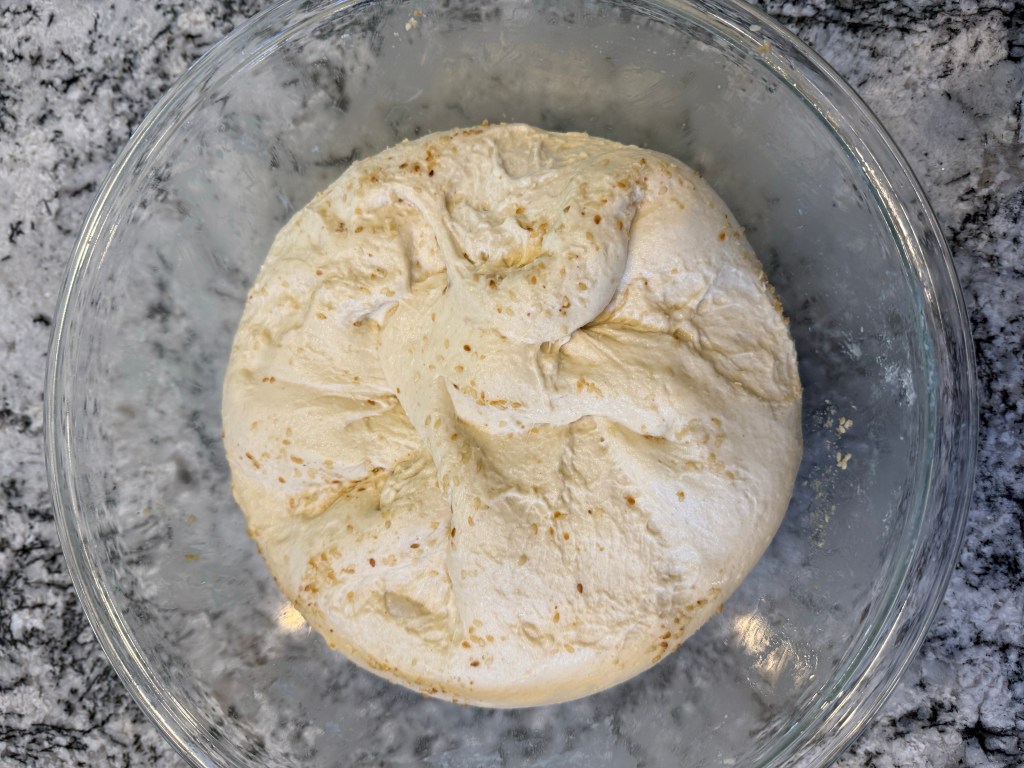
3rd turn (90 minutes in) with sesame addition and a little extra water to facilitate mixing:
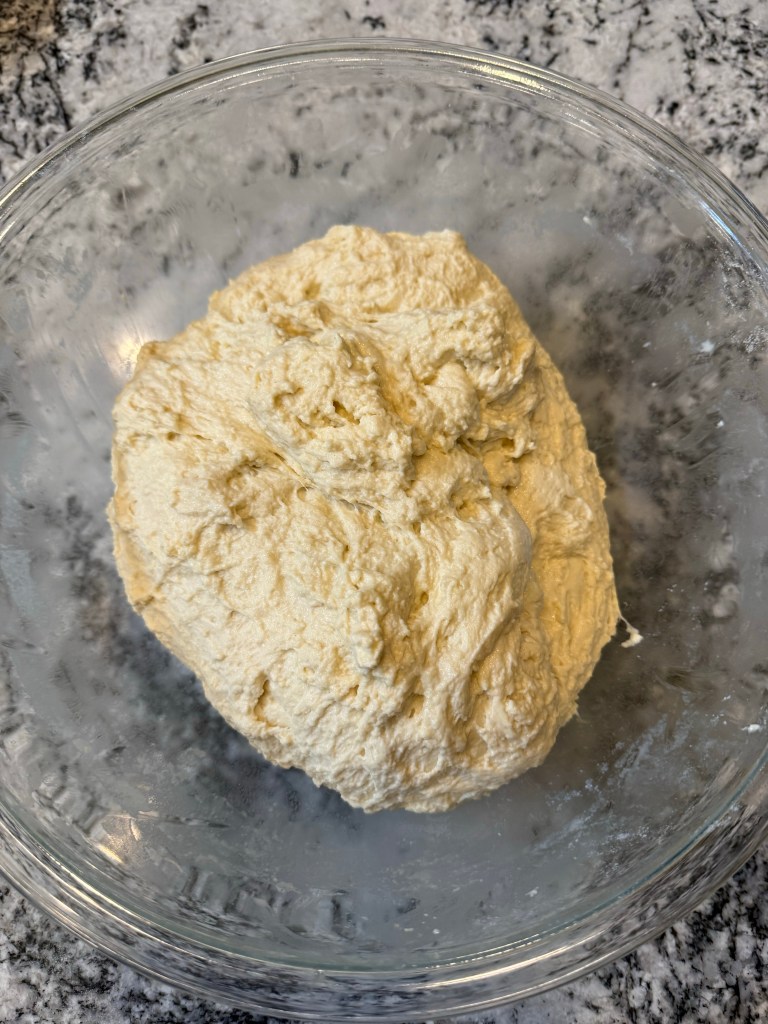
4th turn (2 hours in):

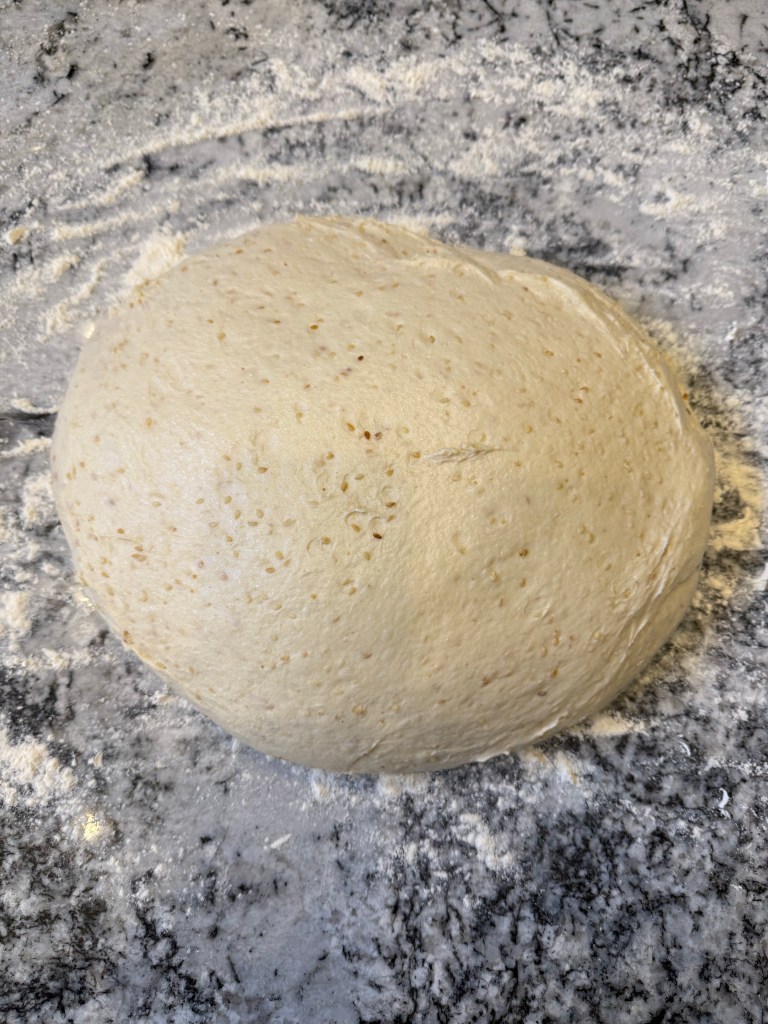
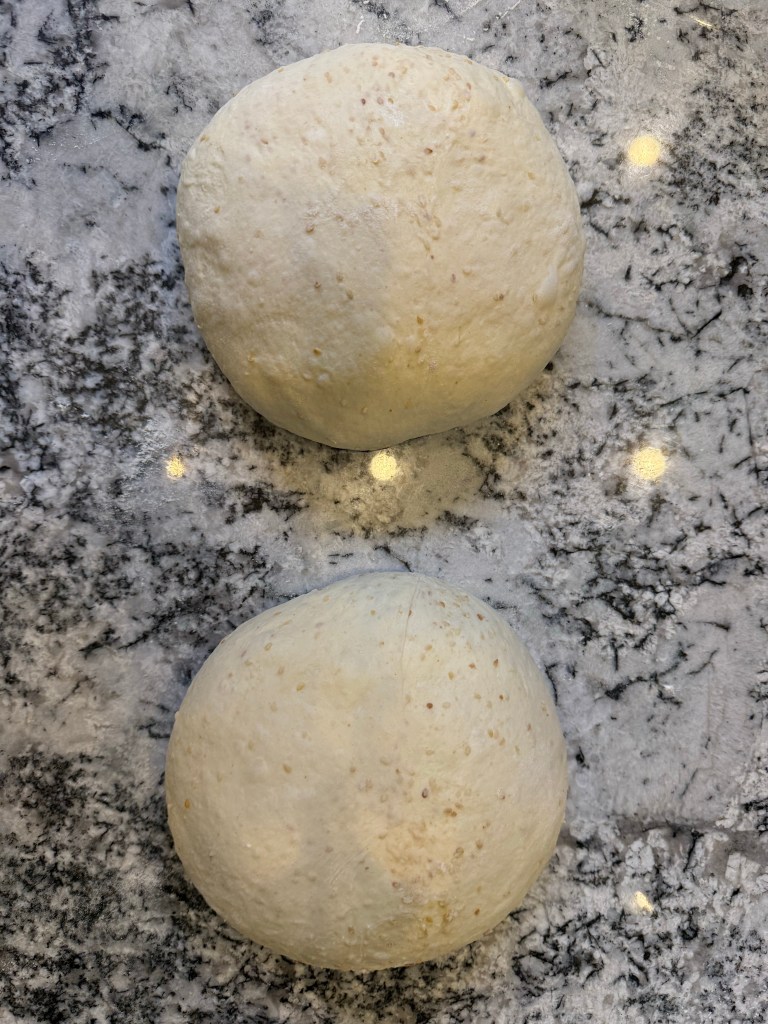
After the 4th turn I waited another hour, then divided and preshaped the dough into two rounds.
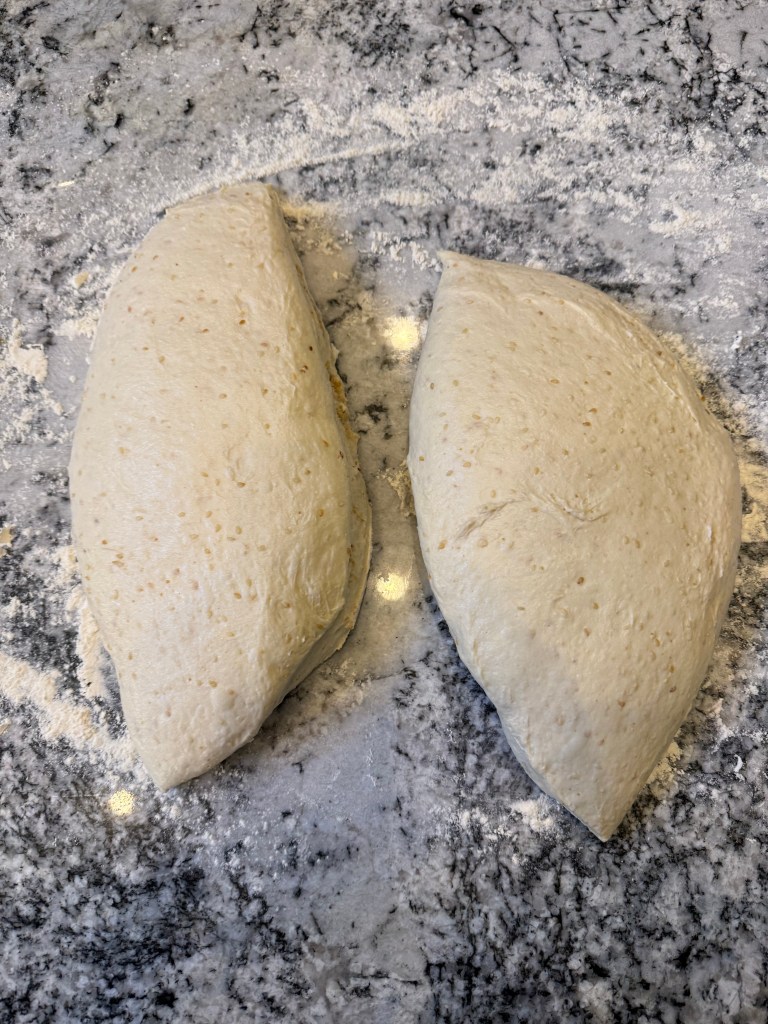
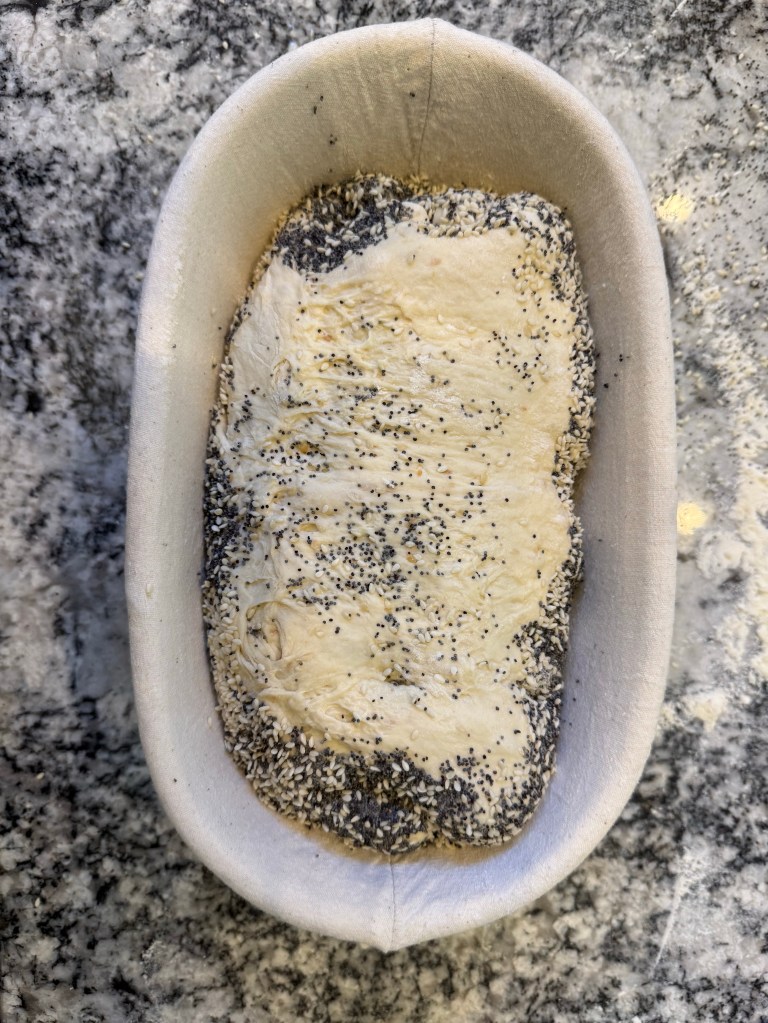
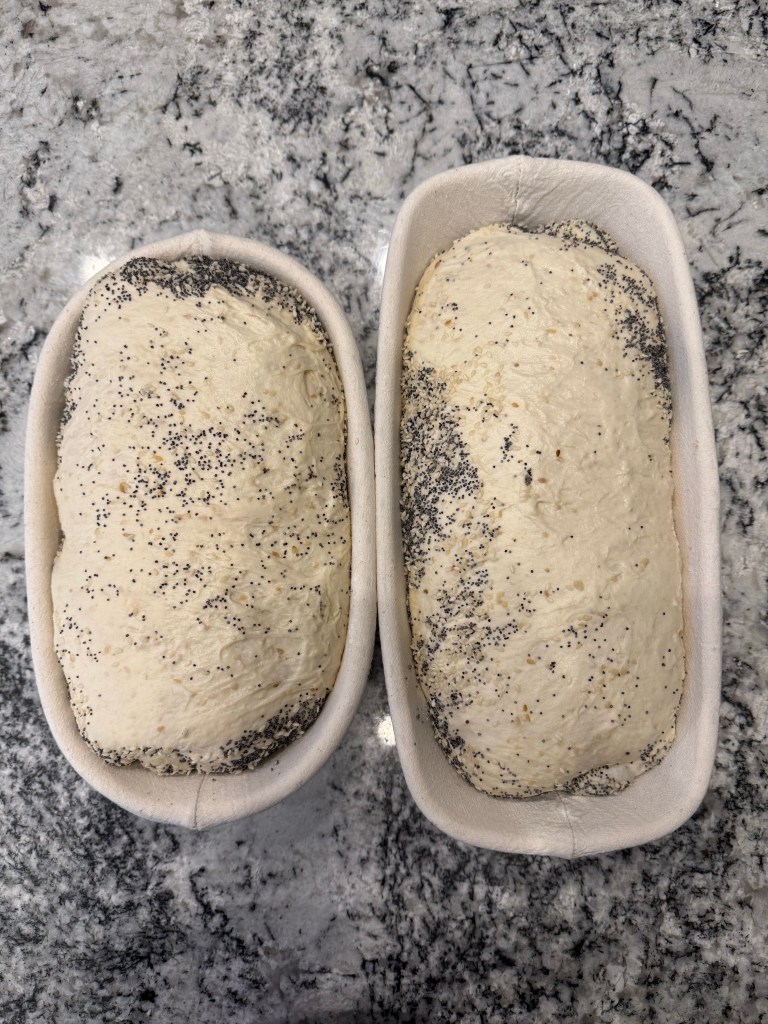
The rounds rested for 30 minutes before their final shaping. Before putting the dough into the bannetons I brushed each loaf with water and rolled them in a mix of sesame and poppy seeds.

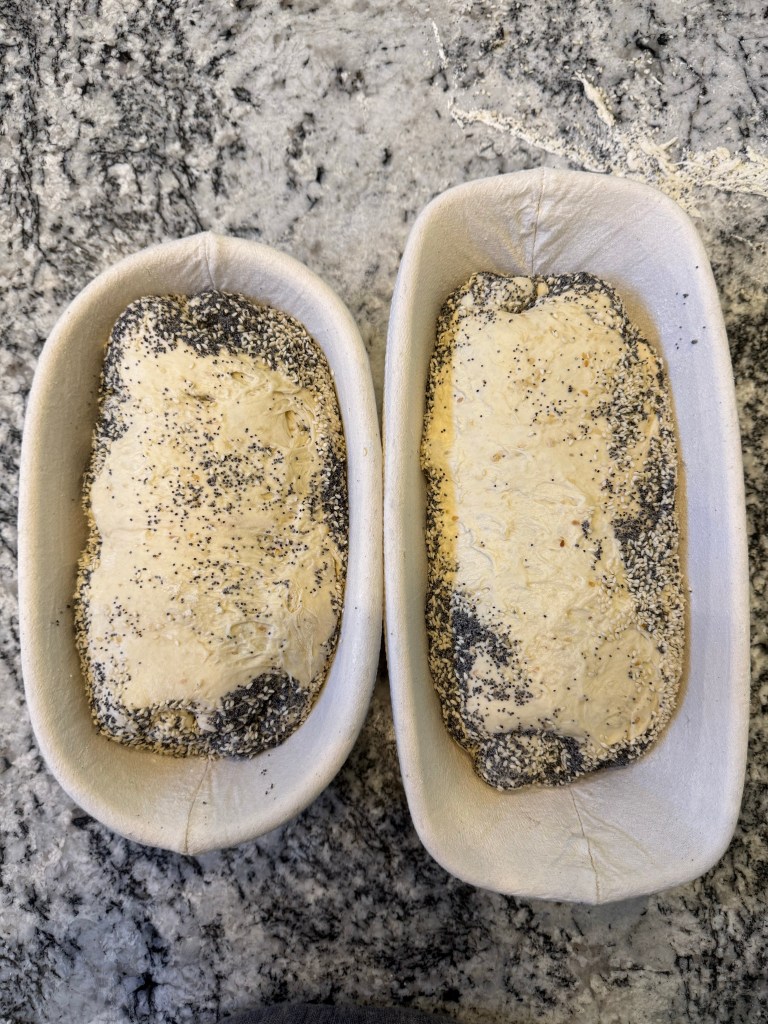
The dough rose for 2 hours. I was so pleased with how much rise I got during this time!
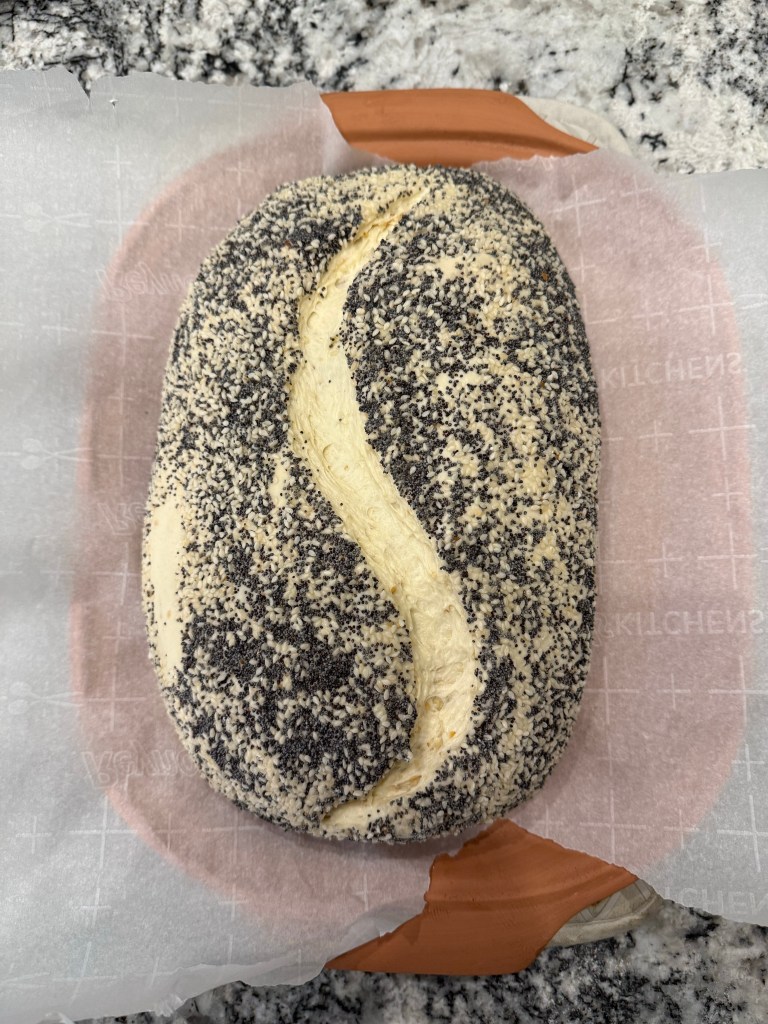
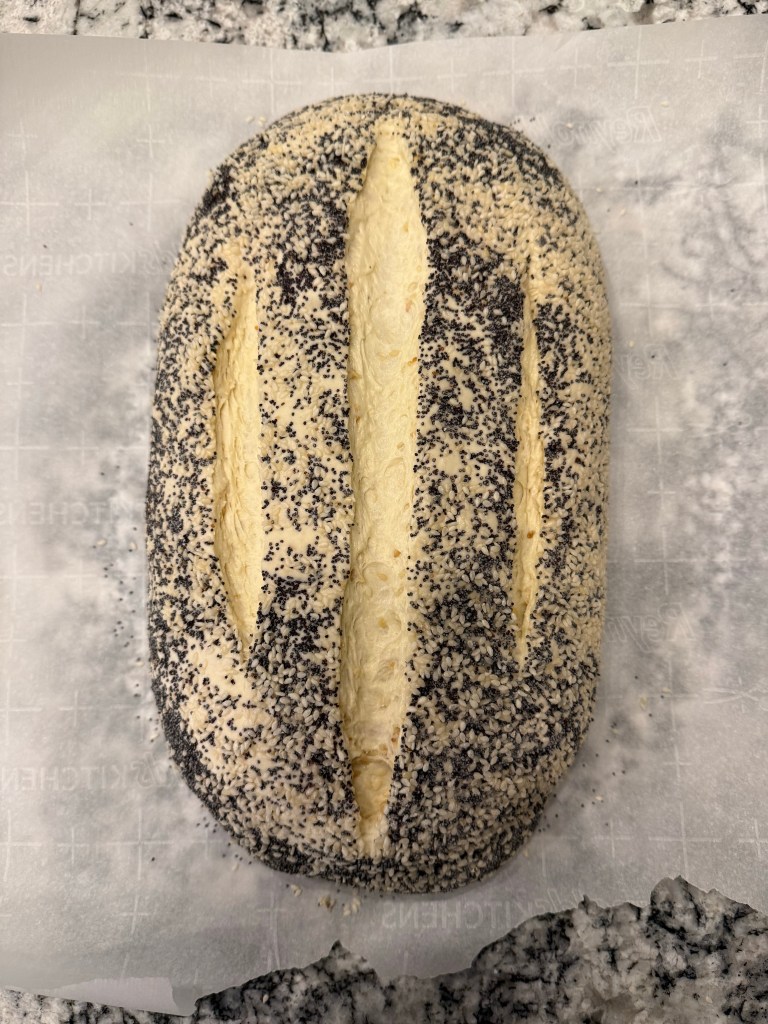
While the dough was rising I preheated my oven to 500 degrees Fahrenheit. Before baking I turned the dough out onto parchment paper and scored it.
I placed each loaf into a covered baker, put them in the oven, and reduced the temperature down to 475 degrees Fahrenheit. I took the lids off 15 minutes into the bake, then let the loaves bake for another 30 minutes.
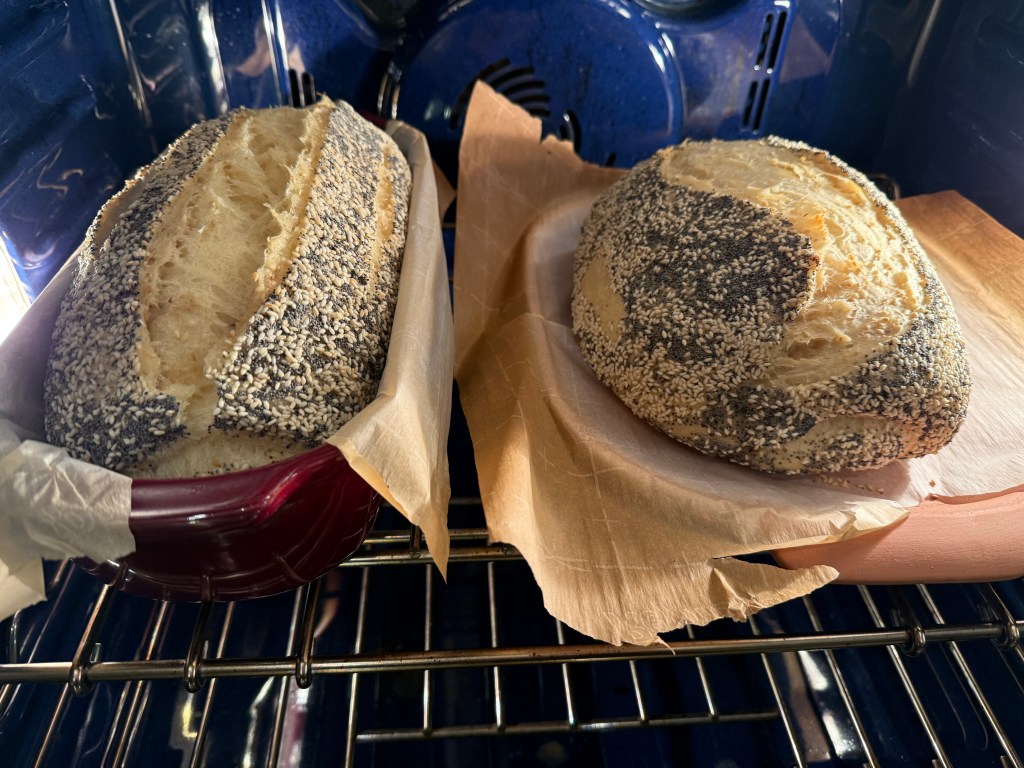
When I pulled these loaves out of the oven I was amazed at how beautiful they are! The seeded crust is just so gorgeous!
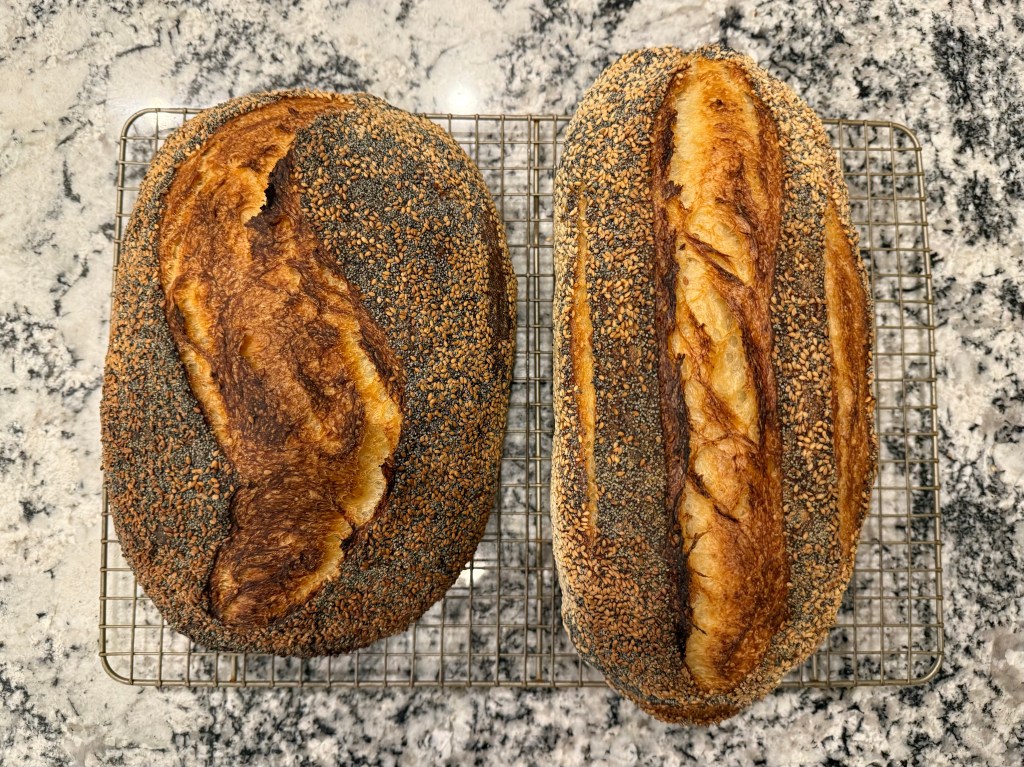
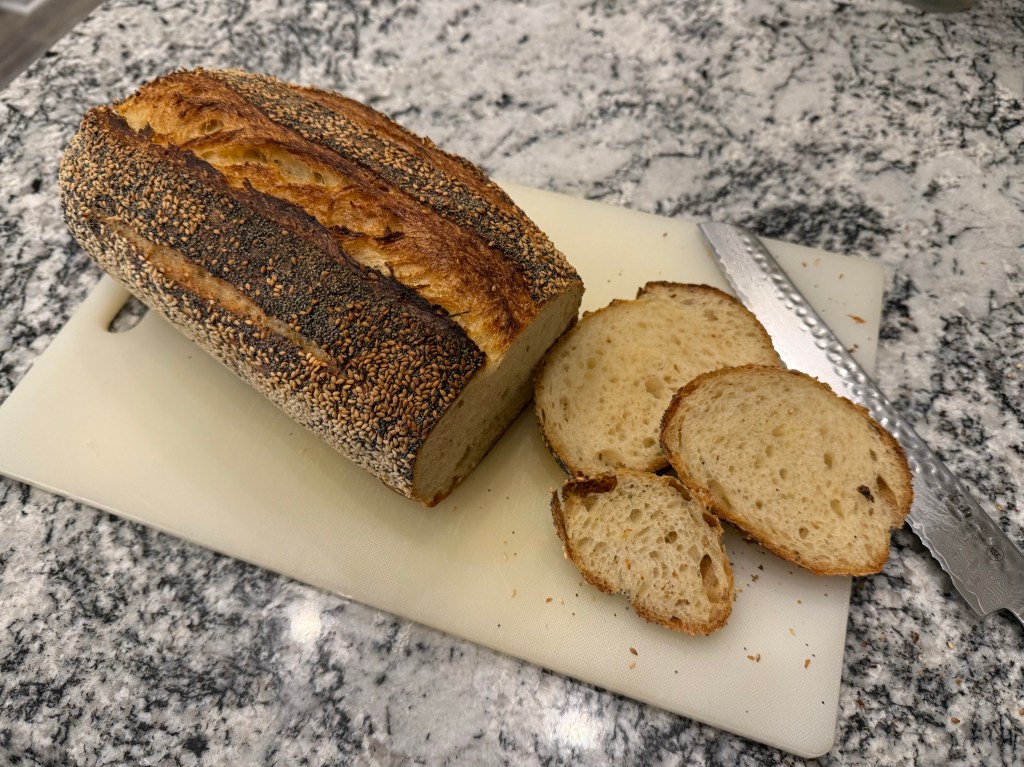
I am so pleased with how this bread turned out! The bread is lightly sour, which is something I was aiming for with the warmer and shorter proofing. It has a fluffy grain with a combination of large and small holes. The seeds on the crust are a little overwhelming. I think this dough could also use some additional salt – maybe 2.5% instead of 2% to help stand up to the nutty flavors.
I can see a definite improvement in the rise of these loaves compared to my usual sourdough. I think this is due to a combination of factors: 1) the warm proofing environment; 2) additional folds during the bulk ferment – I went around the bowl twice per instance instead of once; and 3) Better shaping technique, specifically around building lots of tension in the dough prior to placing it in the Banneton.
It’s only been a few days and we’ve already eaten more than half of the first loaf. It’s so yummy.
Until the next time: may your yeast always rise and your flour never run out.

One thought on “Semolina Sourdough: Perfecting My Technique”