As a kid I never really liked English Muffins. It turns out there’s a good reason for that: store-bought English Muffins are dry and don’t have much flavor (this is true of most commercially-available bread). It also turns out that homemade English Muffins are moist, tender, and full of flavor. The flavor is even better when sourdough starter is incorporated. Also, did you know that incorporating sourdough into your dough helps the finished bread keep longer on the counter without staling or molding?
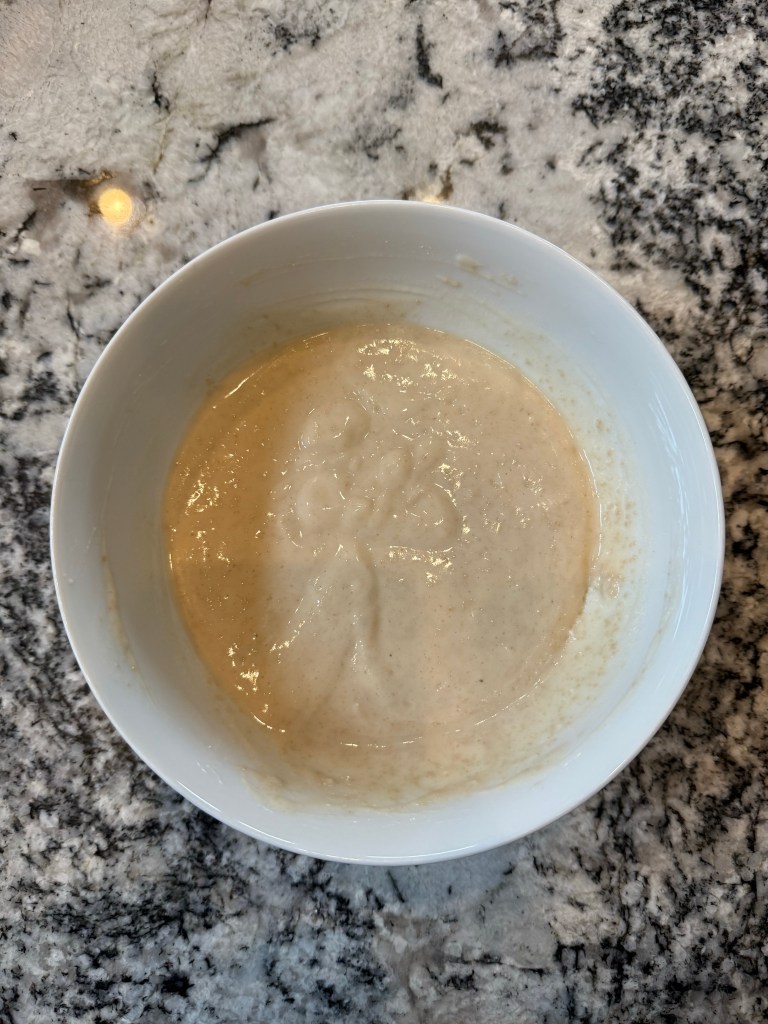
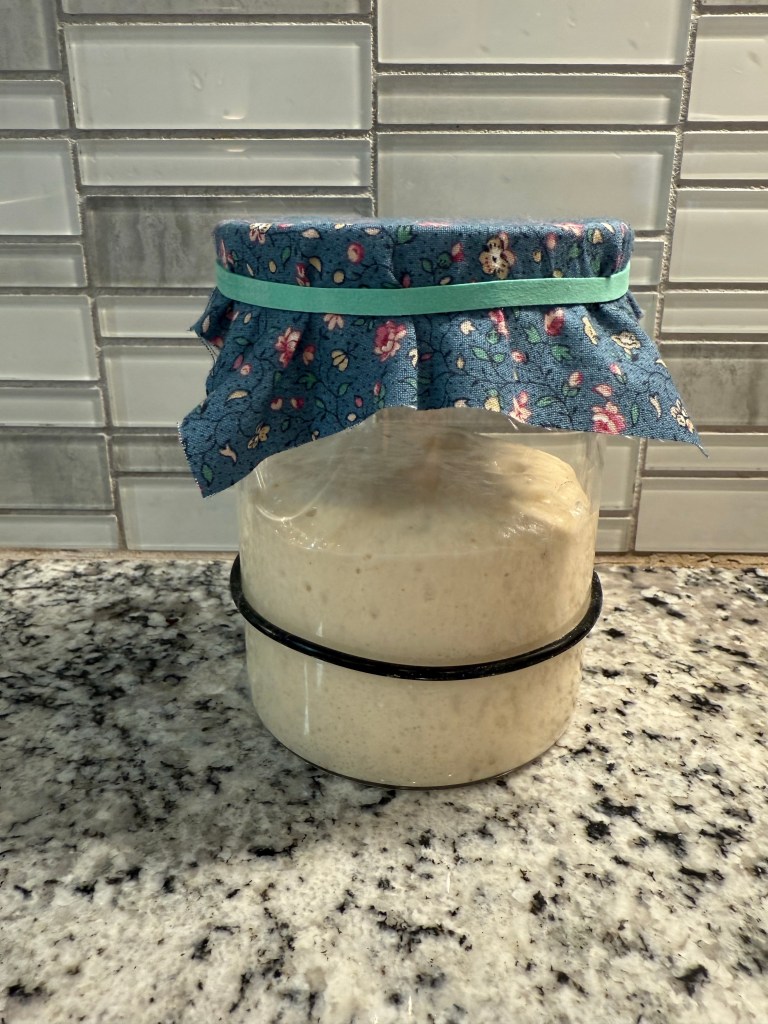
As with most Sourdough recipes, I started by feeding my starter the night before (I used my Alaska Frontier starter for this bake). In the morning the level of the starter had doubled.
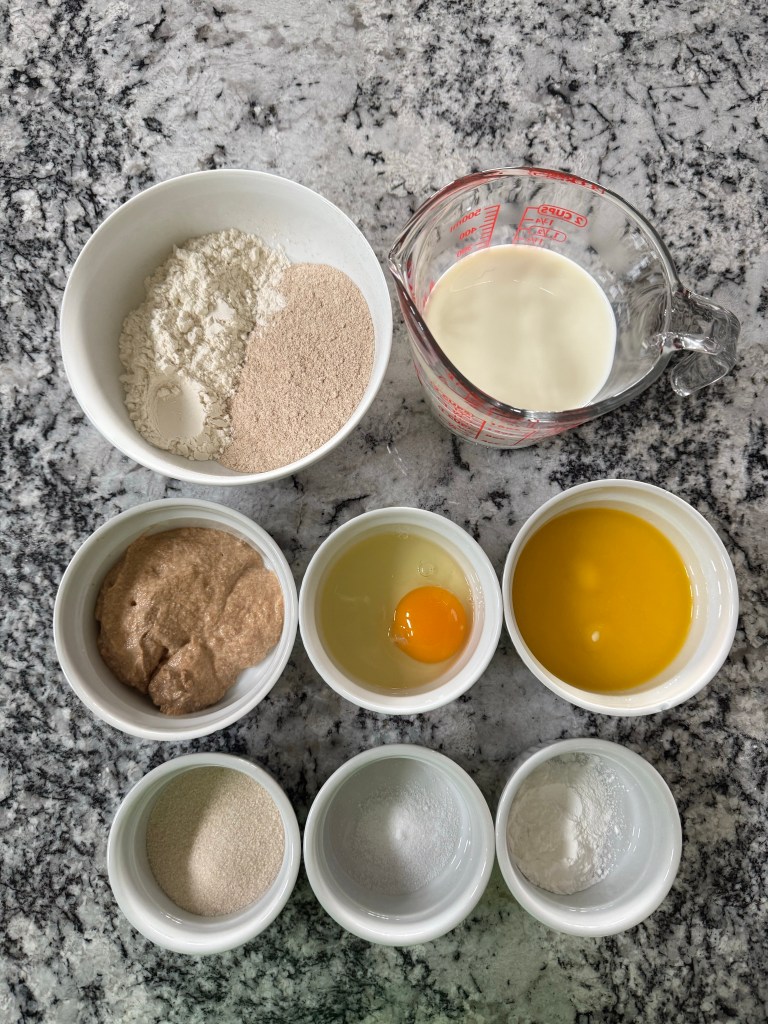
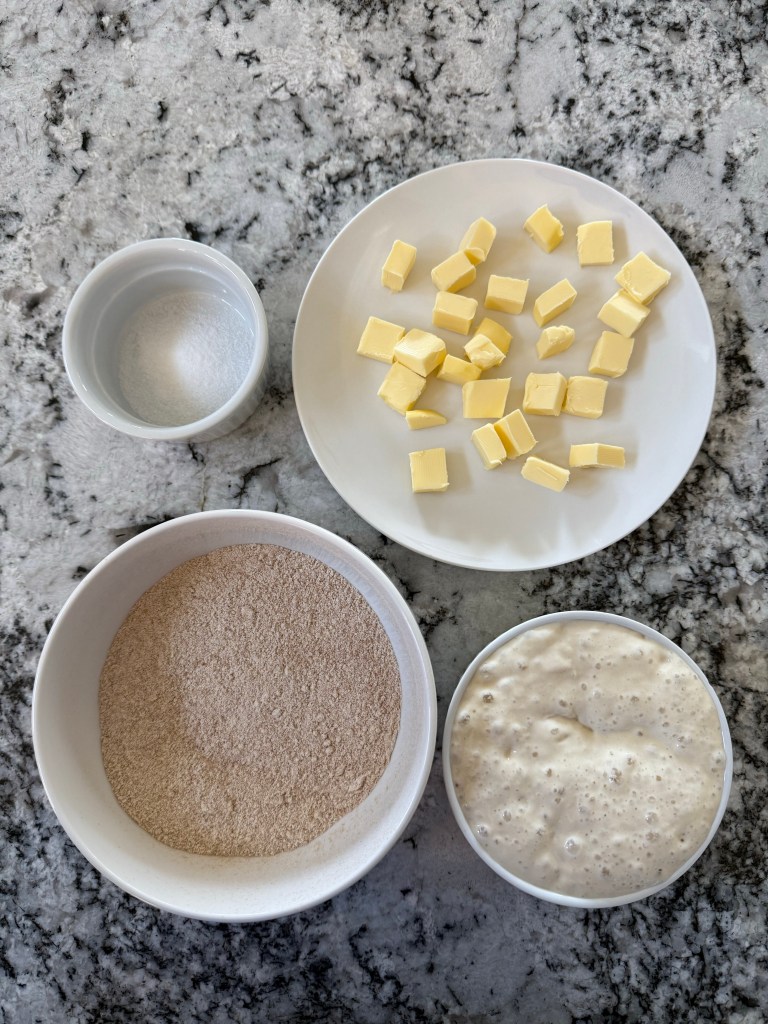
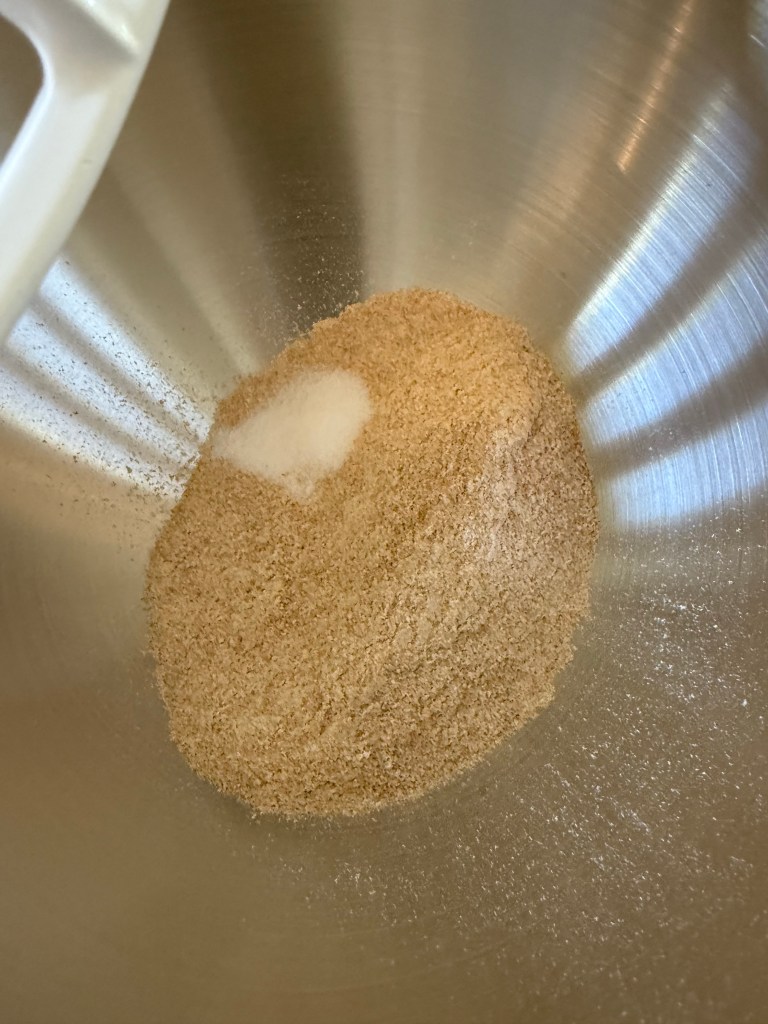
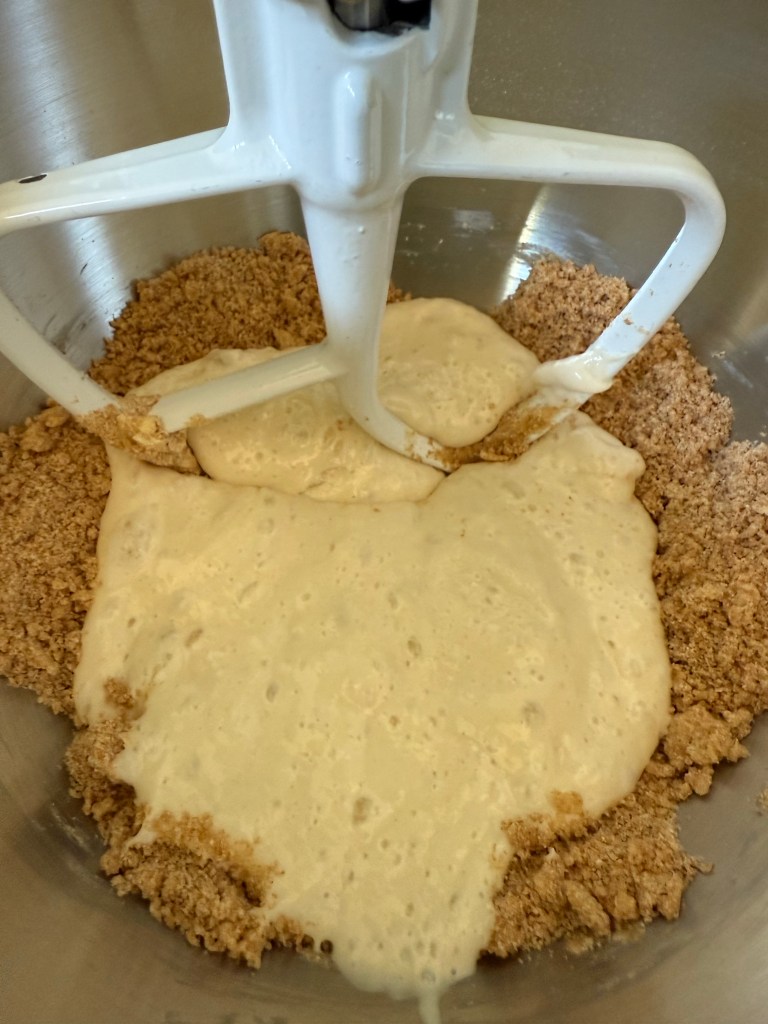
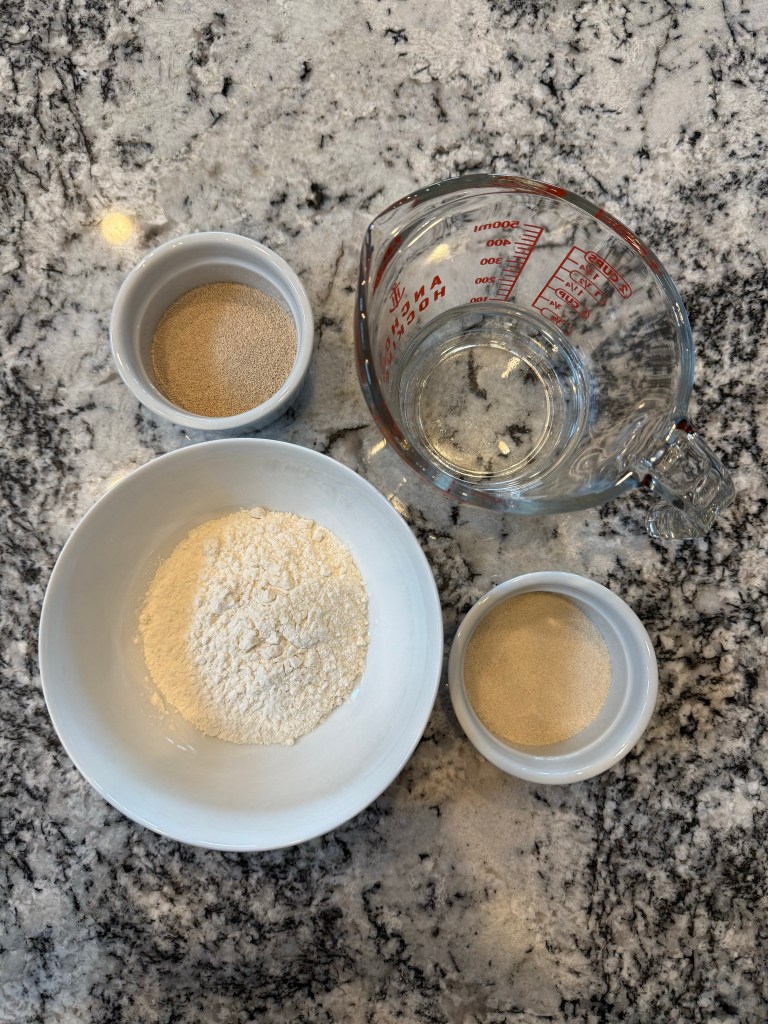
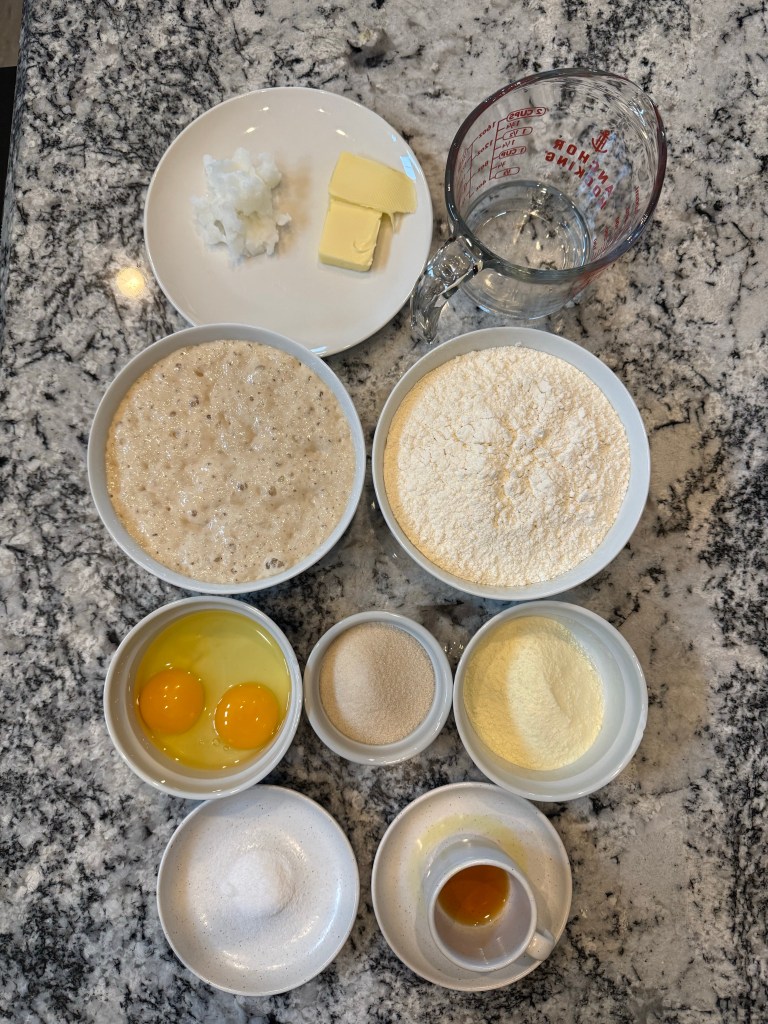
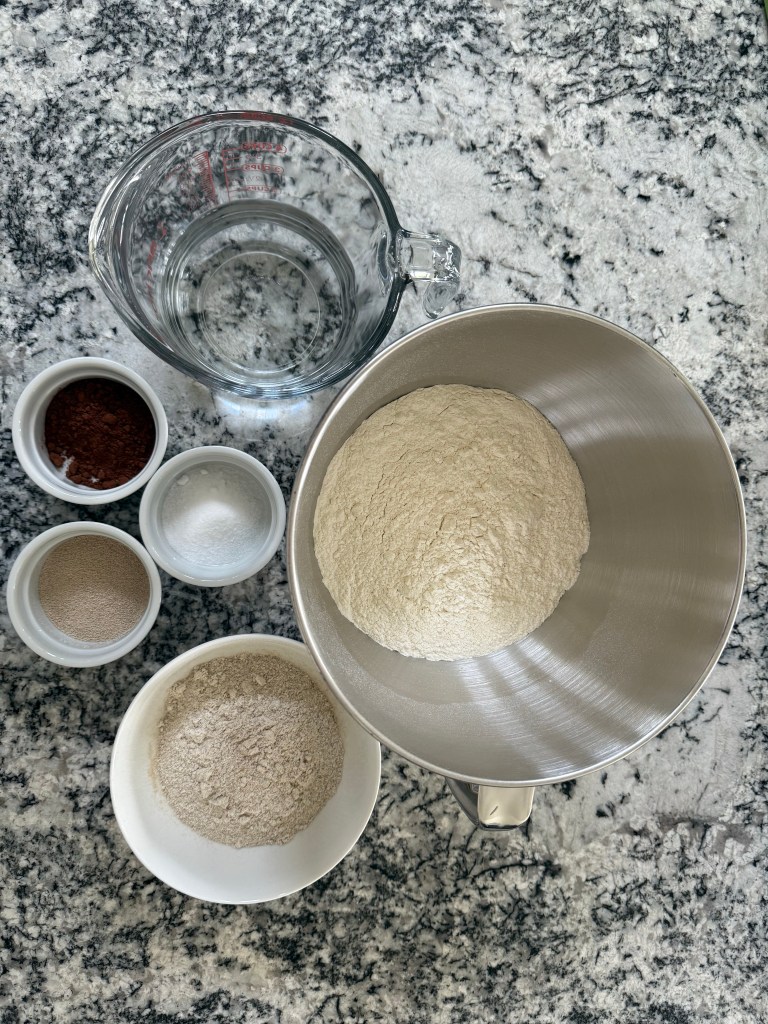
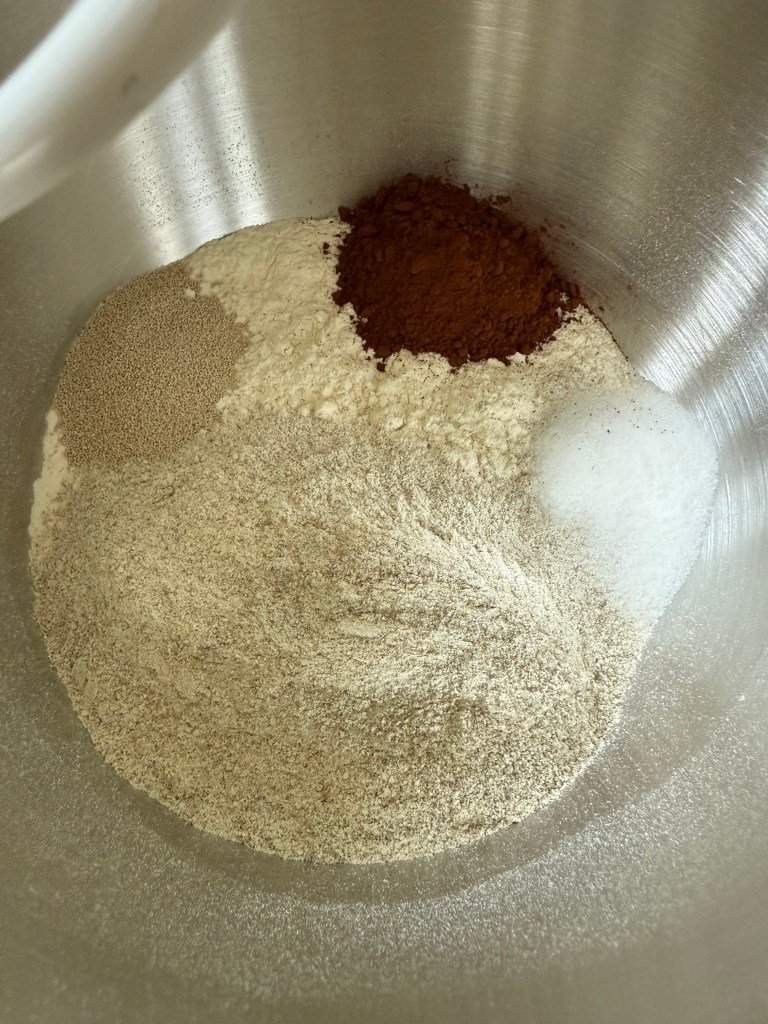
I gathered my mise en place:
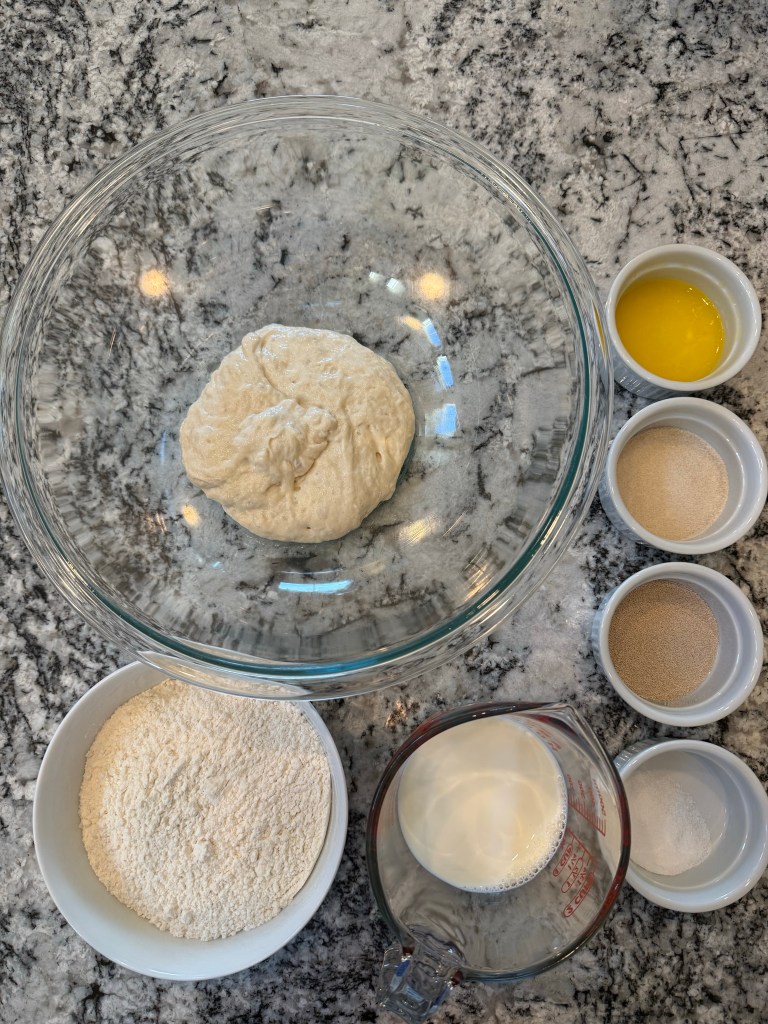
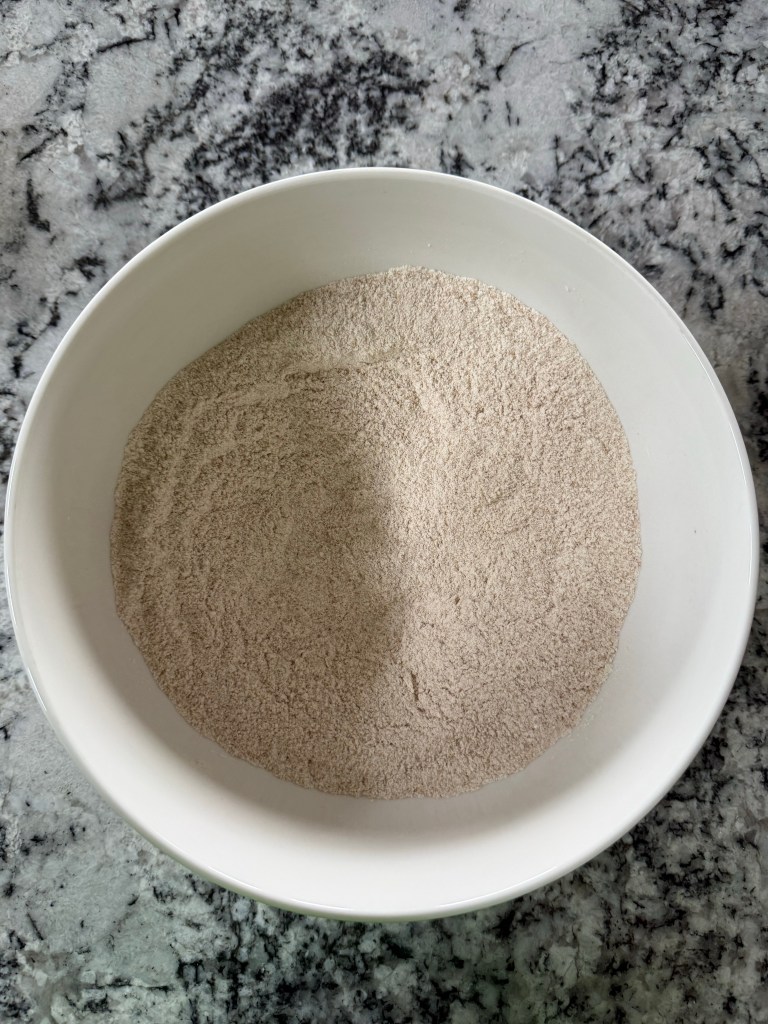
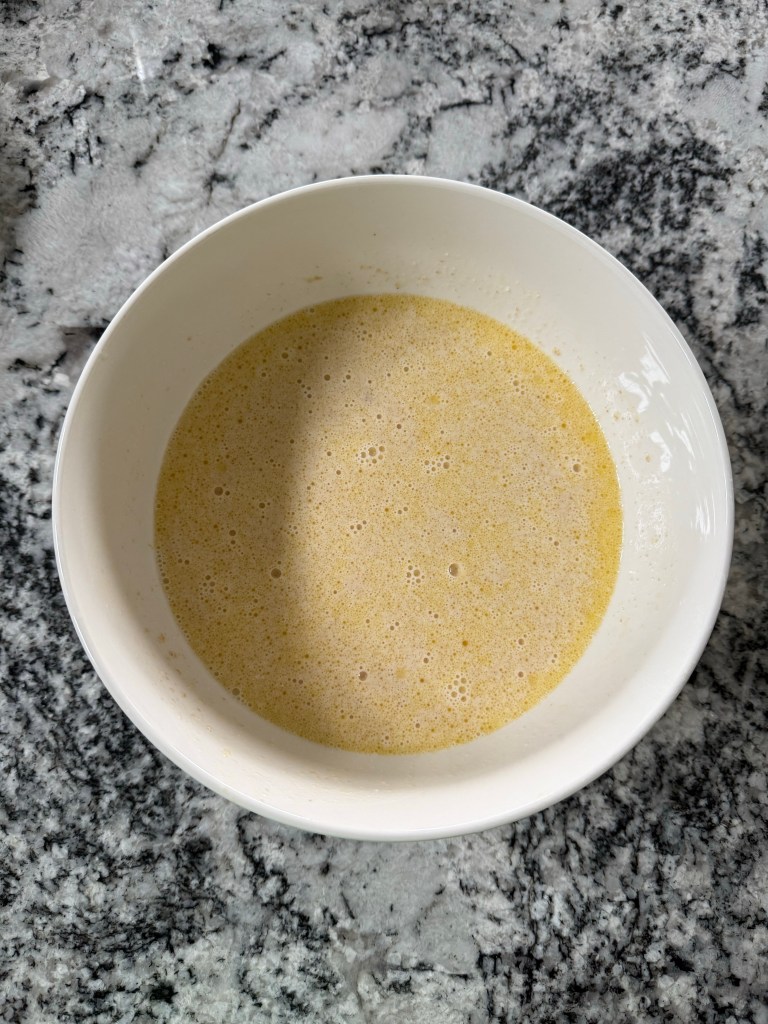
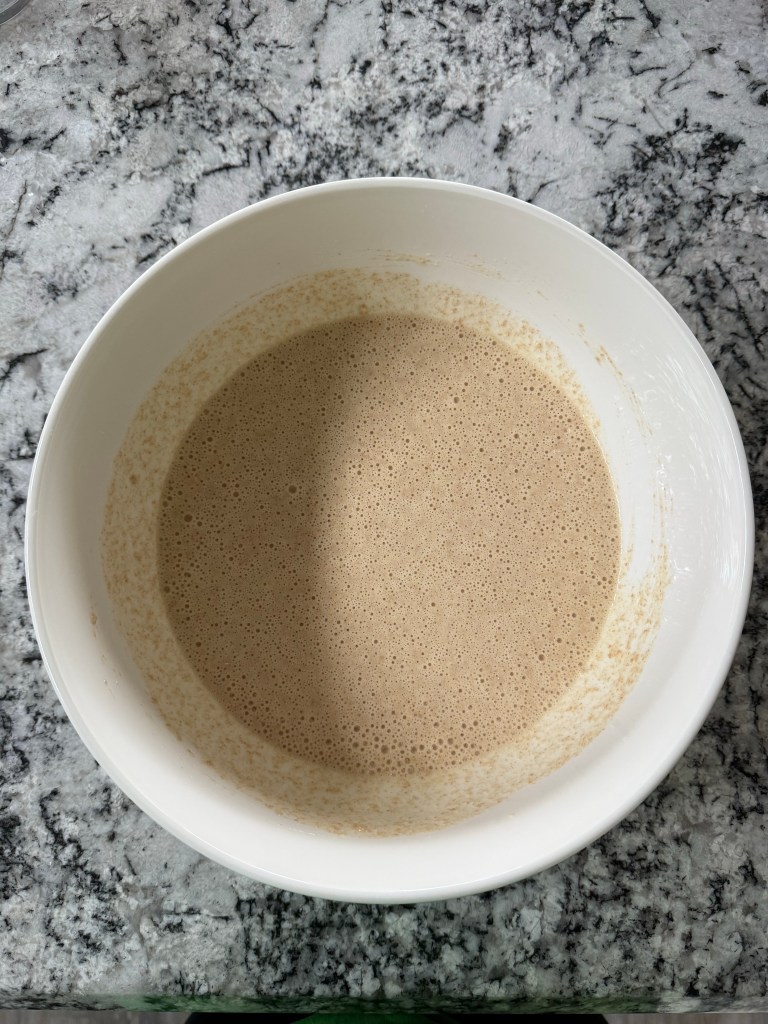
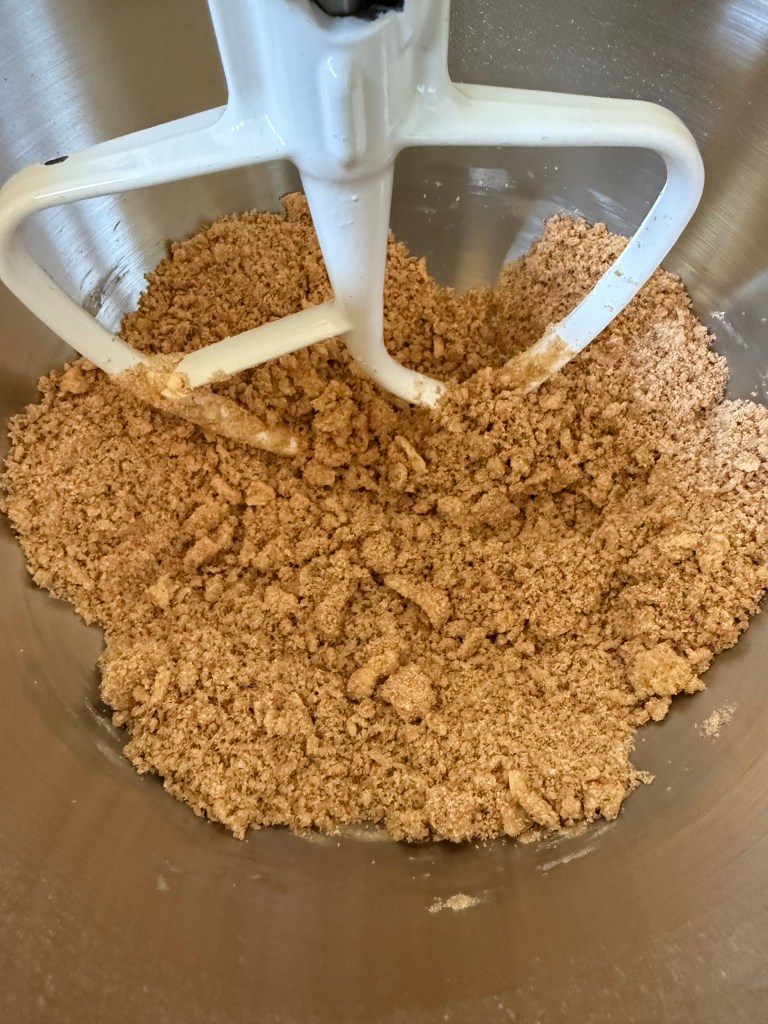
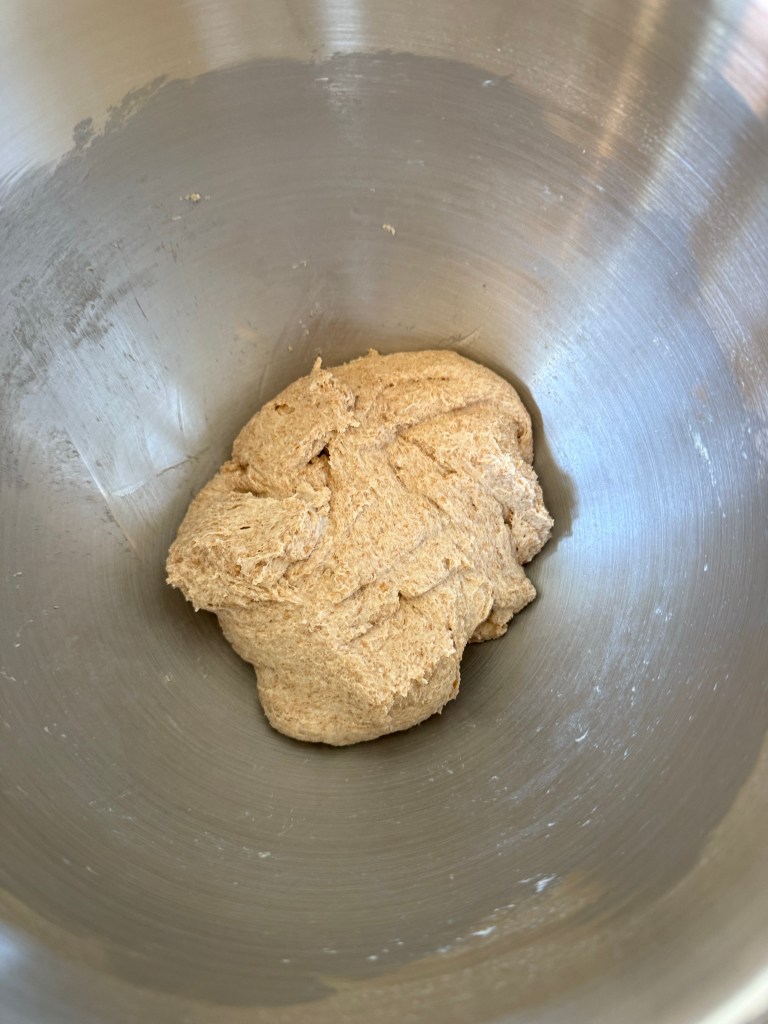
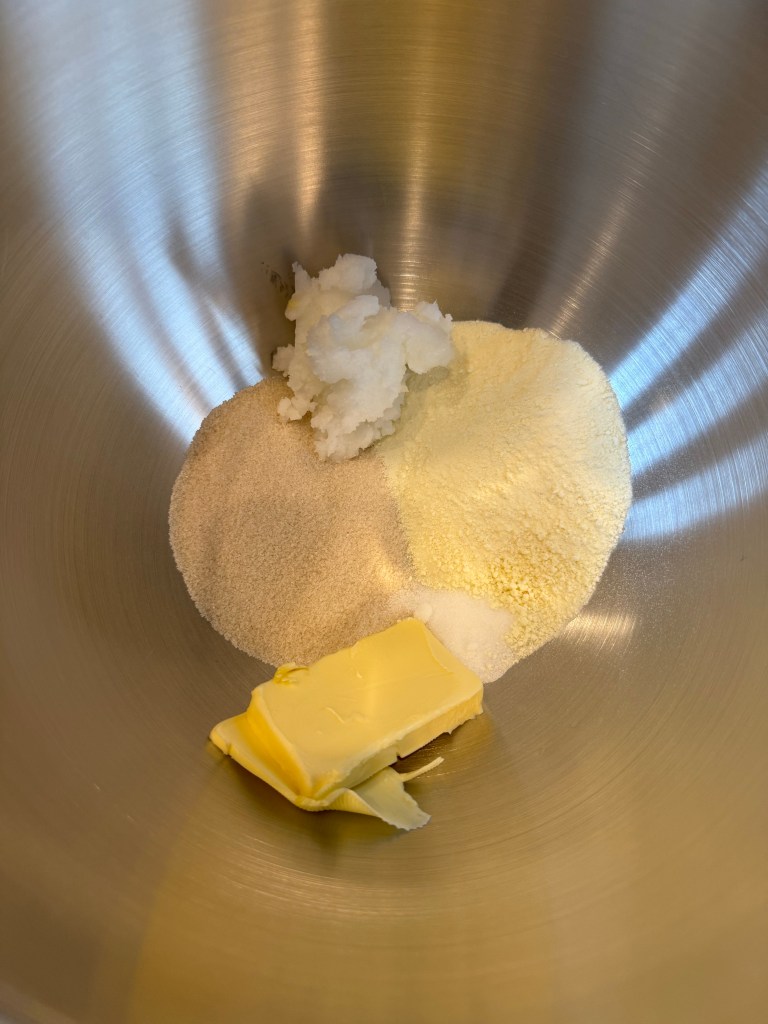
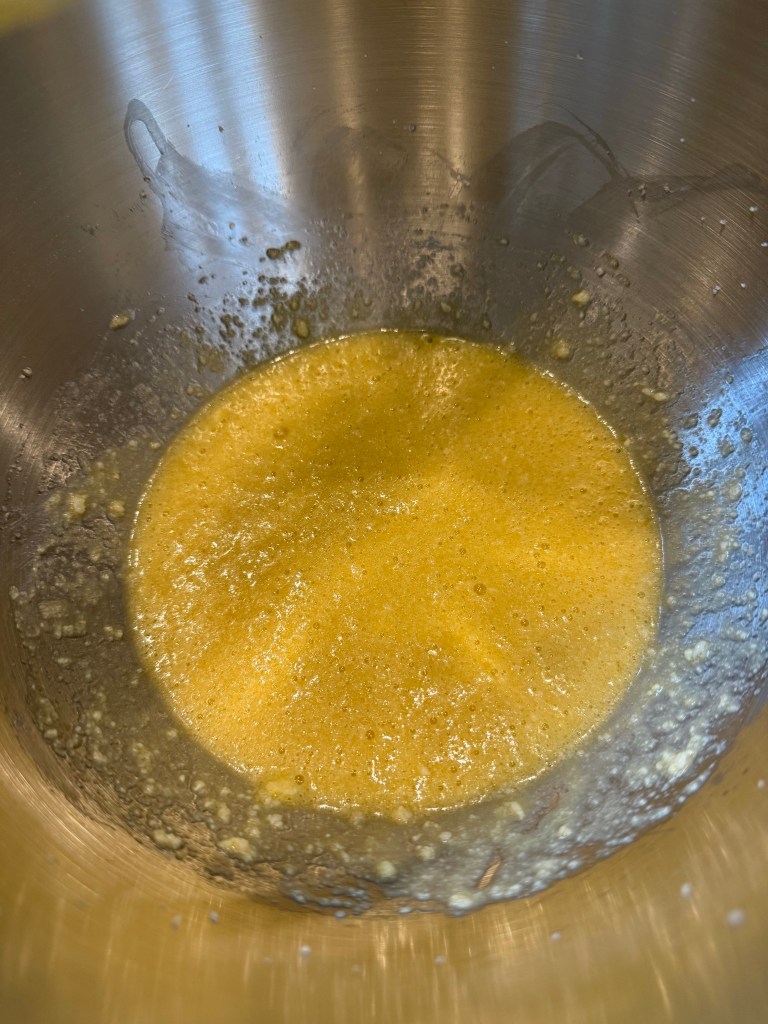
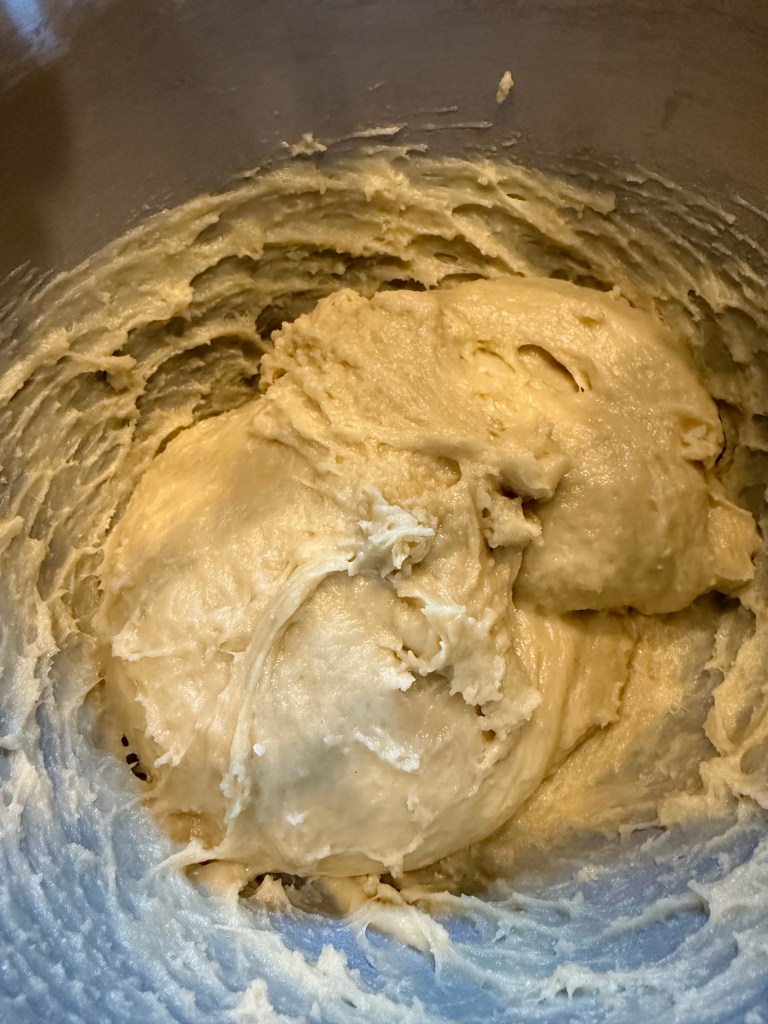
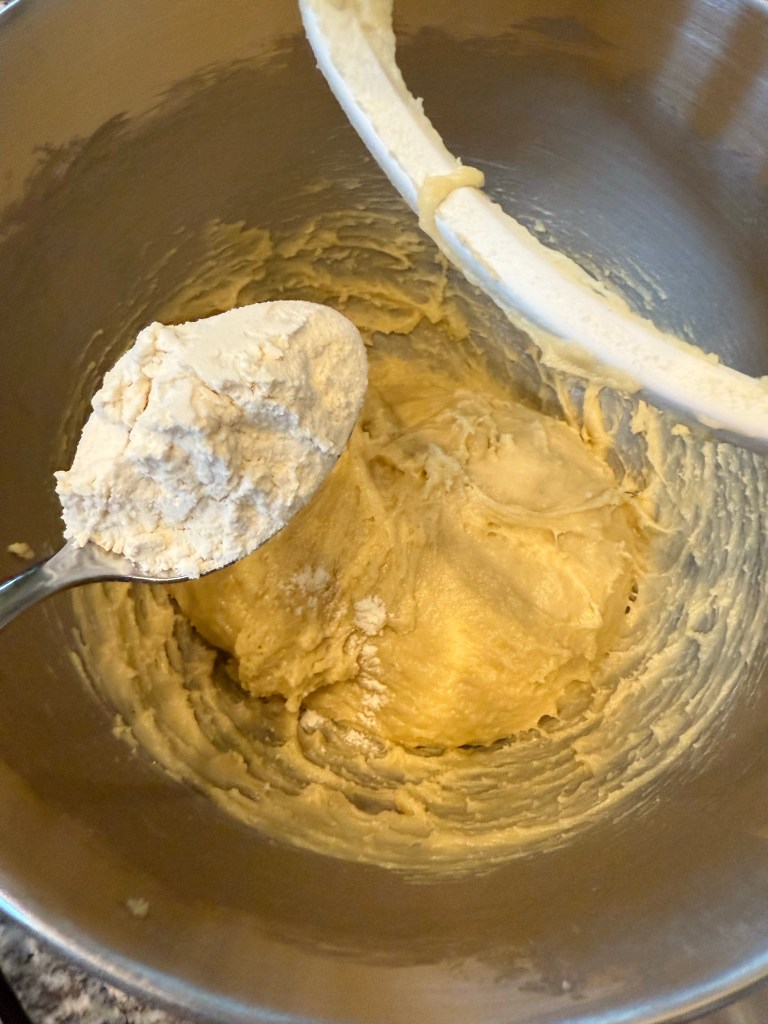
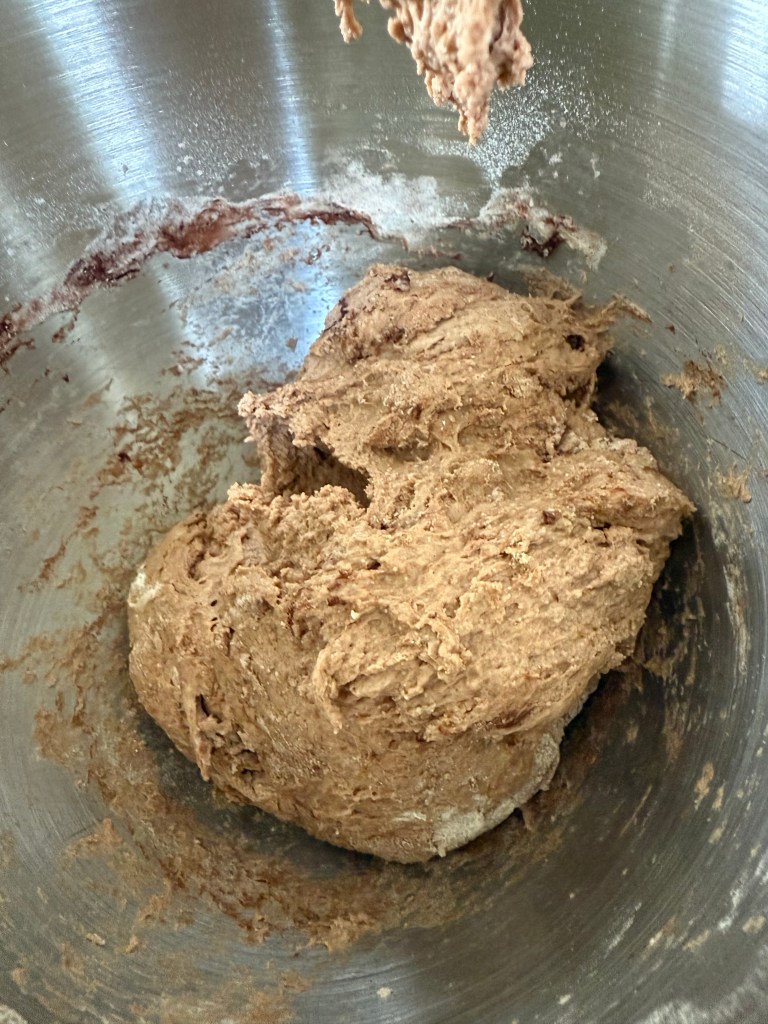
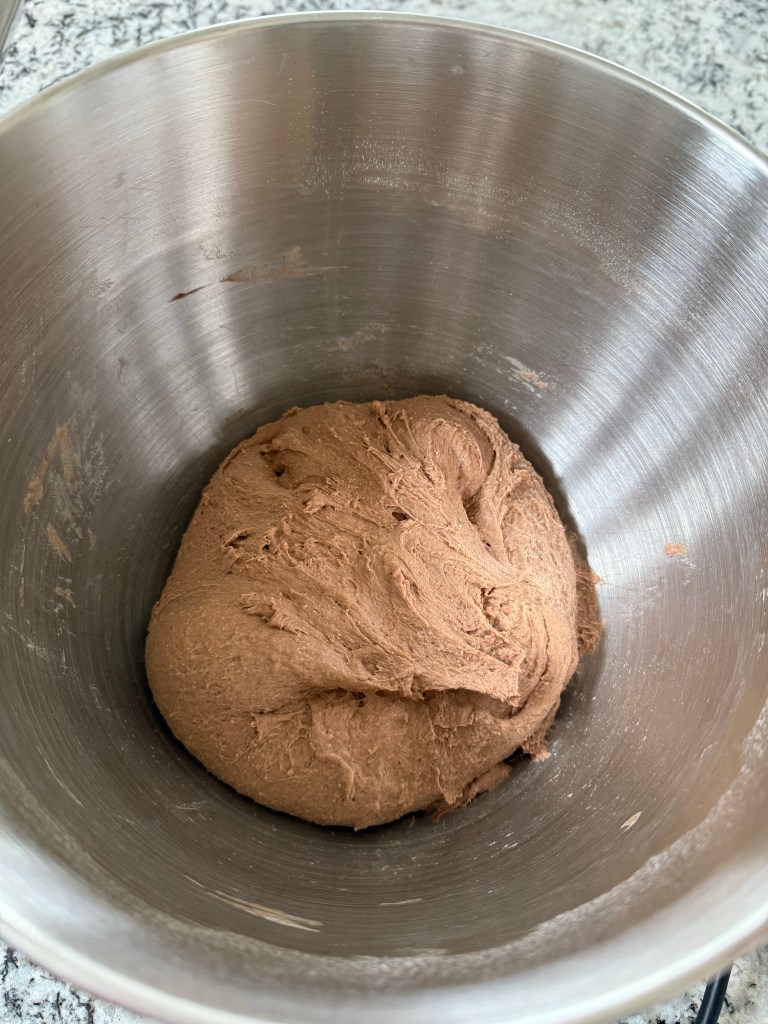
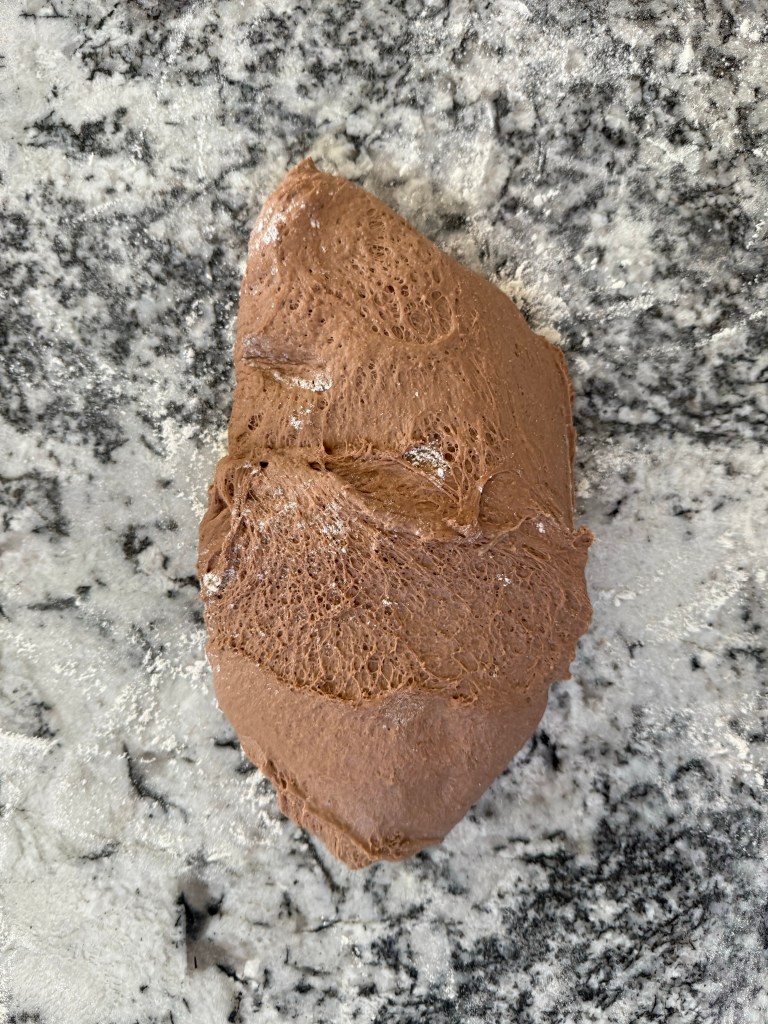
The mixing was very easy as I just combined all the ingredients and mixed by hand until everything was thoroughly incorporated.
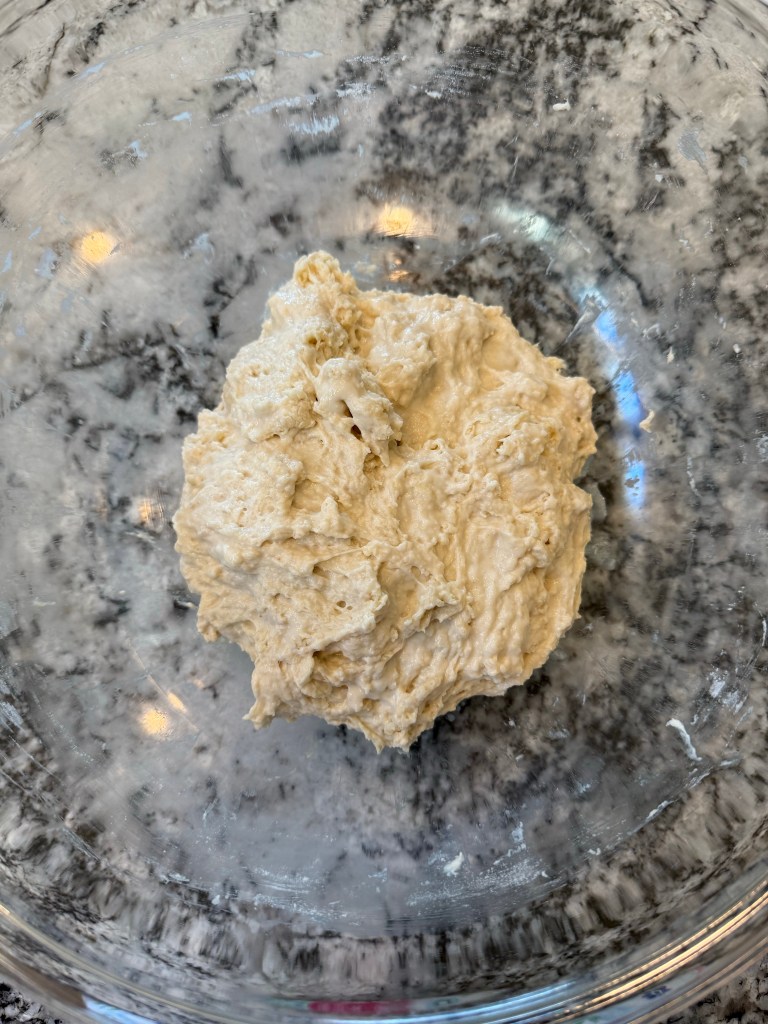
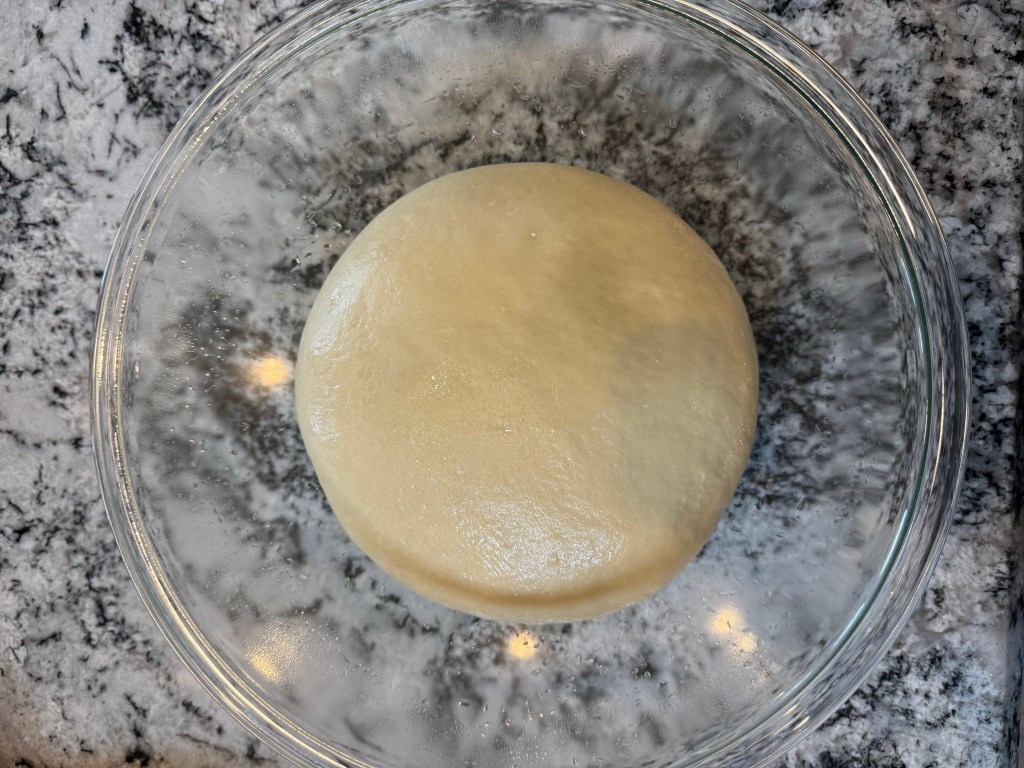
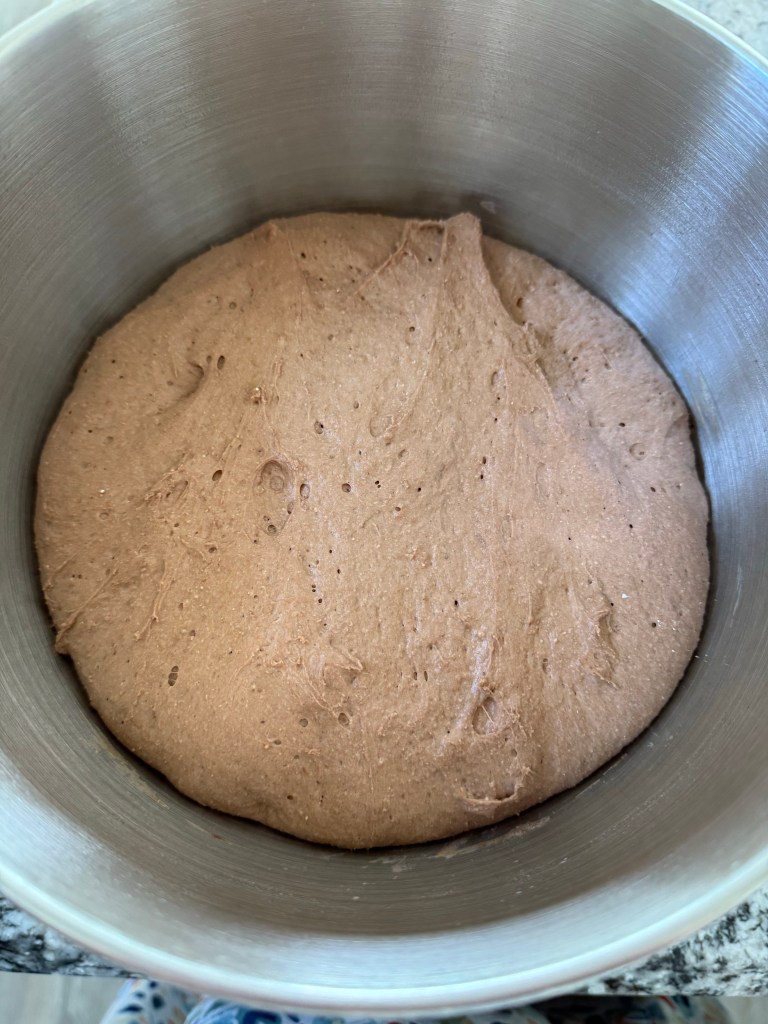
I let the dough rise for 1 hour.

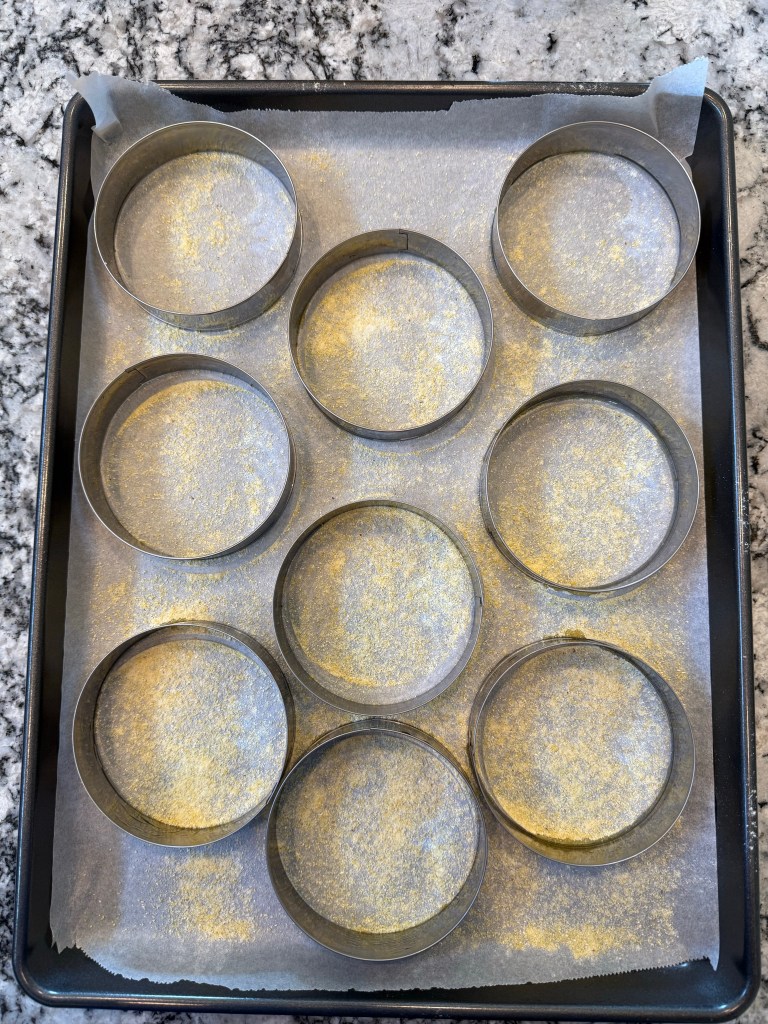
This next step is the part that separates English Muffins from a sandwich loaf. I greased 9 English Muffin rings and sprinkled cornmeal on a baking sheet.
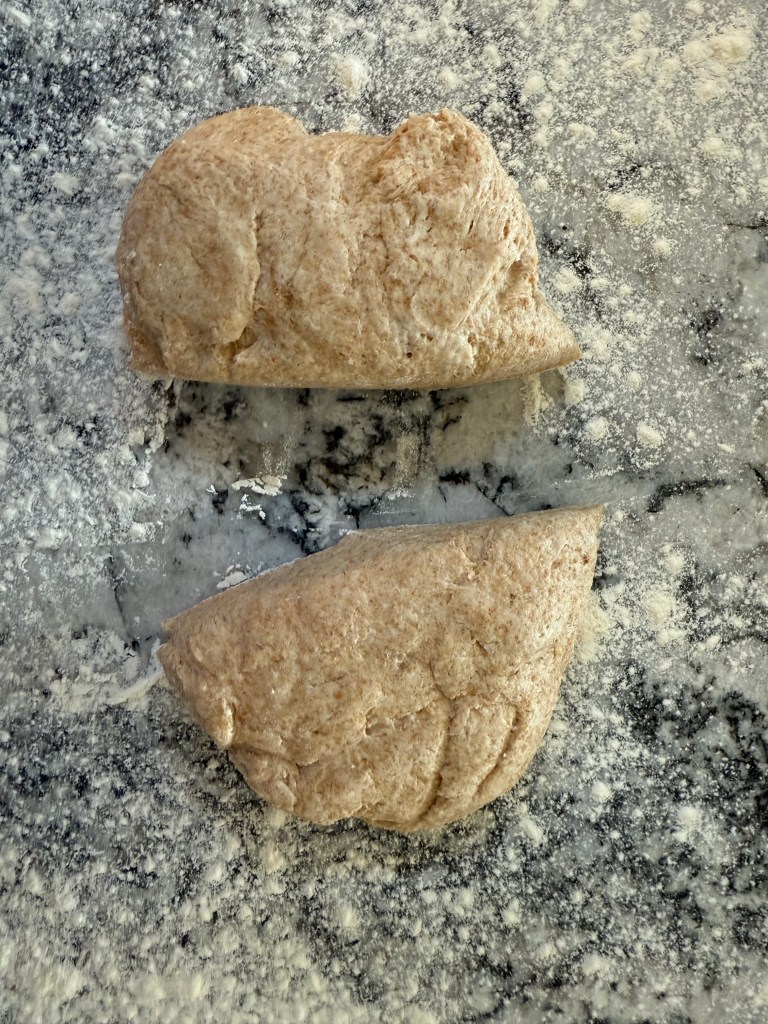
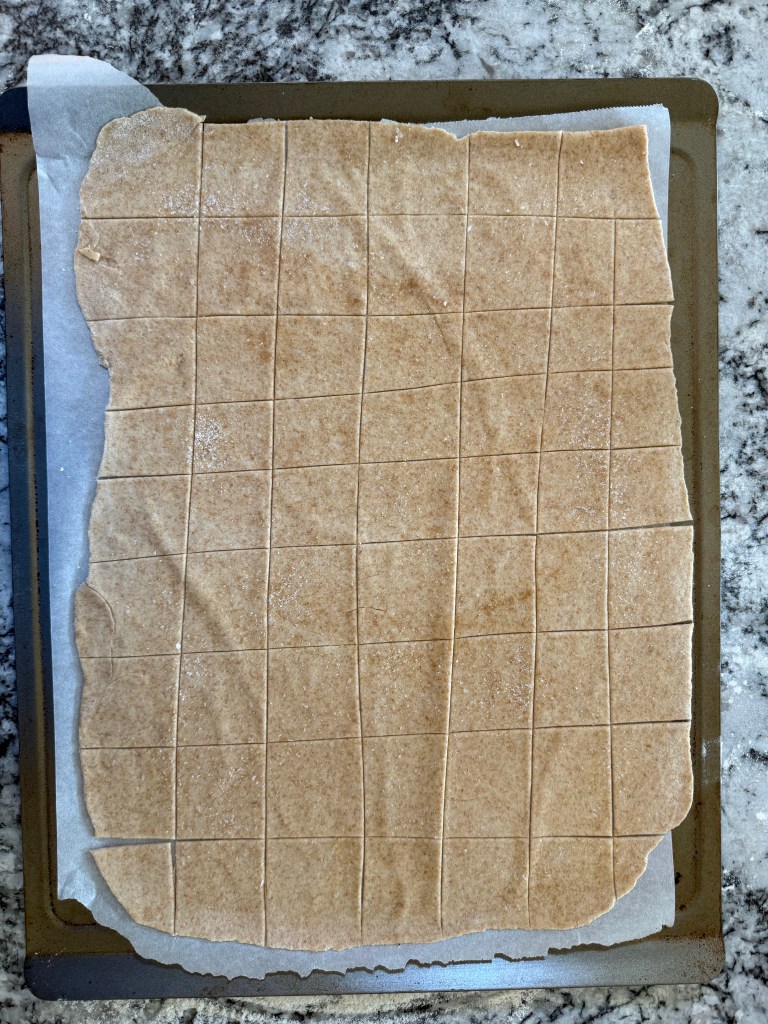
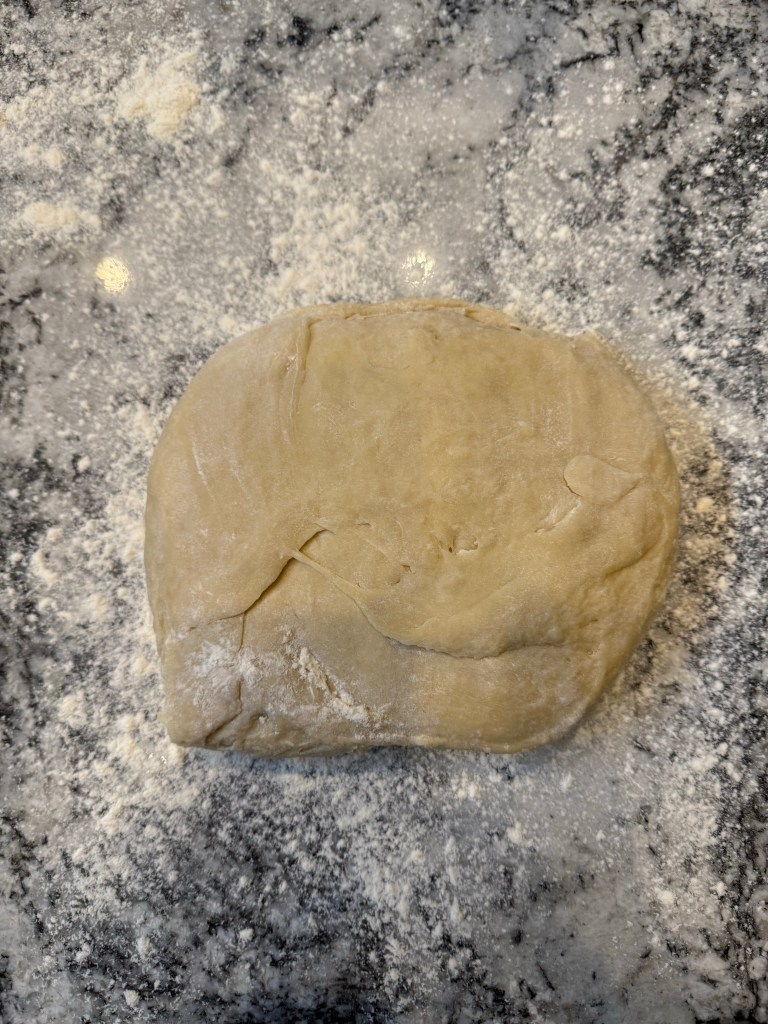
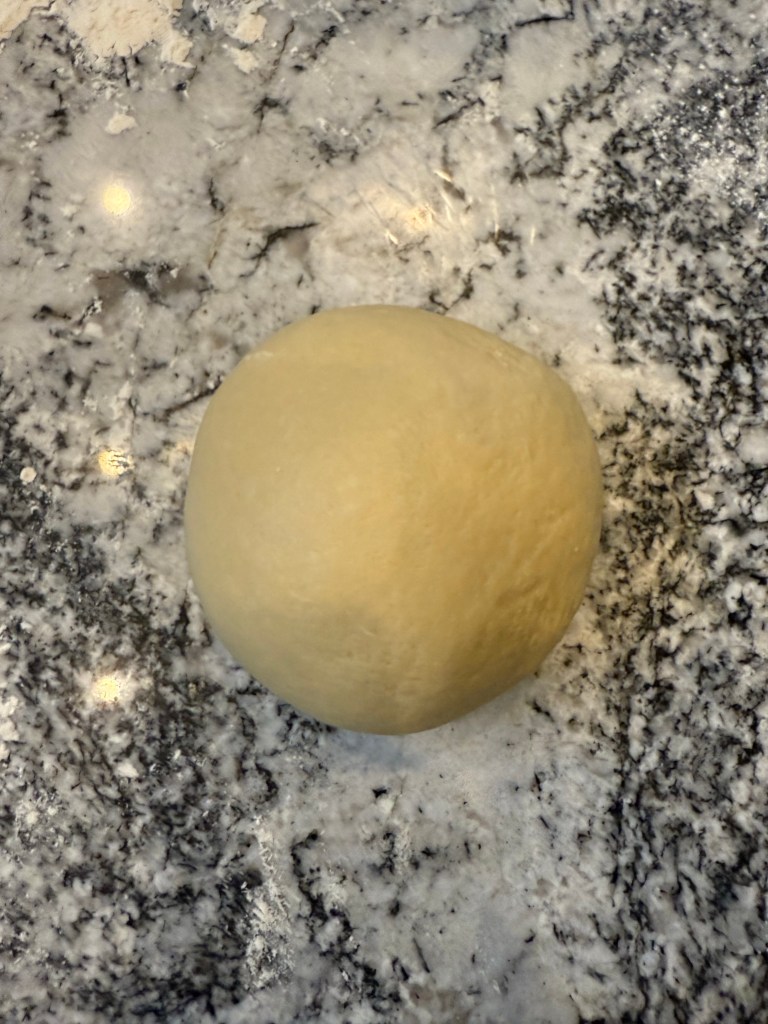
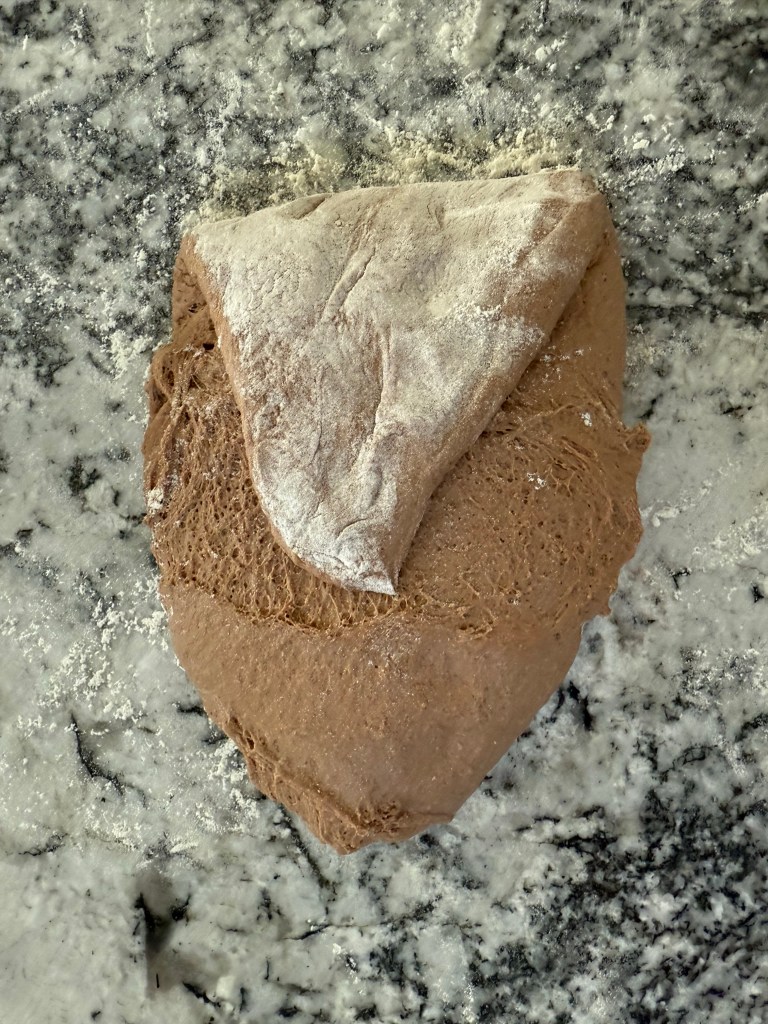
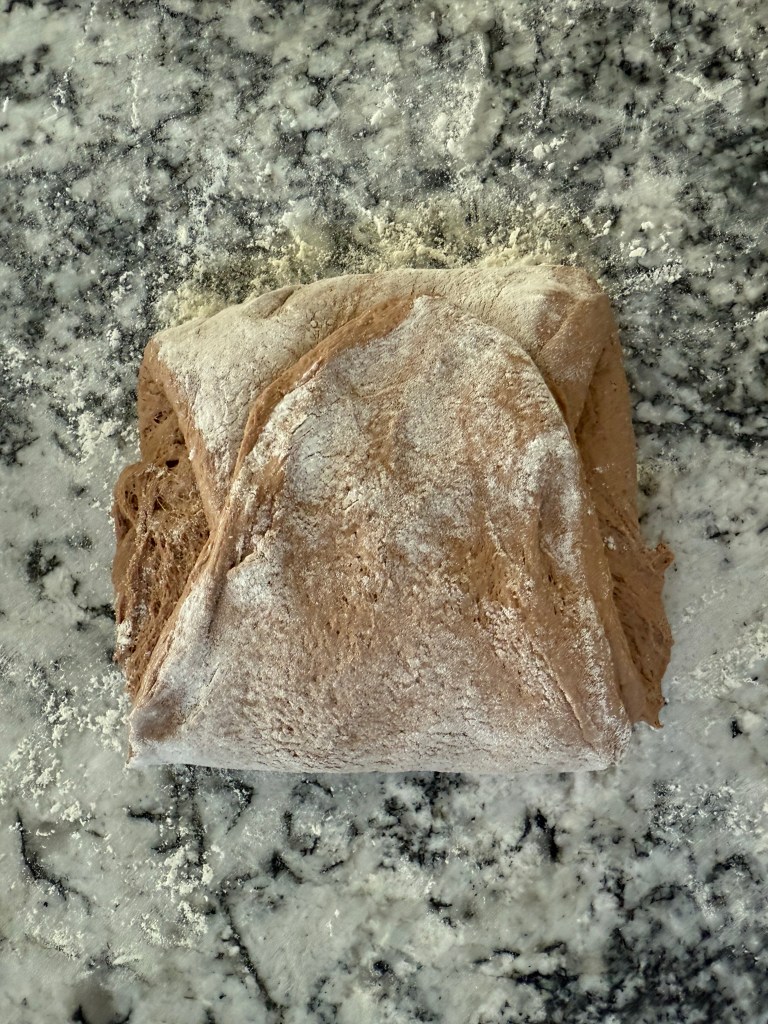
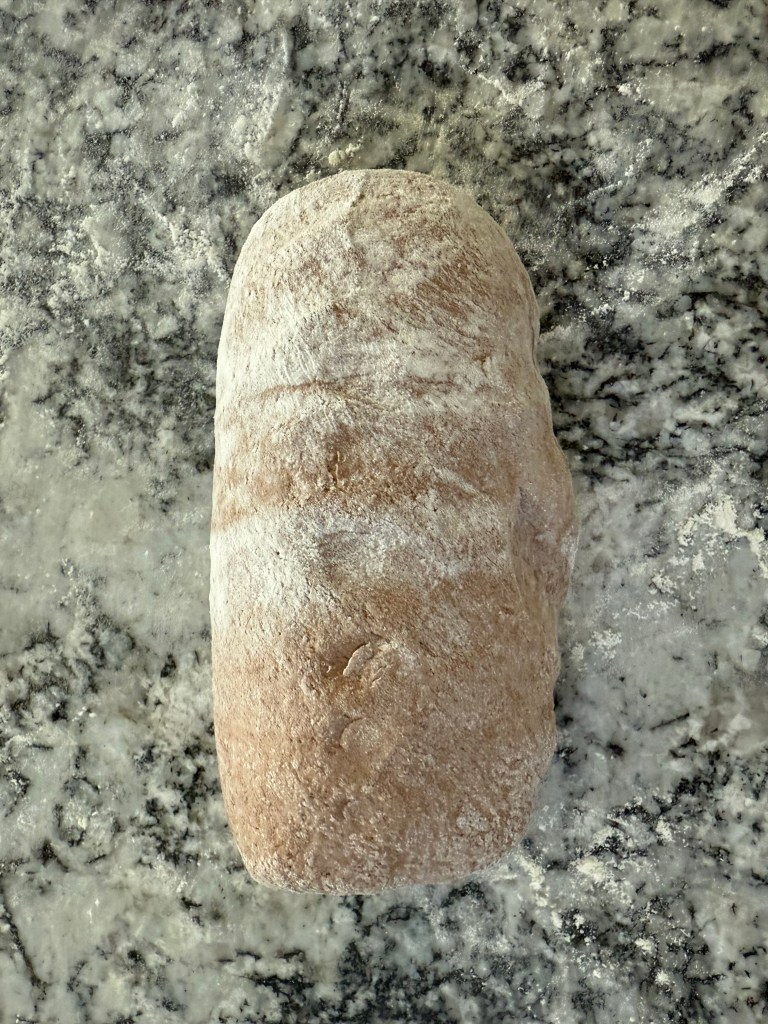
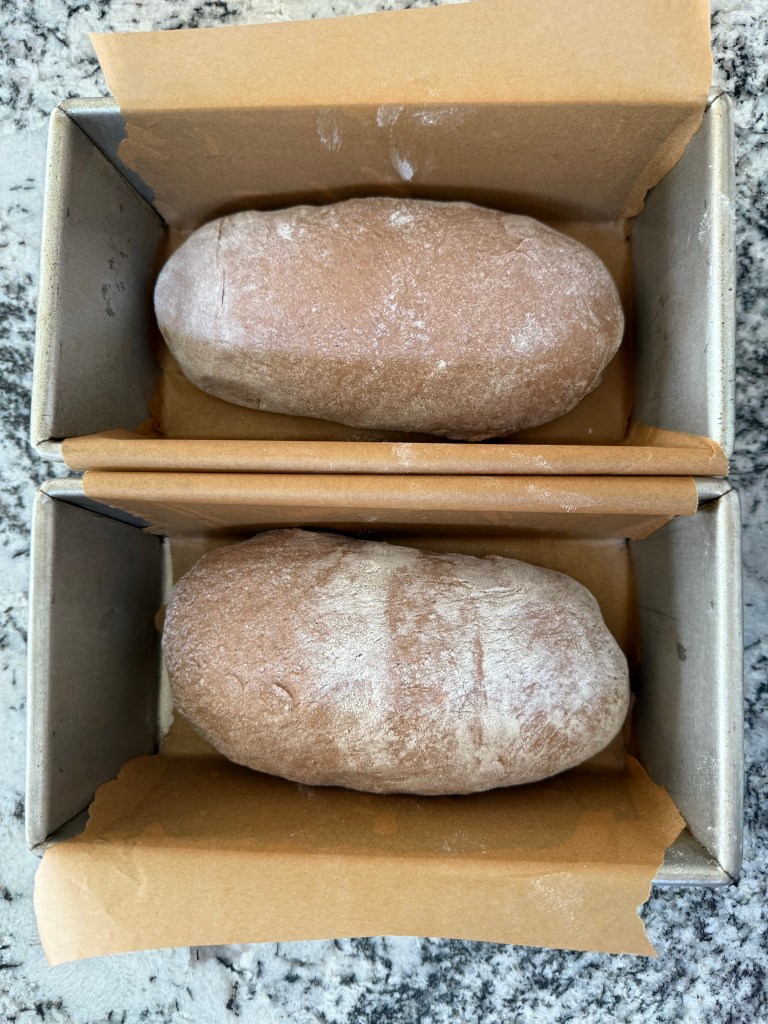
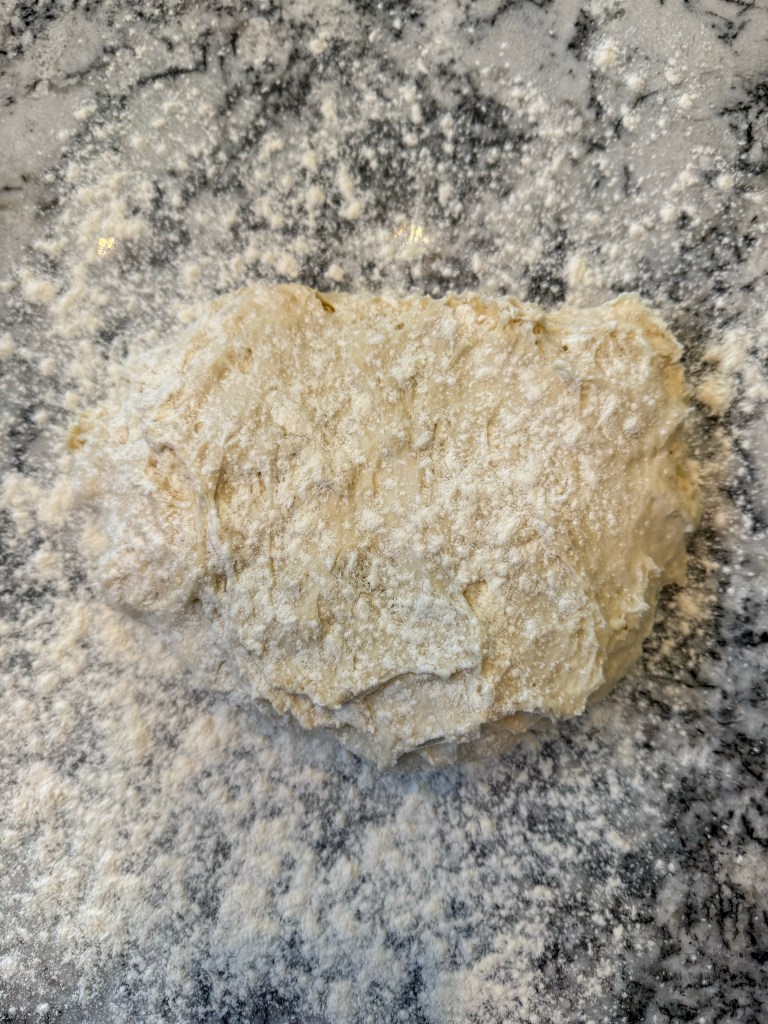
Then I turned the dough out onto a floured counter and divided it into 9 pieces.

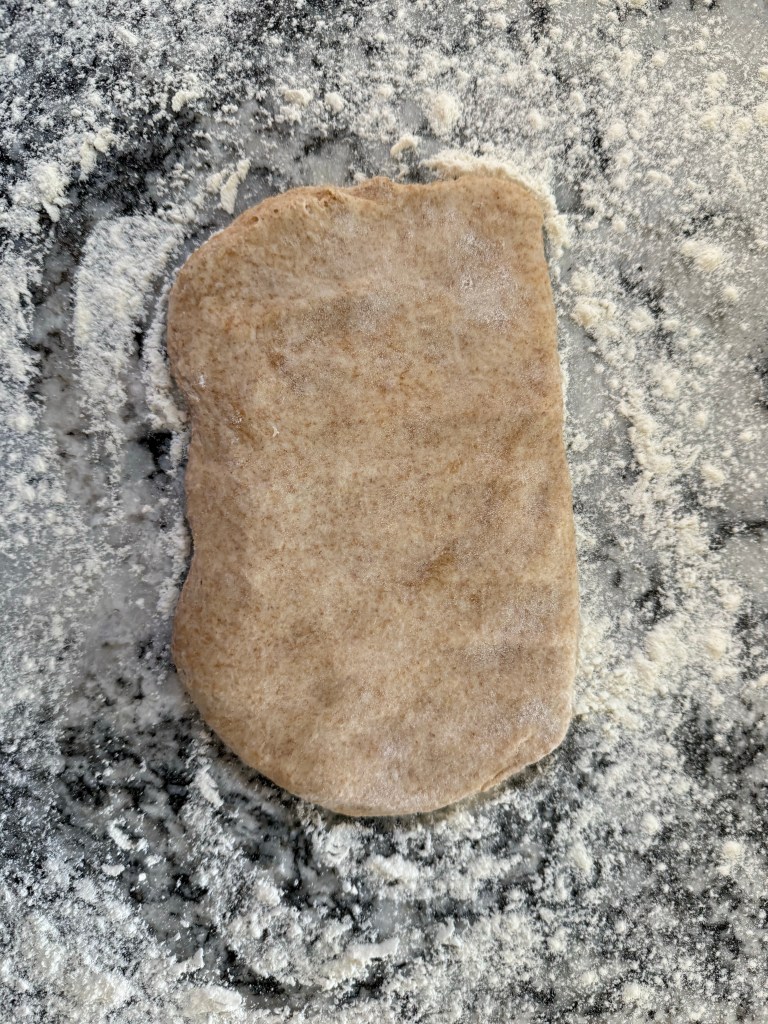
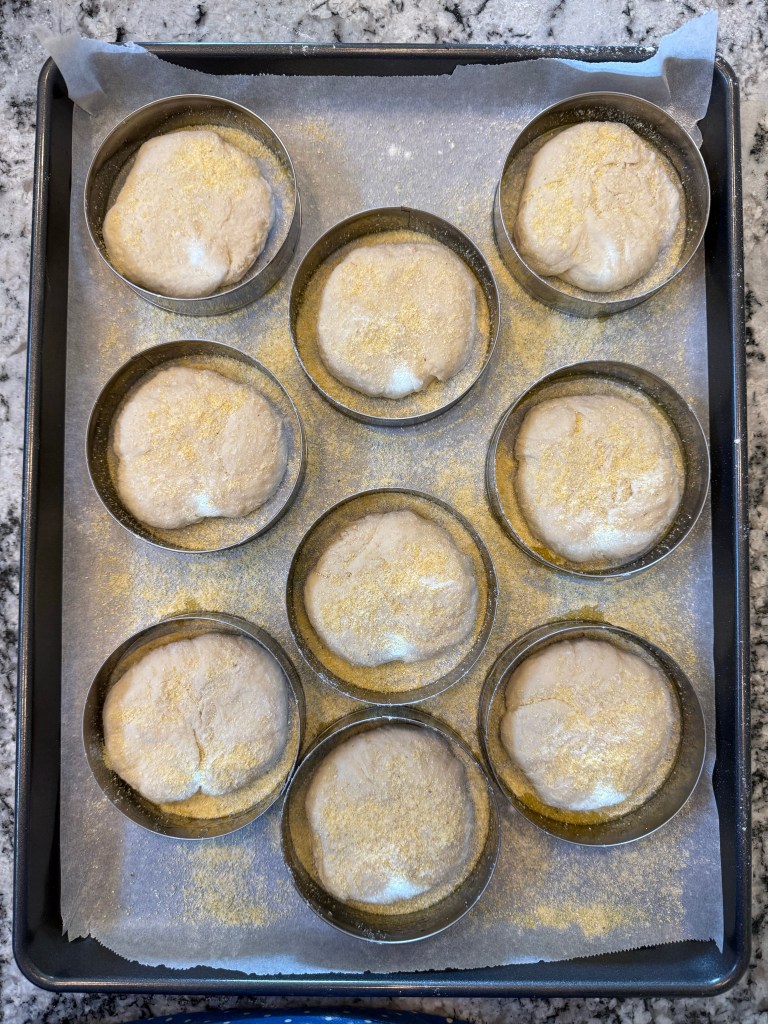
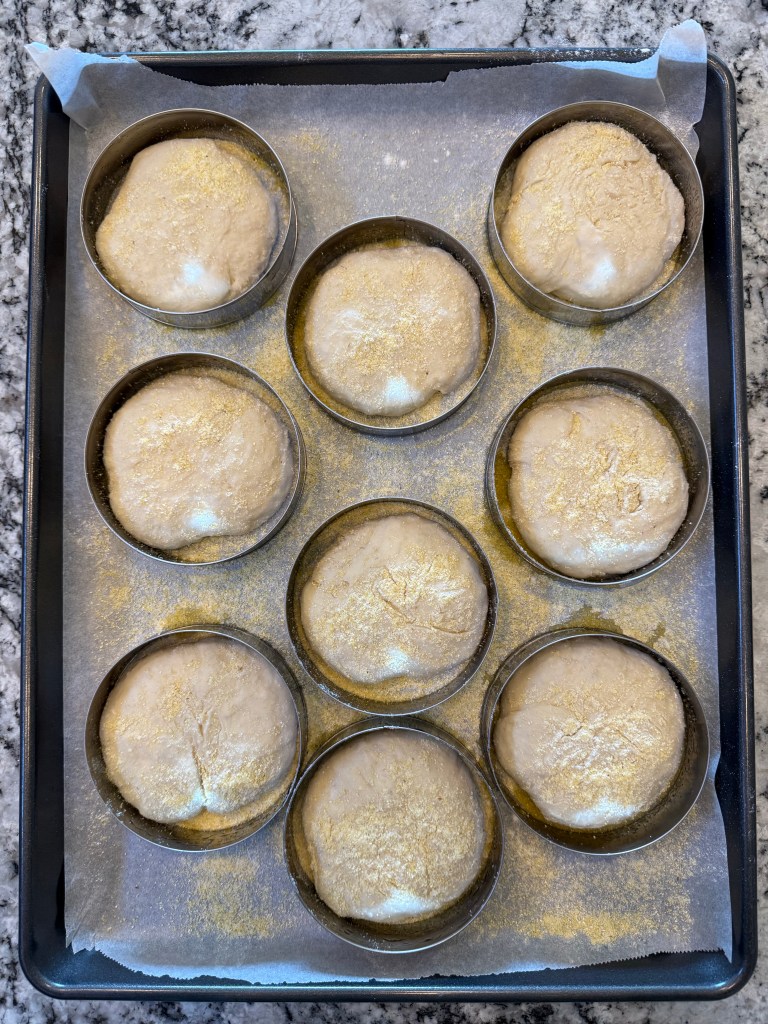
I rolled each piece into a flattened round, placed each piece into a ring, sprinkled them all with cornmeal, and let them rise for another hour. After an hour they had expanded significantly, but weren’t fully filling the rings.
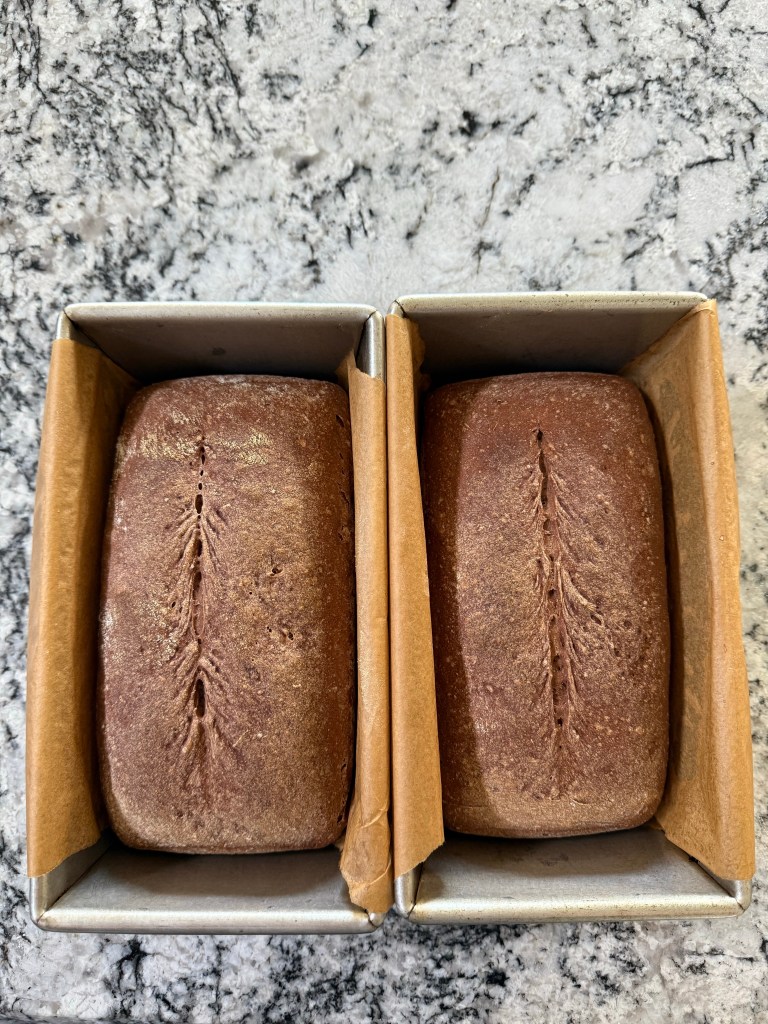
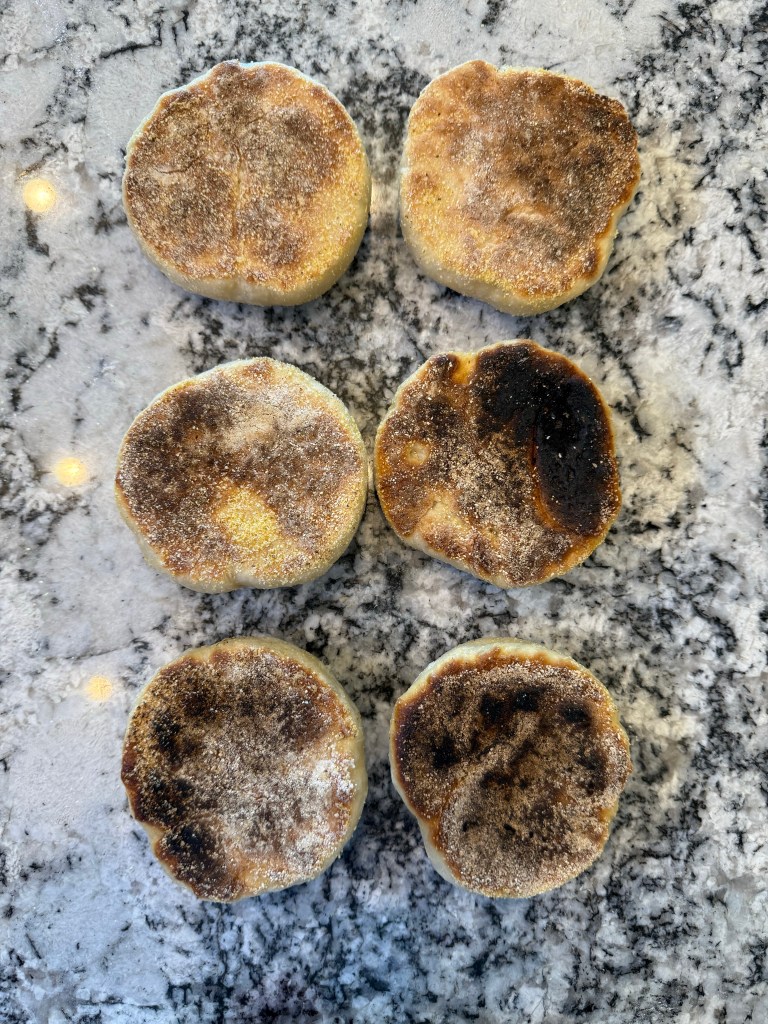
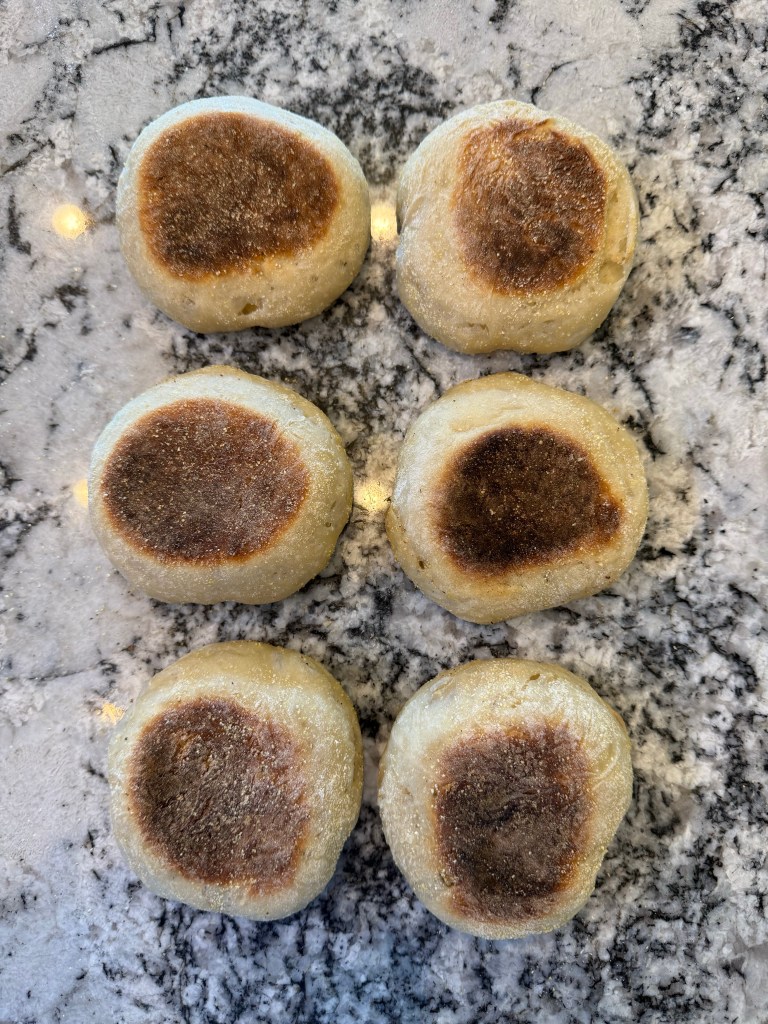
The King Arthur Baking School book instructs one to cook the English Muffins on a griddle. I don’t have a griddle, so I used a cast iron pan at the lowest heat on my stove. The dough expanded significantly and filled the rings after being placed in the hot pan.


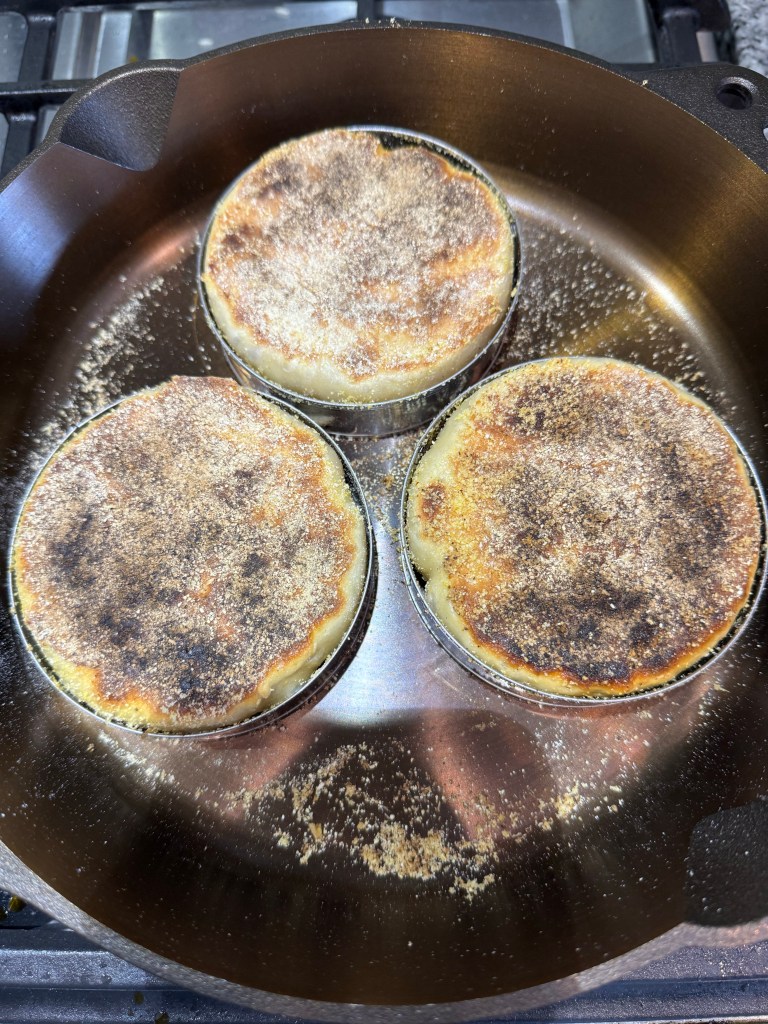
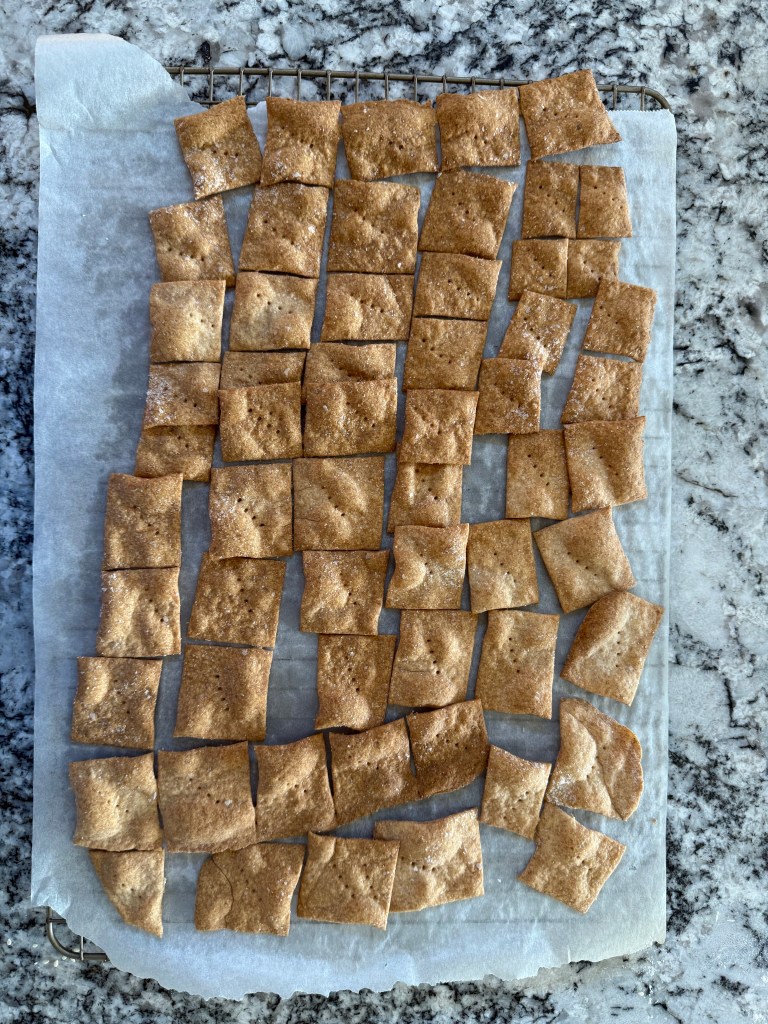
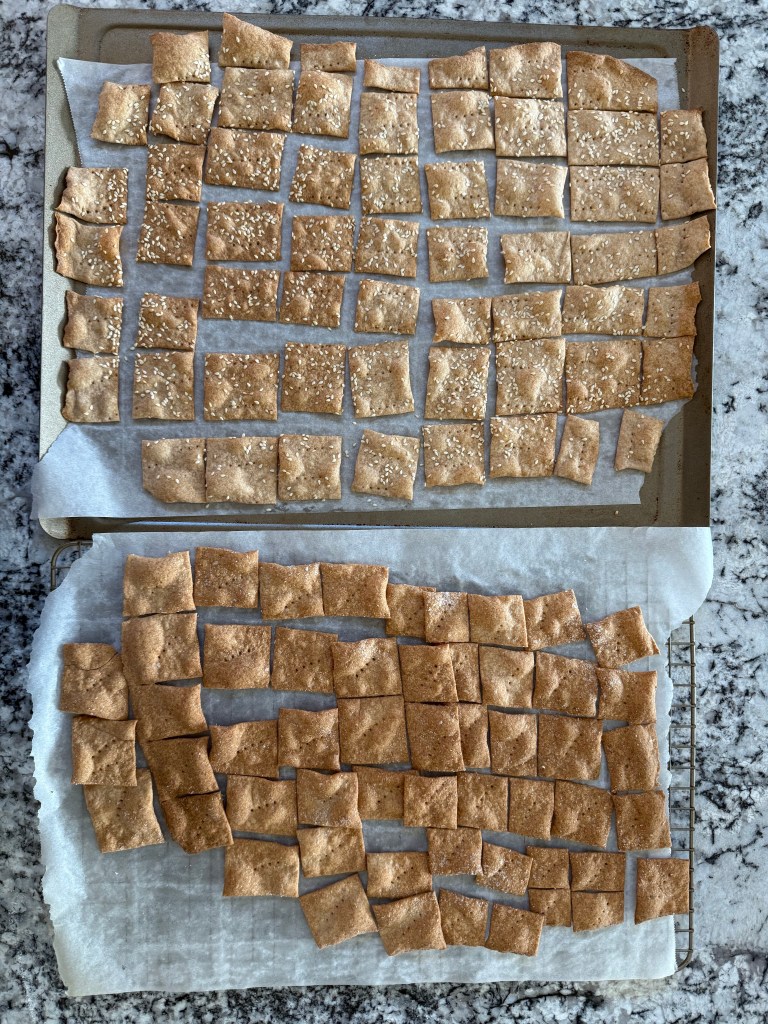
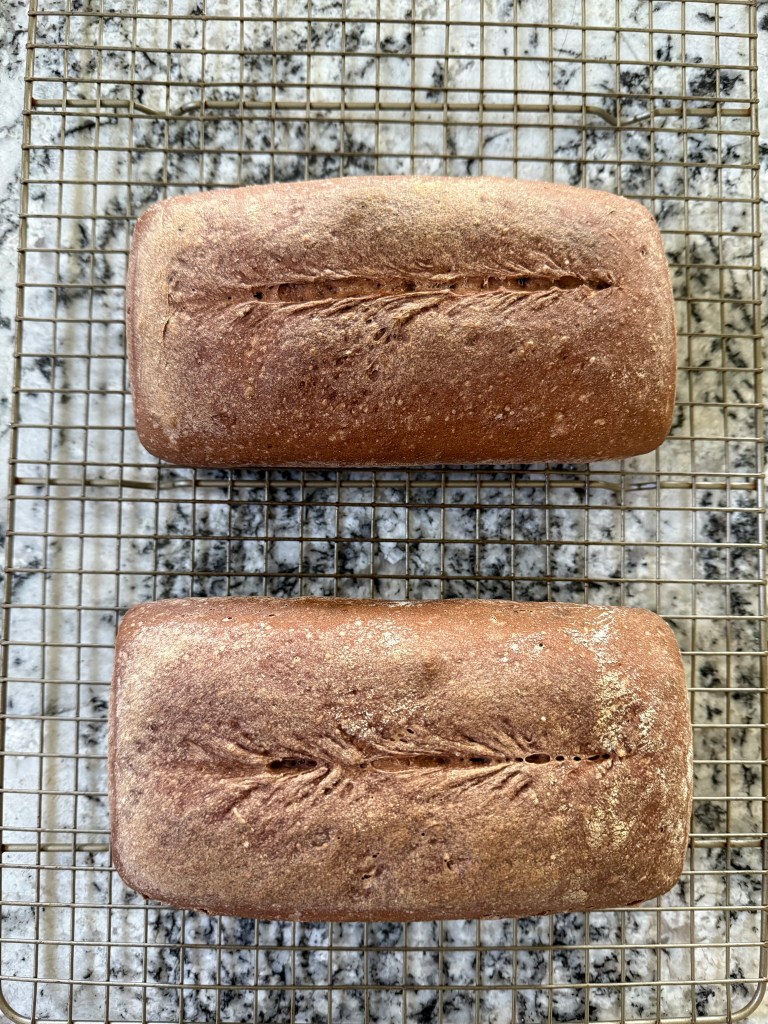
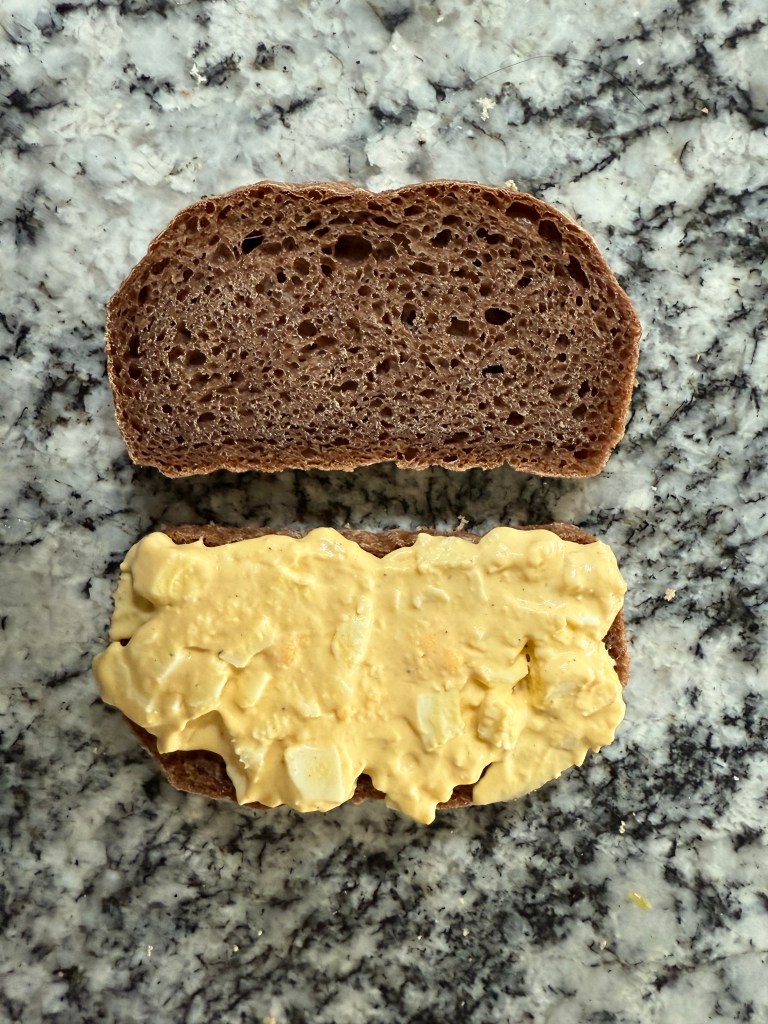
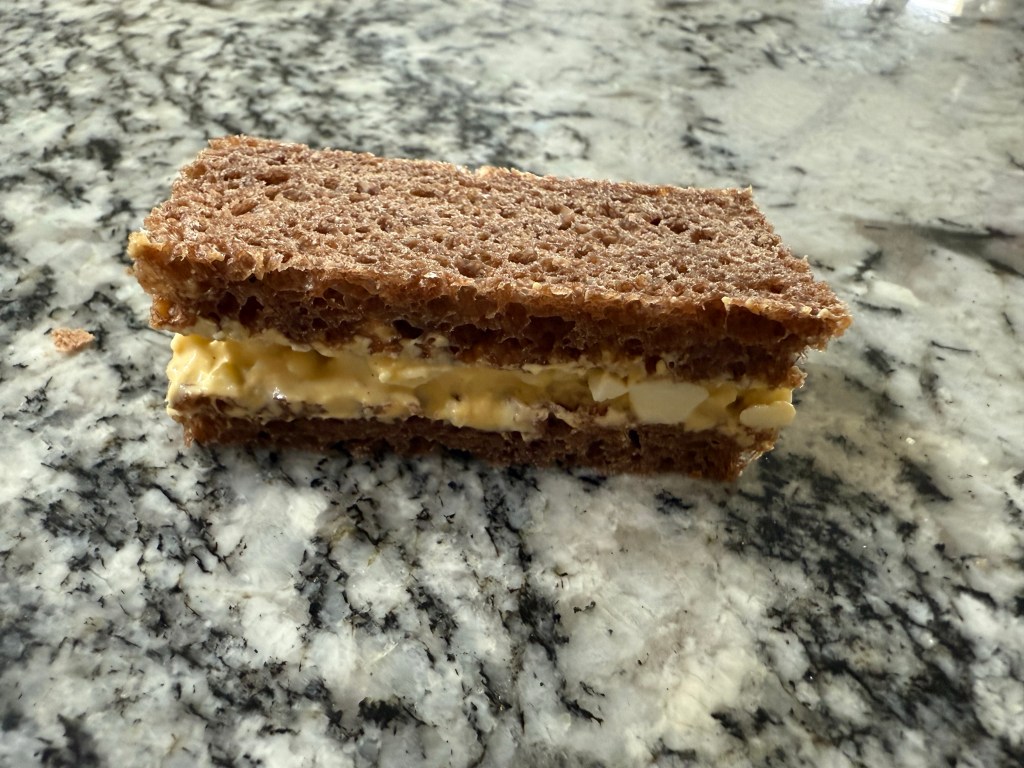
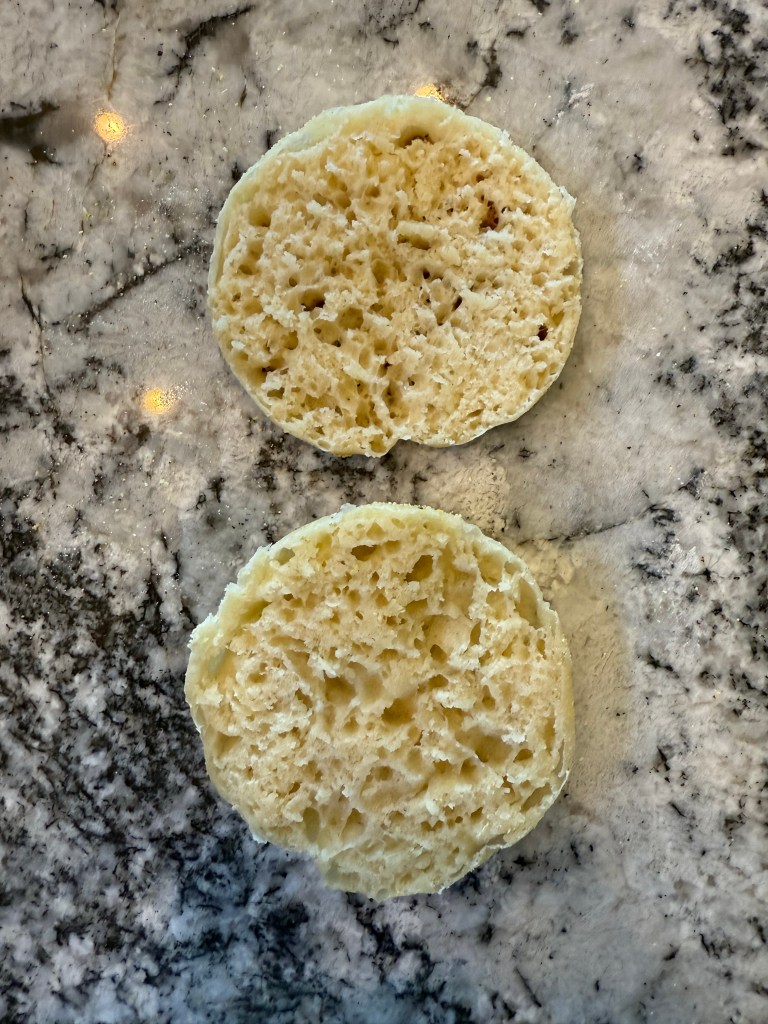
They turned out tender and full of flavor and with the lovely interior holes that are so indicative of a good English Muffin.
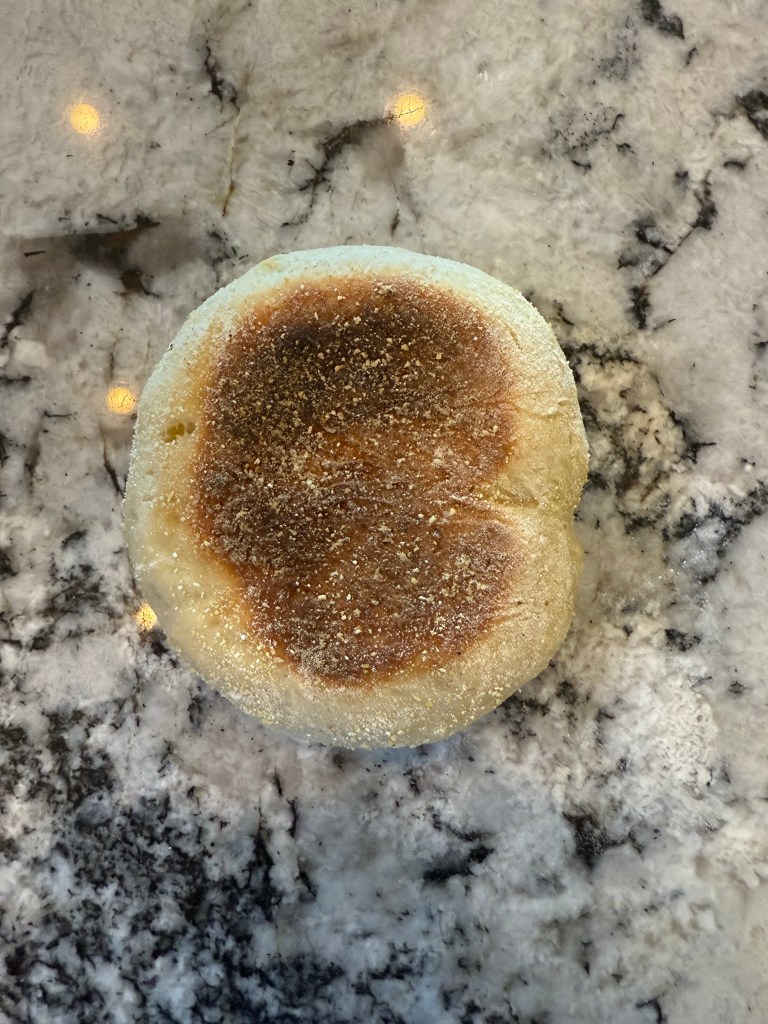
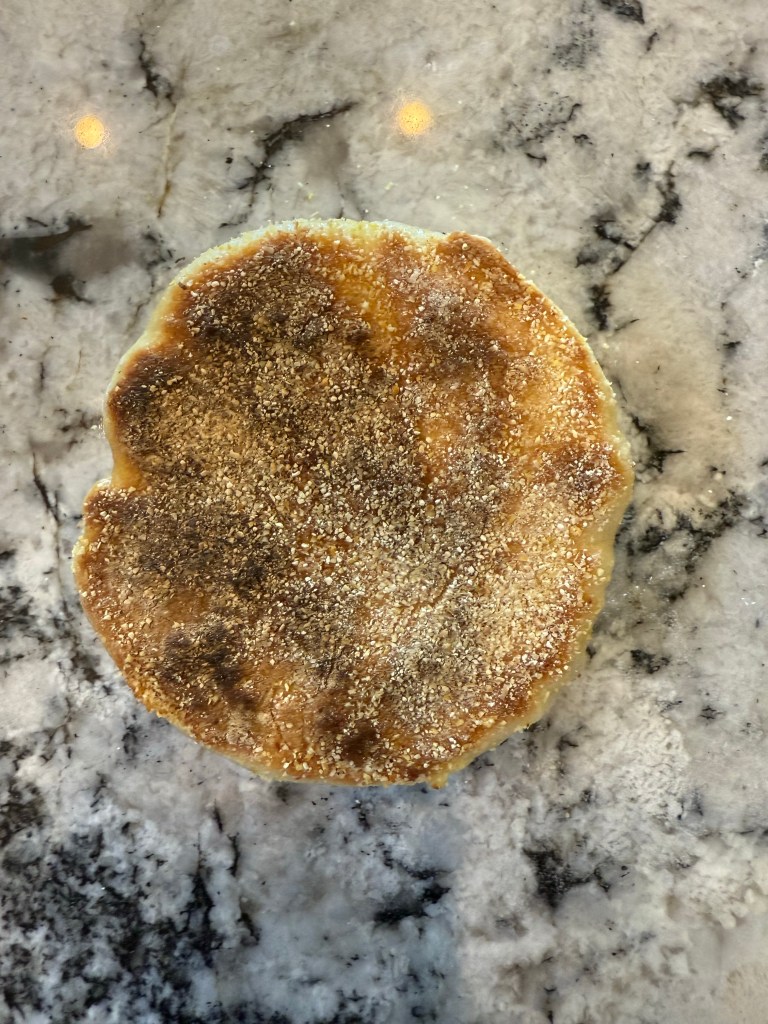
I’m not very practiced at baking bread in a pan, so some of my muffins got a little charred. I think next time I make these I will bake them on the baking stone in the oven for a more even bake.
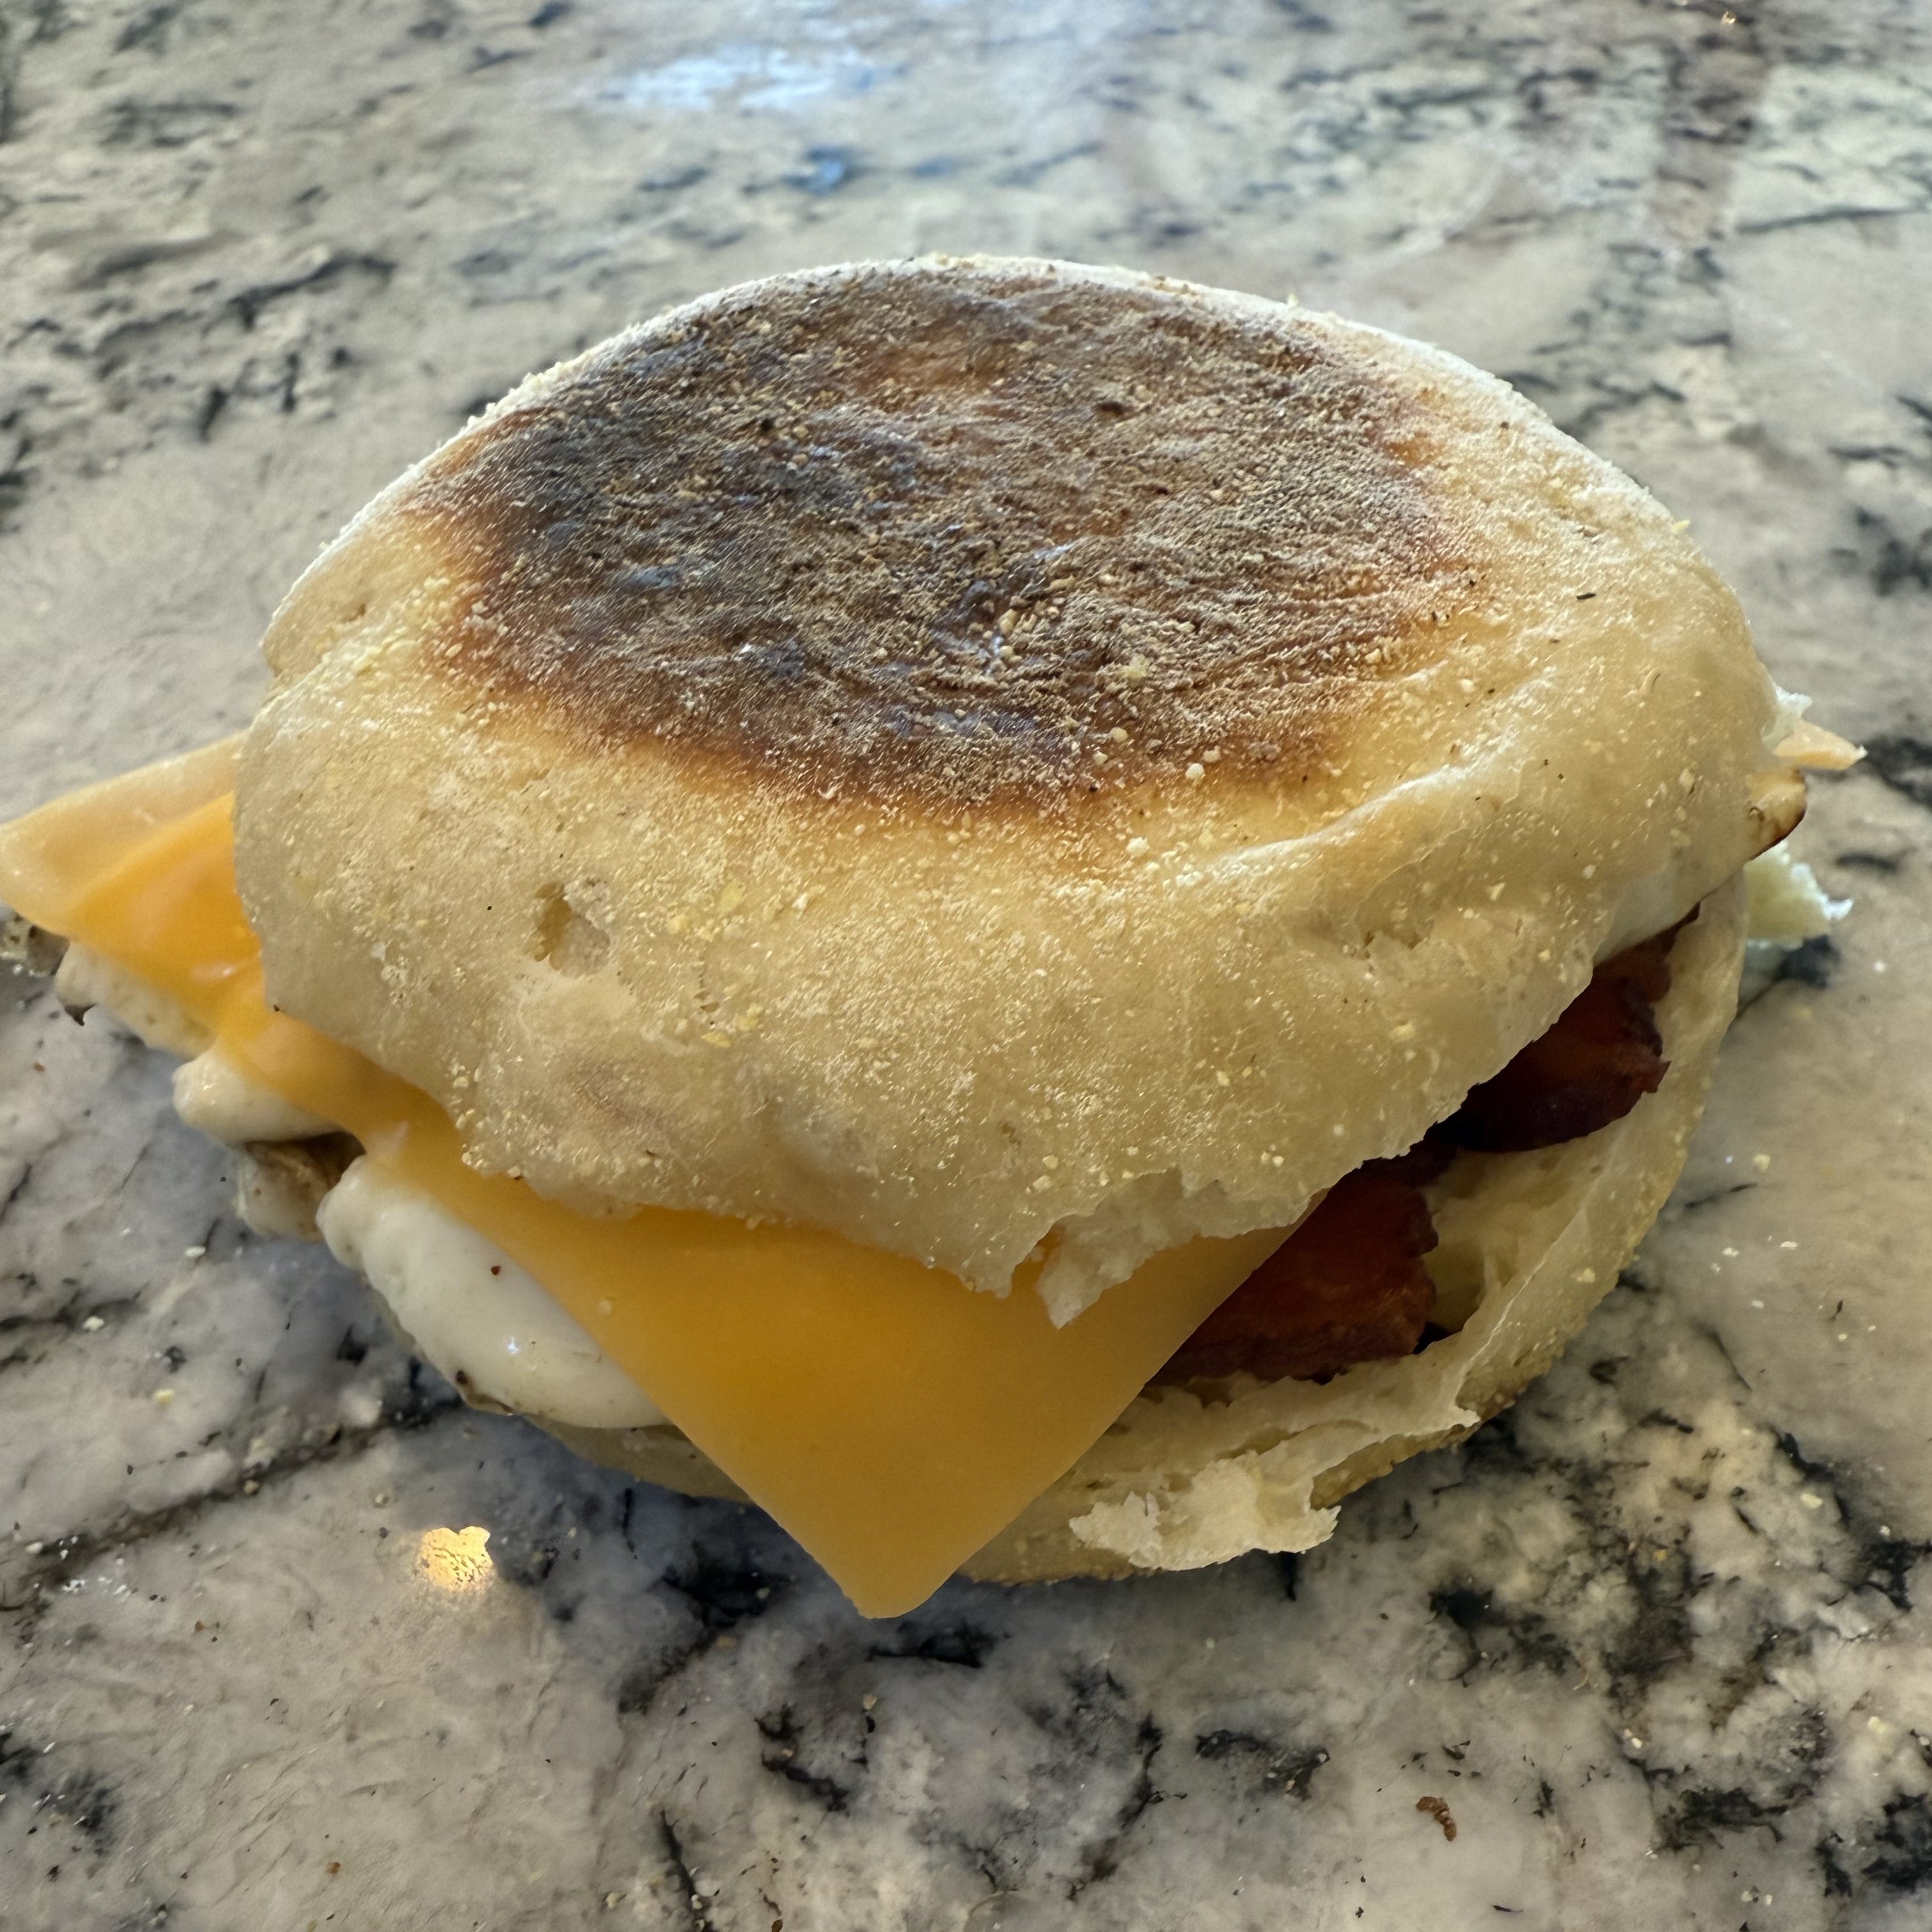
You’re supposed to let these cool briefly before eating, but we couldn’t help eating them straight out of the pan. These English Muffins make a next-level Bacon, Egg, and Cheese breakfast sandwich. They’re also fantastic with butter and jam.
Until the next time: may your yeast always rise and your flour never run out.