
Making macarons always makes me feel like a member of the in-group. They aren’t technically that difficult to make, but you can’t be in a rush when making them, and you can’t cut corners. I’ve used the same pair of recipes to inform my macaron baking for a few years now. I like how this recipe has a lower amount of sugar, and I like the flavor suggestions for the fillings from this recipe. Both have good instructions.
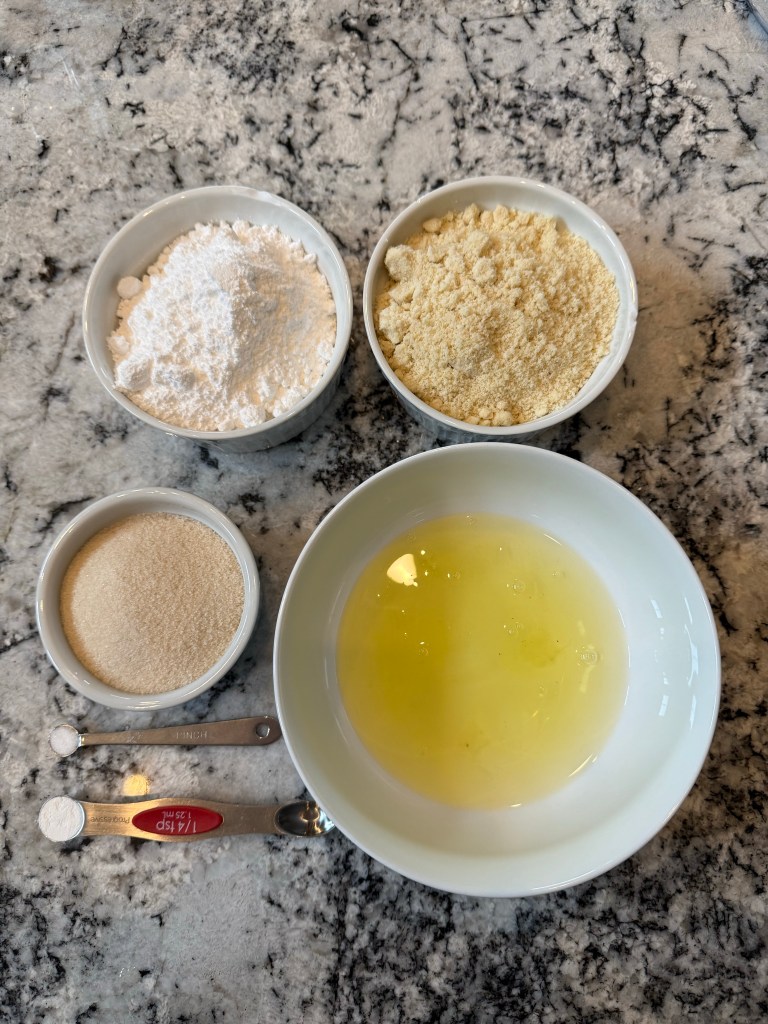
As always, I started by gathering my mise en place.
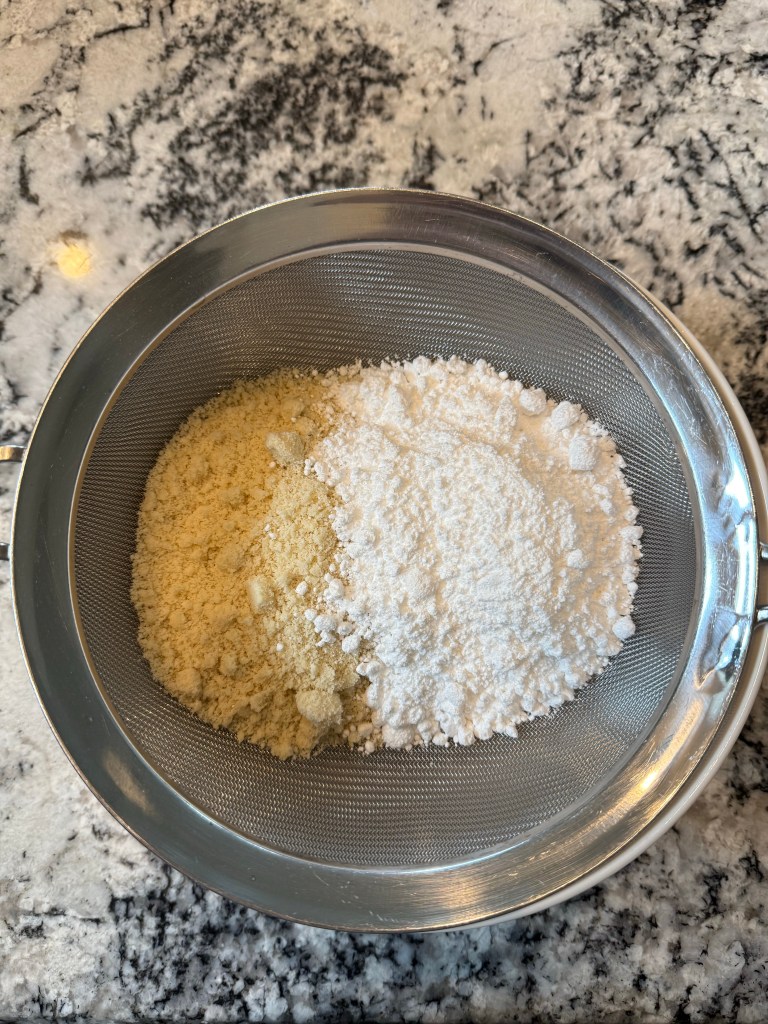
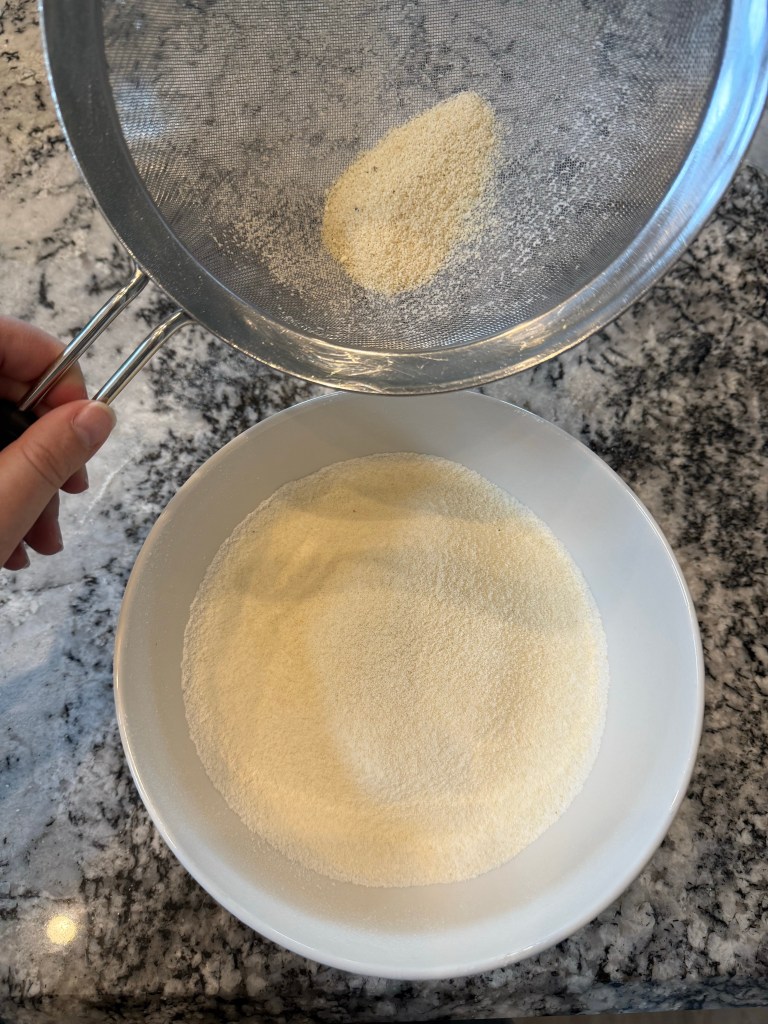
I combined the almond flour and powdered sugar in a sieve over a bowl and sifted them together. Almond flour is quite a bit more course than most wheat flour, so this process takes some time and effort. It’s important to work as much of the almond flour through the sieve as possible so the ratios of the recipe don’t become skewed.
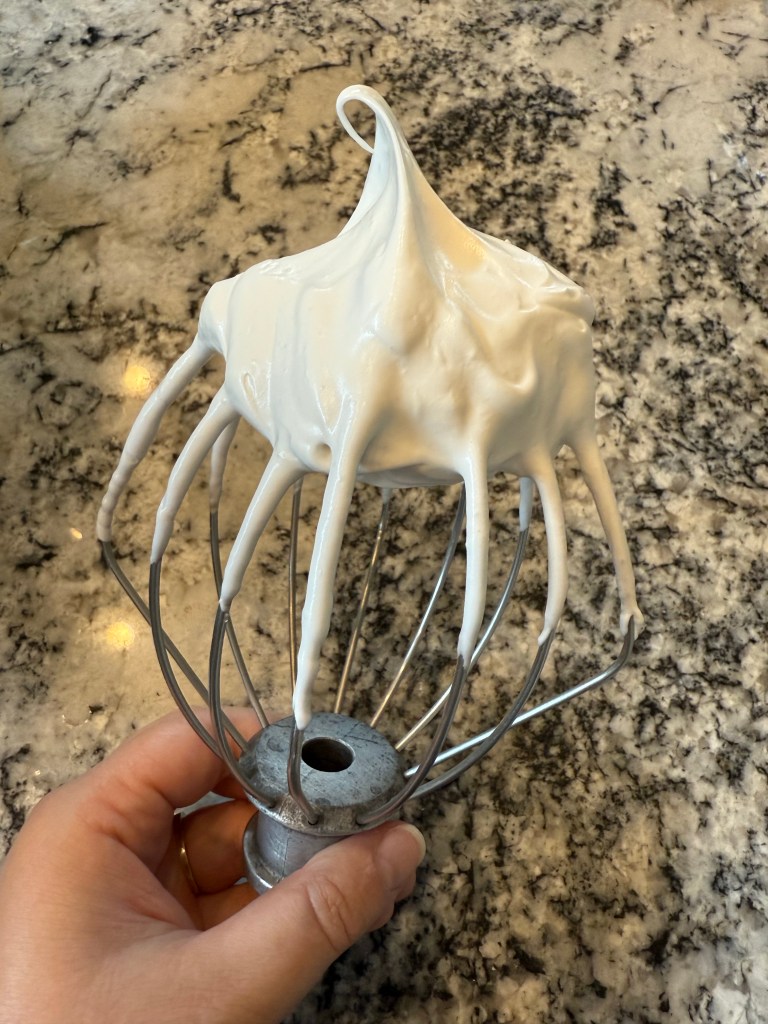
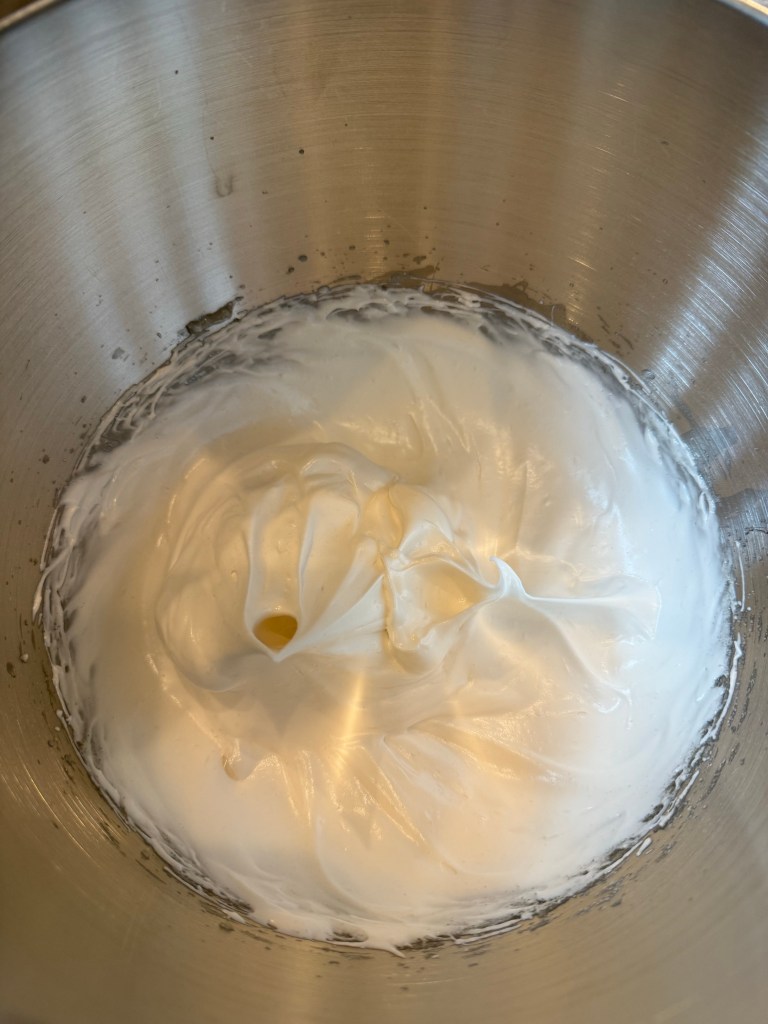
In a separate bowl I whisked the egg whites , salt, and cream of tartar until they were frothy, then turned on the speed on my KitchenAid mixer and slowly poured the granulated sugar in. I continued whipping until the eggs were at stiff peaks.


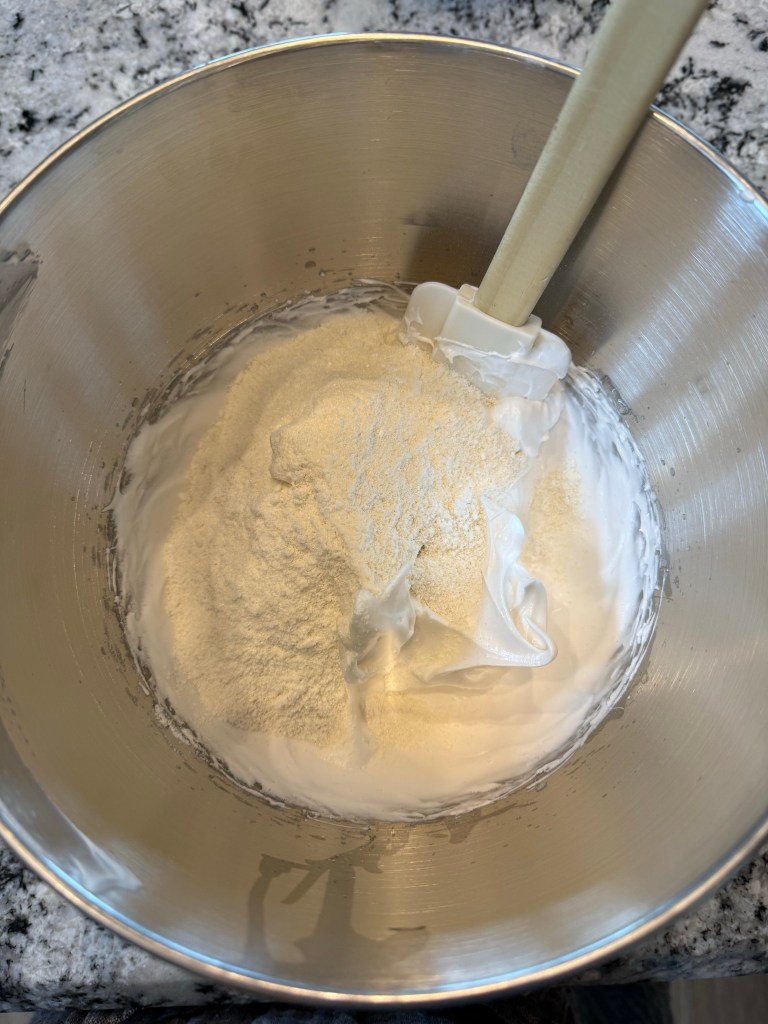
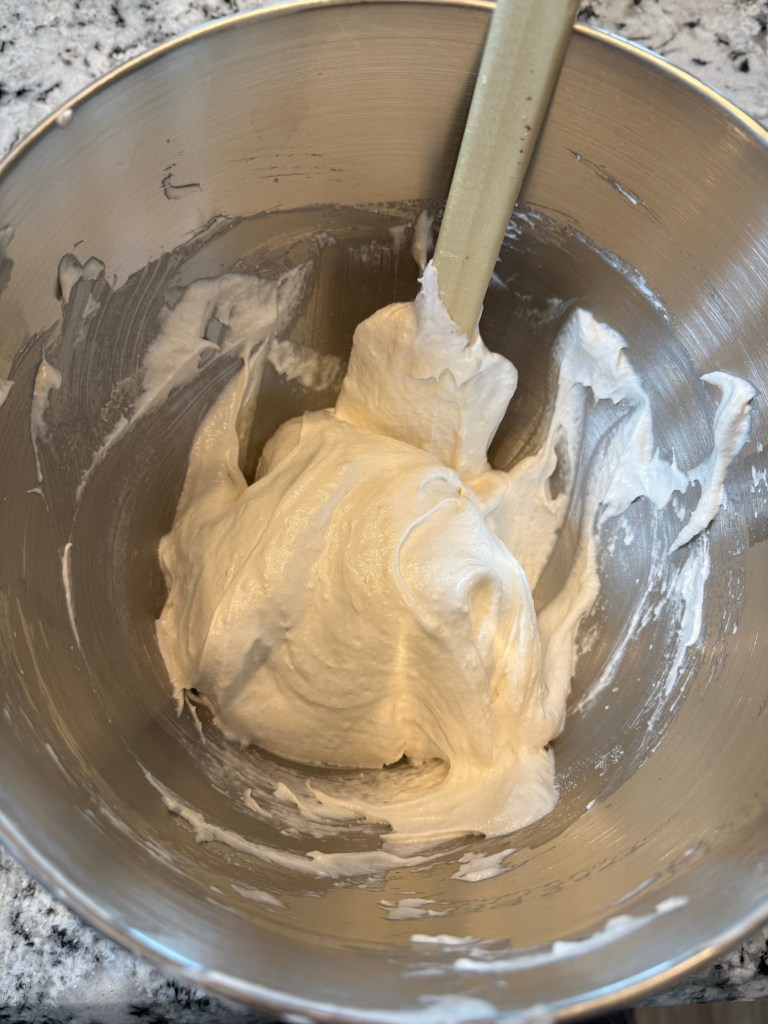
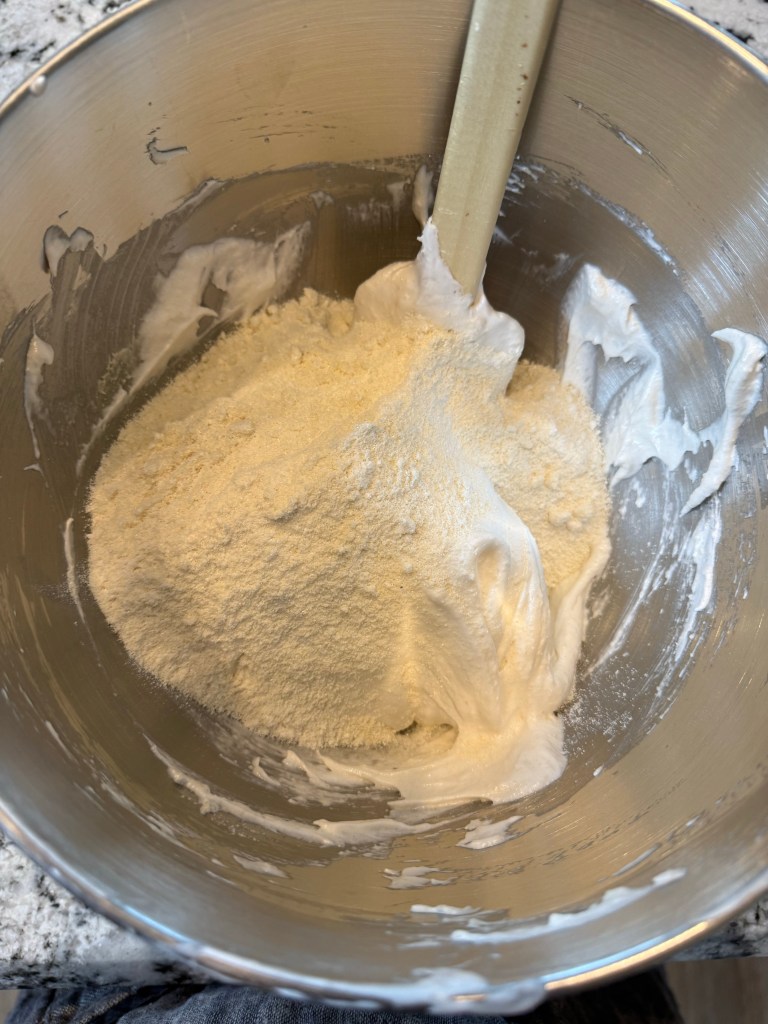
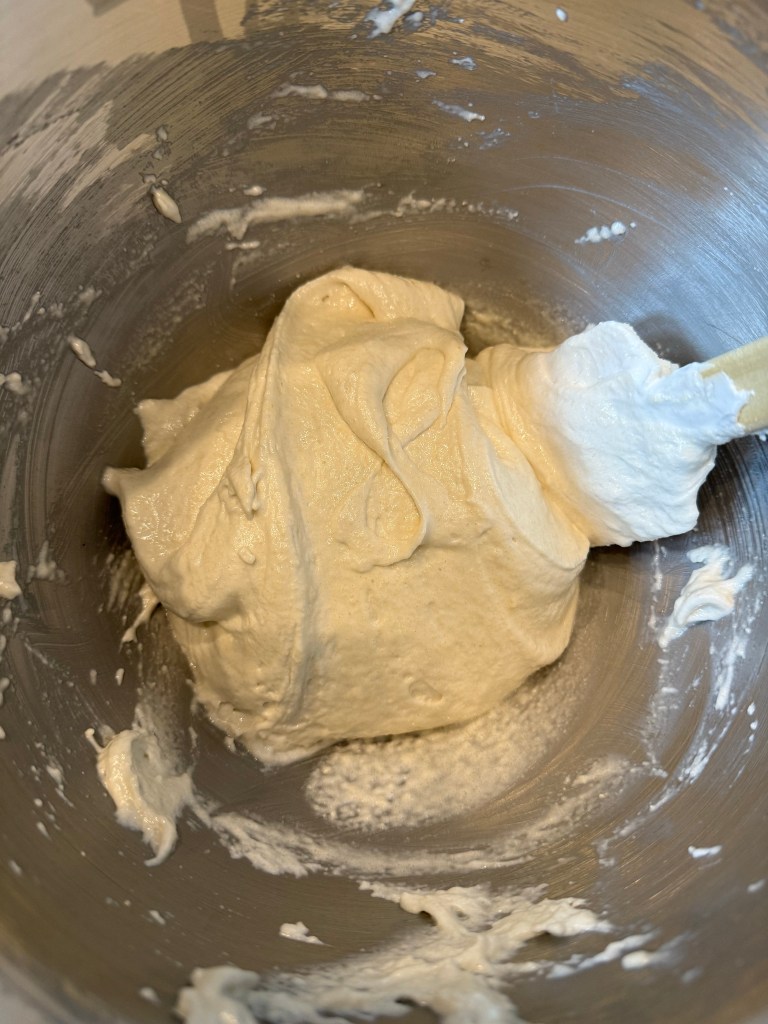
I gently folded the almond flour mixture into the egg whites in two parts, then continued folding until the batter could slowly run off my spatula to form an unbroken figure-8. This is the macaronage, and it is another part of the process that requires patience and attention to detail.
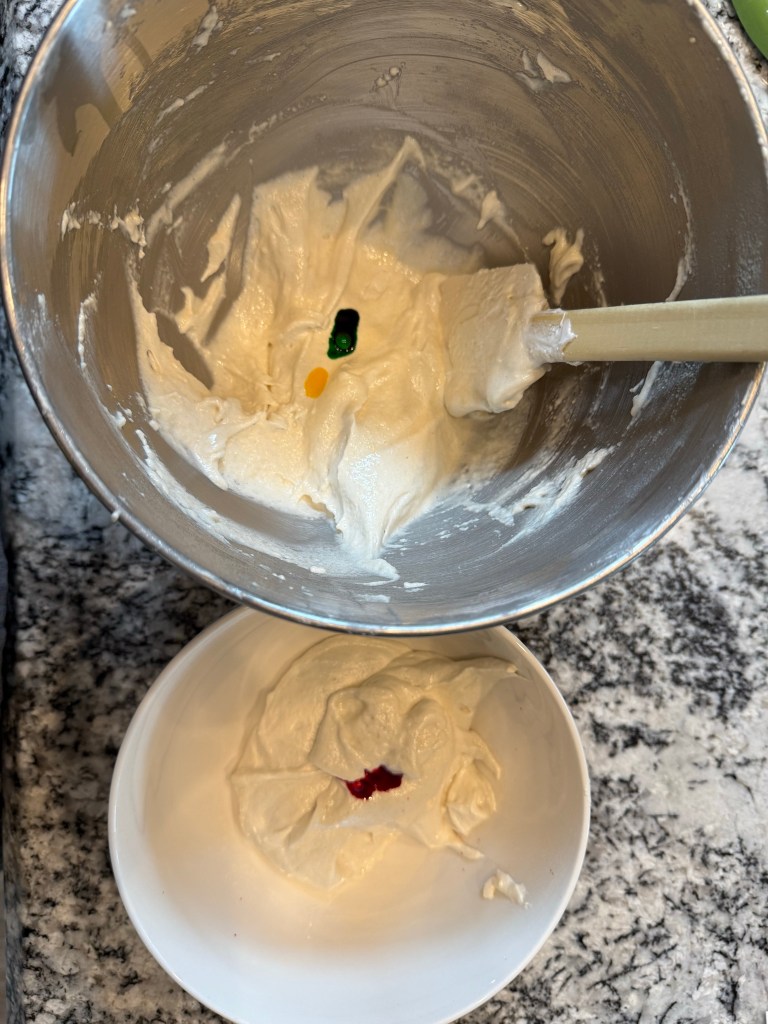
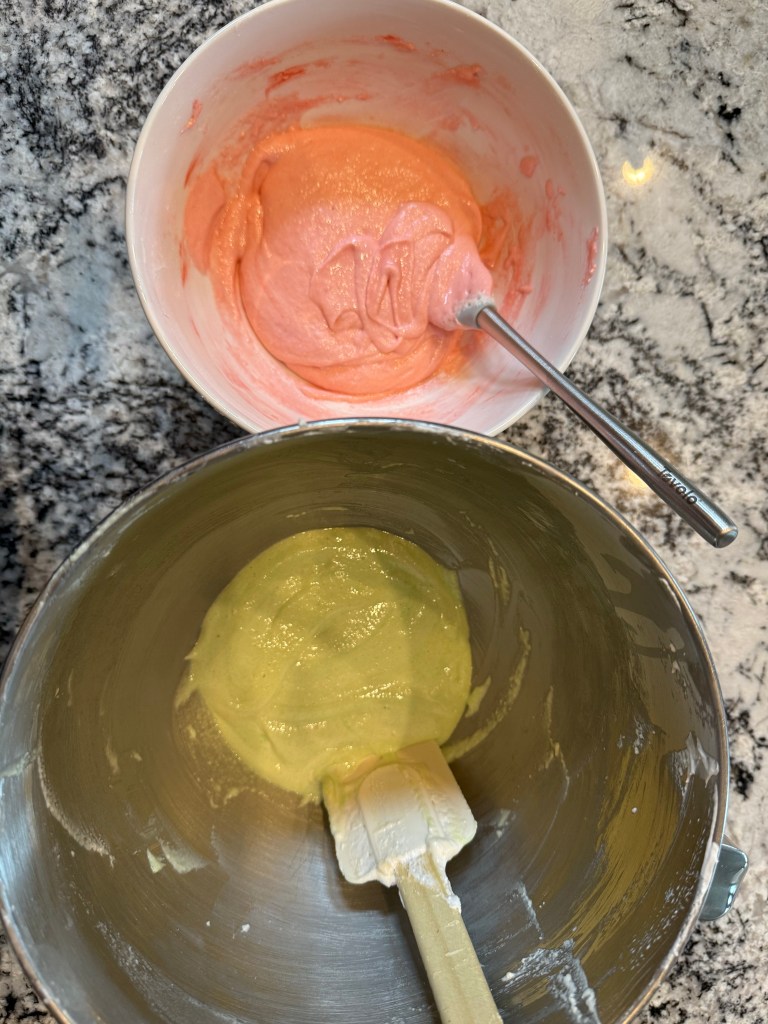
I divided the batter in half and added a few drops of food coloring, then folded the color in until the batter was evenly tinted. I also double-checked the macaronage at this point.
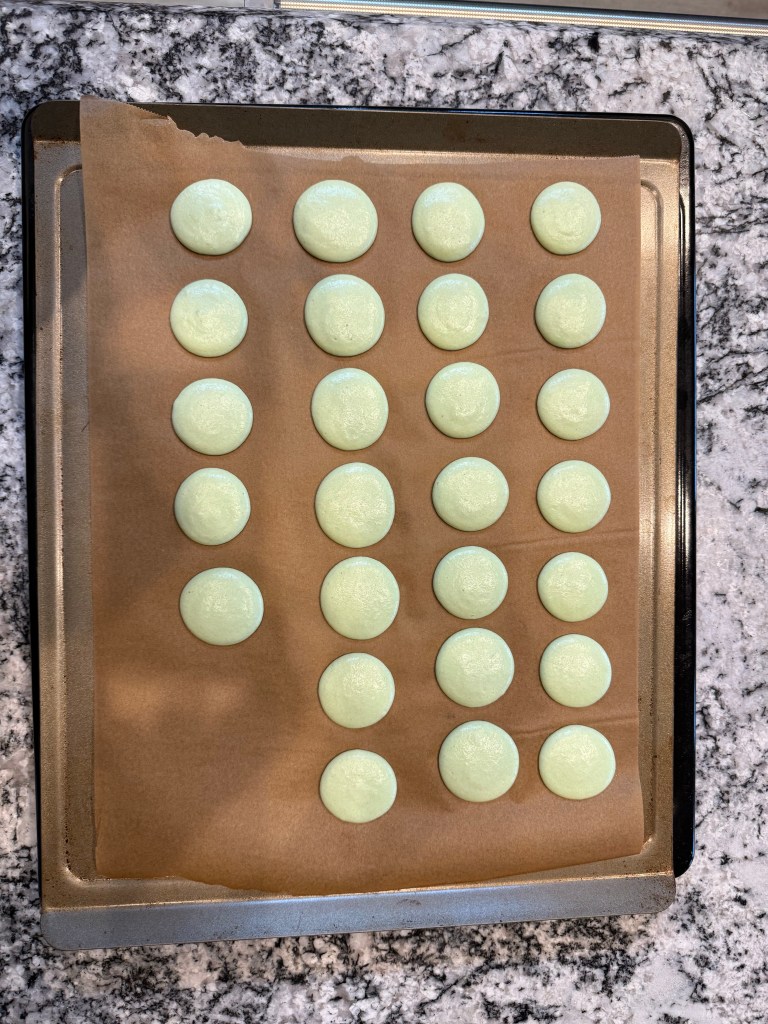
I poured both batters into untipped pastry bags, cut the ends of the bags, and piped the macarons.

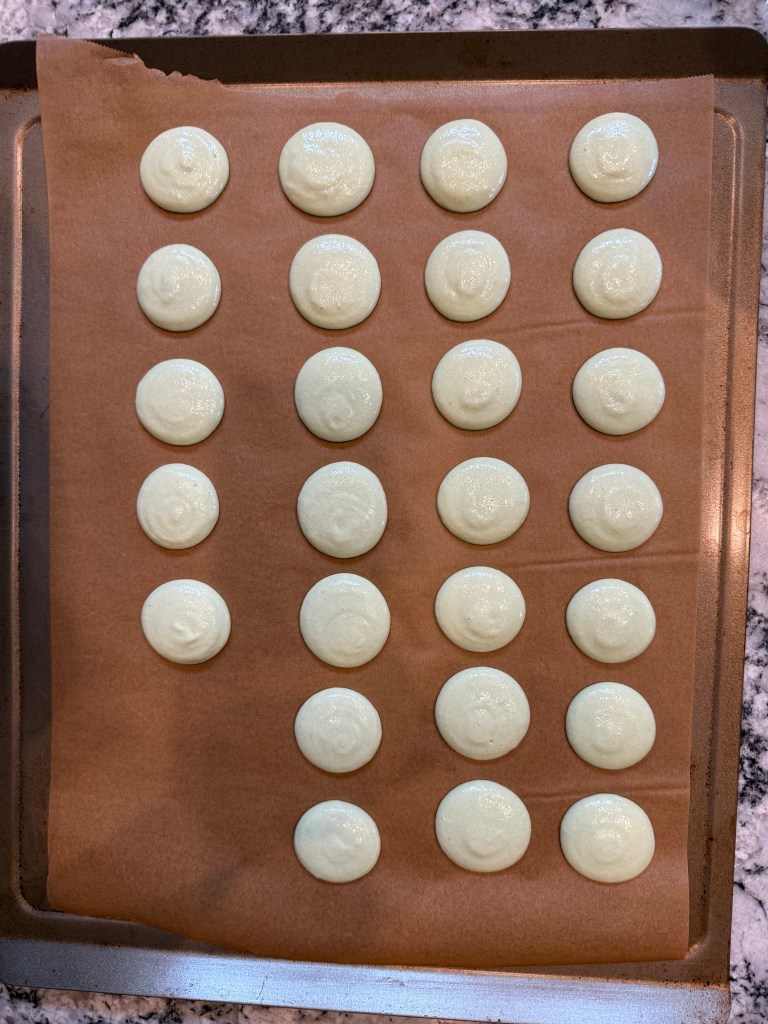

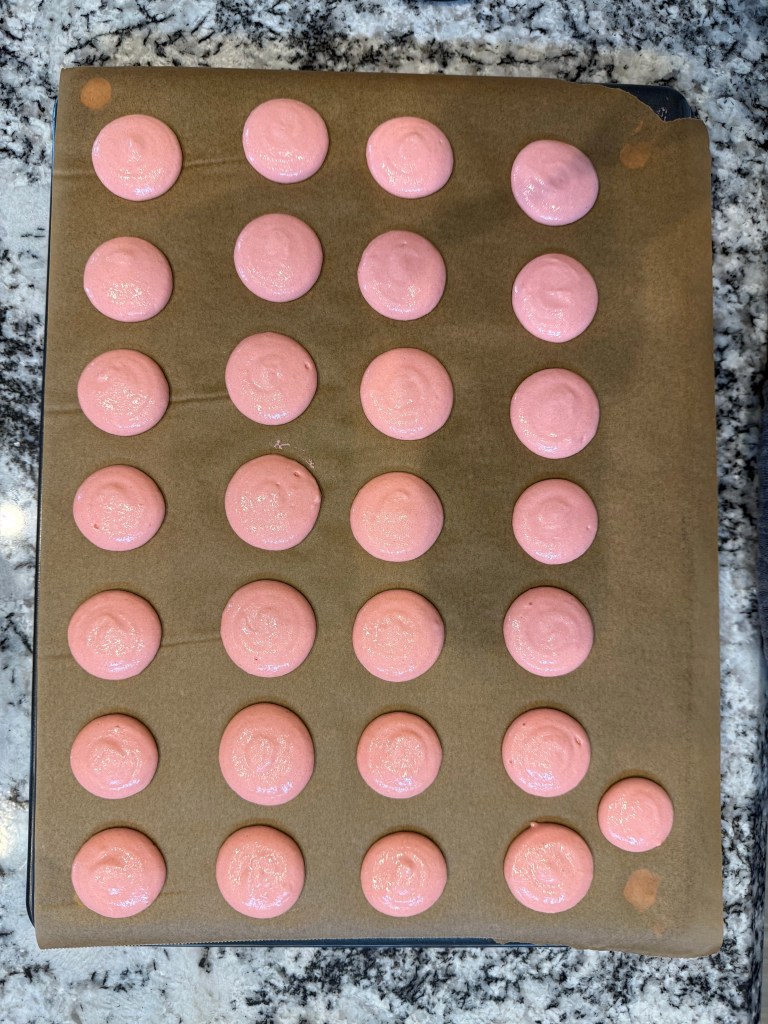
Normally I like to wait for a dry day in the Spring or Autumn to make macarons because the air is dryer, which helps the macaron shells dry more quickly and bake dryer. The day I had set aside for baking these macarons turned out to be a rainy day, so the macarons needed to rest for an hour before the top of each cookie was sufficiently dry to be baked.
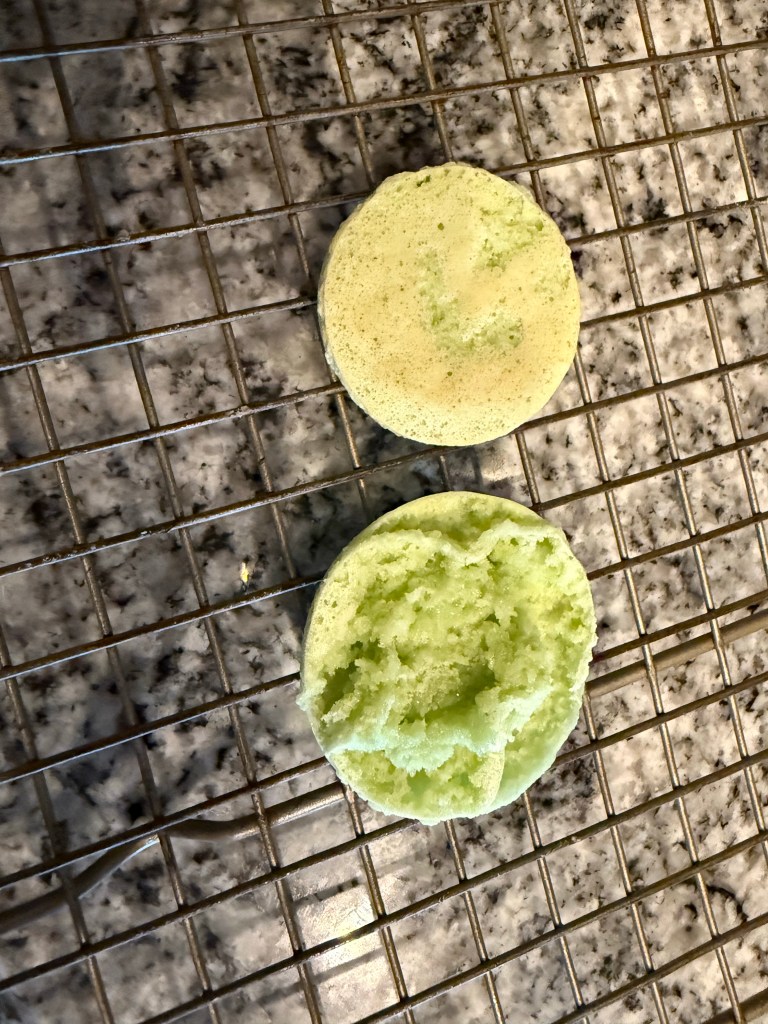
I baked the macarons for 14 minutes, rotating the baking sheet about 2/3 through each bake.

The macarons developed a lovely foot (the crinkly edge on the cookie) and the bake was gentle enough to not add any colour to the shells, but either they were ever so slightly underbaked, or the wet weather made them seem so. Either way, several shells didn’t pass quality assurance and were disposed of as test runs for my fillings. You know, in the name of science.

I baked the macaron shells 6 days before my tea party. I put the shells in a container and the container in a plastic bag and froze them until a day or two before the party. On the day of the party I filled them. The green shells got a ring of chocolate buttercream (leftover from decorating my cake) and a dollop of pistachio cream. The pink shells got a ring of chocolate buttercream and a bit of sour cherry jam.
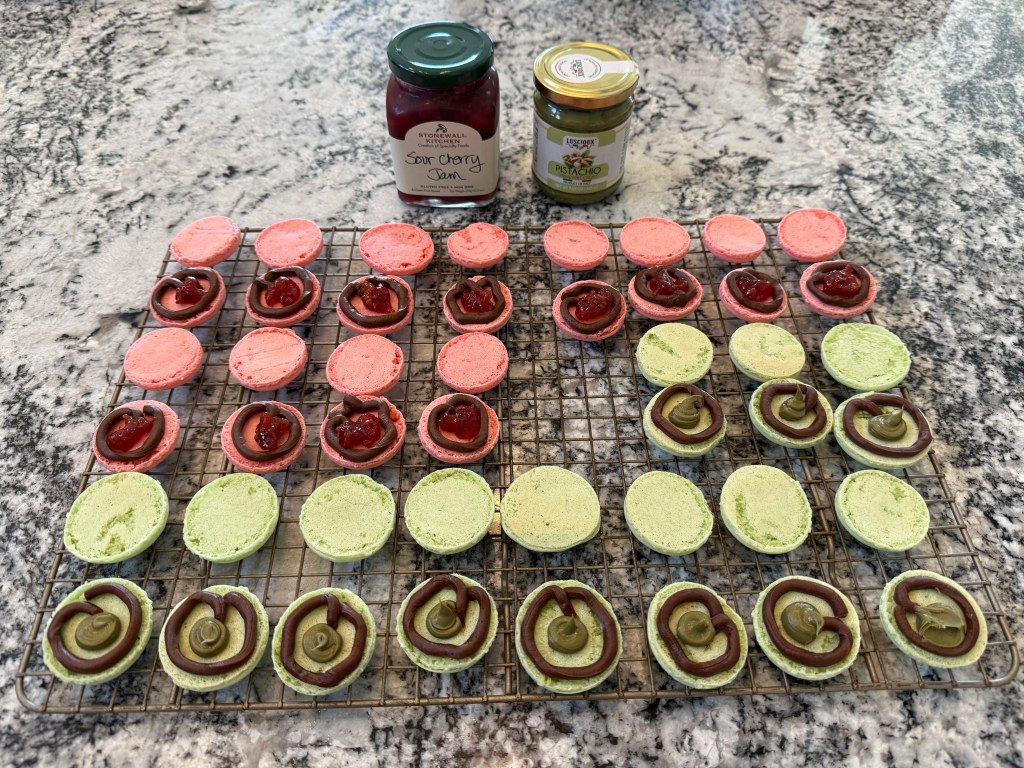

These macarons always turn out so delicious. I’m so glad I included them in my tea party menu. I wish I had included a little more pistachio cream in the green macarons since the chocolate buttercream was much stronger in flavor than the pistachio. The tartness of the chocolate-cherry macarons was delightful, especially against the backdrop of chocolate cake.
Until the next time: may your yeast always rise and your flour never run out.

One thought on “Mastering Macarons: Tips for Perfect French Cookies”