I love lemonade and lemon-flavored treats, so I bought a bag of lemons not fully realizing just how many lemons I had just acquired. In an effort to use some of the lemons I decided to make a lemon cake. I leafed through the King Arthur Baking School cookbook and found this lemon bundt cake. Perfection.
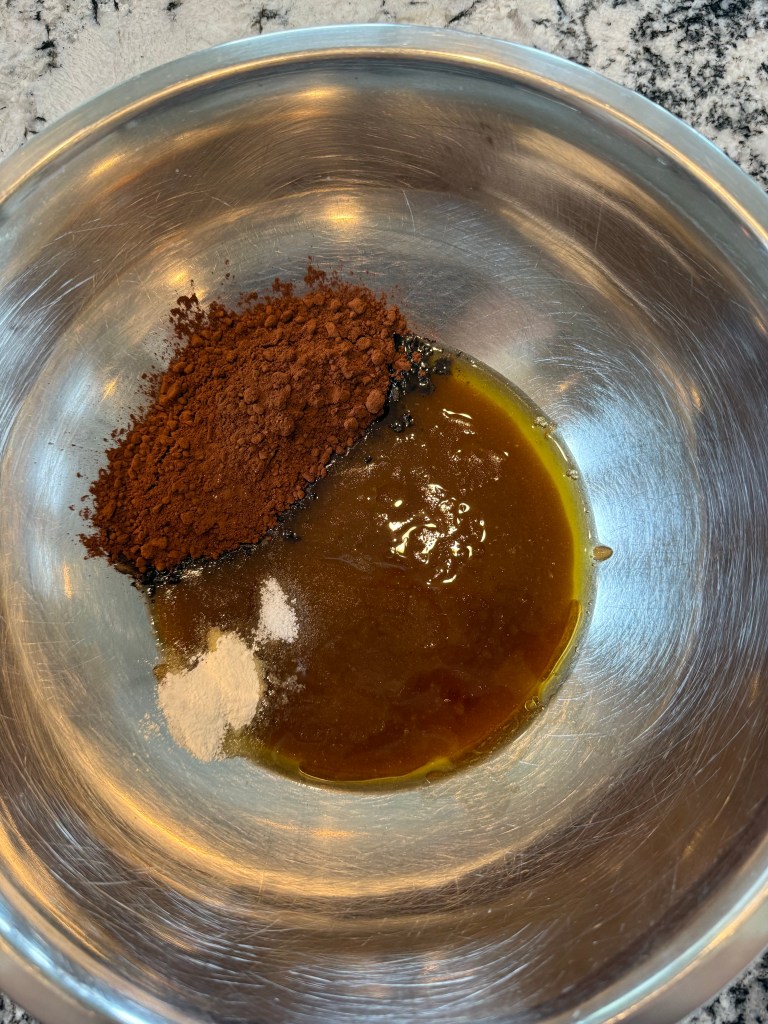
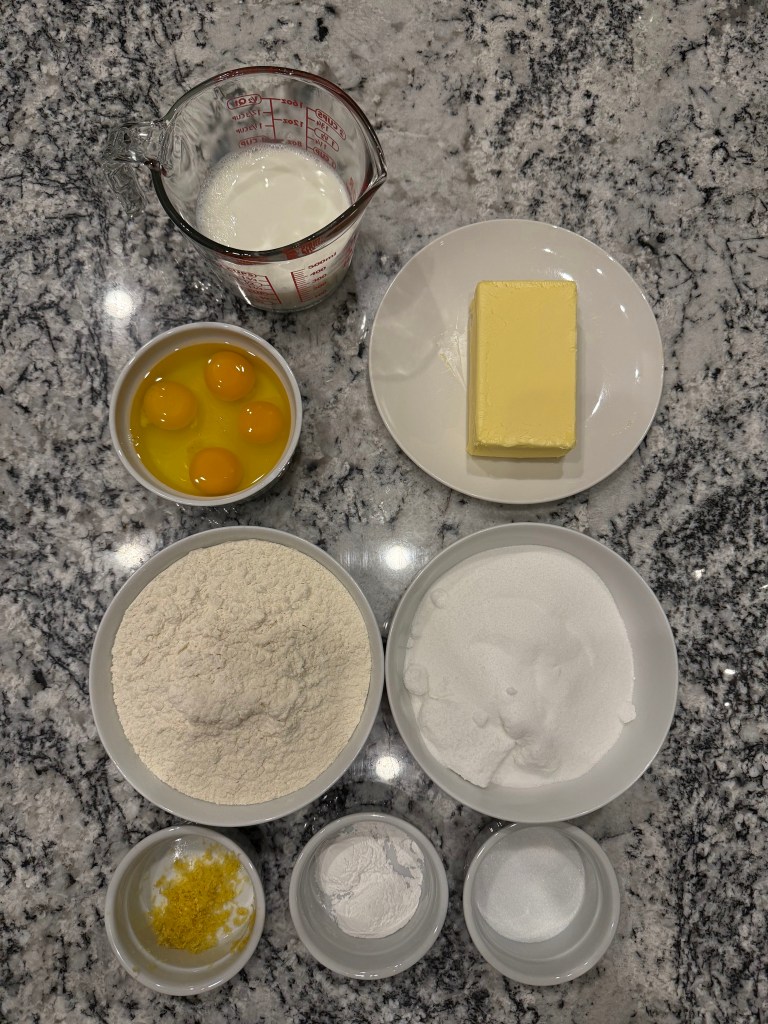
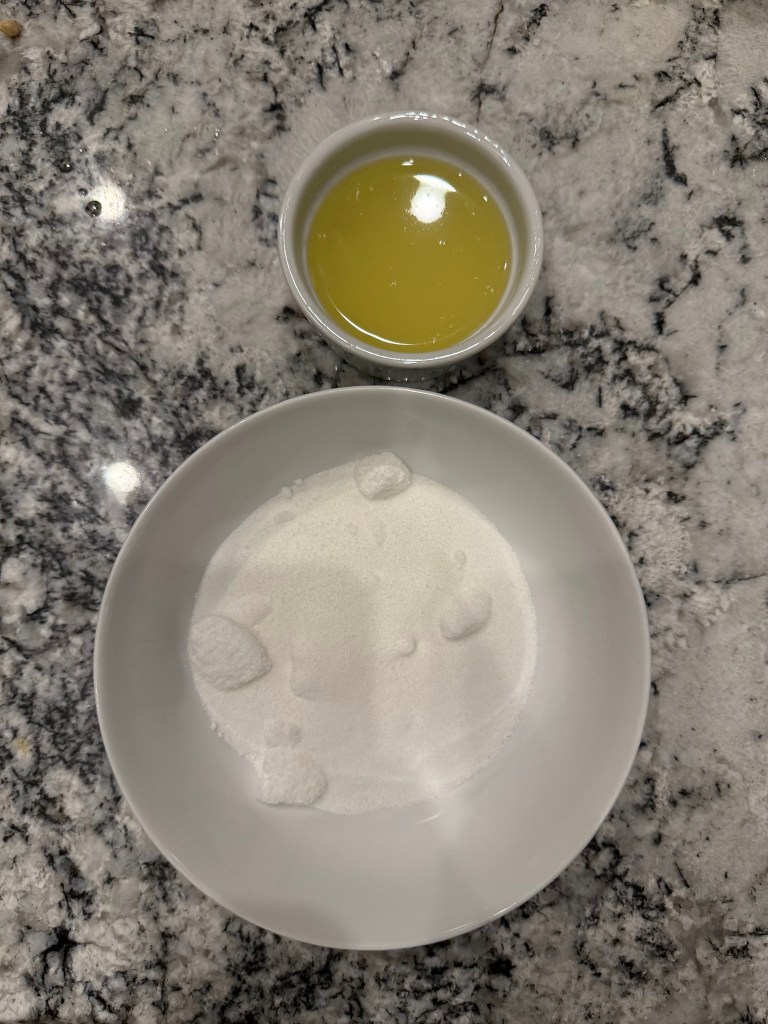
I gathered my mise en place:
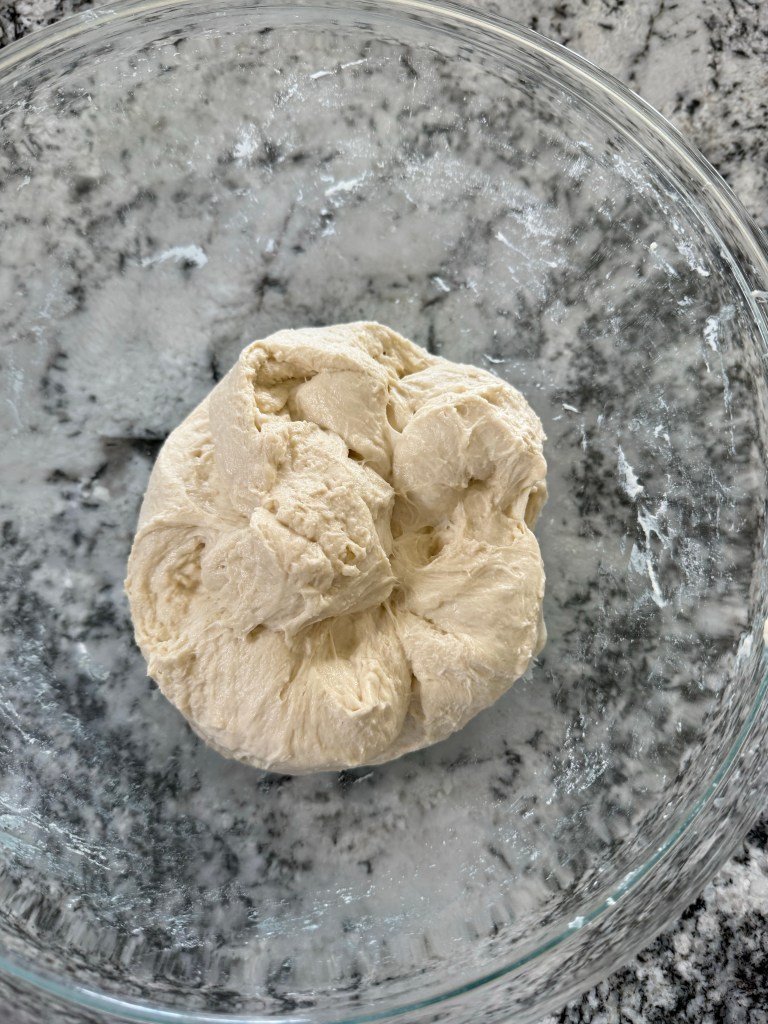
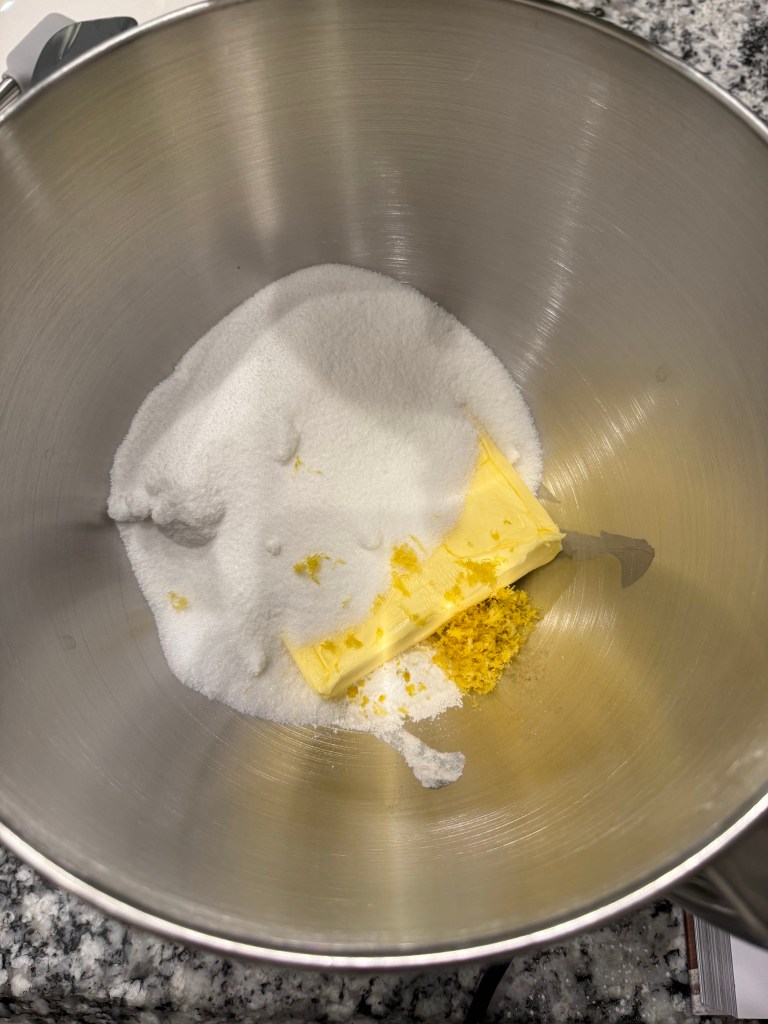
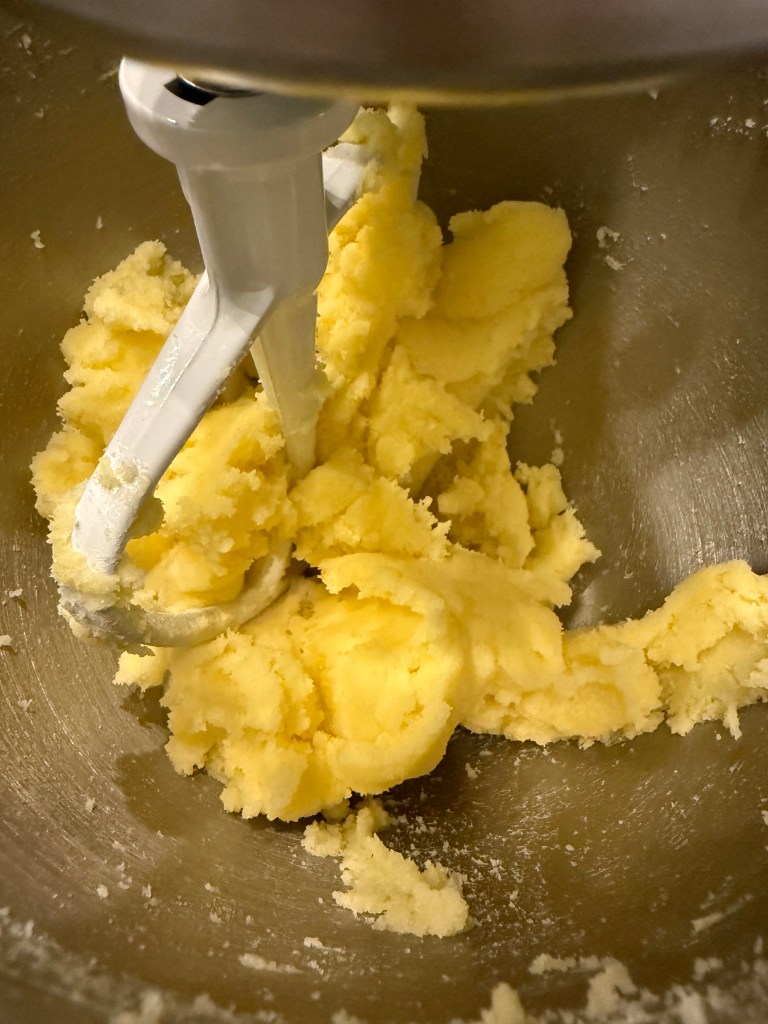
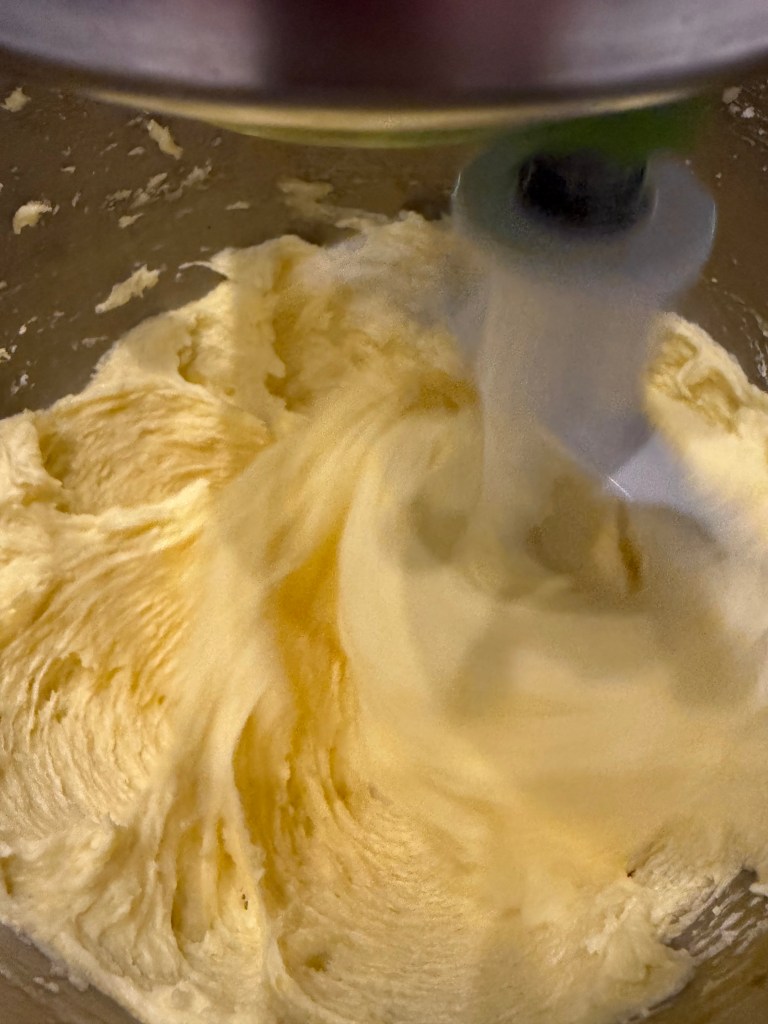
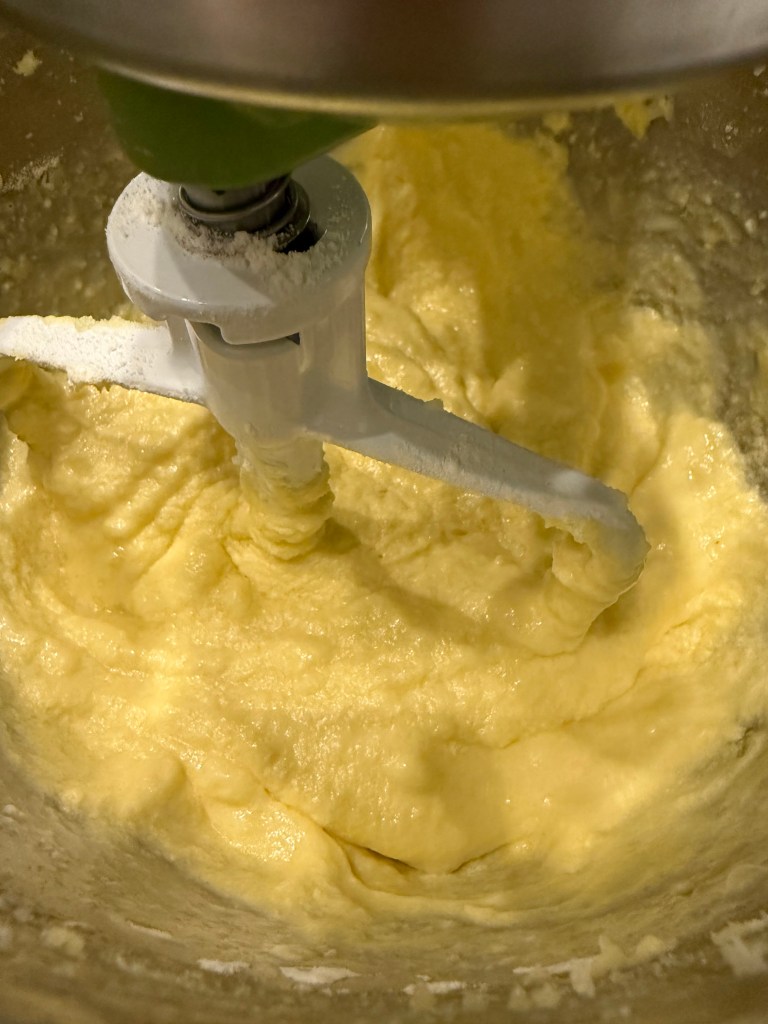
I started by creaming together the butter, sugar, and lemon zest.
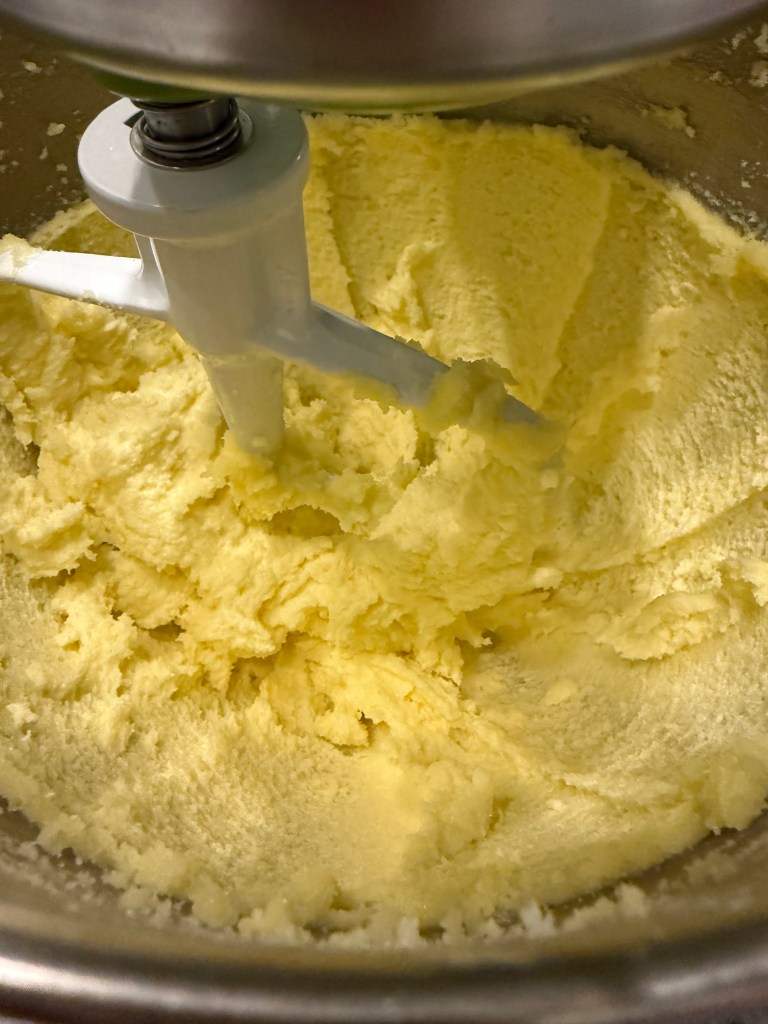
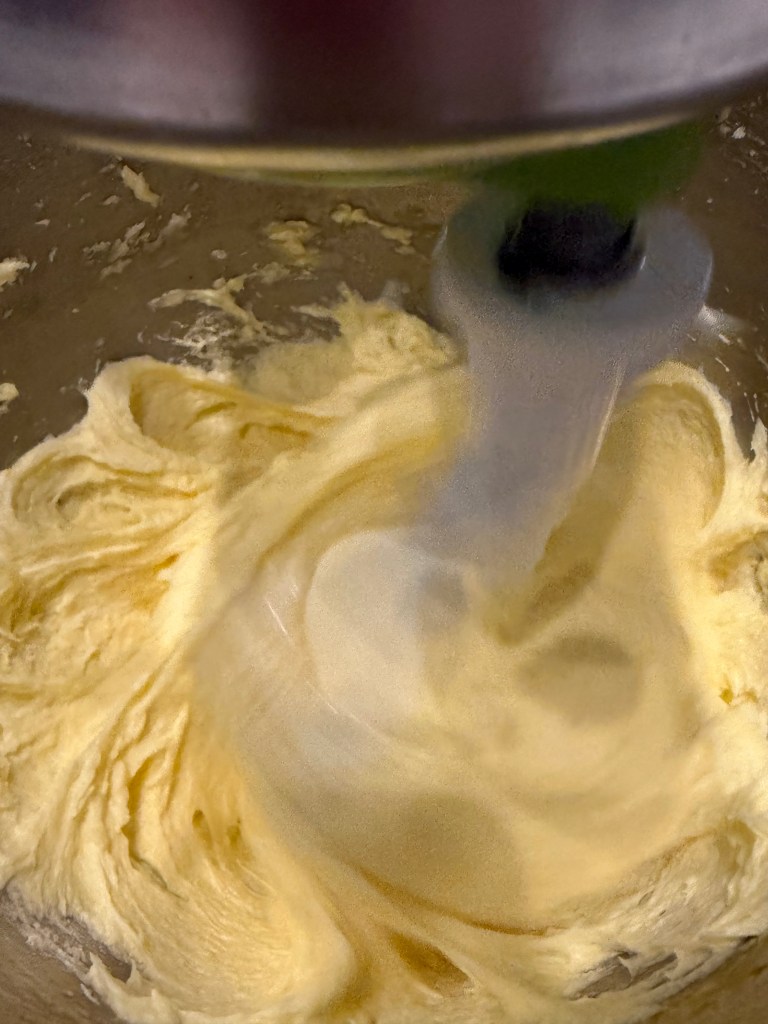
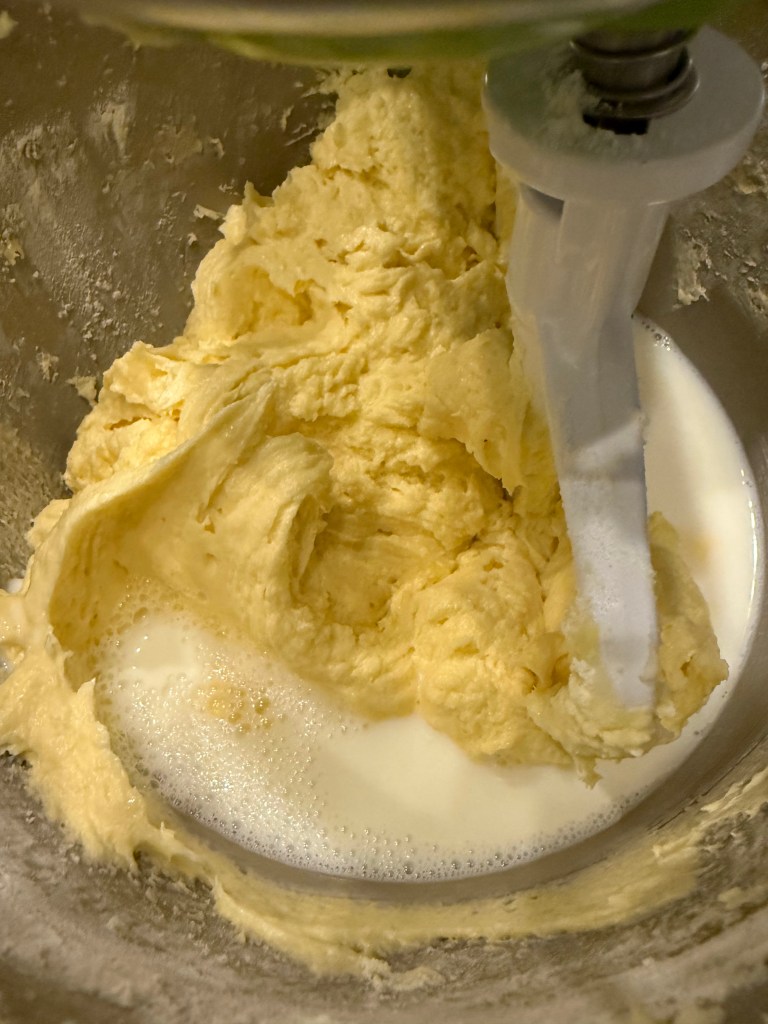
Then I added the eggs one at a time, beating each one in before adding the next.
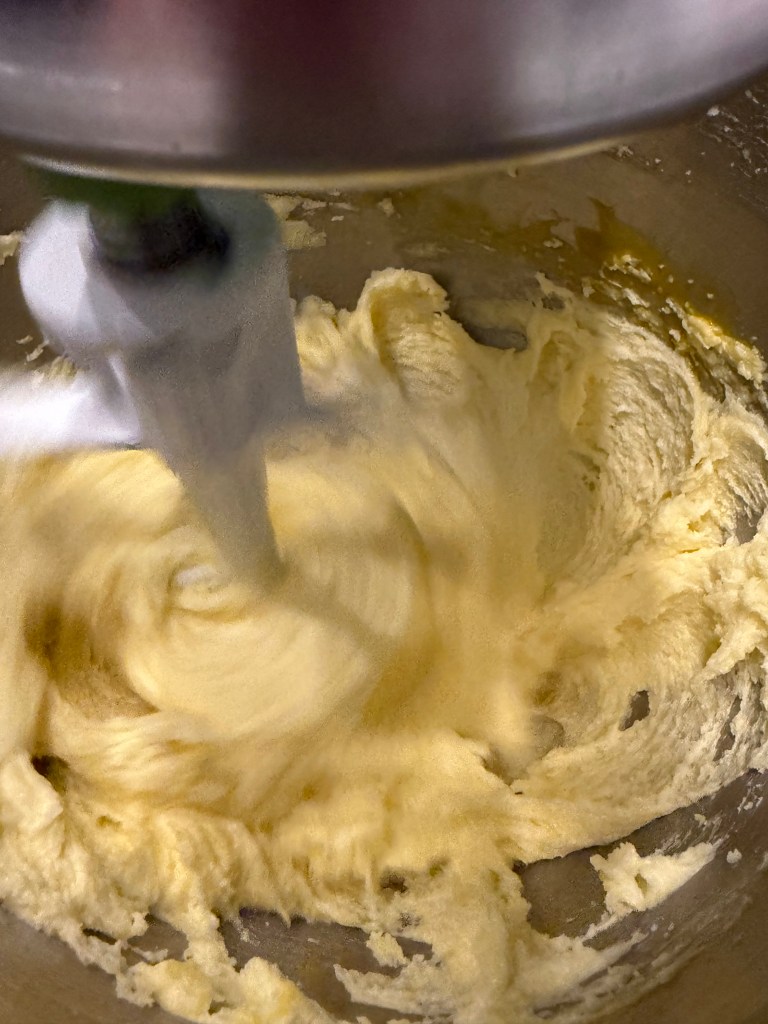
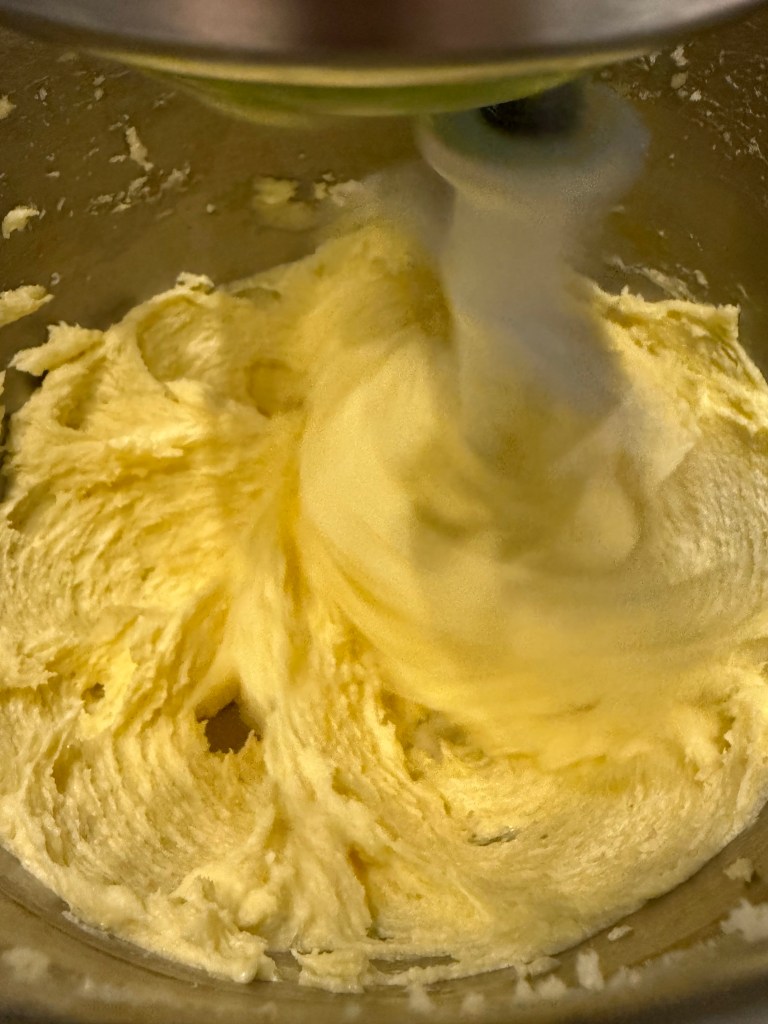
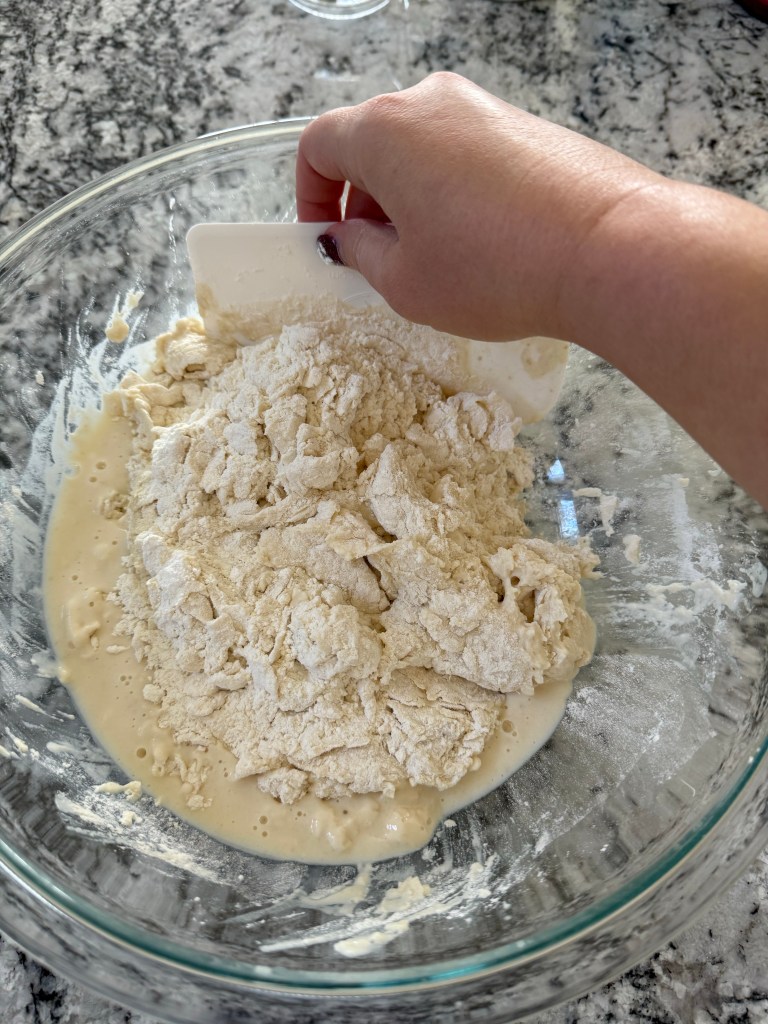
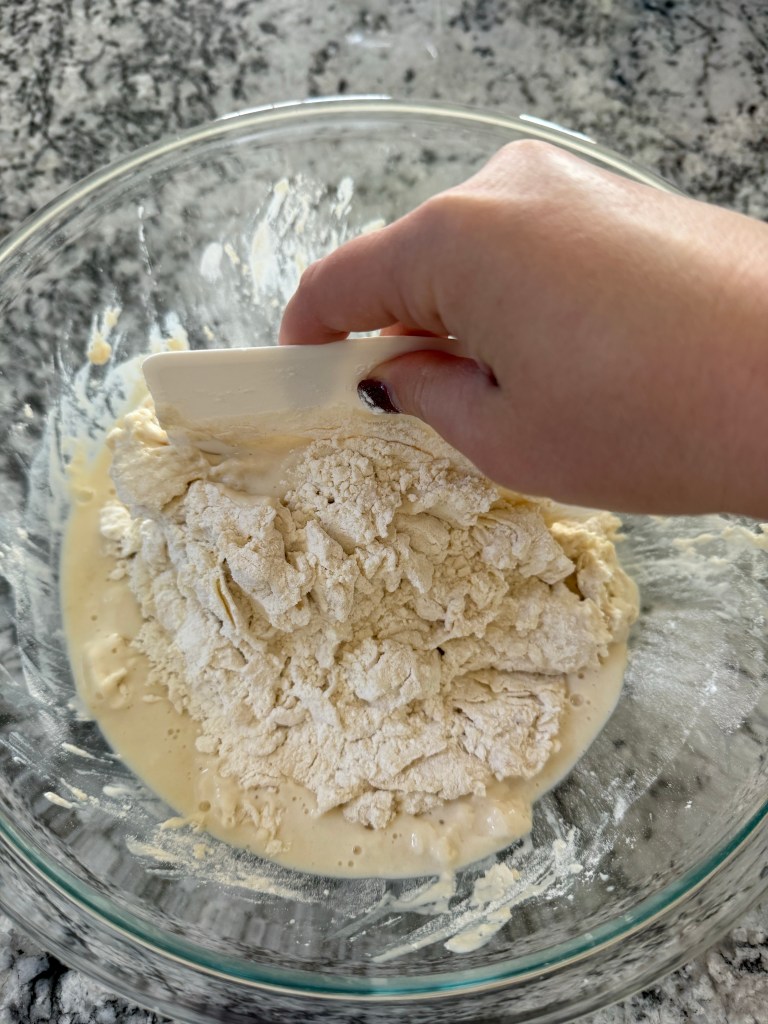
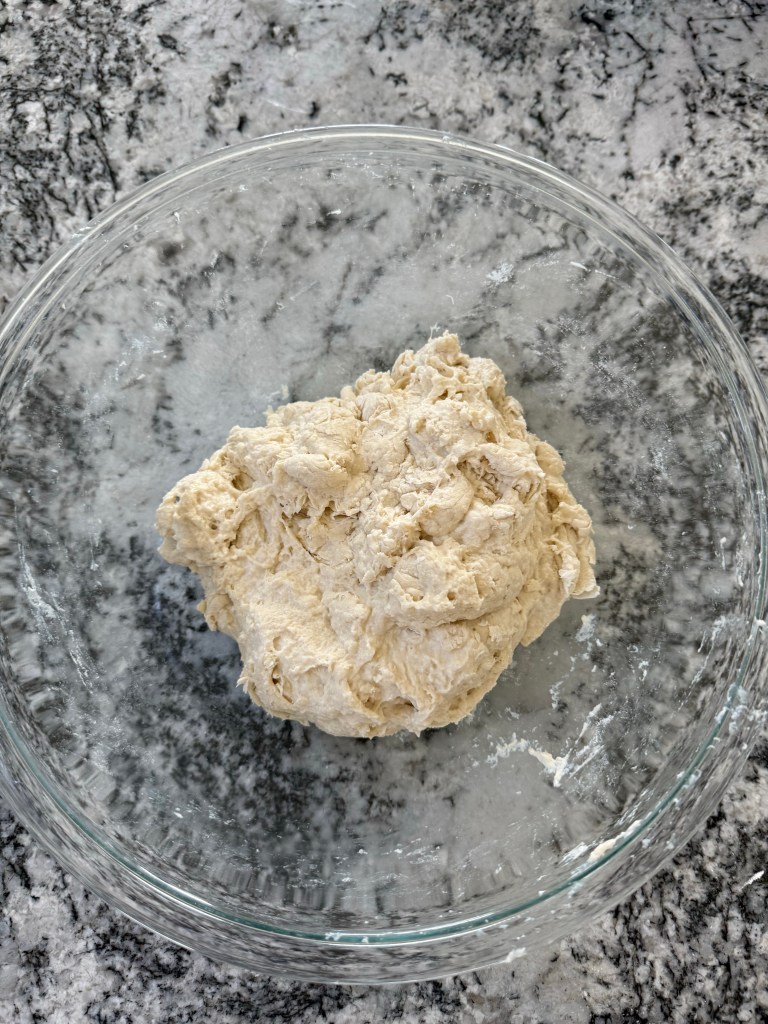
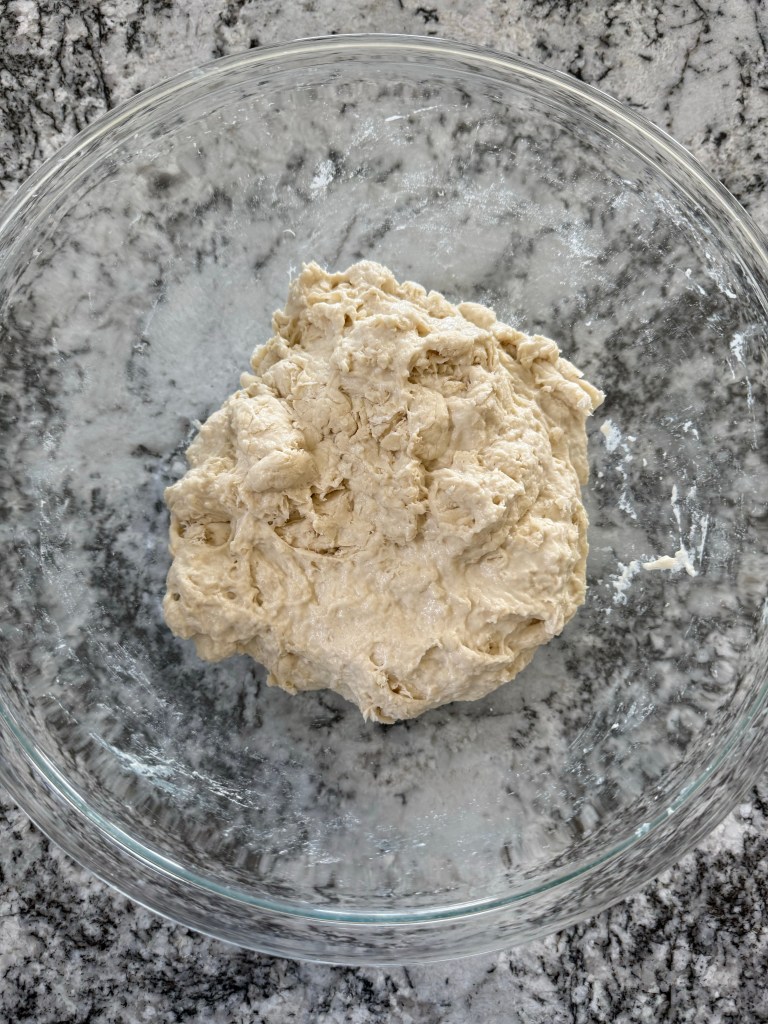
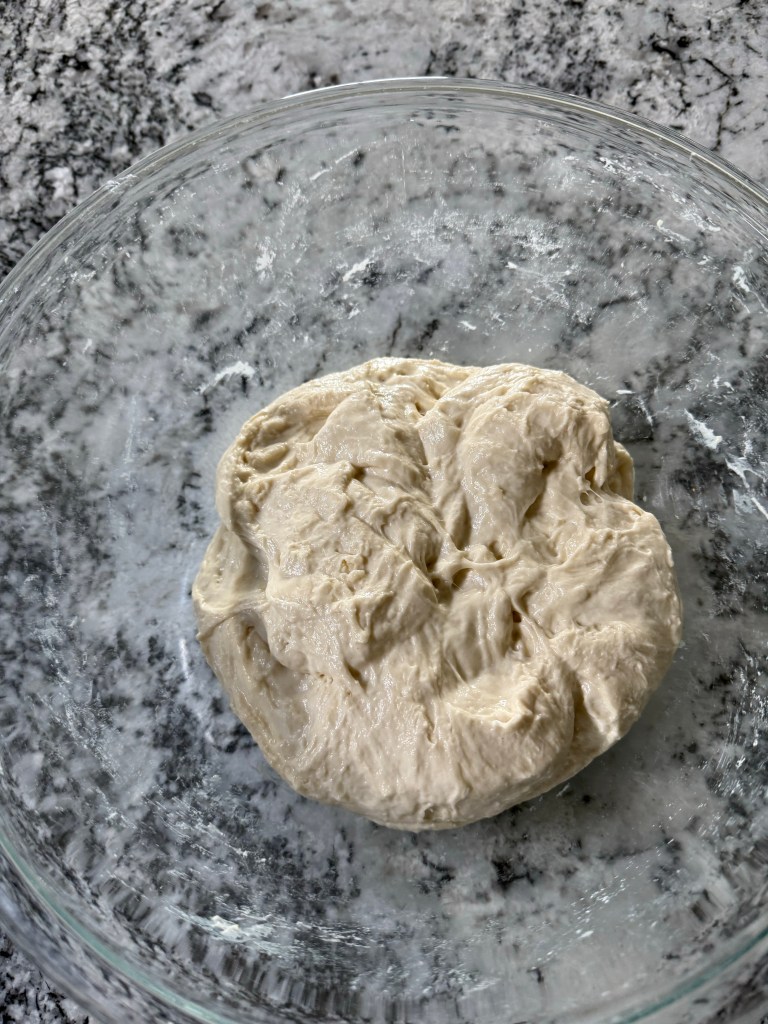
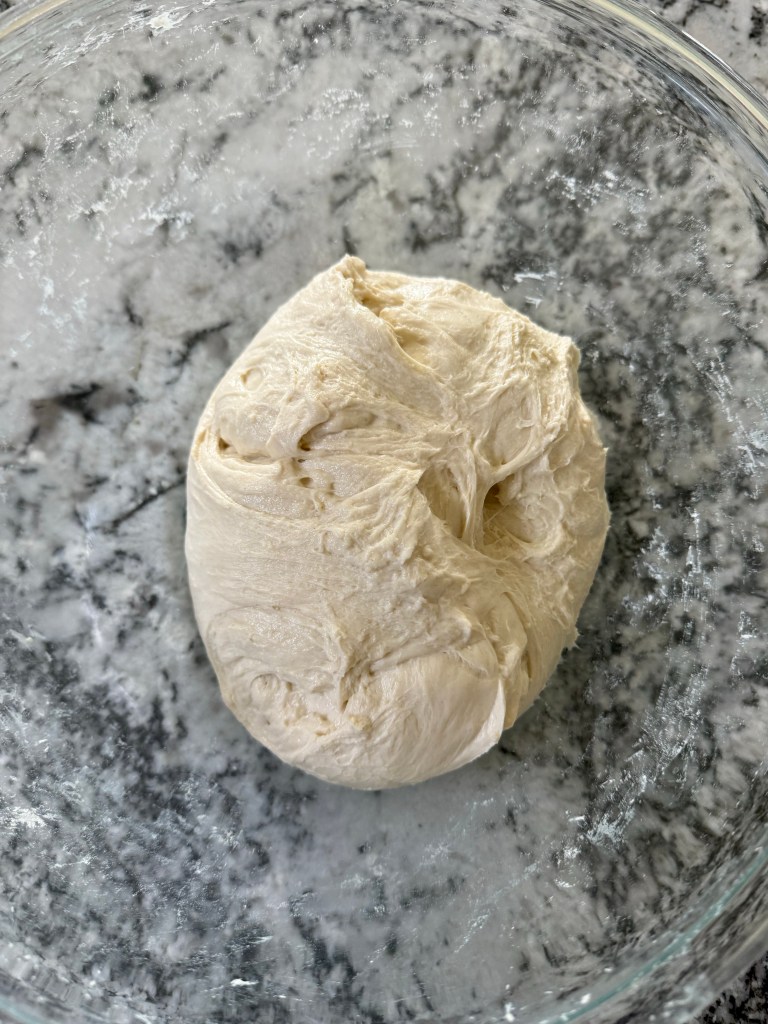
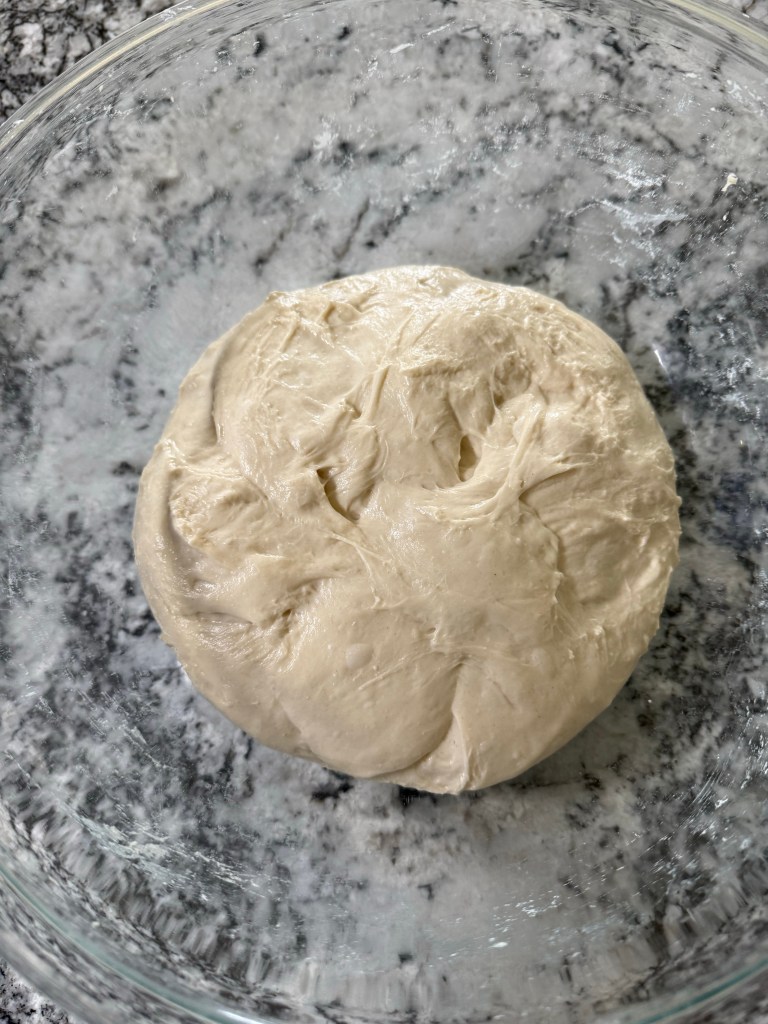
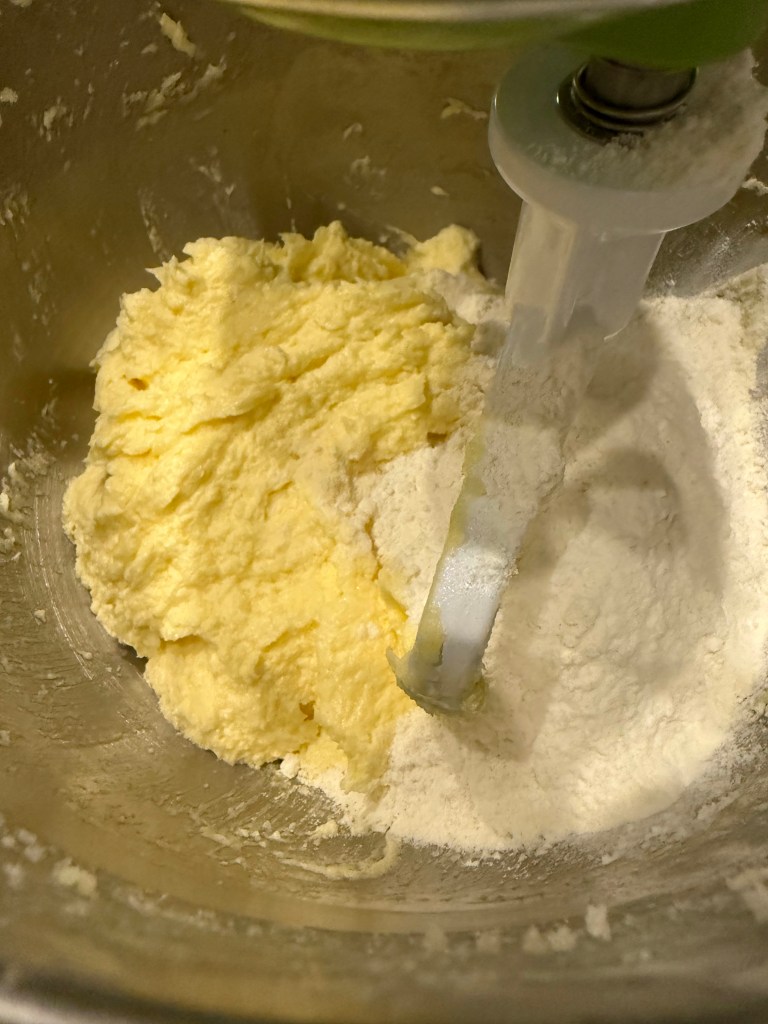
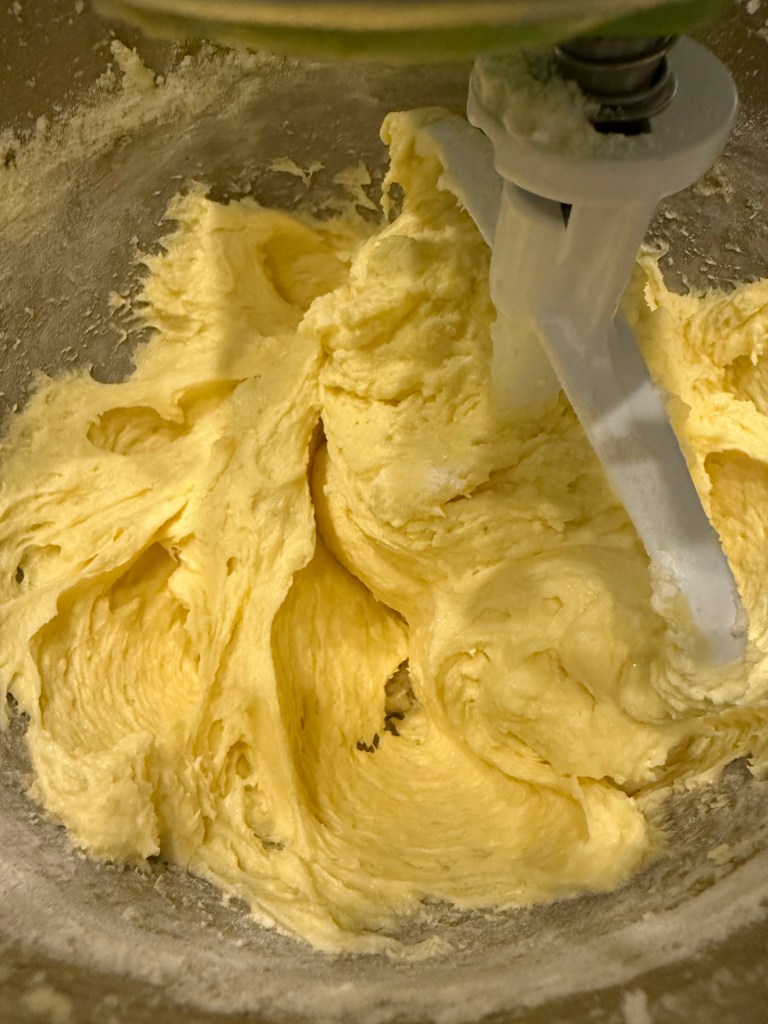
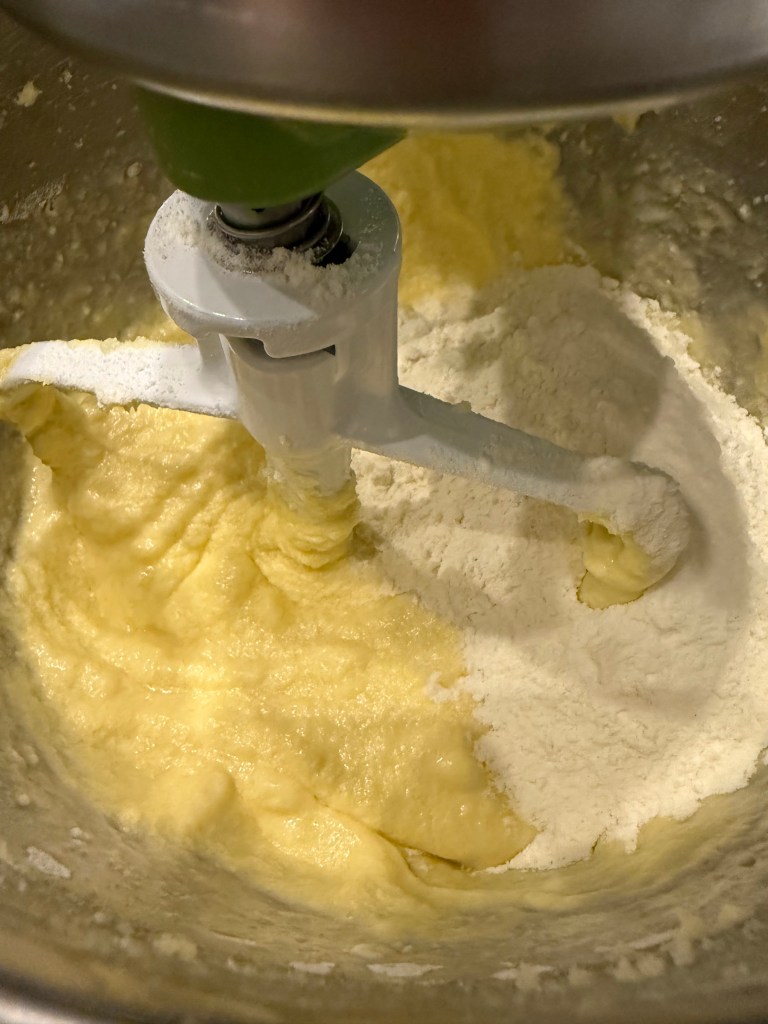
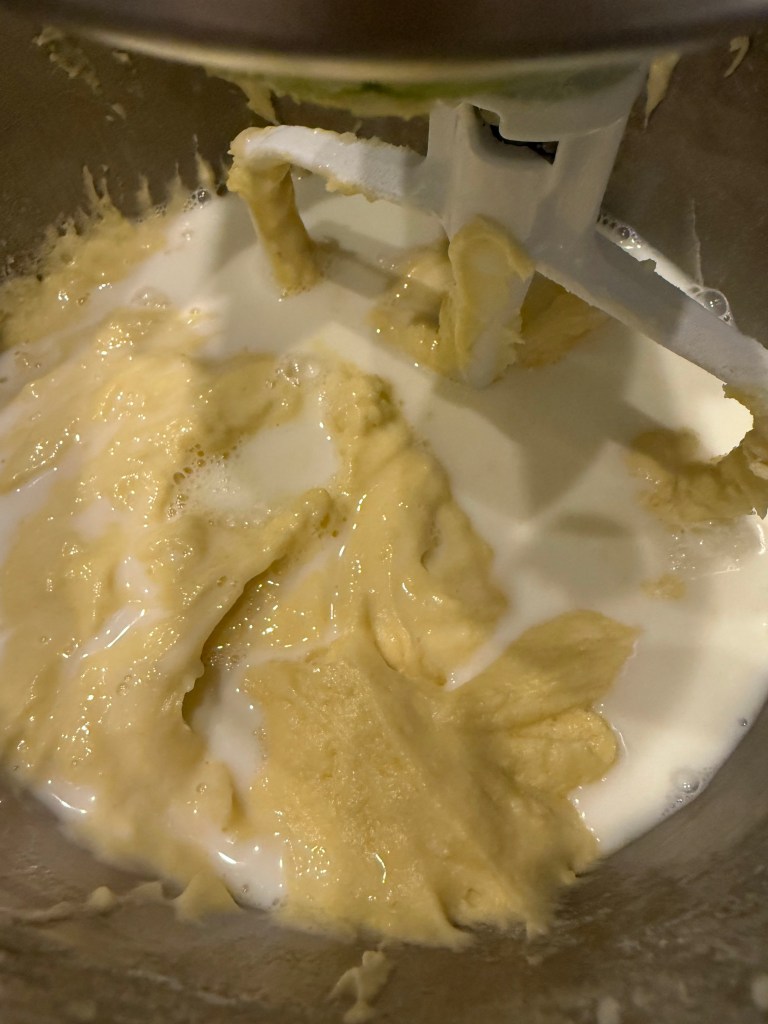
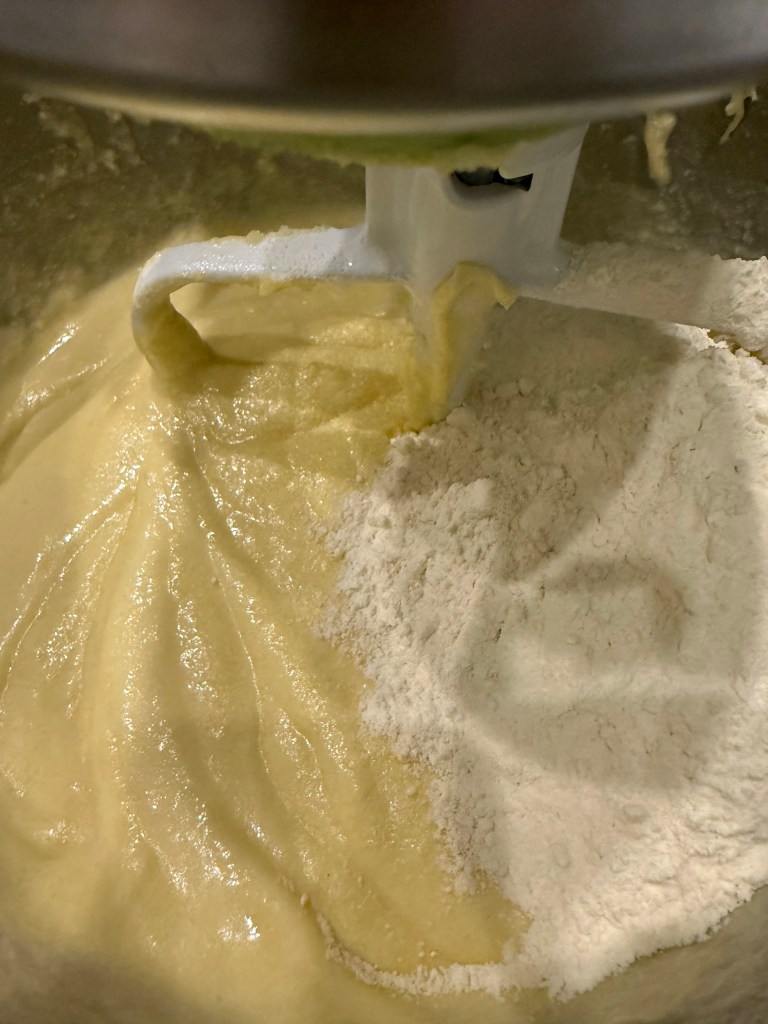
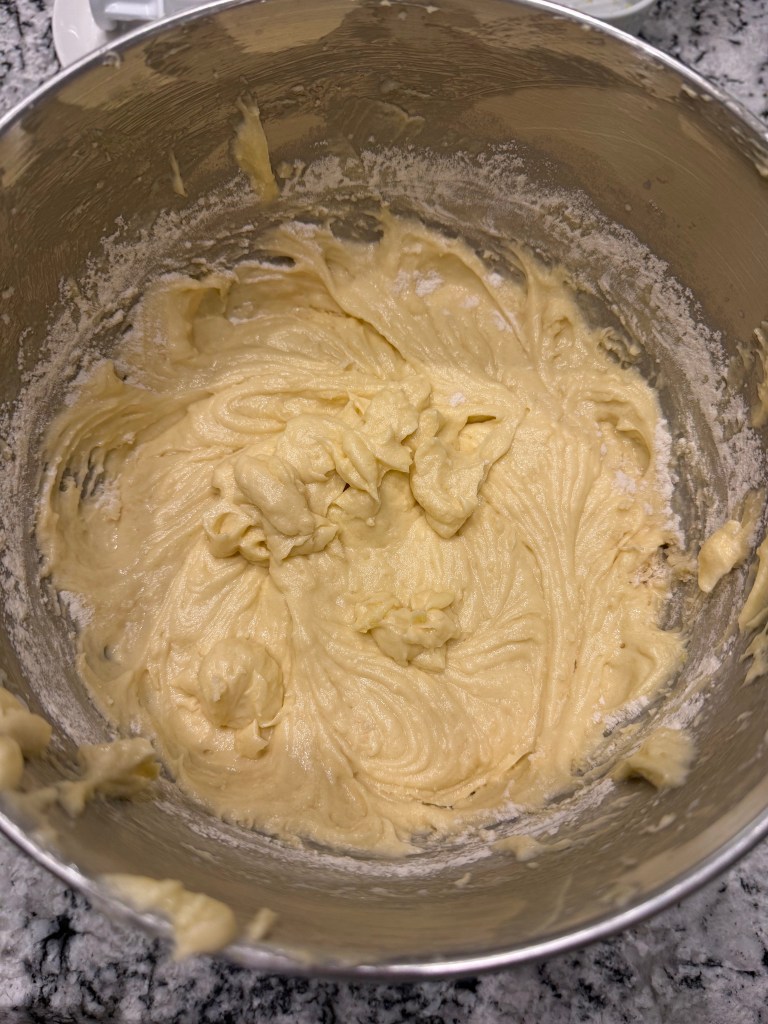
Next, I alternated stirring in the flour and the milk.
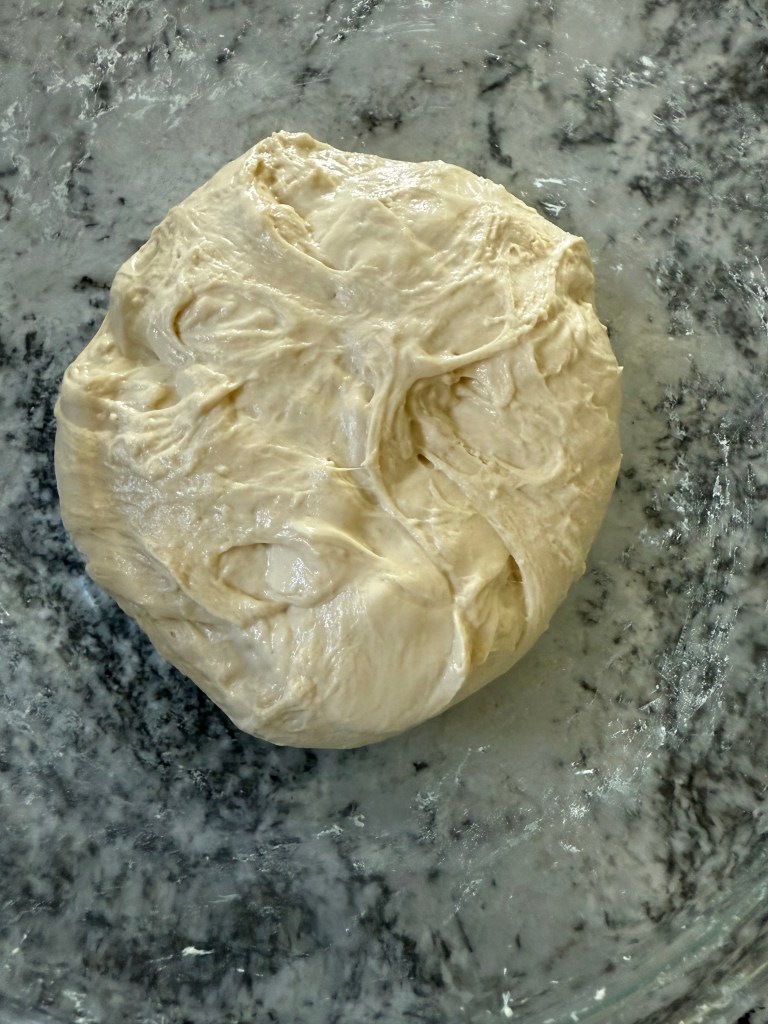
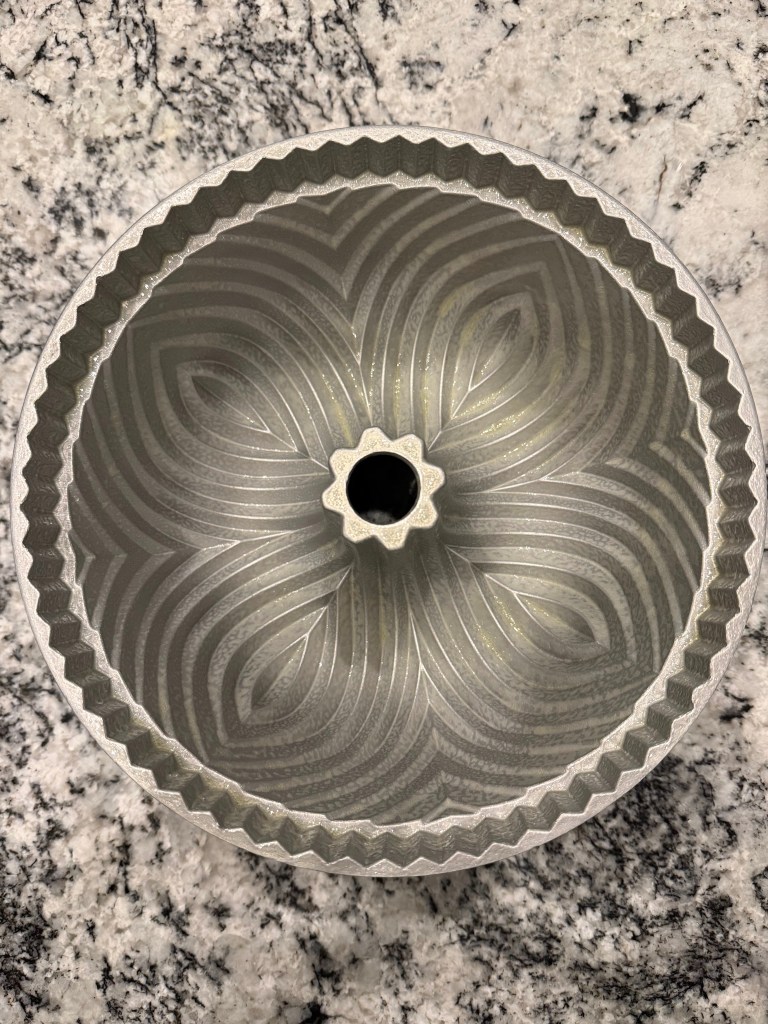
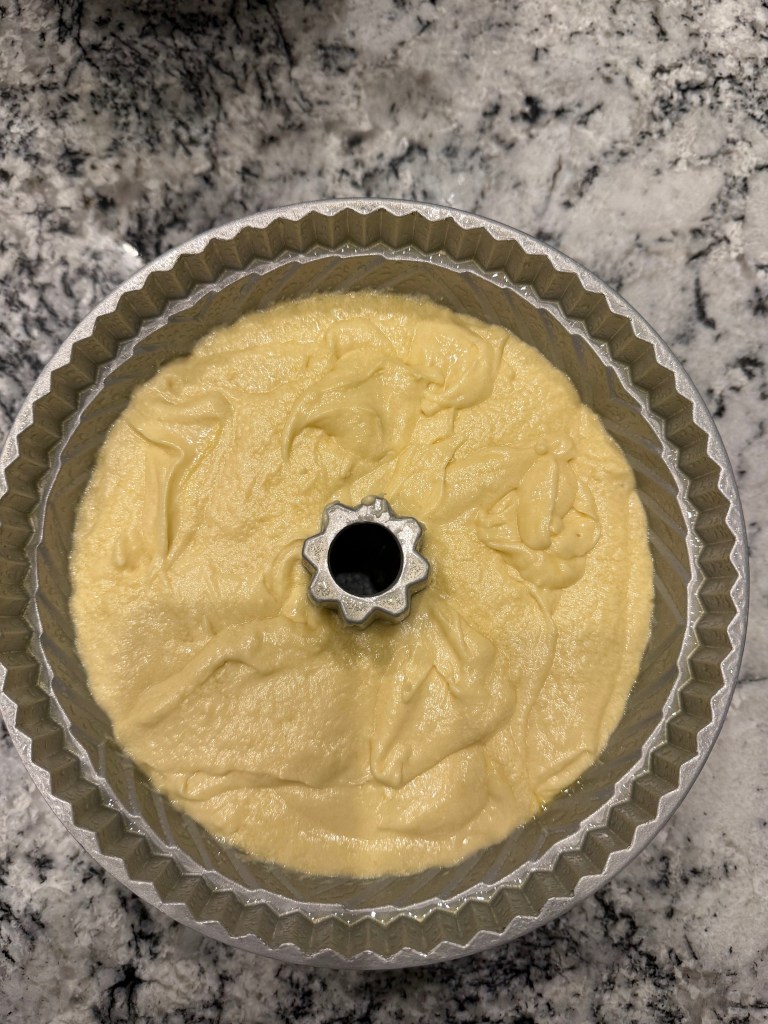
With my batter ready to bake, I prepared my bundt pan. Normally I would prepare the pan before mixing my batter. I typically use the classic method of generously buttering the pan with a pastry brush and then flouring the pan, but the book suggested that I could merely spray the pan with oil liberally just before scooping the batter in and all would be well. I was skeptical, but I’ll try anything once.
I put my cake into the oven and watched as it baked. It all looked good for the first 20 minutes, but then the center of the cake began to dome upwards. I watched helplessly. There was nothing I could do but wait for the cake to be finished baking.
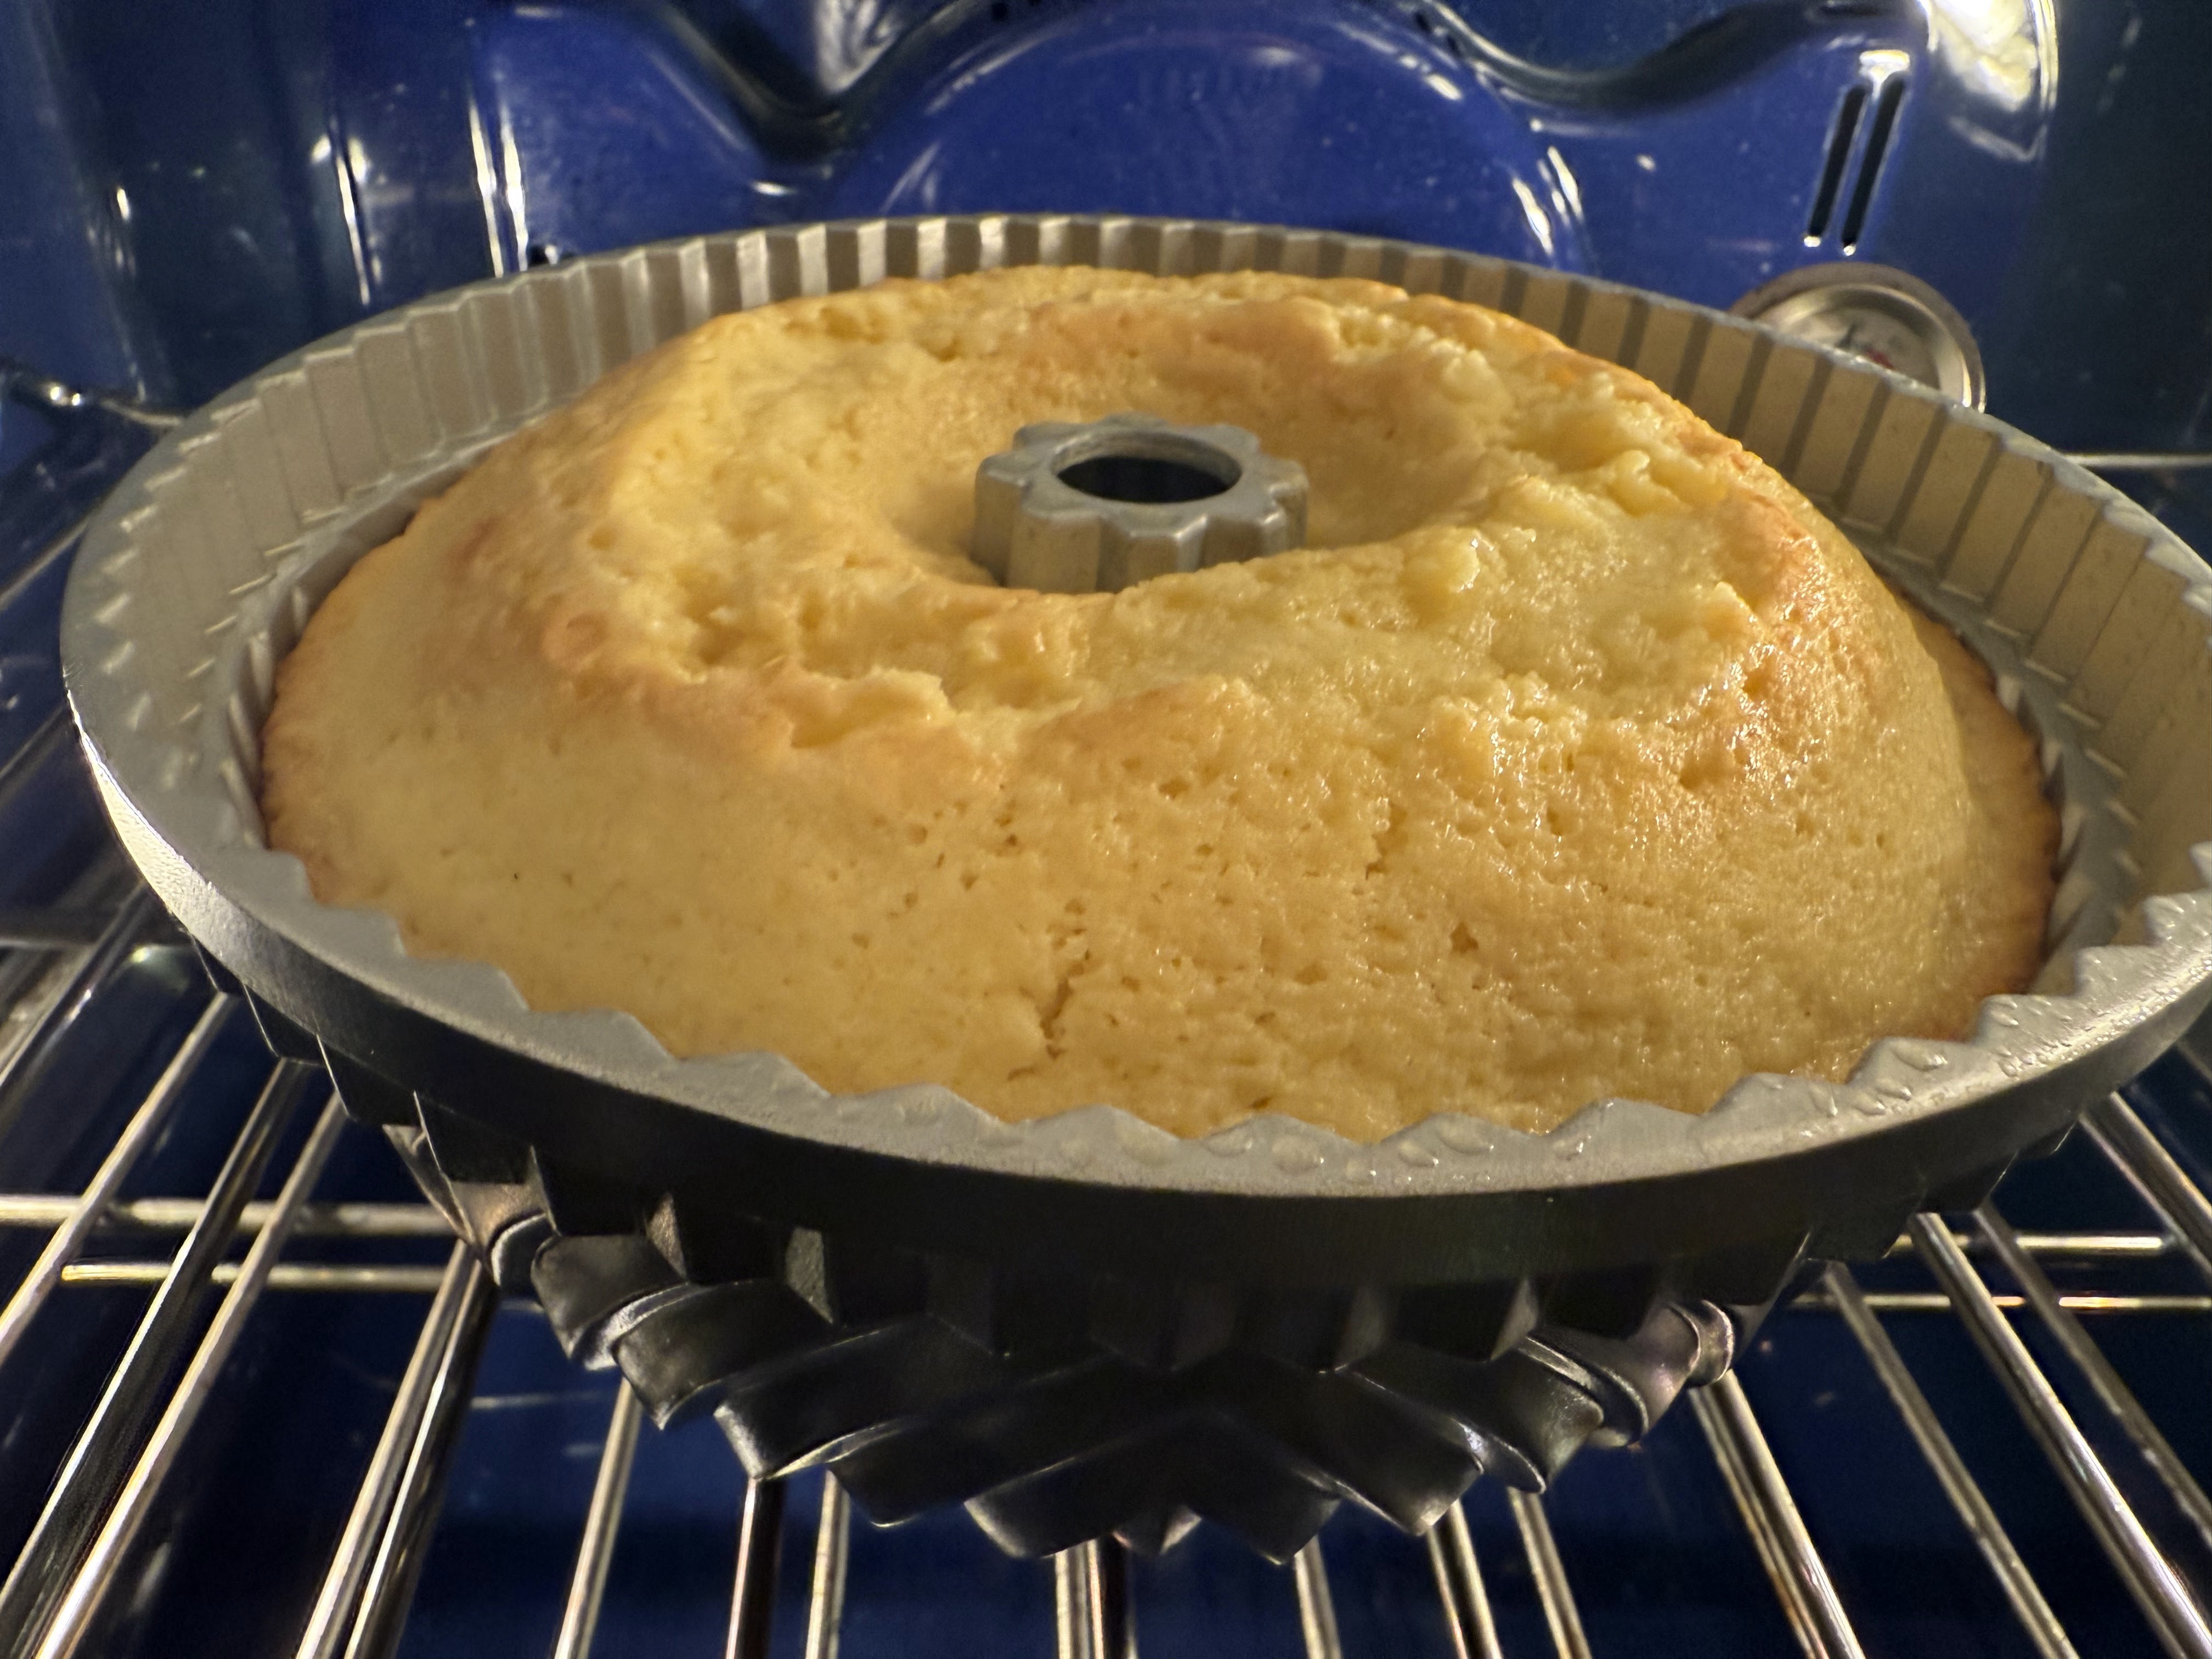
The recipe said the cake should take 40 minutes to bake, but mine was in the oven for over an hour before the cake tester came out clean.

I let the cake cool in the pan for 10 minutes as recommended, then attempted to get it out of the bundt pan. Friends,it was stuck in there. With the cake still warm I couldn’t get it out of the pan without completely mauling it, so I took a page out of the angel food cake recipe and flipped the cake-in-the-pan over on a cooling rack to cool with the hope that gravity would assist me. Unfortunately, this did nothing. I ended up using my least rigid spatula to pry the cake away from the pan once it was fully cooled. It was not my best moment, but the cake still looked alright, so I whipped up the glaze.
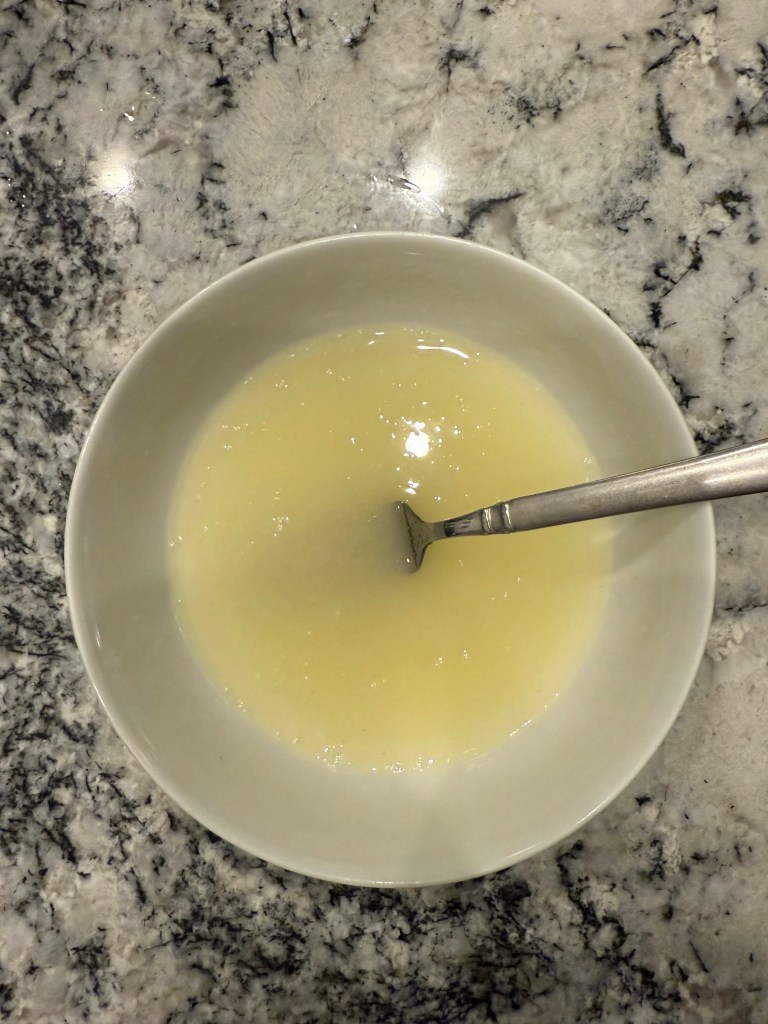
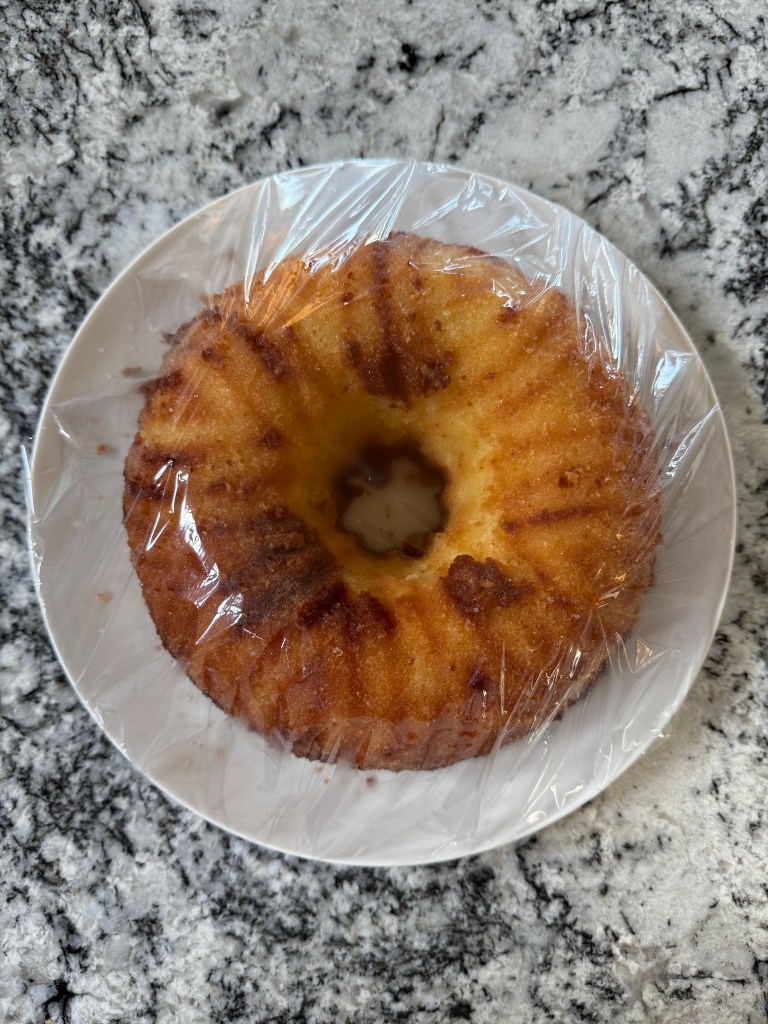
Before plating the cake I cut off the domed portion to help it sit flat on the plate. I drizzled the glaze over the cake, then wrapped the whole thing up to take to a meetup with some friends.
My friends declared the cake to be delicious. They had no idea of the fight I had just had with it. I agree it was a good cake. Lemony, but not overwhelmingly so. Sweet, but not too sweet. Very tender, and not dry in the least. I would absolutely make this cake again, but I would go back to the tried-and-true method of buttering and flouring the cake pan, and I would lower the oven temperature in an attempt to avoid the doming I got with this cake.
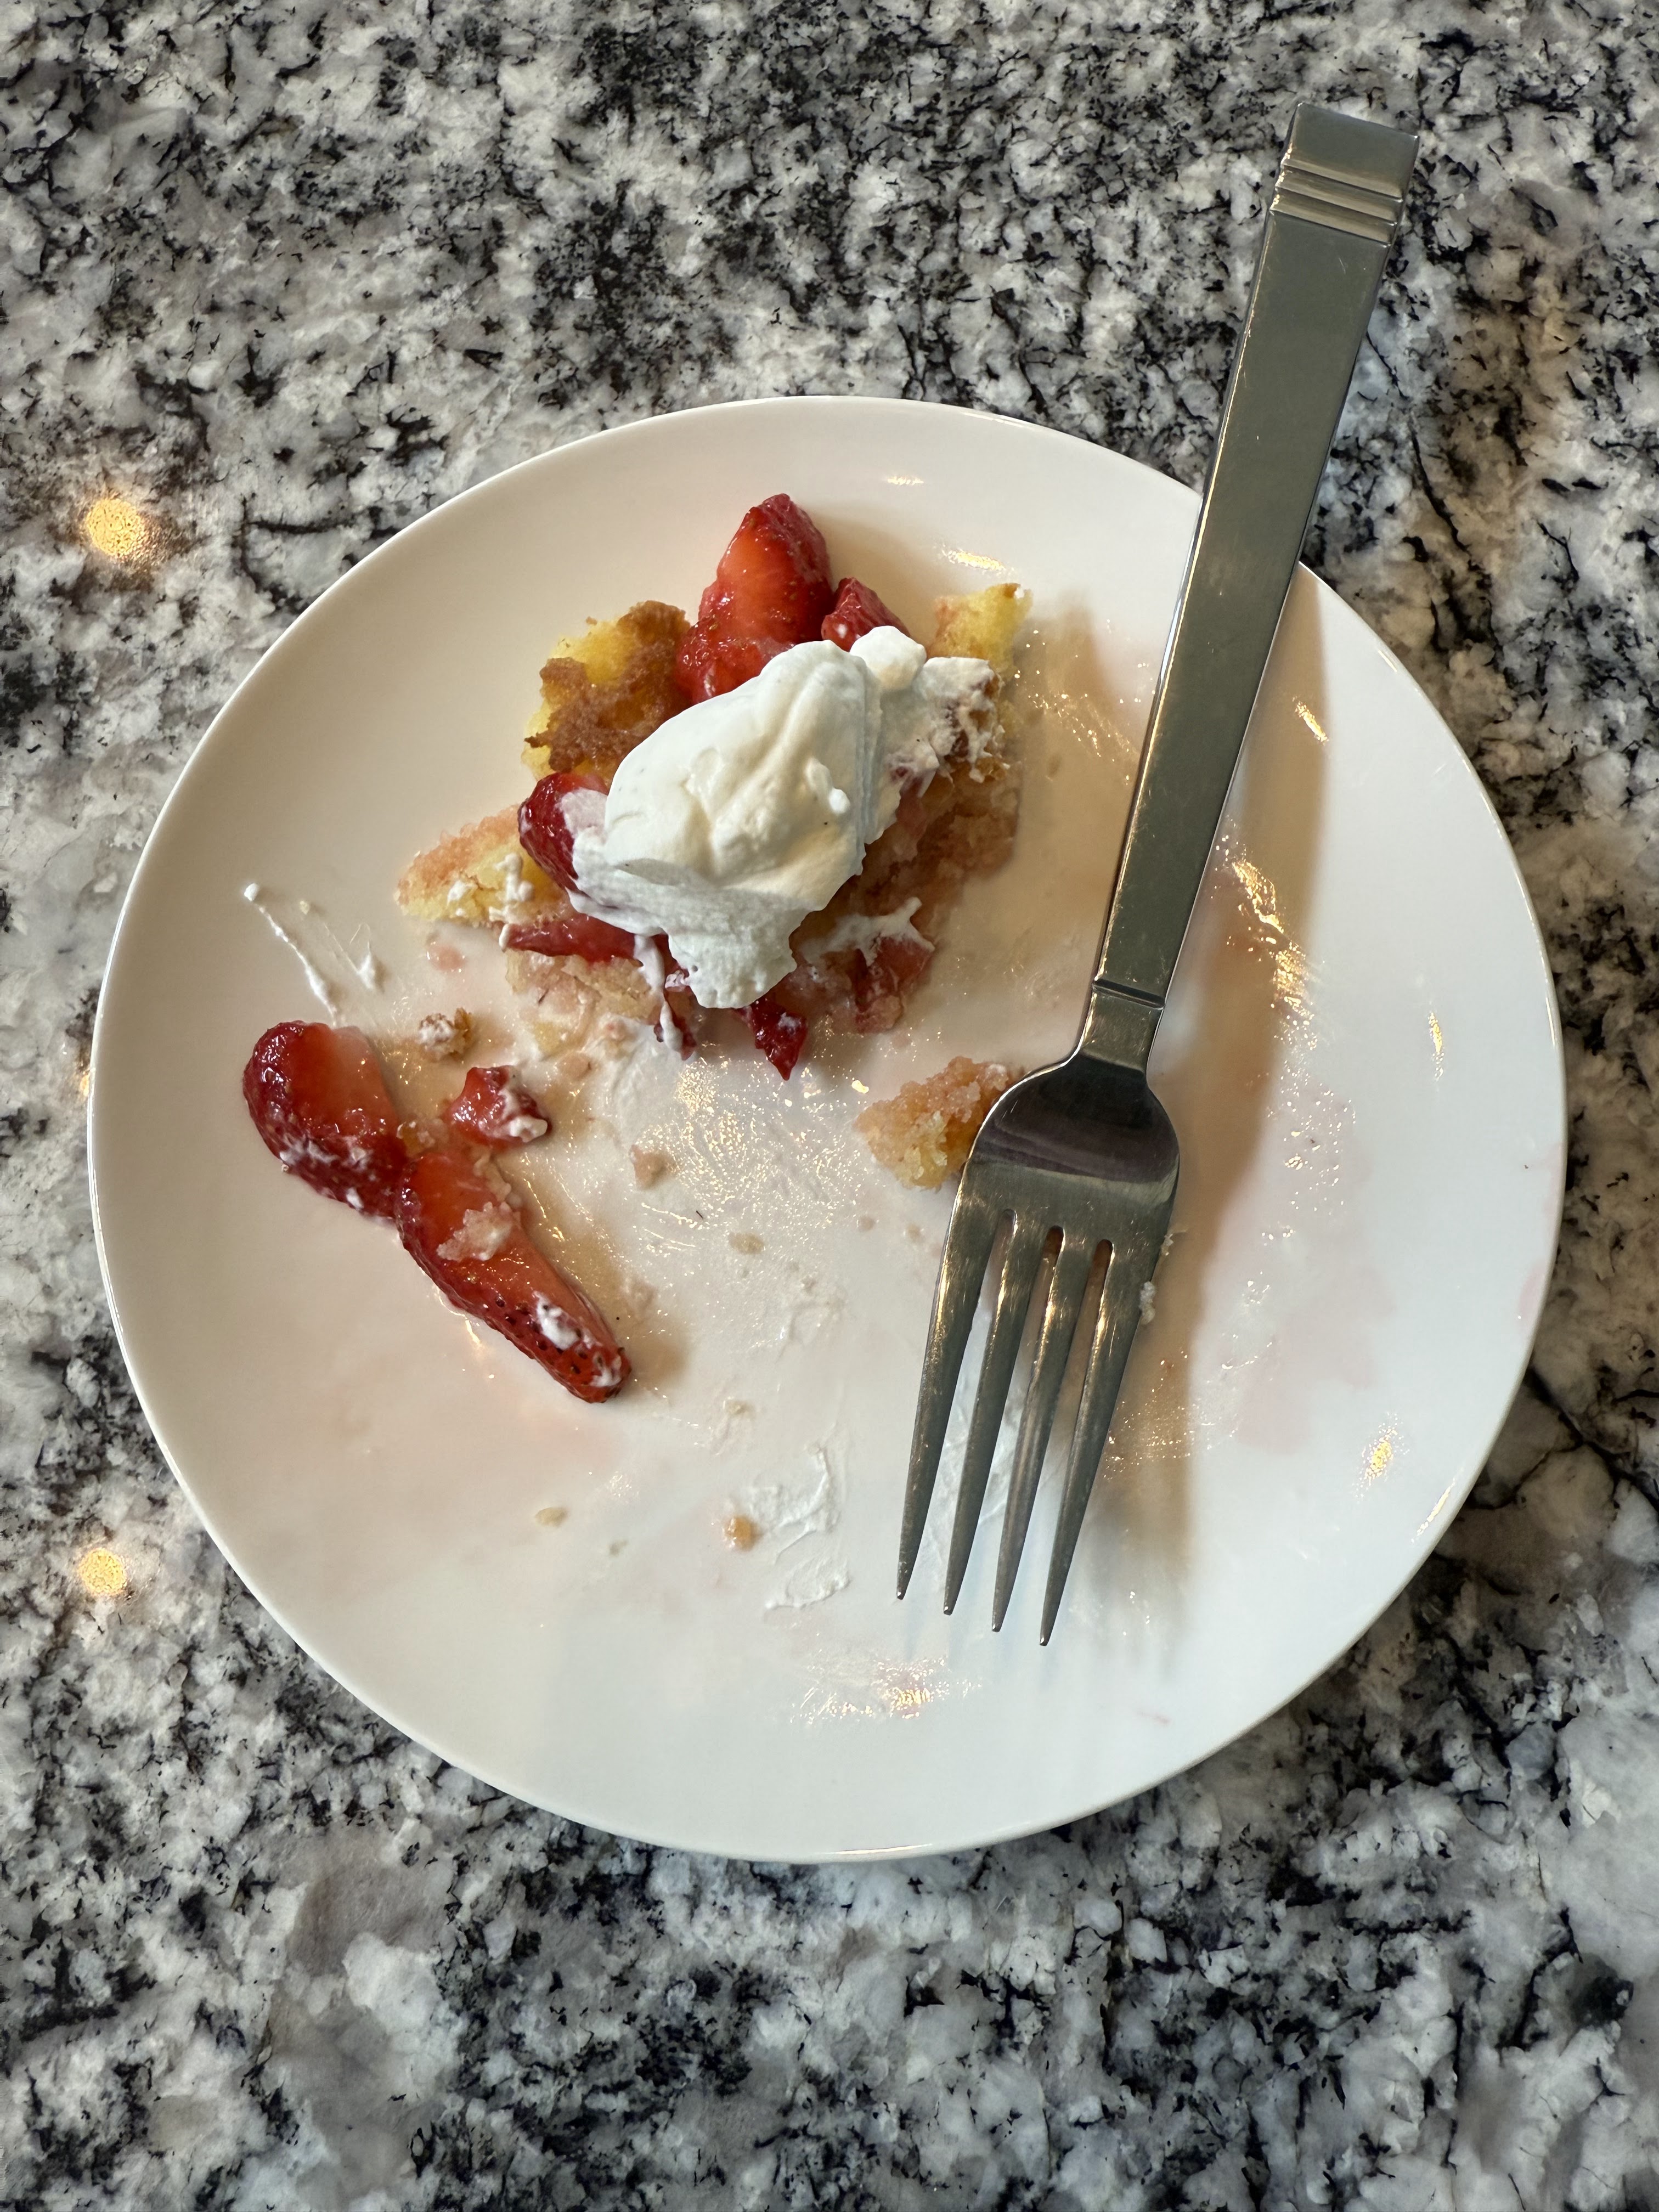
Lastly, this cake makes excellent strawberry “shortcake”. This was a great way to use up the leftover cake trimmings.
Until the next time: may your yeast always rise and your flour never run out