Raisin Pecan Bread: A Nutty Delight

Today’s bake is the second to last yeast bread recipe in the King Arthur Baking School book.

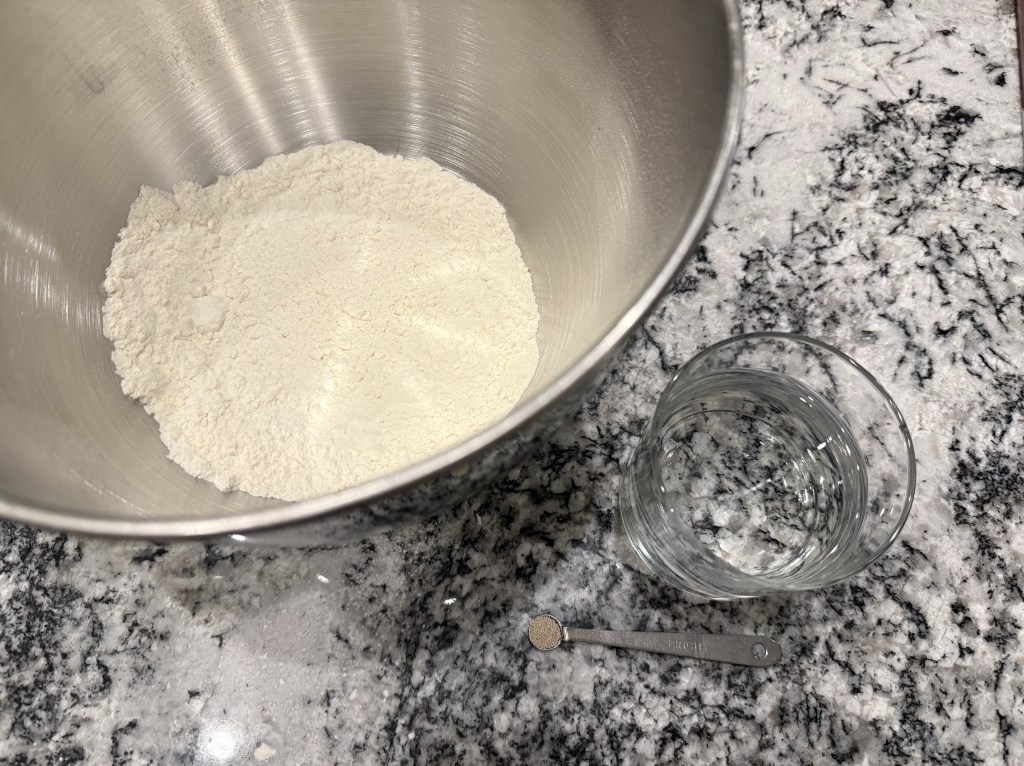
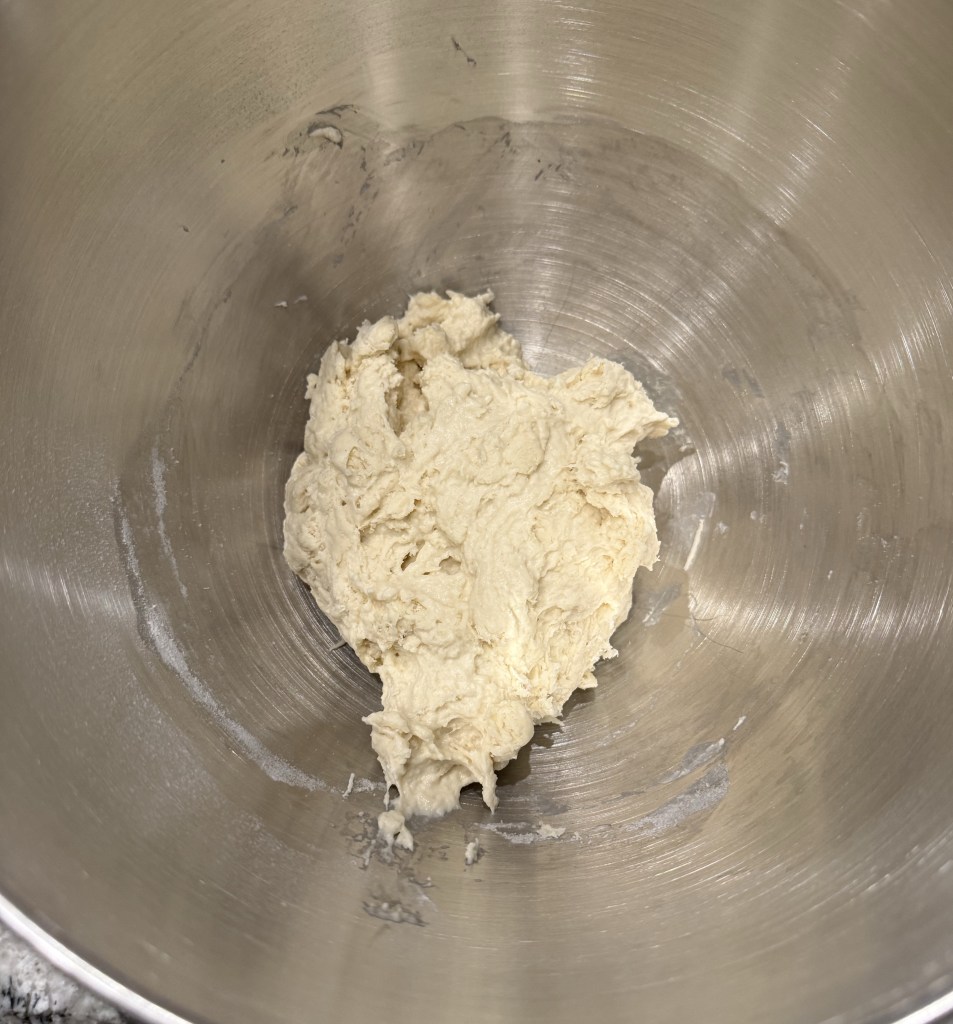
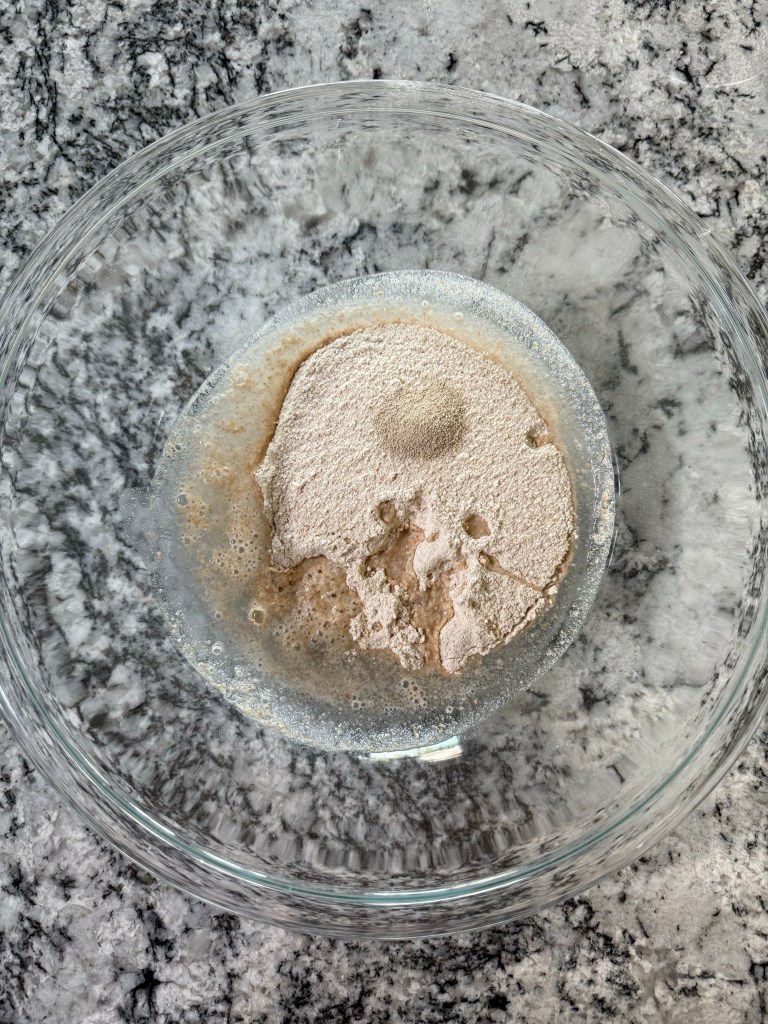
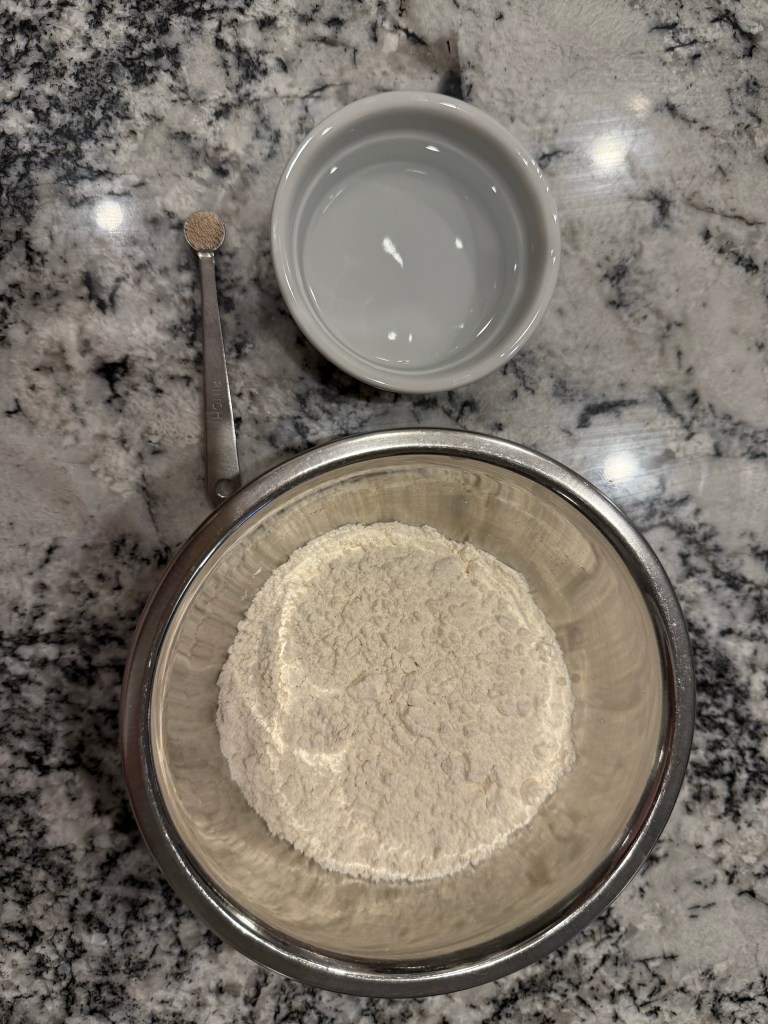
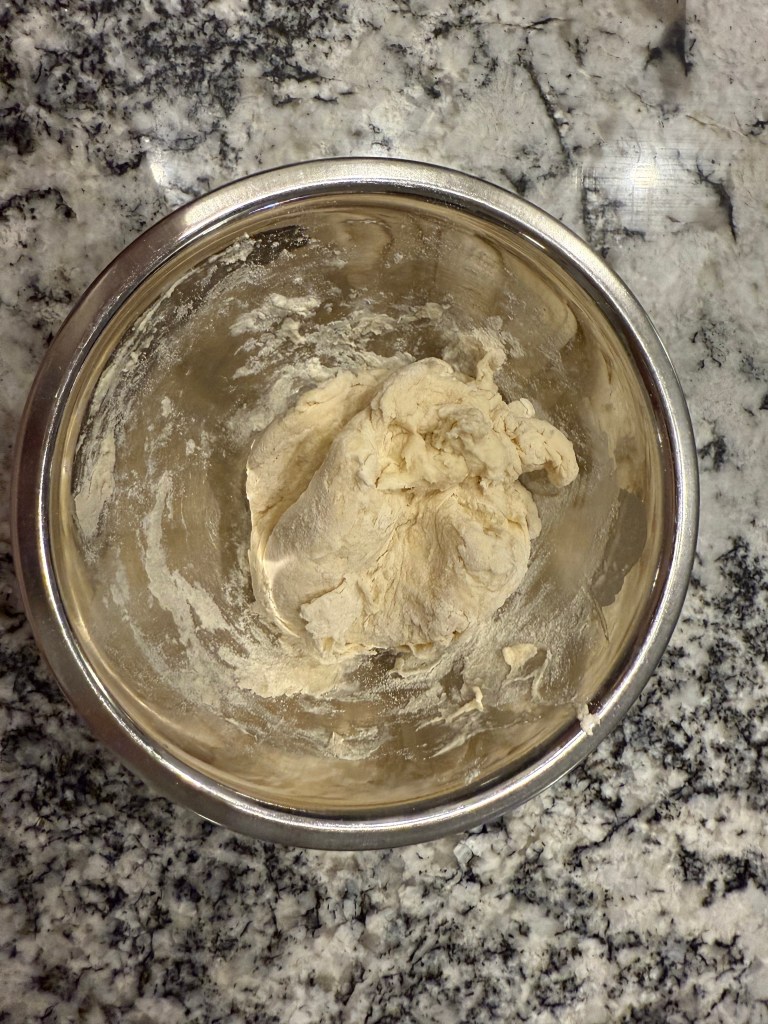
The night before my bake I mixed the biga. This was quite a stiff preferment, and after mixing the flour, water, and yeast together I had to knead them in the bowl for a minute or two to incorporate the last of the flour.

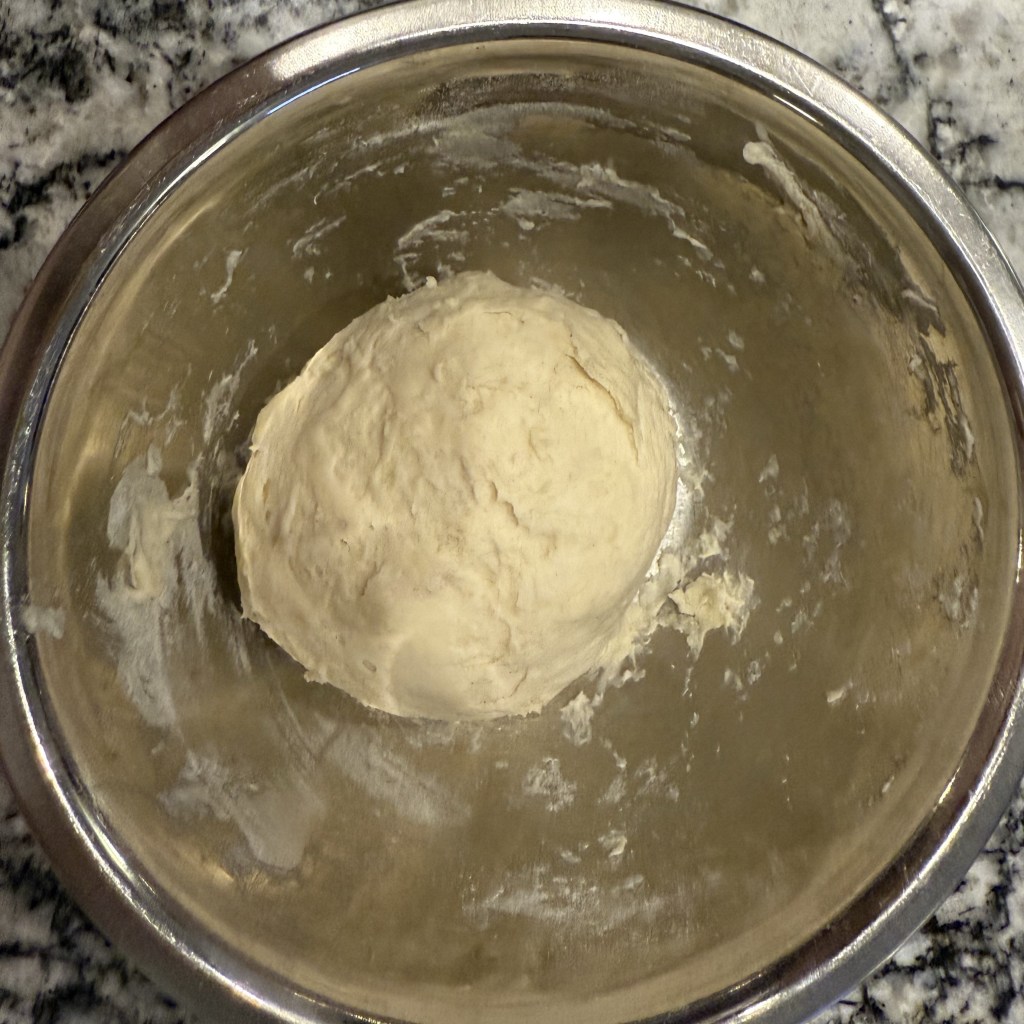
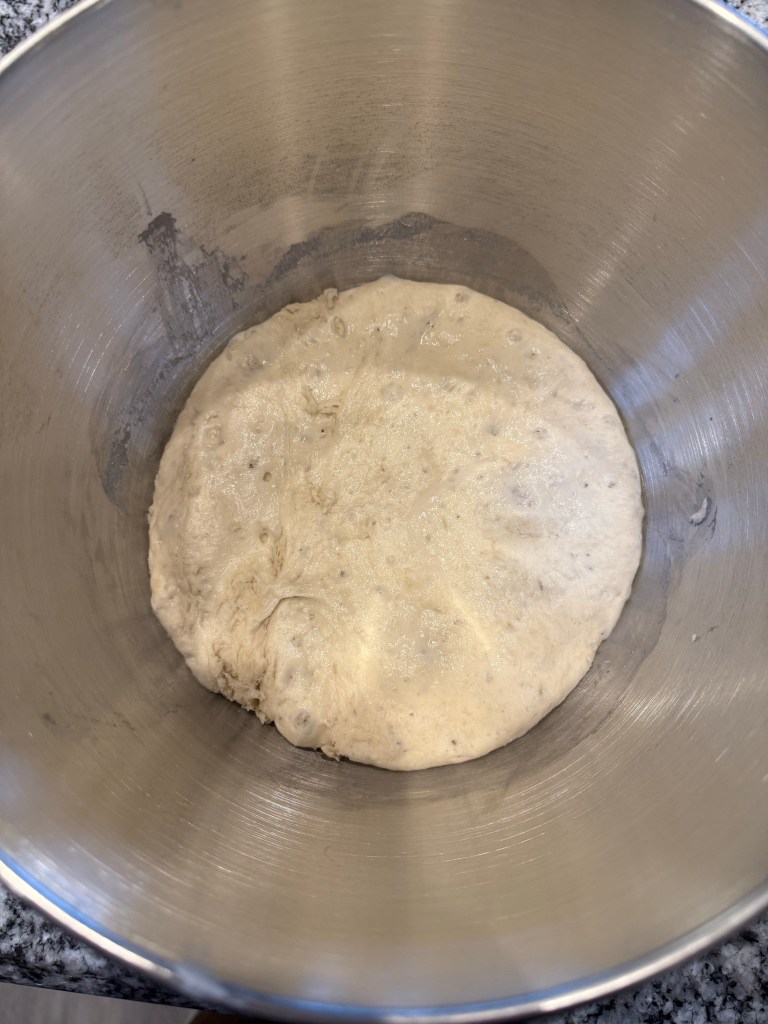
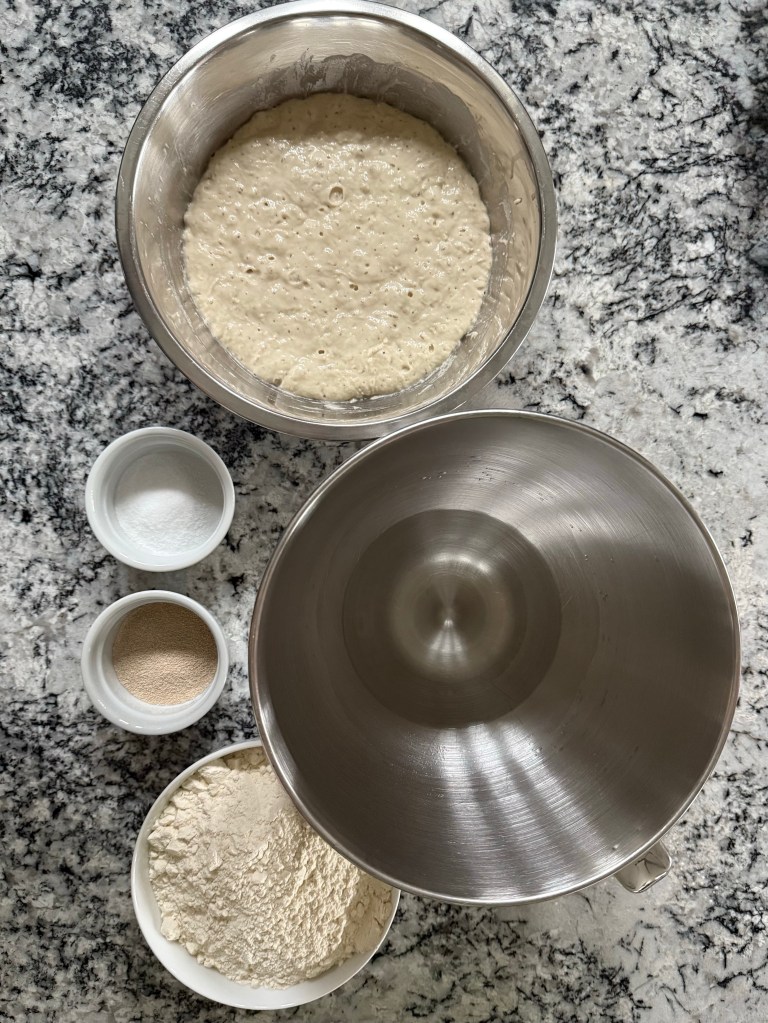
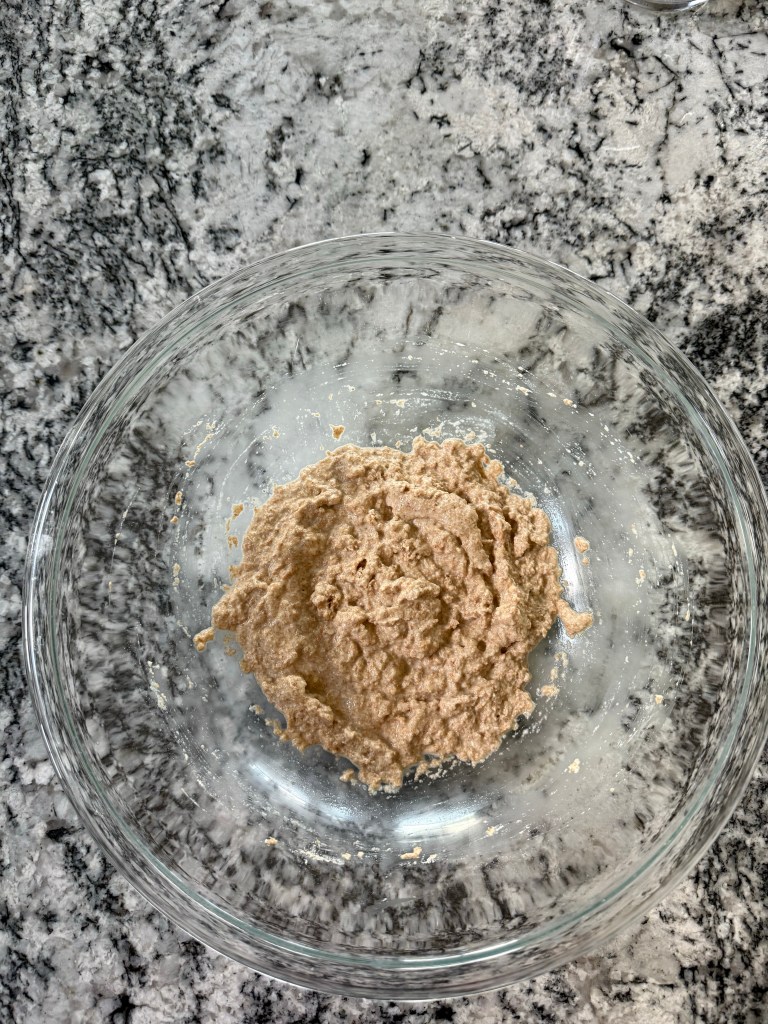
The biga was ready 11 or 12 hours later, but since the yeast gives one a window of several hours before it expends all its food and starts to deflate, I waited until a convenient time for me to start baking, which was about 15 hours after mixing.

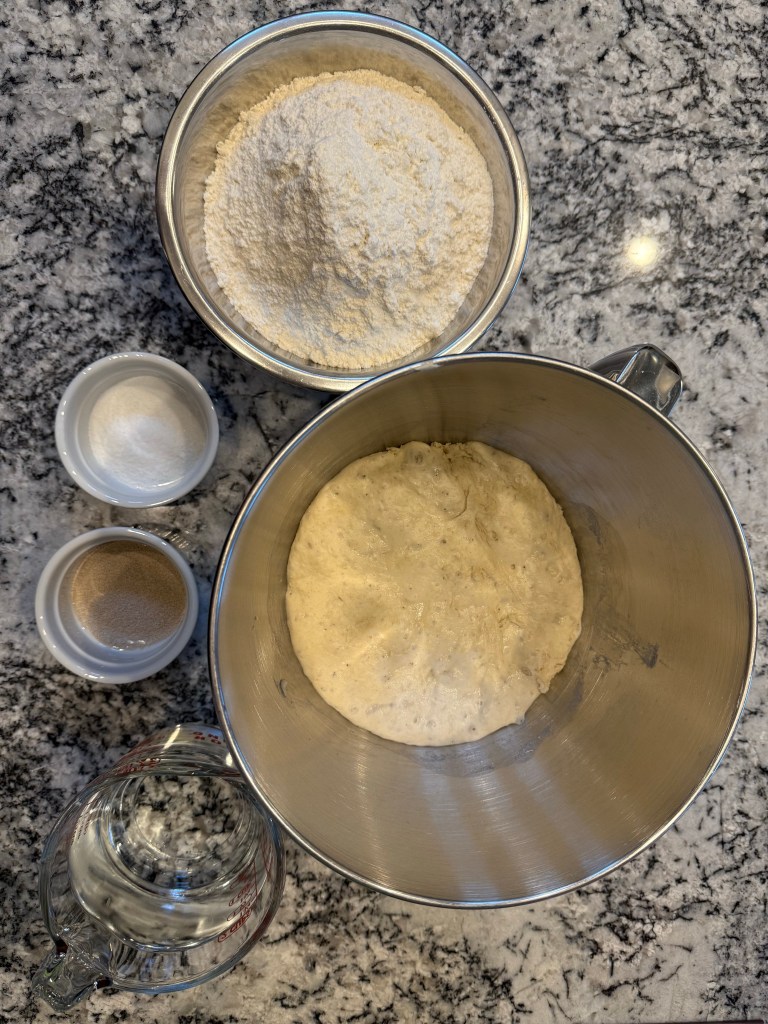
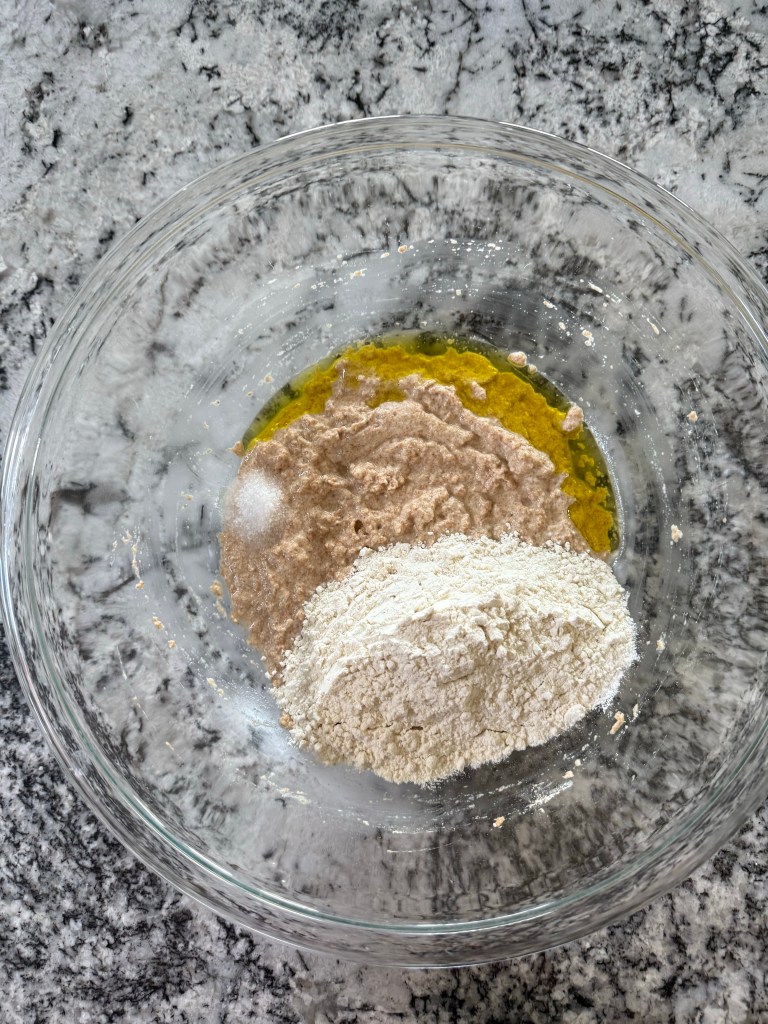
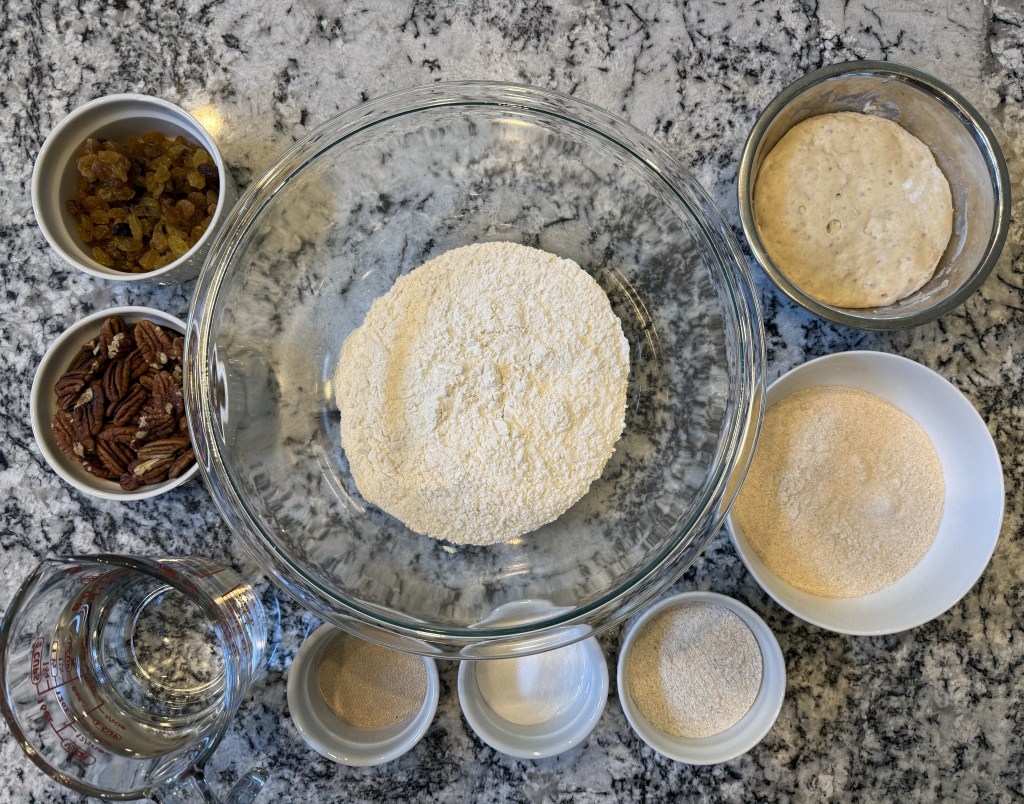
I gathered my mise en place for the bread, which included the risen biga. This recipe uses a portion of whole wheat flour (freshly milled in my case) and rye flour, and cleverly uses a bread flour with a higher protein content to make up for the reduced gluten in the rye and whole wheat flours.

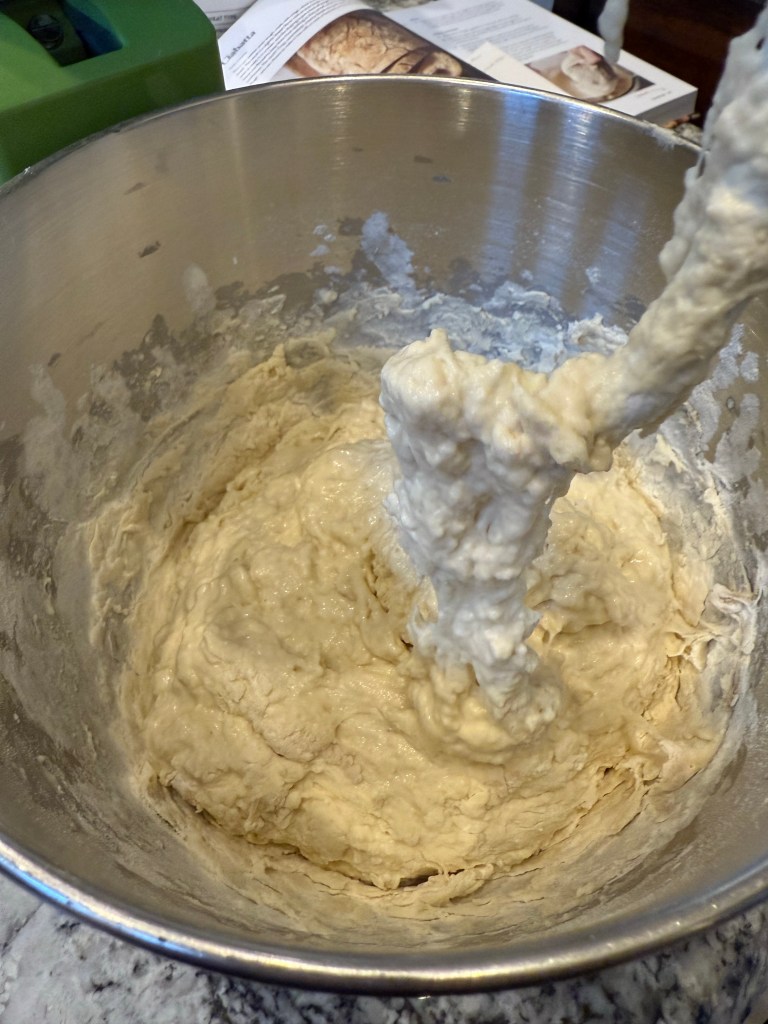
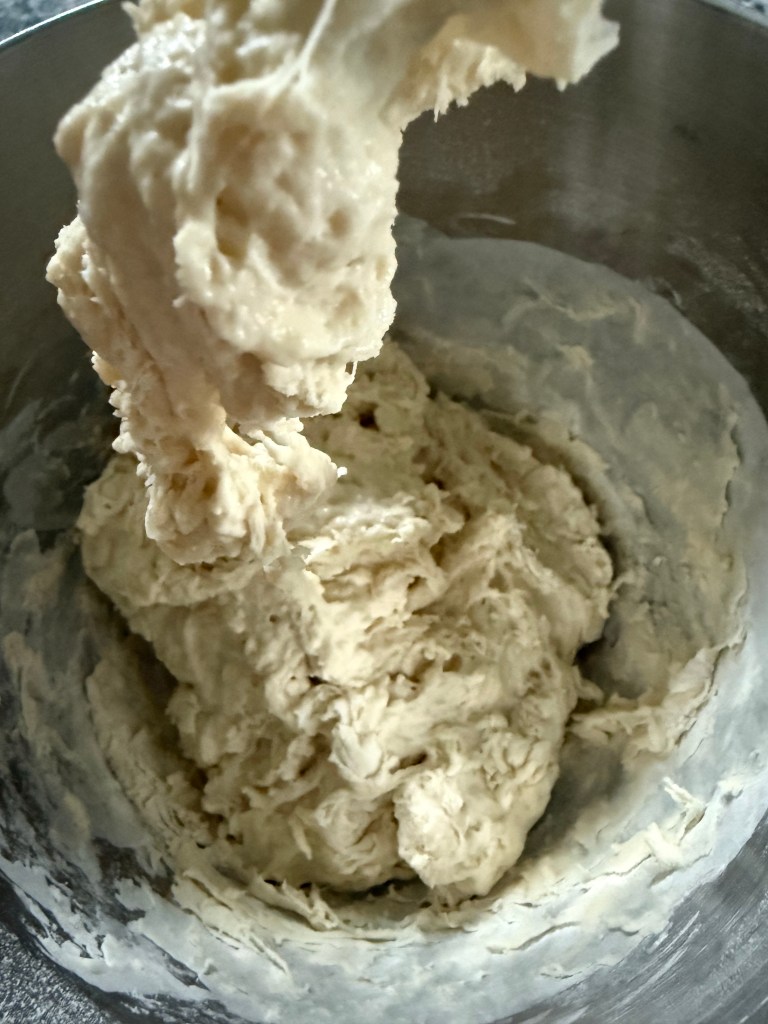
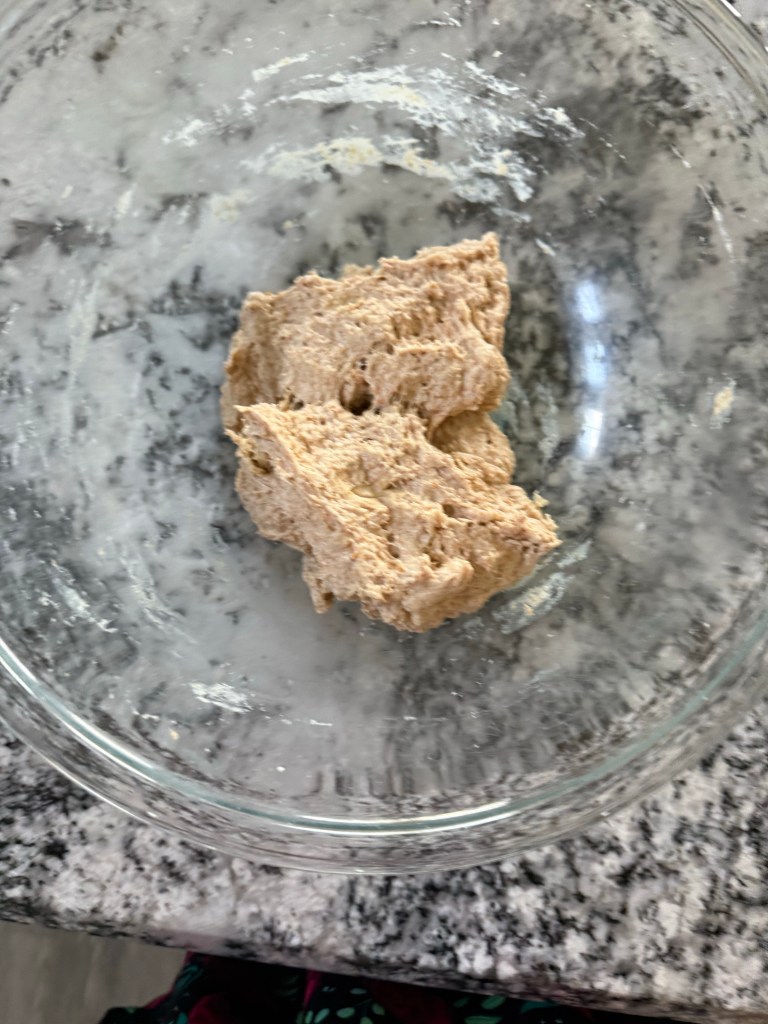
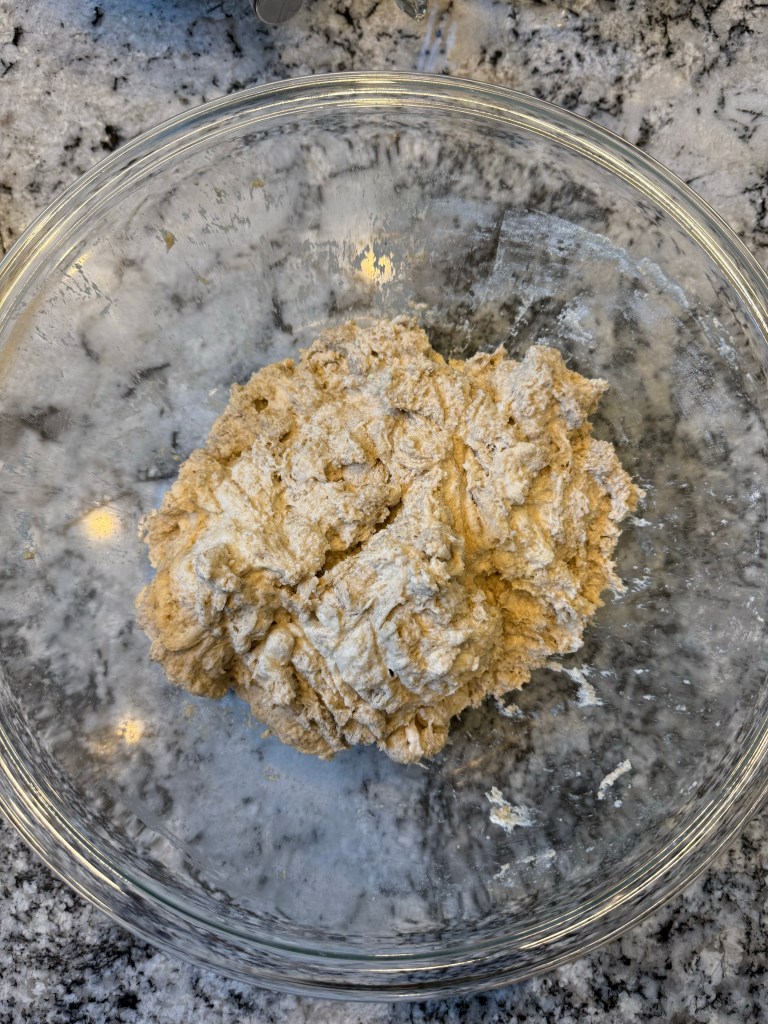
Then I mixed together all the ingredients except the raisins and pecans. The dough was rather shaggy, and there was some flour that didn’t quite get incorporated in the initial mix. I hoped this flour would get hydrated during the rest between mixing and kneading, but my hopes were in vain.

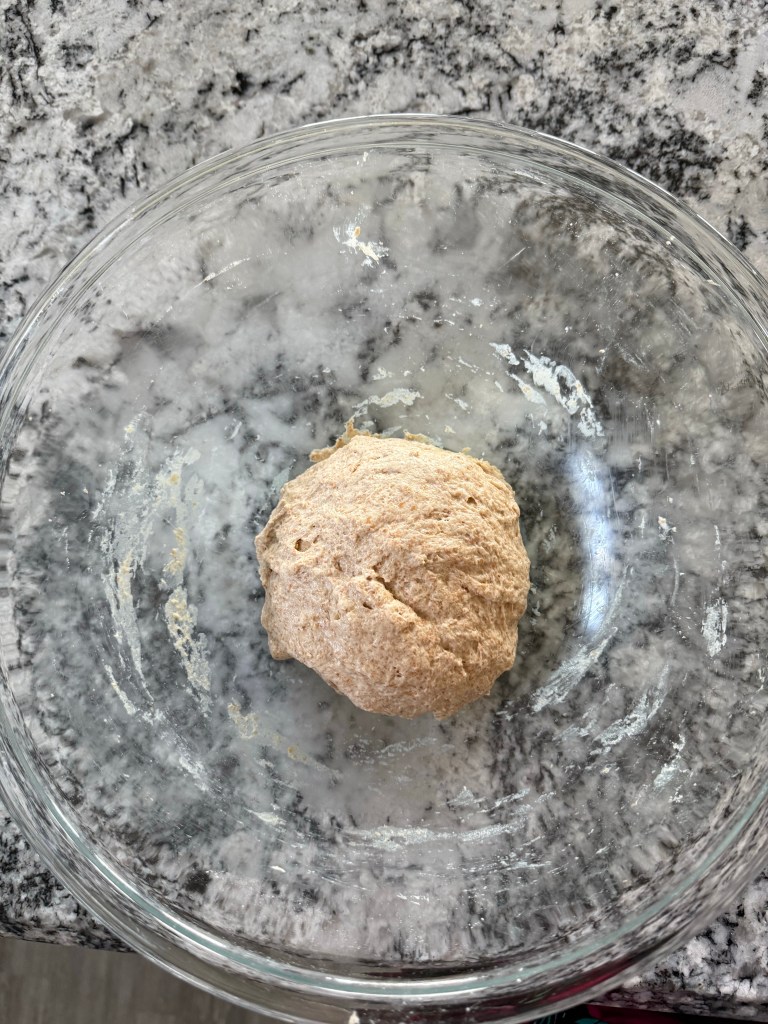
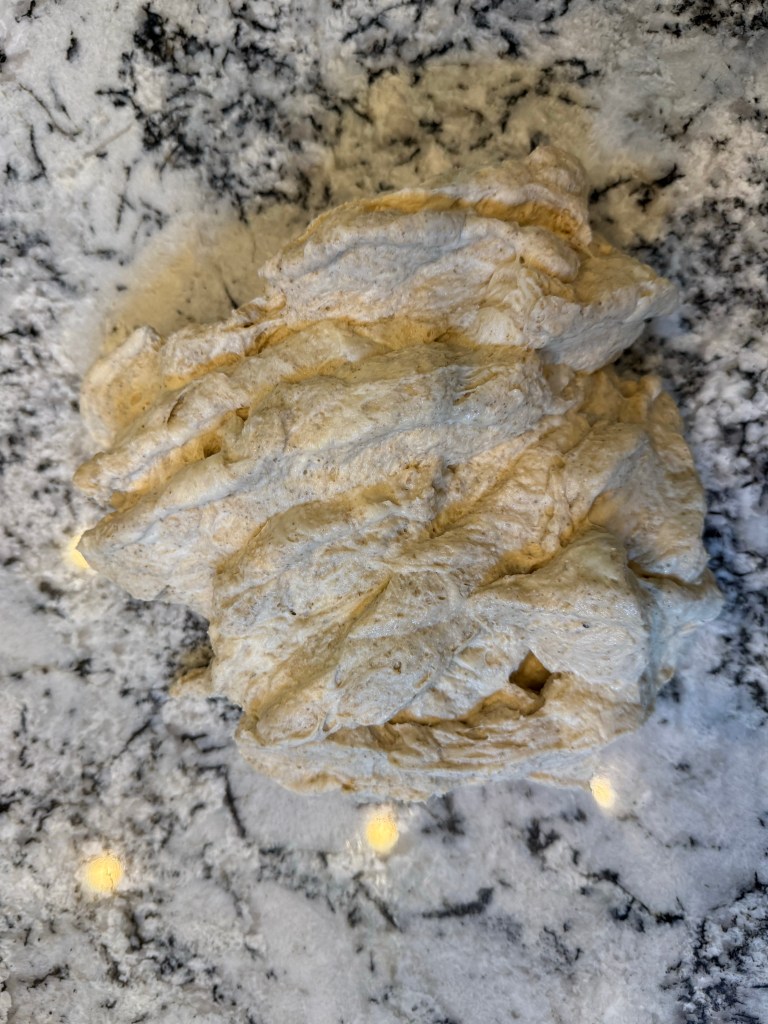
After 15 minutes of rest I began kneading the dough using the chop, slap, and fold method as outlined on pages 54 and 55 of the book. I’ve never used the slap and fold method kneading before, but I quite liked it.

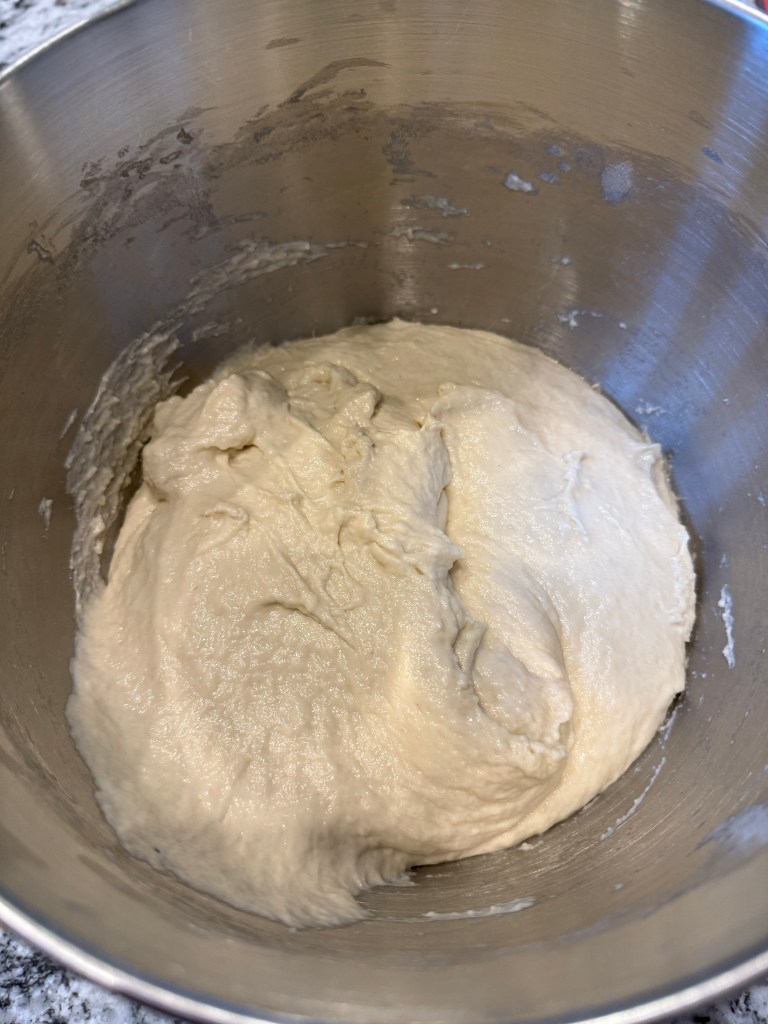
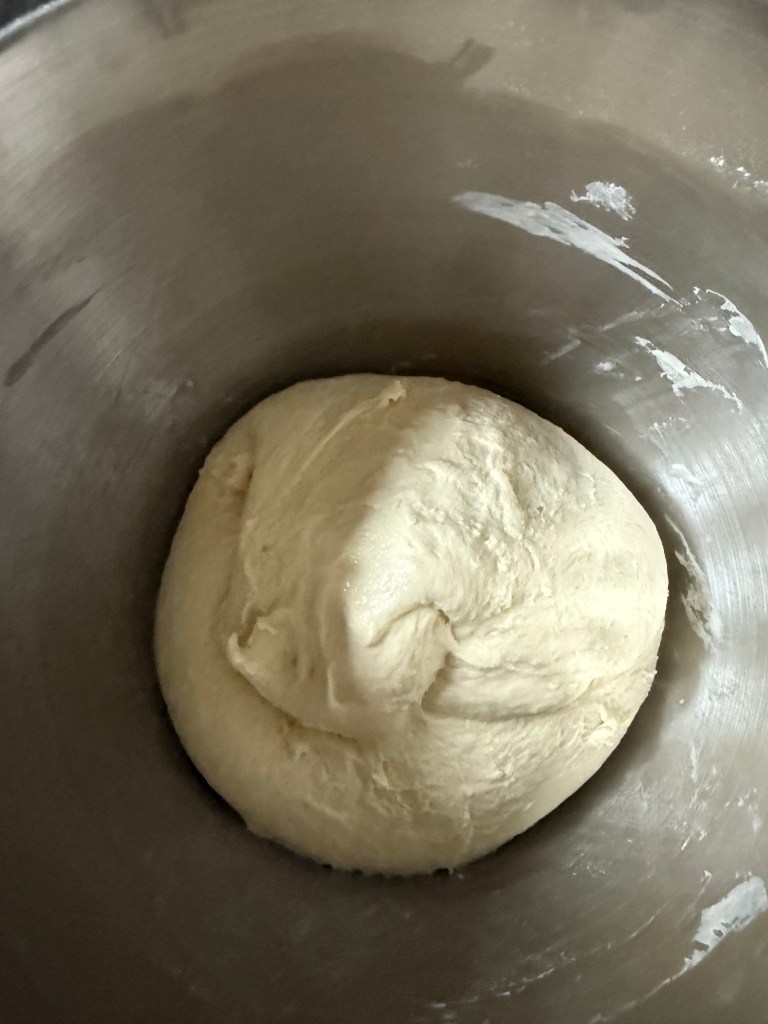
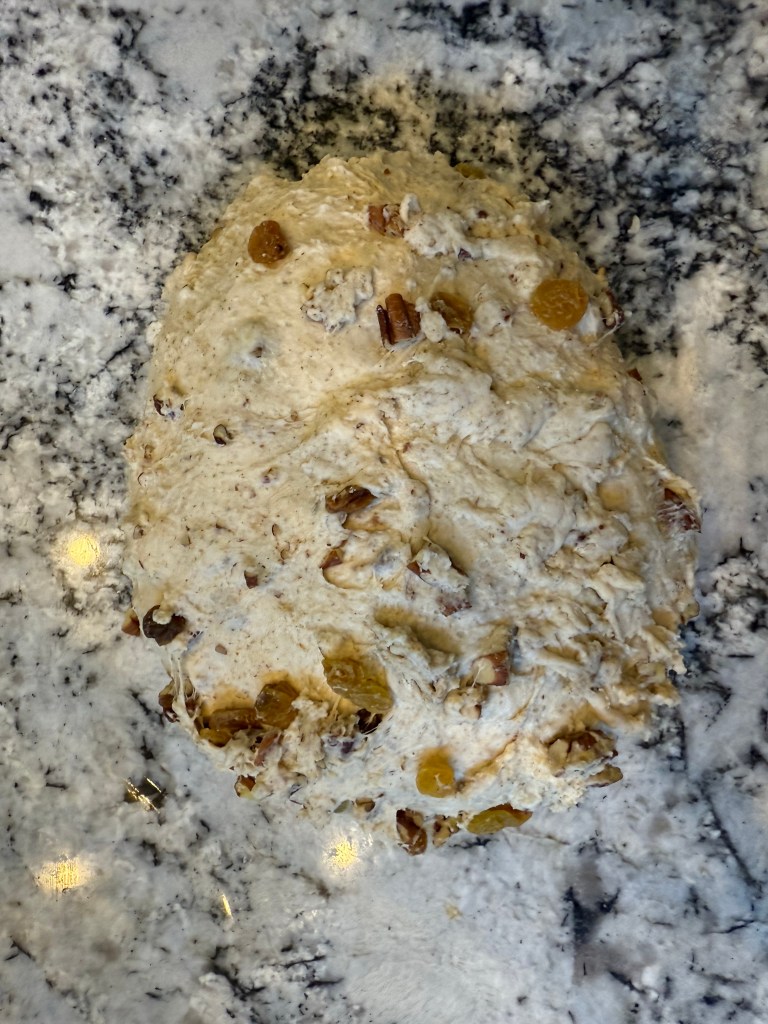
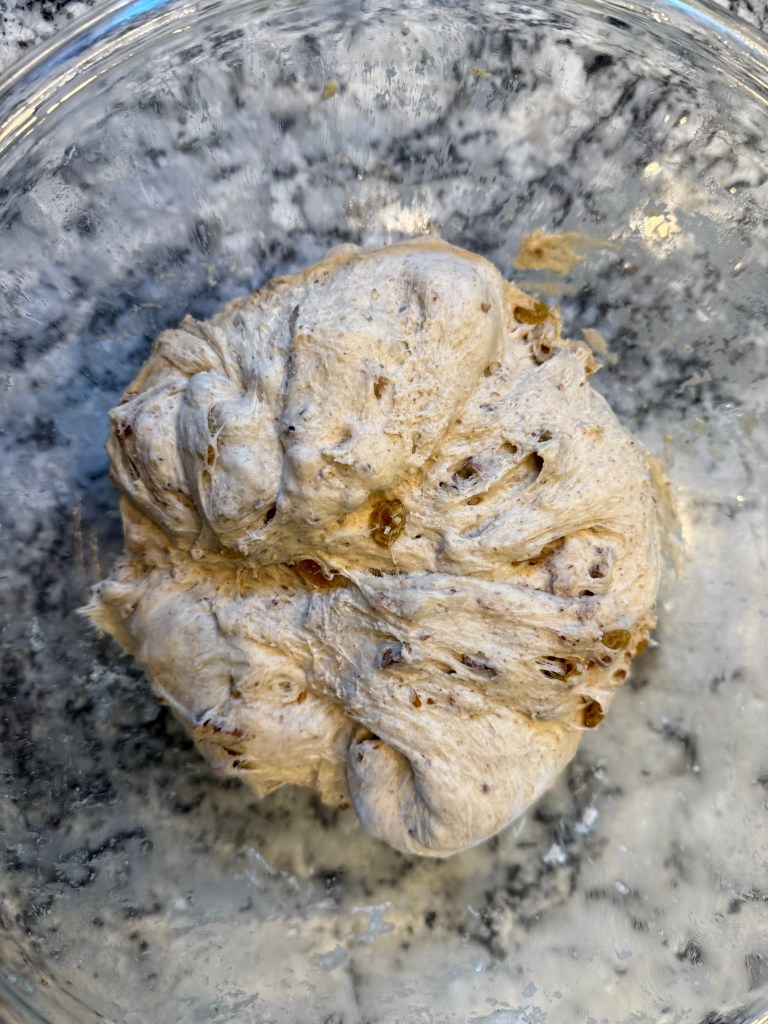
Once the dough was kneaded to my satisfaction I added the inclusions. I had considered using my KitchenAid mixer to mix and knead the dough, but decided against it since the overall kneading time was so minimal. I wish I had used it. Kneading in inclusions by hand is no joke, and the slap and fold method, when used vigorously, can cause raisins and pecans to go flying across the kitchen. Nevertheless, I persisted, and eventually the dough was as homogenous as it was going to get. I covered the dough and left it to rise.

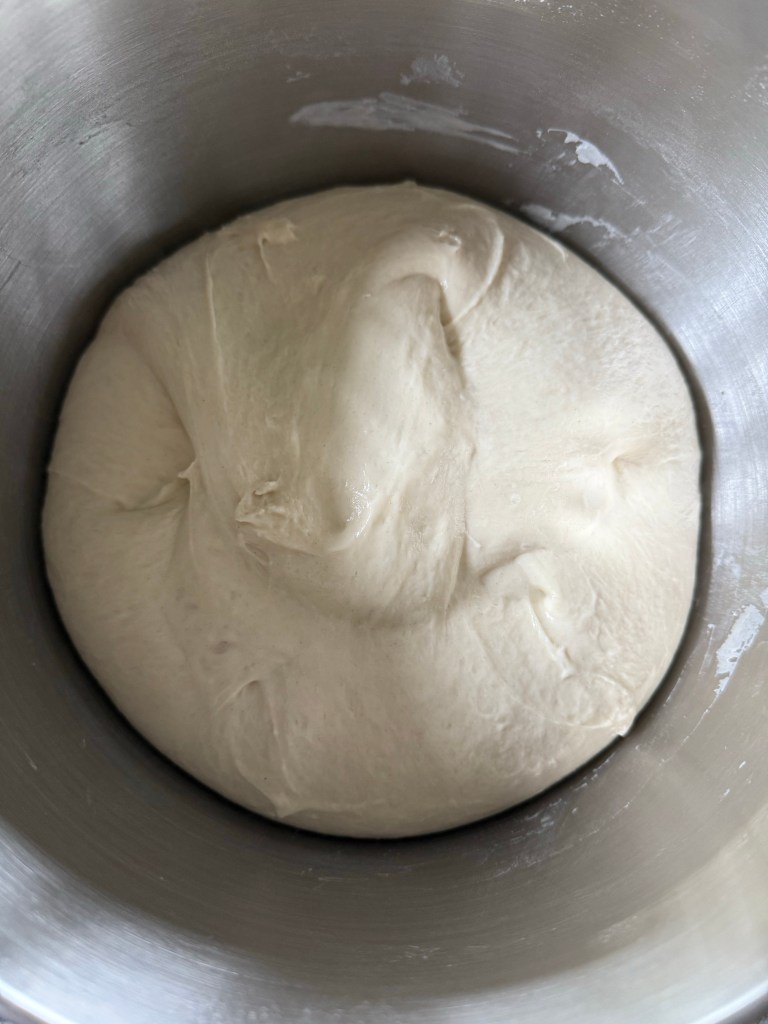
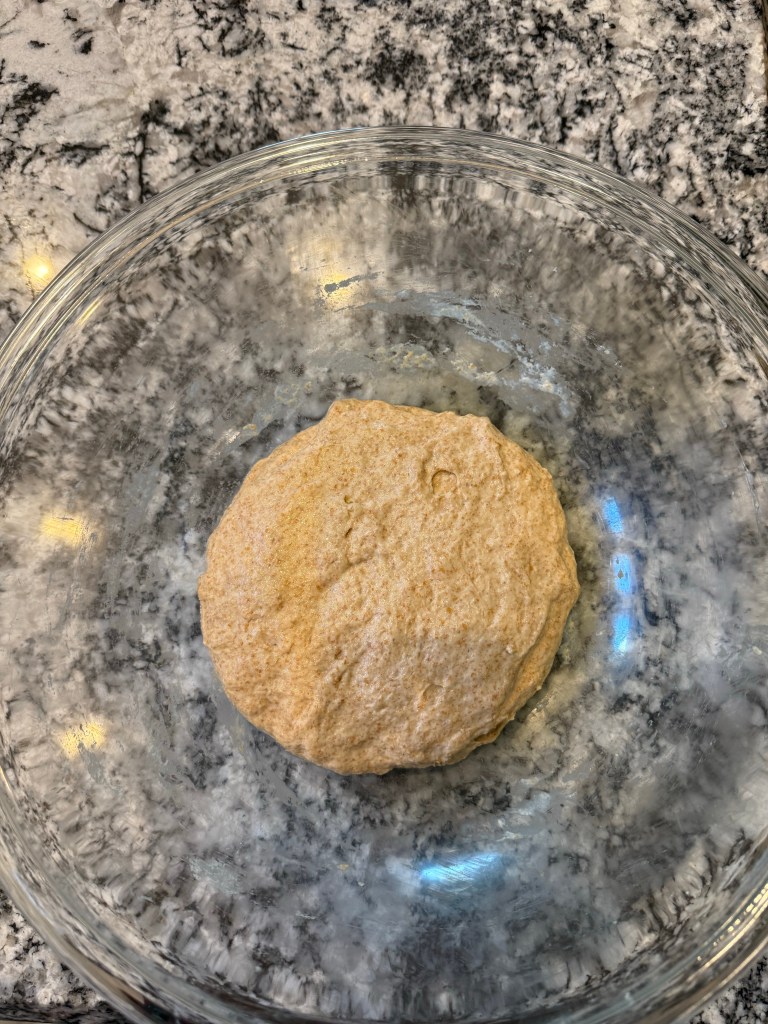
I gave the dough a fold (2 rounds) after an hour.

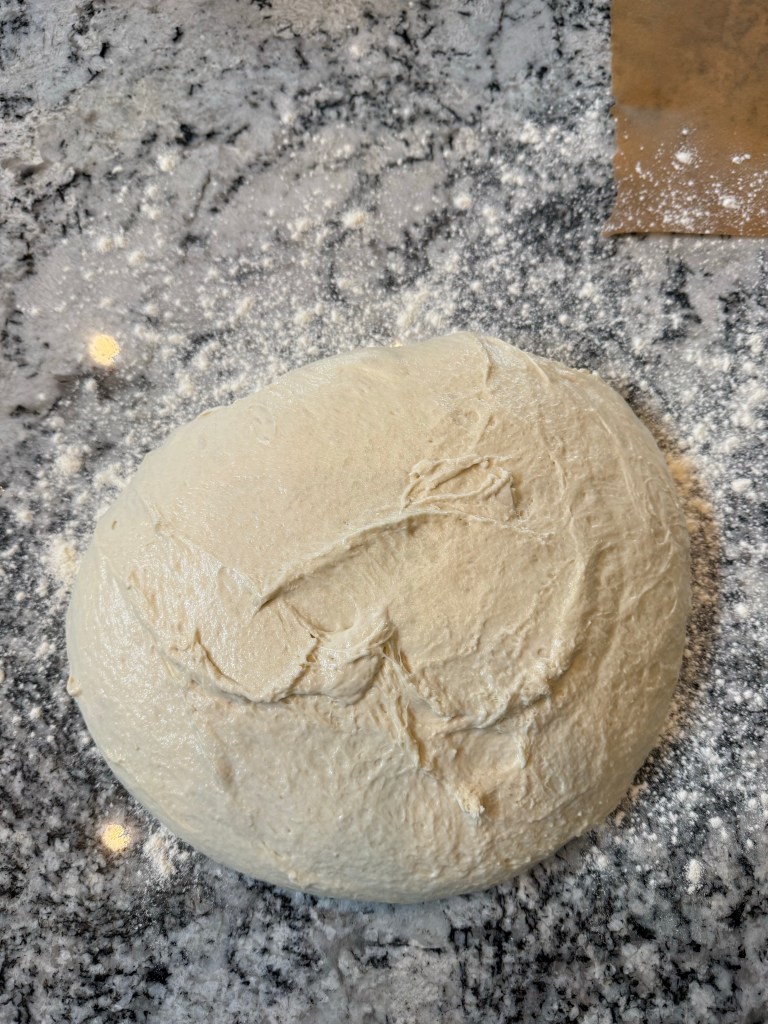
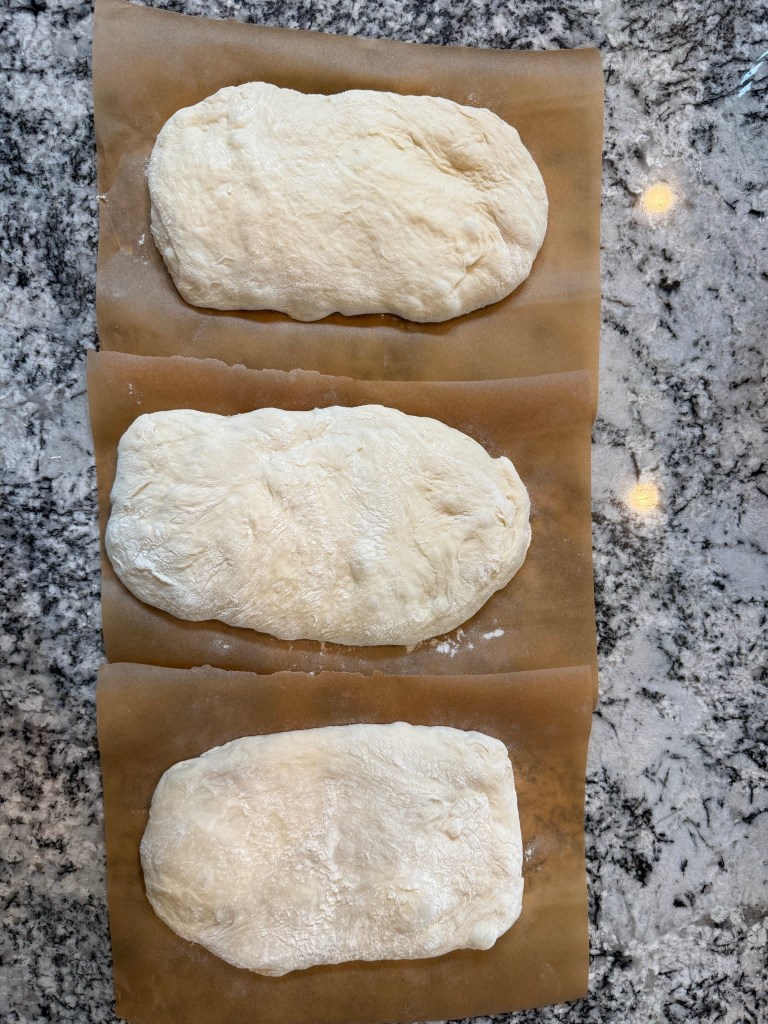
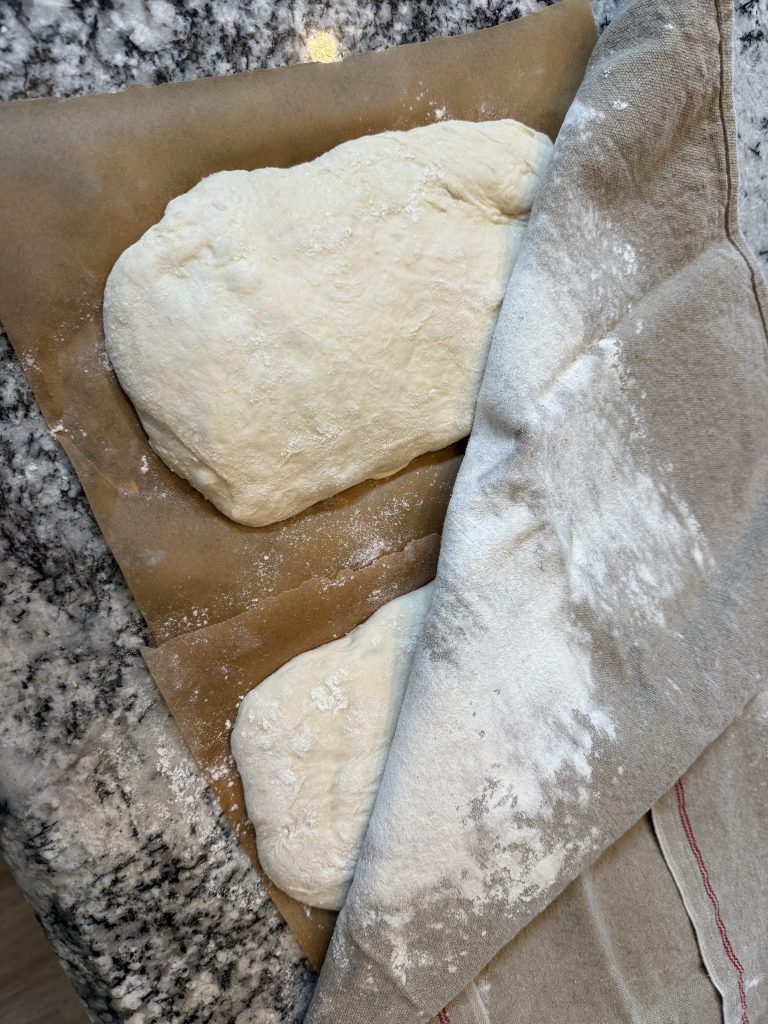
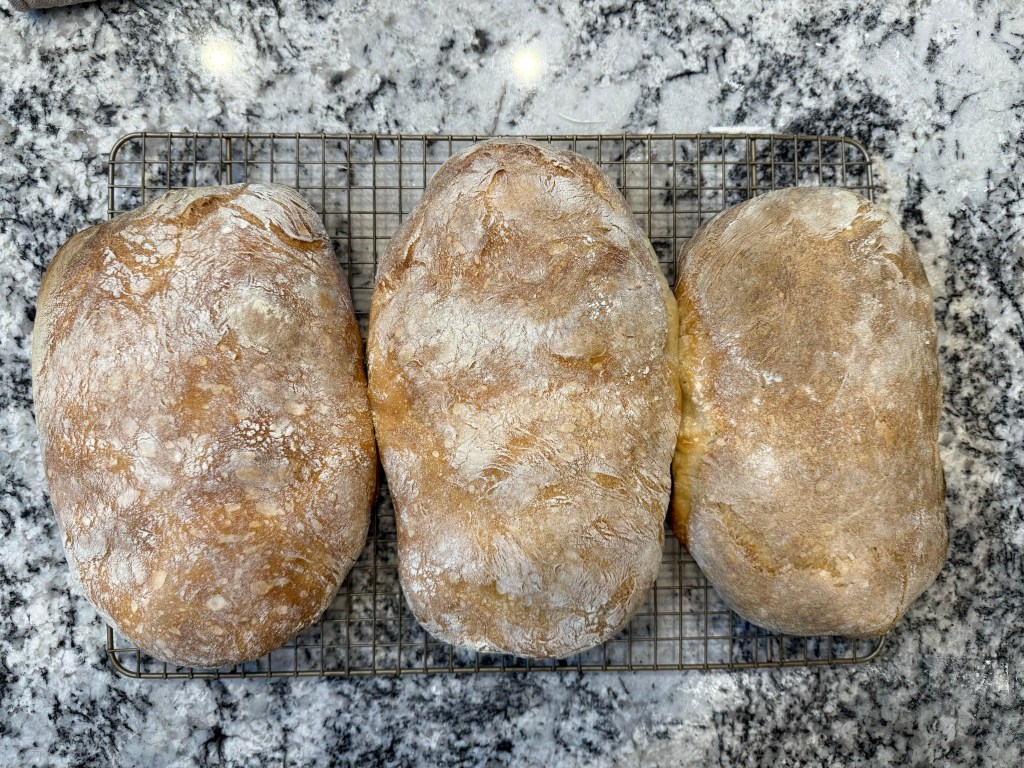
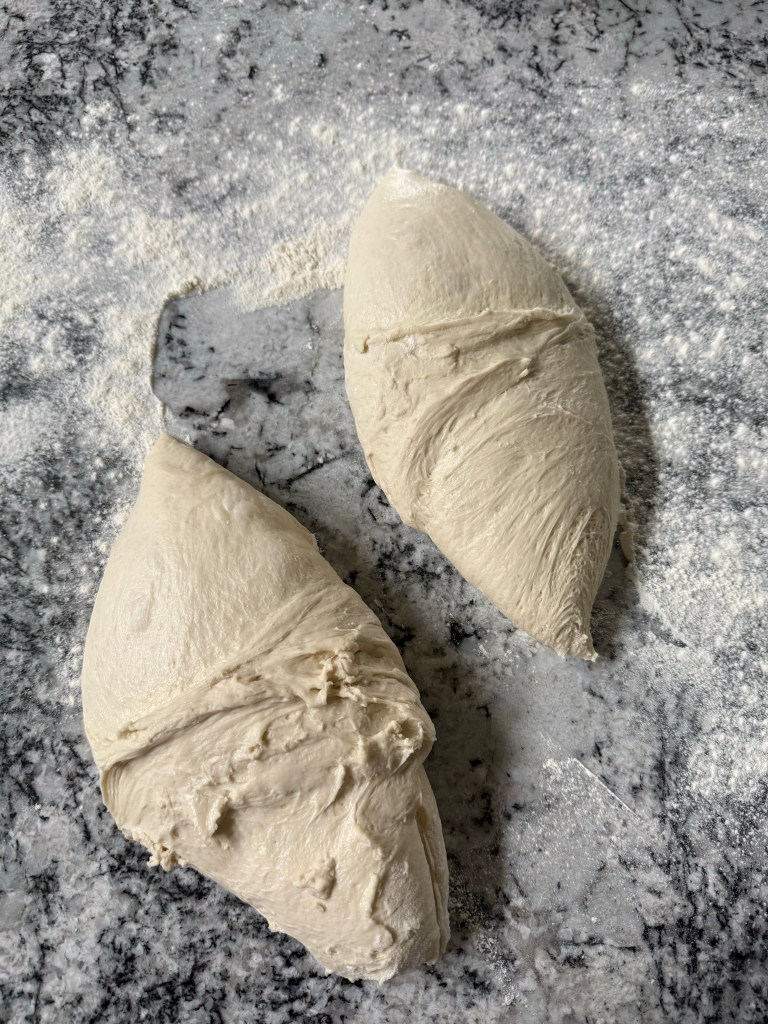
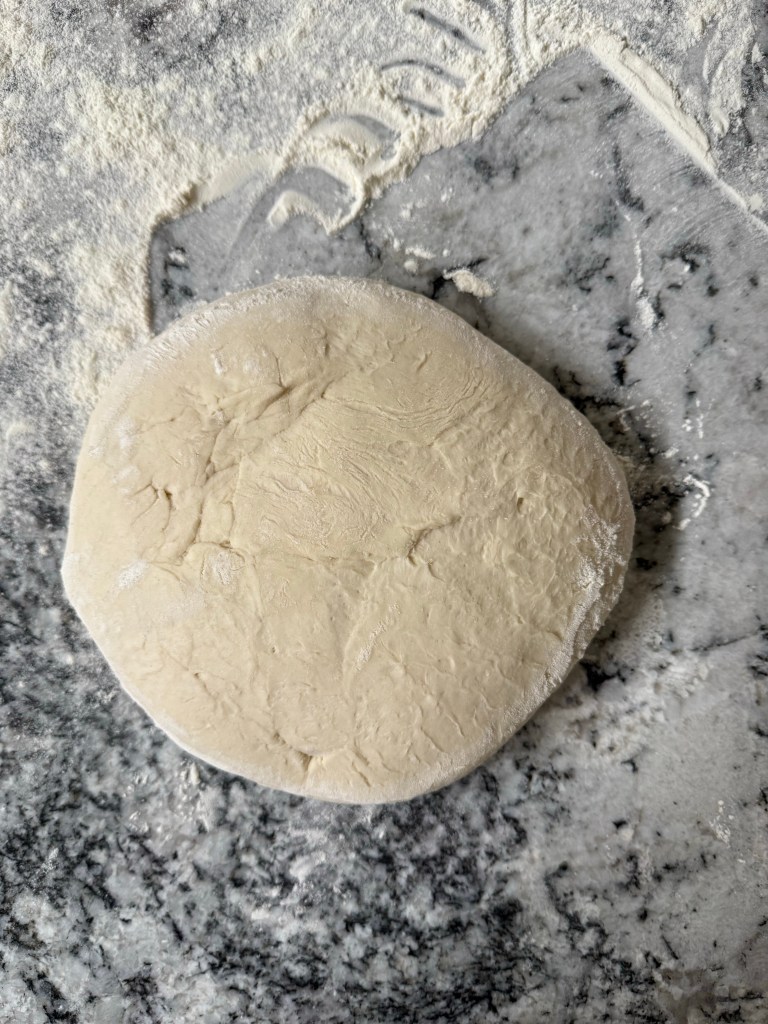
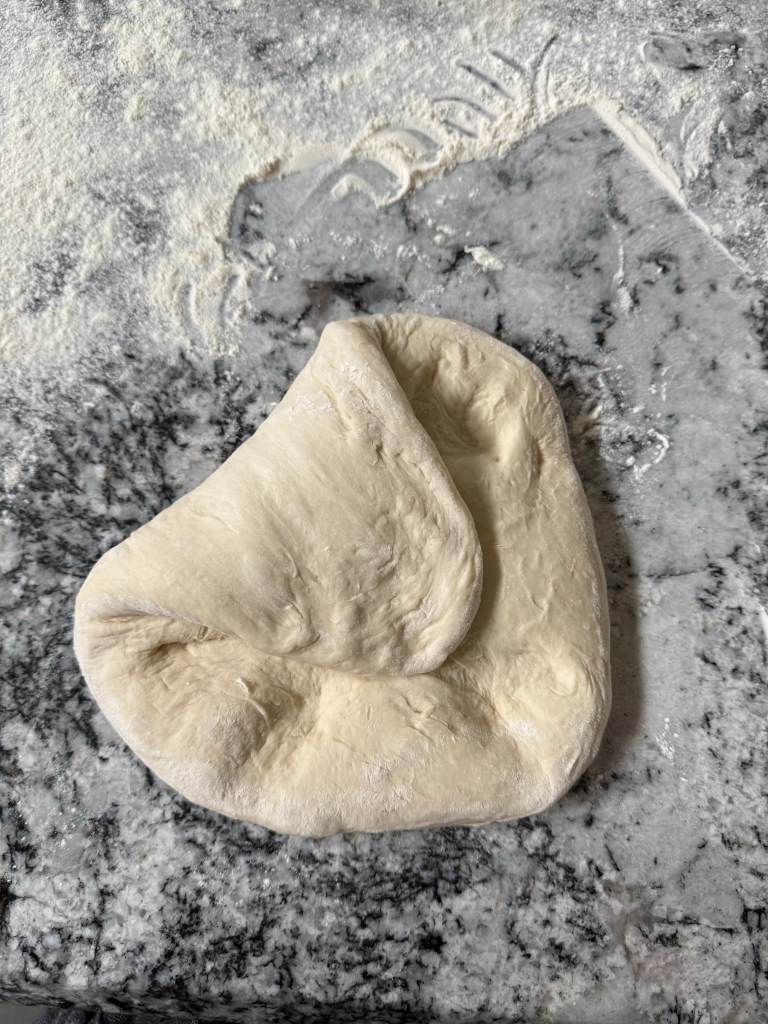
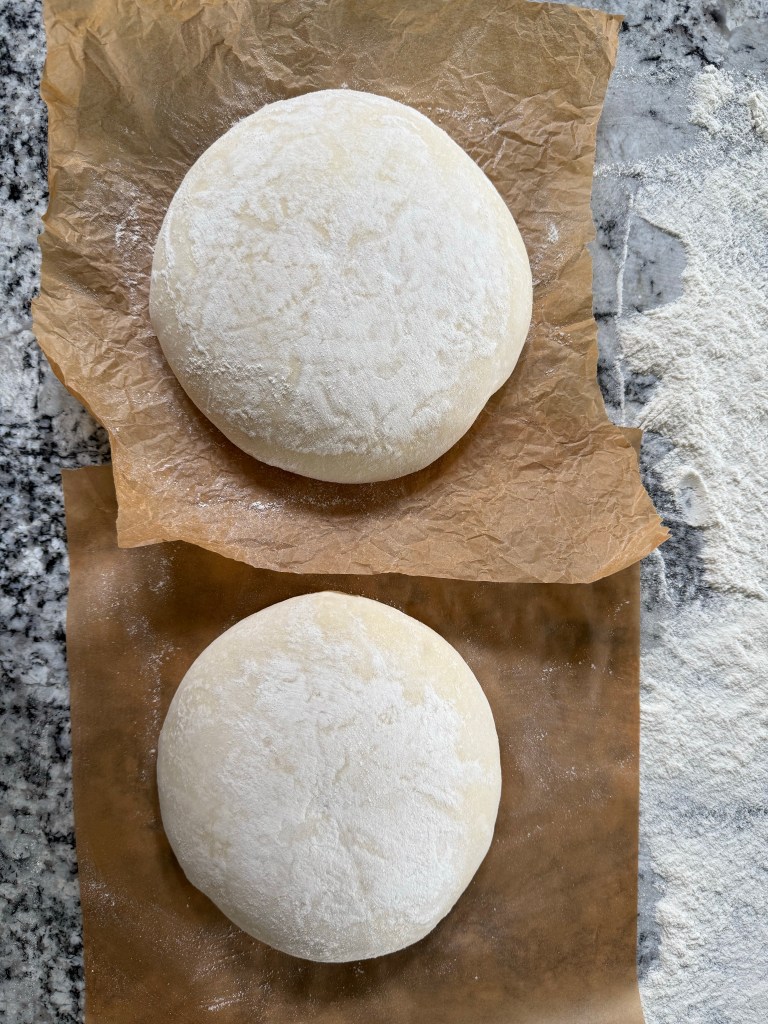
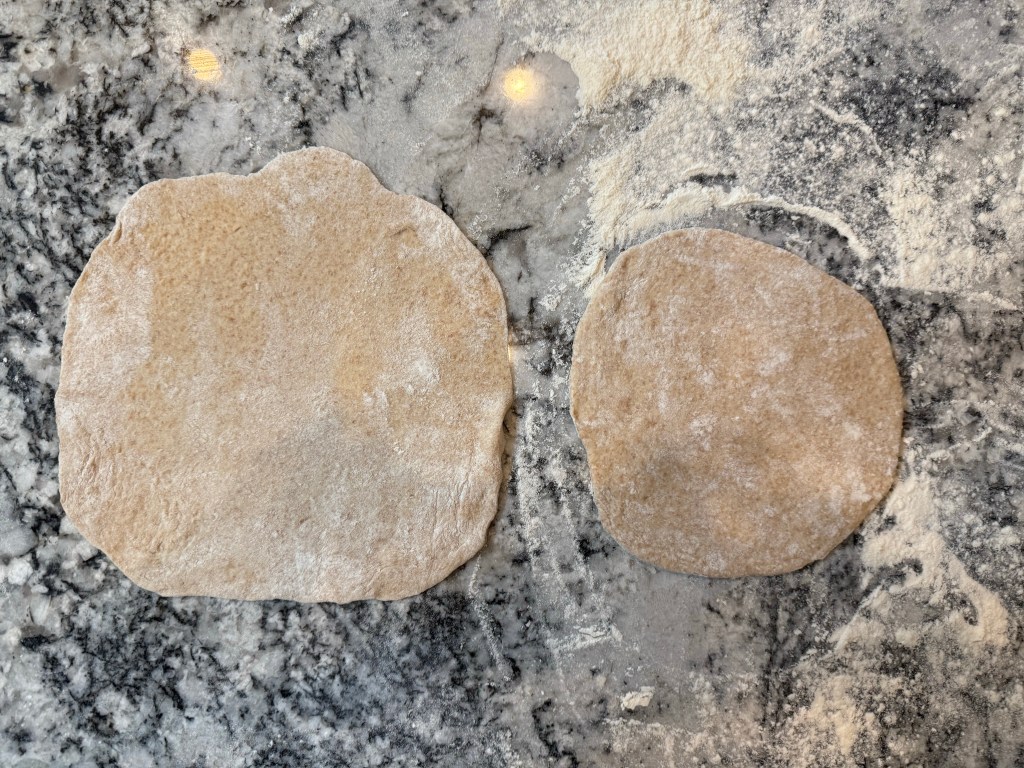
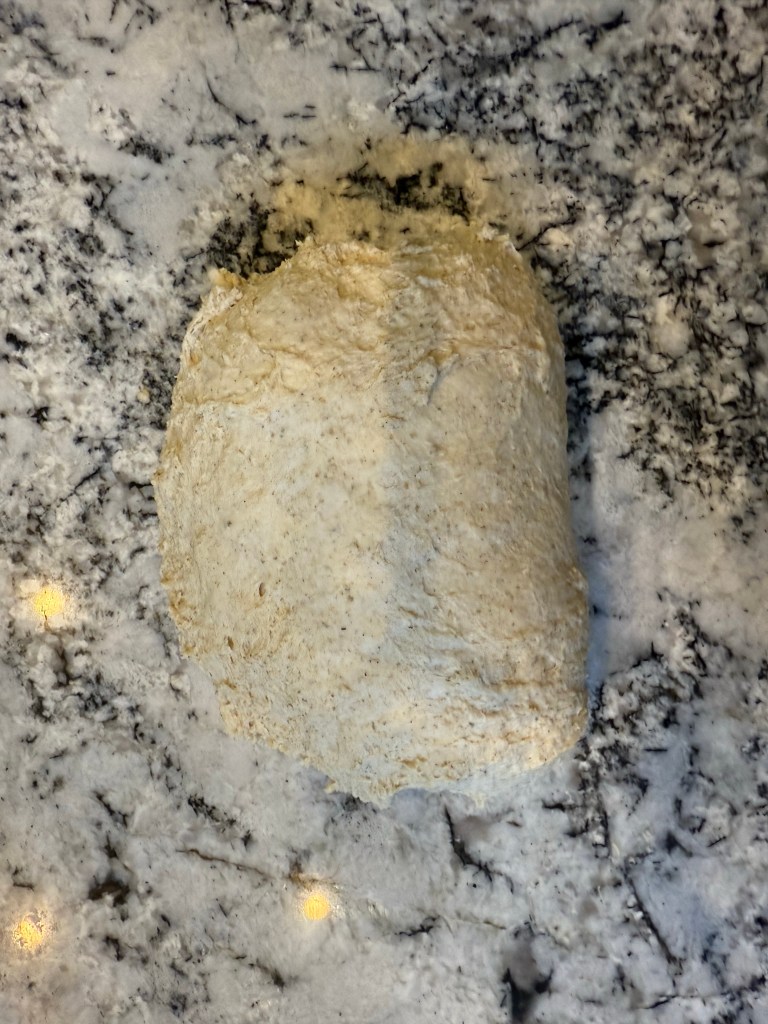
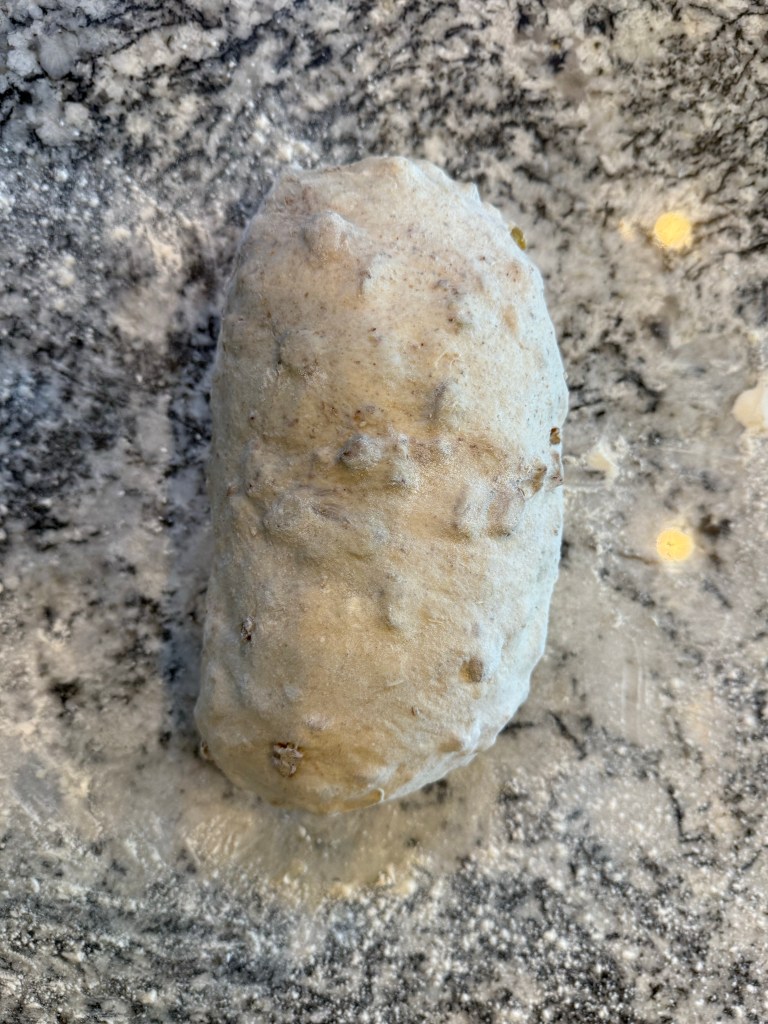
2 hours after kneading (and 1 hour after the last fold) the dough had risen nicely and was ready to be preshaped. I chose to make one large loaf instead of two smaller boules. I have an Emile Henry baker that makes lovely large loaves that are perfectly sized for sandwiches and toast, and I wanted to use that. The preshape was very simple: I formed the dough into a rough rectangle, folded the top in, folded the sides in, then rolled the bottom up. I let the dough rest (covered) for 20 minutes.

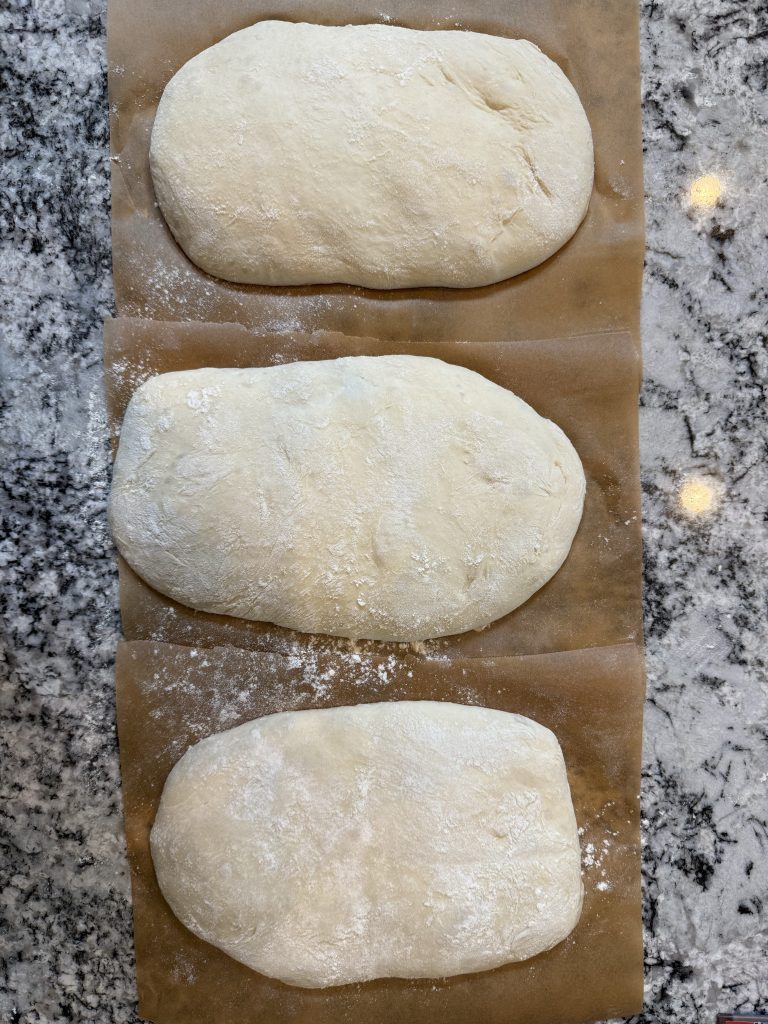
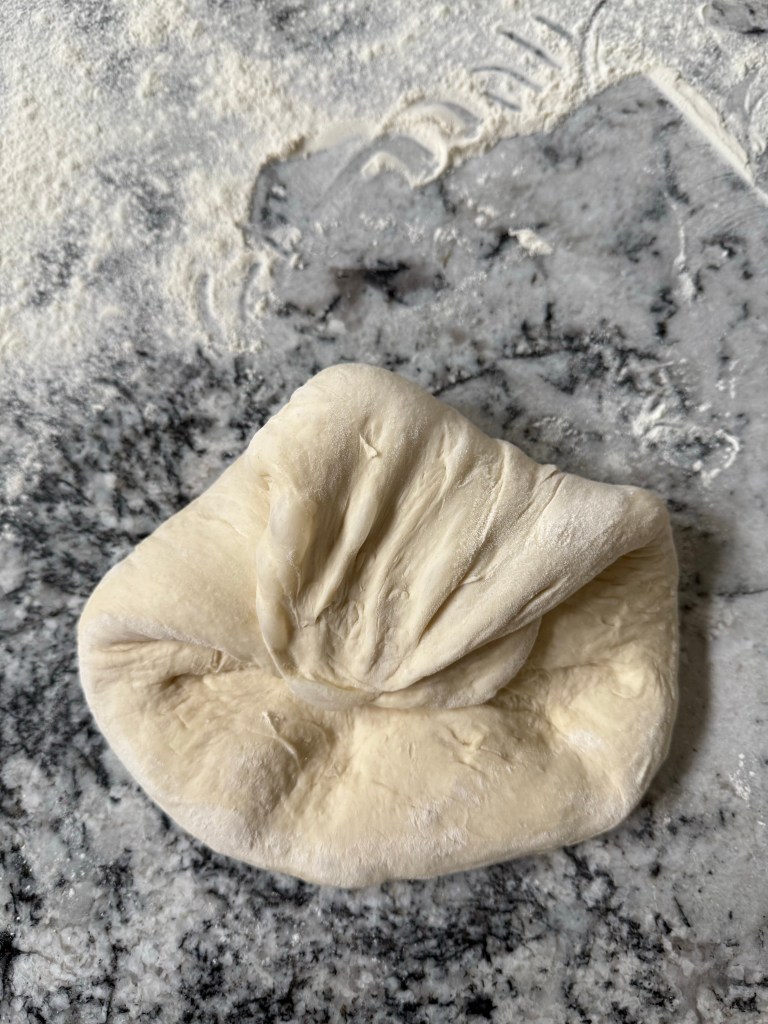
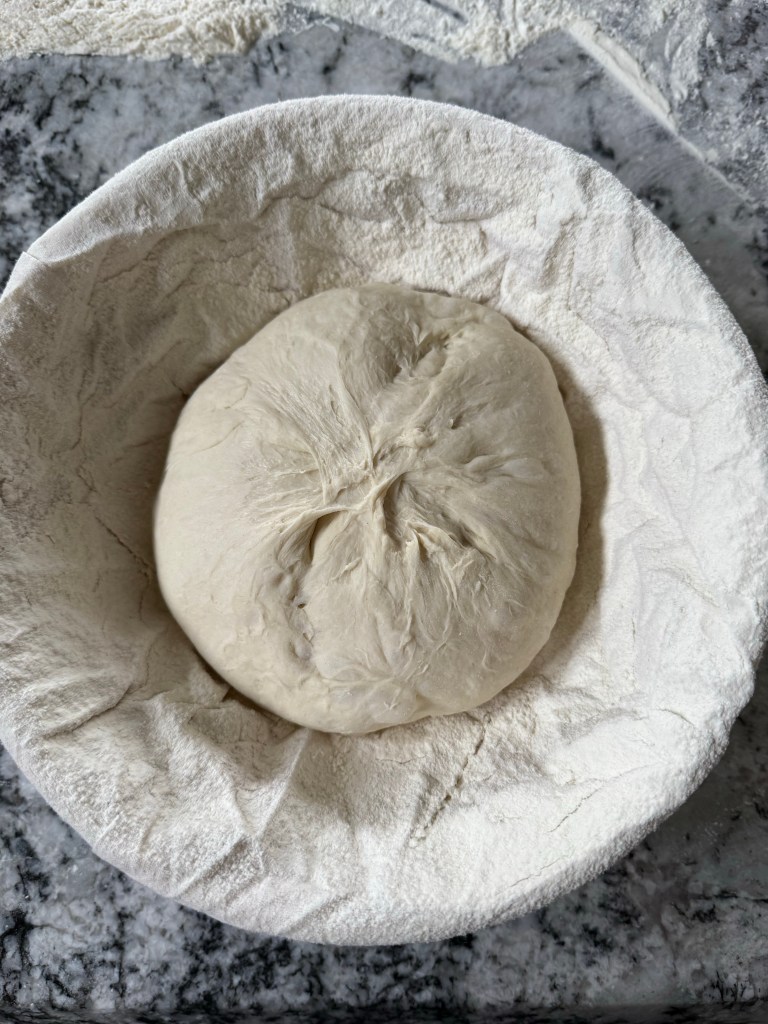
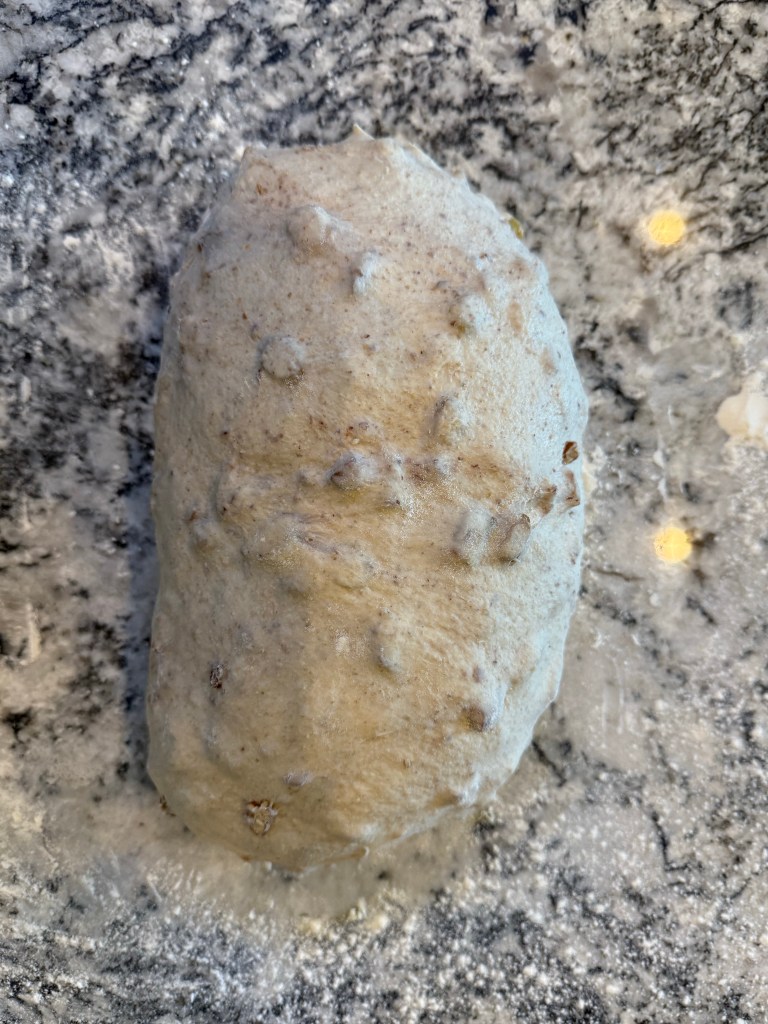
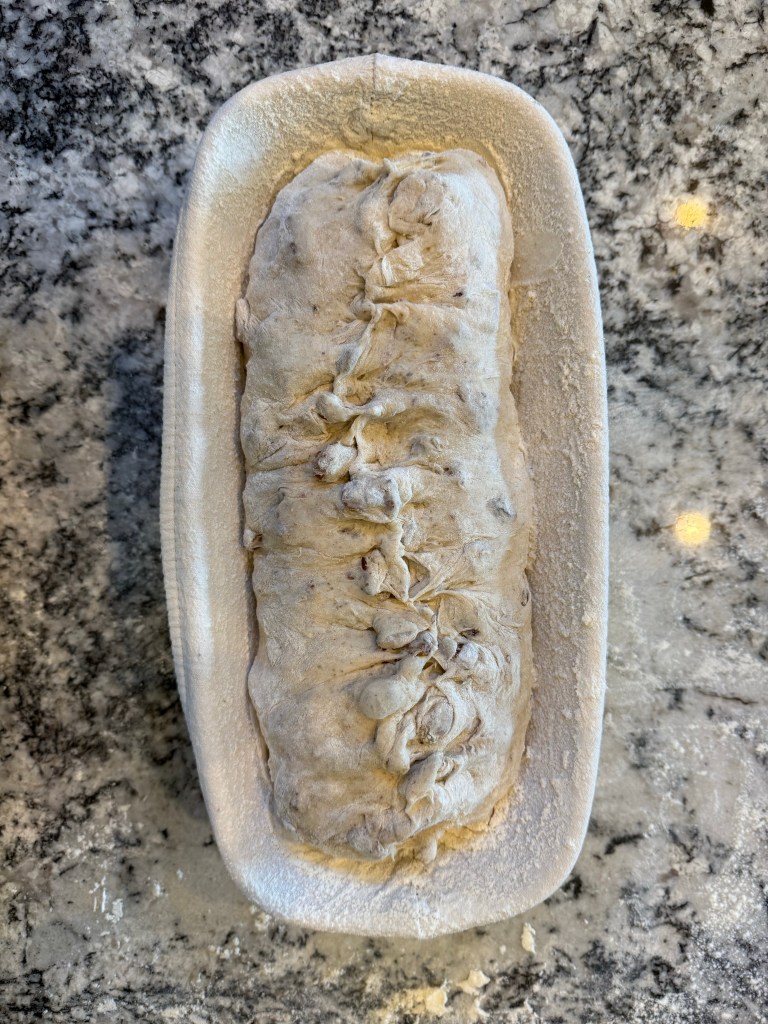
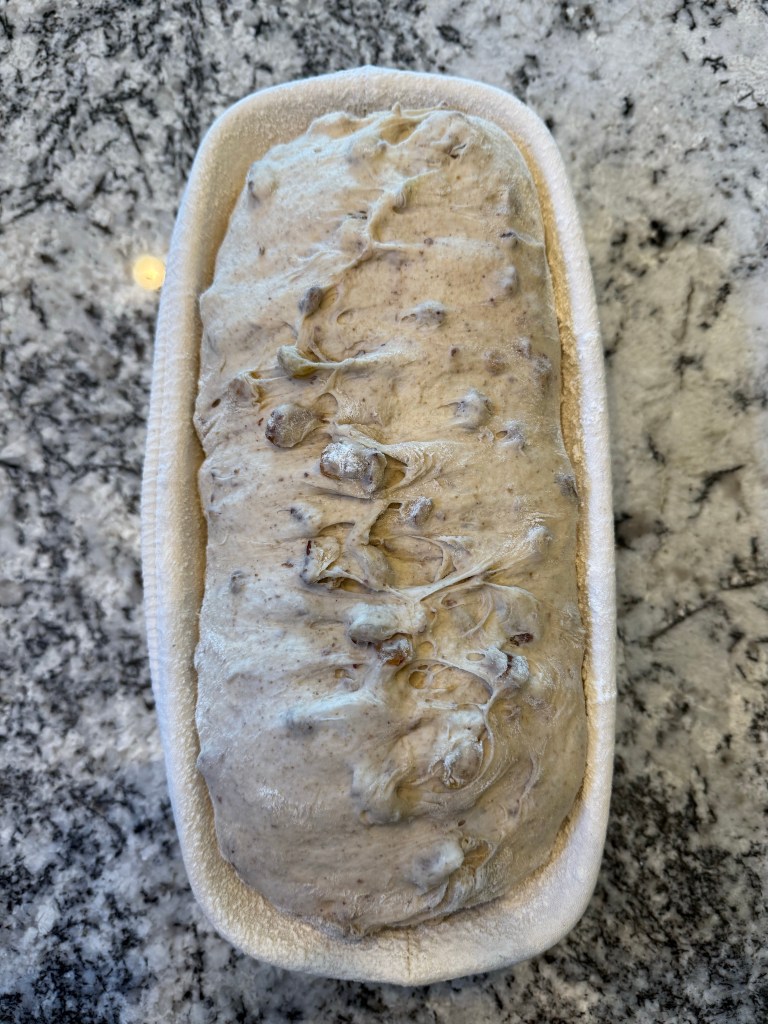
While the dough rested I floured my banneton. I like to do a first pass with rice flour and a second pass with all purpose flour. This uses a lot of flour, but I never have to worry about my dough sticking to the banneton liner. The dough relaxed ever so slightly during the resting period. To shape the dough I repeated the same process I used for the preshape, but I spent more time sealing the bottom of the loaf. I moved the loaf to the banneton, seam side up, and then stitched the seam together before covering the loaf and setting it aside for the final rise.

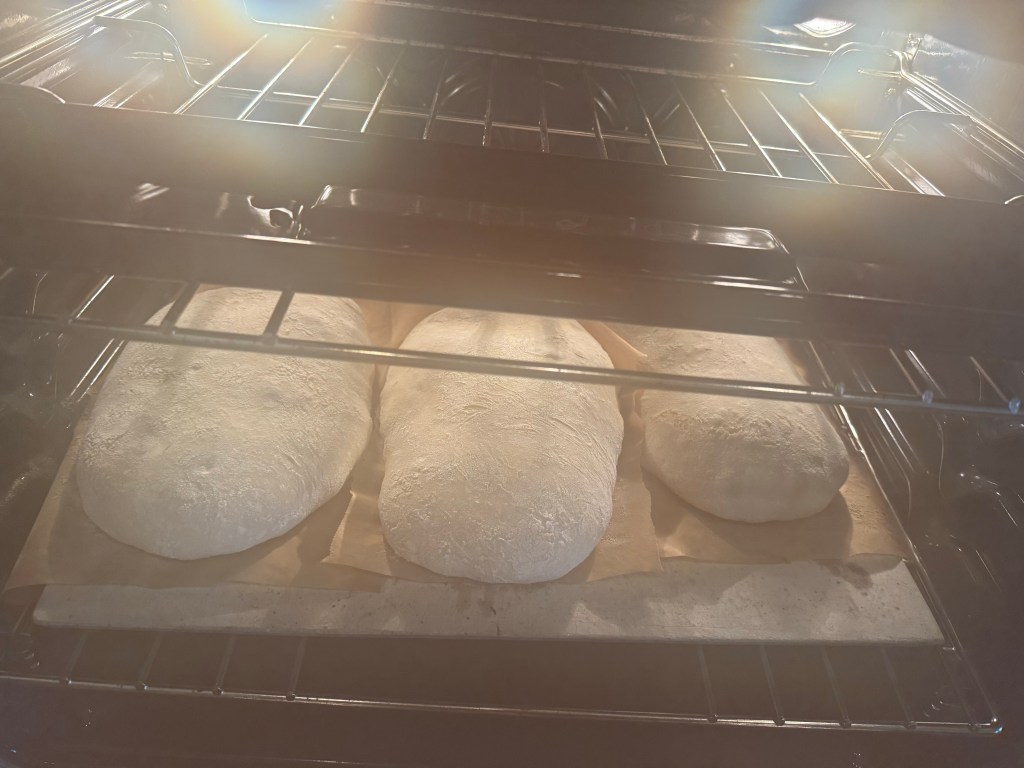
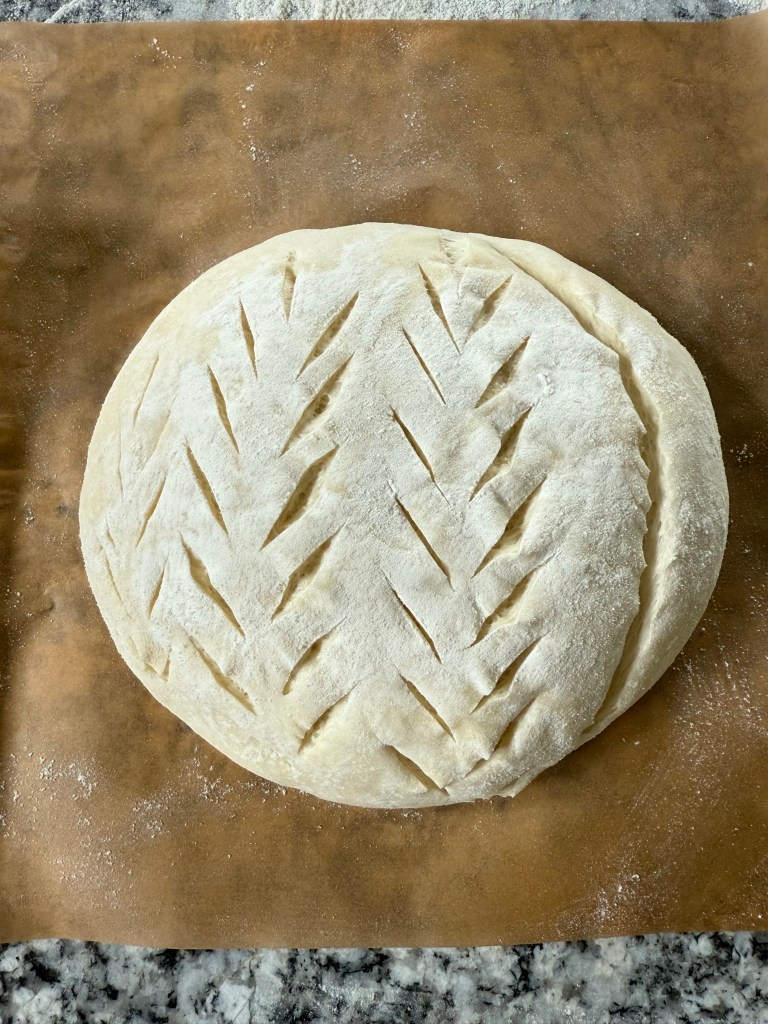
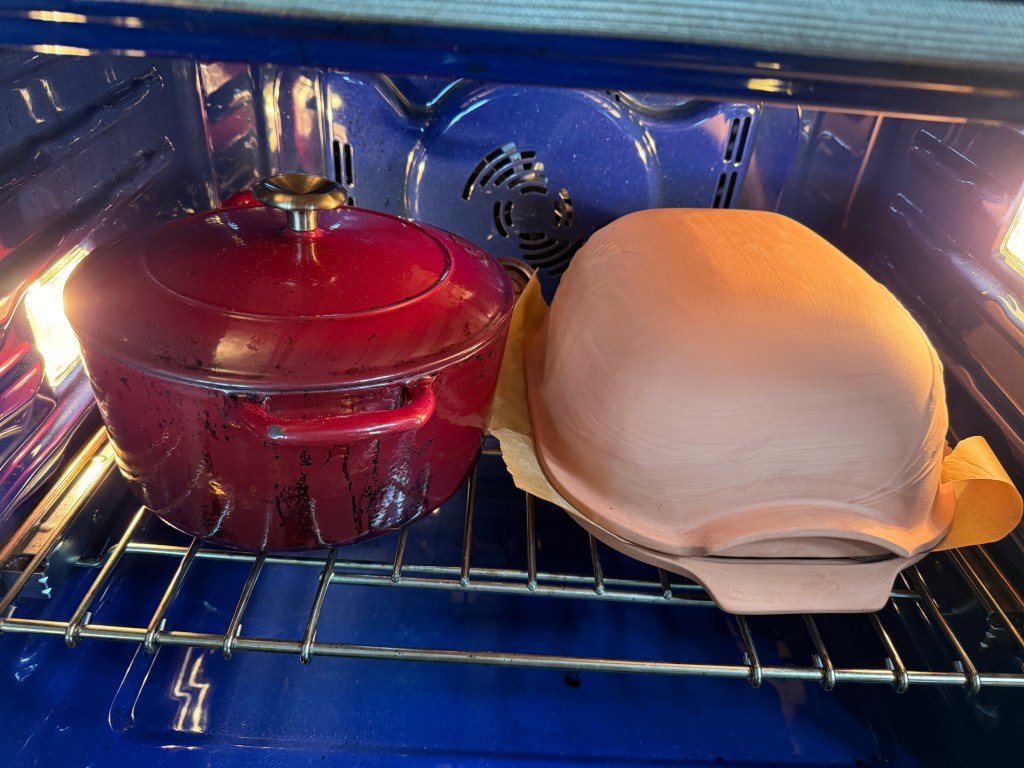
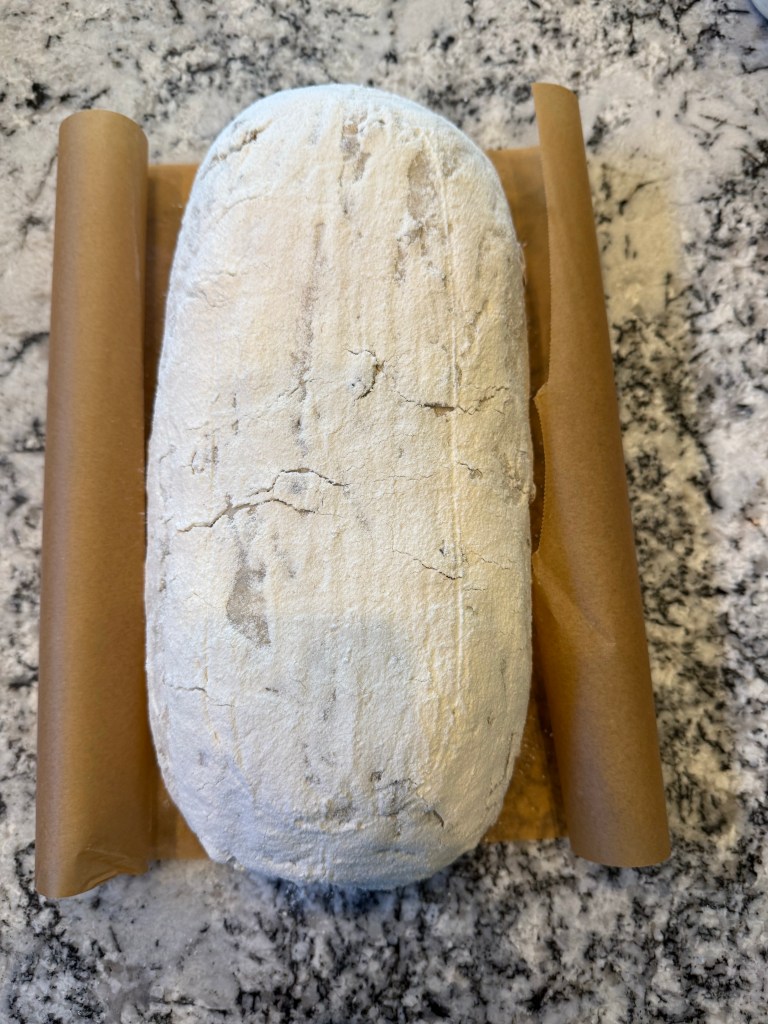
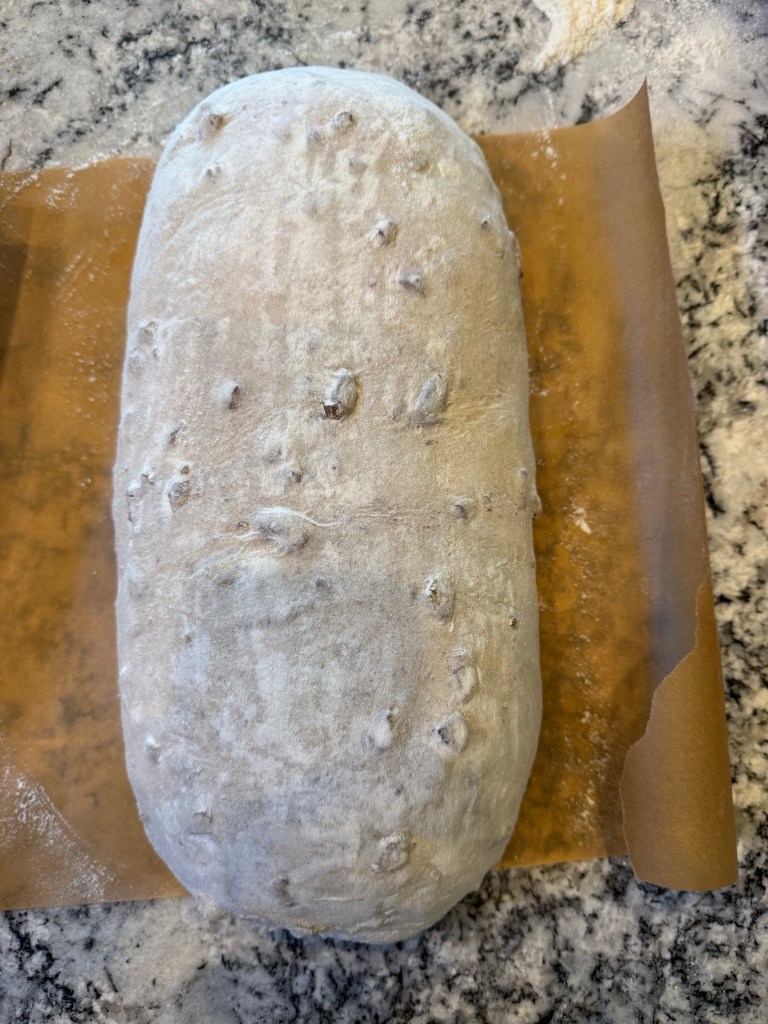
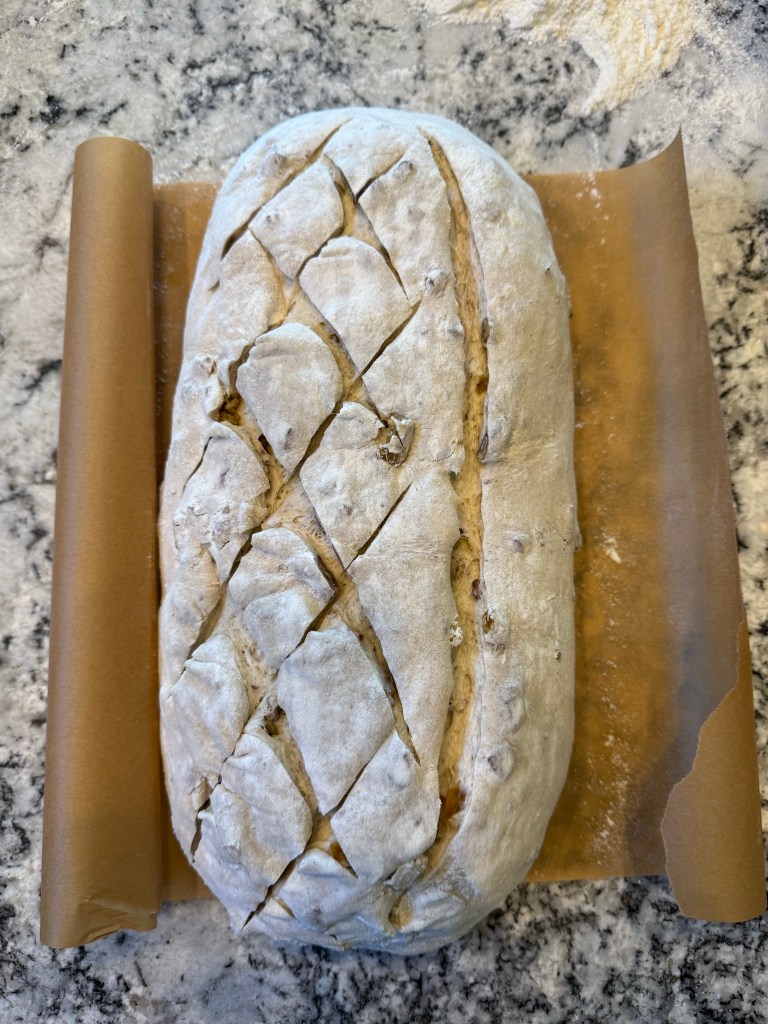
The bread rose for an hour while the oven (and my clay baker) preheated to 500 degrees Fahrenheit. The dough passed the poke test, so I turned it out onto parchment paper and dusted off the (thick) layer of flour with a pastry brush. With the dough cleaned up, I scored it, put it into the very hot clay baker, put the lid on, and put the whole thing into the oven.

I took the lid off the baker after 15 minutes.

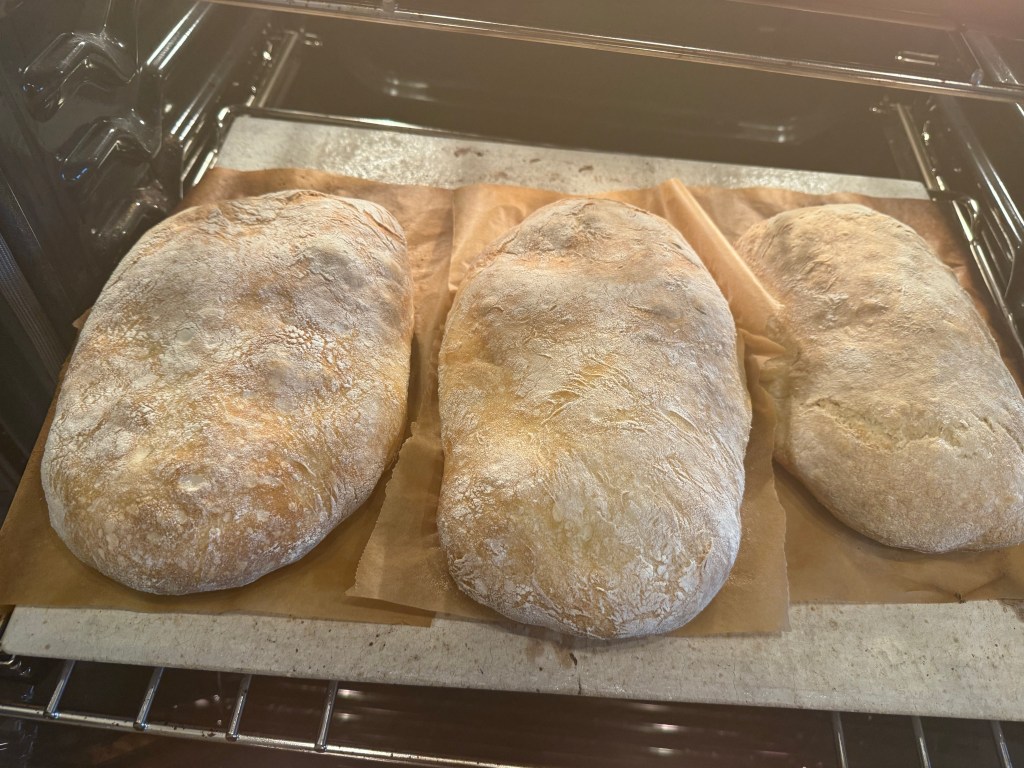
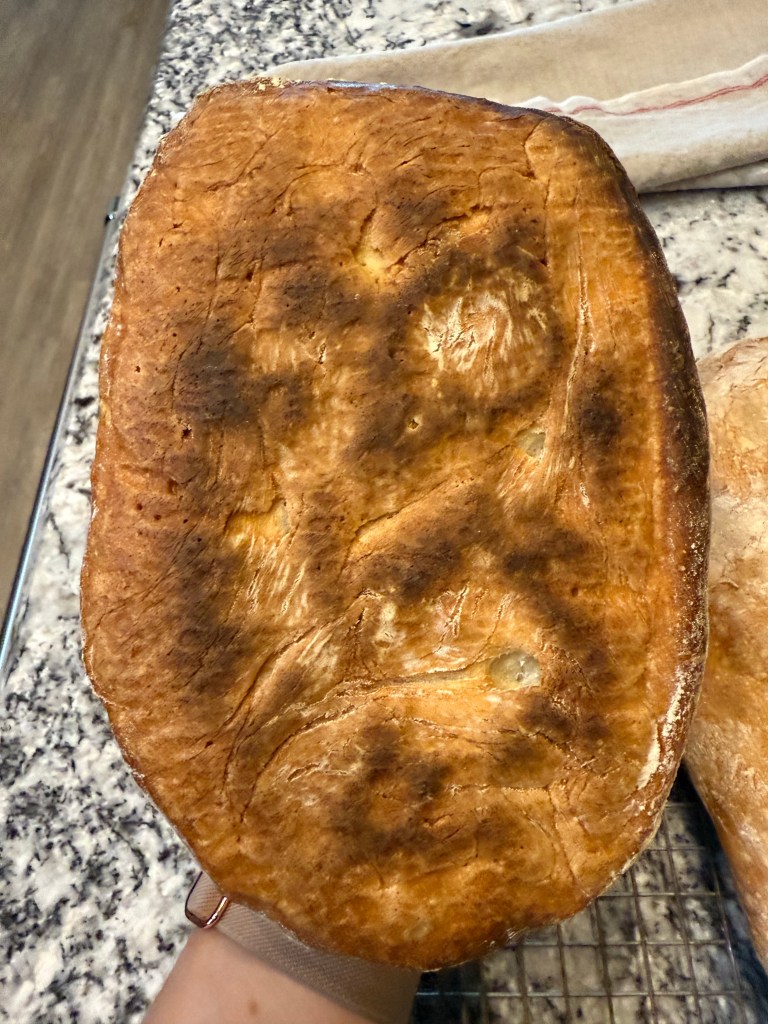
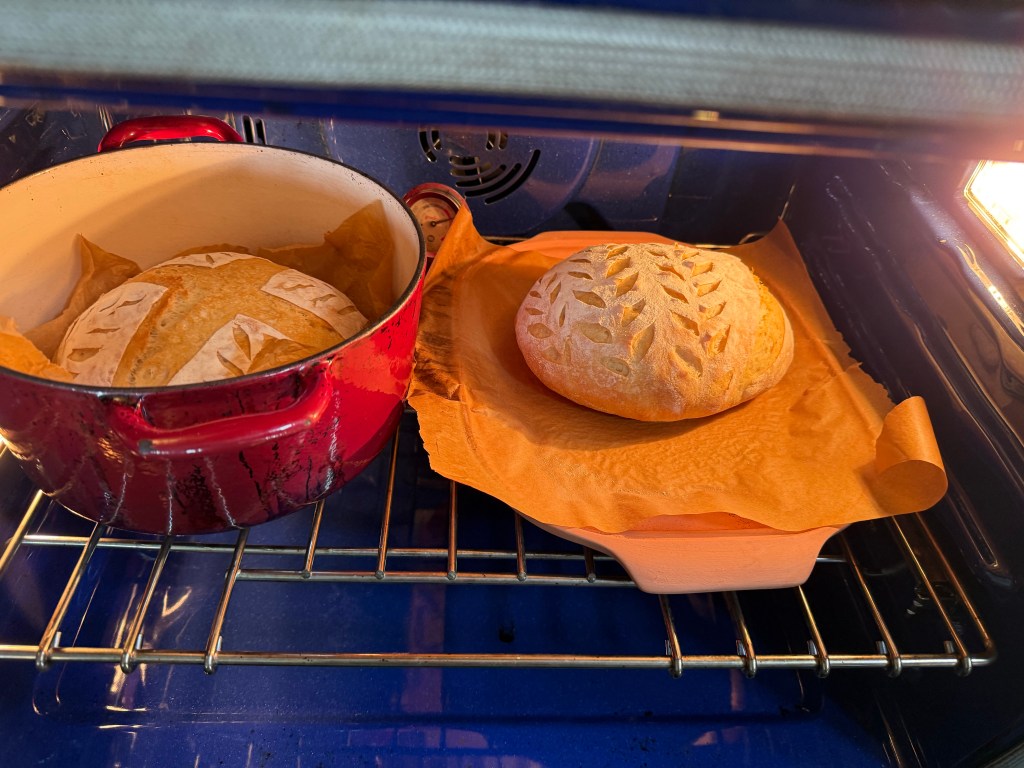
I meant to turn the oven down to 400 degrees Fahrenheit when I removed the lid, but I forgot, so I turned the oven down 10 minutes later. The bread stayed in the oven for another 30 minutes, for a total bake time of 55 minutes.

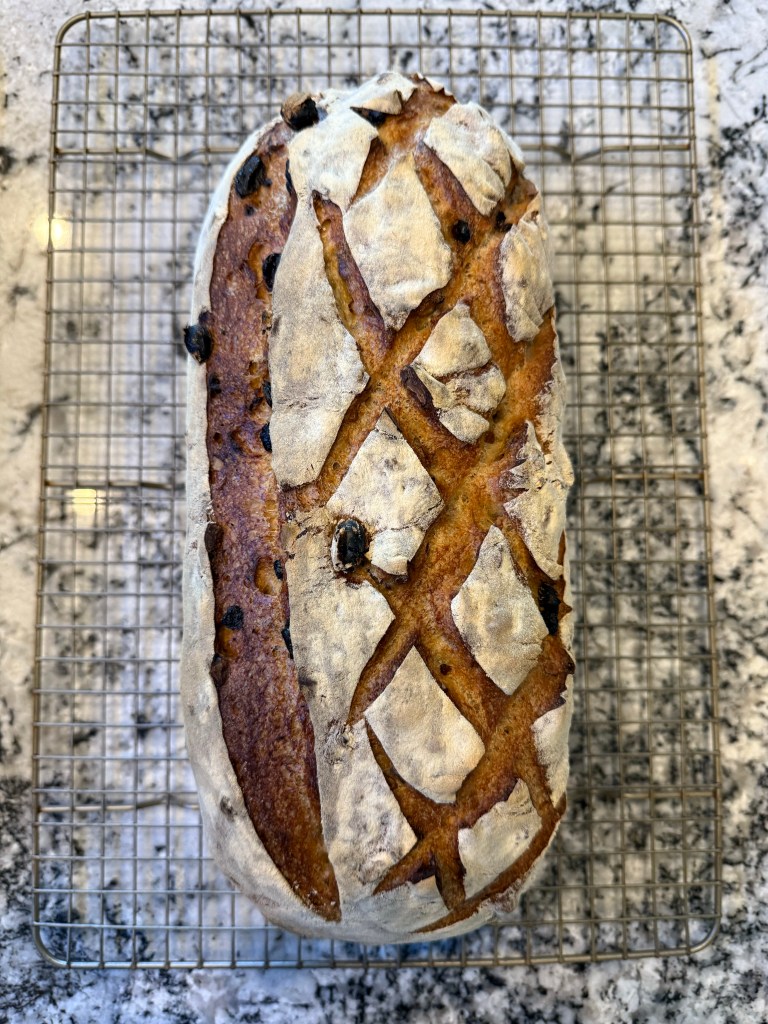
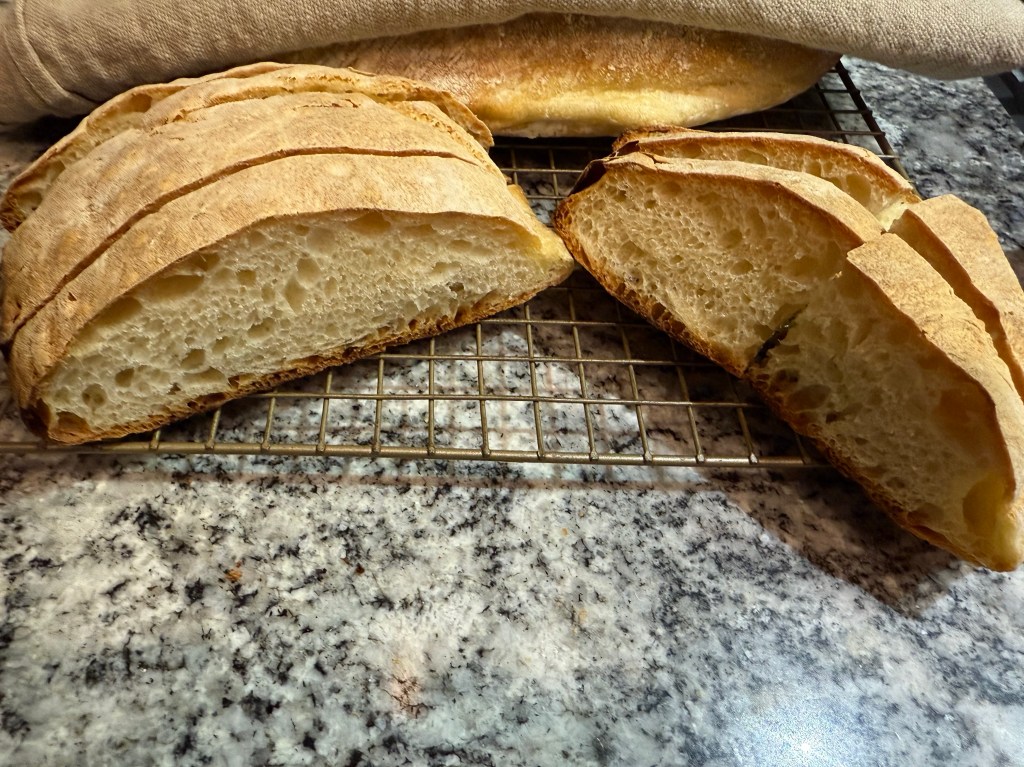
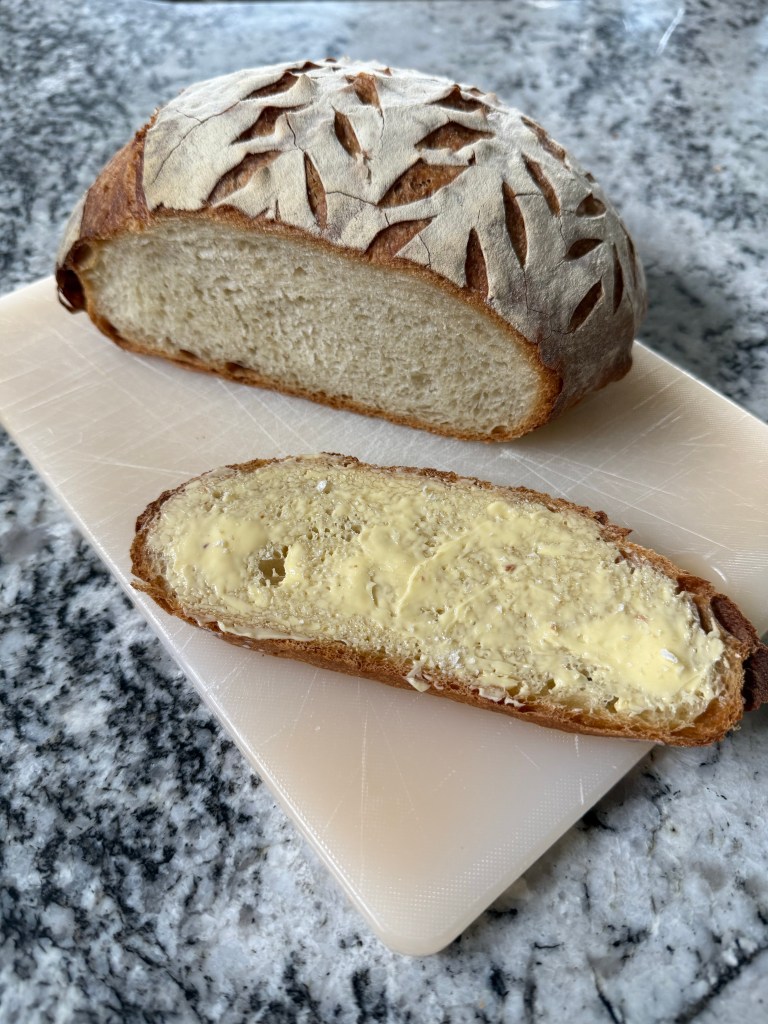
Fresh, hot bread is always irresistible, but somehow I always find enough discipline to wait at least an hour to cut into a finished loaf. While I wait I listen to the song of the bread, as Chad Robertson so poetically calls the crackling of the crust while it cools. My husband and I tried the fresh, warm bread with butter and a sprinkle of finishing salt and it was excellent. Nutty, jammy, delicious. We also tried it with butter and cinnamon sugar to really highlight the sweetness of the raisins, which was also delicious.

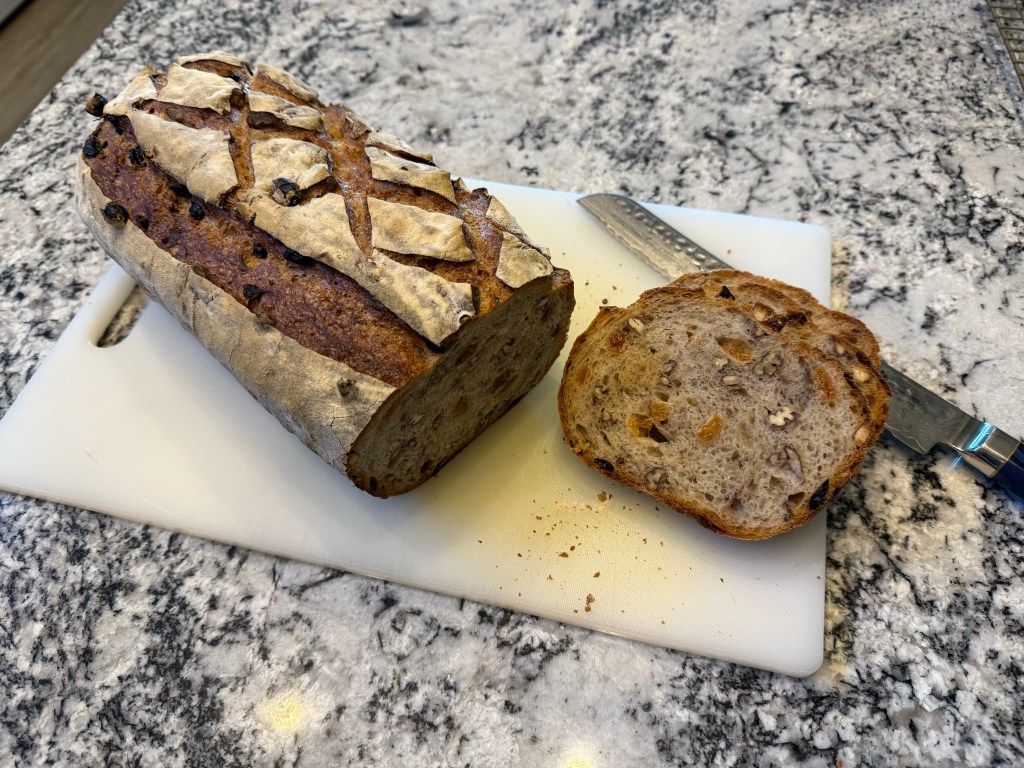
I love this bread. I love the whole grains in the dough. I love the flavors the nuts and fruit bring to the mix. It makes excellent toast. I would absolutely make this bread again. The one thing I would be aware of next time is the bake time/temperature. The few raisins that popped out of the dough on top got carbonized, so they are ashy and tasteless in the mouth, which is not a great experience. Next time I would simply pick them off the top of the dough before baking. I would make sure to turn the oven temperature down as soon as I remove the lid from the baker, and I would bake the loaf a bit more blonde.

Until the next time: may your yeast always rise and your flour never run out.

Mastering Ciabatta: A Wet Dough Adventure

Ciabatta is a very wet dough. I have avoided doughs with very high hydration until now, but this was the next recipe in the King Arthur Baking School cookbook, and I am not one to back down from a challenge.

As in the last few recipes, I started the night before baking by mixing my preferment. This preferment is called a biga, and it has slightly more flour than water (by weight), so it was a little stiffer than the preferment for the French Bread, which had an equal weight of water and flour.

You can see how much it rose overnight (11 hours)!

I added all the remaining dough ingredients to the biga and mixed at the slowest speed on my KitchenAid mixer until everything was combined. Then I increased the speed to medium-low and kneaded the dough for 4 minutes as directed. I covered the dough and set it aside to rise.

I gave the dough a fold every 30 minutes for the next hour and a half, and then turned the dough out onto the counter.

The shaping was surprisingly simple: I divided the dough into thirds and shaped each one into a rectangle. I placed each loaf on parchment paper, covered them with a cloth, and left them to rise.

The recipe didn’t specify a final rising time, so I looked at a few ciabatta recipes online and guesstimated that an hour would be sufficient. During this time I preheated my oven and baking stone to 500 degrees Fahrenheit.

When the dough had risen and the oven was hot I used my pizza peel to load the bread into the oven. I poured boiling water into the steam tray, and let the bread bake. After 50 minutes I lowered the oven temperature to 450 degrees Fahreneheit. The loaves baked for 30 minutes total. I could have taken them out after 25 minutes, but I wanted a little more colour on the loaves.

I really enjoyed this ciabatta bread! The loaves are rather flat, which is correct for this style of bread. The bread has a mixture of larger and smaller holes, and has a nice taste and texture. We ate it with bolognese and fresh pasta.

Until the next time: may your yeast always rise and your flour never run out.

The Art of Crafting Perfect “French” Bread

This recipe in the King Arthur Baking School cookbook is titled French Bread, but it’s similar to “straight” breads made in multiple bread traditions. I love this kind of bread.

The night before baking I mixed the preferment (a poolish in this case, with equal amounts of flour and water): flour, water, yeast, and time.

14 hours later I mixed the dough in my KitchenAid mixer. I dislike the feeling of a very sticky dough on my hands, so I prefer to use tools to mitigate the stickiness. After the initial mix I kneaded the dough in the mixer for a few minutes, then covered it and set it aside to rise.

The dough rose for 1 1/2 hours with a fold in the middle to enhance the gluten structure. in the photos below you can see how much the bread rose during this period.

I divided the dough in half by eye, and preshaped each half.

While the preshaped dough rested I floured my bannetons. After 20 minutes I did the final shaping, put the dough in the bannetons (seam-side up), and covered them for the final rise. I also started my oven and my baking vessels preheating.

The bread needed a full hour for its final rise.

After the final rise was complete I turned the dough out of the bannetons onto parchment paper. I brushed away the excess flour, and scored the dough before putting the dough into my baking vessels and into the oven.

I kept the lids on the baking vessels for 15 minutes to allow the dough to bake with steam. I removed the covers and lowered the oven temperature after 15 minutes.

The bread baked for an additional 30 minutes uncovered (45 minutes total).

First of all, this bread is pretty. I love how scoring can be decorative as well as functional. Secondly, this bread is delicious. It has a tight crumb with few large holes. It tastes almost like a sandwich bread, except for the thicker, tougher crust. I love a crusty bread. This bread does feel more sophisticated or refined, or maybe less rustic than similar breads made with less yeast and more time.

Until the next time: may your yeast always rise and your flour never run out.

Easy Pita Bread with Spelt Flour

I’ve made pita before, but until now I had never worked with spelt. This ancient grain brings a delicious, nutty flavor to the party. I’m glad I tried it.

For the preferment I combined the spelt flour, water, and yeast.

This was a very short preferment, so I mixed in the remaining ingredients after just 15 minutes.

This dough did not need to be kneaded, so I immediately set it aside for an hour to rise. I put my baking stone in the oven and started the oven preheating during this time.

After the bulk rise I divided the dough into 8 pieces and rolled each piece into a ball.

The balls rested for 15 minutes while the oven finished preheating, then I rolled them out into rounds. The spelt flour is very extensible, and I rolled the first two pita much too thin, but the last 6 were a reasonable size and thickness.

I baked two pita at a time on my baking stone. I flipped them after a minute or two, once they had puffed on the first side.

The finished pita were quite blonde. Since colour = flavor, I chose to cook the pita over my gas stove for a few seconds before serving. This helped both the flavor and texture of the pita.

When the pita were done I made some fillings and enjoyed a delicious dinner.

Until the next time: may your yeast always rise and your flour never run out.