Freshly Milled vs Store-Bought Flour: A Baking Experiment

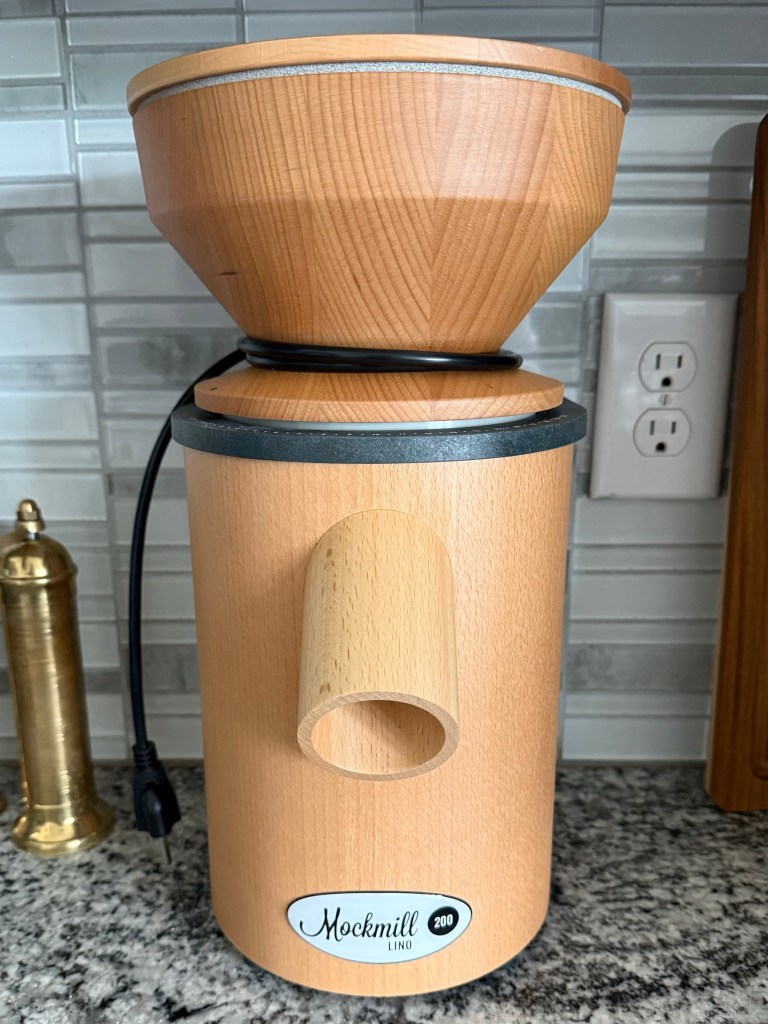
This week something very exciting happened: I got a grain mill!! Specifically, a Mockmill Lino 200.

I couldn’t wait to use it, so I skipped ahead a few recipes in the King Arthur Baking School book and made whole wheat sandwich bread. But because I’m me I couldn’t just make the recipe. I had to do an experiment. I was curious how the freshly-milled wheat would compare to store-bought flour, so I setup a head-to-head comparison.

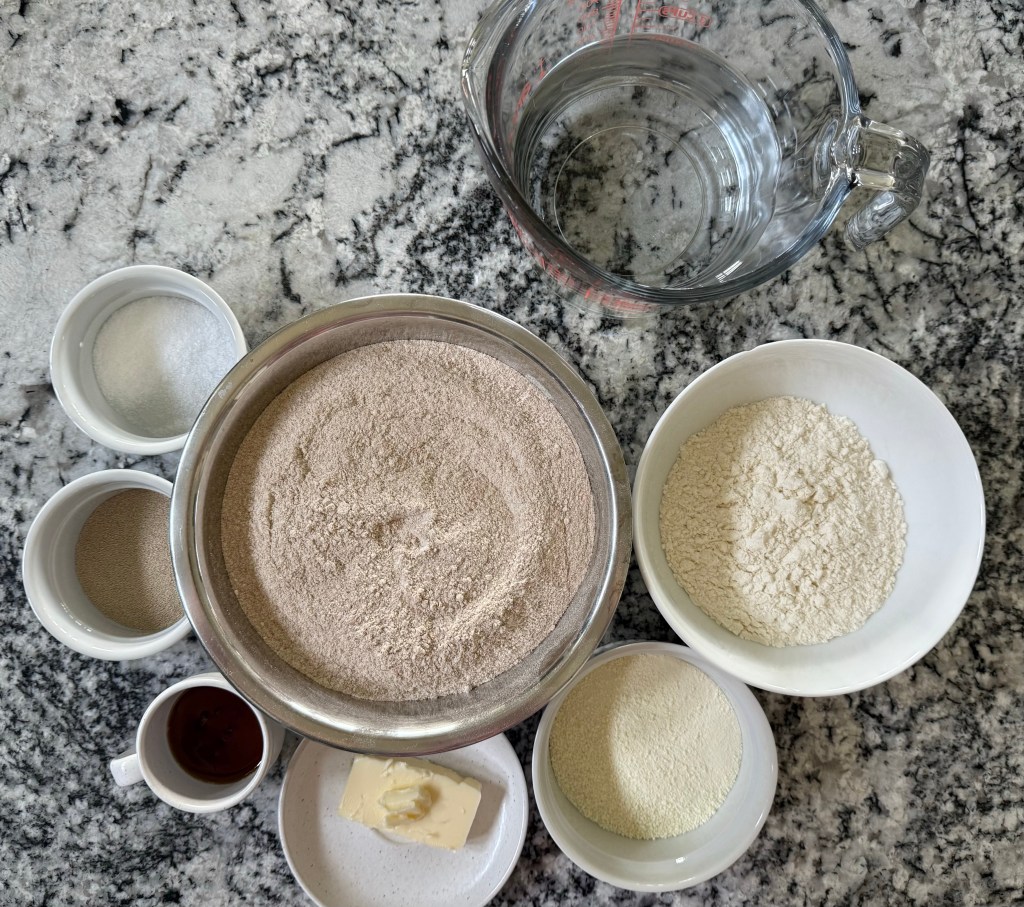
I keep my whole wheat flour and my grain in the freezer, so I put them both out on the counter and weighed out the amount needed for my recipe the morning of the bake so they could come to room temperature. I milled my flour, then realized it was significantly warmer than its store-bought cousin and let both flours sit for a while longer so their temperatures could equalize. I was surprised by the difference in colour between these flours, but that is likely due to the type of wheat used. My flour is milled from Hard White Winter Wheat. The store bought flour is Lidl brand. I can’t find a definitive answer on what kind of wheat is used in Lidl brand whole wheat flour, but whole wheat flour is typically milled from Hard Red Spring or Winter Wheat.

The fresh-milled flour is on the left. The store-bought flour is on the right.

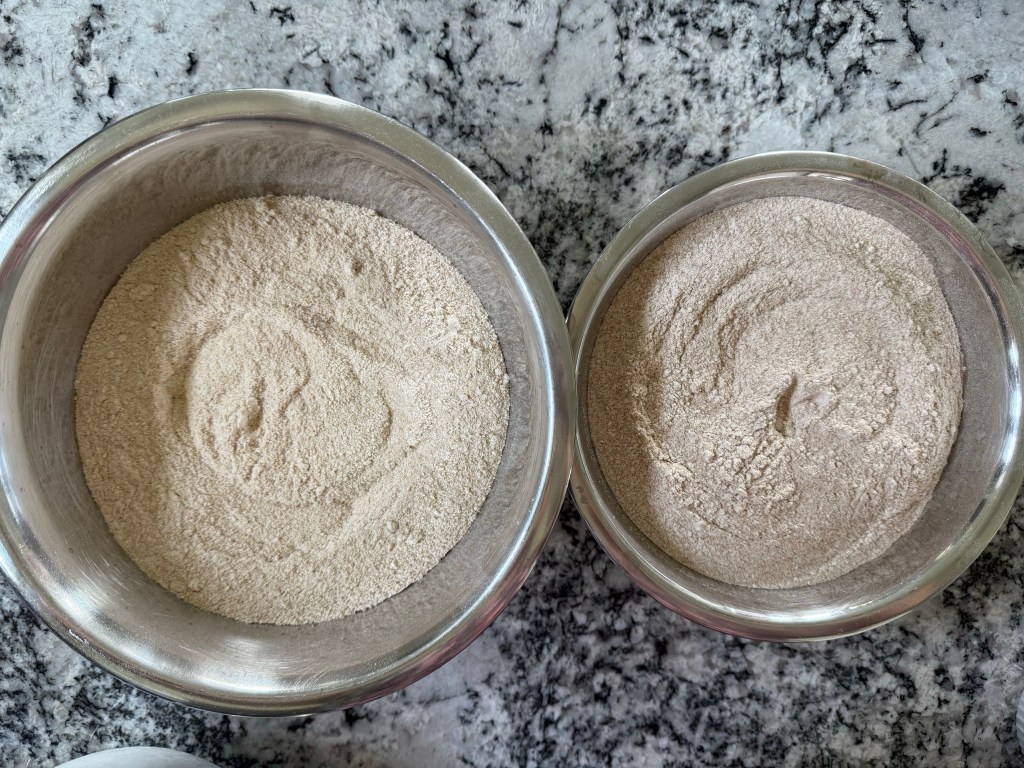
For all steps in the baking process I worked with the fresh-milled flour first, and pictures of the fresh-milled flour will be on the left where there is a comparison.

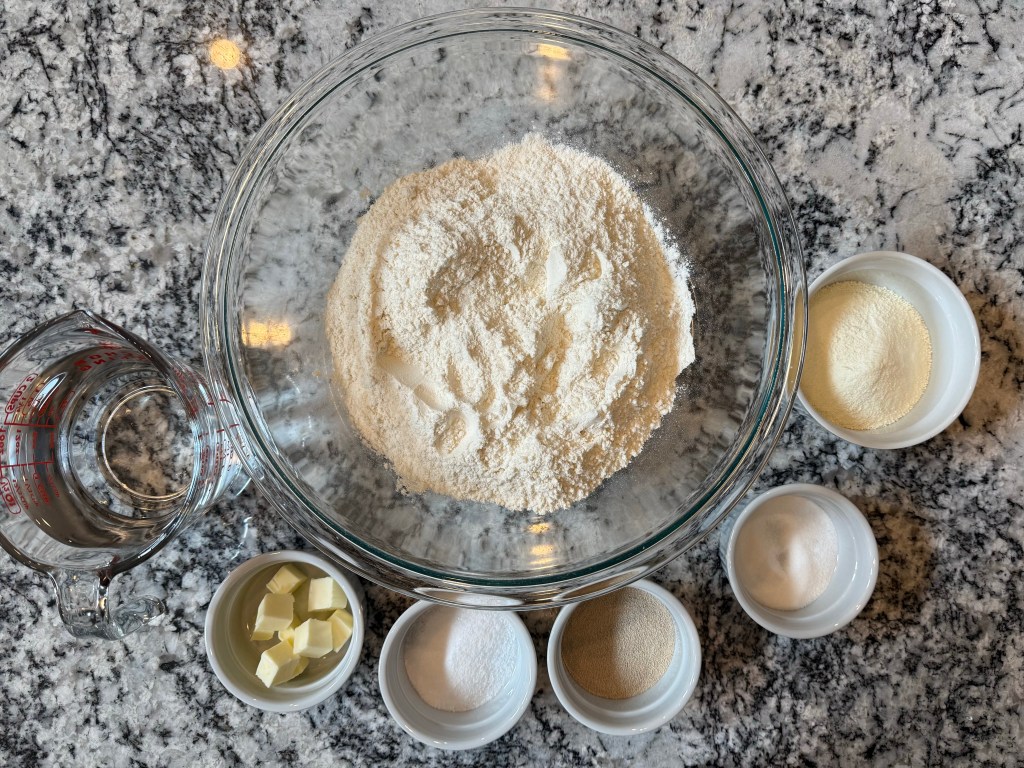
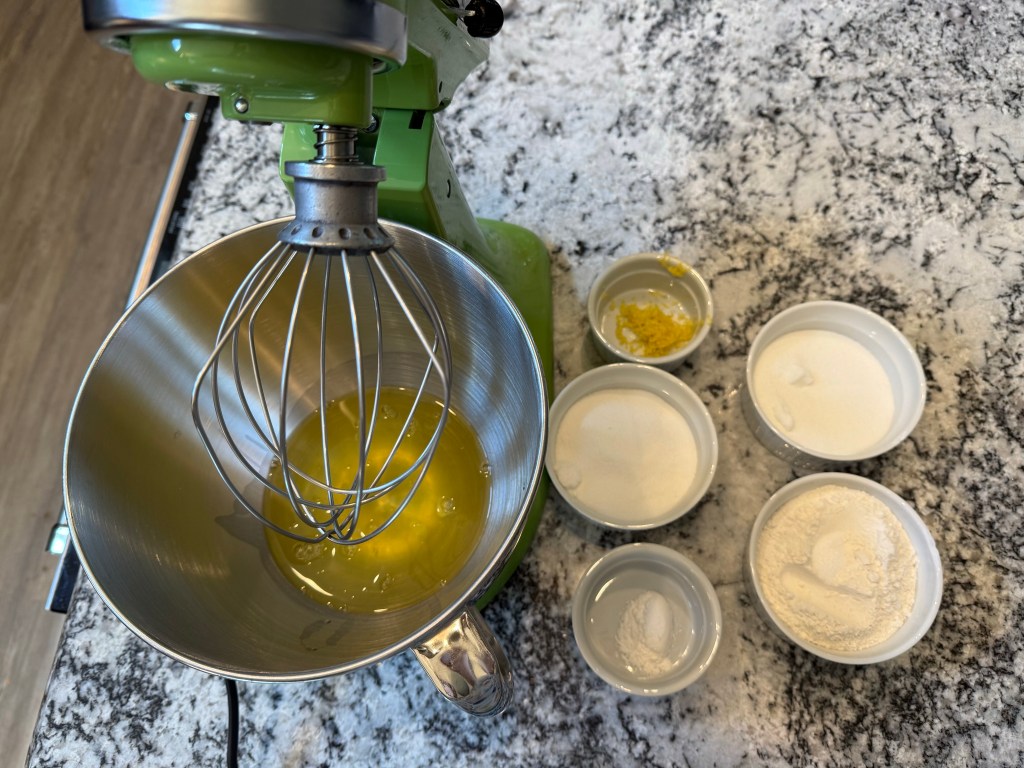
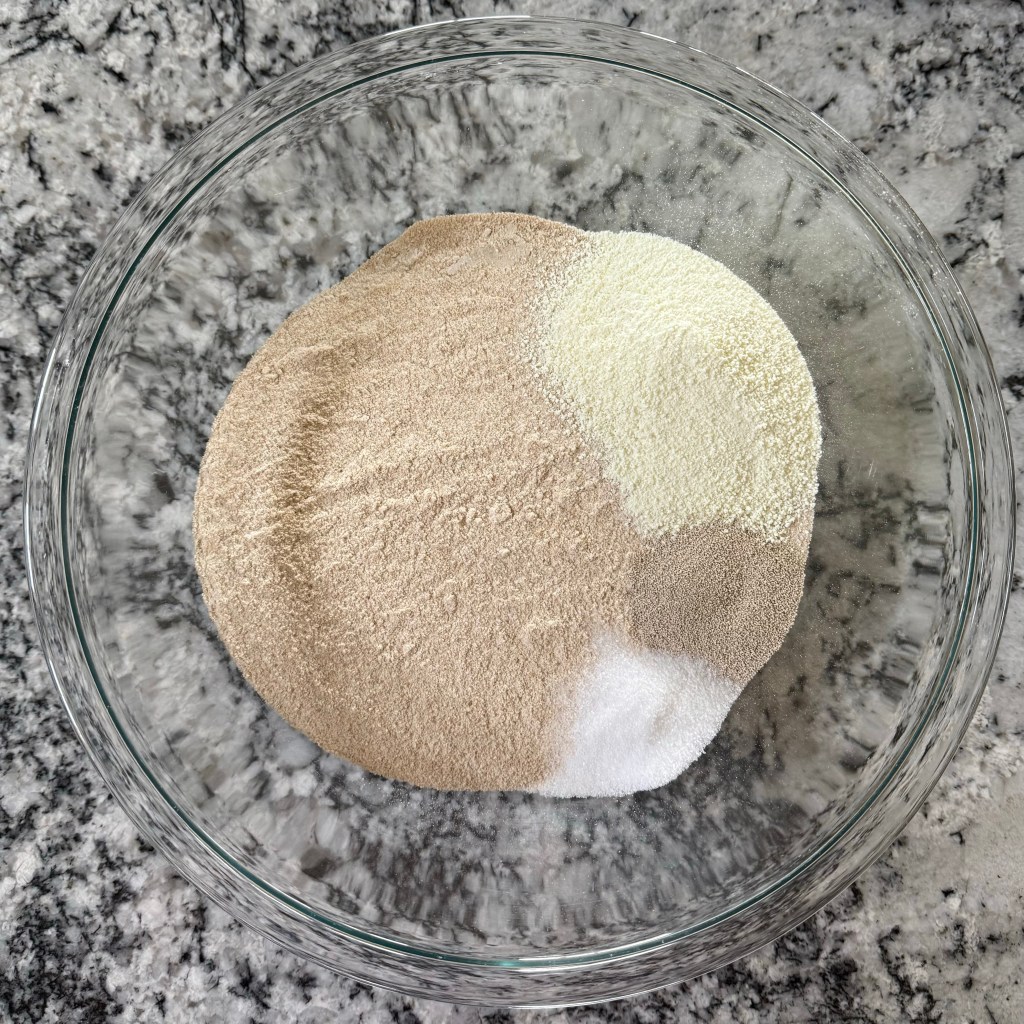
When I couldn’t wait any longer I laid out my mise en place for both recipes. At this point the freshly-milled flour was 76 degrees F, and the store-bought flour was 61 degrees F. I used water from my fridge dispenser and was surprised to see a 10 degree (F) difference between the first and second cups of water (58 vs 67 degrees F), but that ended up working in my favor to equalize the temperature between the two batches of bread.

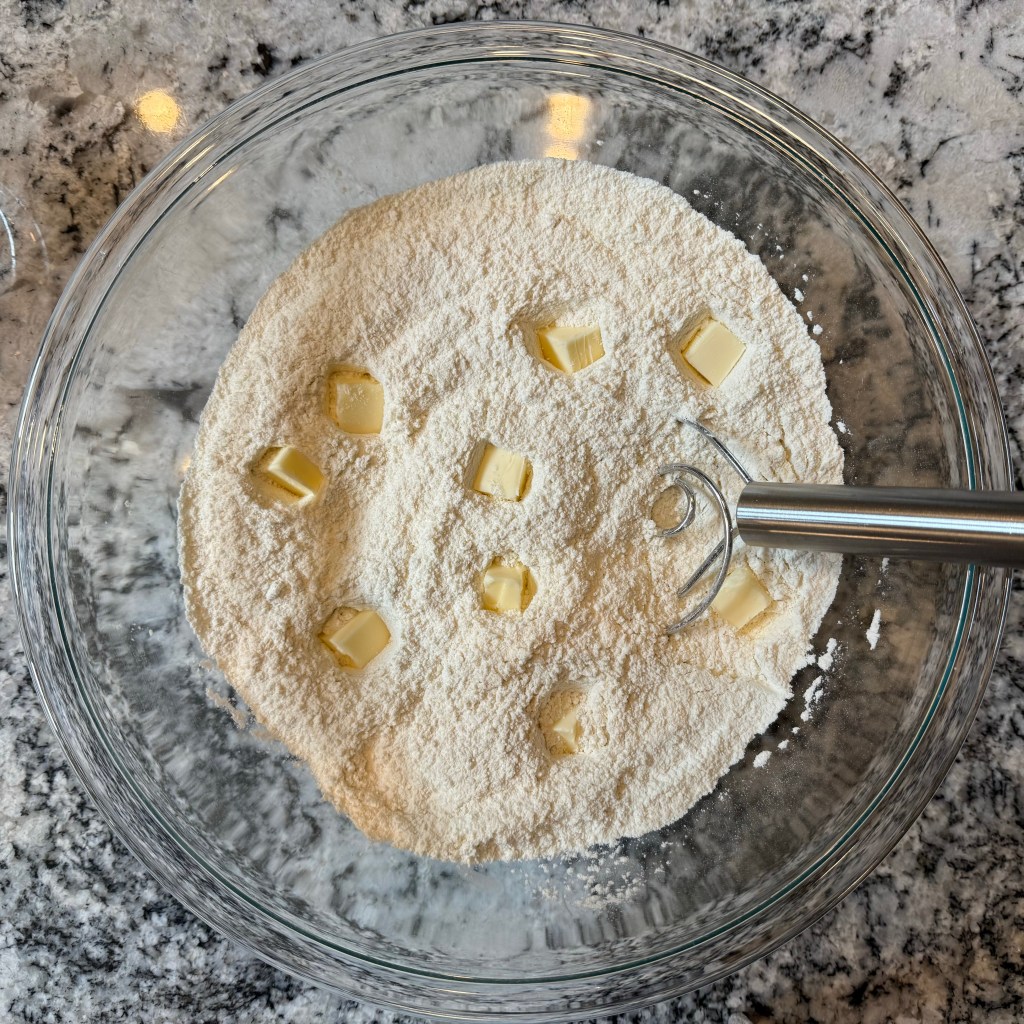
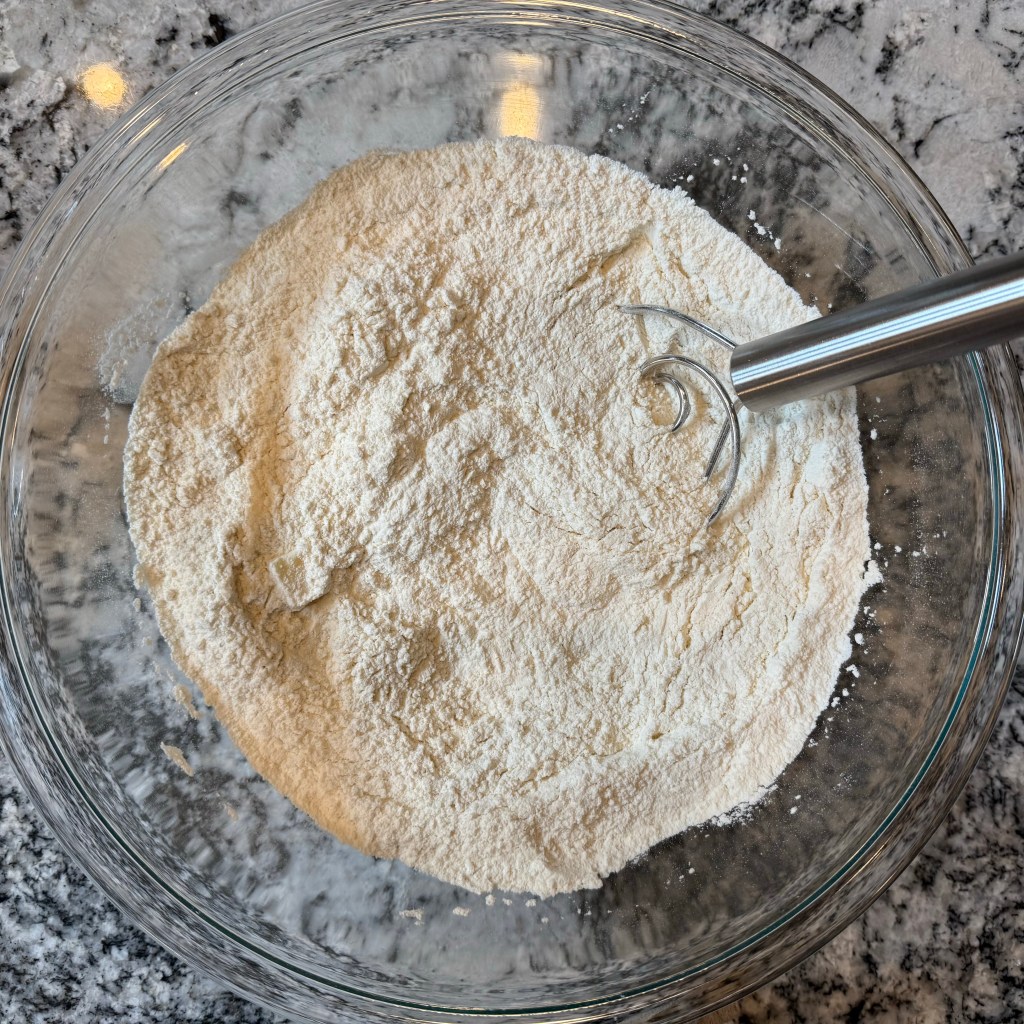
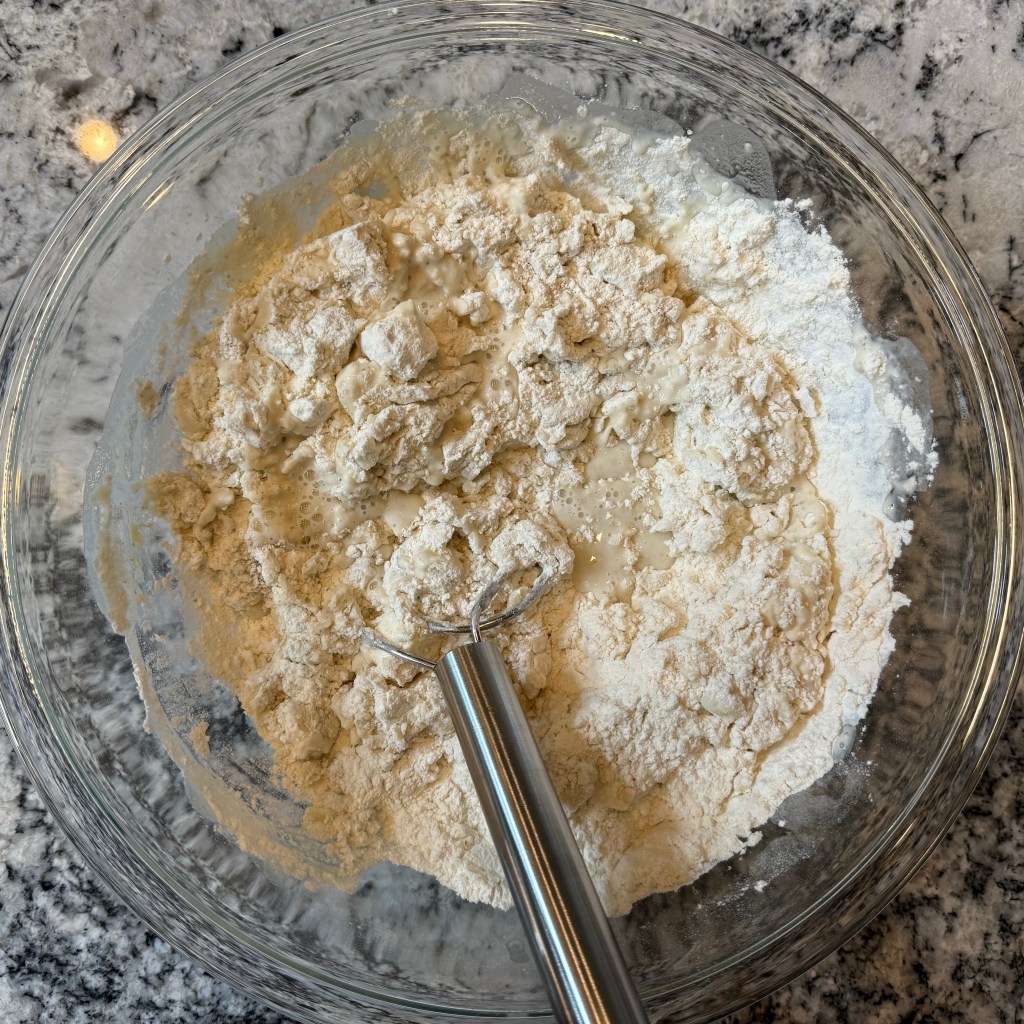
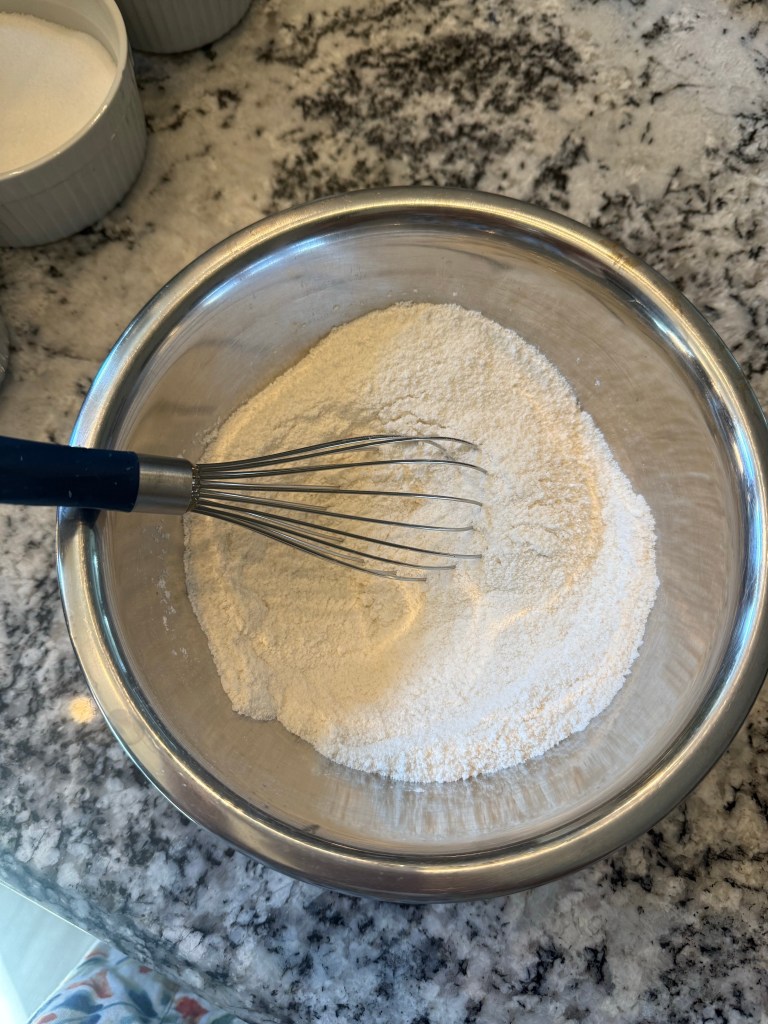
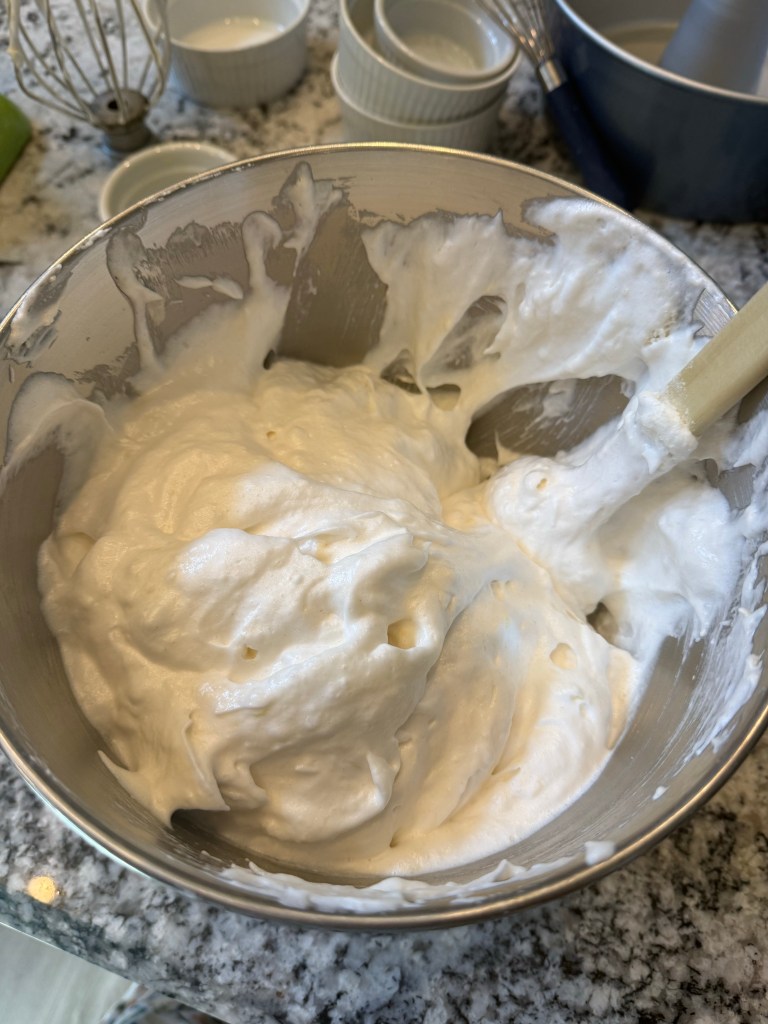
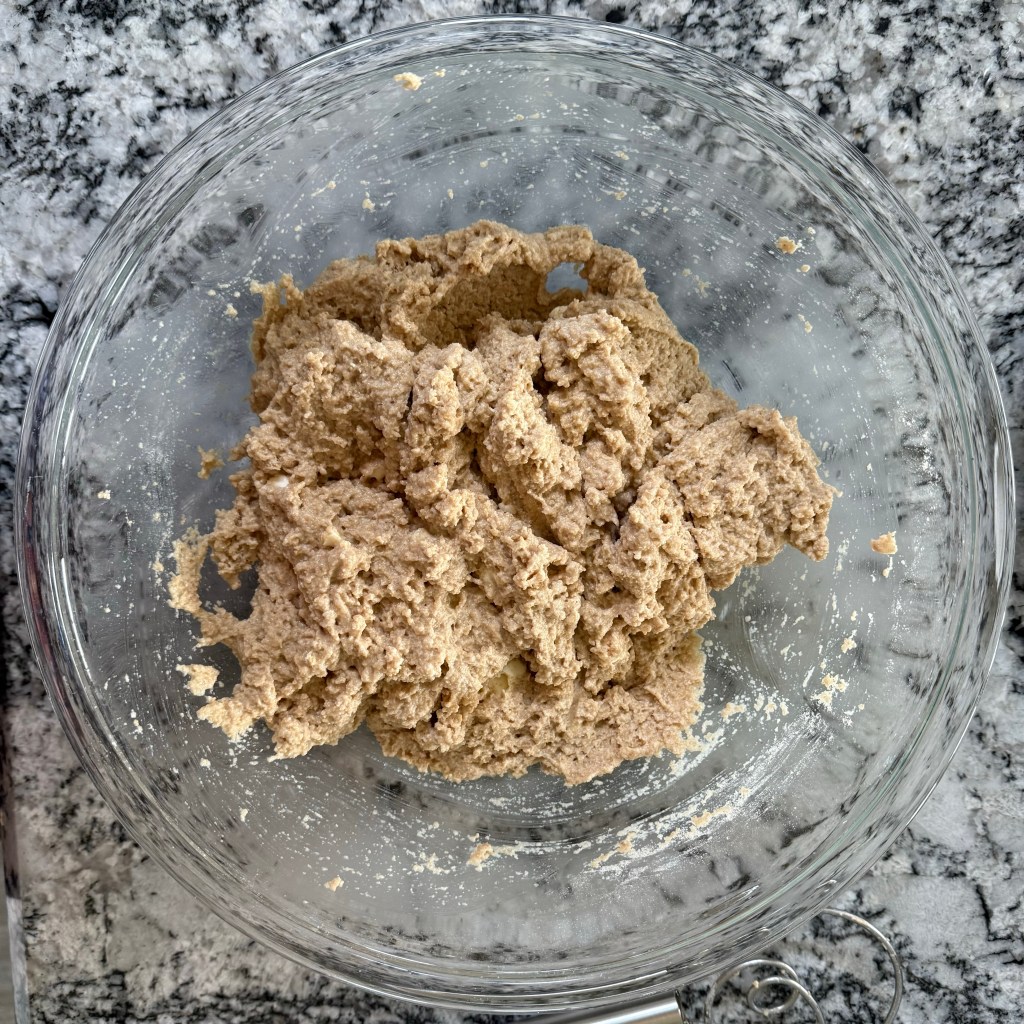
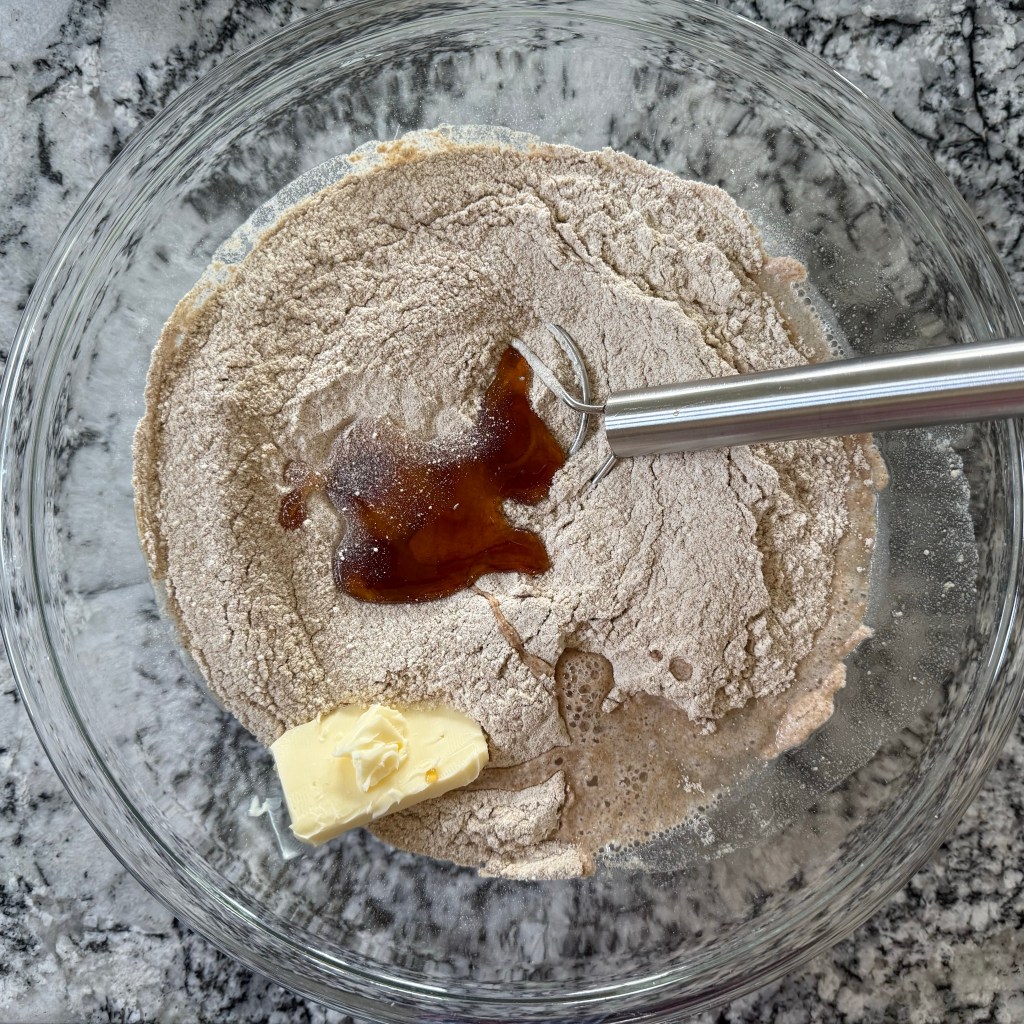
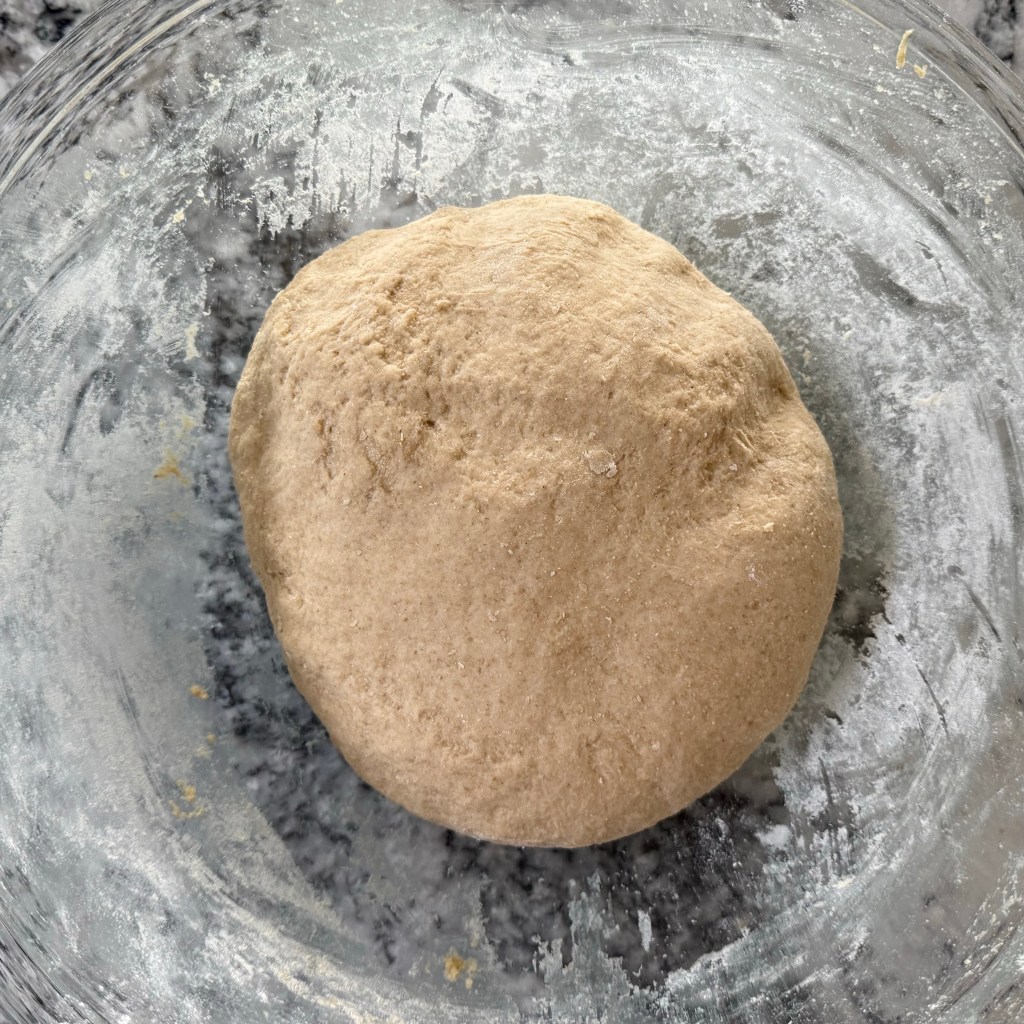
First I mixed up the dough with fresh-milled flour.

Immediately after, I mixed up the sister dough with store bought flour.

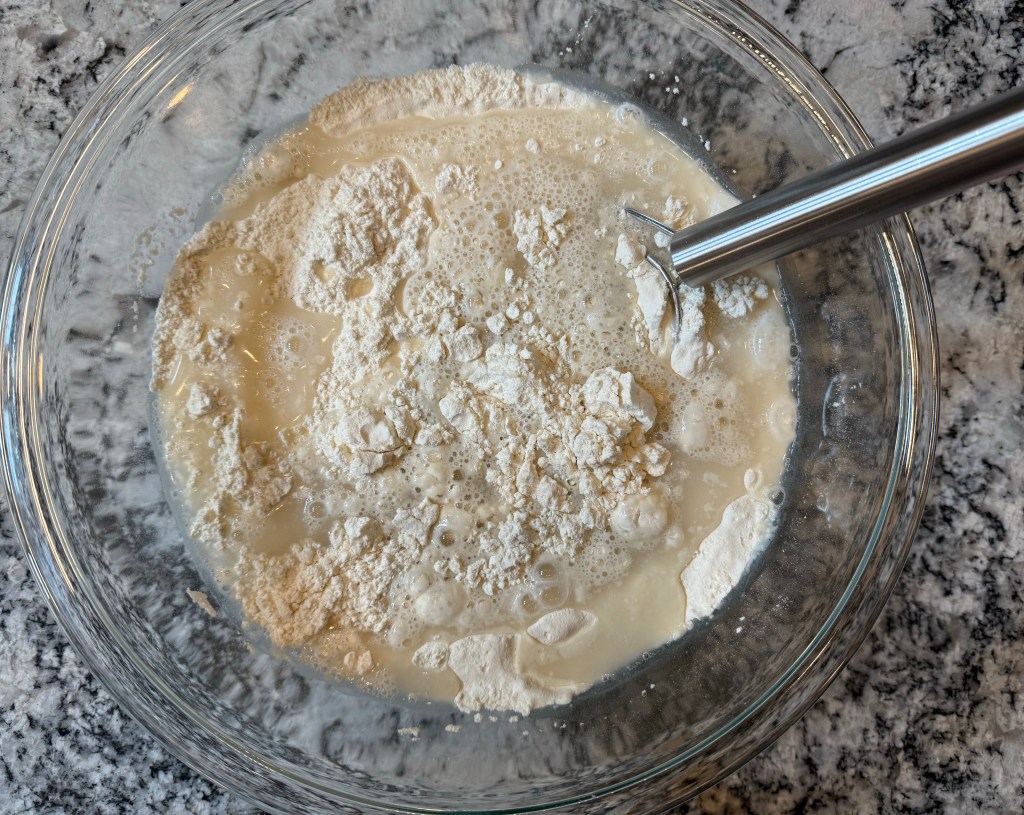
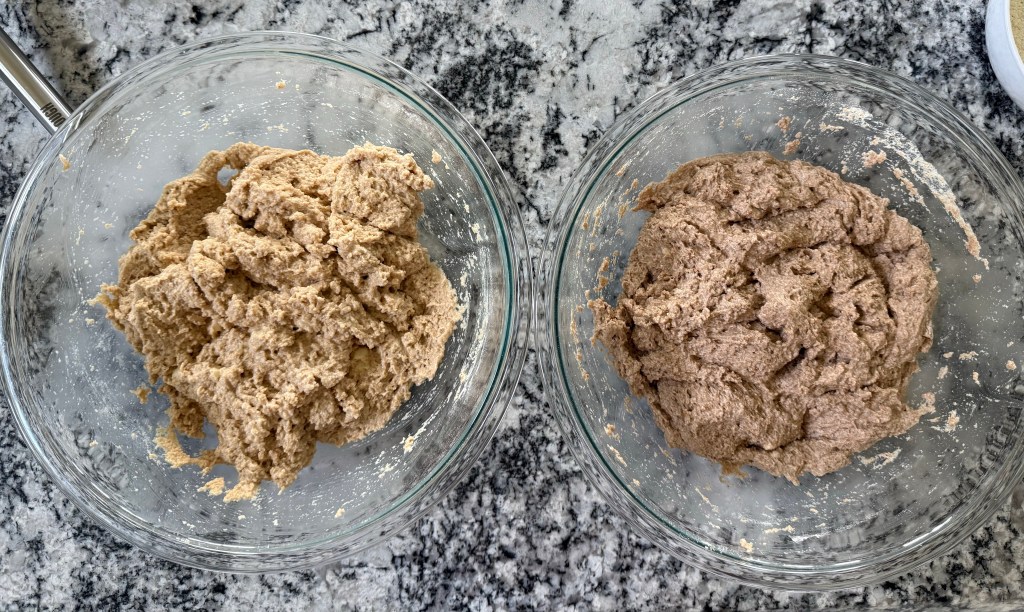
The doughs both felt quite sandy at this point. I left them to rest and hydrate for 15 minutes.

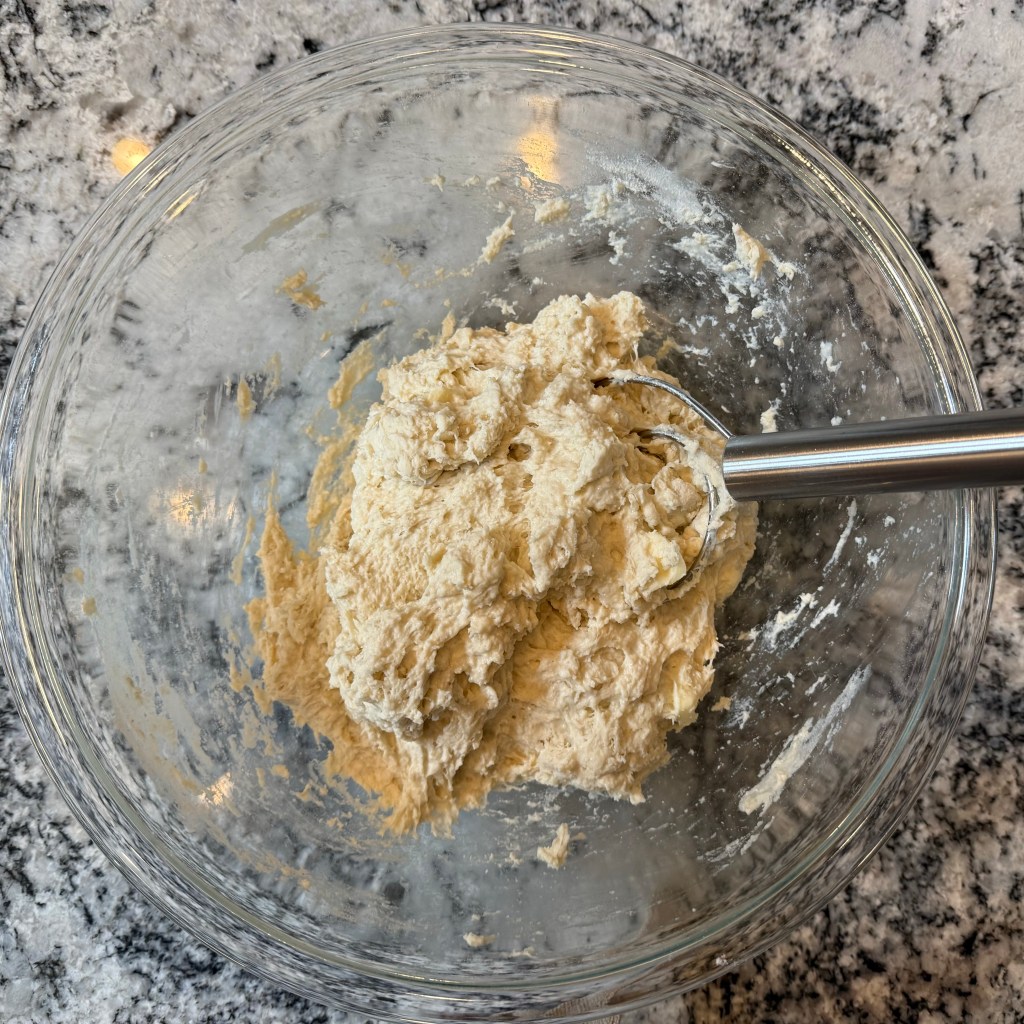
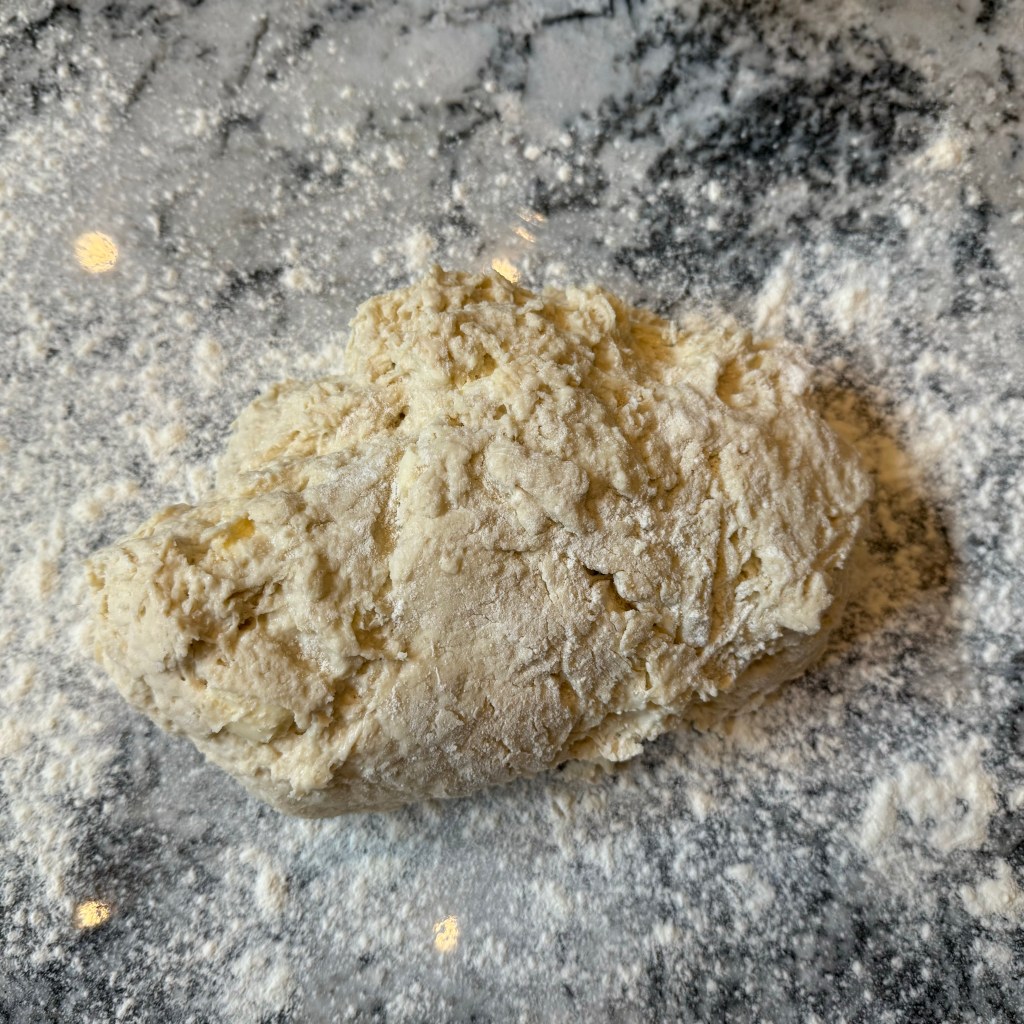
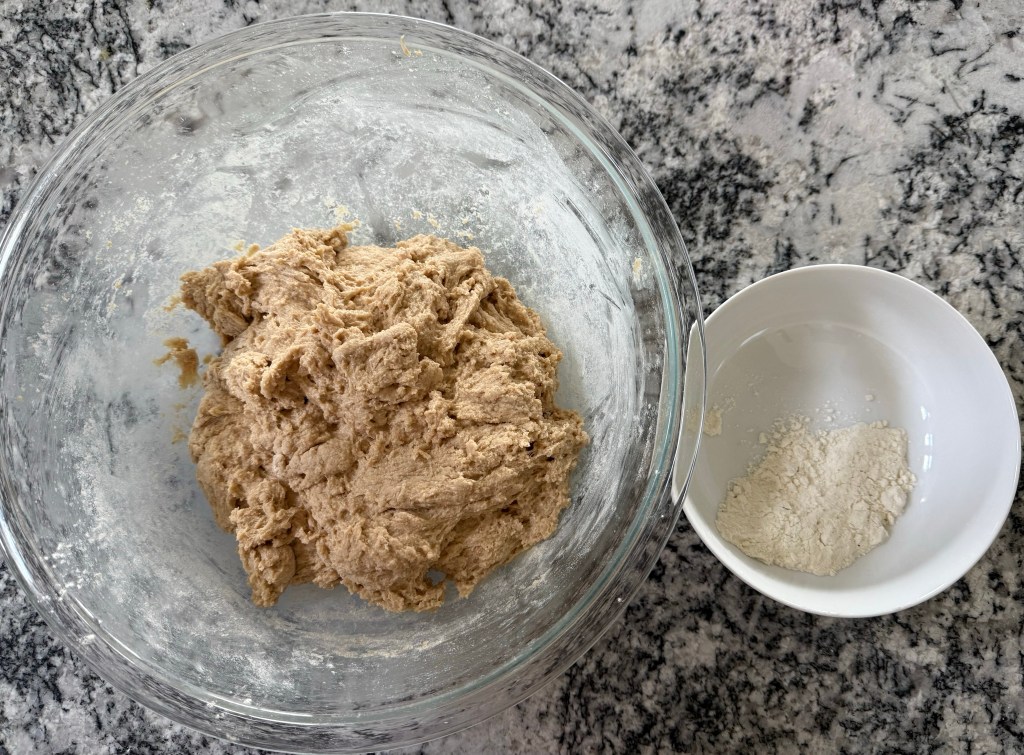
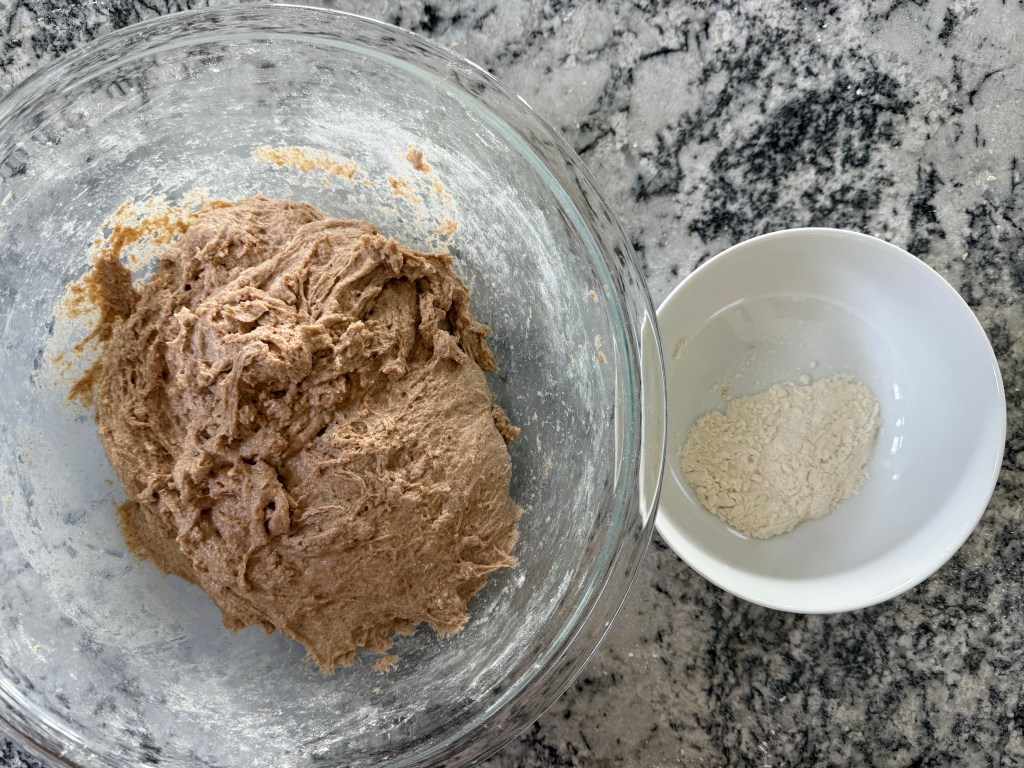
After the doughs had rested I incorporated the All Purpose flour into the dough with fresh flour and then kneaded the dough for 5 minutes. I didn’t stir all of the AP flour into the dough, but whatever was remaining (plus a little extra) got used during kneading.

I followed the same process for the dough with store-bought flour.

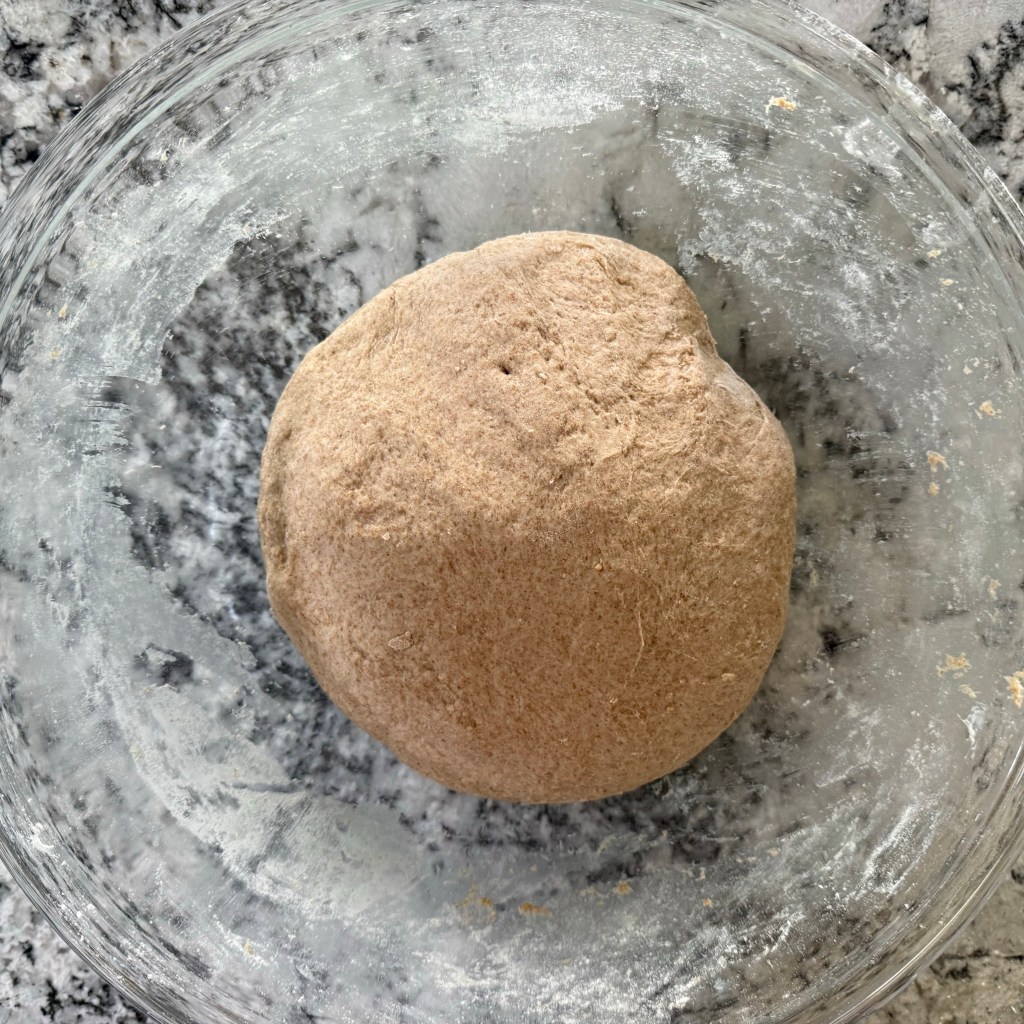
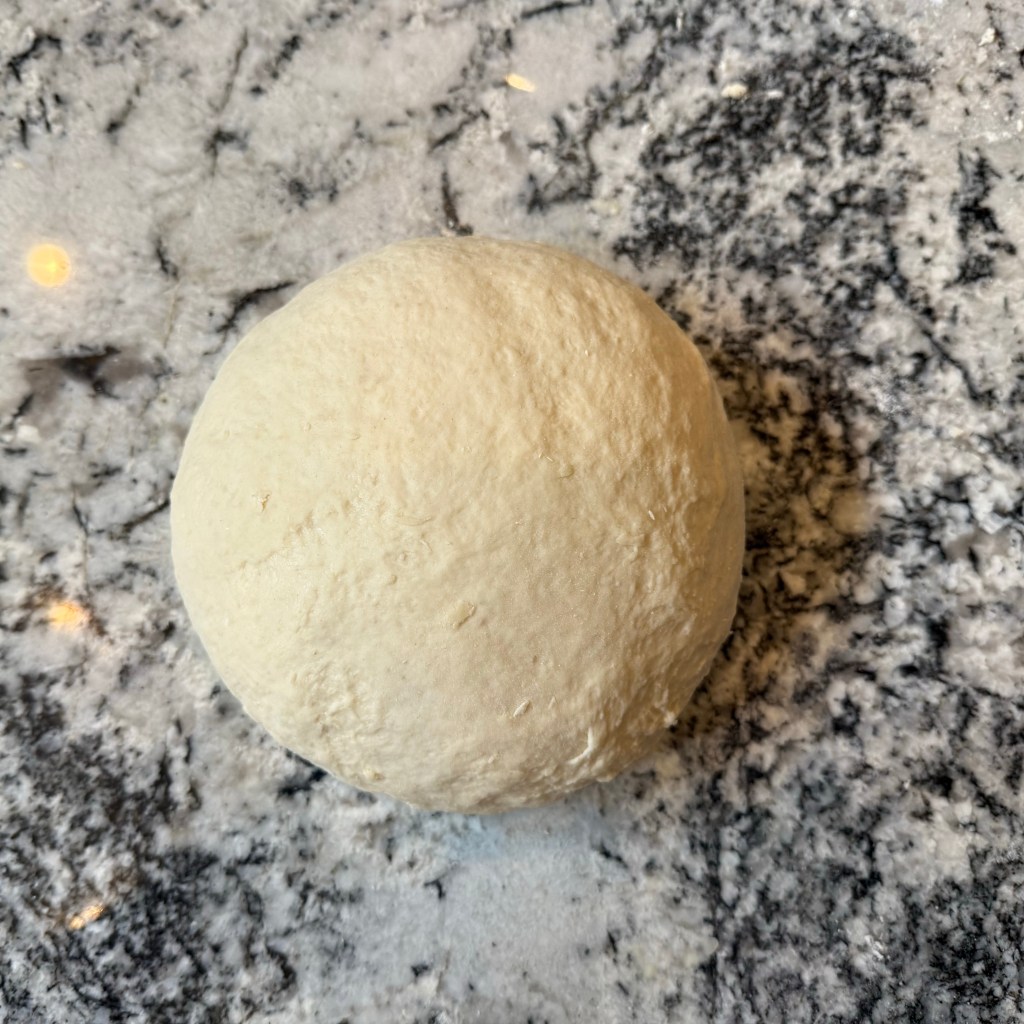
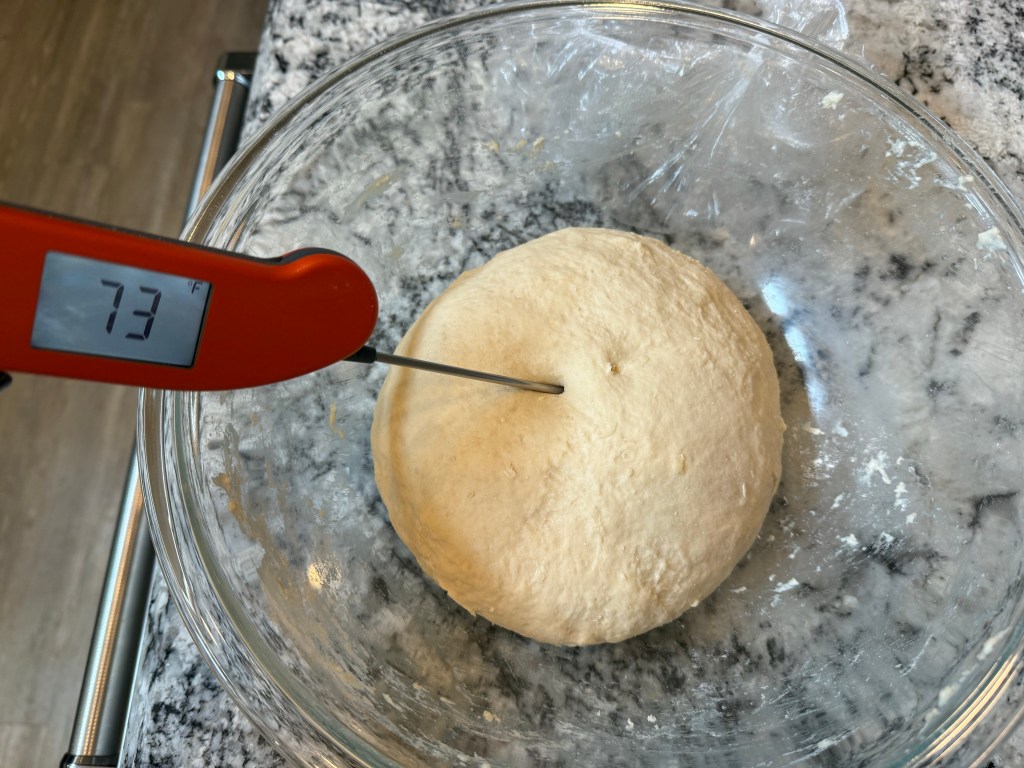
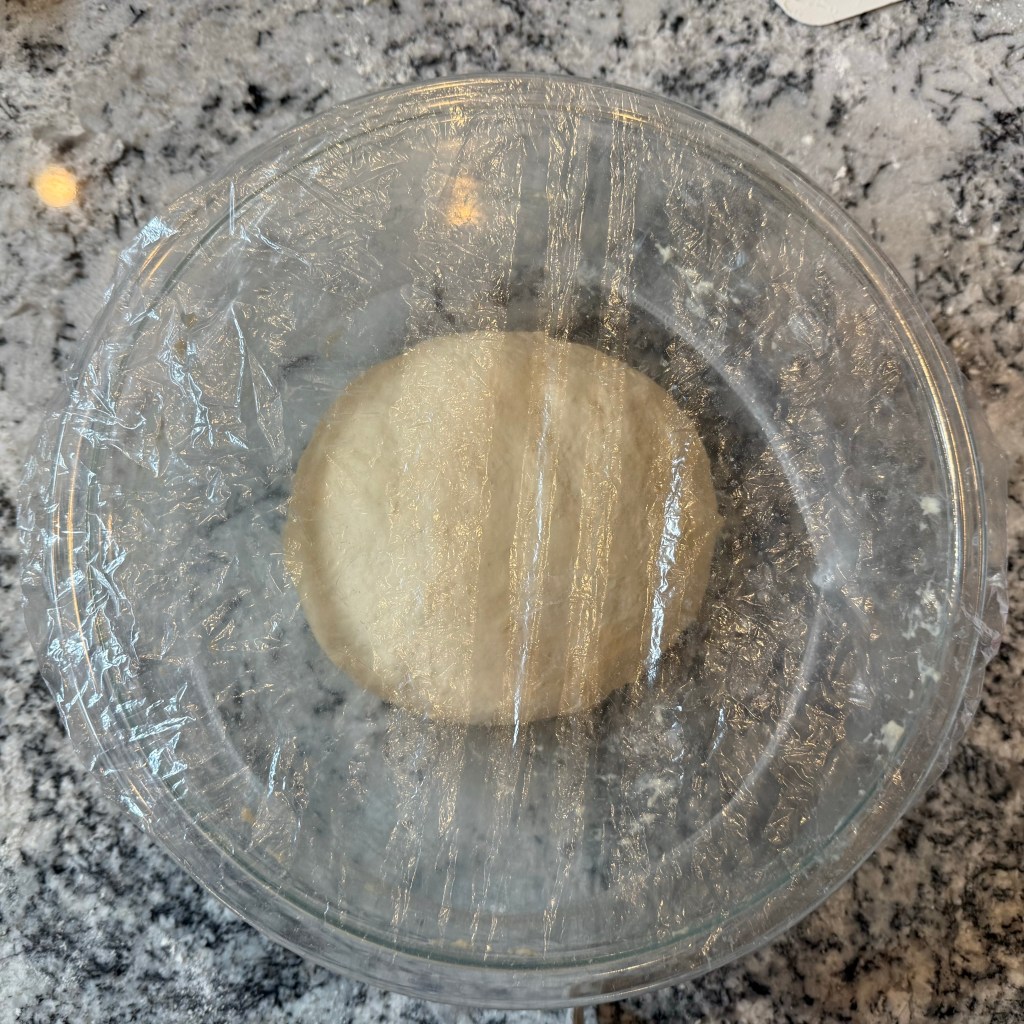
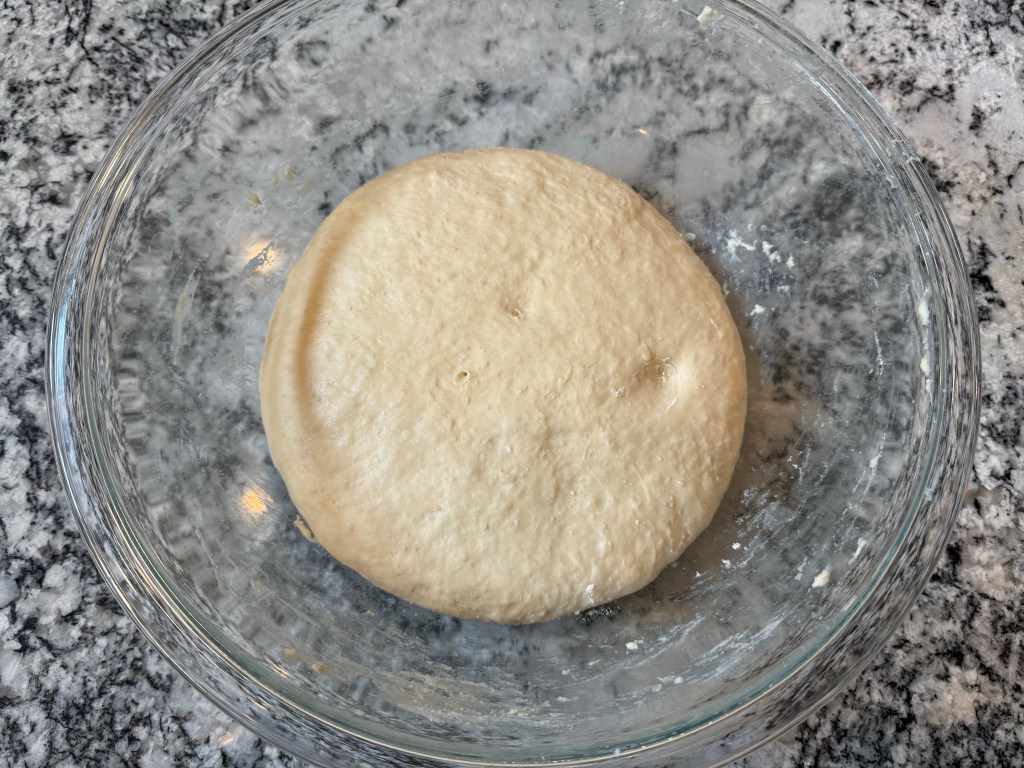
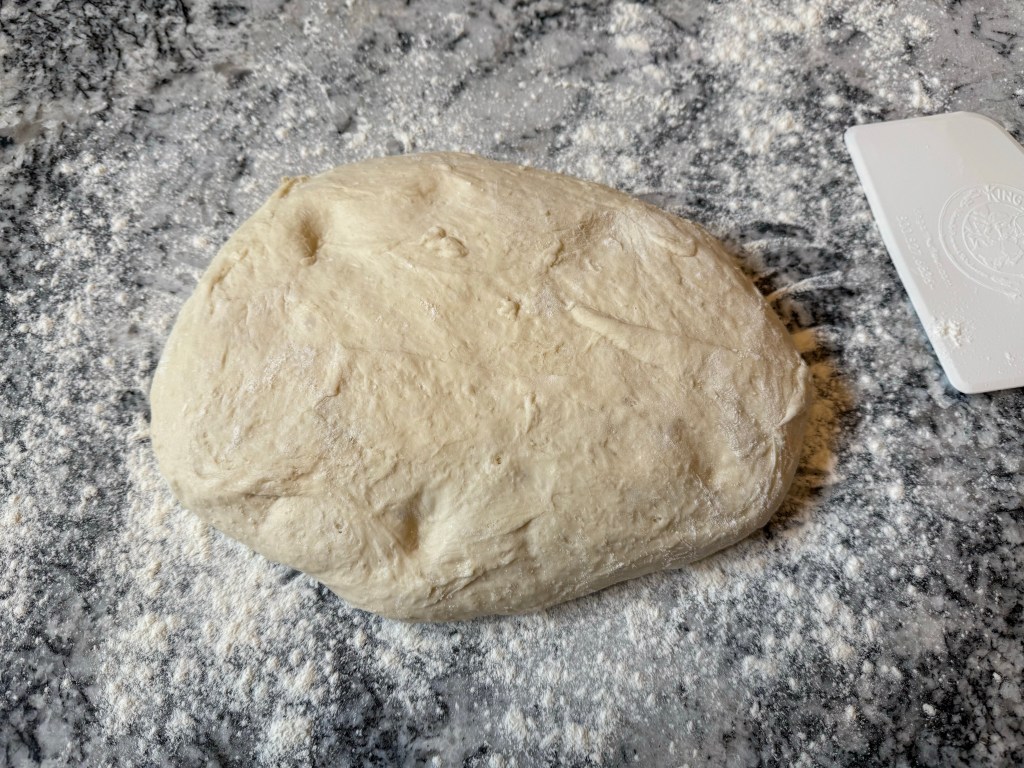
After both doughs had been kneaded I took their temperatures (the freshly-milled dough was 75 degrees and the store-bought dough was 76 degrees F), covered them, and let them rise. My kitchen was at a balmy 74 degrees F. After about an hour they passed the doorbell test and were ready to be divided and shaped. Before dividing I weighed both doughs: the dough with freshly-milled flour weighed 1357g and the dough with store-bought flour weighed 1367g.

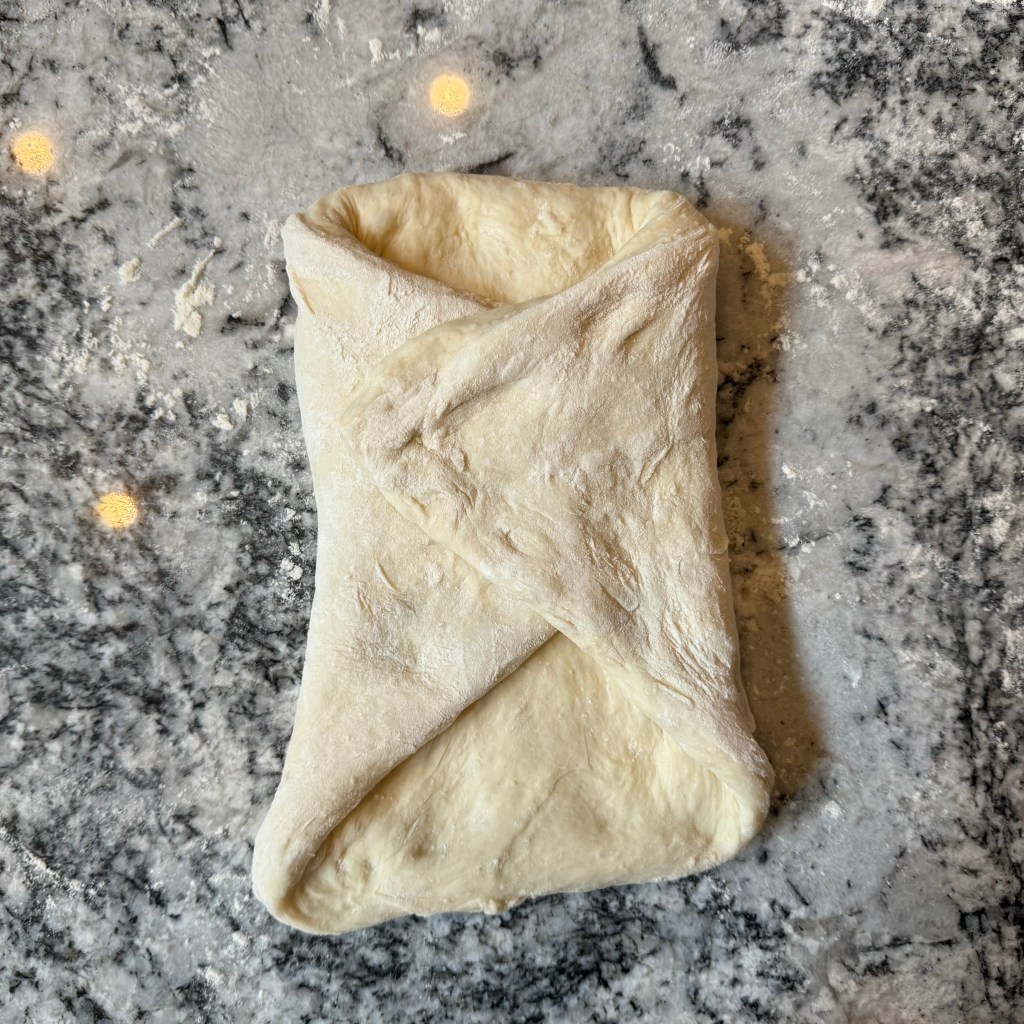
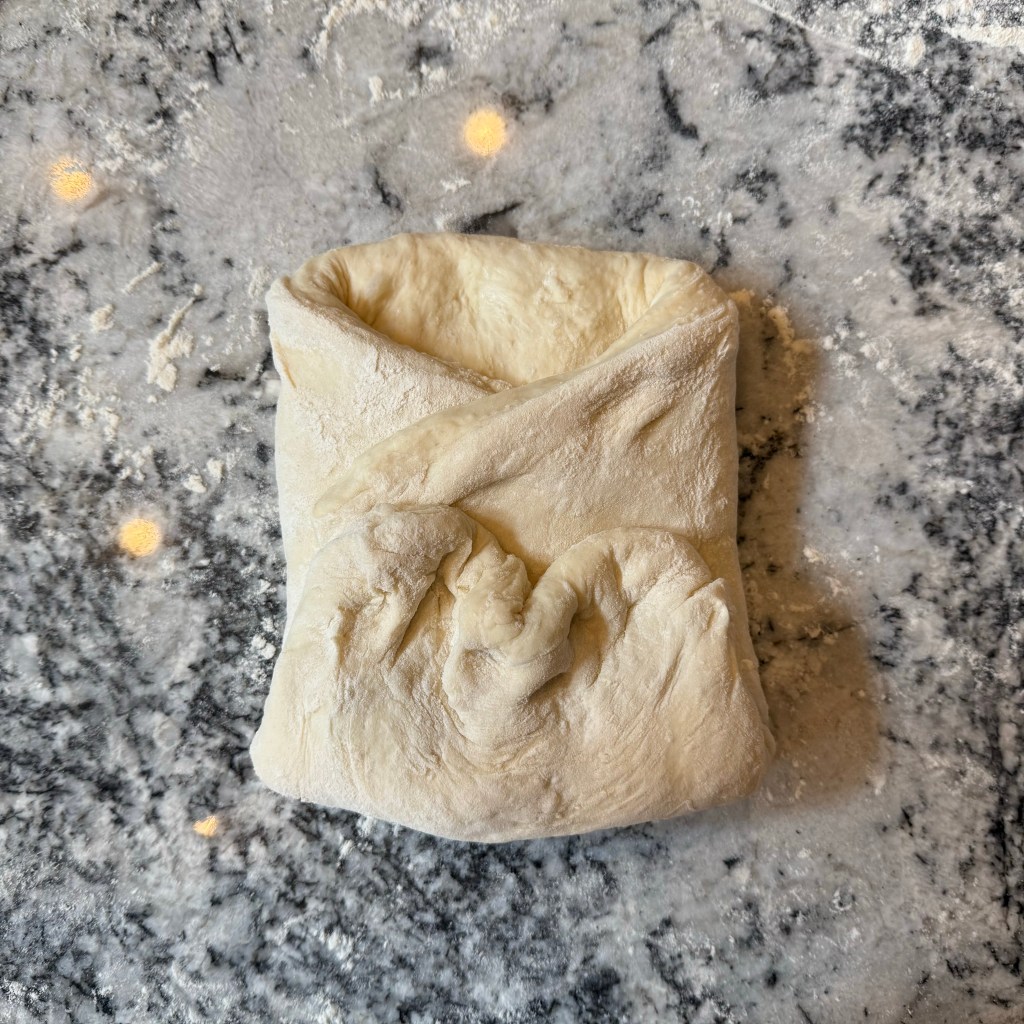
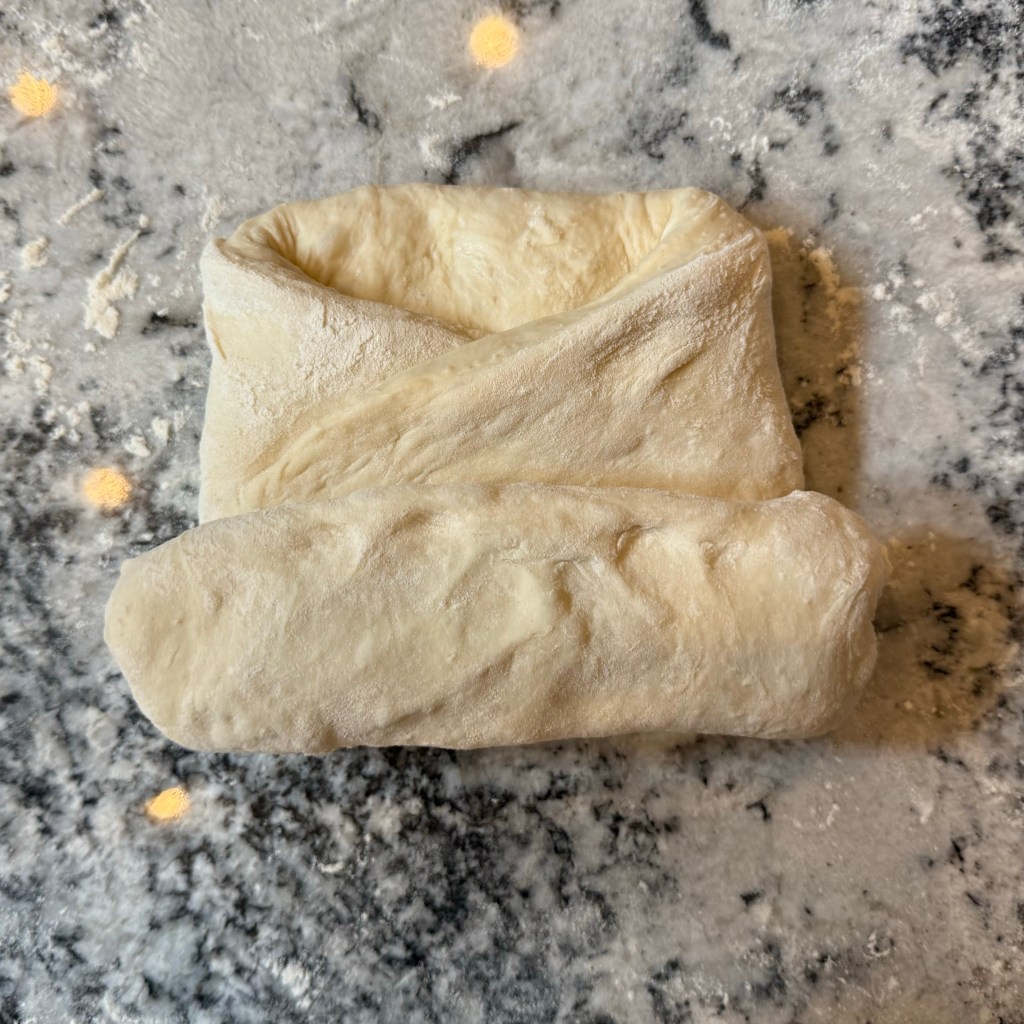
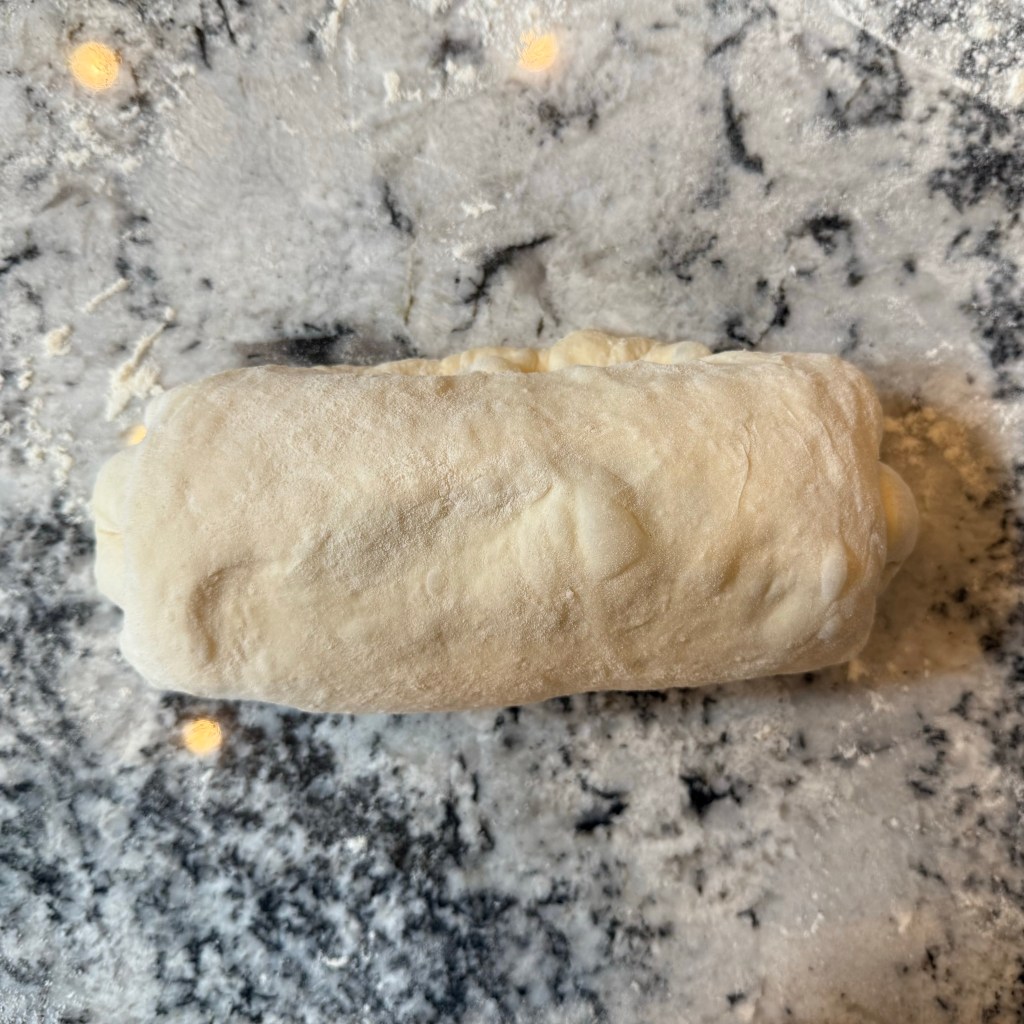
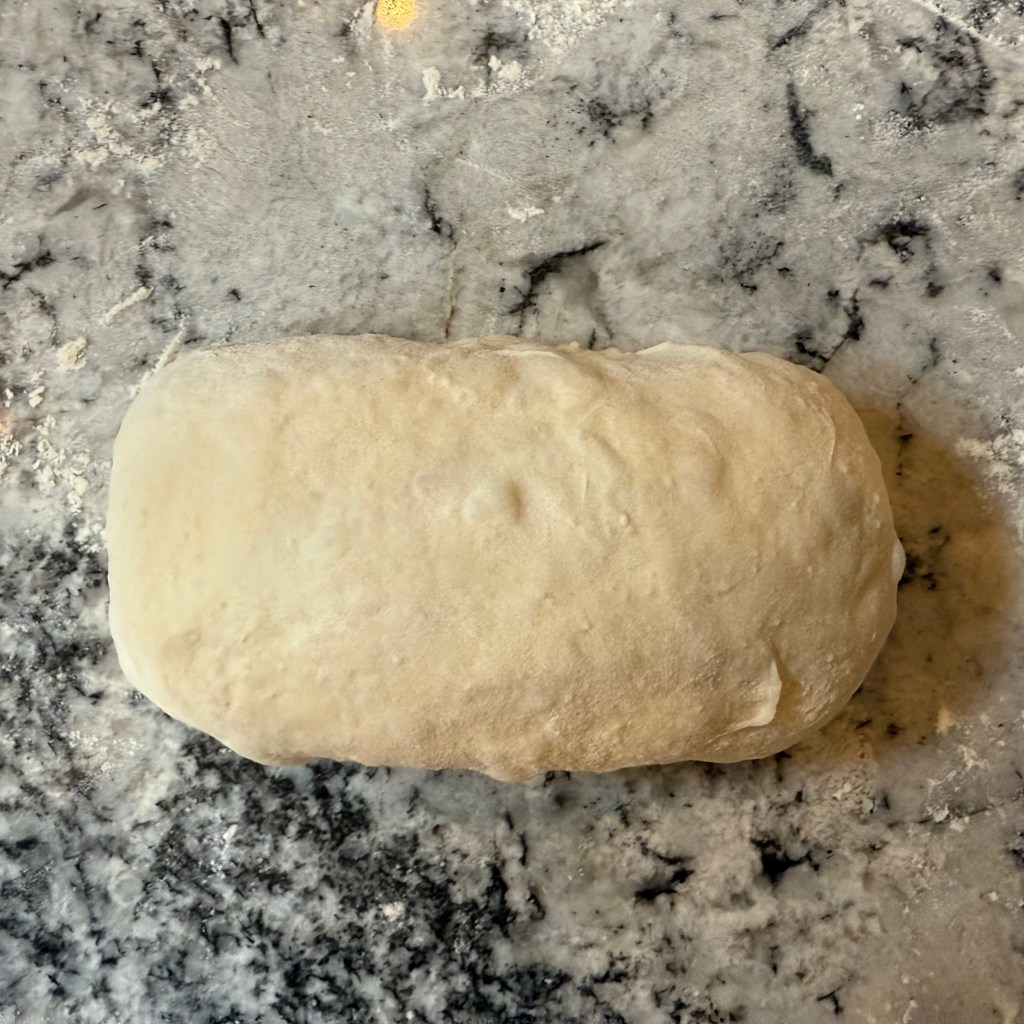
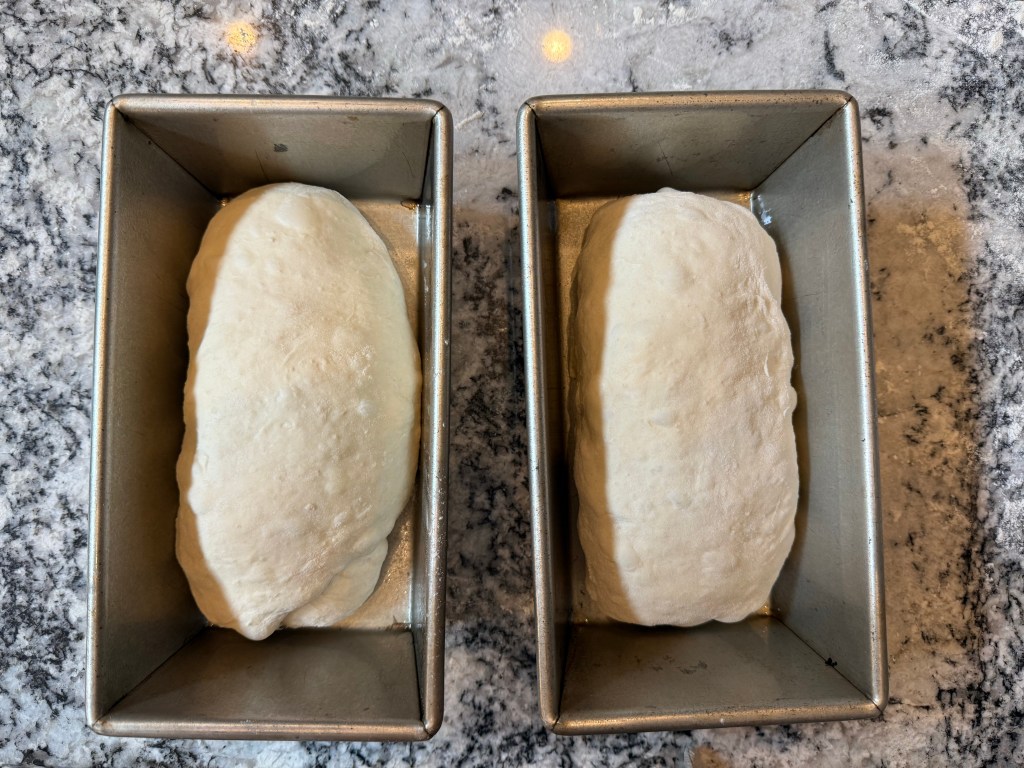
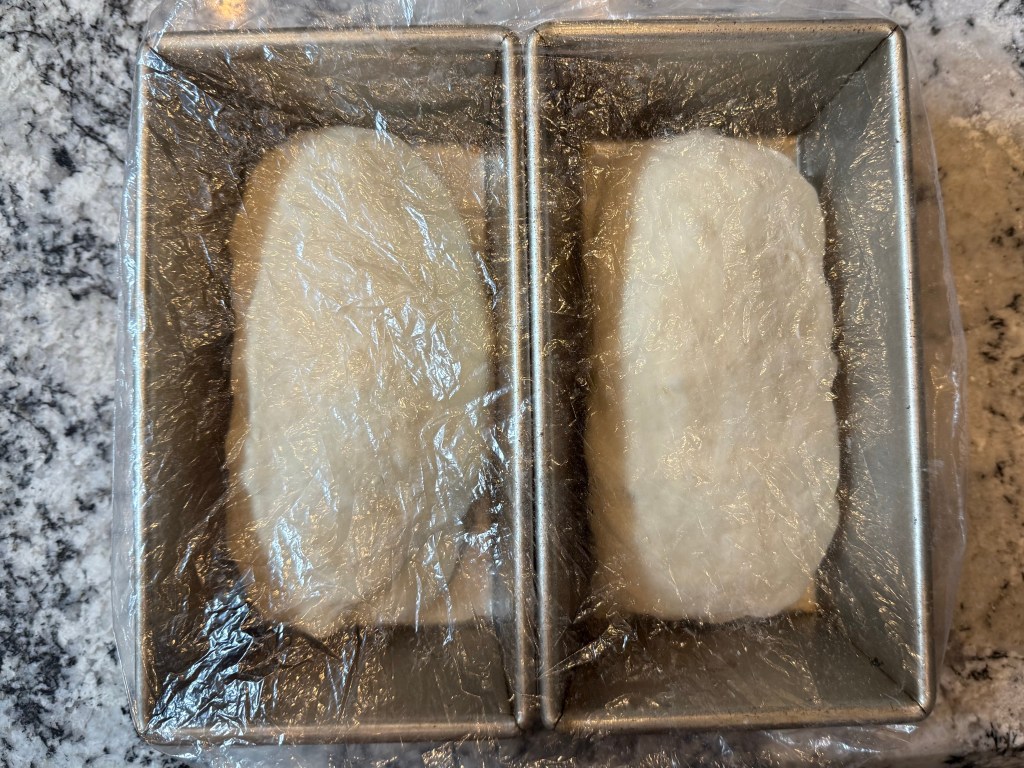
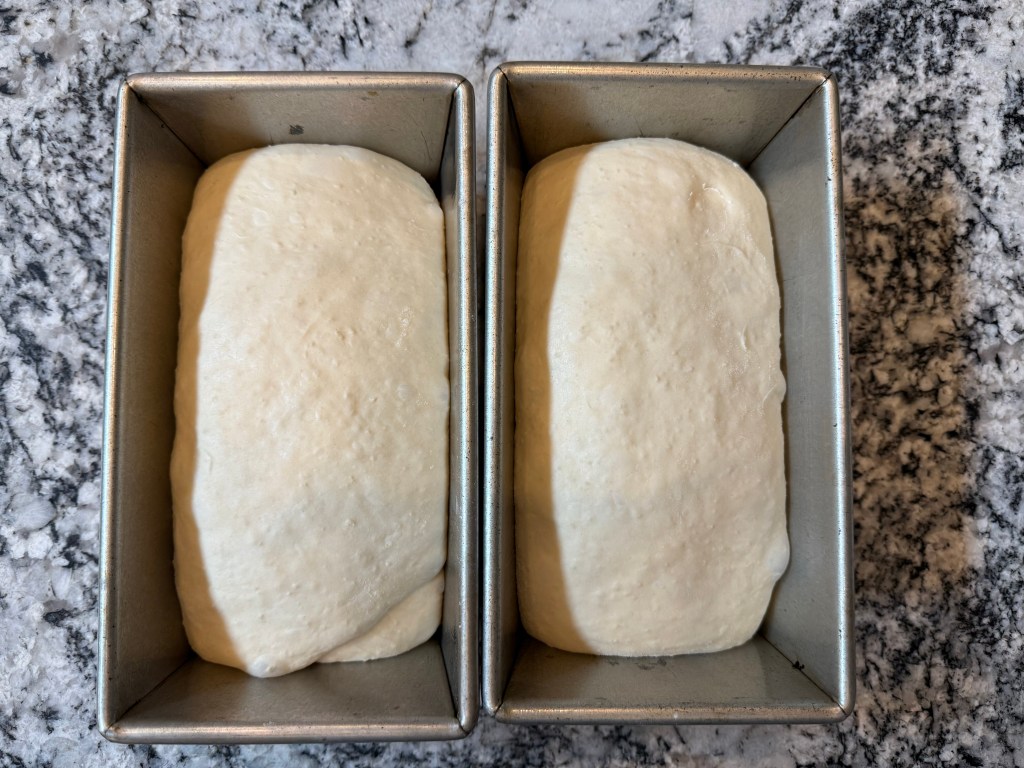
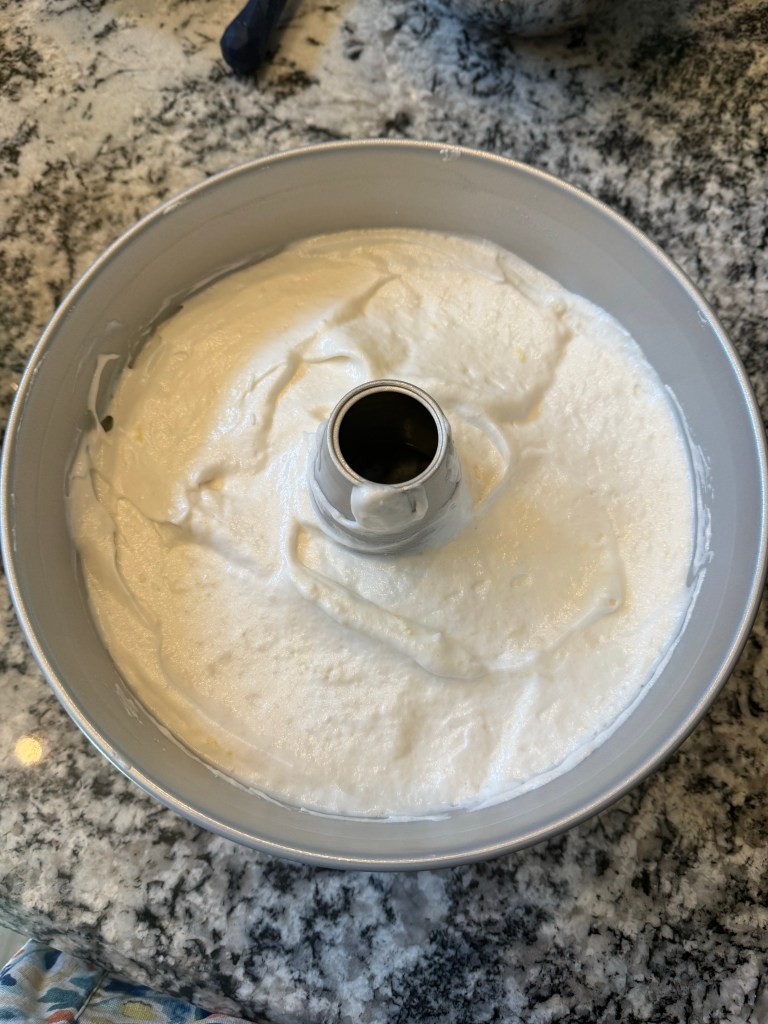
I watched the video showing how to shape this bread and followed the recommended shaping method for all 4 loaves. After shaping the dough rested for another hour.

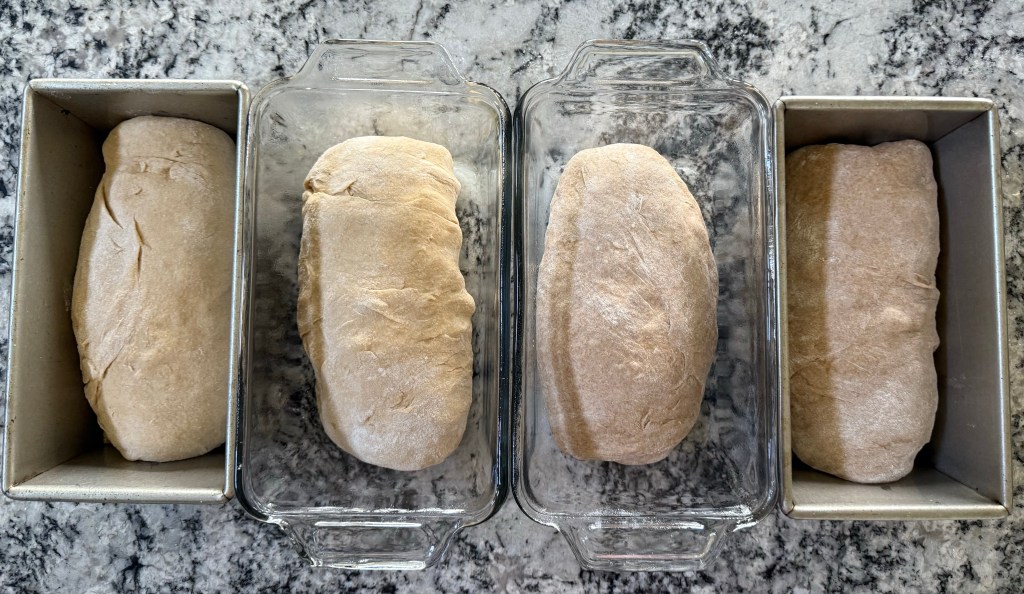
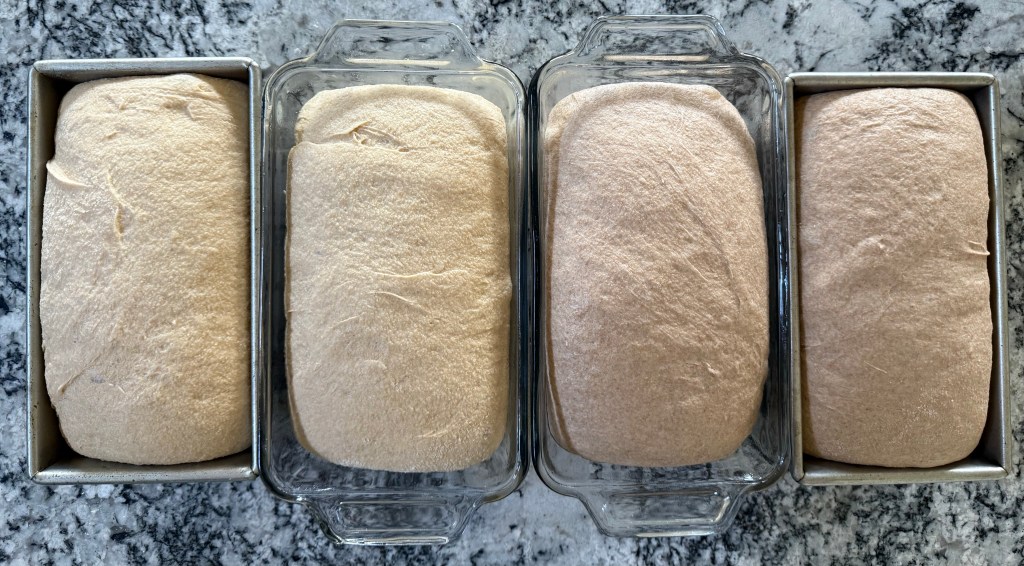
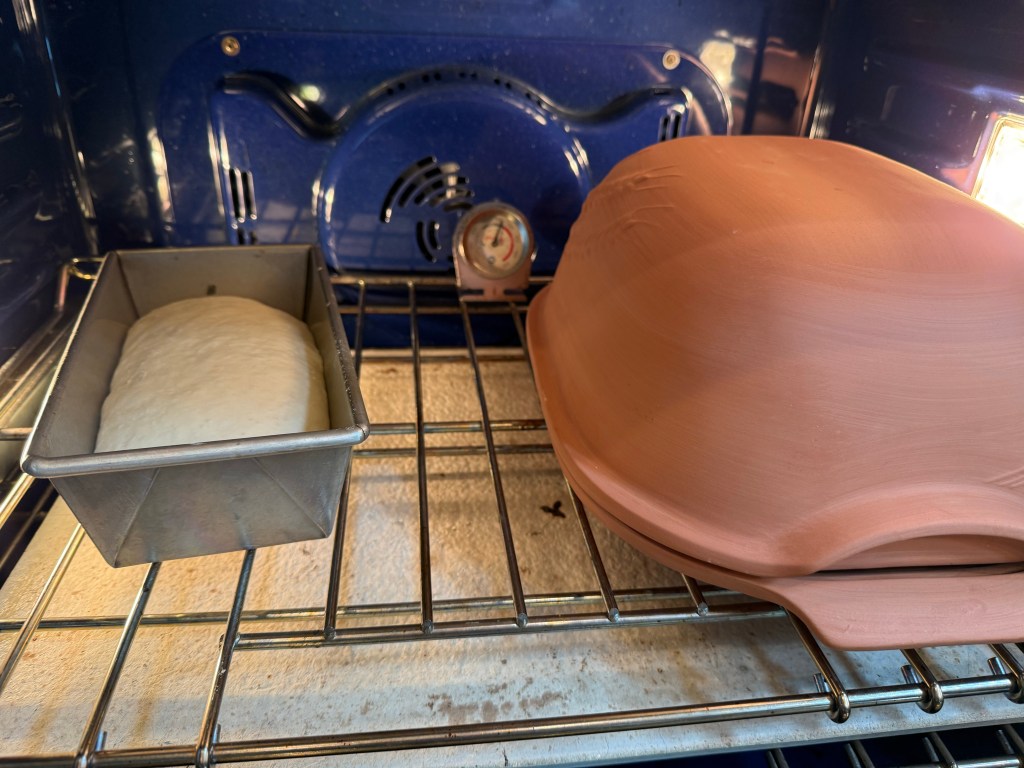
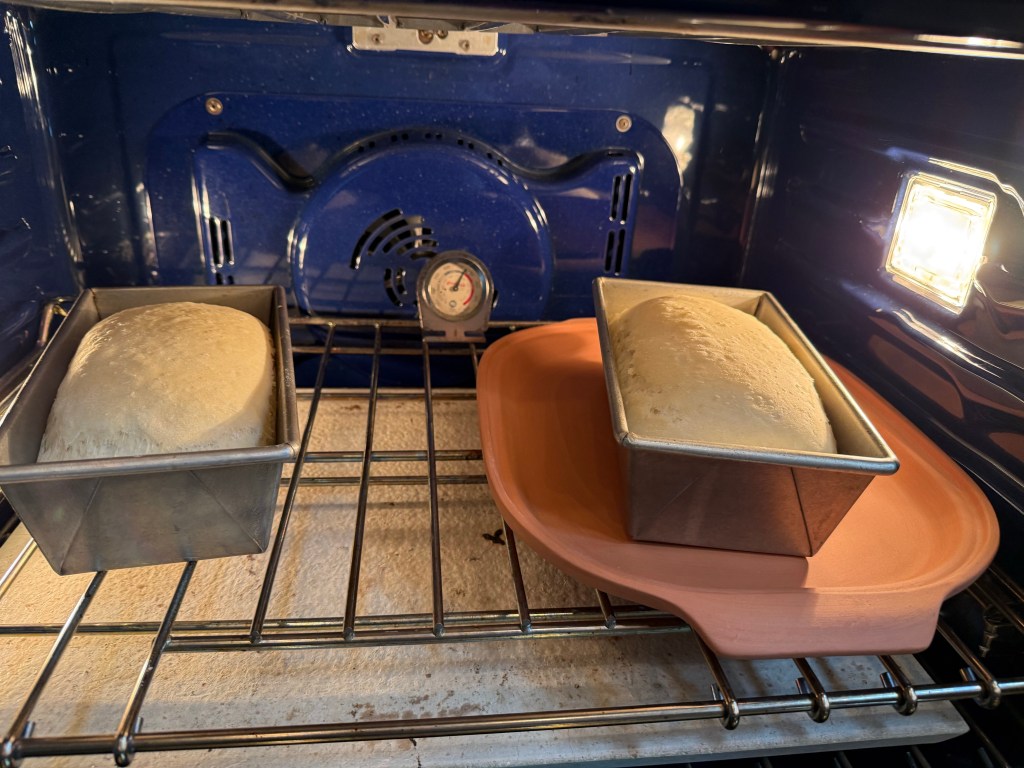
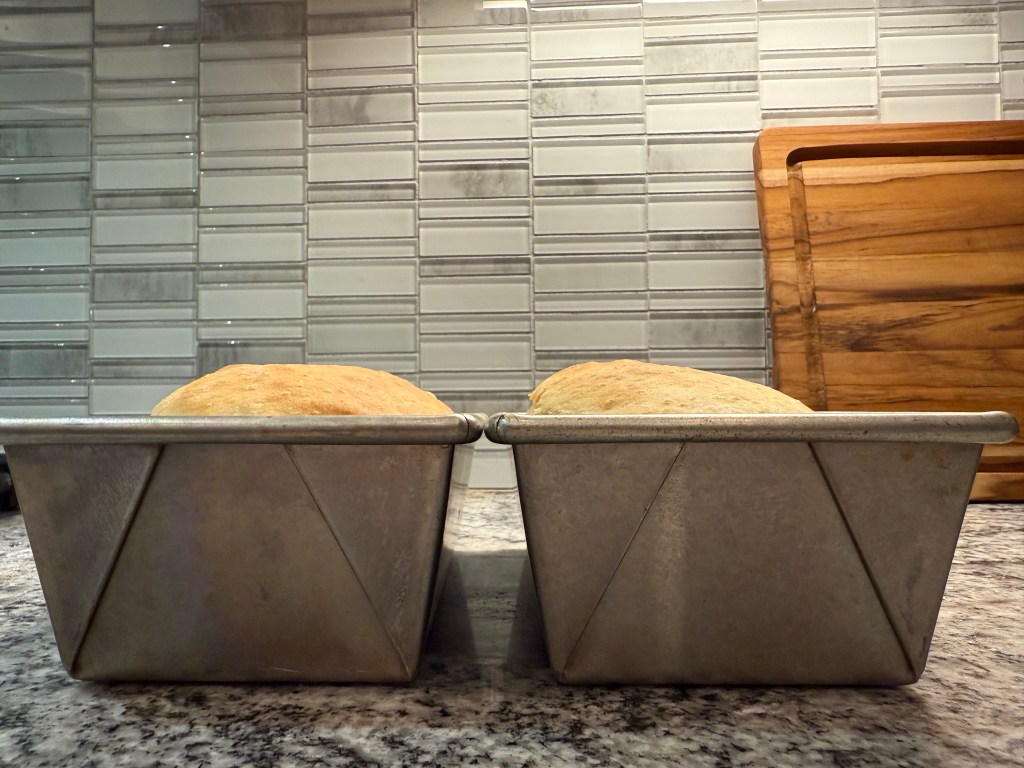
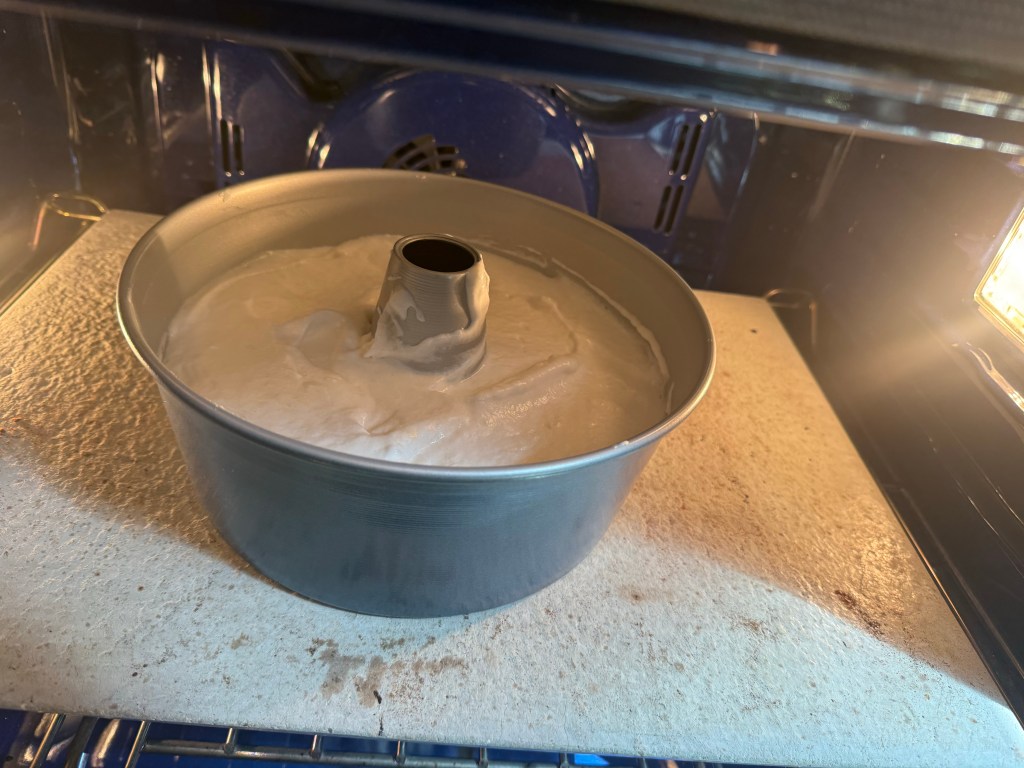
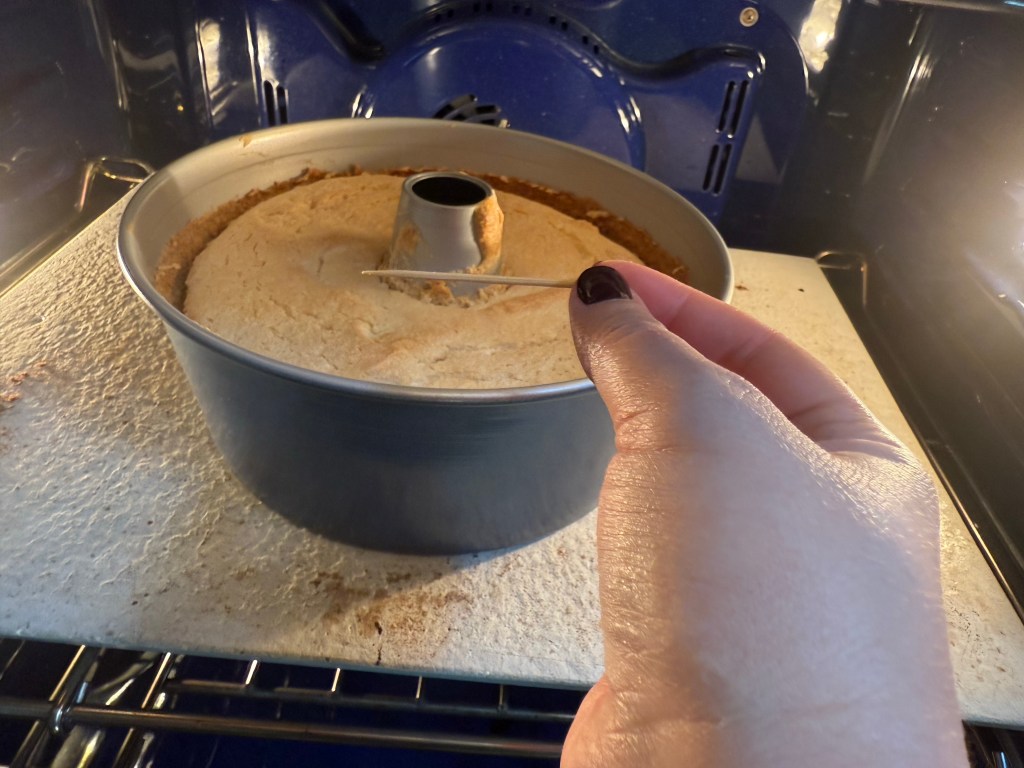
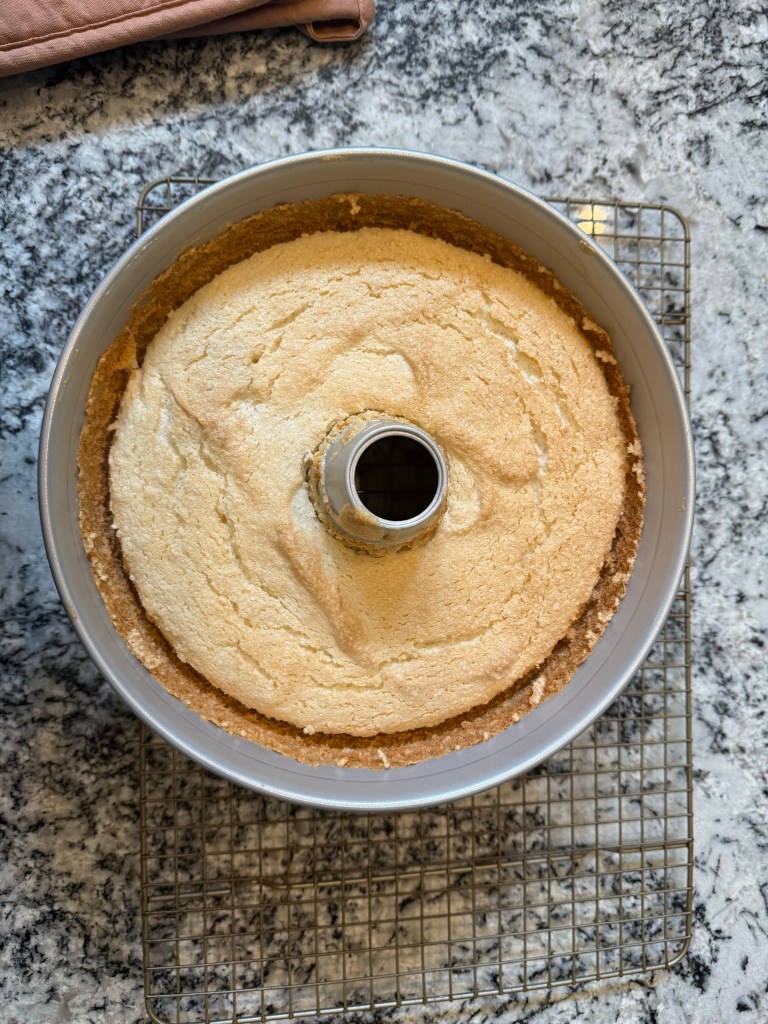
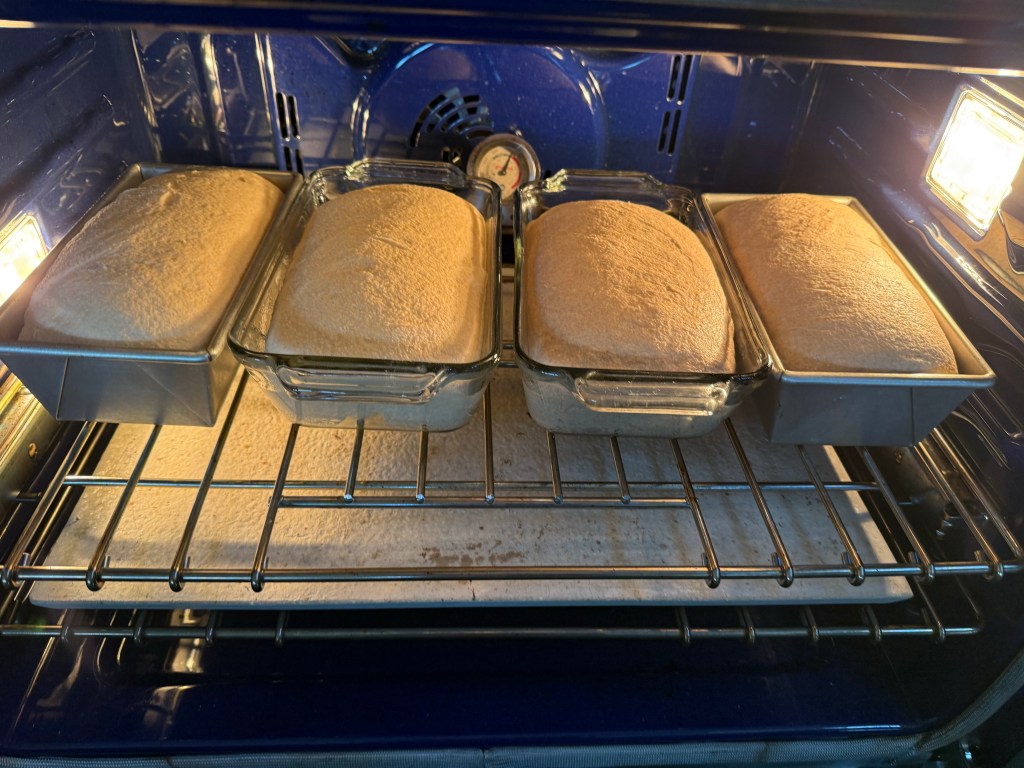
Once the final rise was complete the bread went into the oven.

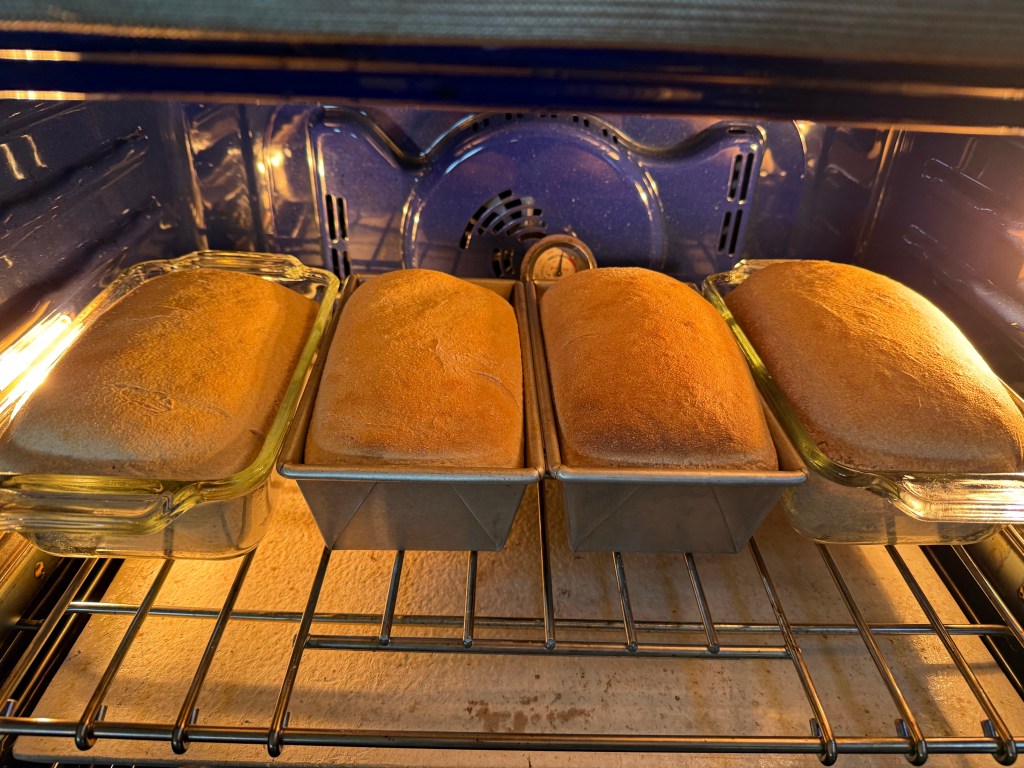
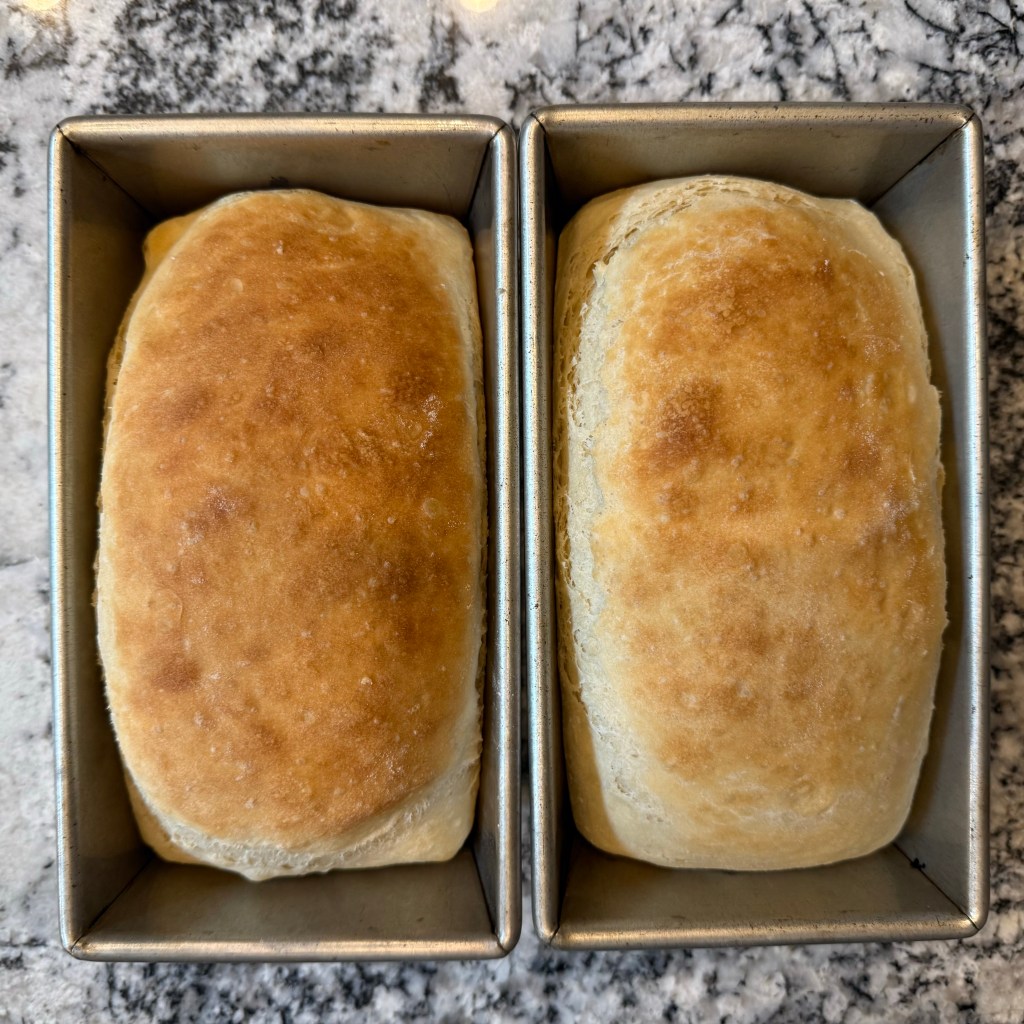
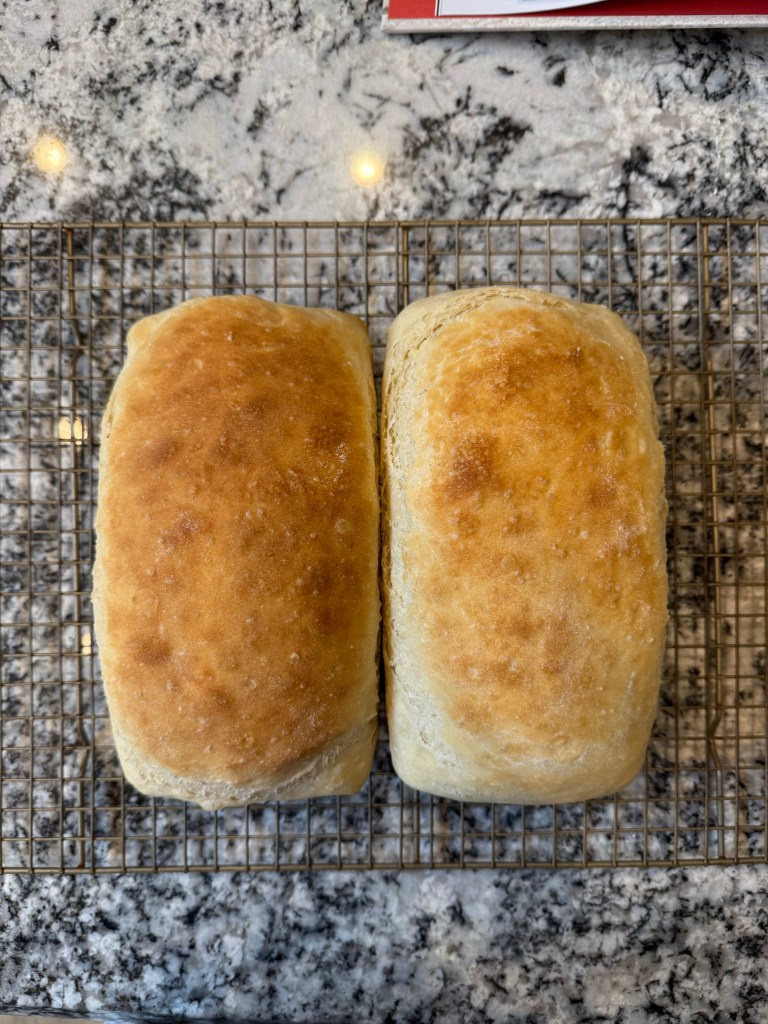
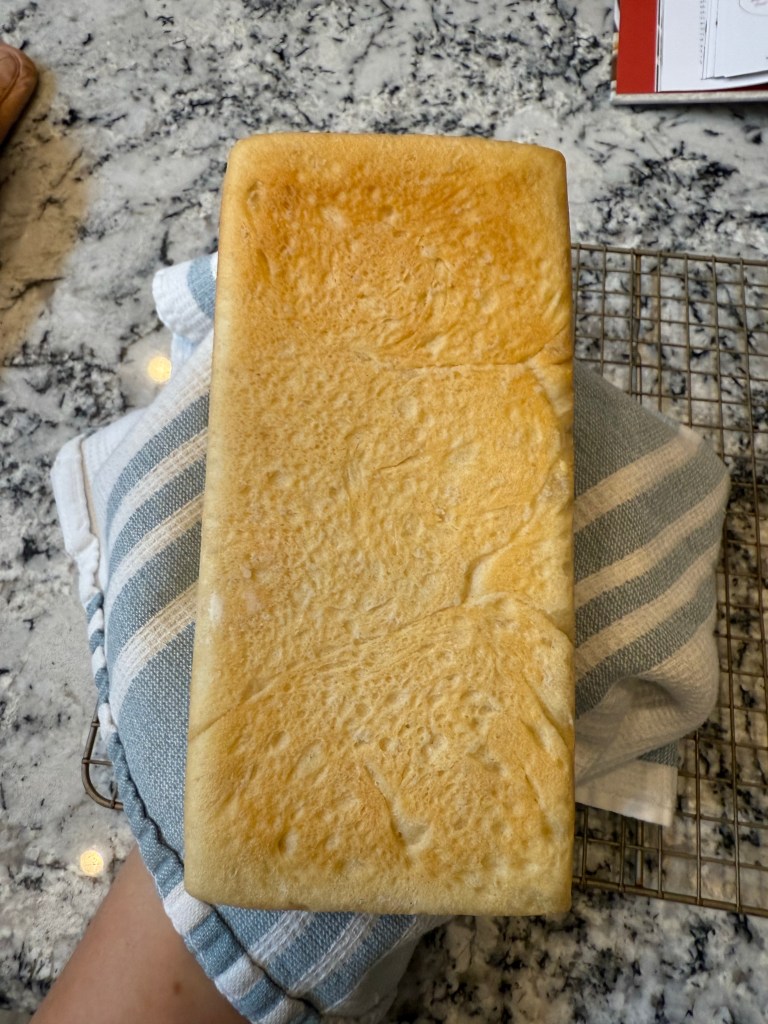
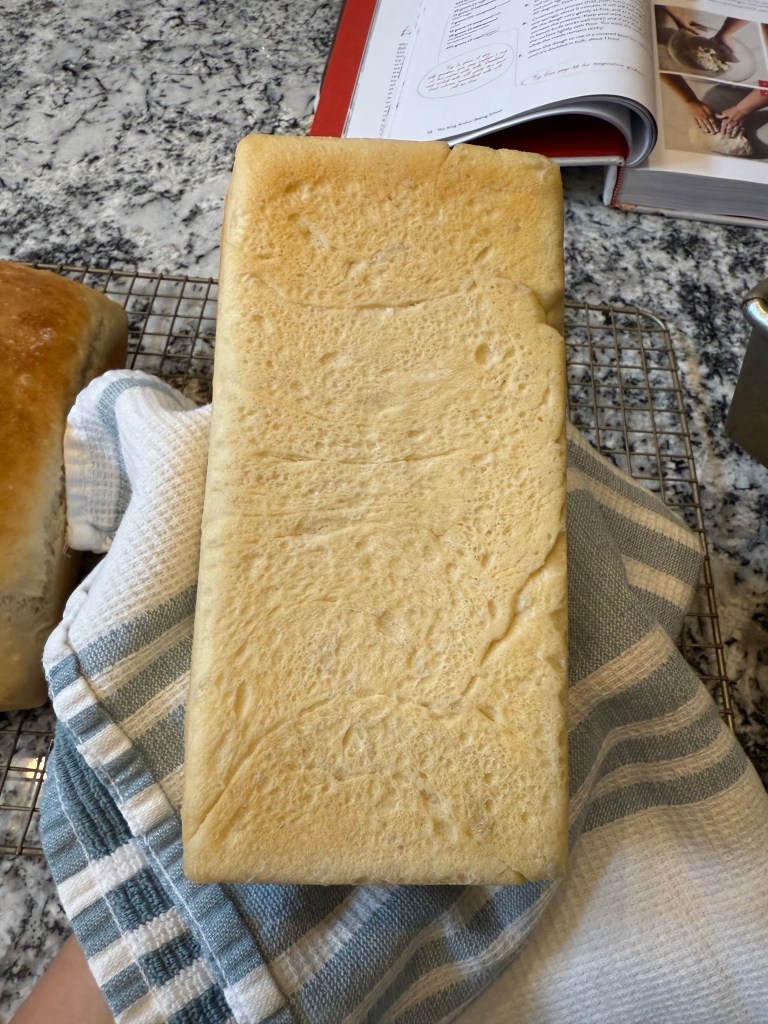
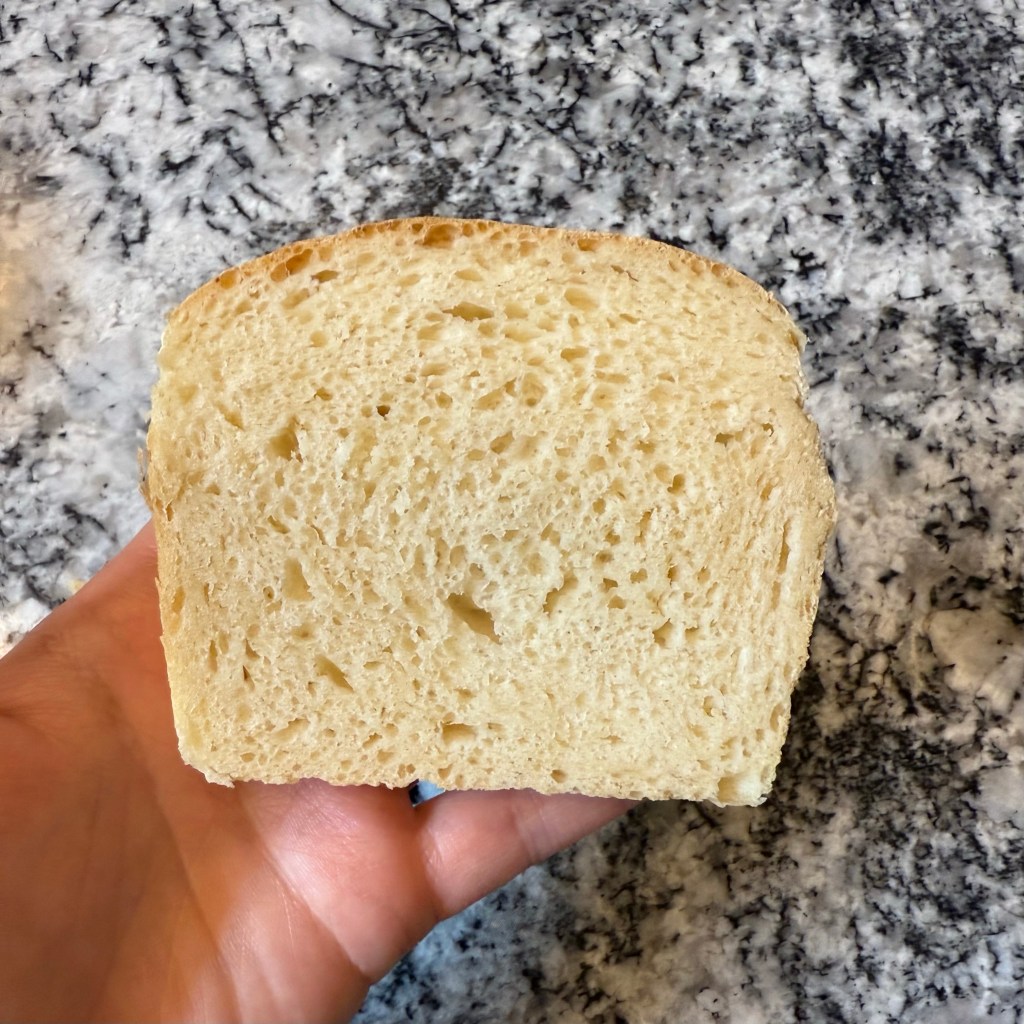
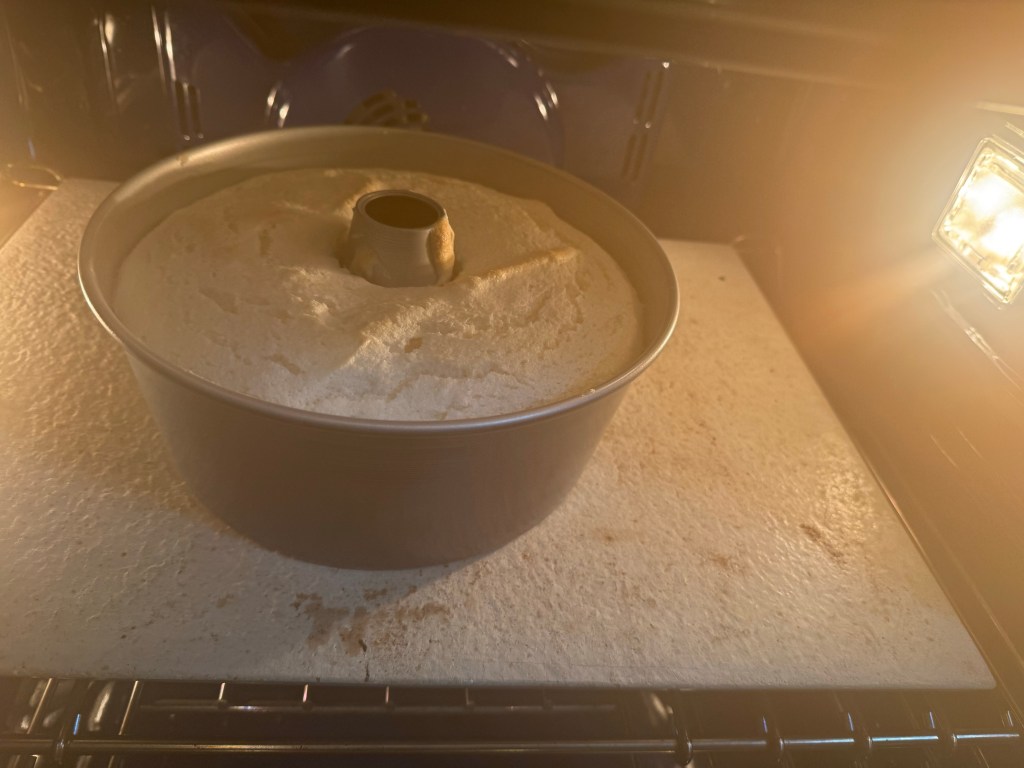
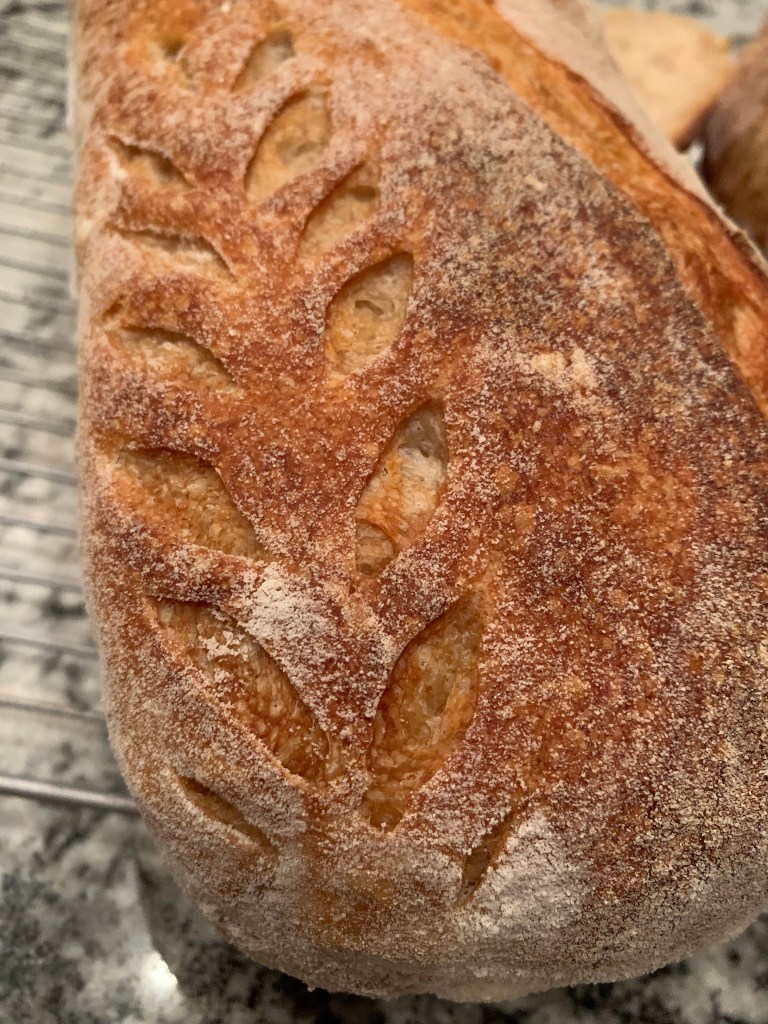
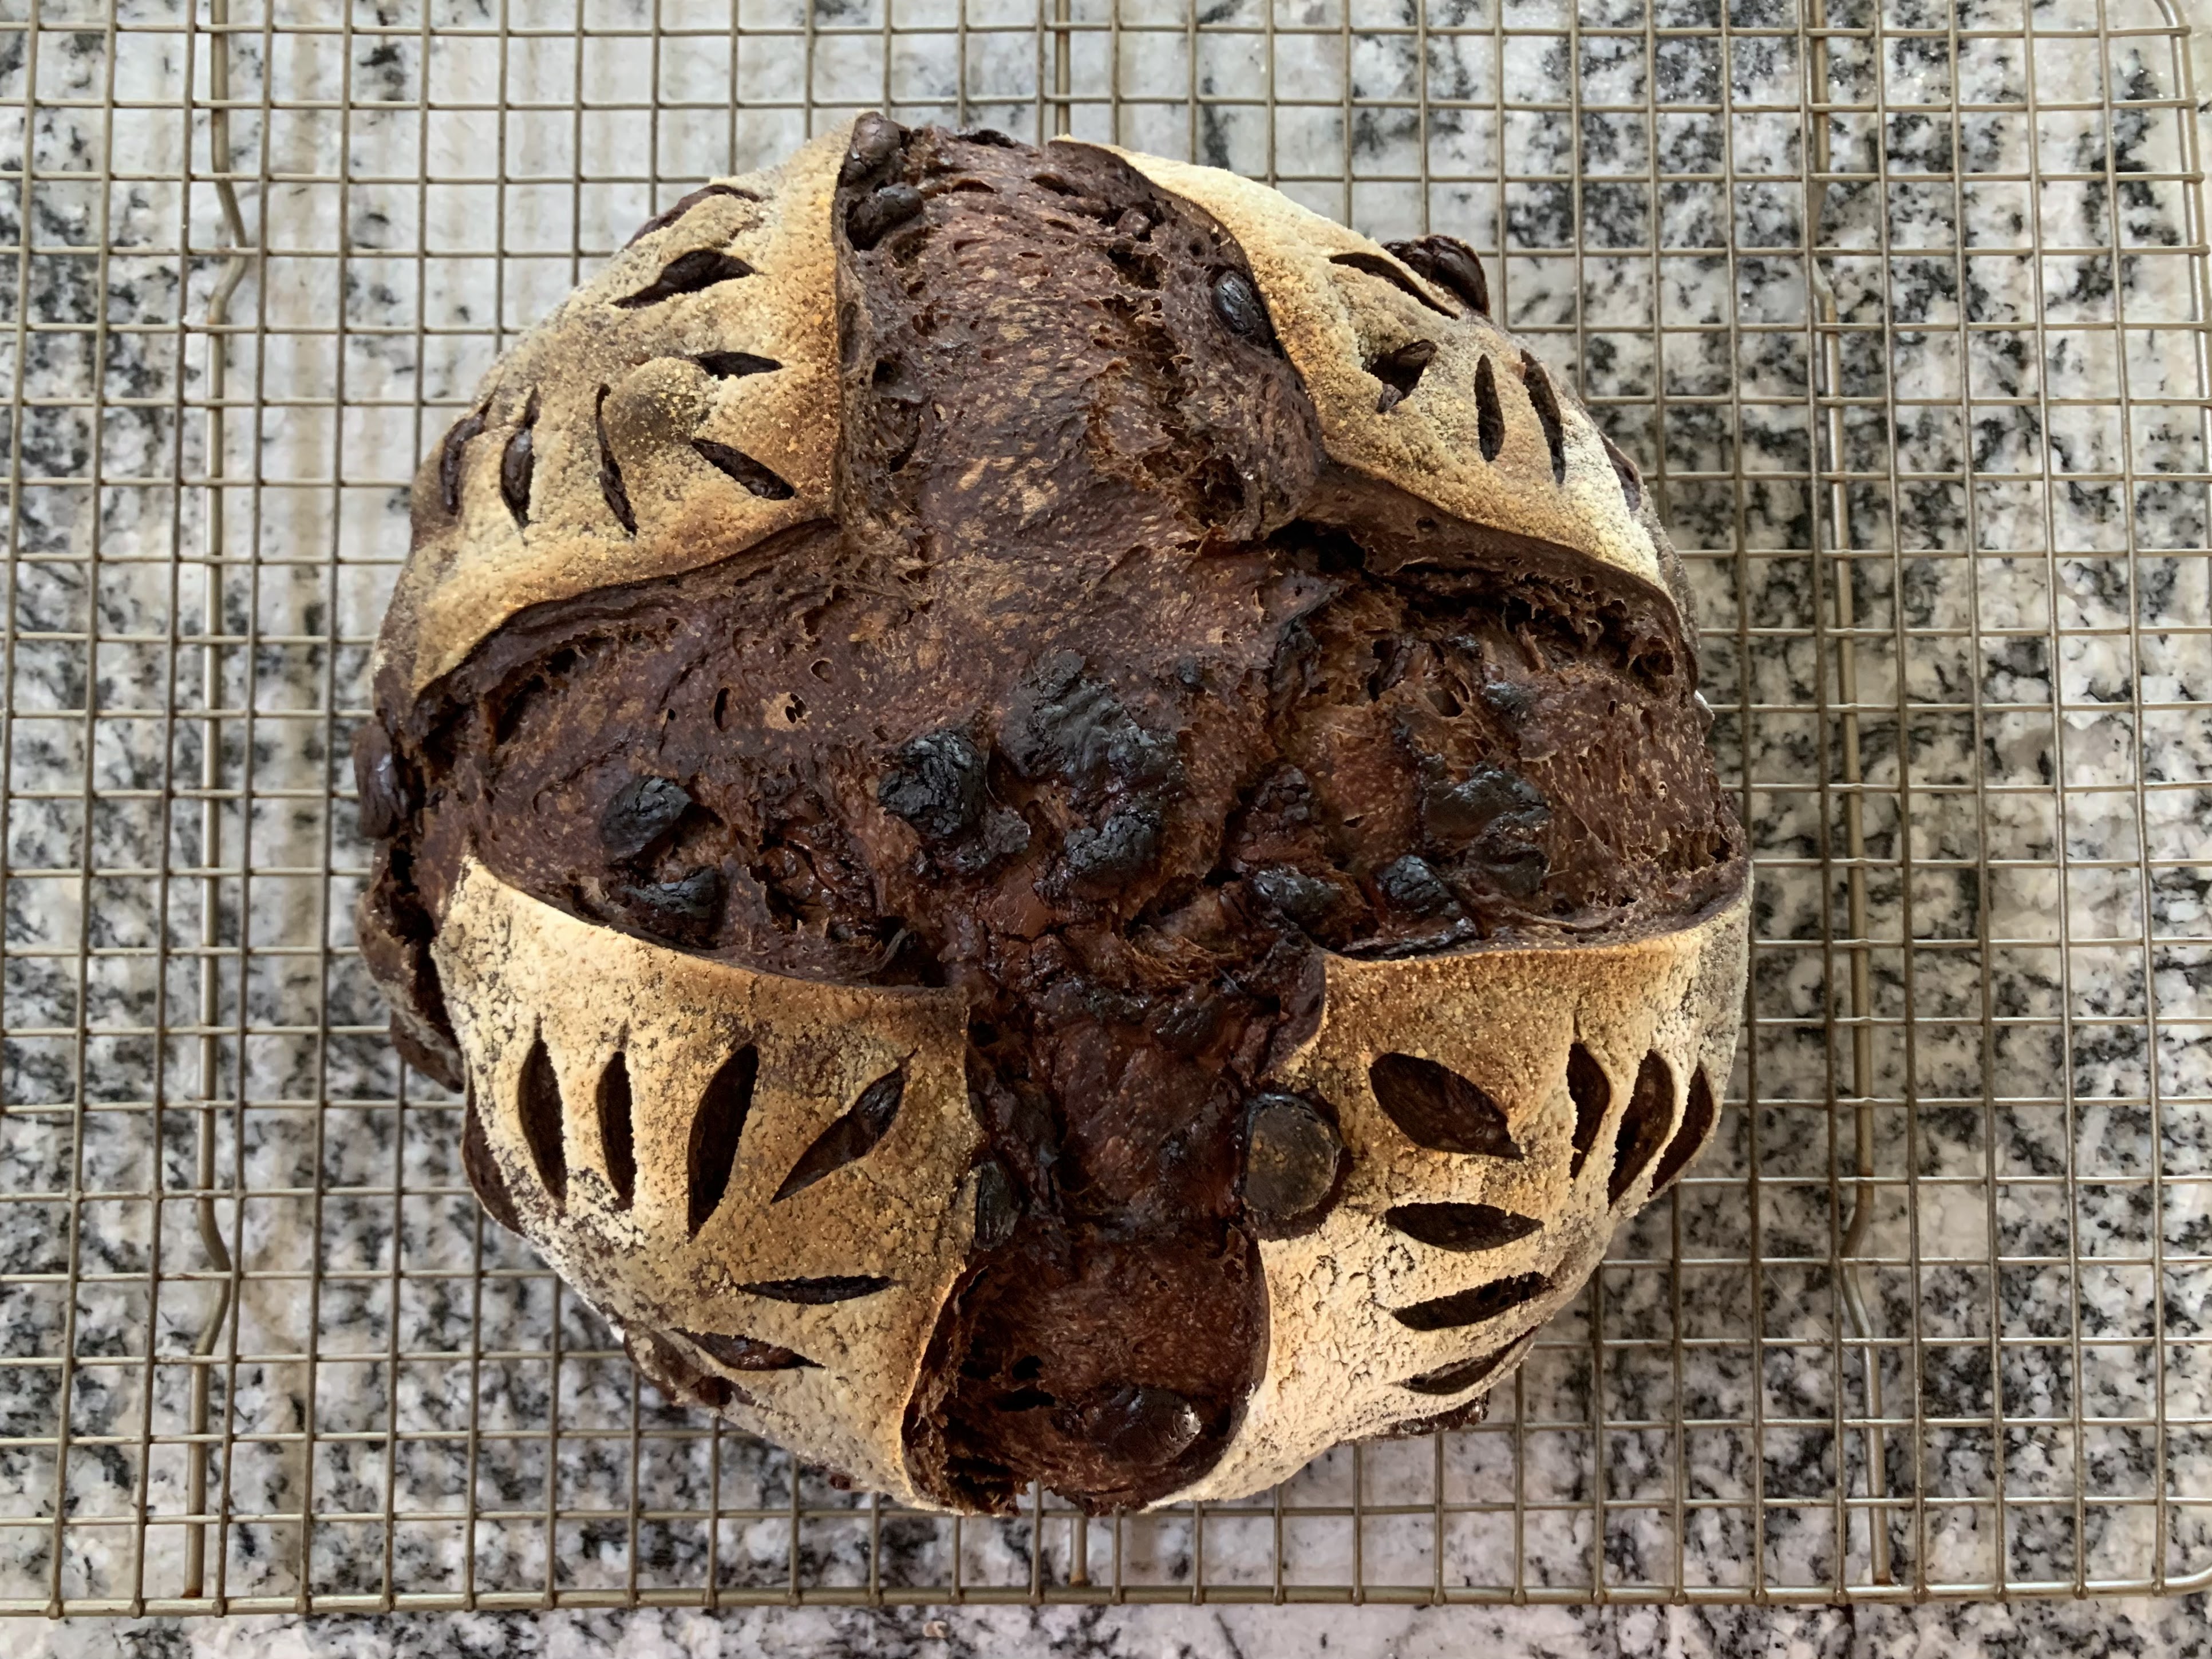
The colour differences between the loaves continued into the baked bread. The bread made with store-bought flour rose higher than the bread made with fresh-milled flour, which I half-expected after reading this article. However, the bread with fresh-milled flour had much better flavor. It had a sweetness and freshness to it, whereas the bread made with store-bought flour (while still tasting very good) had a bit of a bitter flavor.

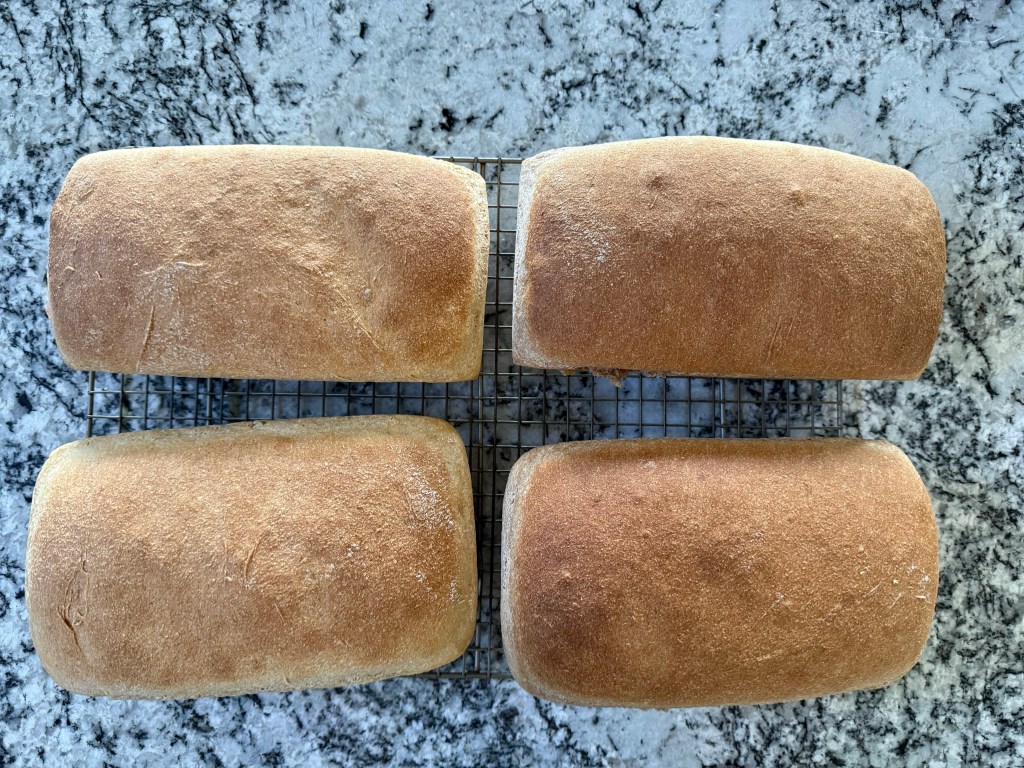
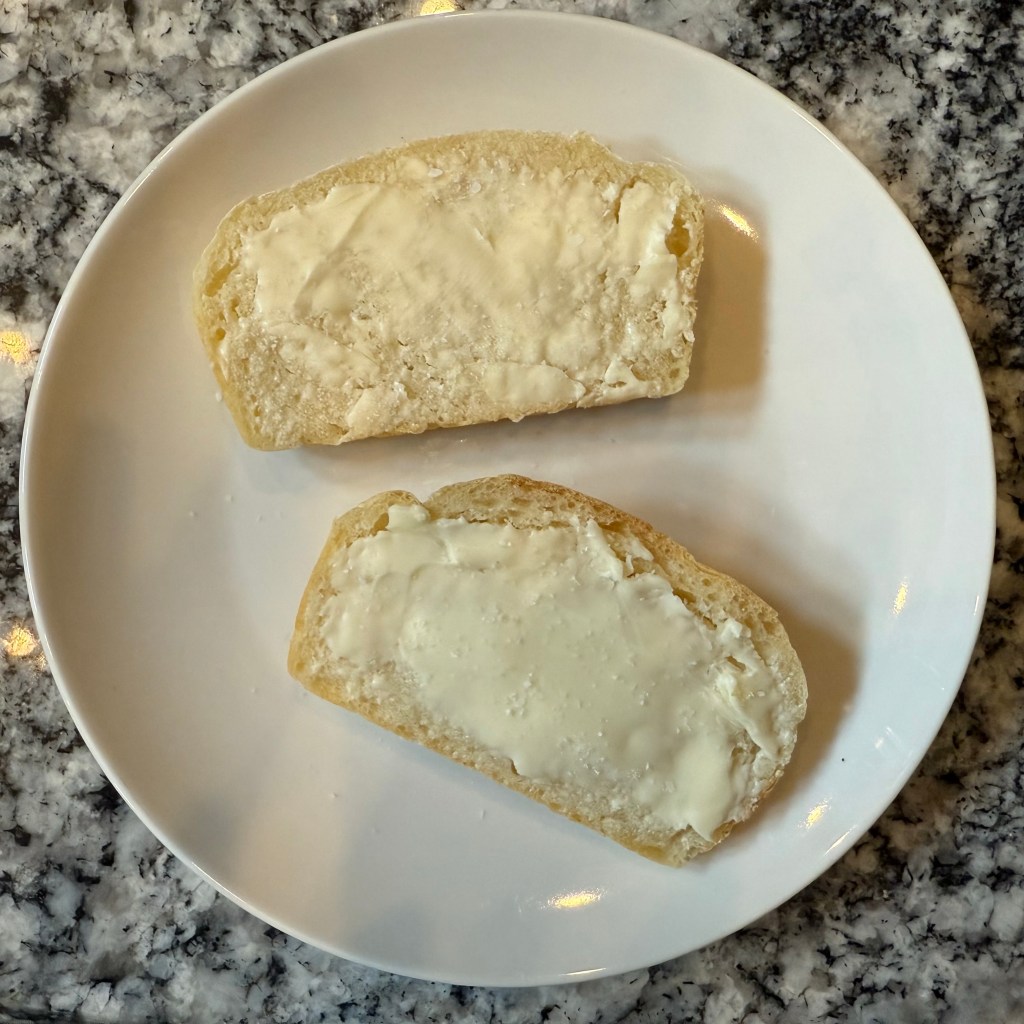
Both breads had a buttery flavor and a very tender crumb. In my opinion the crumb is too tender to be used for sandwiches, but the bread is excellent toasted.

Until the next time: may your yeast always rise and your flour never run out.

How I Baked the Perfect “Basic” Loaf of Bread

The first project in the King Arthur baking book is a basic loaf of bread. Bread is one of the items I’ve baked the most, and I considered skipping this bake, but I am a completionist, and I have yet to find a really good homemade sandwich bread, so I went ahead with the project.

I started with the mise en place:

I combined the dry ingredients…

Then stirred in the butter…

And added the water.

Next, I kneaded the dough by hand for 5 minutes. At the beginning of kneading the butter was still in chunks, but I worked them in as I came across them in the dough. I thought the kneading was done around 2 minutes in, which may be because I’m more used to making minimally kneaded artisanal-style breads. I kept kneading for the full 5 minutes, adding flour as needed, and I was surprised by how much bounce the dough gained as I worked it.

After kneading I put the dough back in the mixing bowl, took its temperature, covered it, and set it aside to rest for an hour. I took this opportunity to clean up my workspace.

After an hour I used the “doorbell test” to confirm the dough was ready to be shaped. It can be hard to measure when a dough has doubled from visual cues alone, so additional methods to gauge the dough’s readiness are helpful. In the picture below you can see that when I poked the dough it sprang back partially, but not all the way.

I used my dough scraper to scrape the dough out of the bowl onto a floured counter.

I divided the dough into two, then weighed it to make sure both halves had equal amounts of dough (610g). Then I shaped each loaf. With the first loaf I tried to follow the shaping instructions in the book, but I didn’t understand them well and I thought the loaf could have been shaped better (I figured out later that there is a video showing how to shape a sandwich loaf in the King Arthur Baking library). For the second loaf I used my preferred shaping method: stretch the dough out from the edge in 4 directions to make a rough rectangle. Fold the sides in, then fold the bottom up and press to add tension. Continue folding the bottom up and pressing until the dough is all rolled up. Roll the dough a little more against the counter to seal the seam, and tuck both side edges under.

I placed both shaped loaves into greased pans (I greased the pans before dividing the dough), covered the pans, and left them to rise.

The recipe says the final rise can take 45-90 minutes, which is quite a range of times! My kitchen is rather warm (74 degrees F), so I expected the final rise to be on the shorter end of that spectrum and began preheating my oven immediately after shaping the loaves. I decided to do an experiment in the oven: one loaf would bake regularly in the open oven, and the other would bake inside my clay bread baker. I wanted to see if trapping the steam from the dough would impact the oven spring and how big the impact would be. I do also have a baking stone on the lower rack of my oven for increased thermal mass.

45 minutes later the oven was preheated and my loaves passed the doorbell test, so I loaded the bread into the oven.

After 15 minutes I removed the cover from the clay baker to allow the second loaf to brown.

15 minutes later I checked on the bread. The covered loaf had good colour, but the loaf in the baker didn’t have as much colour as I would have liked, so I left both loaves in the oven for an extra 5 minutes. A lot of steam came out of the oven when I opened it this last time.

After a 35 minute bake I took the bread out of the oven. The loaf in the clay baker (on the right in all these photos) baked very slightly higher than its sibling, and was a bit paler on both top and bottom.

The hardest part about baking bread is waiting for it to cool before cutting into it. After an hour and a quarter I could no longer wait. I ate my first piece with butter and finishing salt: it was sublime!

This bread has good flavor and texture. It is tender, but not too tender for sandwiches (this is a problem I have seen with most sandwich loaves I’ve tried). It makes great toast! I recommend this bread.

Starting My Baking Journey with Angel Food Cake

I am starting off my education as a baker with Baking School: Fundamentals by Baker Bettie. While this is the beginning of my “formal” culinary education, I am not new to baking, so I watched through the first 6 videos before coming to a project that I just had to bake: angel food cake. This project combines prompts to pre-read the full recipe (twice) before baking, create a mise en place, and to explore sugar’s role in leavening baked goods.

I read through the recipe fully the day before baking, then checked to see which ingredients I had in stock and which I needed to buy. I ran out to the store to buy an angel food cake pan and about a million eggs (just kidding, the recipe only uses 9).

The morning of the bake I started by putting my eggs on the counter to warm up to room temperature. While the eggs warmed up I cleaned my kitchen. I am a chaotic baker most of the time, but I want to change that, and the best way to create new habits is lots and lots of practice. Once my workspace was clean and I had eaten some breakfast, it was time to bake.

I prepared my mise en place, then combined my dry ingredients with a whisk as directed.

Then I began whipping my eggs. I first whipped the egg whites alone, then I added Cream of Tartar and whipped again. Once the egg whites began to gain volume I slowed down the mixer and added the sugar slowly.

When the sugar was incorporated I increased the speed and whipped to stiff peaks. The egg whites whipped up more quickly than I expected, so I added the lemon zest a little later than directed when the egg whites were already at stiff peaks.

With my eggs whipped to within an inch of their lives, I sprinkled the flour on top and gently folded it in. The folding process took me a little longer than the recommended 15-20 seconds because I was being extremely careful to not deflate the eggs while also making sure the dry ingredients were fully incorporated. Even so, I found some pockets of dry ingredients that I had to gently stir in as I was pouring the batter into the pan.

I smoothed the top of the batter and put it in the oven. I checked on the cake at 30 minutes. It had barely any browning and the toothpick did not come out clean. At 35 minutes the top was slightly browned and there were only a few crumbs on the toothpick. At 4 minutes the top of the cake was beautifully brown and no crumbs stuck to the toothpick when I tested the cake.

I took the cake out of the oven and inverted it (while still in the pan) over a wire rack to cool.

While the cake cooled I prepared my toppings. Baker Bettie serves her angel food cake with whipped cream and strawberry sauce. I wanted to make a sauce from fresh mulberries I grew in my garden. I followed the directions to make a fresh berry sauce, using mulberries, lemon juice, and lemon zest. I gathered my mise en place, then combined the water, lemon juice, sugar, and corn starch and whisked to combine.

Then I added the berries and turned on the heat. It was fascinating to see the liquid change colour from white to pink to red and to see the change in viscosity as the corn starch cooked and some of the berries burst.

While the berry sauce was cooling I removed the cake from the pan. I used an offset spatula to scrape around the edges and center of the pan, but since I have a 1-piece tube pan the top of the cake didn’t want to release and I had to tug it upwards very gently with the tips of my fingers to get it to release from the pan.The cake didn’t seem to suffer from this treatment. I noticed that my cake cooled a little lopsided. I think the pan was slightly tilted to one side while cooling, which led to the slight lean. My husband was kind enough to make the whipped cream. He used heavy cream, sugar to taste, and the tiniest bit of vanilla, and whipped it by hand.

Tasting Notes: The cake is very light and moist. It does not taste eggy at all. The first flavor I noticed was sweetness (the cake does, after all, contain as much sugar as egg white by weight), and then lemon. The whipped cream adds fat and sweetness, and the berry sauce adds both sweet and sour berry flavors. All in all, this is a delicious cake, not at all like the dry, flavorless Angel Food cakes one buys at the grocey store. Pair this cake with White Port for the ultimate dessert experience.

Until the next time: may your yeast always rise and your flour never run out.

Turning Passion into Pastry: My Journey into Baking

I am a very creative person. I took art and music classes in high school, and I majored in music in college. Then after college I took a sensible office job and settled down to “real life.” I started baking during this time, but just the odd loaf of bread or birthday cake.

Fast forward 10 years: I feel stuck. A “normal” life with a stable job is all well and good, but every day when I log into work I feel like my soul dies a little. I need something more than this. I need to make things. I need a goal to work toward instead of circling the pool of existential dread every day.

Existential dread will certainly make you re-evaluate your priorities, and one day not so long ago I found myself telling a friend I wanted to open my own bakery. And in the instant I said it I realized how much I really did want that. So I sat down to figure out how I could make that happen. Bills are, unfortunately, a very real thing, and I prefer to keep my lights on and my cats fed, so quitting my job doesn’t make sense quite yet. But what if I continued to work my unfulfilling job while I studied baking? That seemed a reasonable path forward.

I researched pastry schools and found two options that stood out: an online course (I found that very surprising – an online pastry school??), and a pastry course at my local community college. Both had pros and cons, but after much deliberation I determined that neither were right for me, and both for the same reason: time. The online course requires 15-25 hours a week and the community college course would require me to be in class during my working hours. Necessity (or in this case, existential dread) is the mother of invention, so I decided to create my own pastry course using the class lists from the other two schools as a guide. My course is missing a few things, but I can take a few actual classes later on for the boring (but important) stuff, like creating menus and learning to run a business.

Here is my plan of attack (I provide it for you here in case you, too, have decided you want to be a baker, but do not have the resources or time to go to pastry school). I intend to bake my way through as much of this as I can in the next 2 1/2 years and reassess on my 35th birthday. Who knows what may have changed by then?

I am writing this blog primarily as a learning tool and personal record of my work. I hope it is also entertaining and perhaps even helps you, my audience, learn more about baking.

Until the next time: may your yeast always rise and your flour never run out.